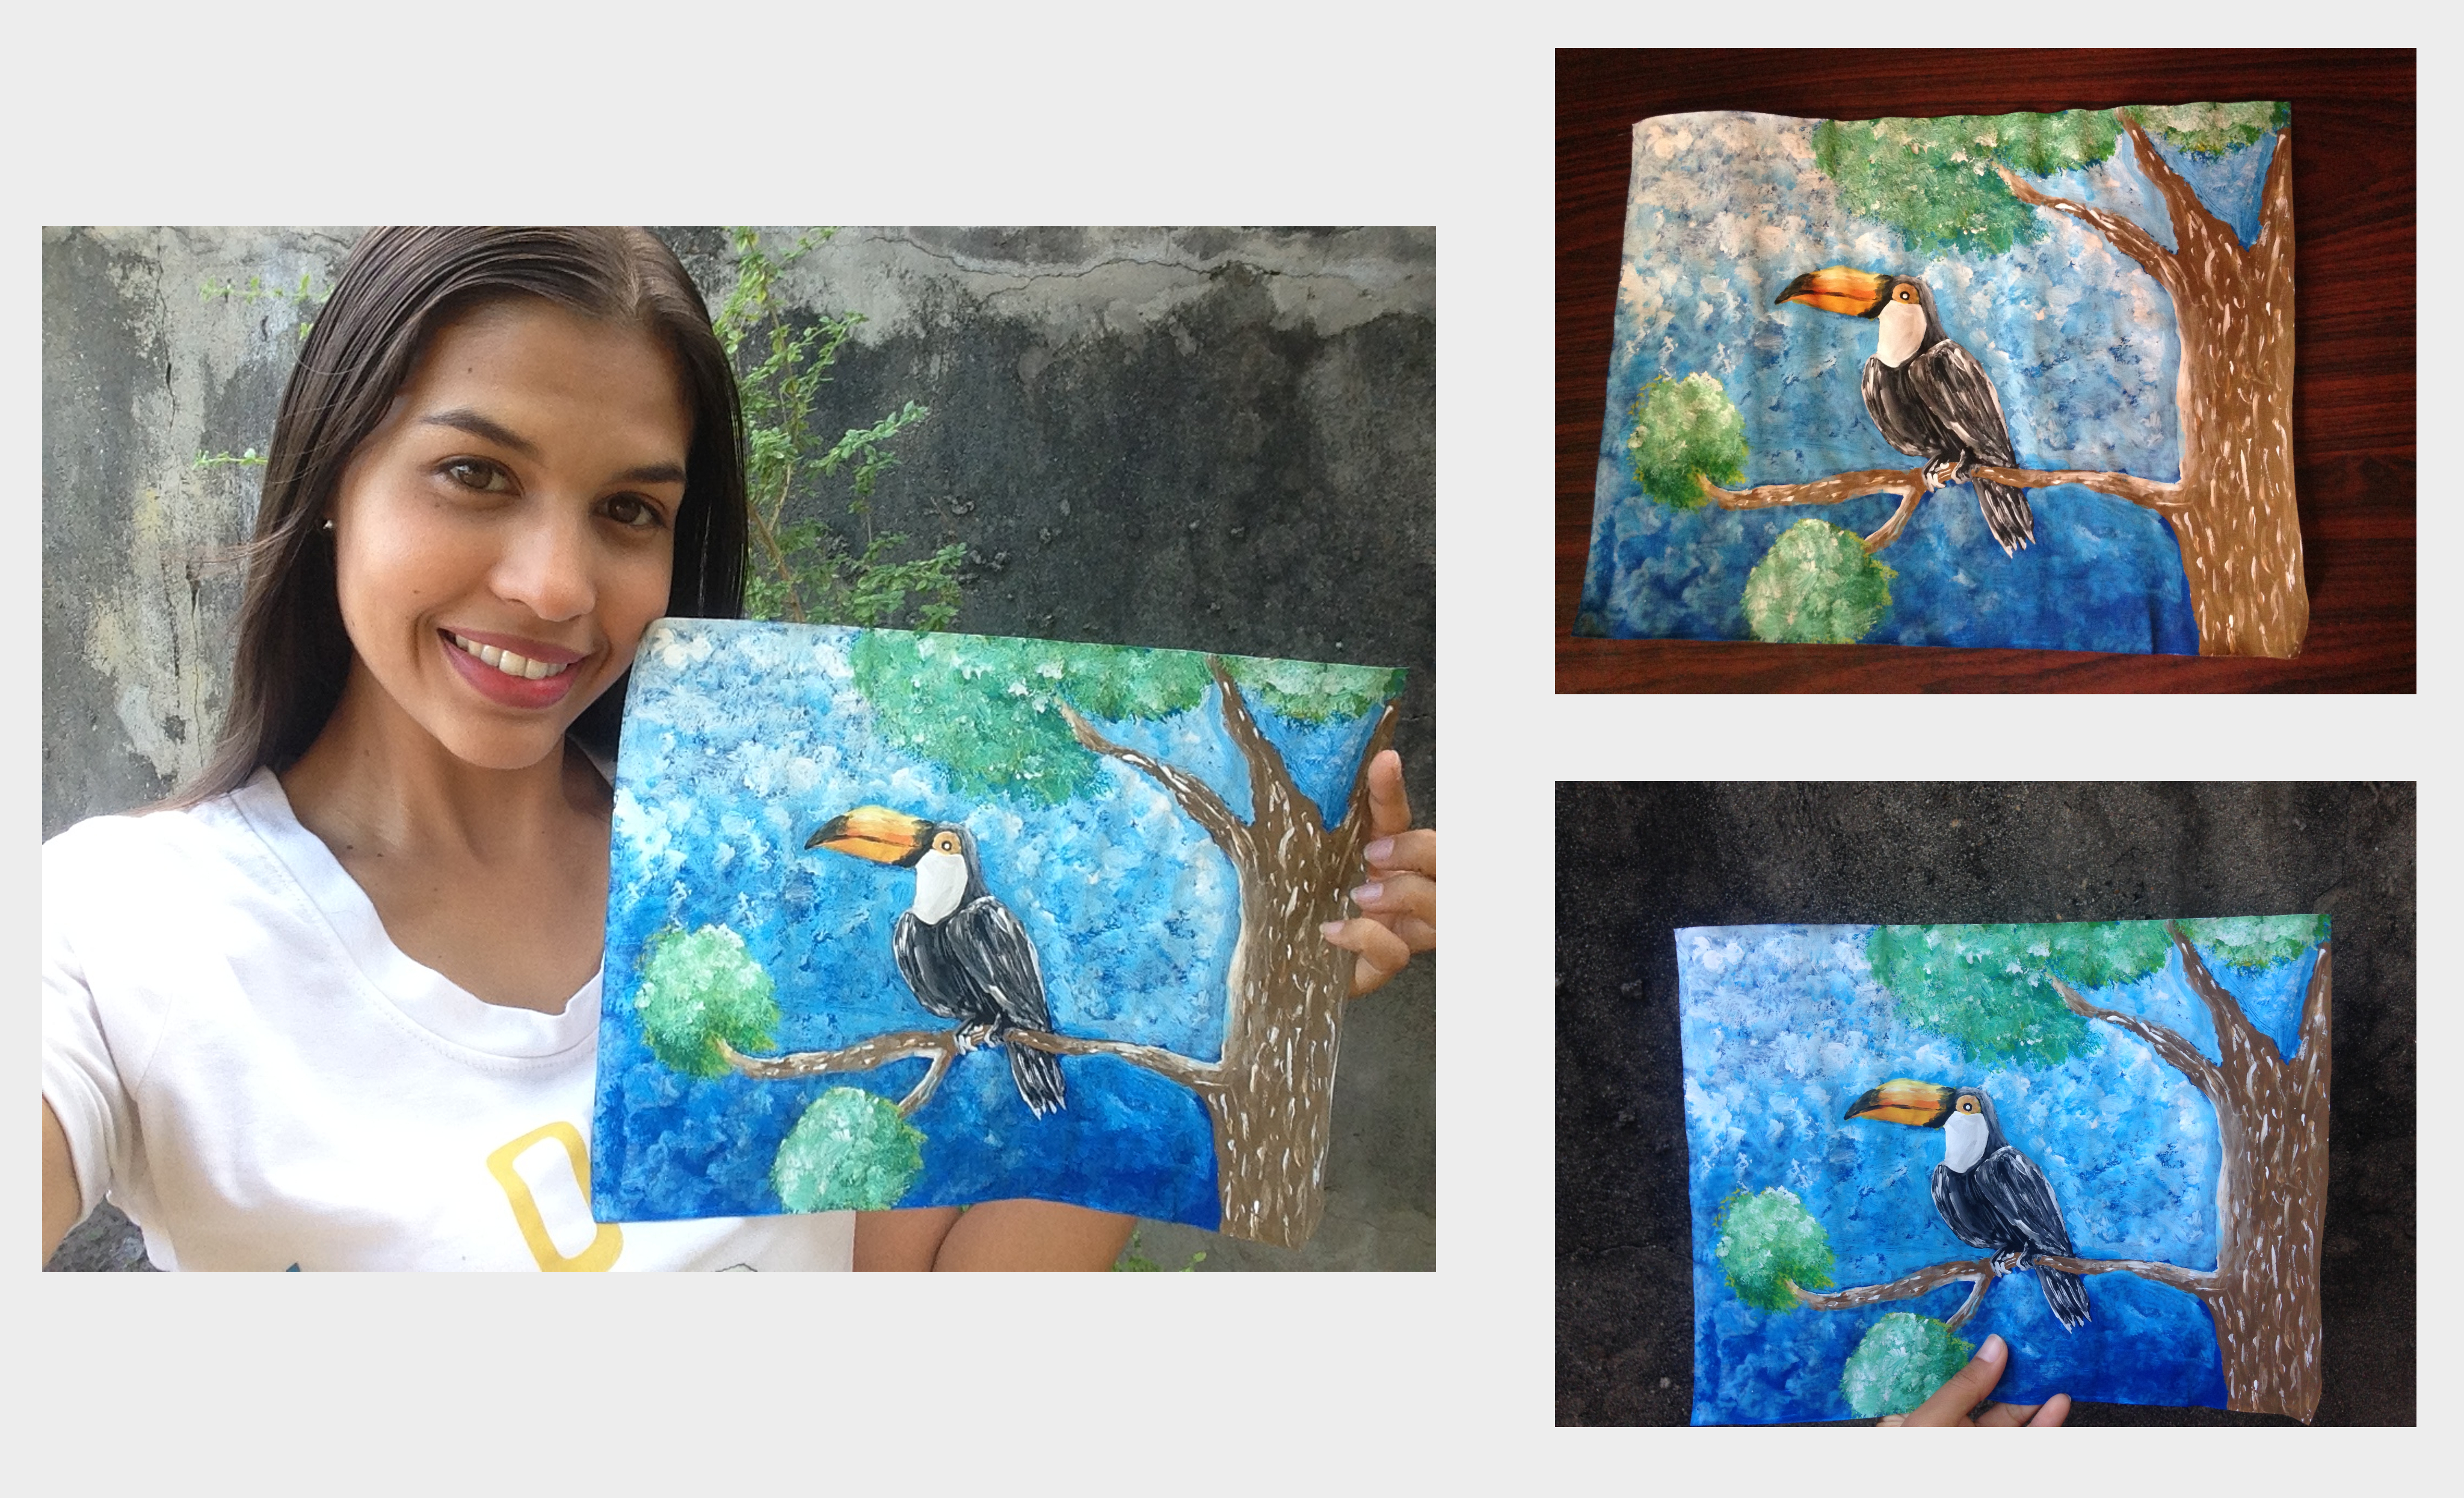
Hello, God bless you greatly on this day, today I want to share this beautiful painting of a toucan in the middle of its habitat, accompany me to see its elaboration process
Hola, Dios los bendiga grandemente en este dia, hoy quiero compartir esta hermosa pintura de un tucán en medio de su hábitat, acompáñenme a ver su proceso de elaboración
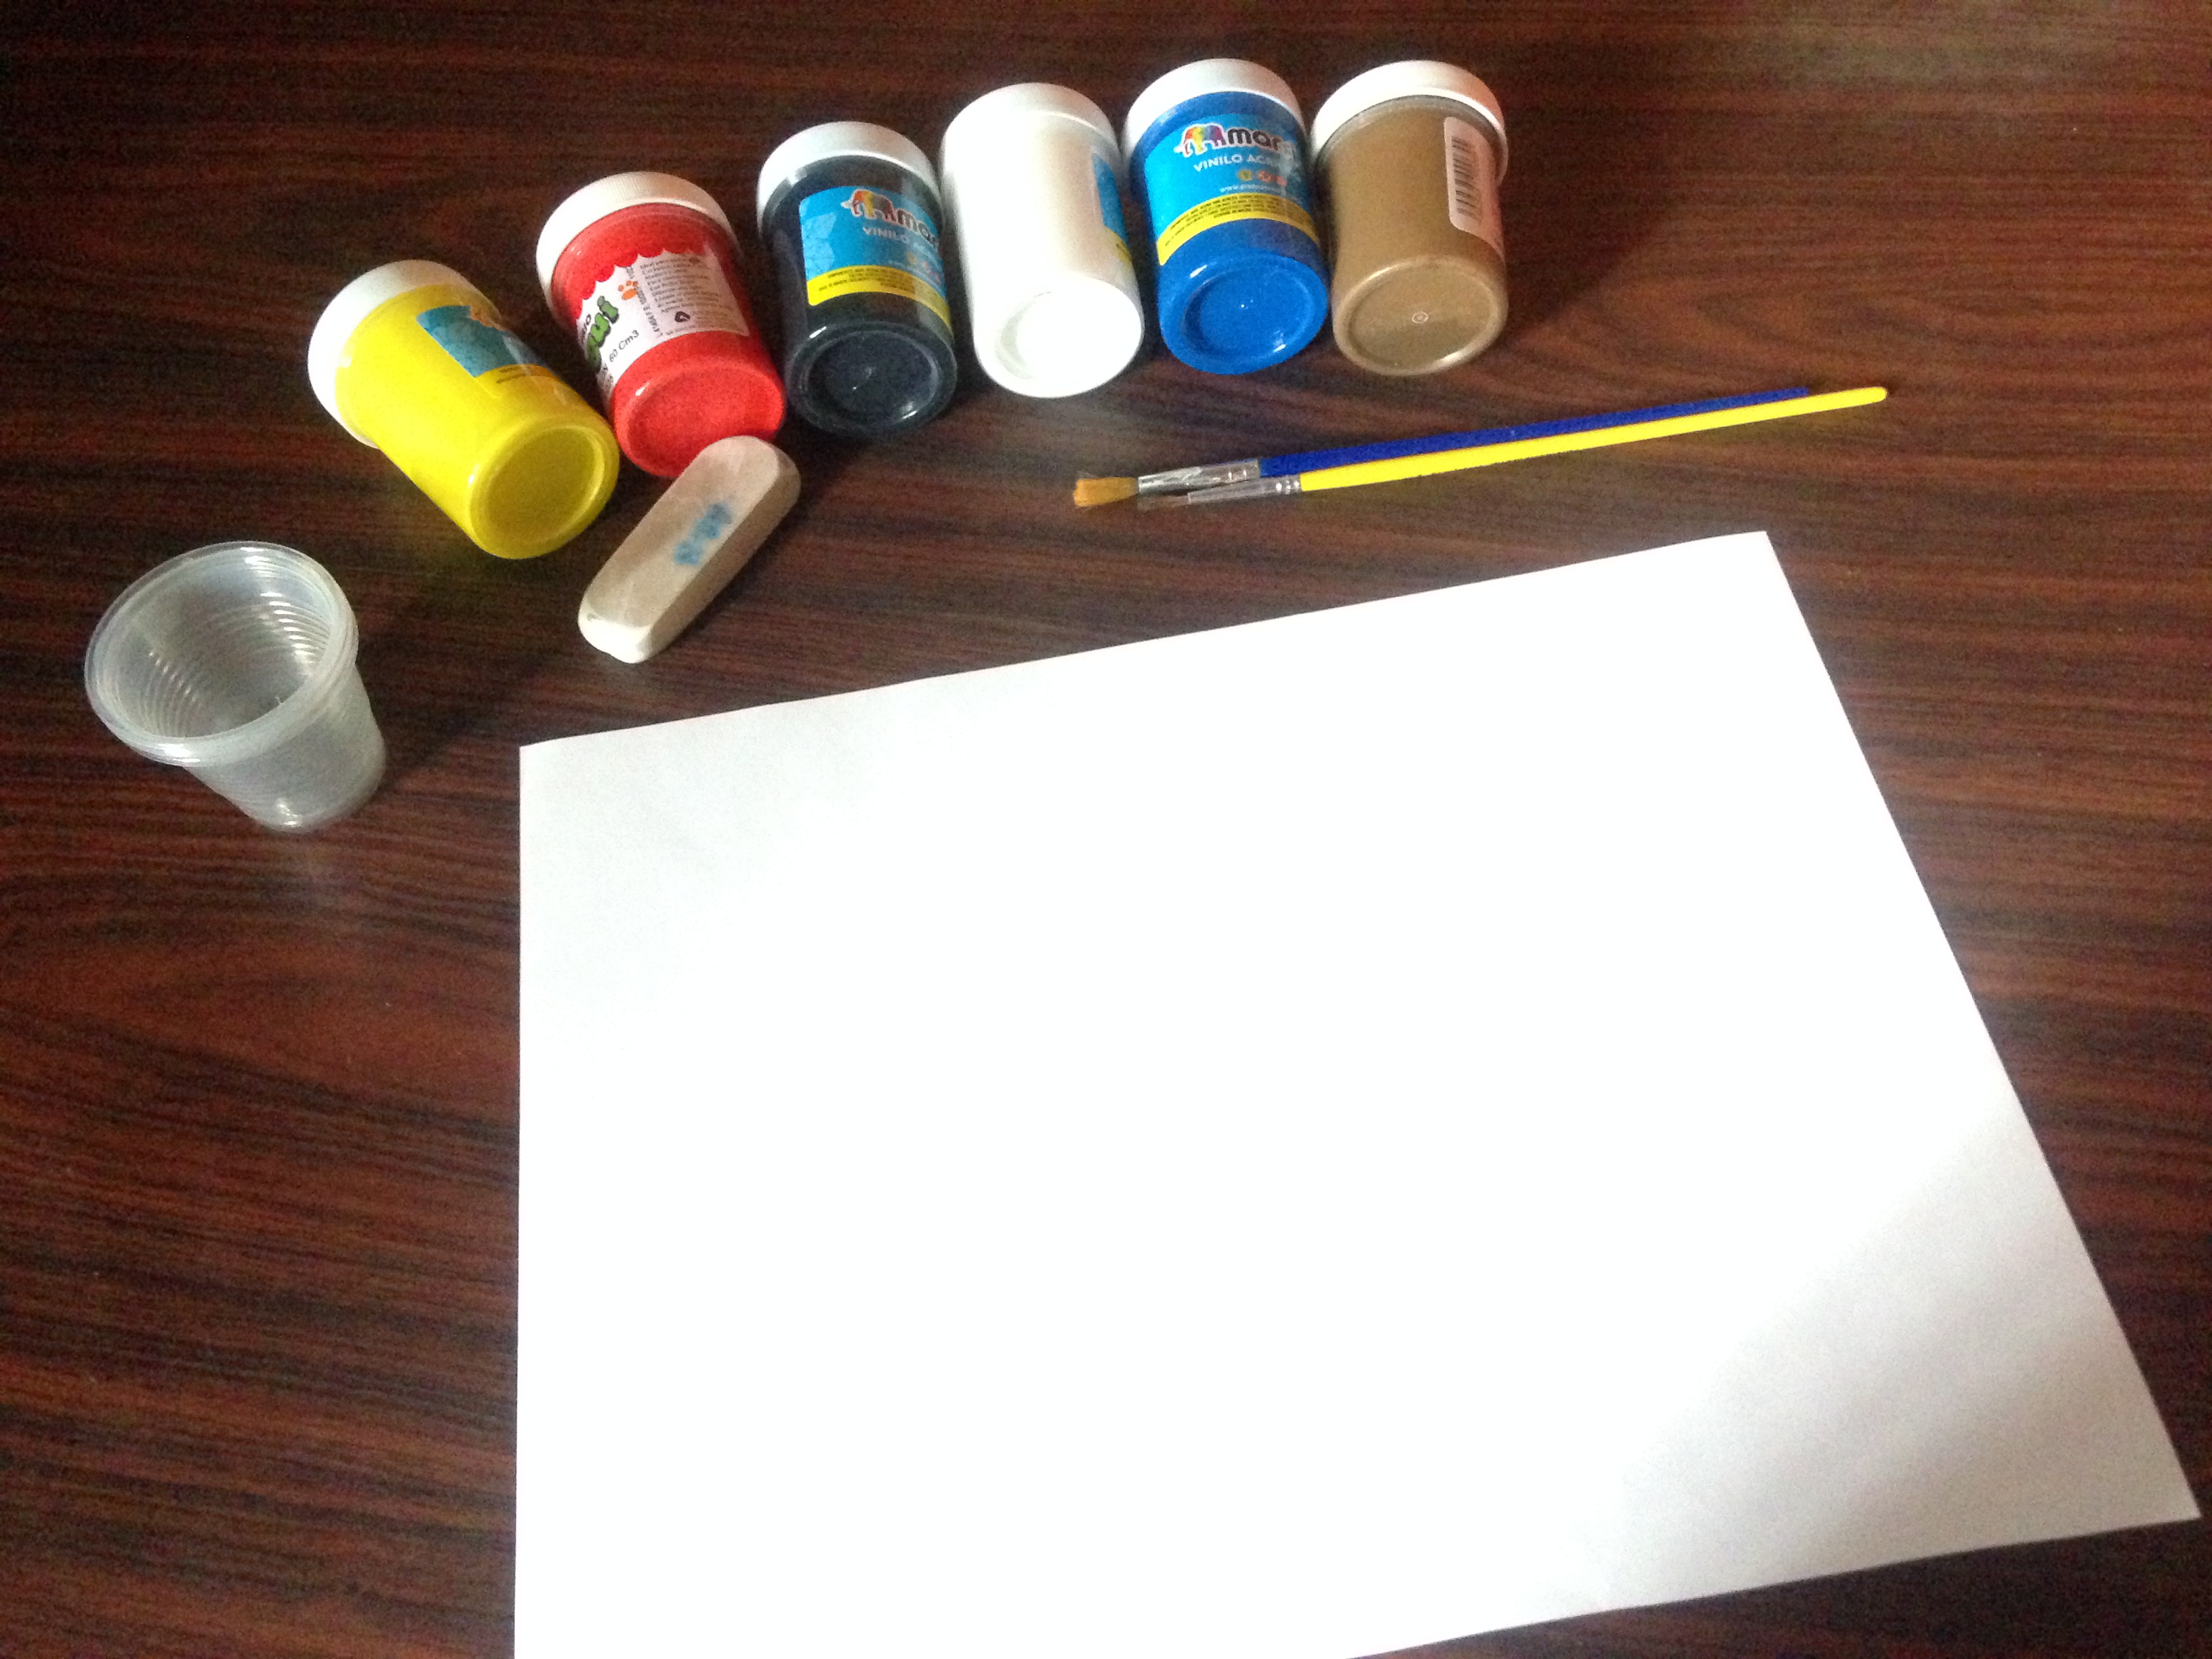
Materiales:
- Cartulina blanca tipo carta
- Pinturas al frio color: Amarillo, azul, rojo, blanco, negro, y marrón
- pinceles-. grueso y delgado
- lápiz
- borrador
- vaso con agua para limpiar los pinceles
Materials:
- Letter-type white cardboard
- Cold paints color: Yellow, blue, red, white, black, and brown
- Brushes-. Thick and Thin
- pencil
- draft
- glass of water to clean the brushes
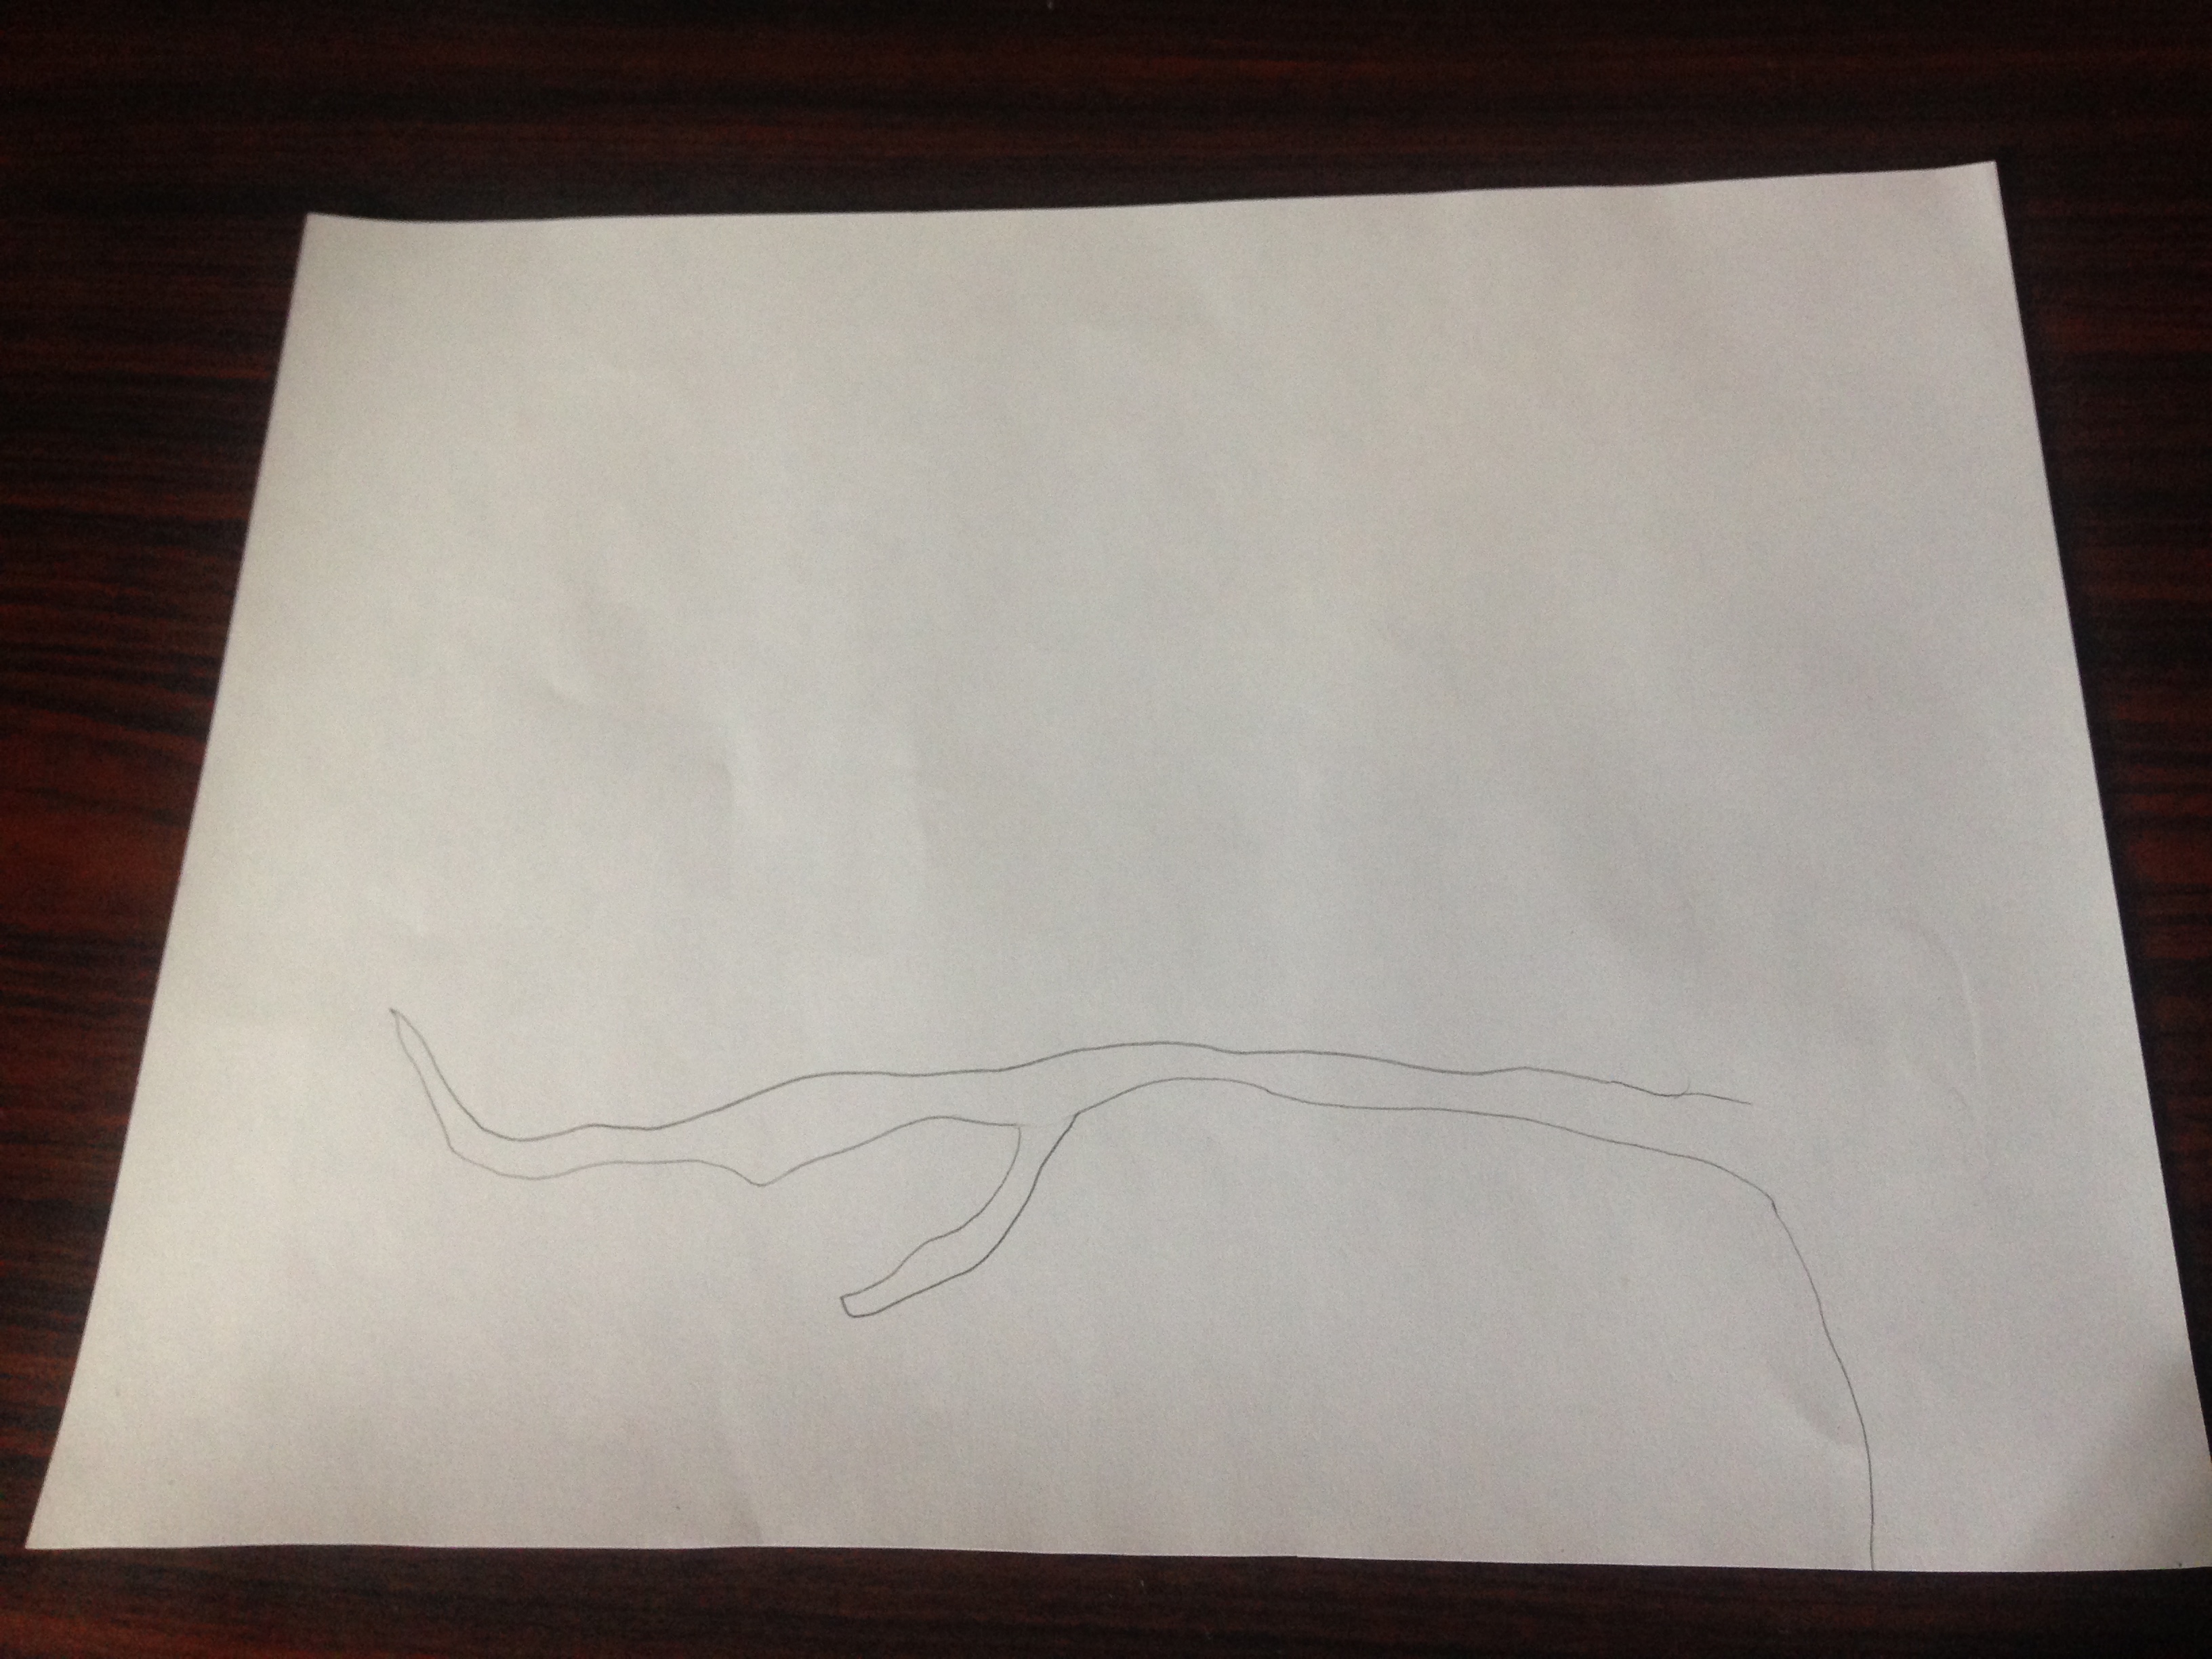
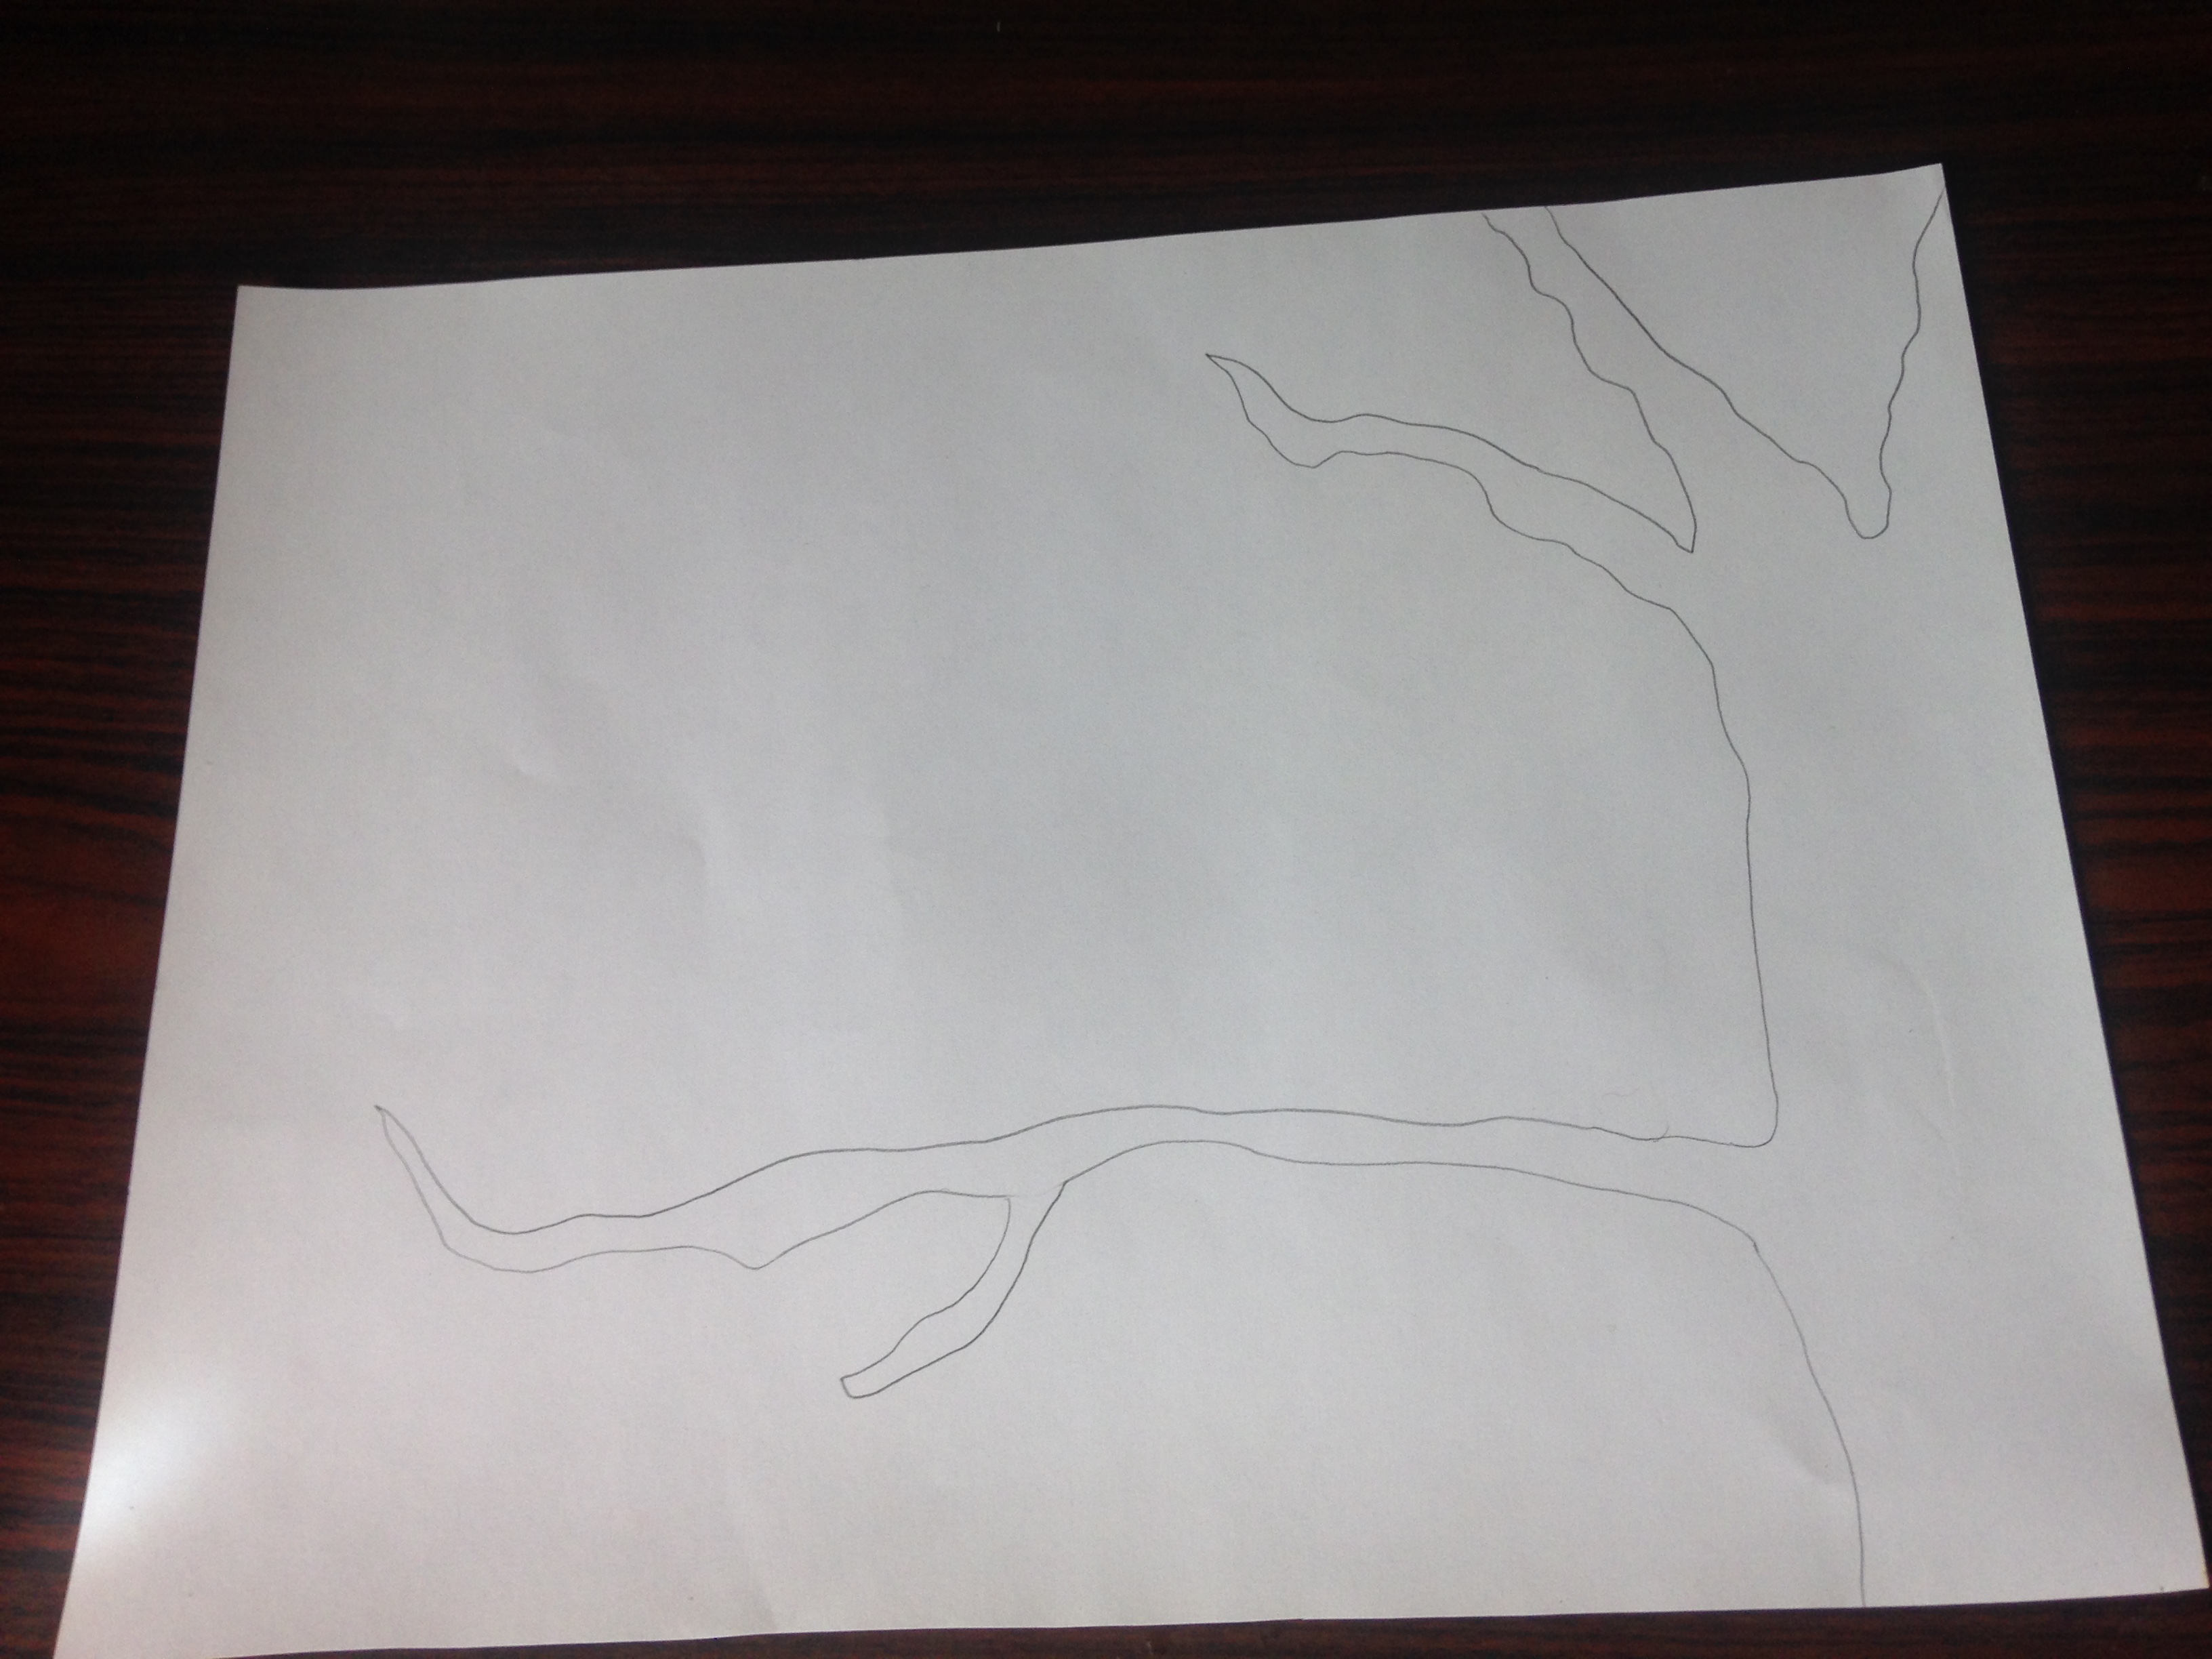
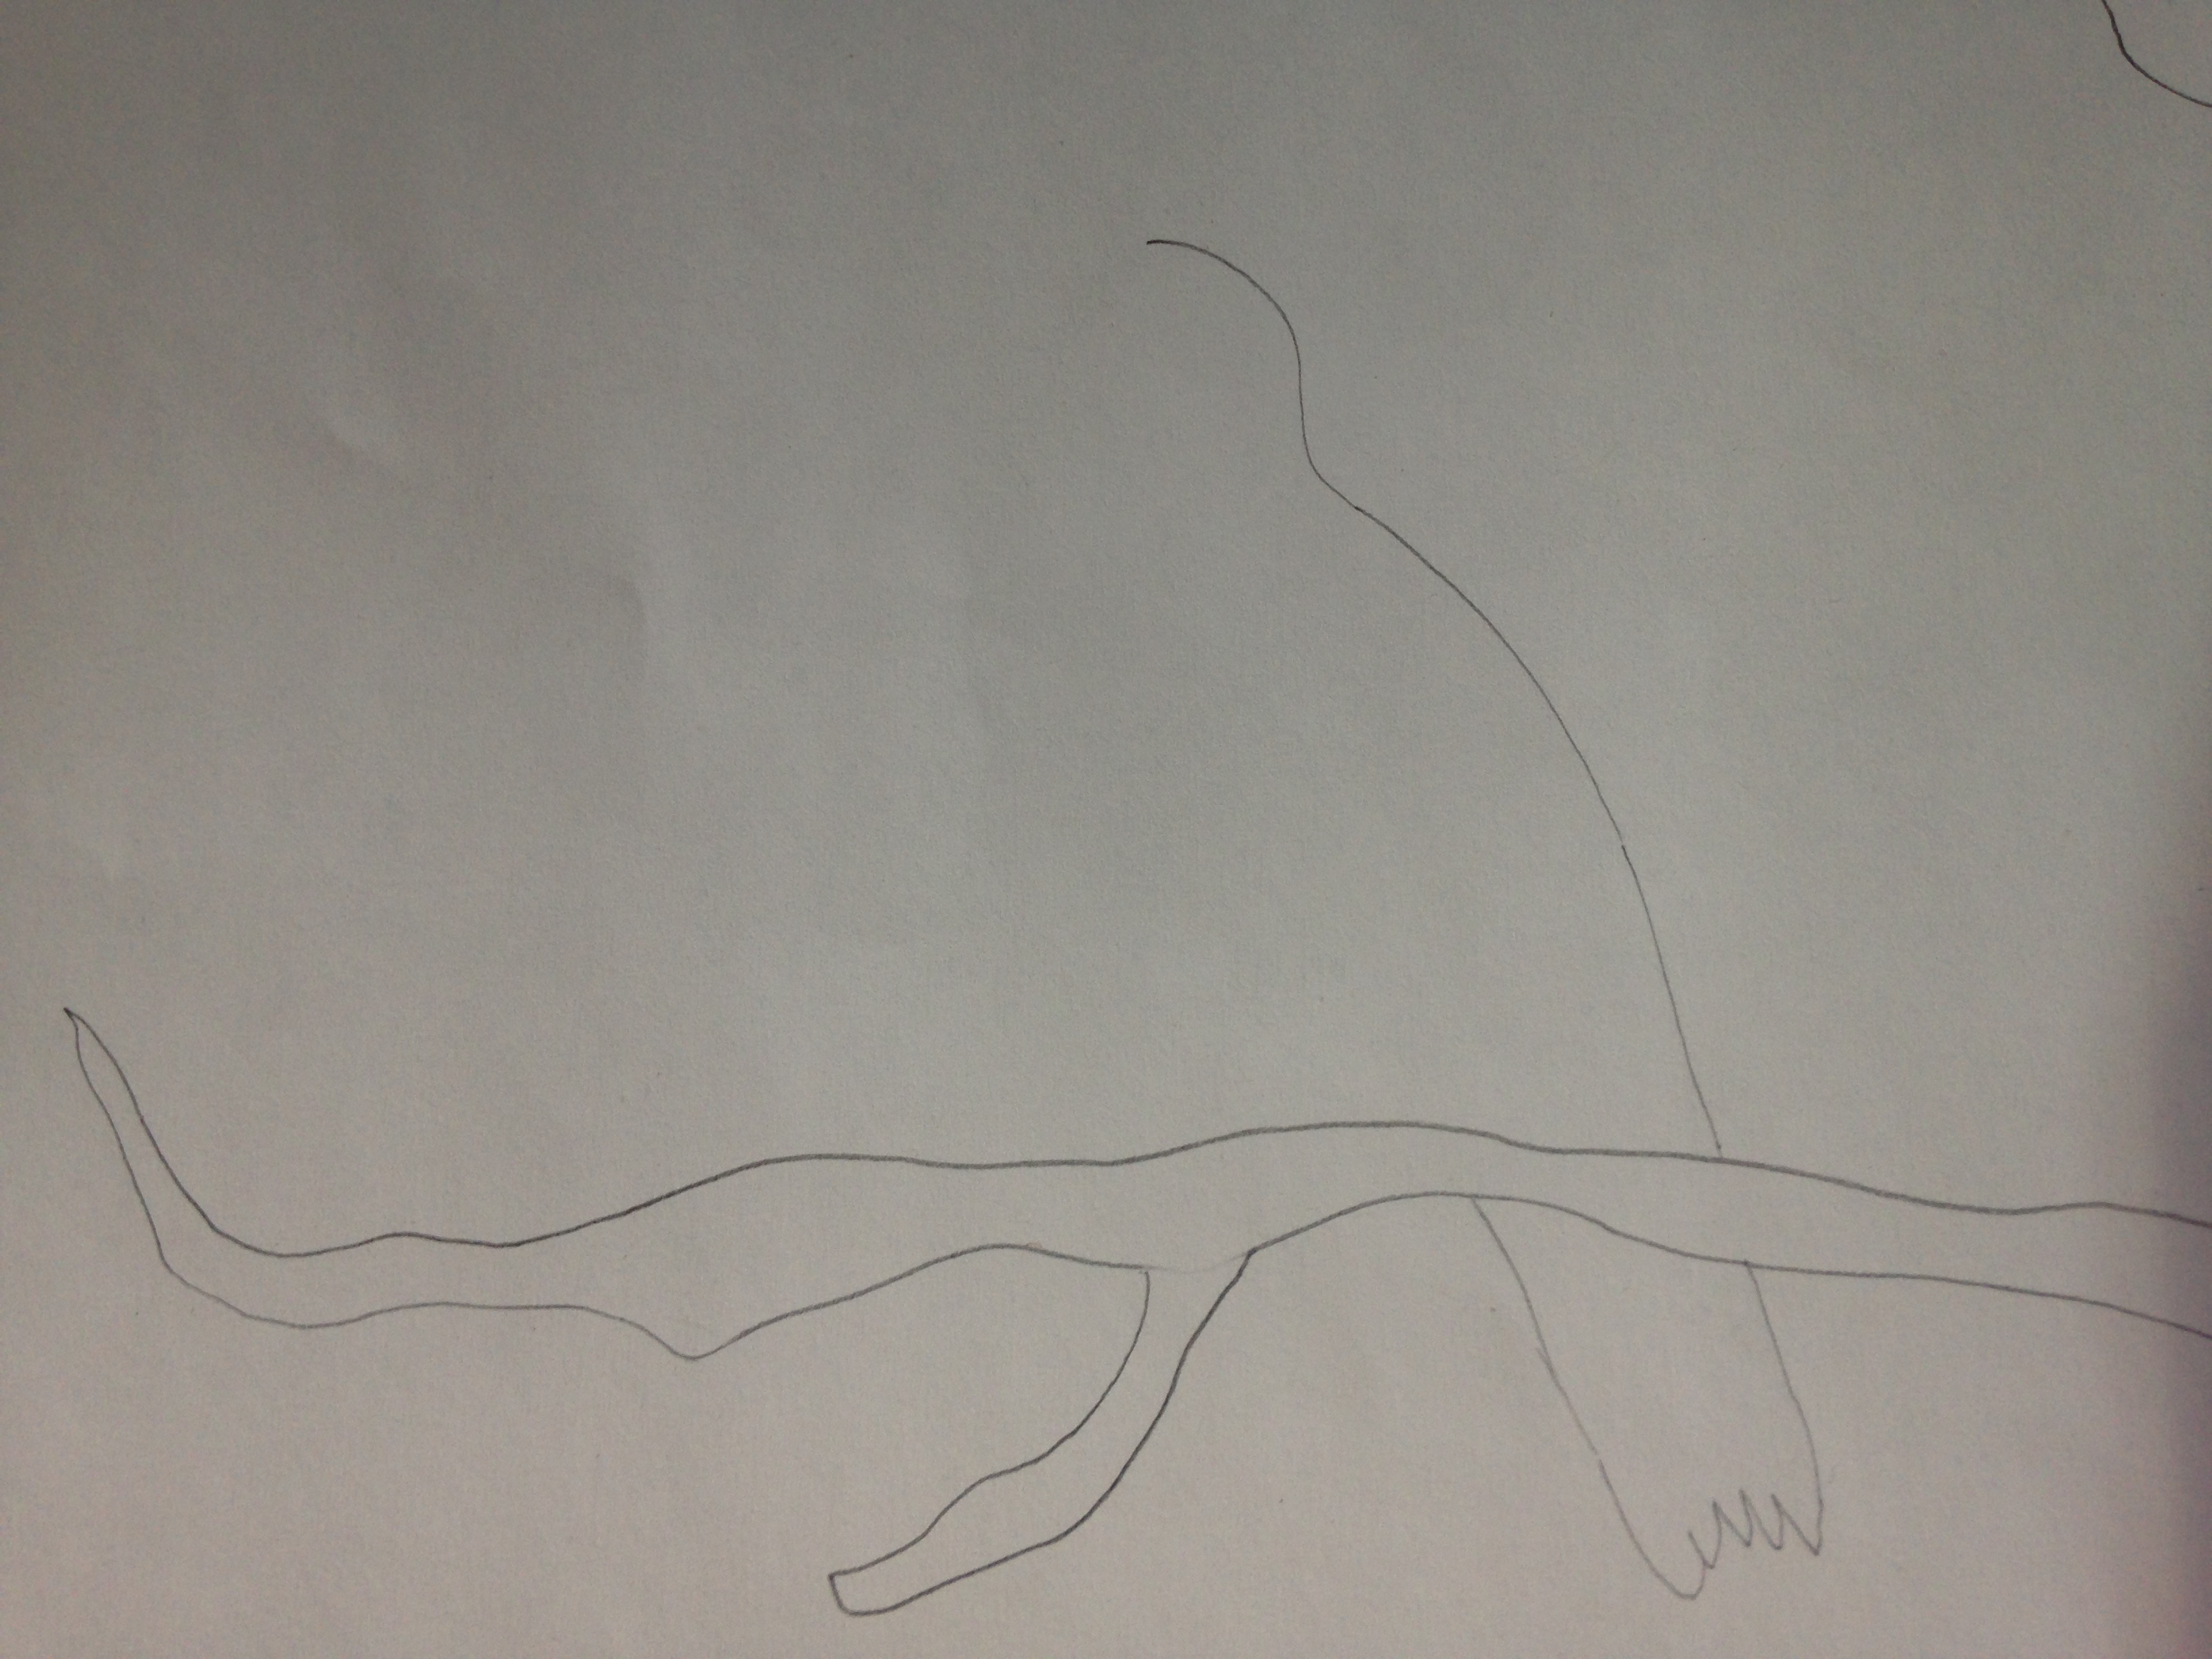
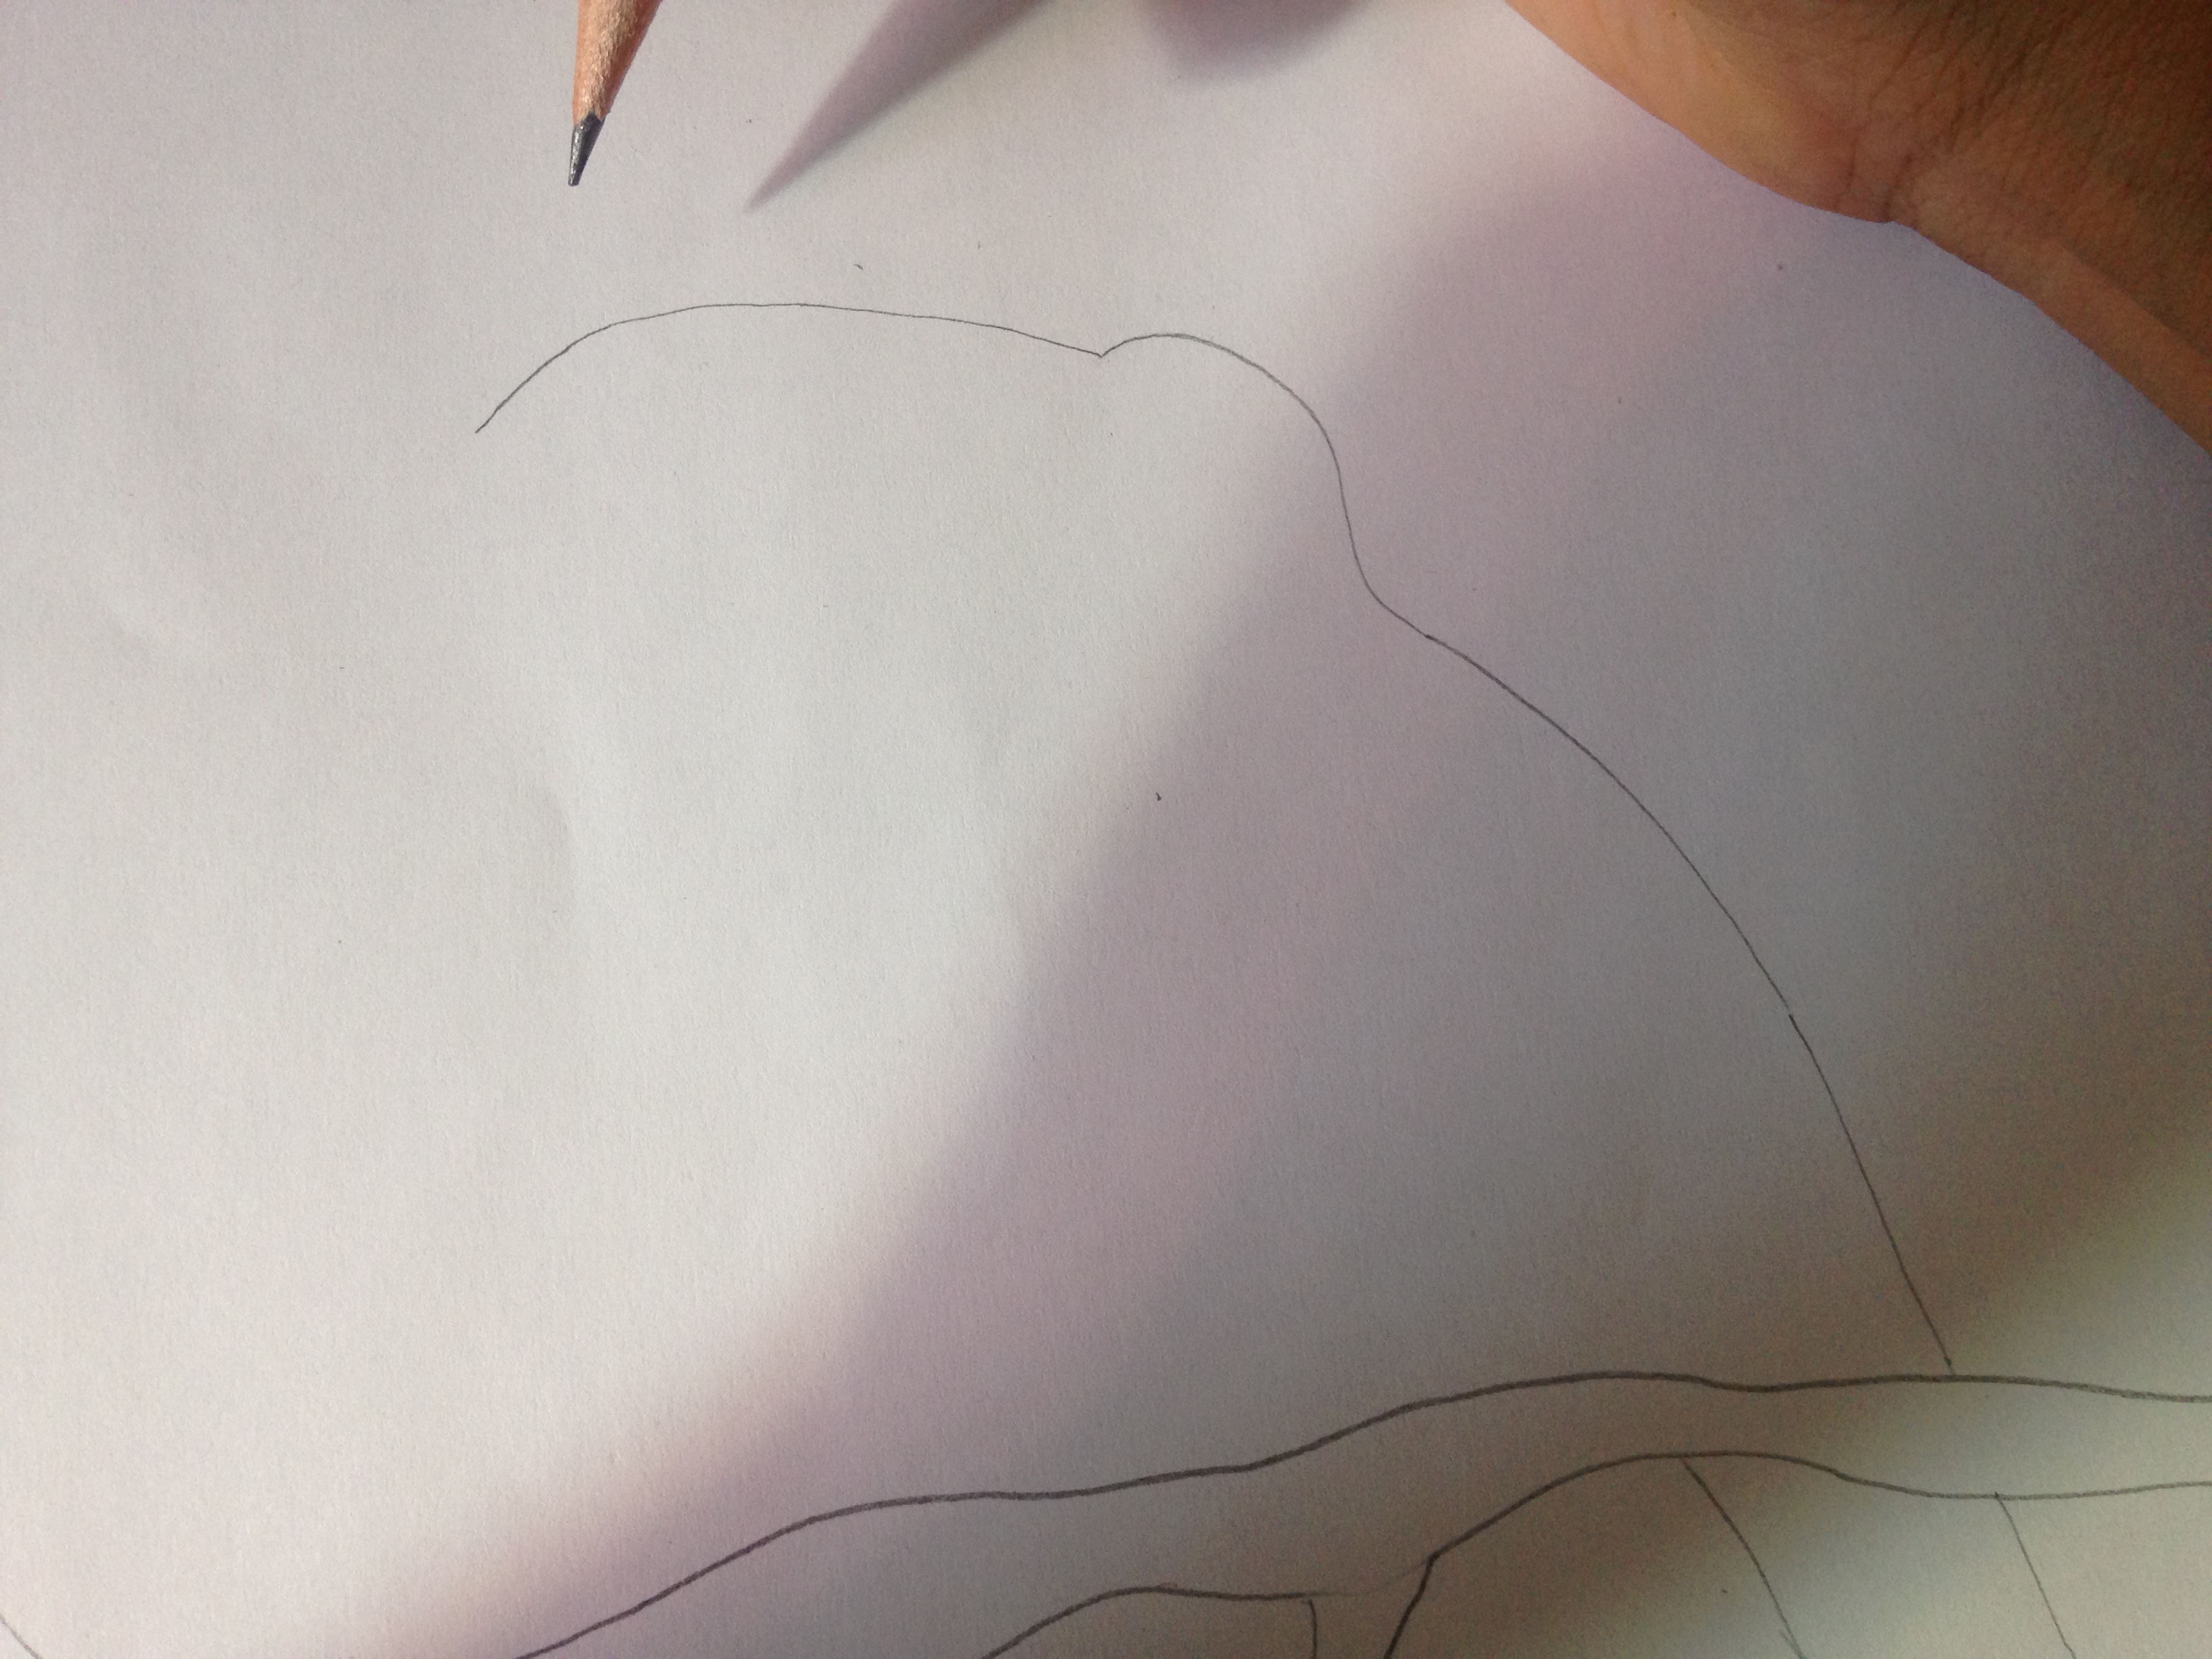
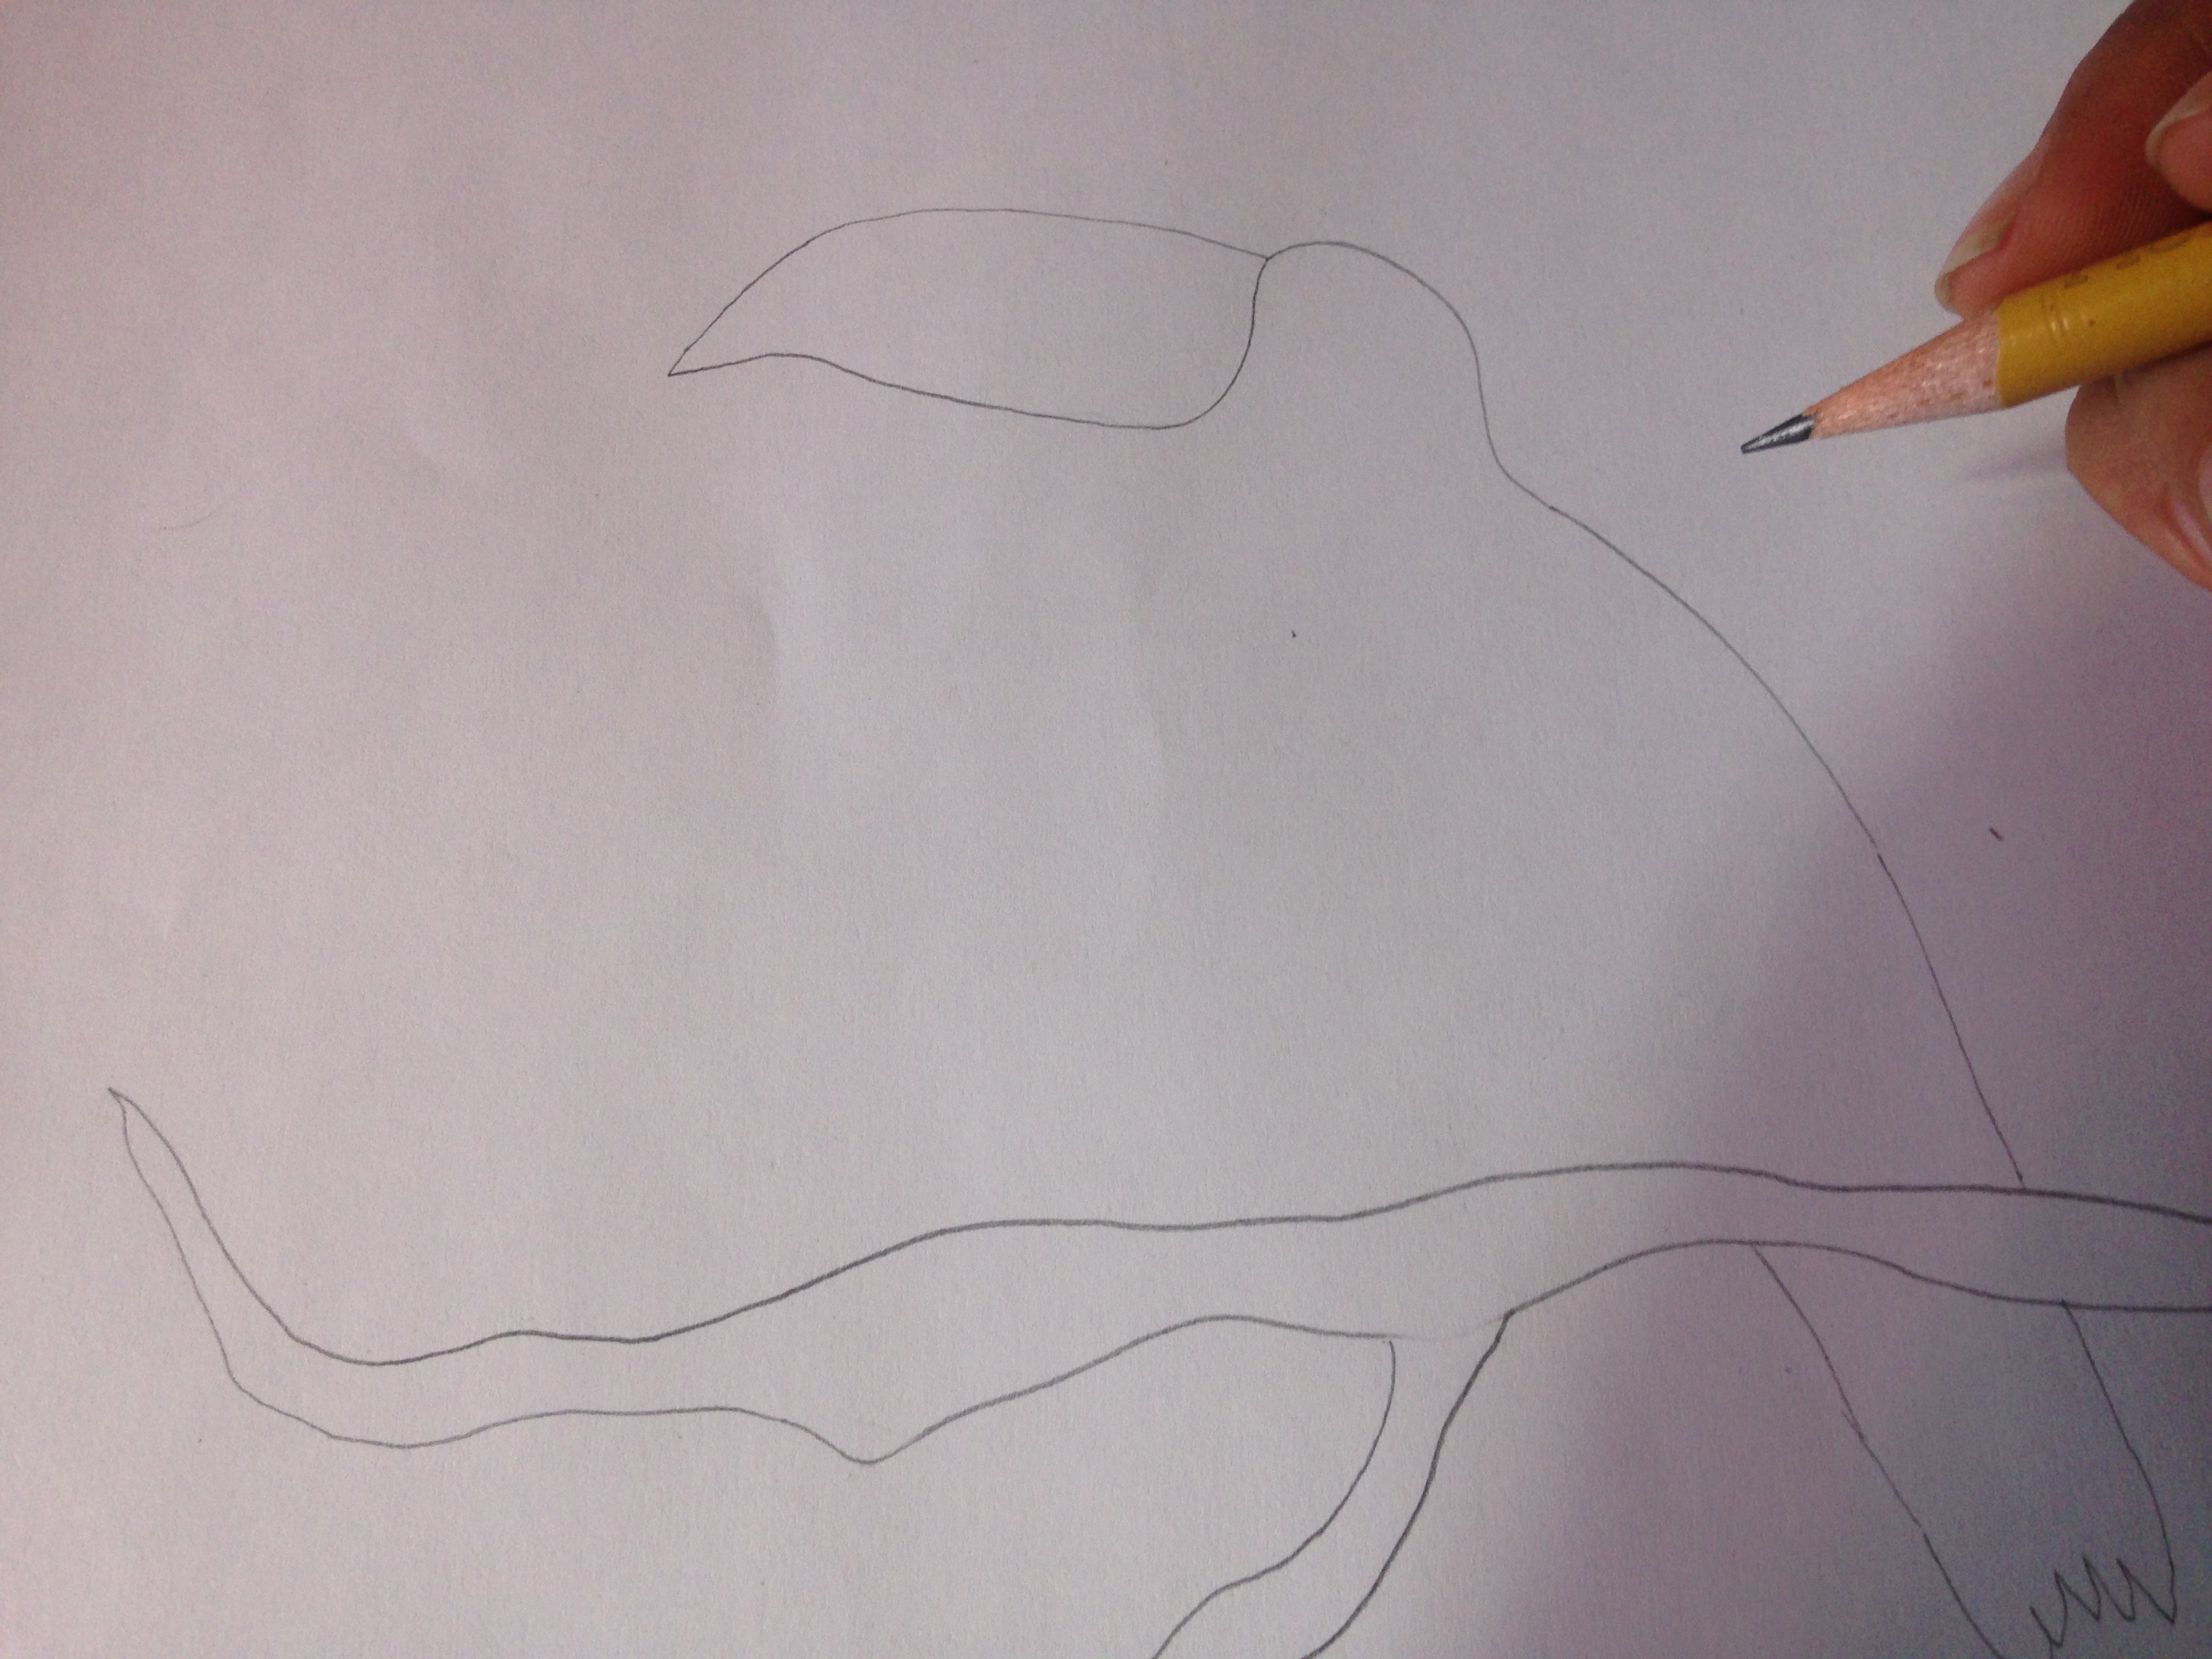
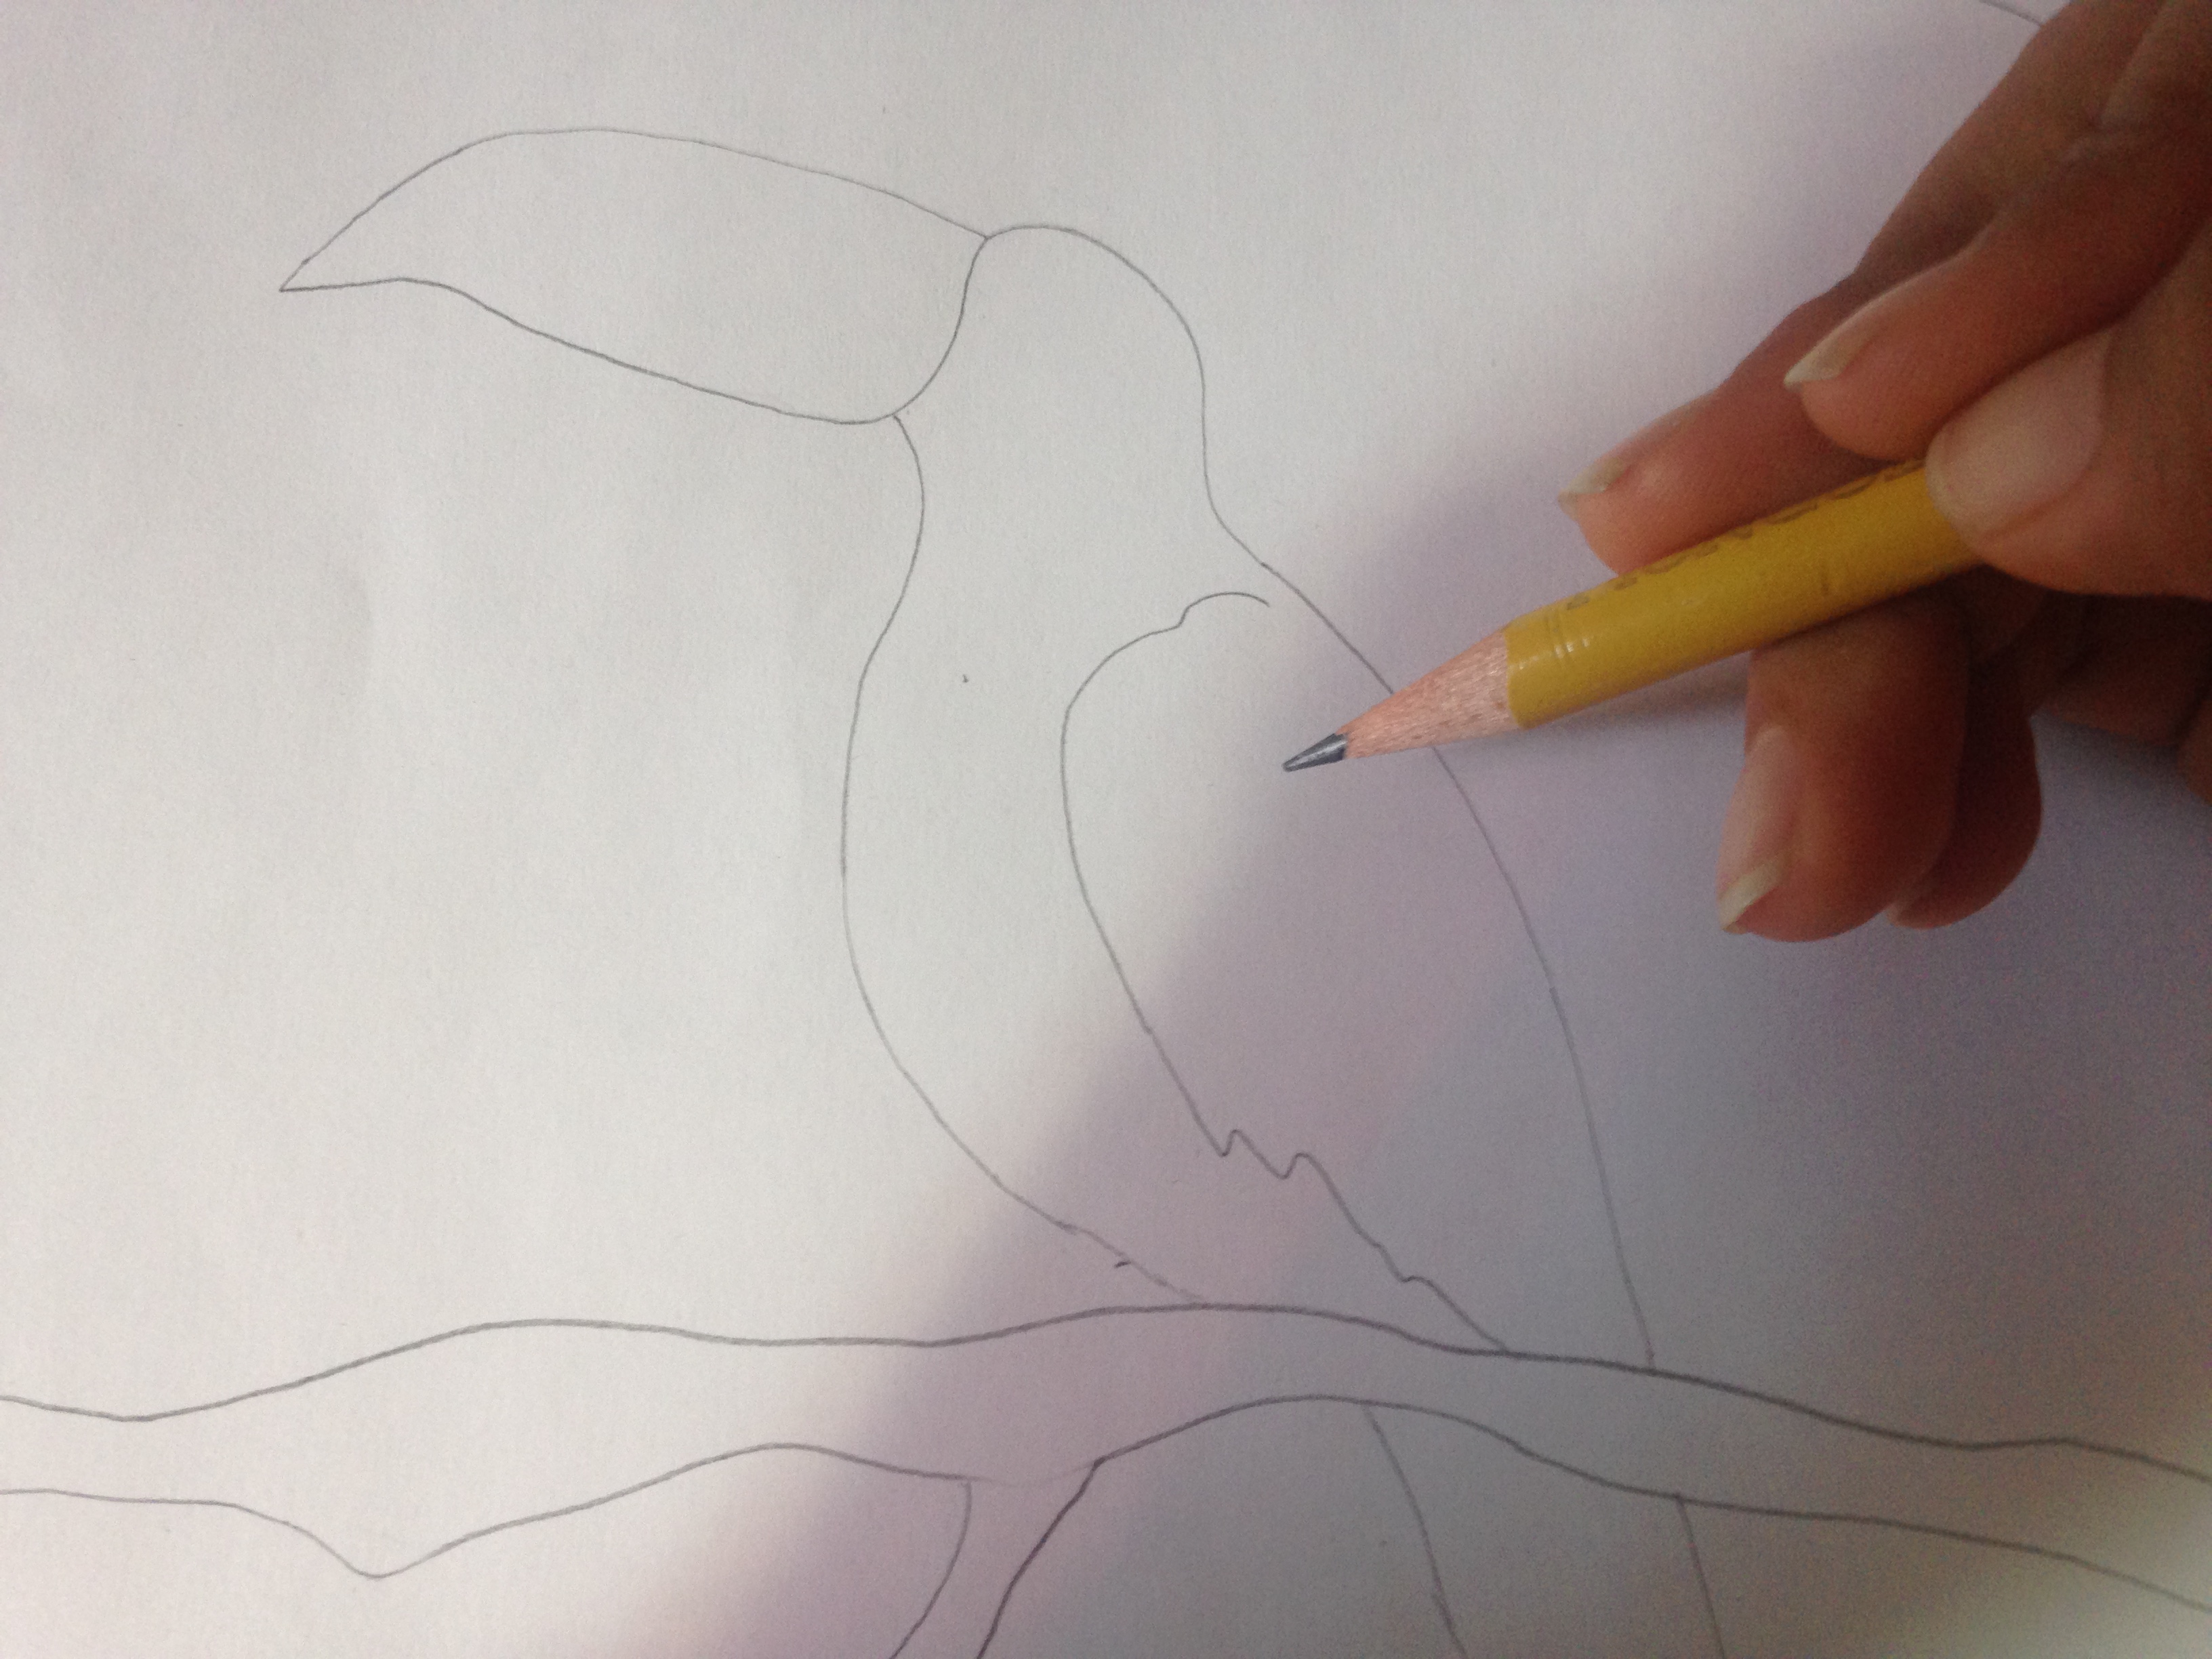
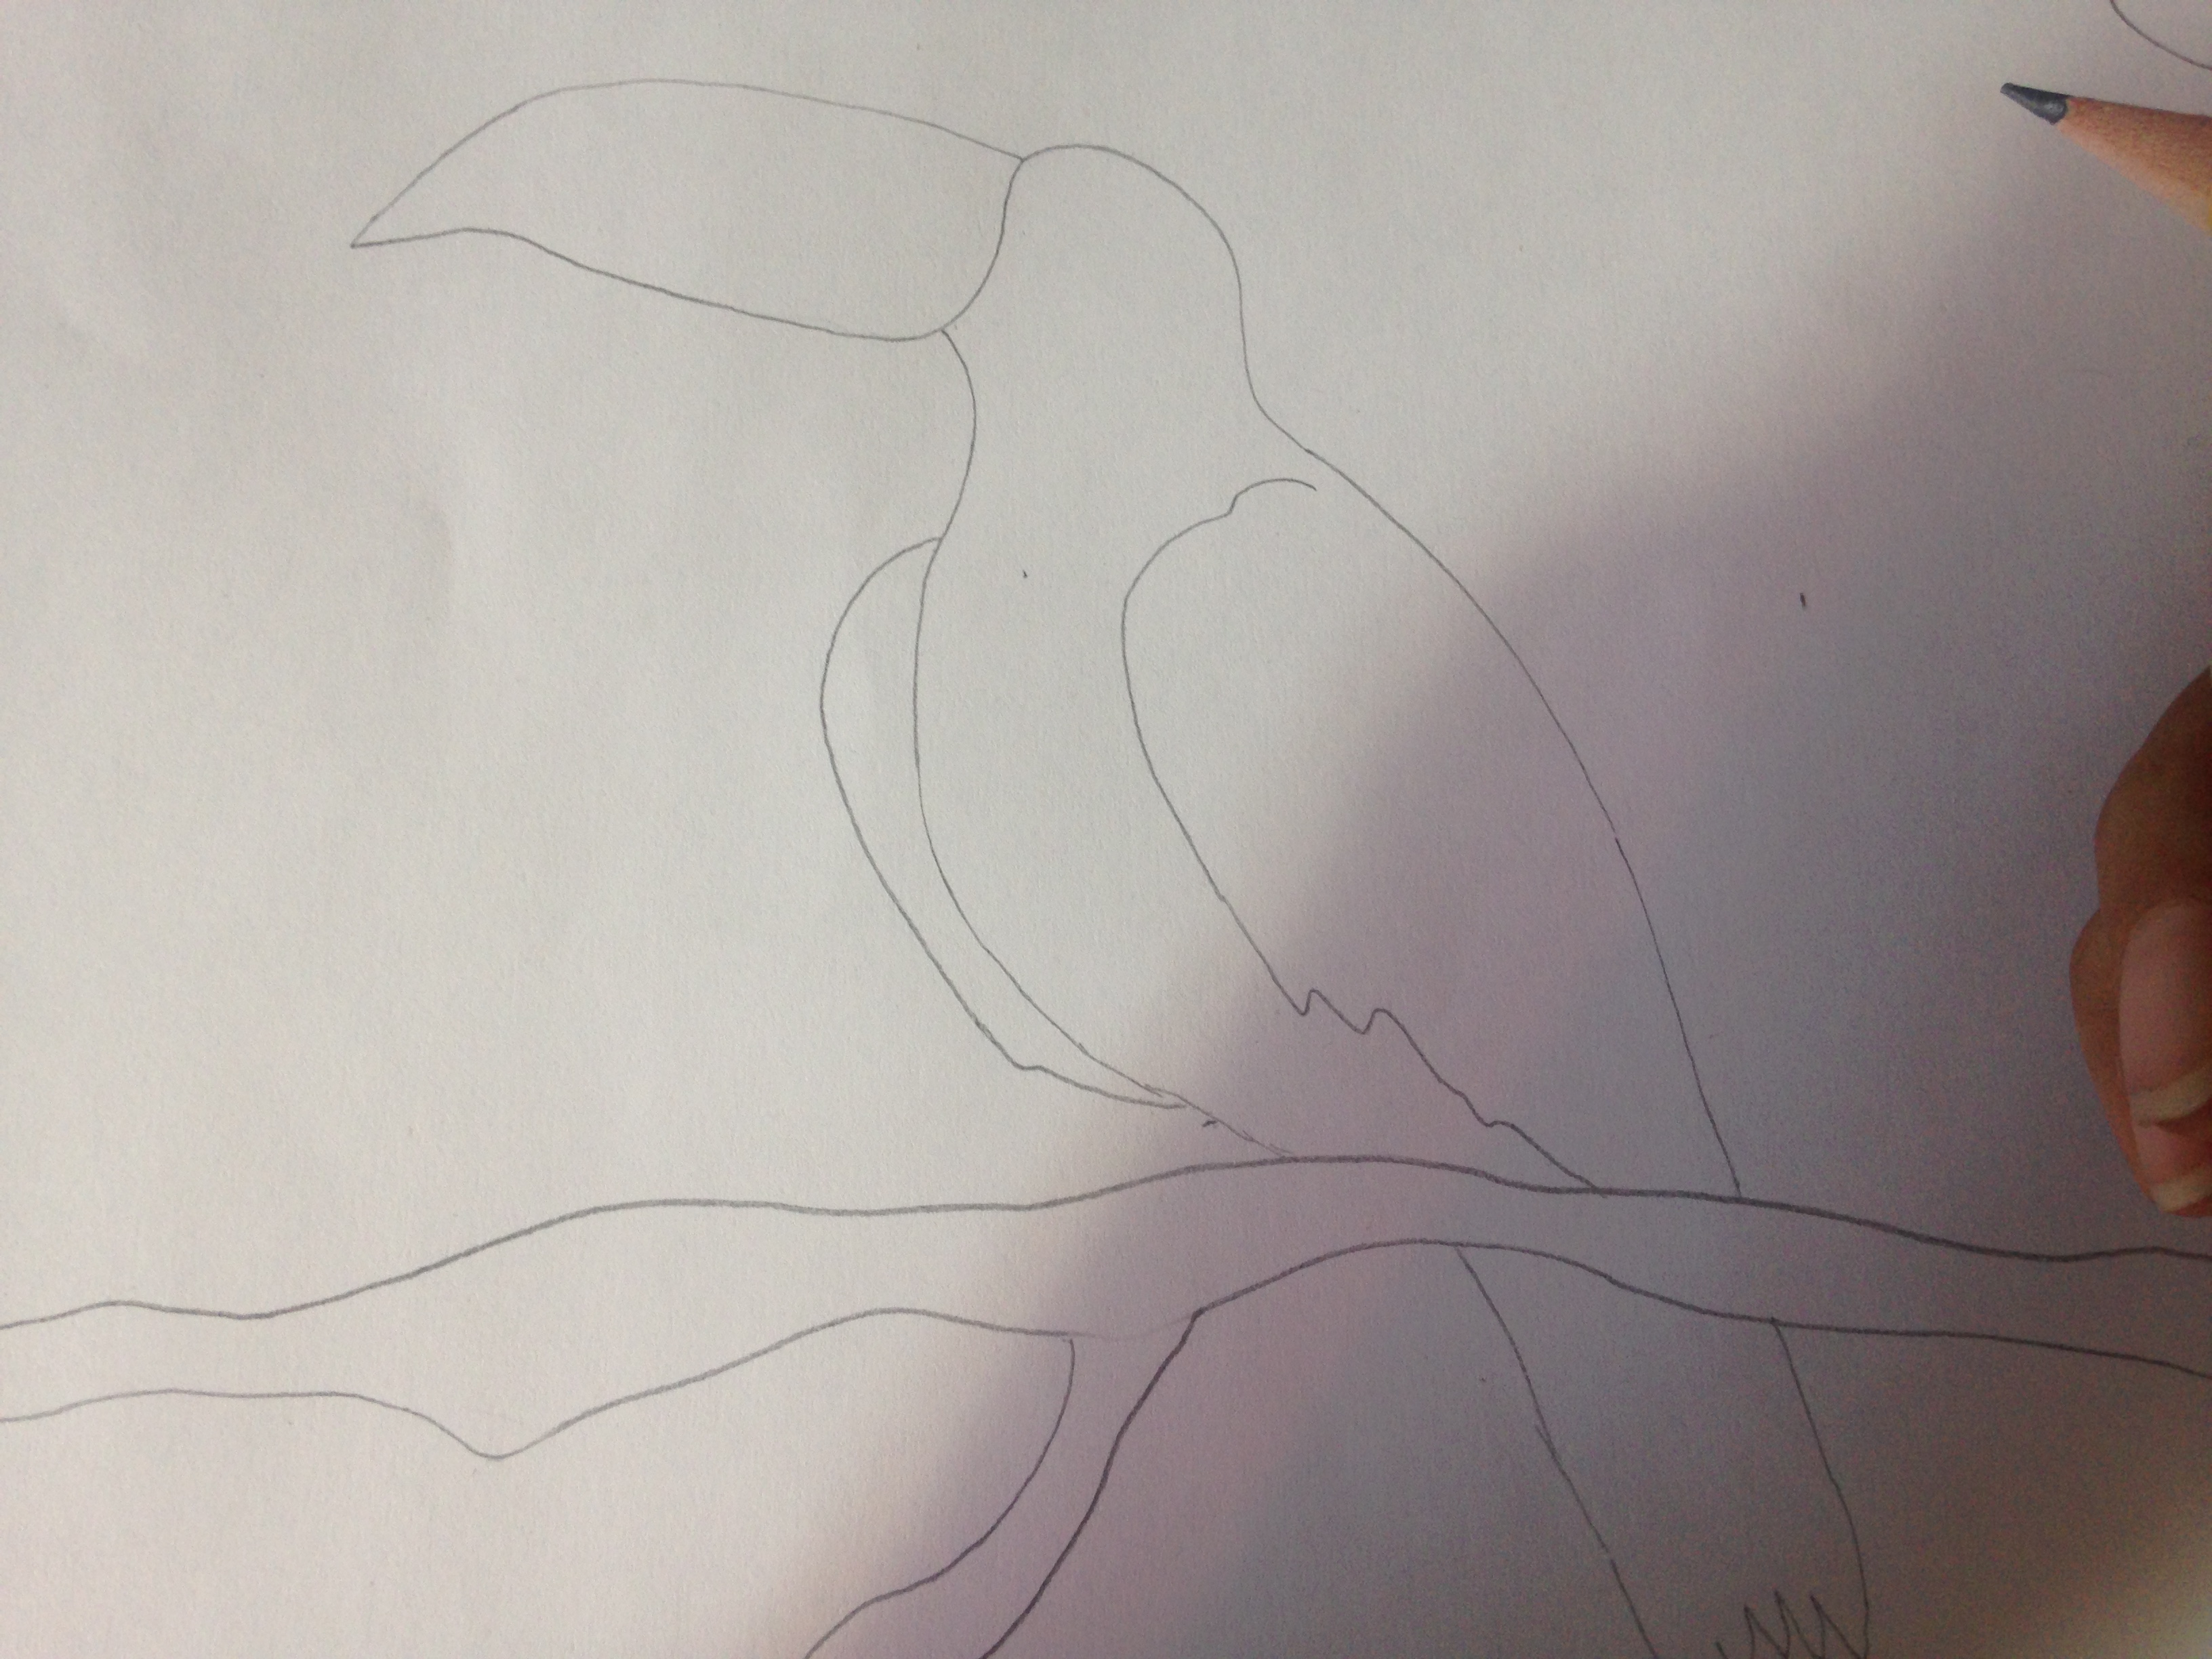
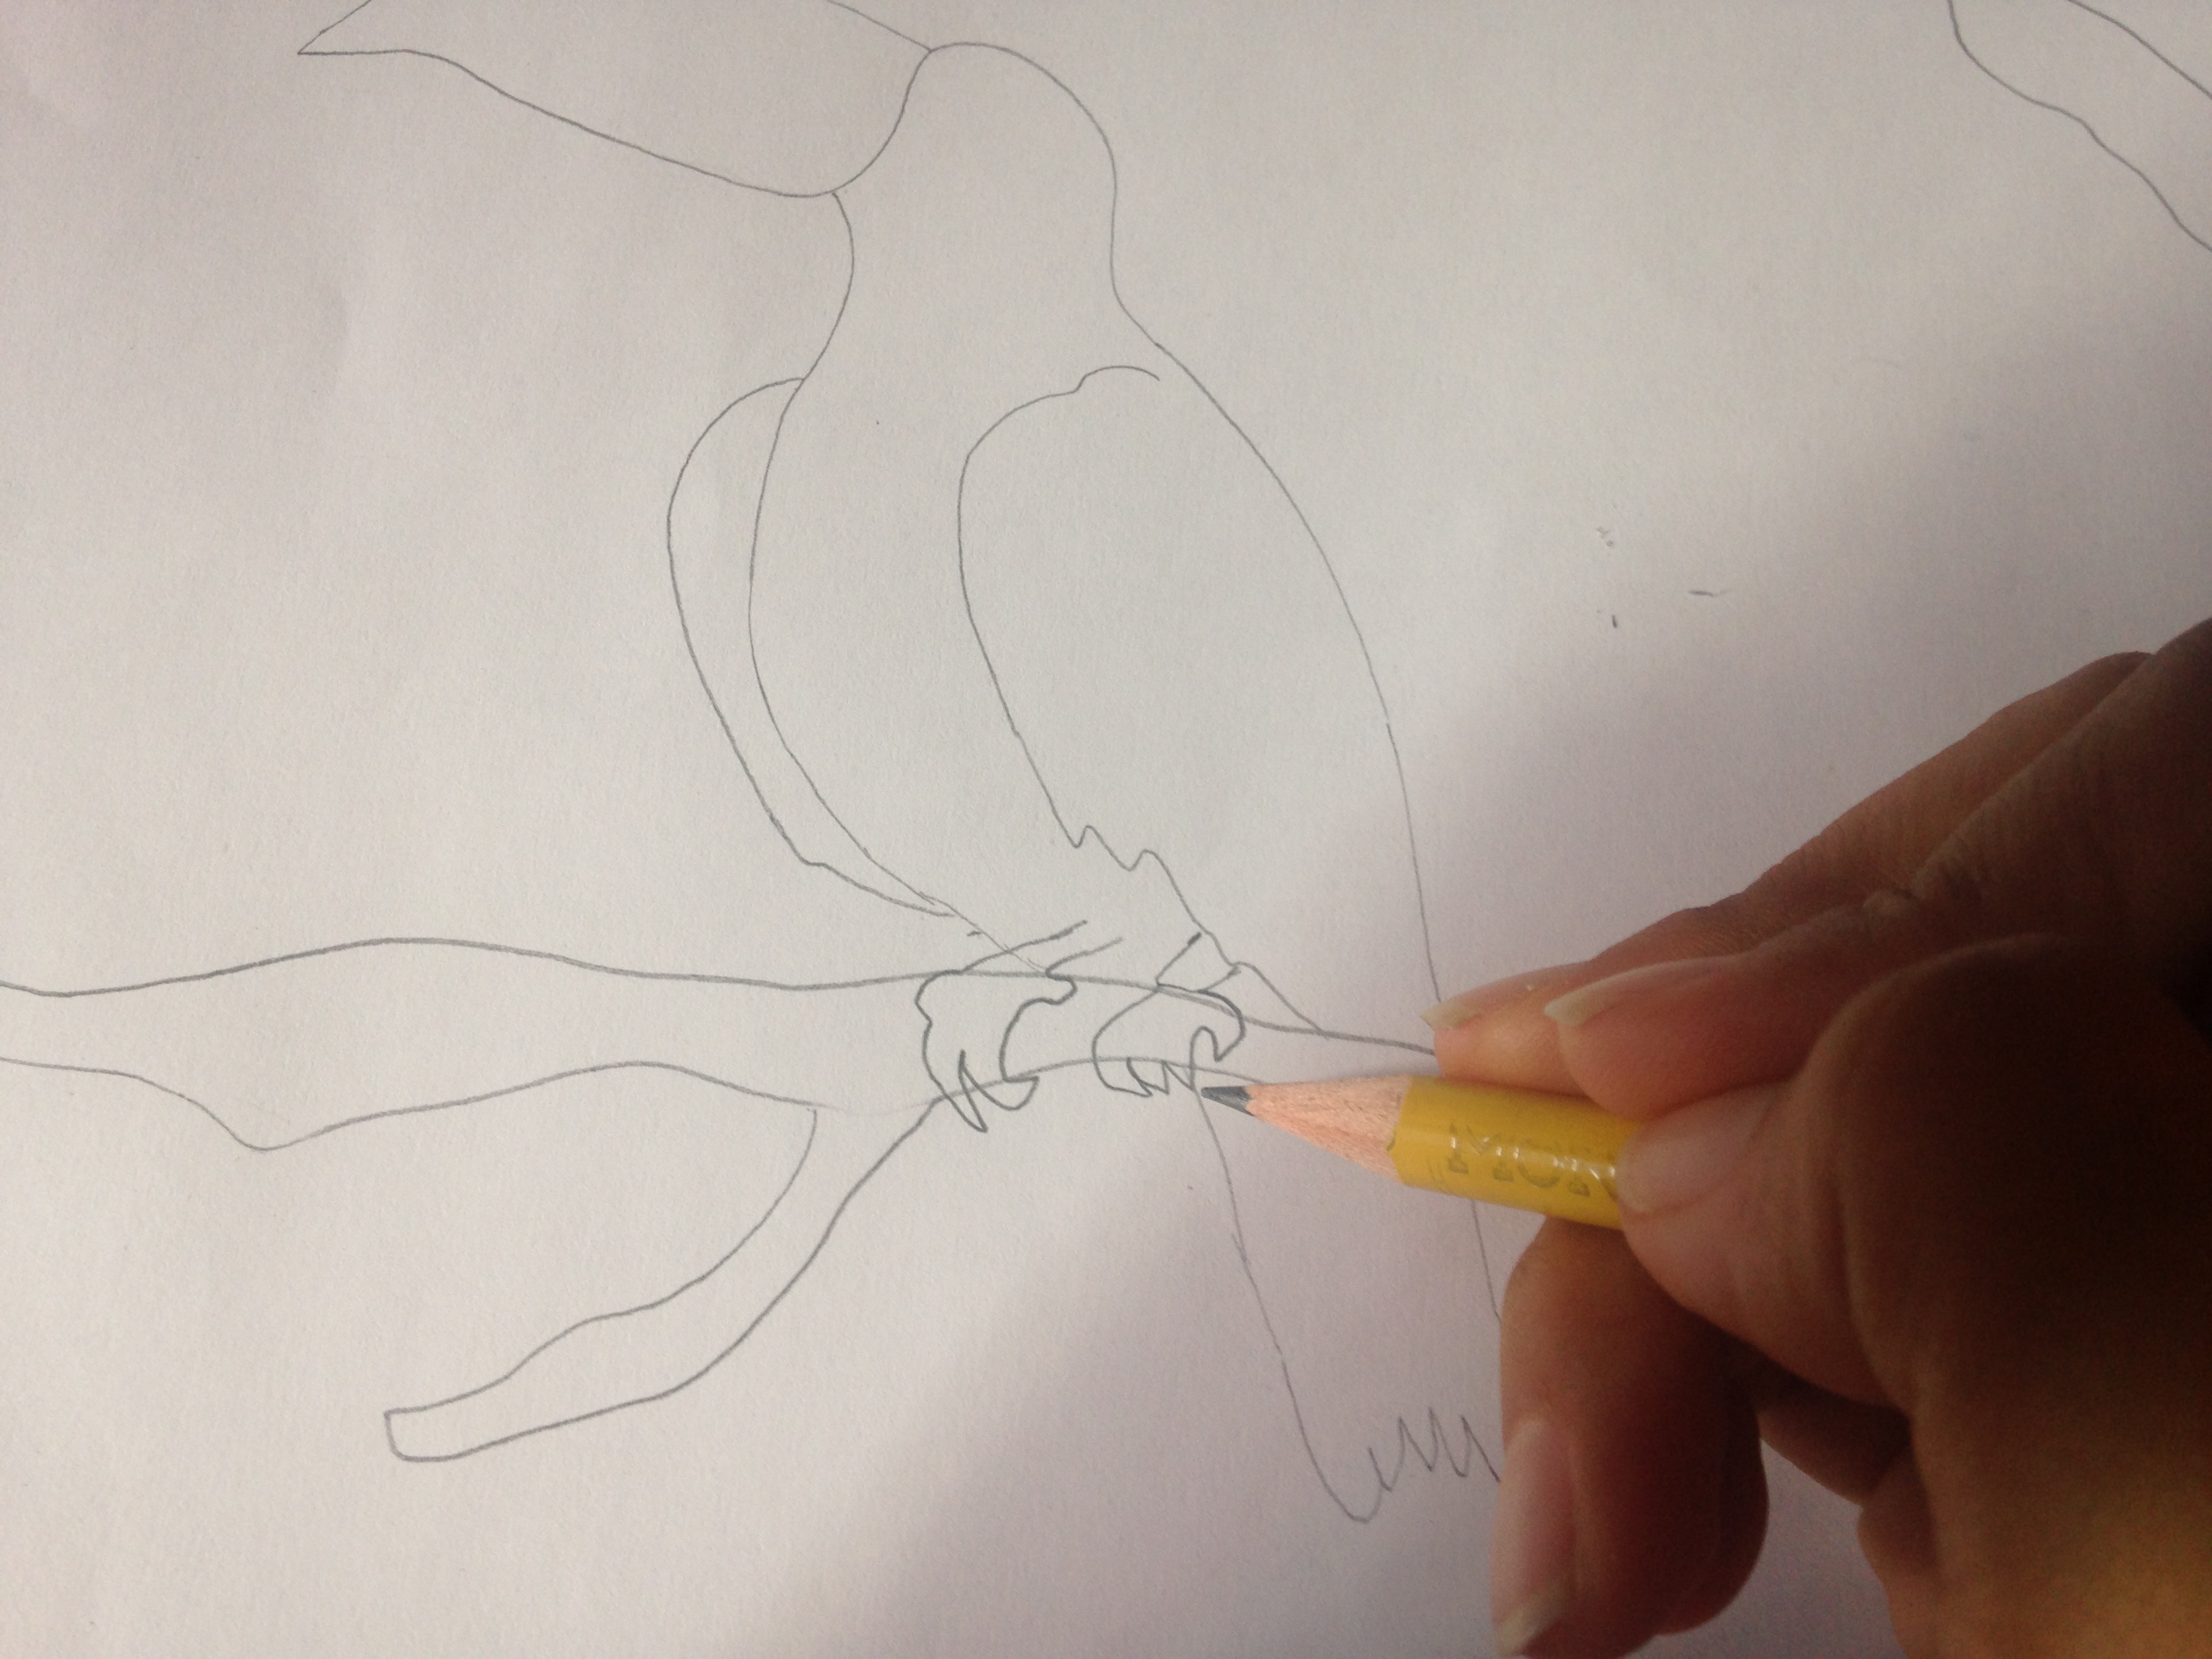
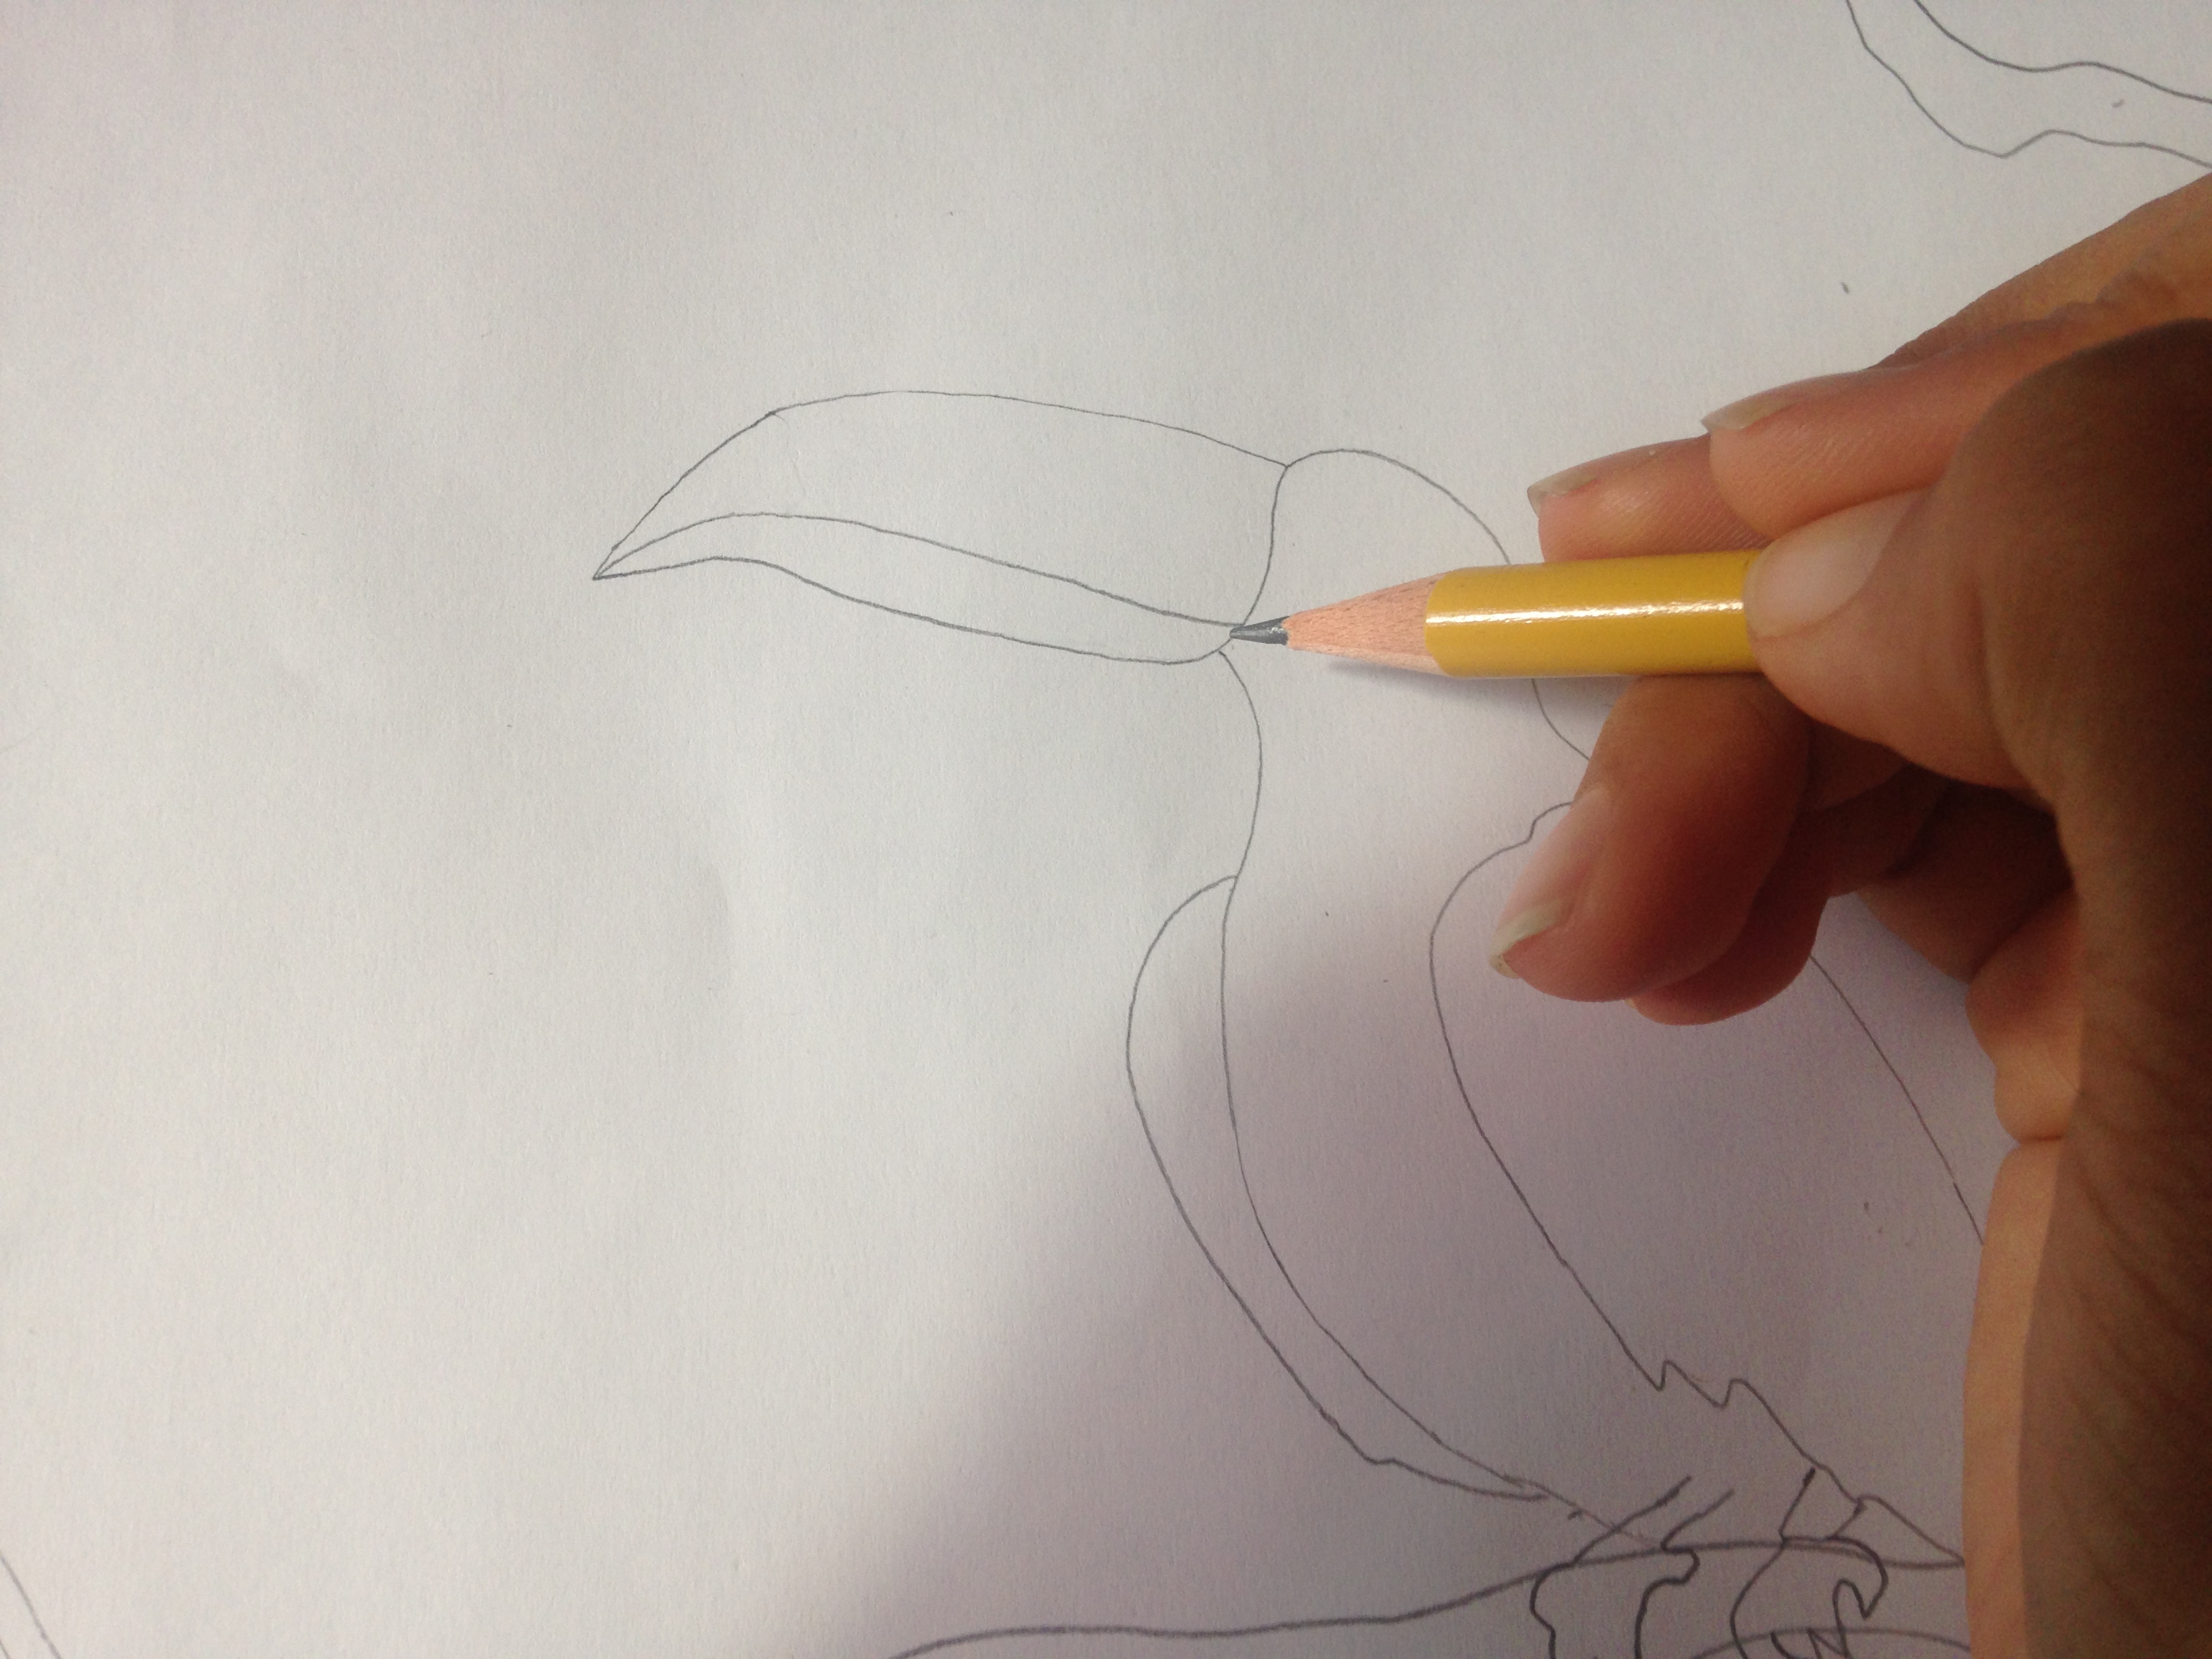
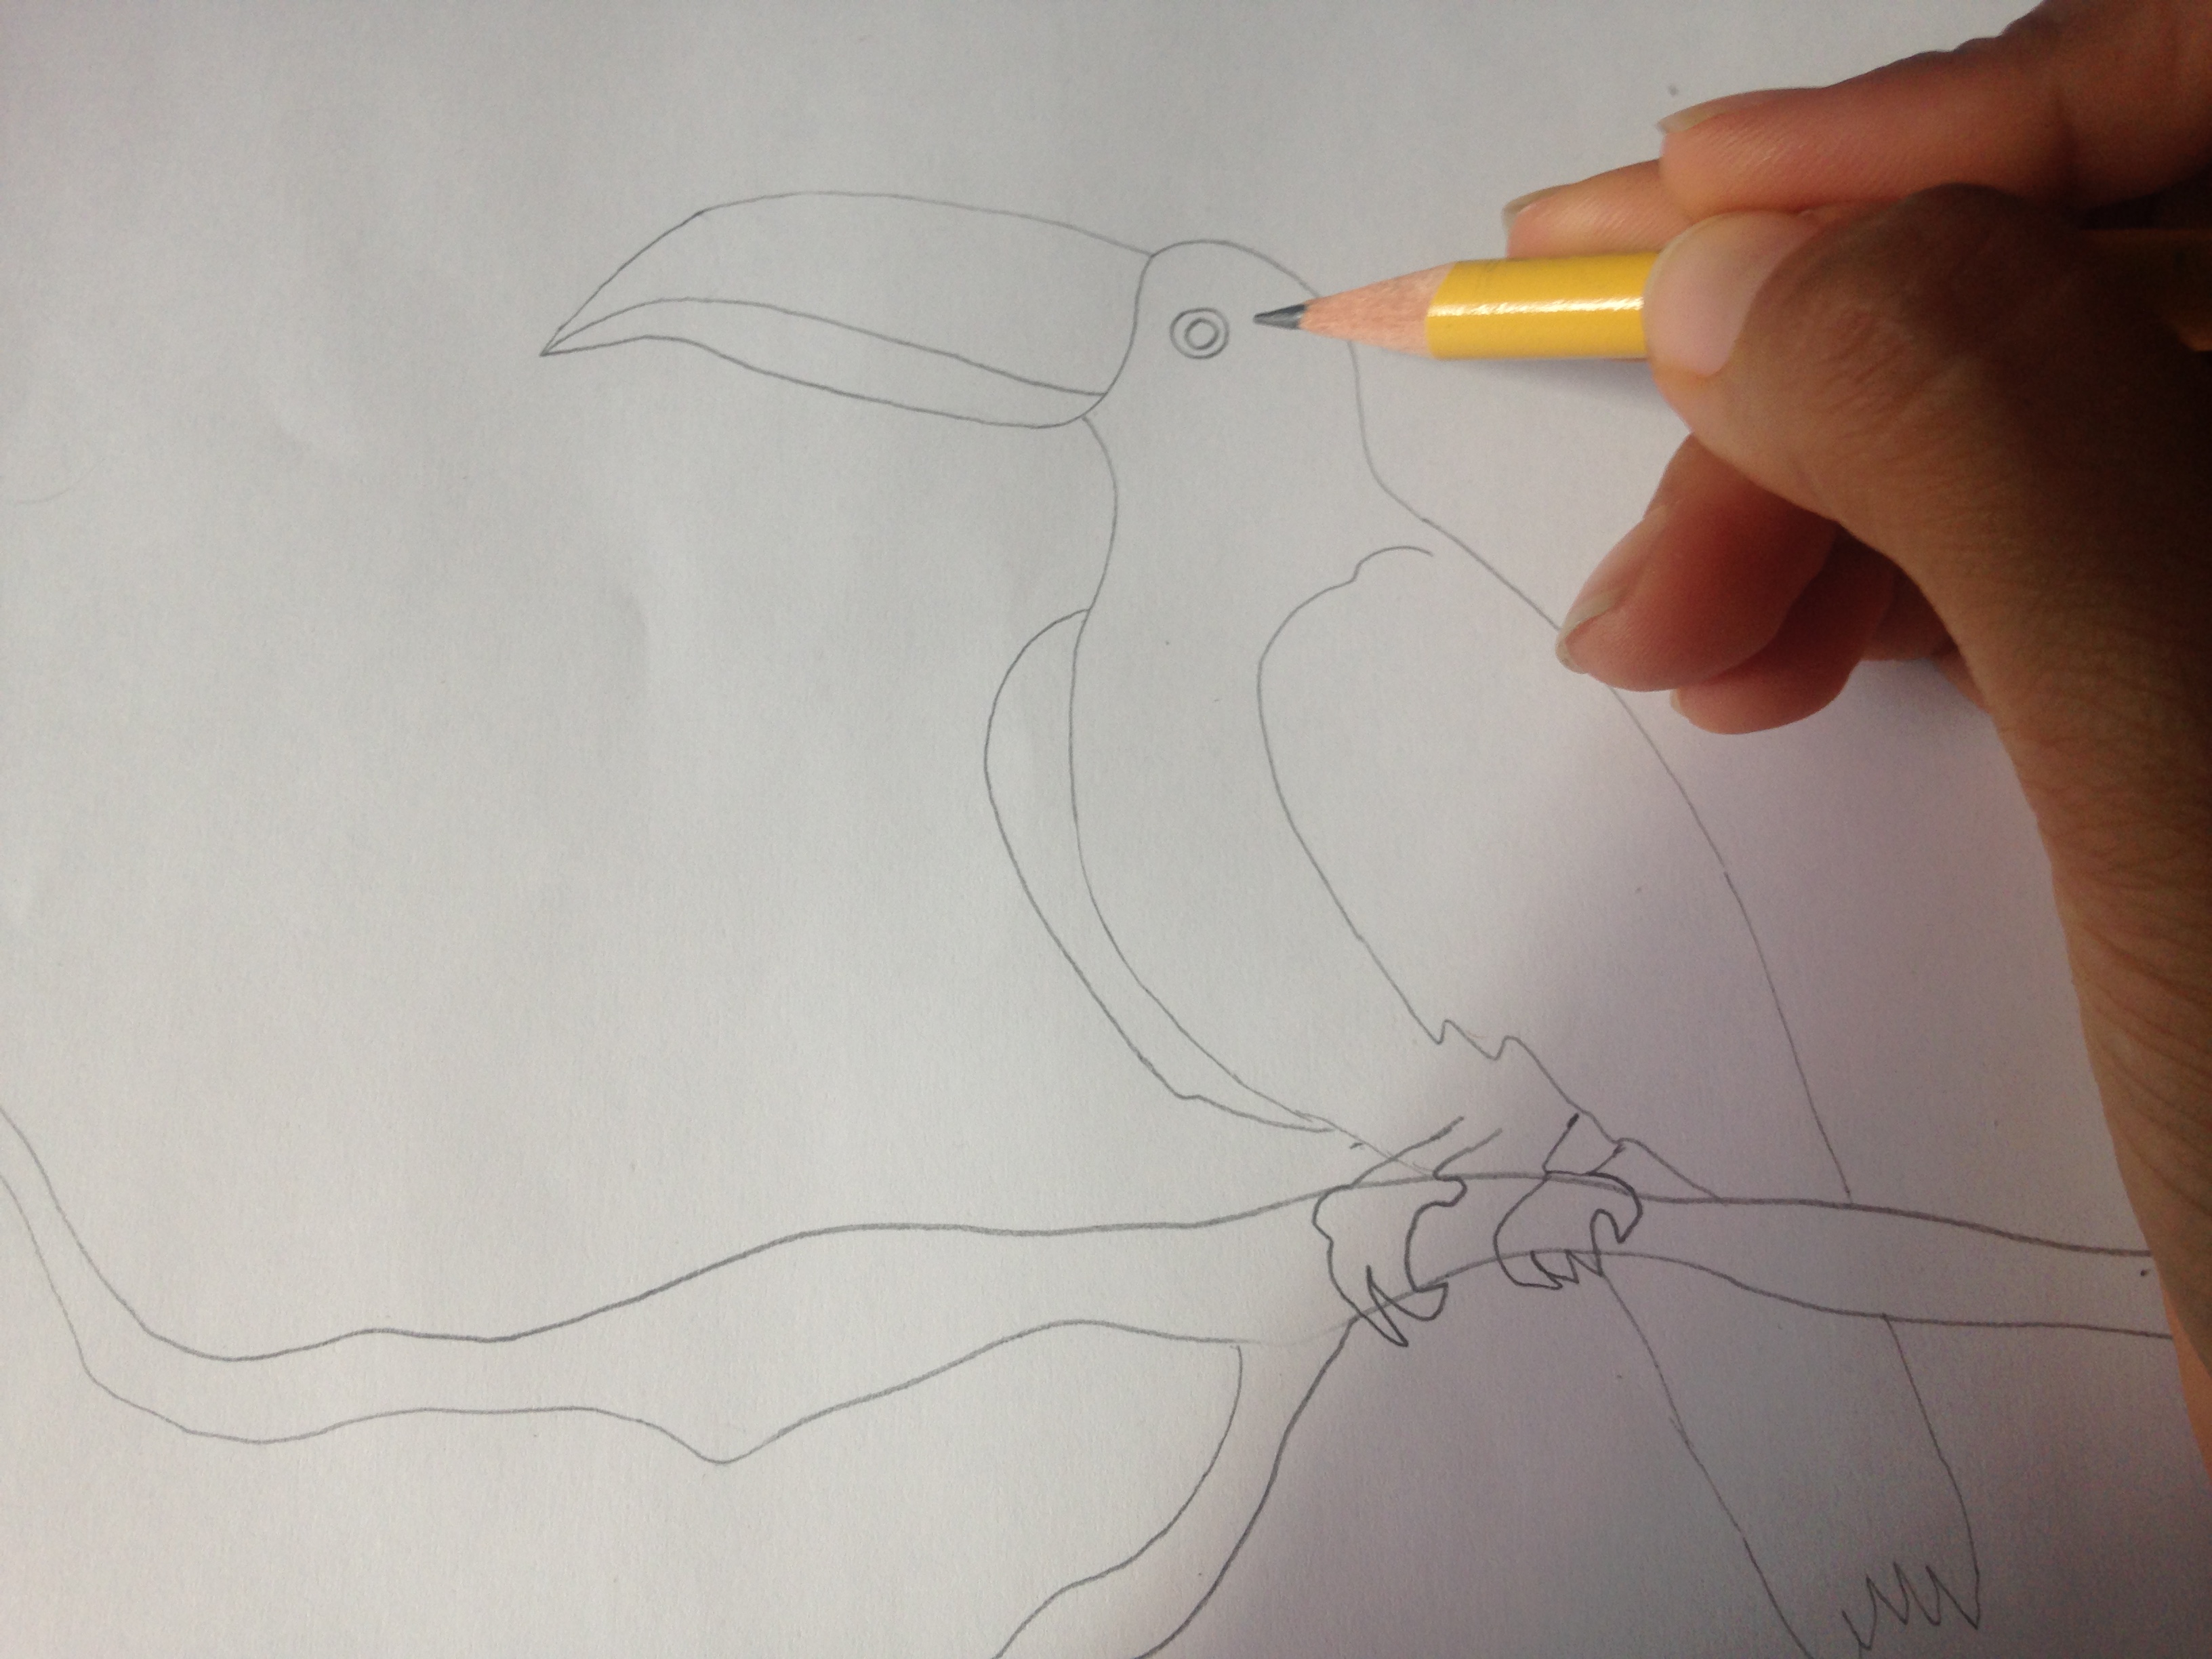
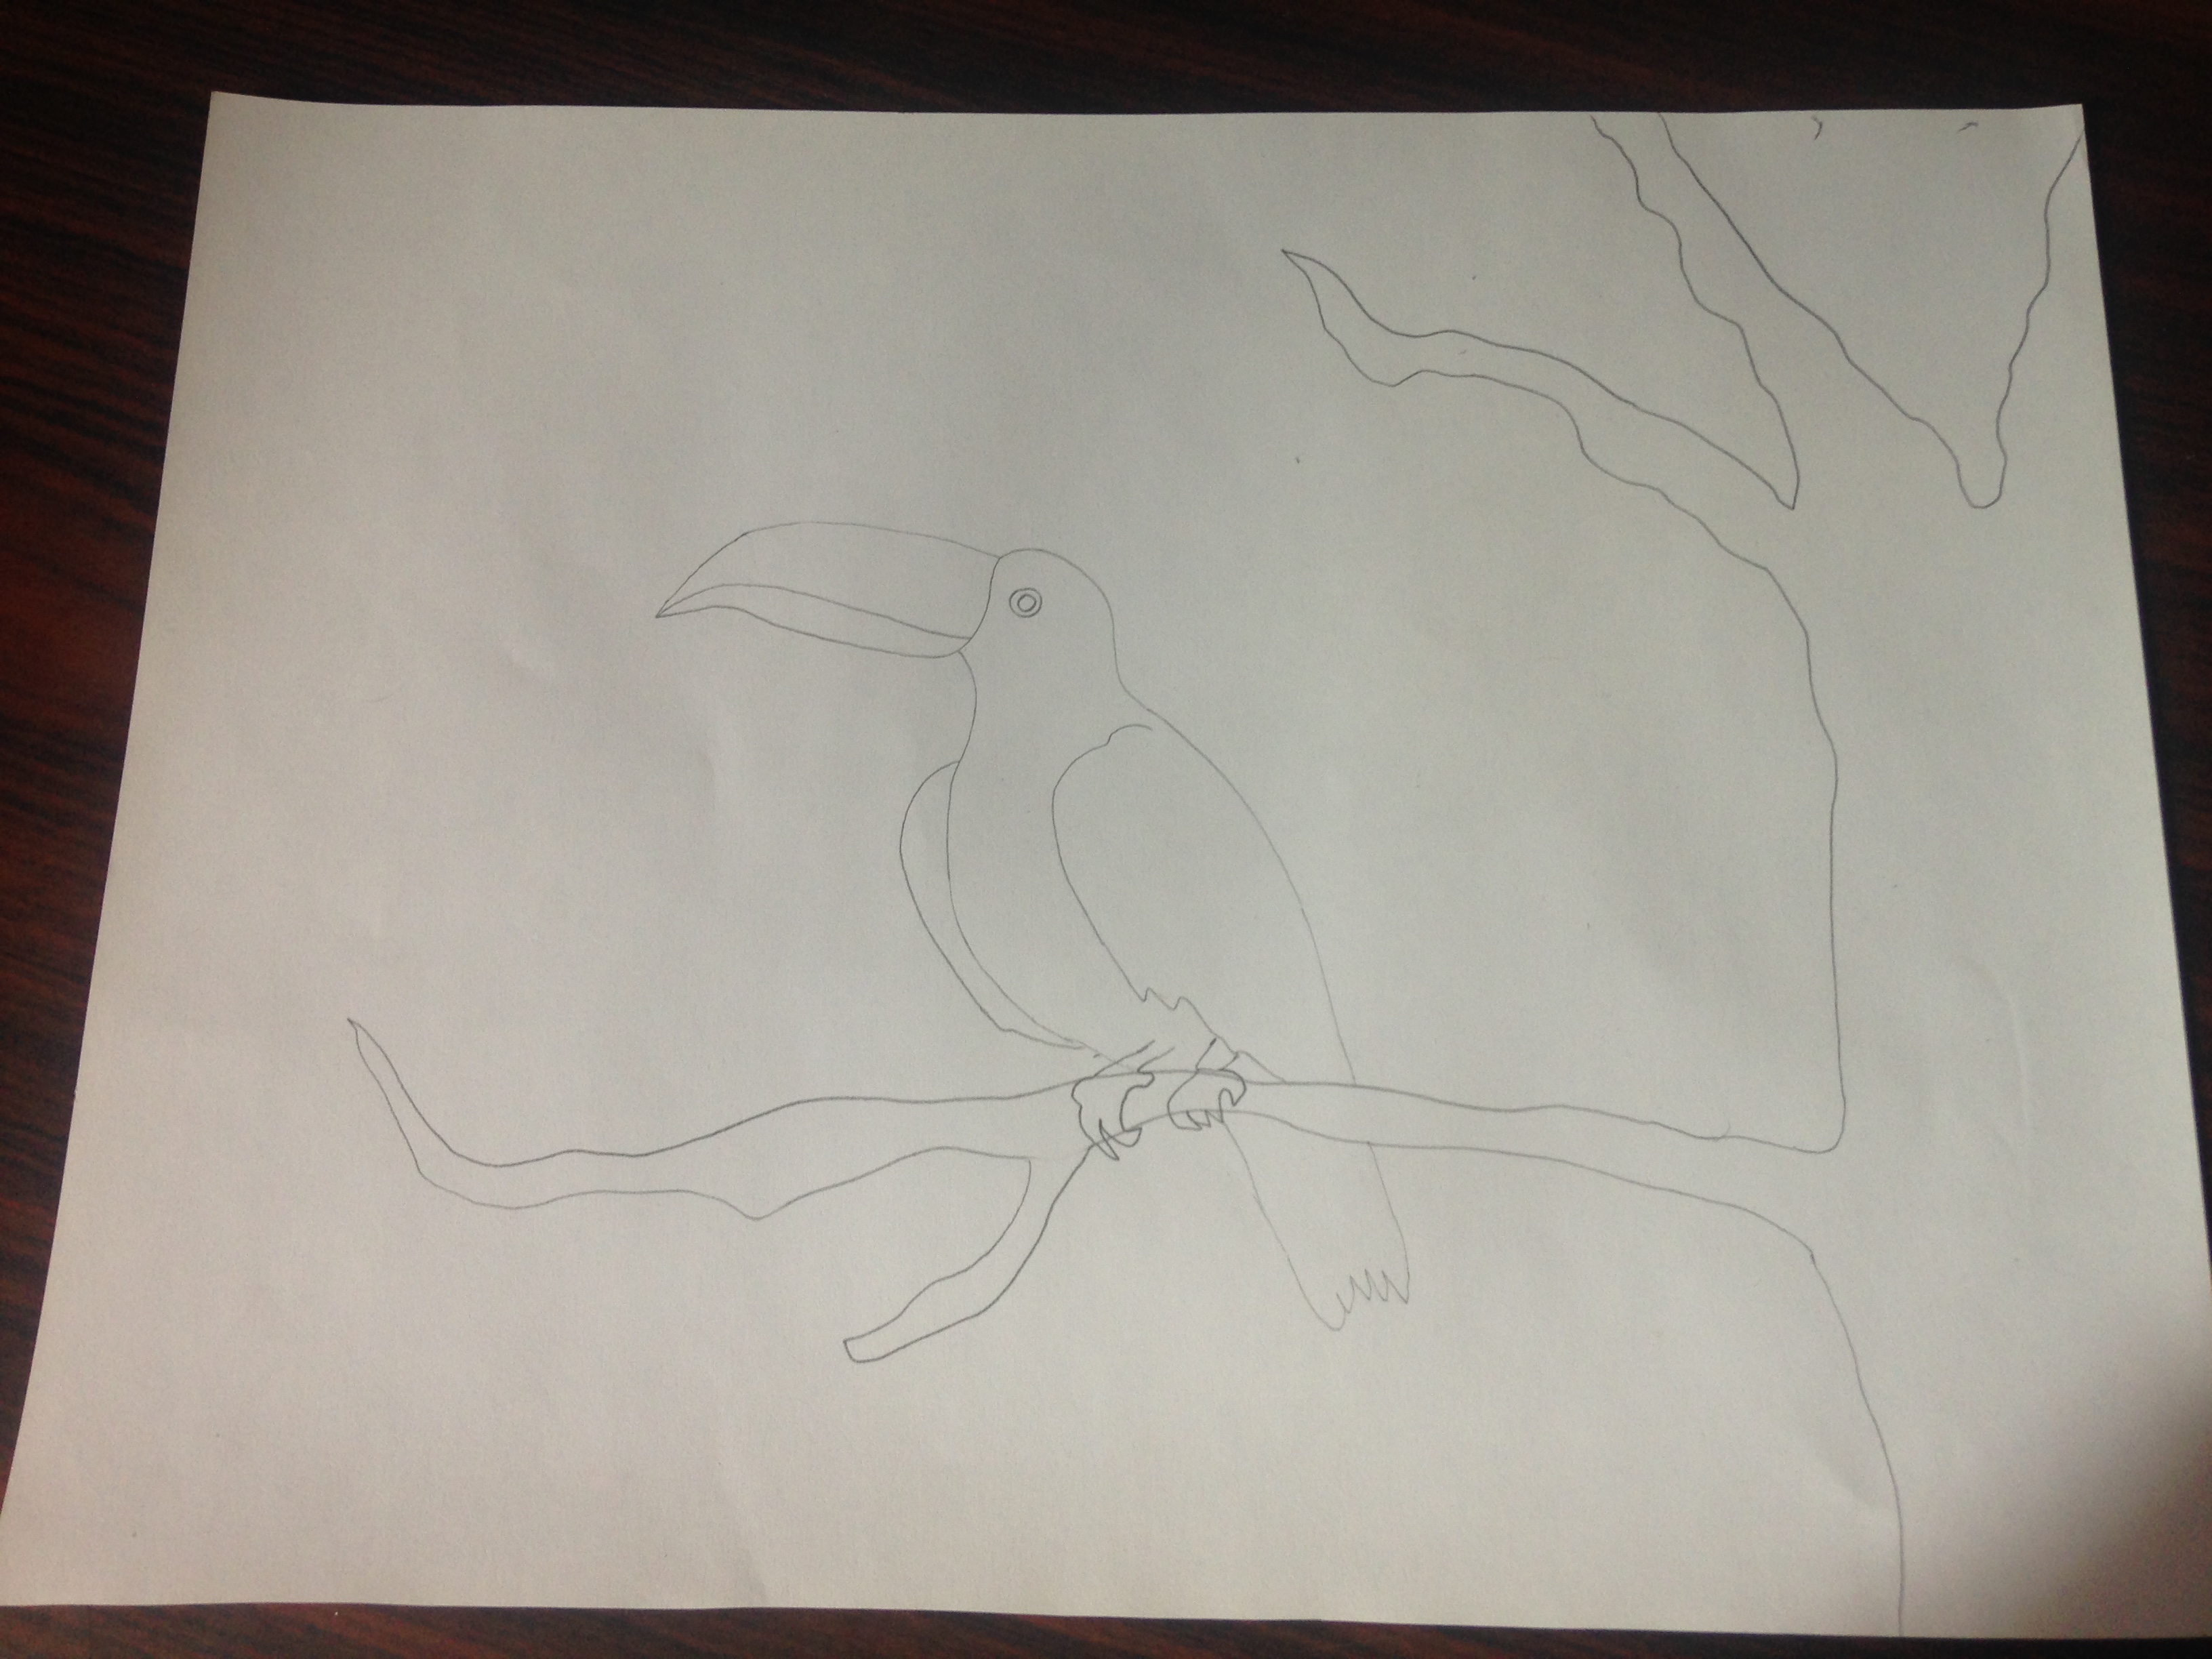
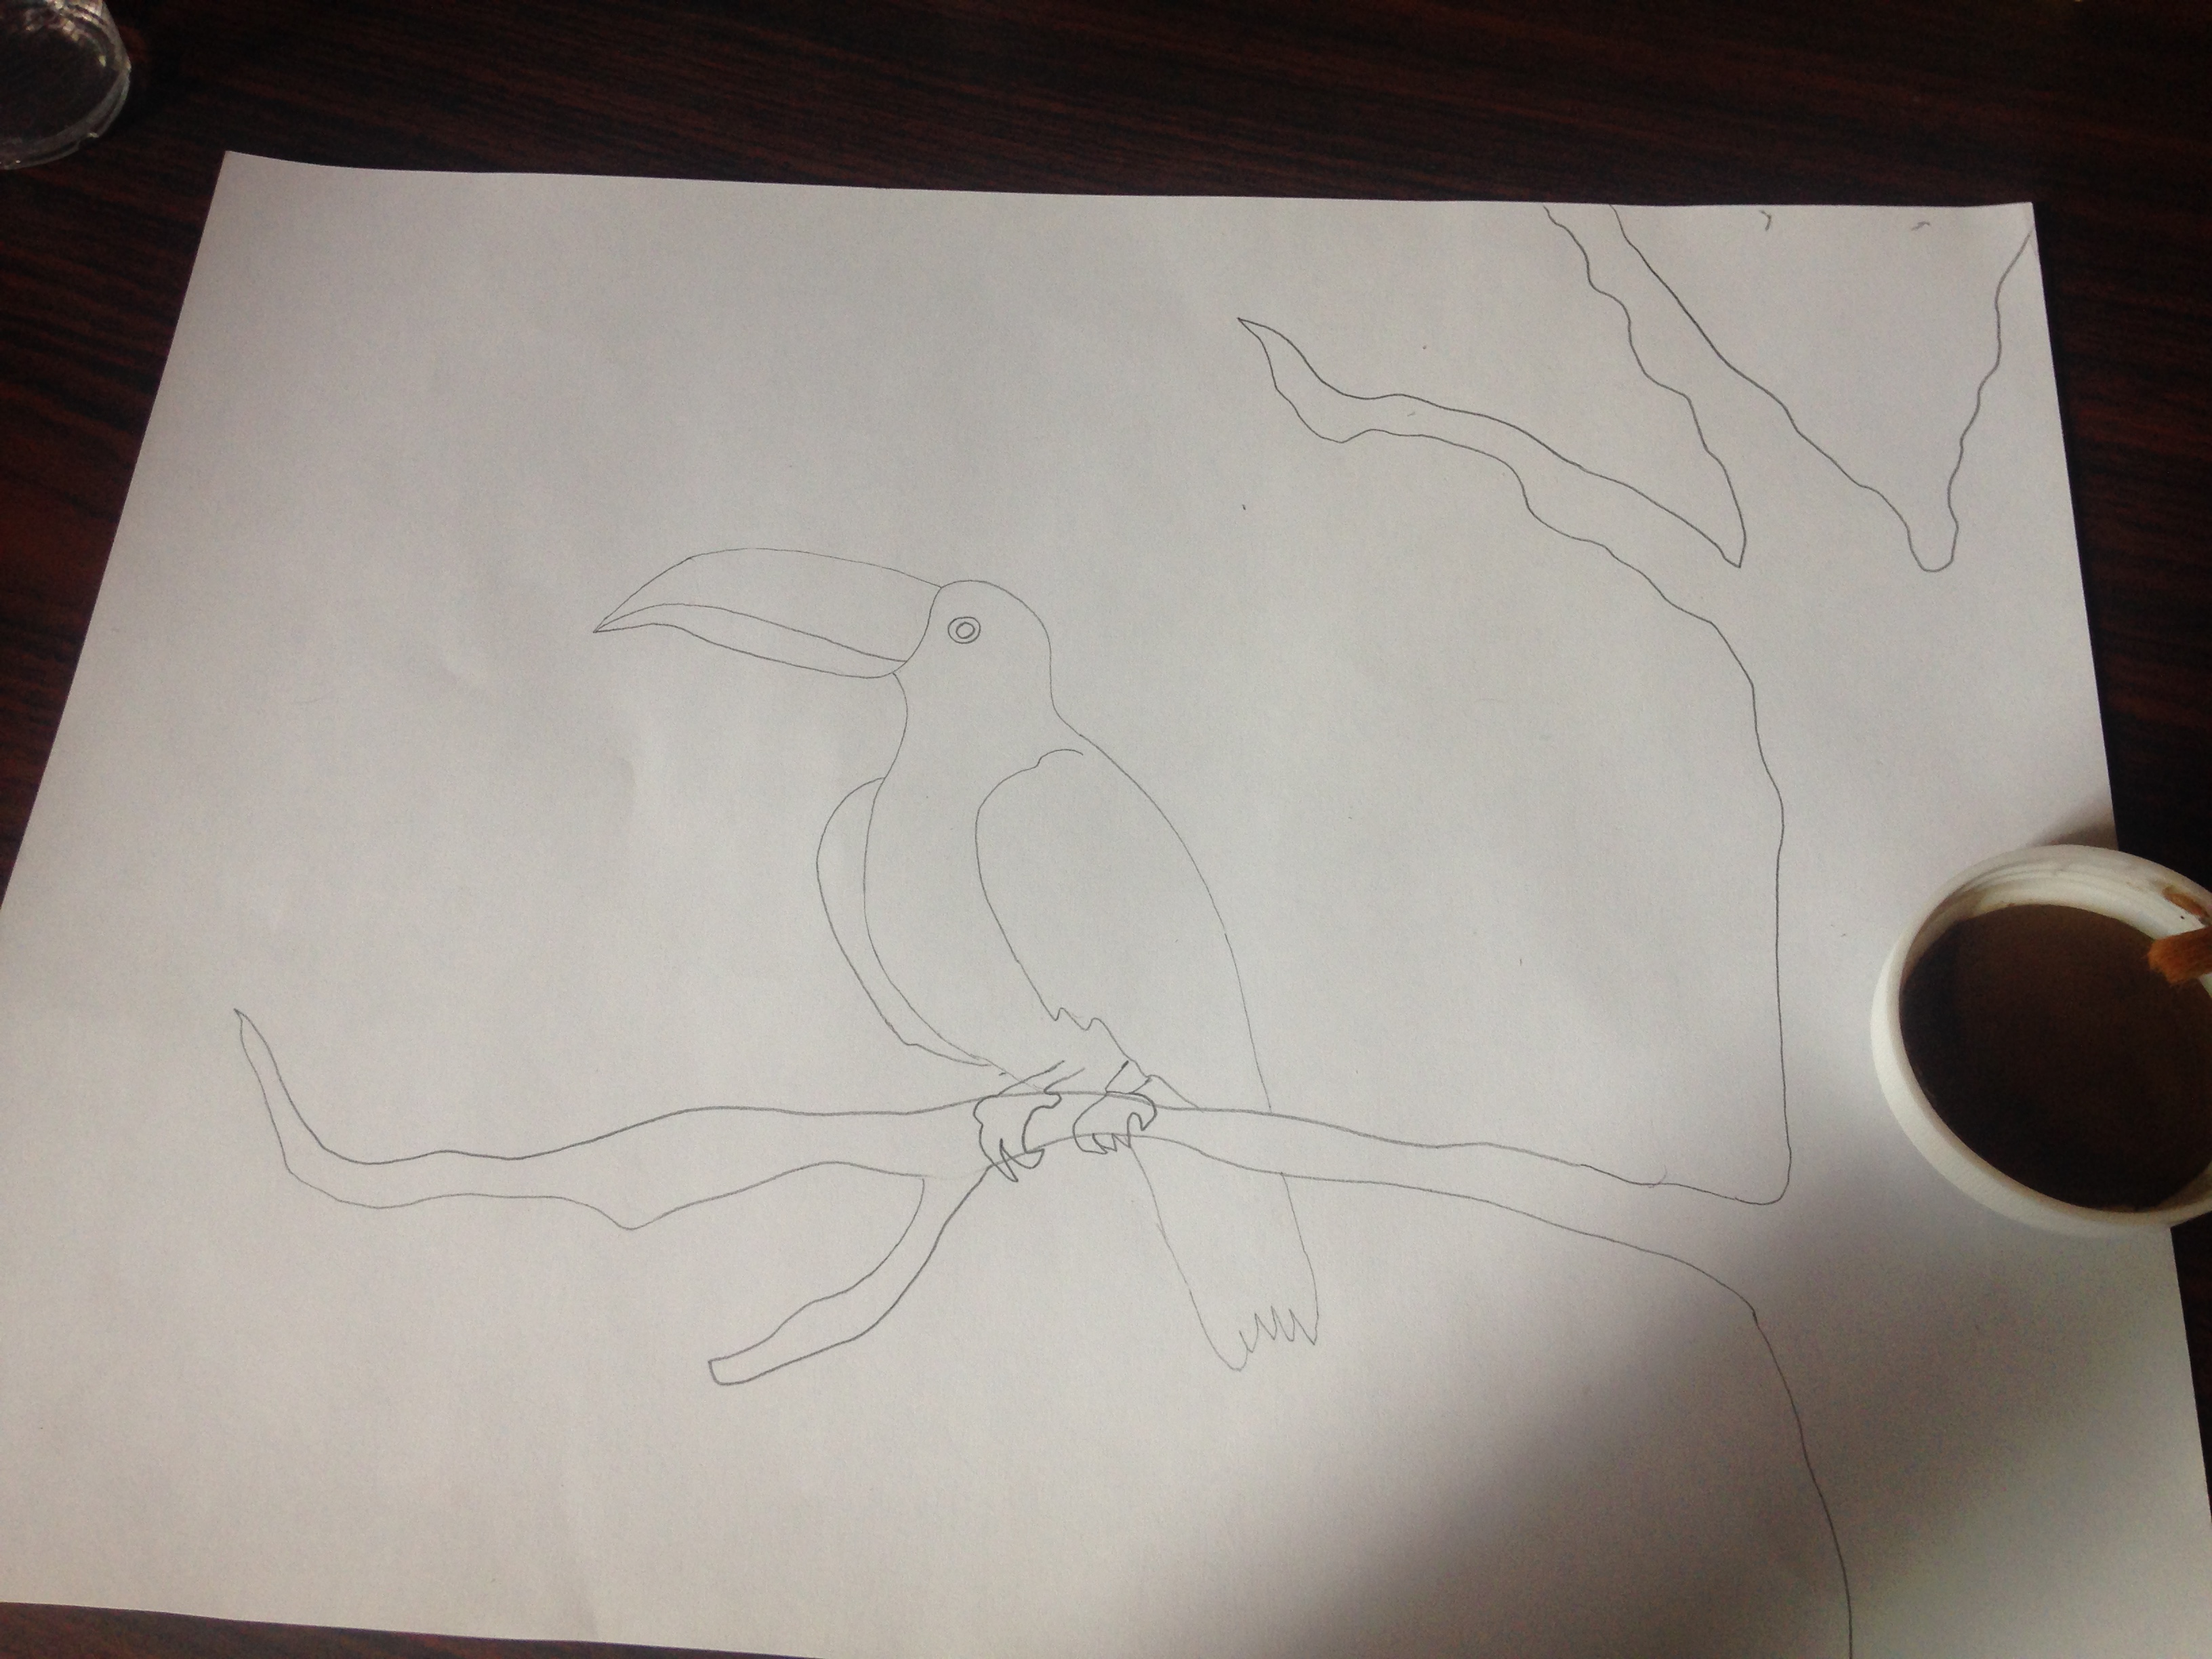
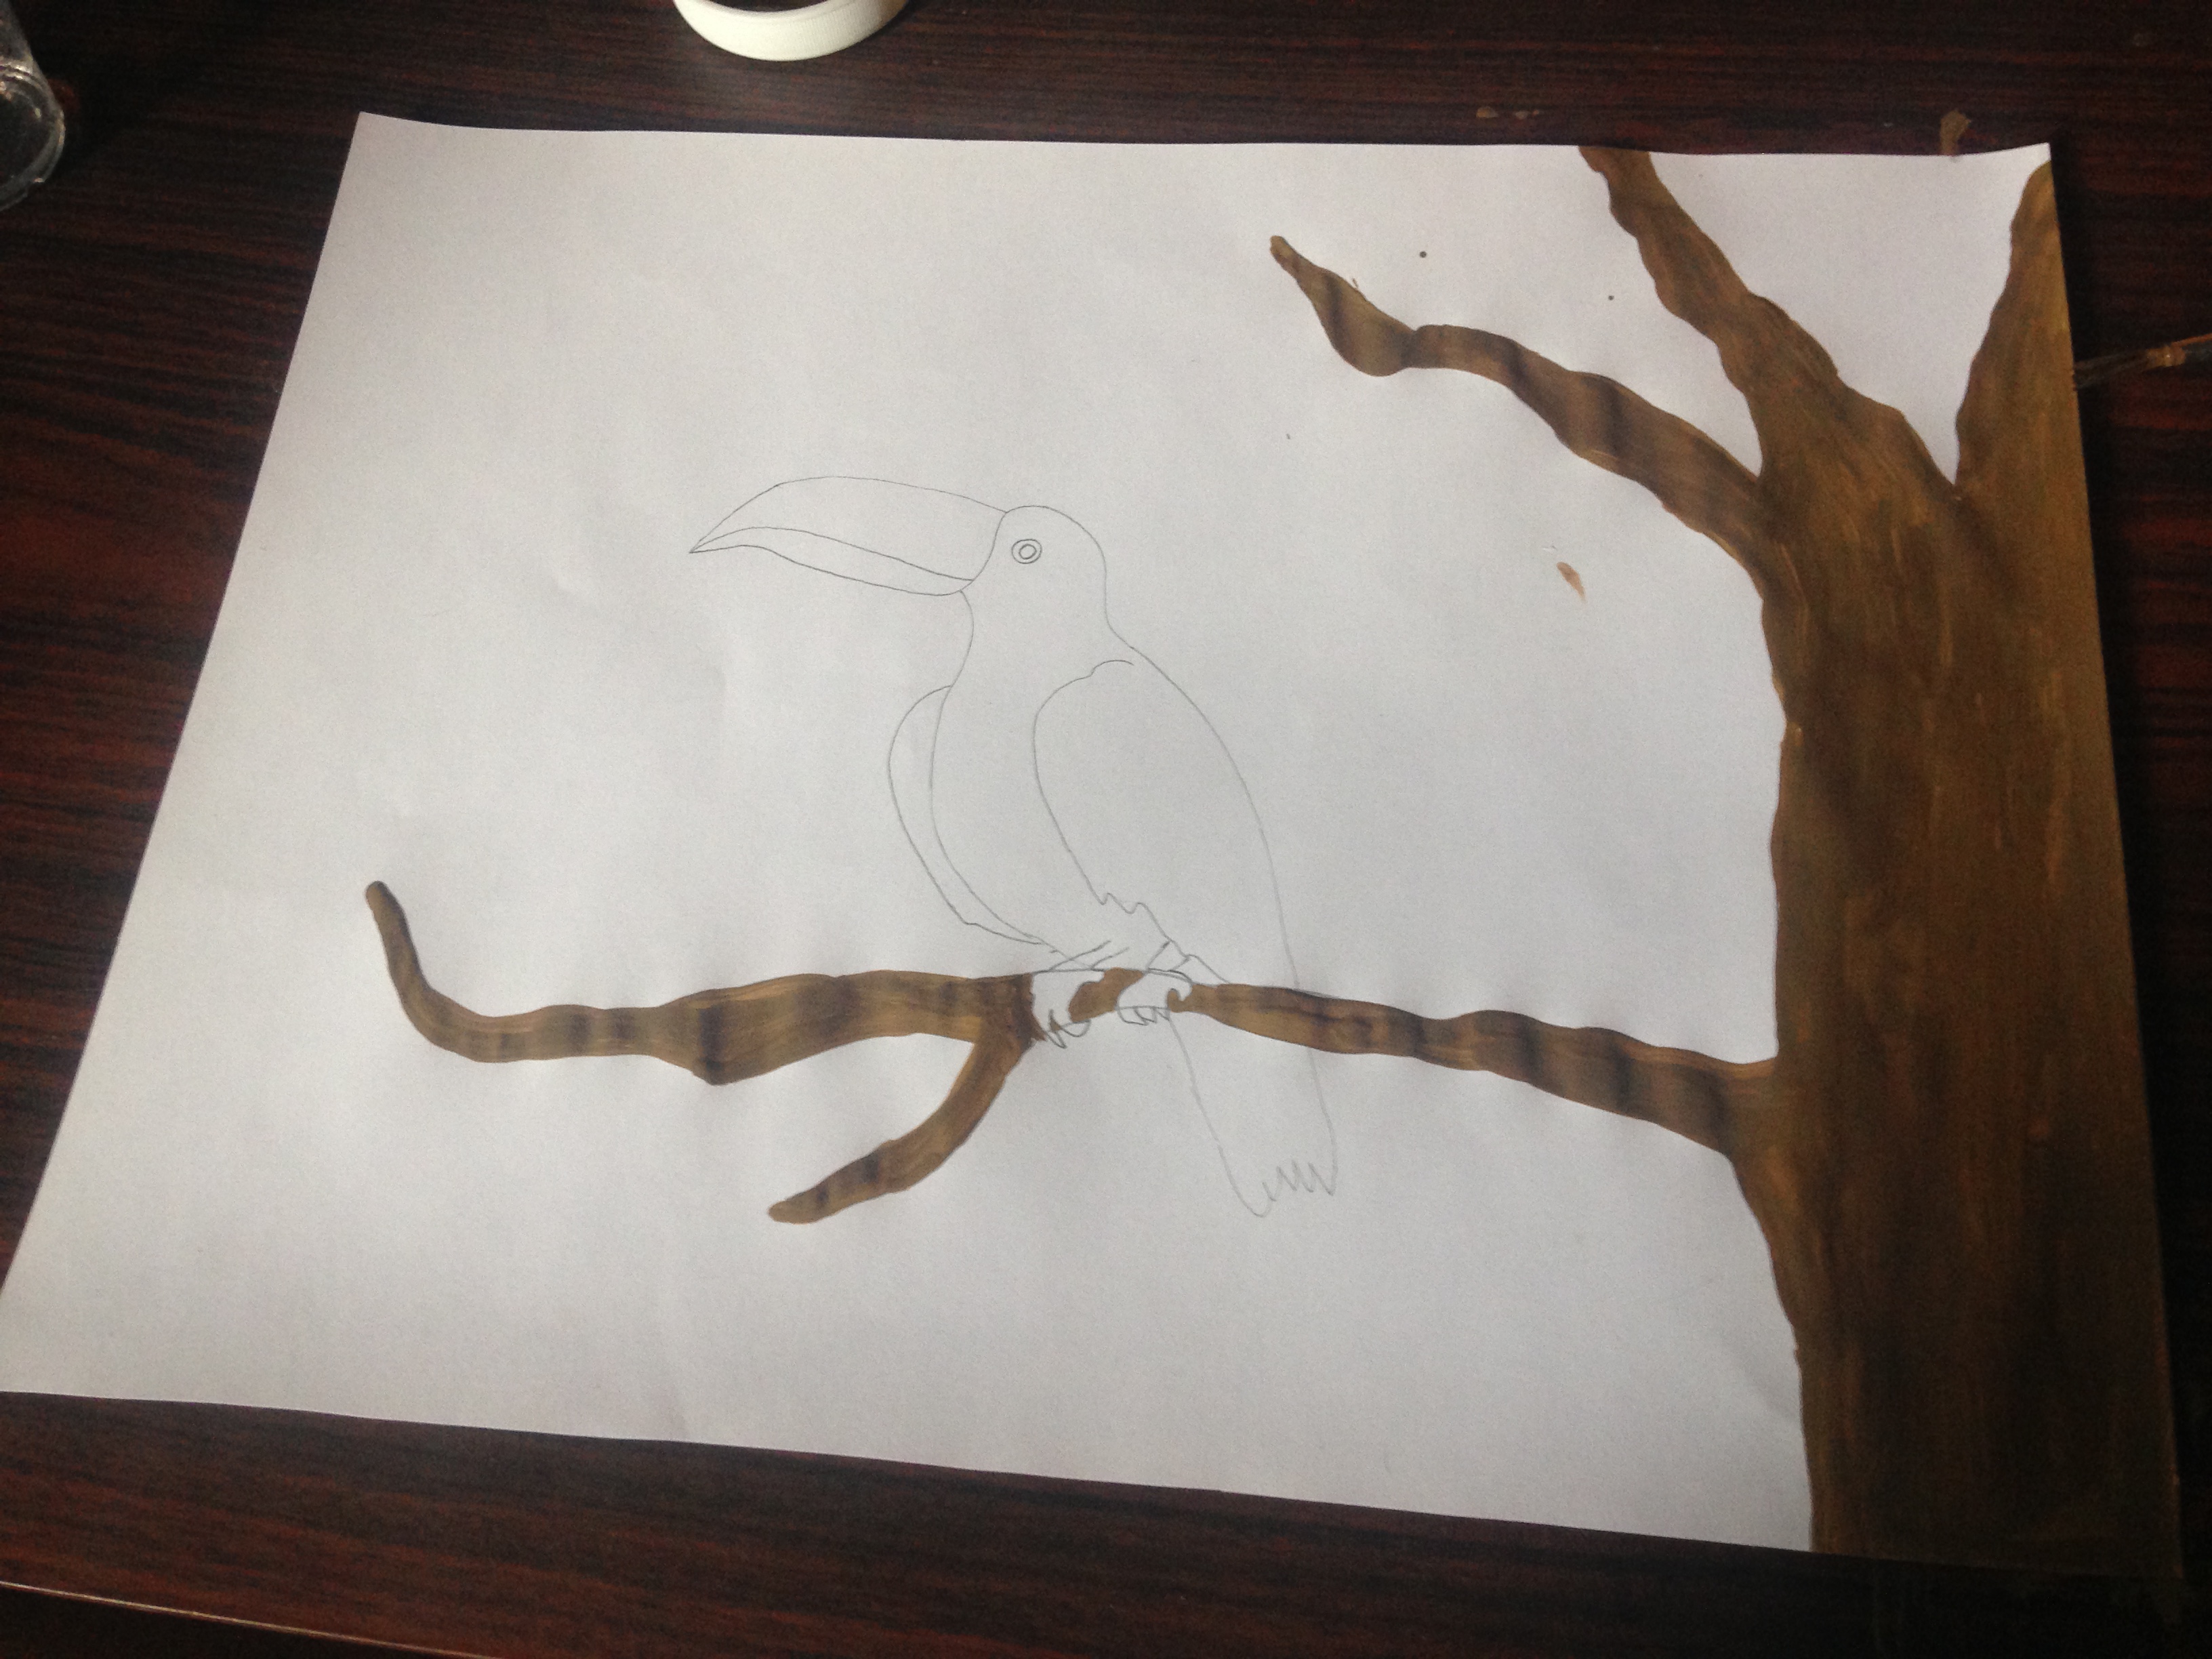
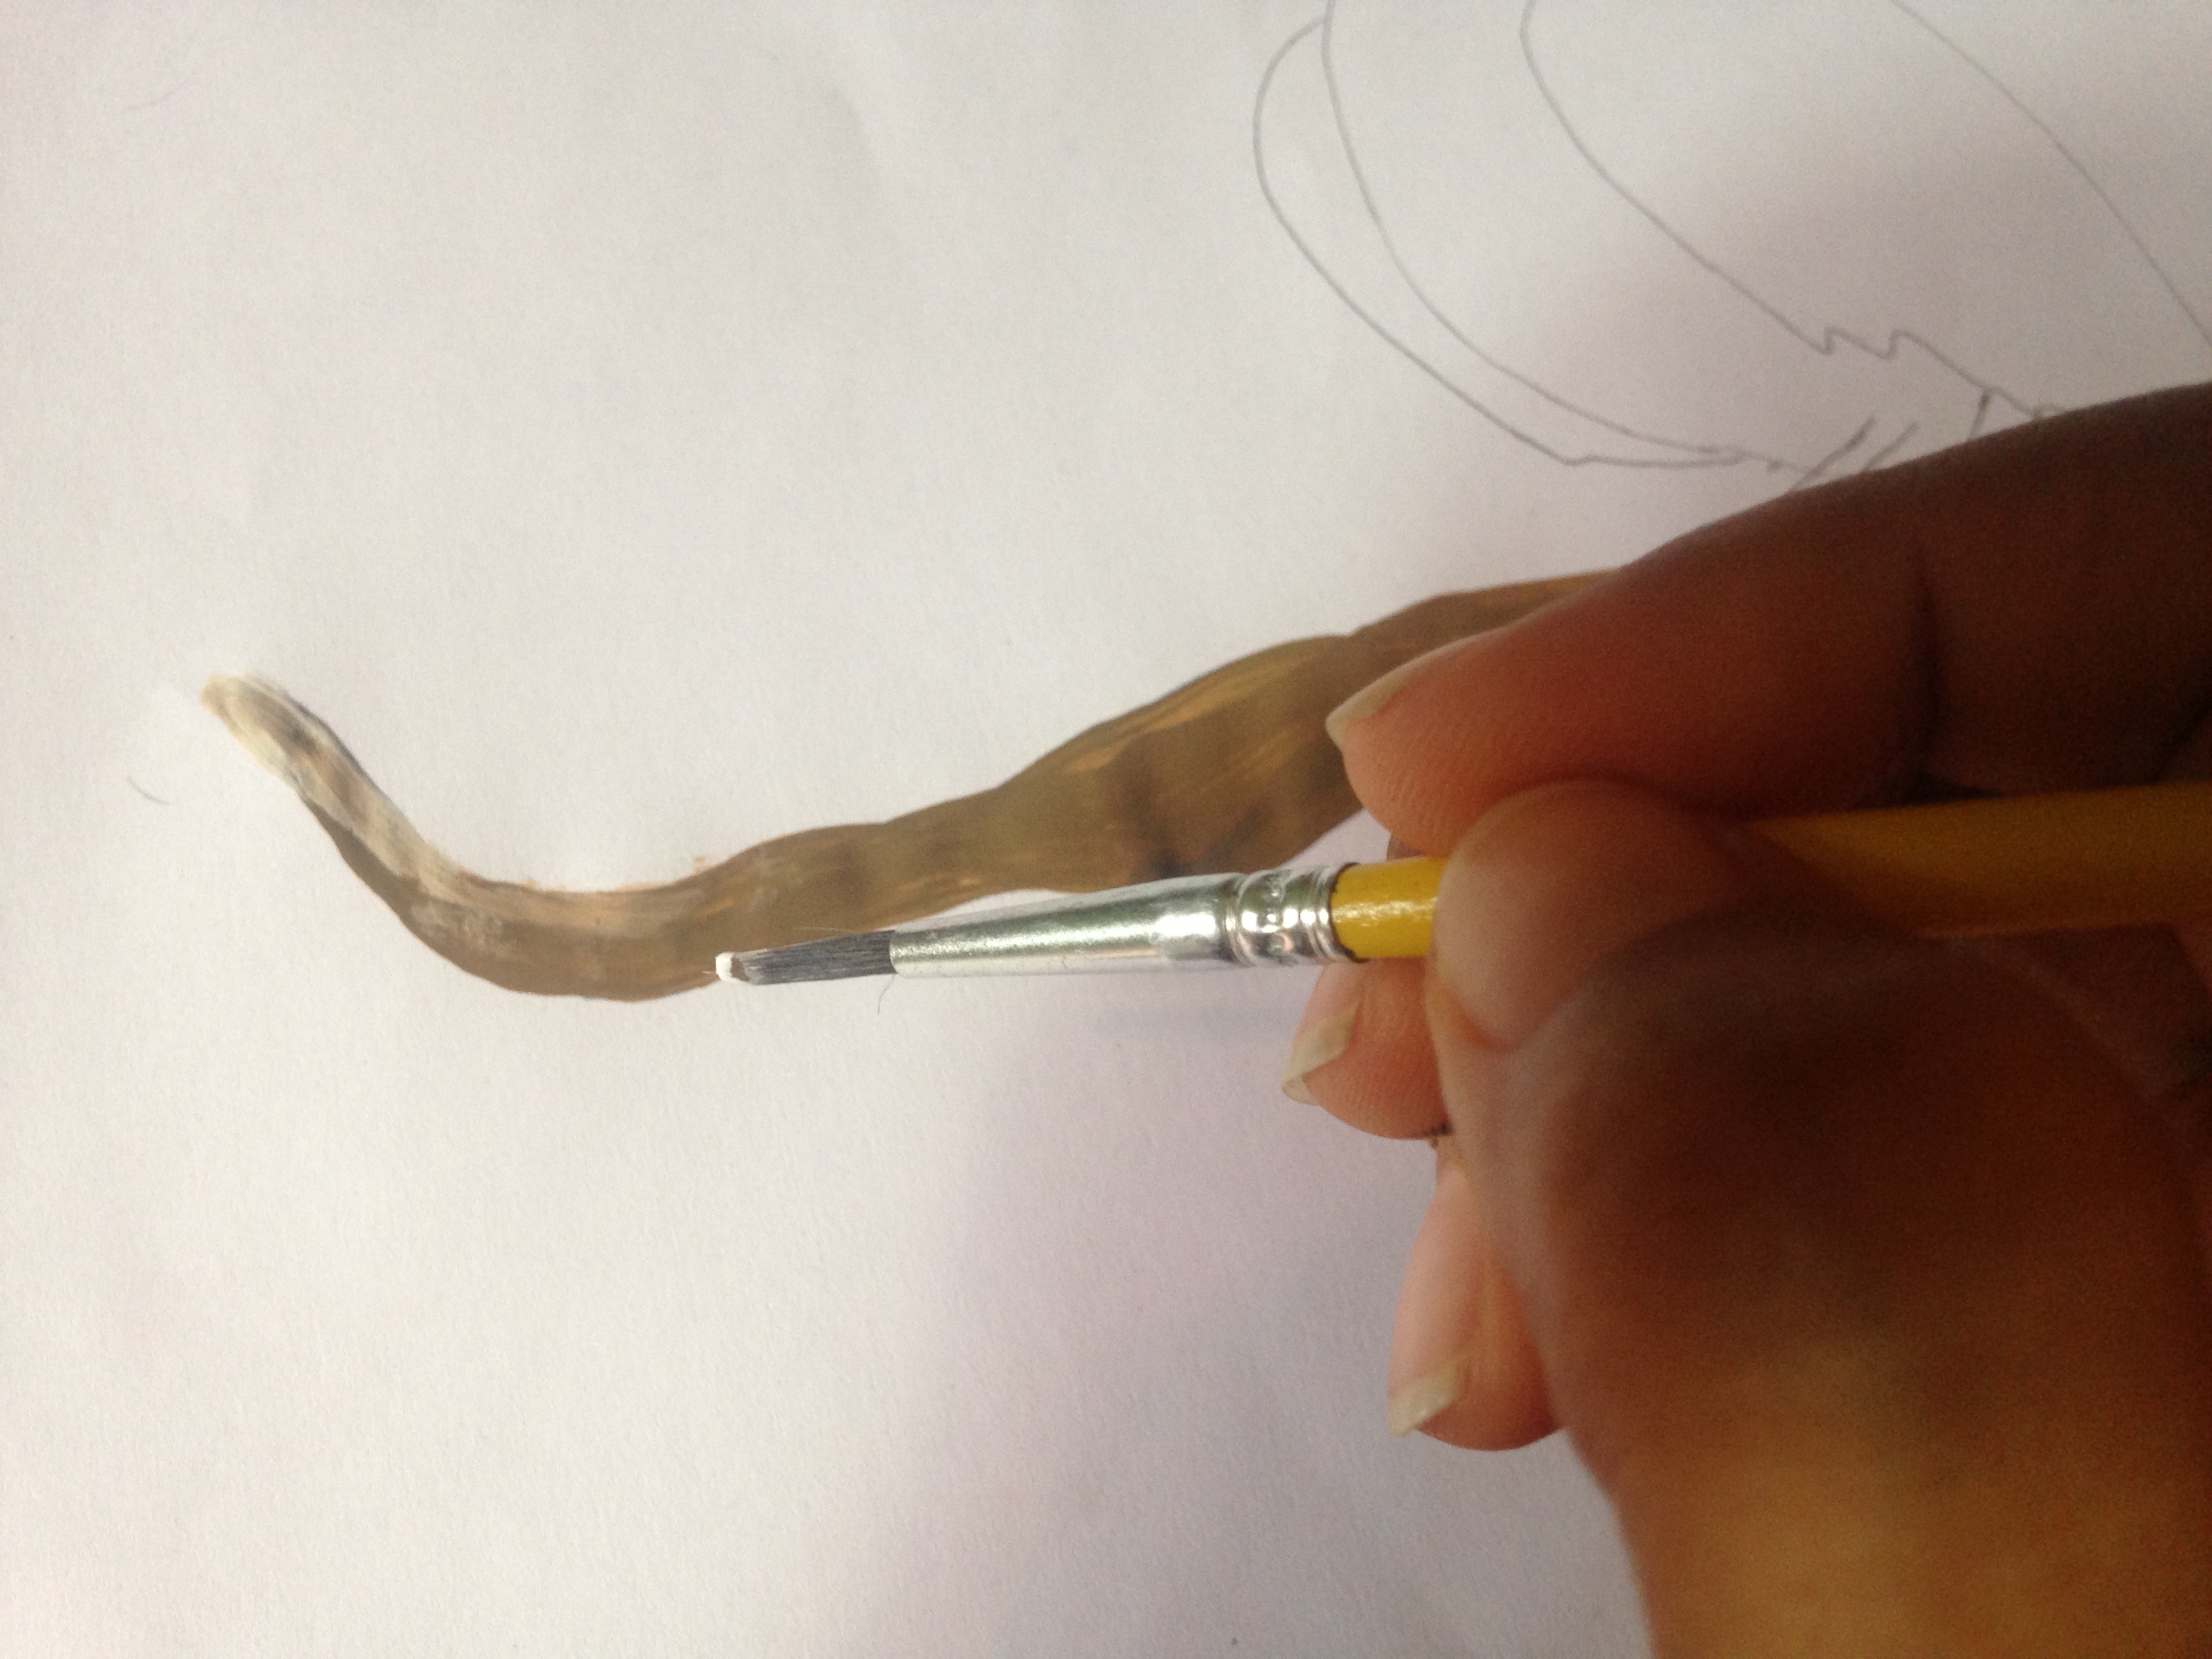
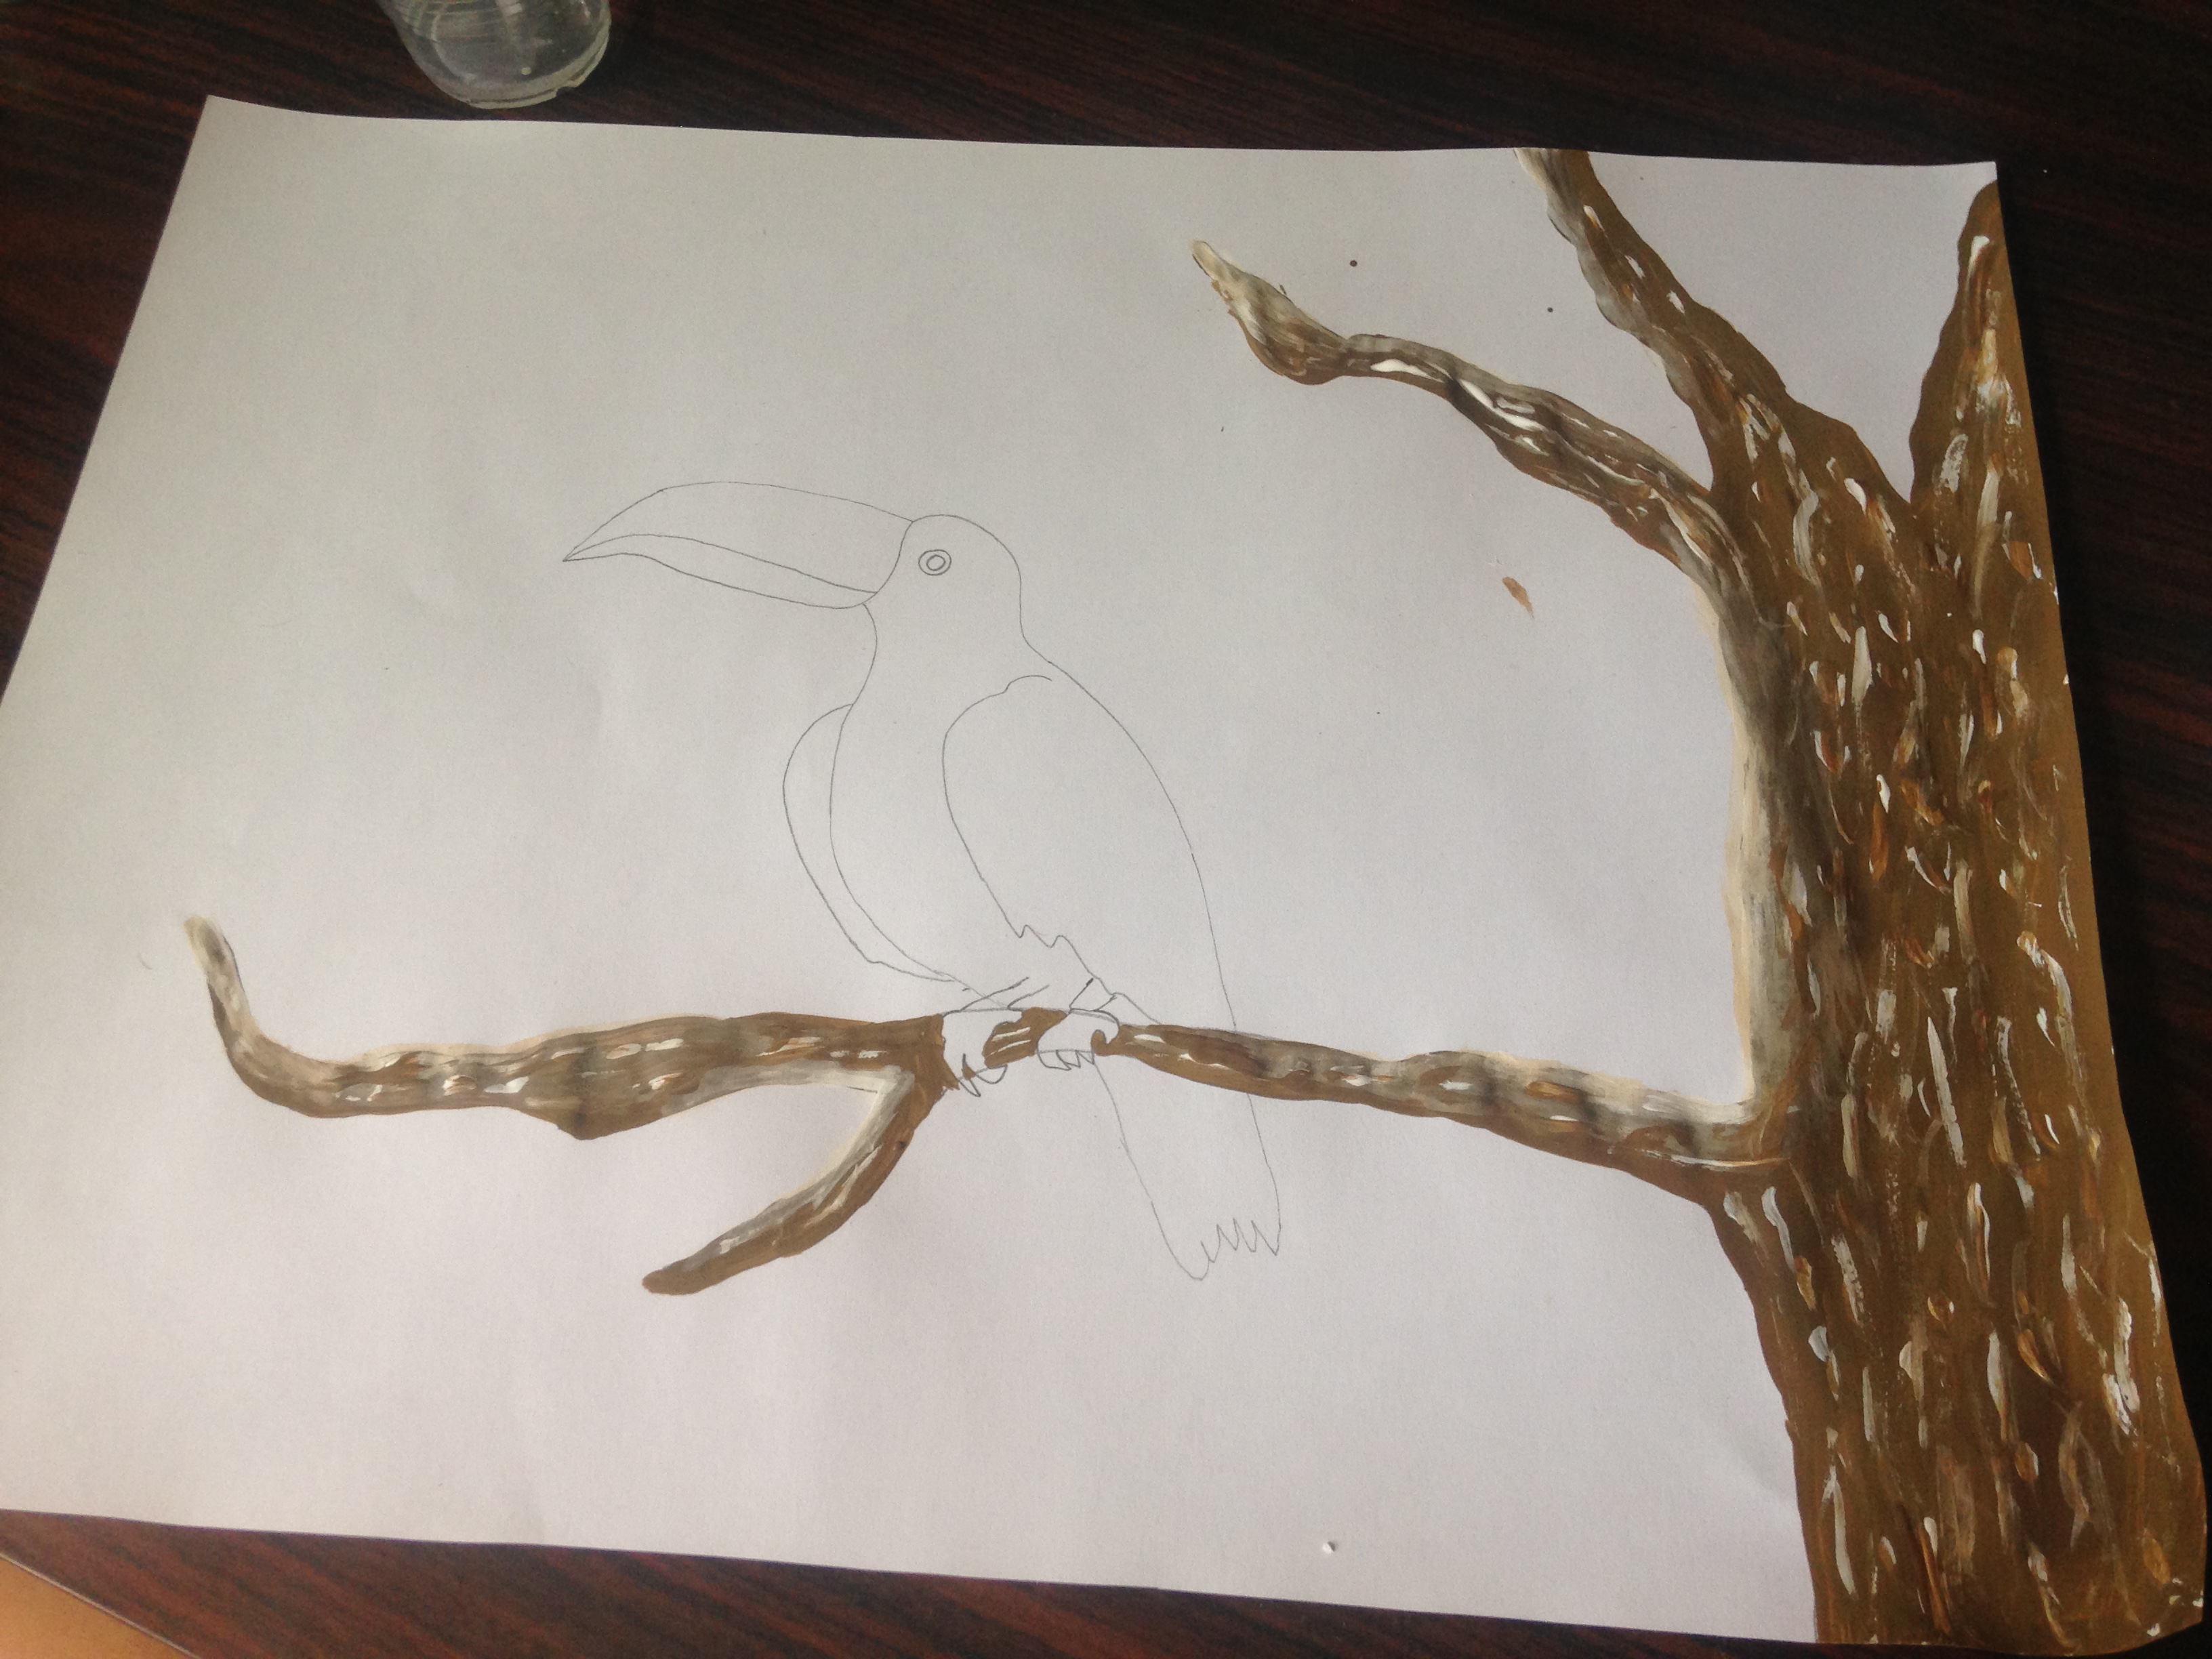
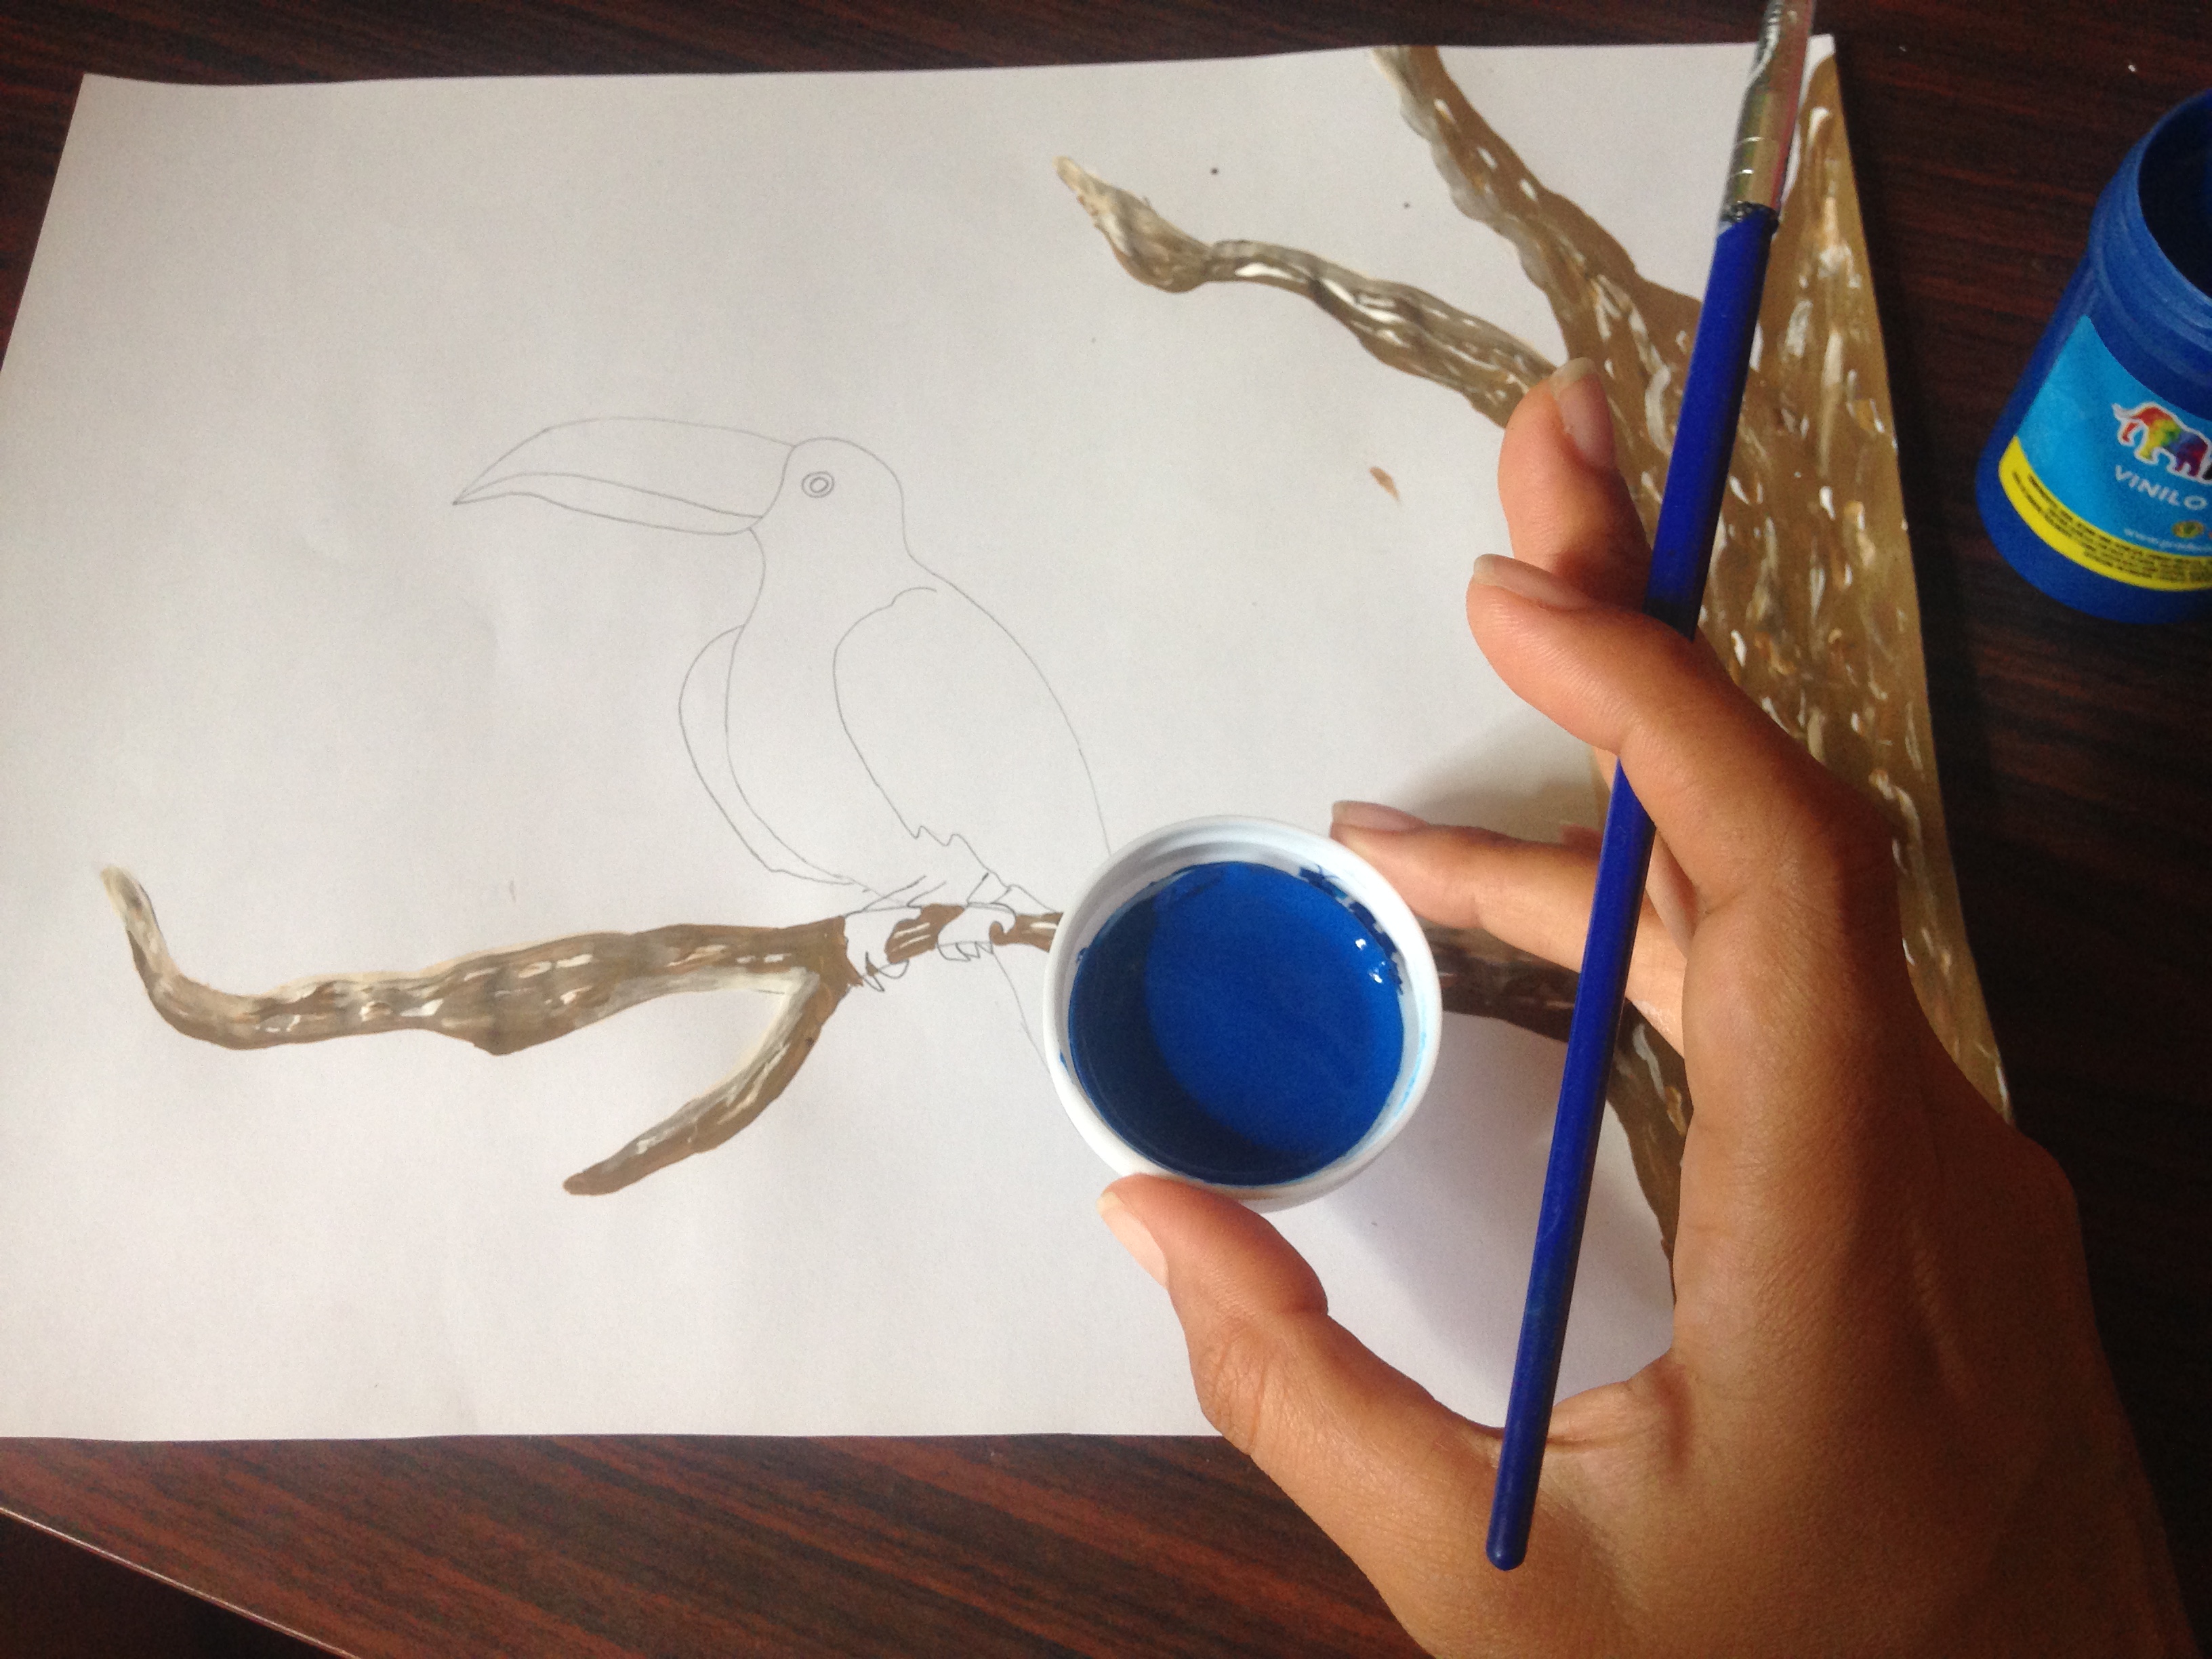
Paso 1
Lo primero que haremos es dibujar un árbol con una rama amplia a un costado, en esa rama posteriormente dibujaremos el tucán comenzando por dibujar su cuerpo y despues las demas partes hasta completar el dibujo
Step 1
The first thing we will do is draw a tree with a wide branch on one side, on that branch later we will draw the toucan starting by drawing its body and then the other parts until completing the drawing
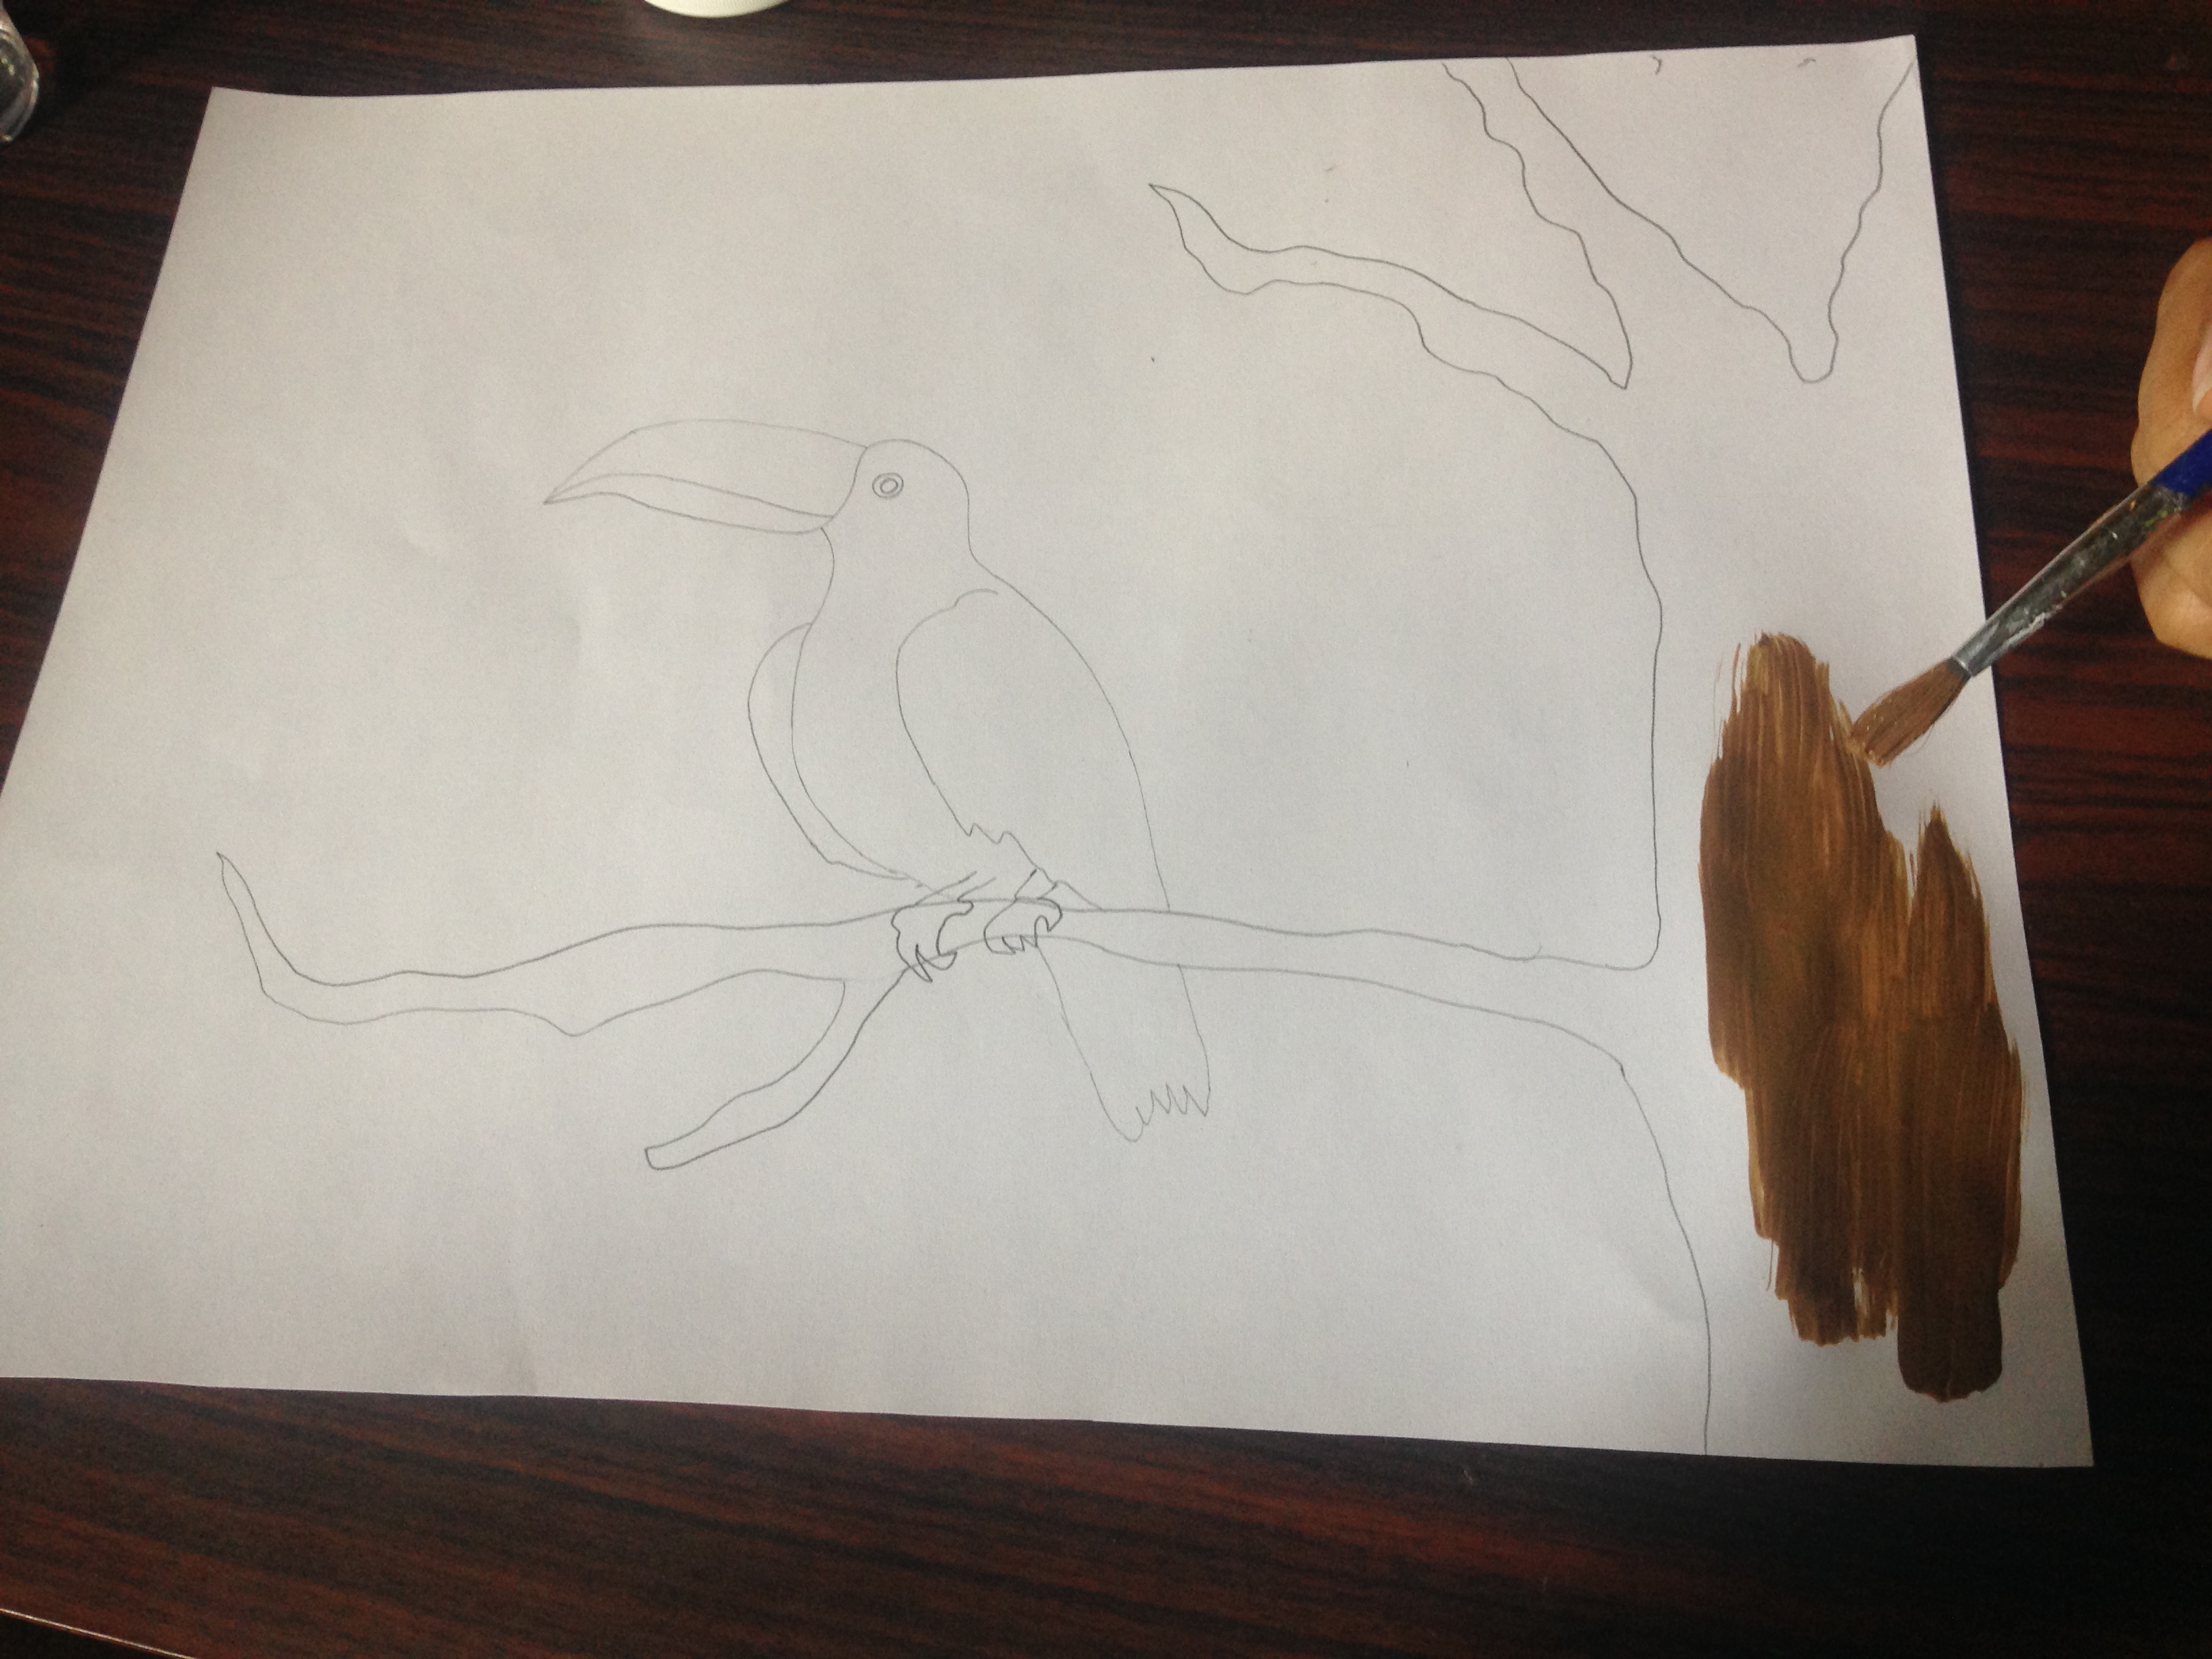
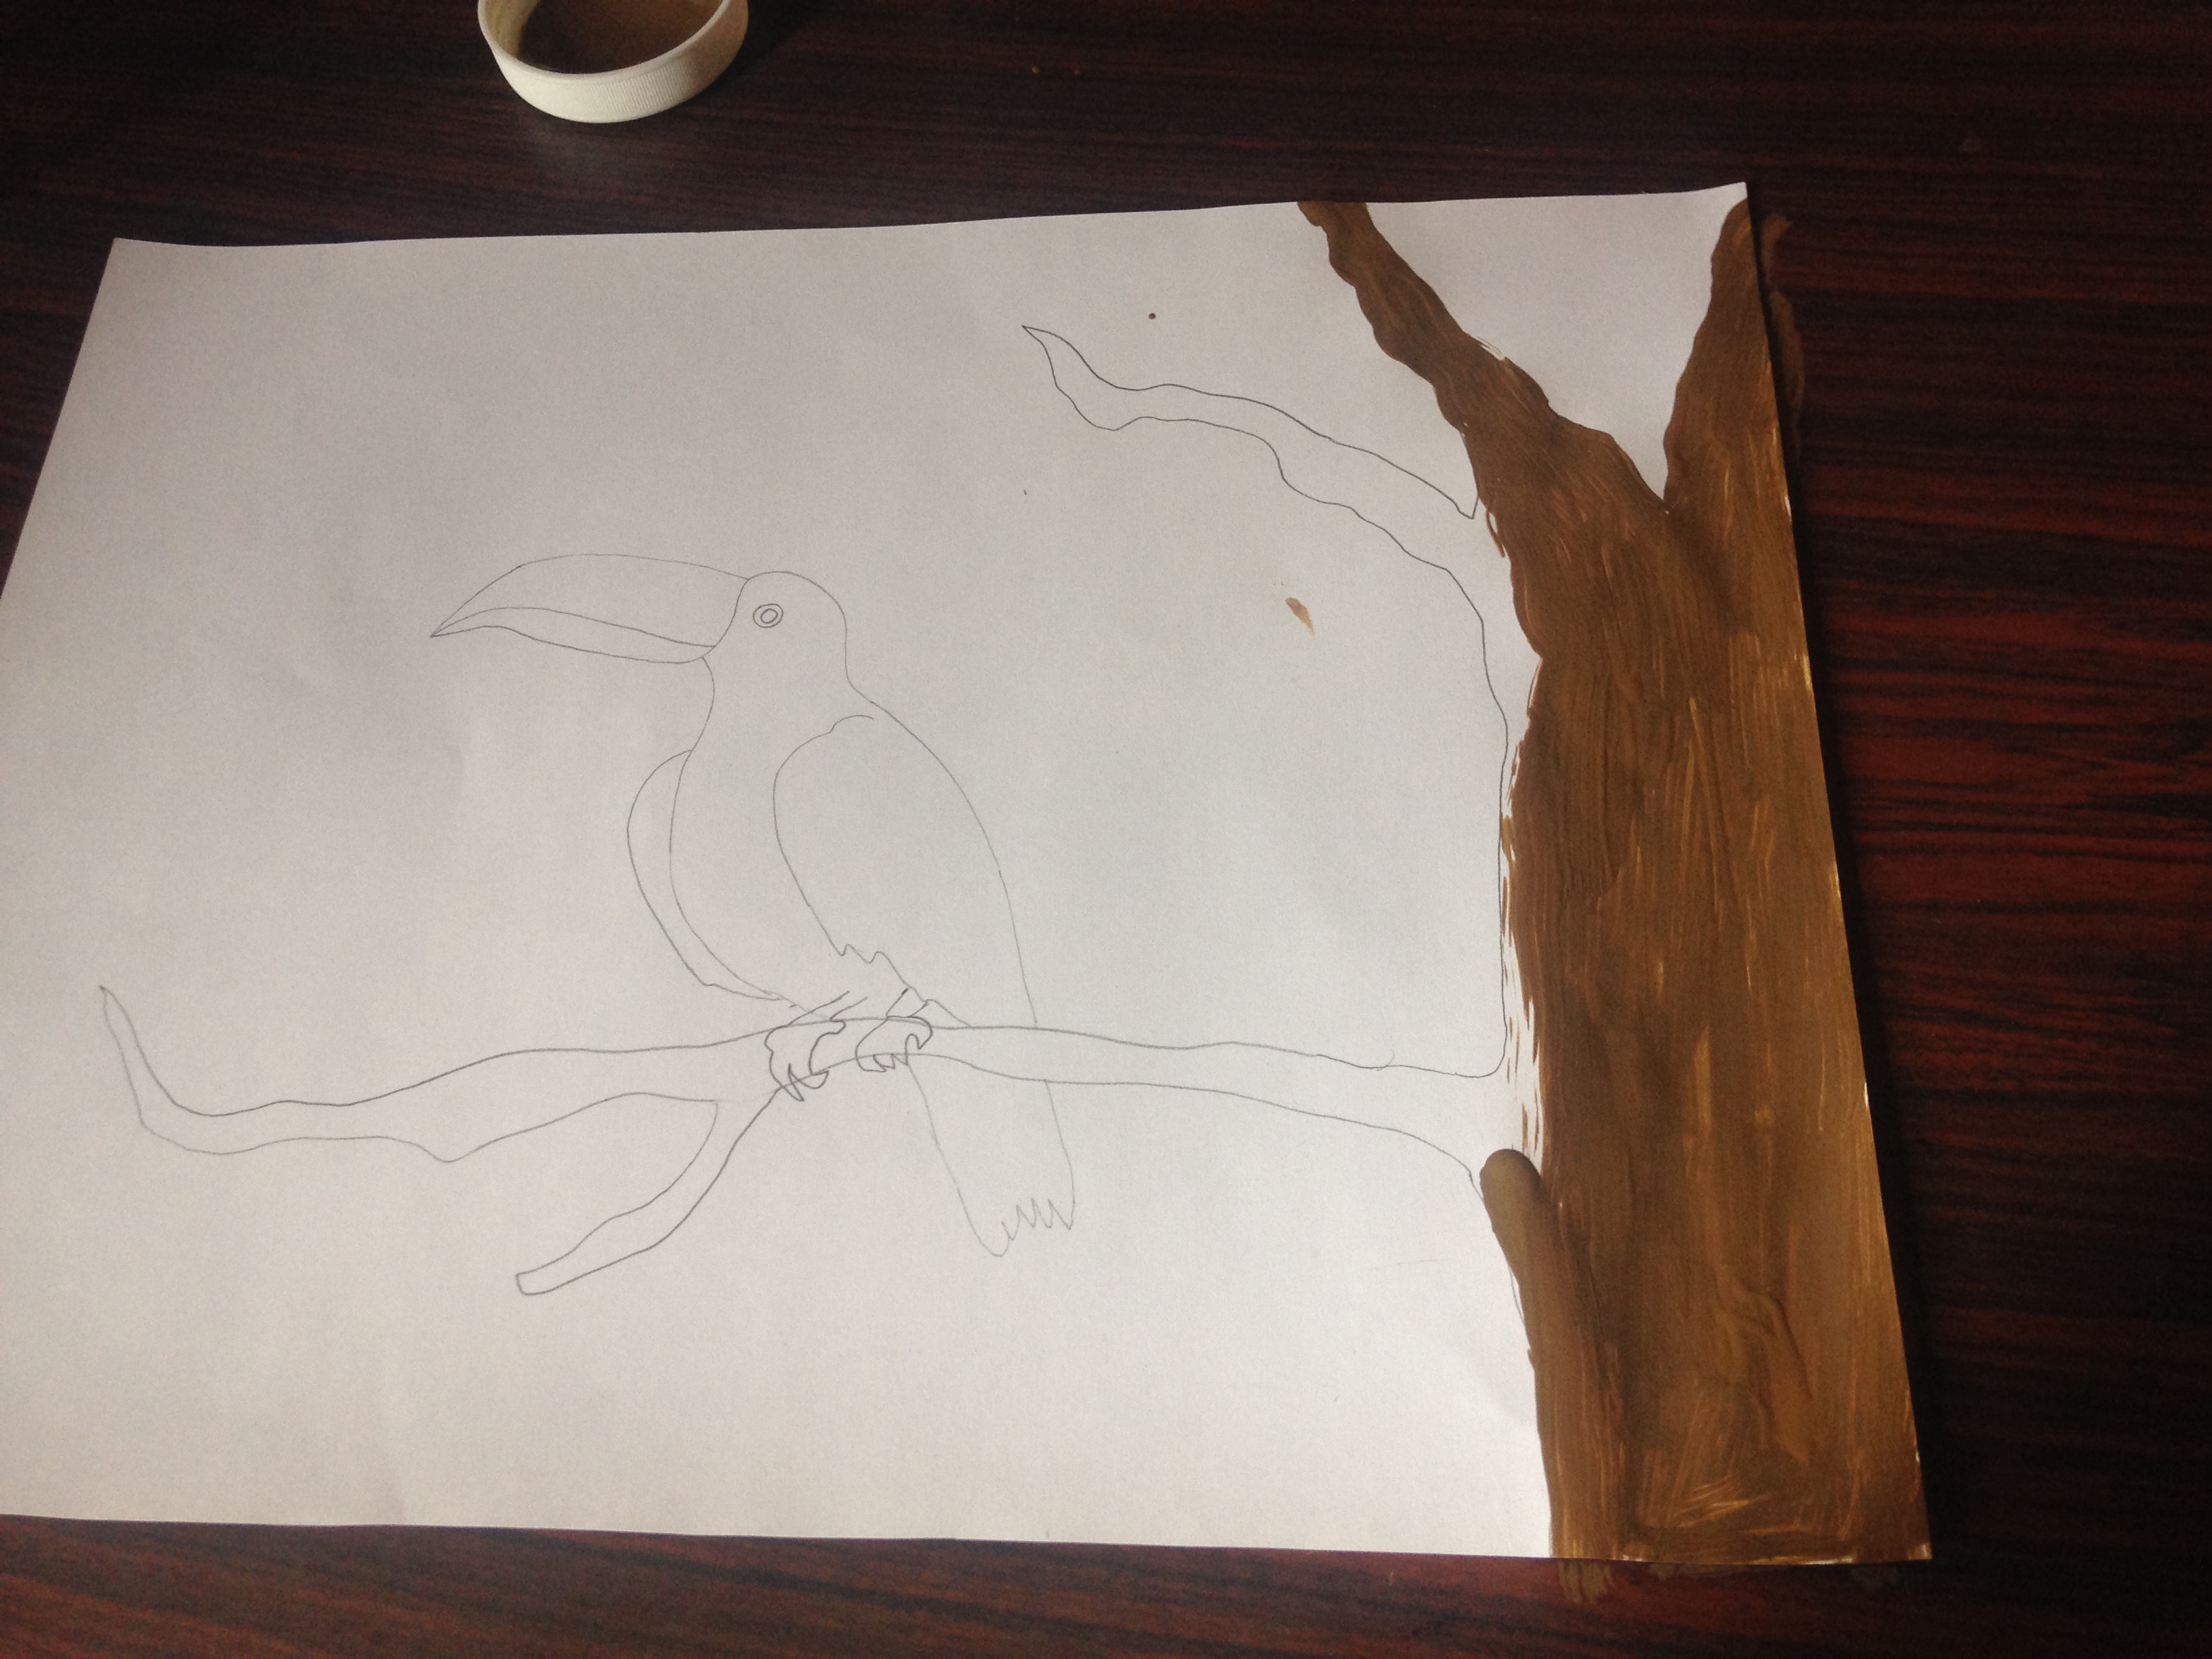
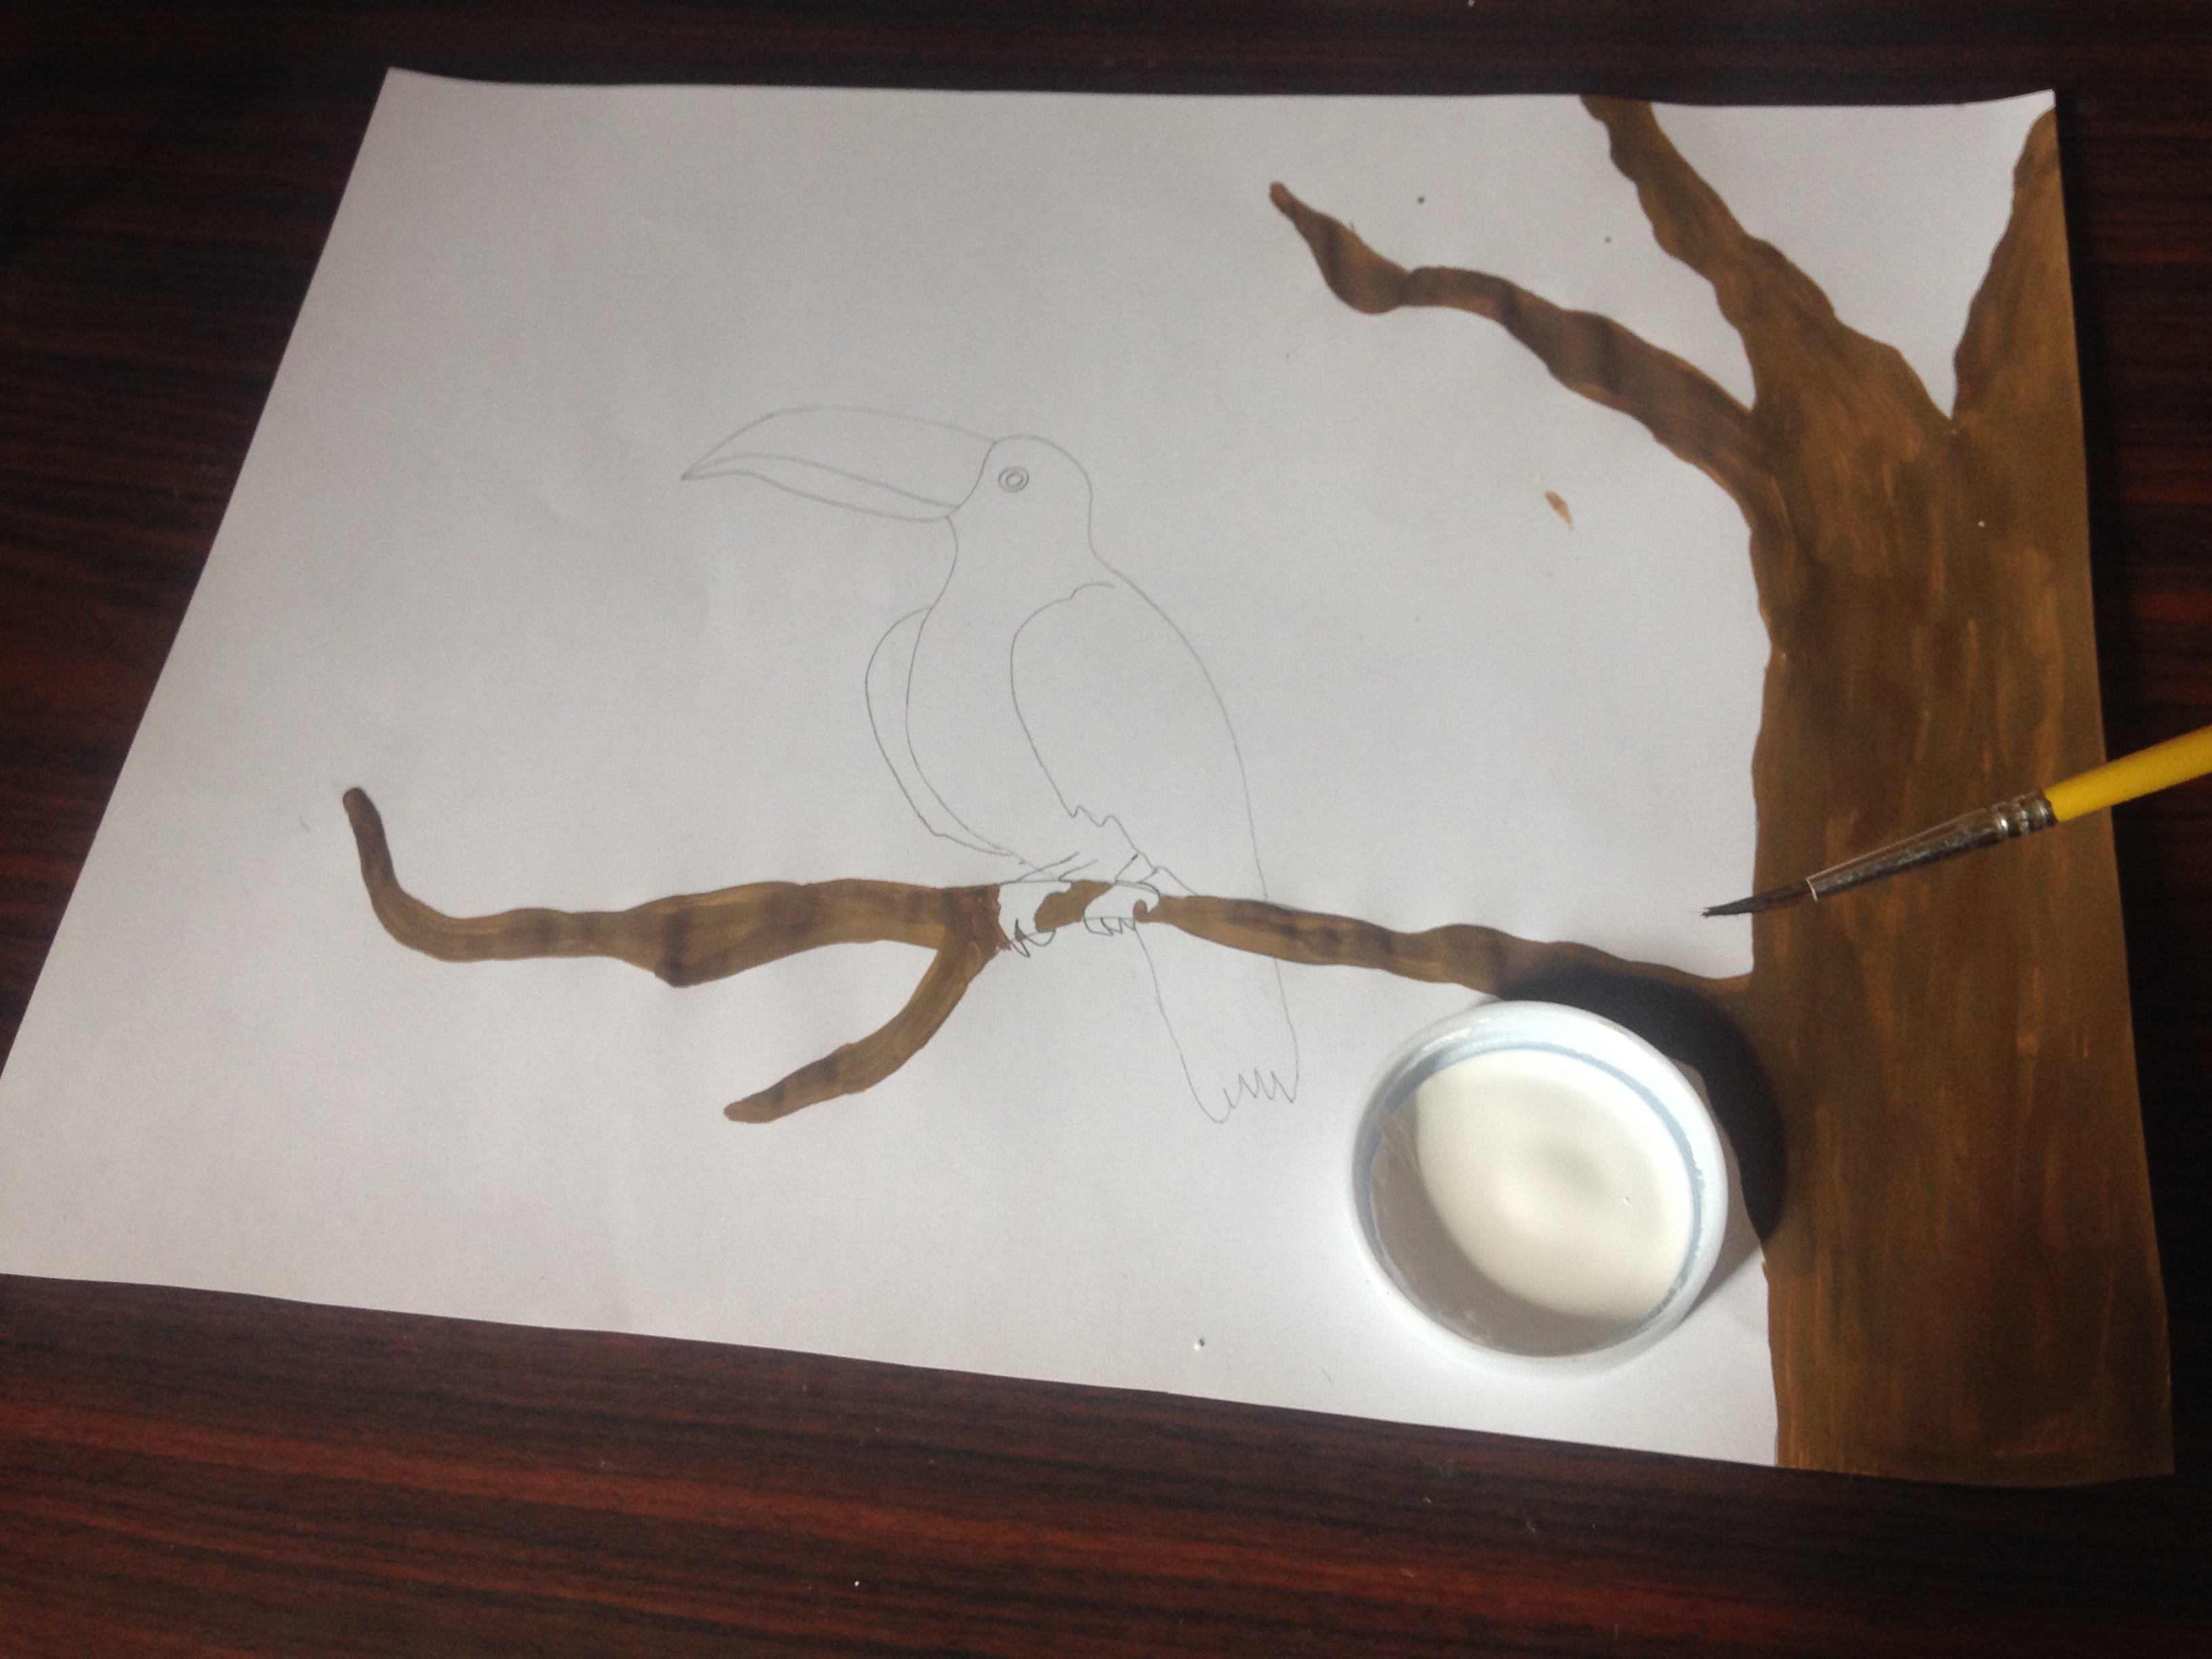
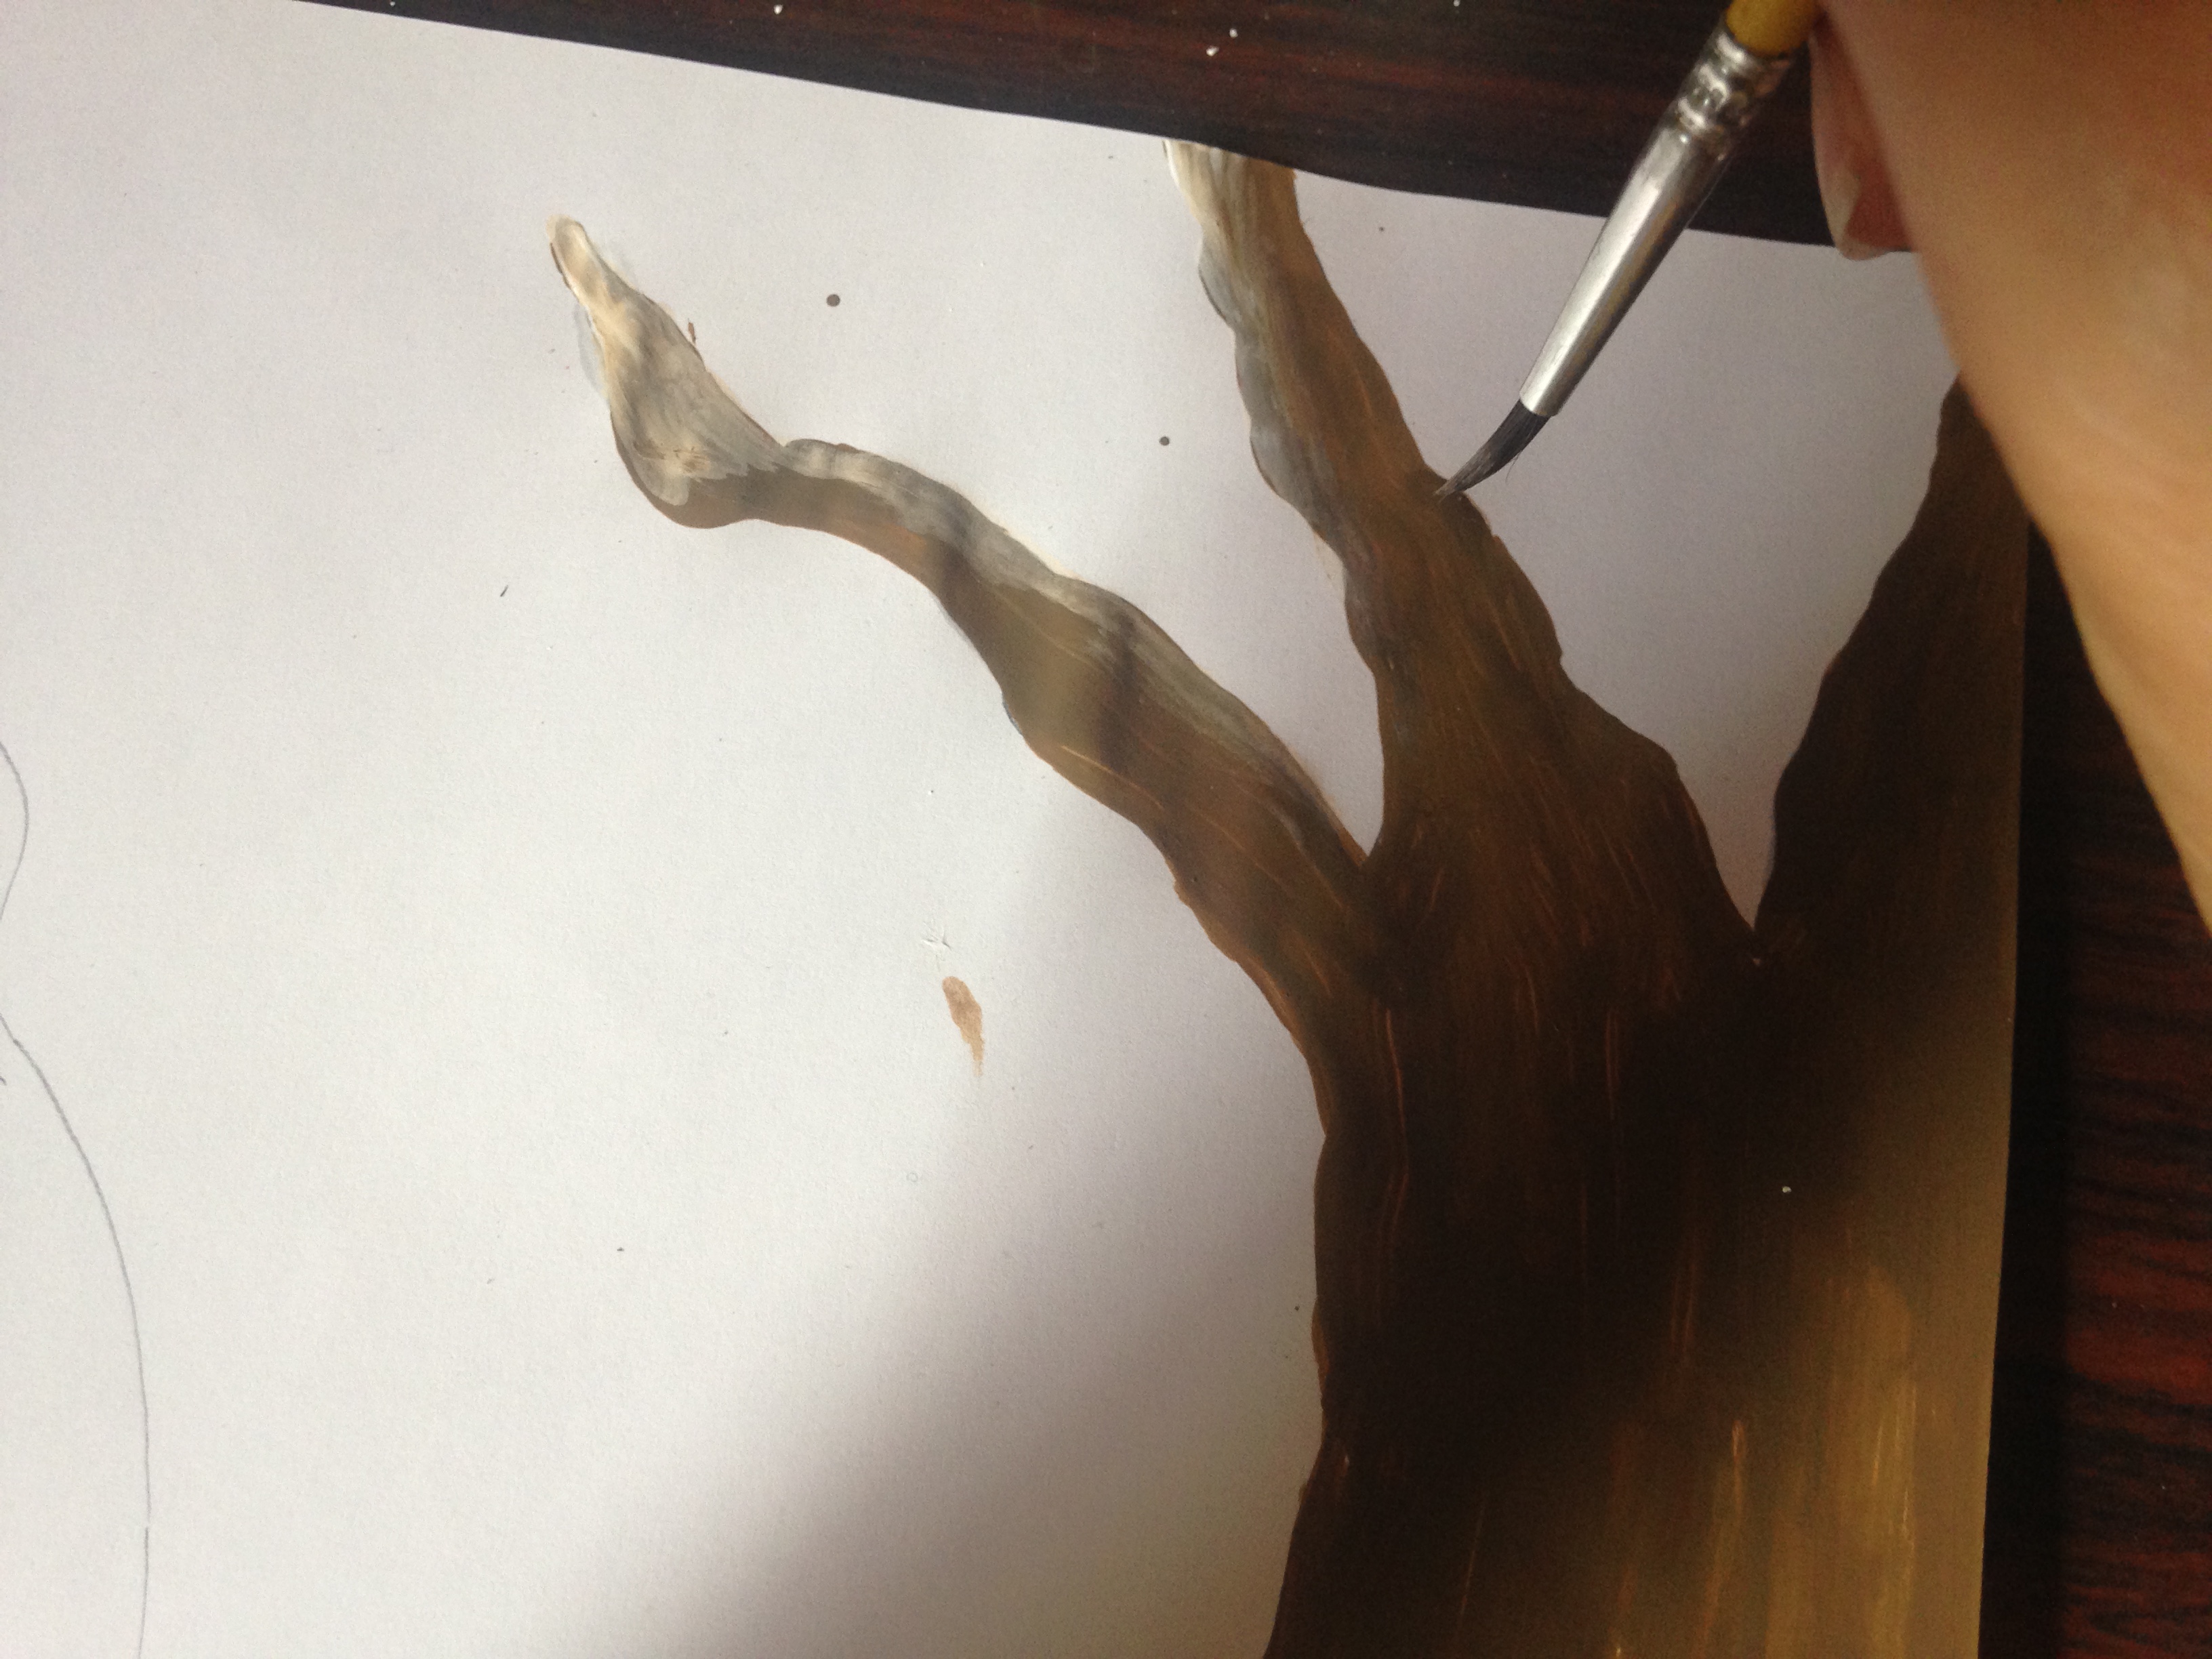
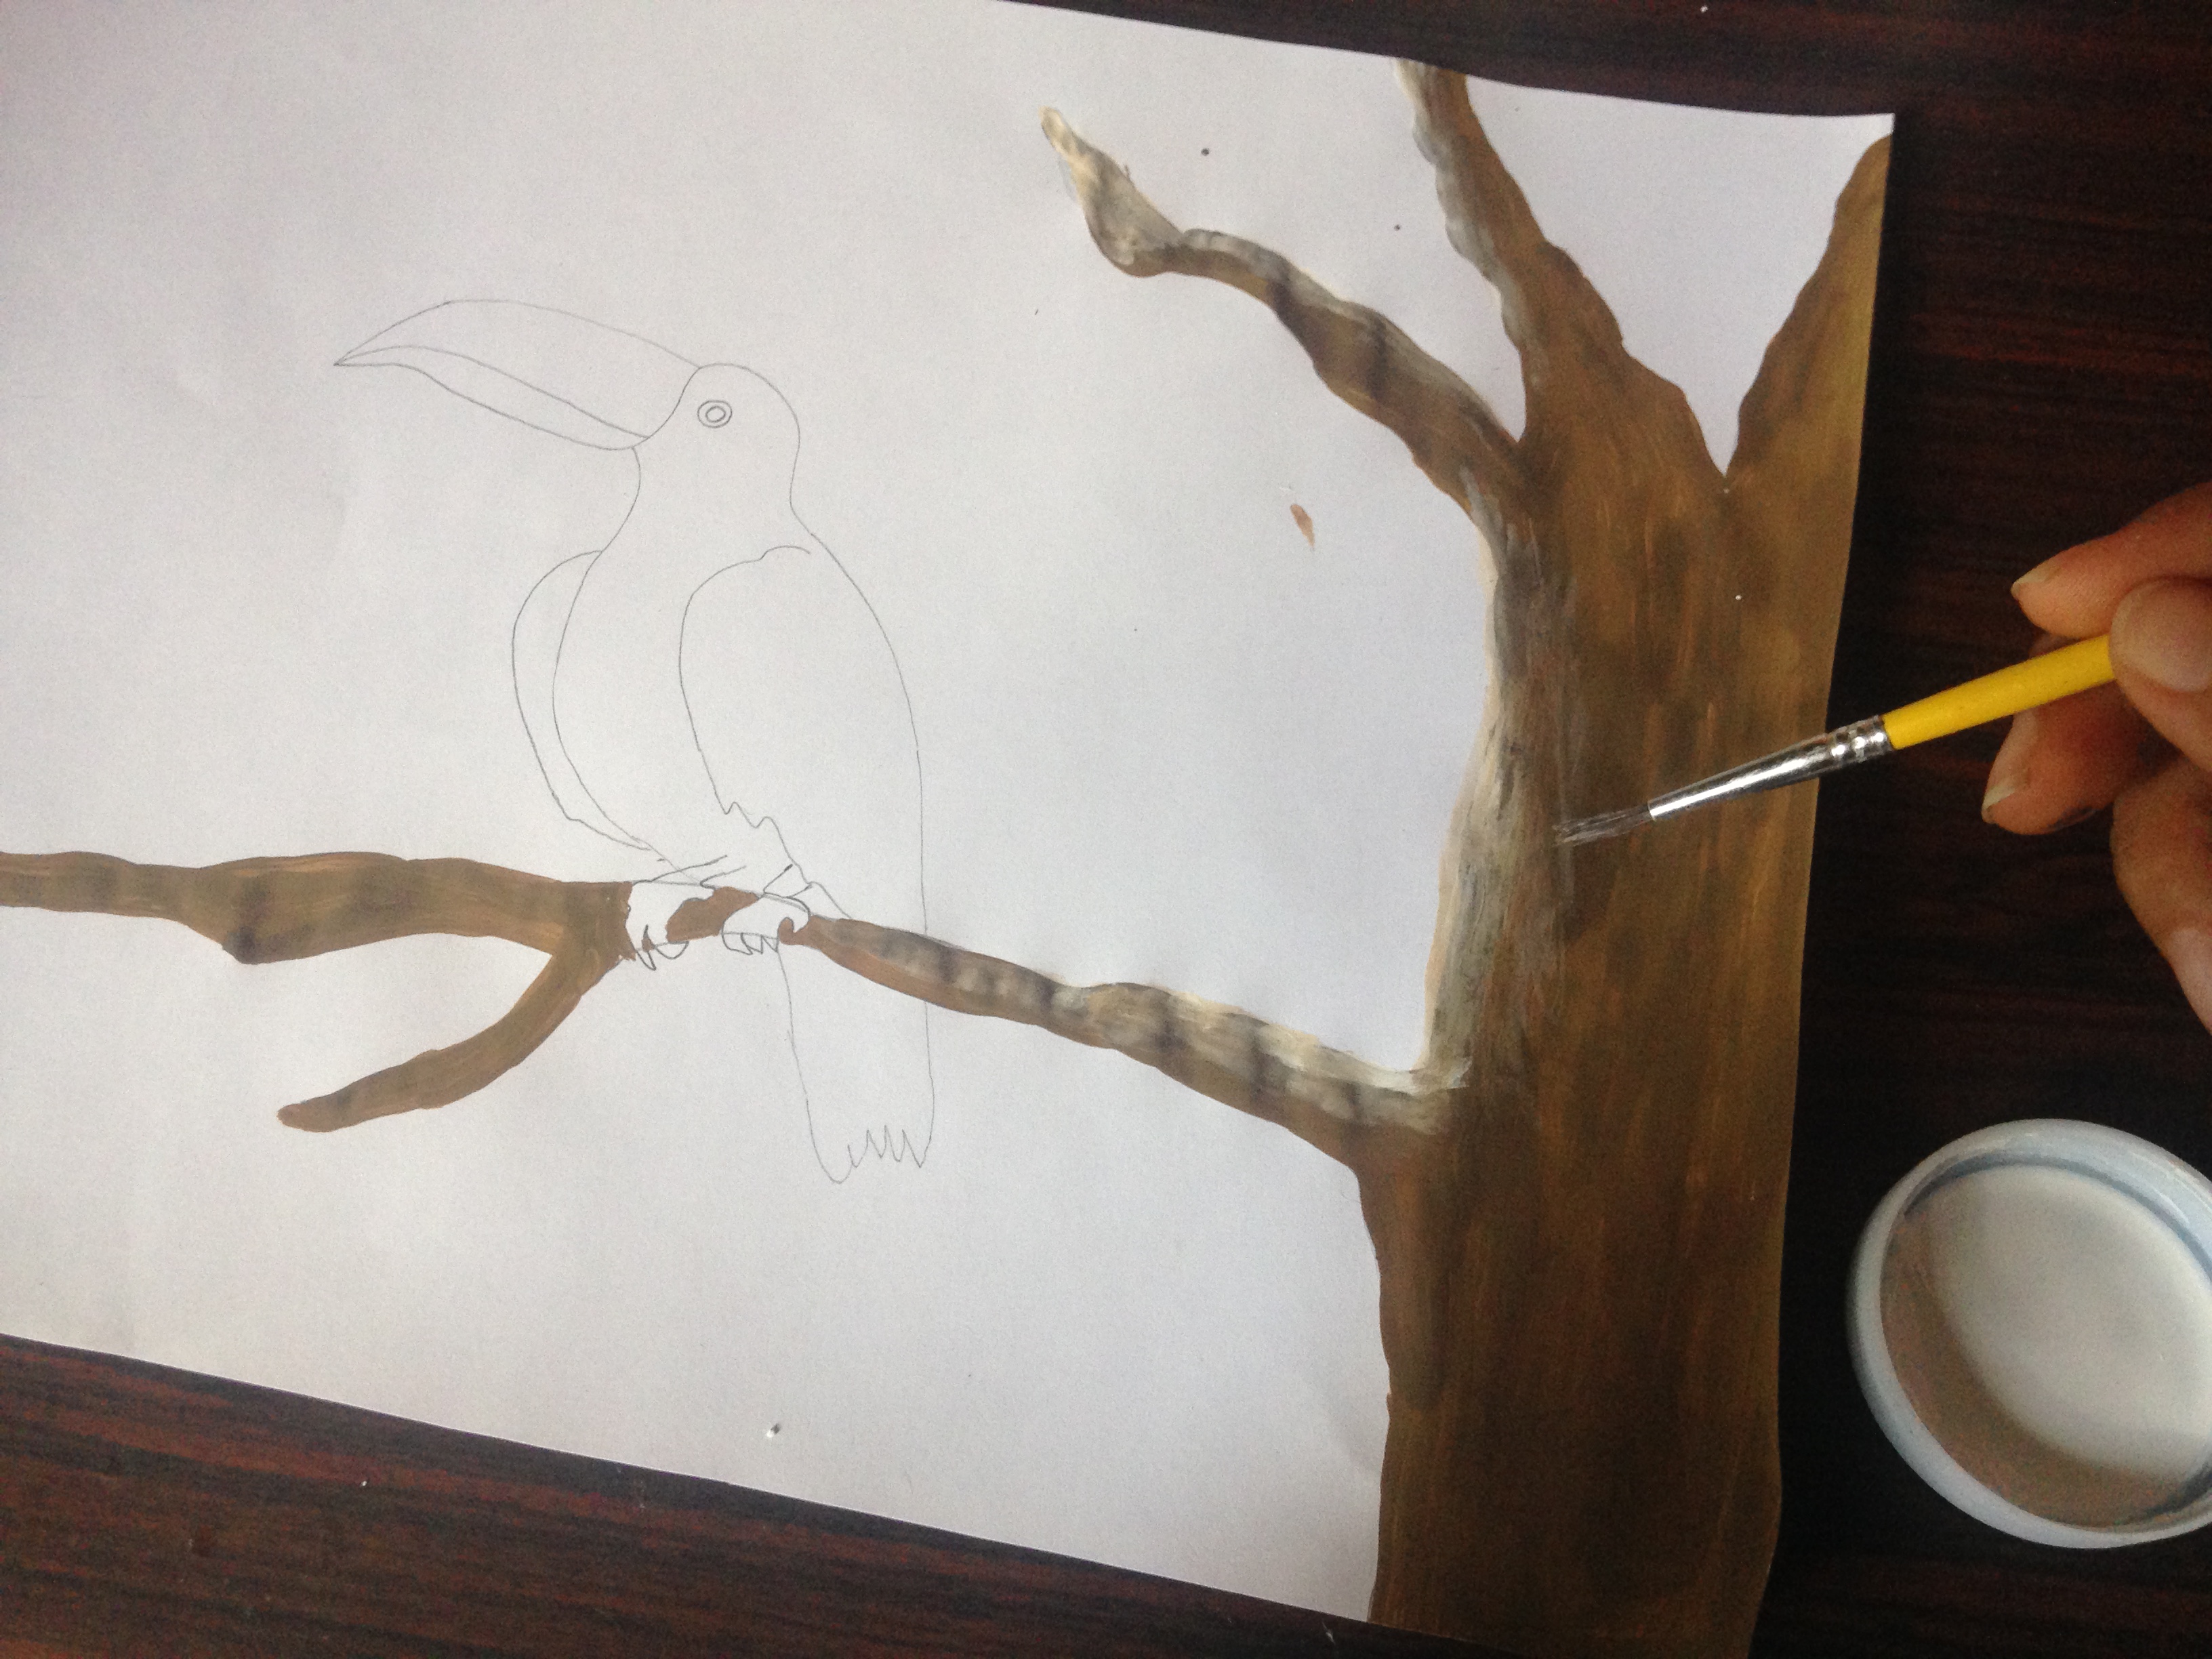
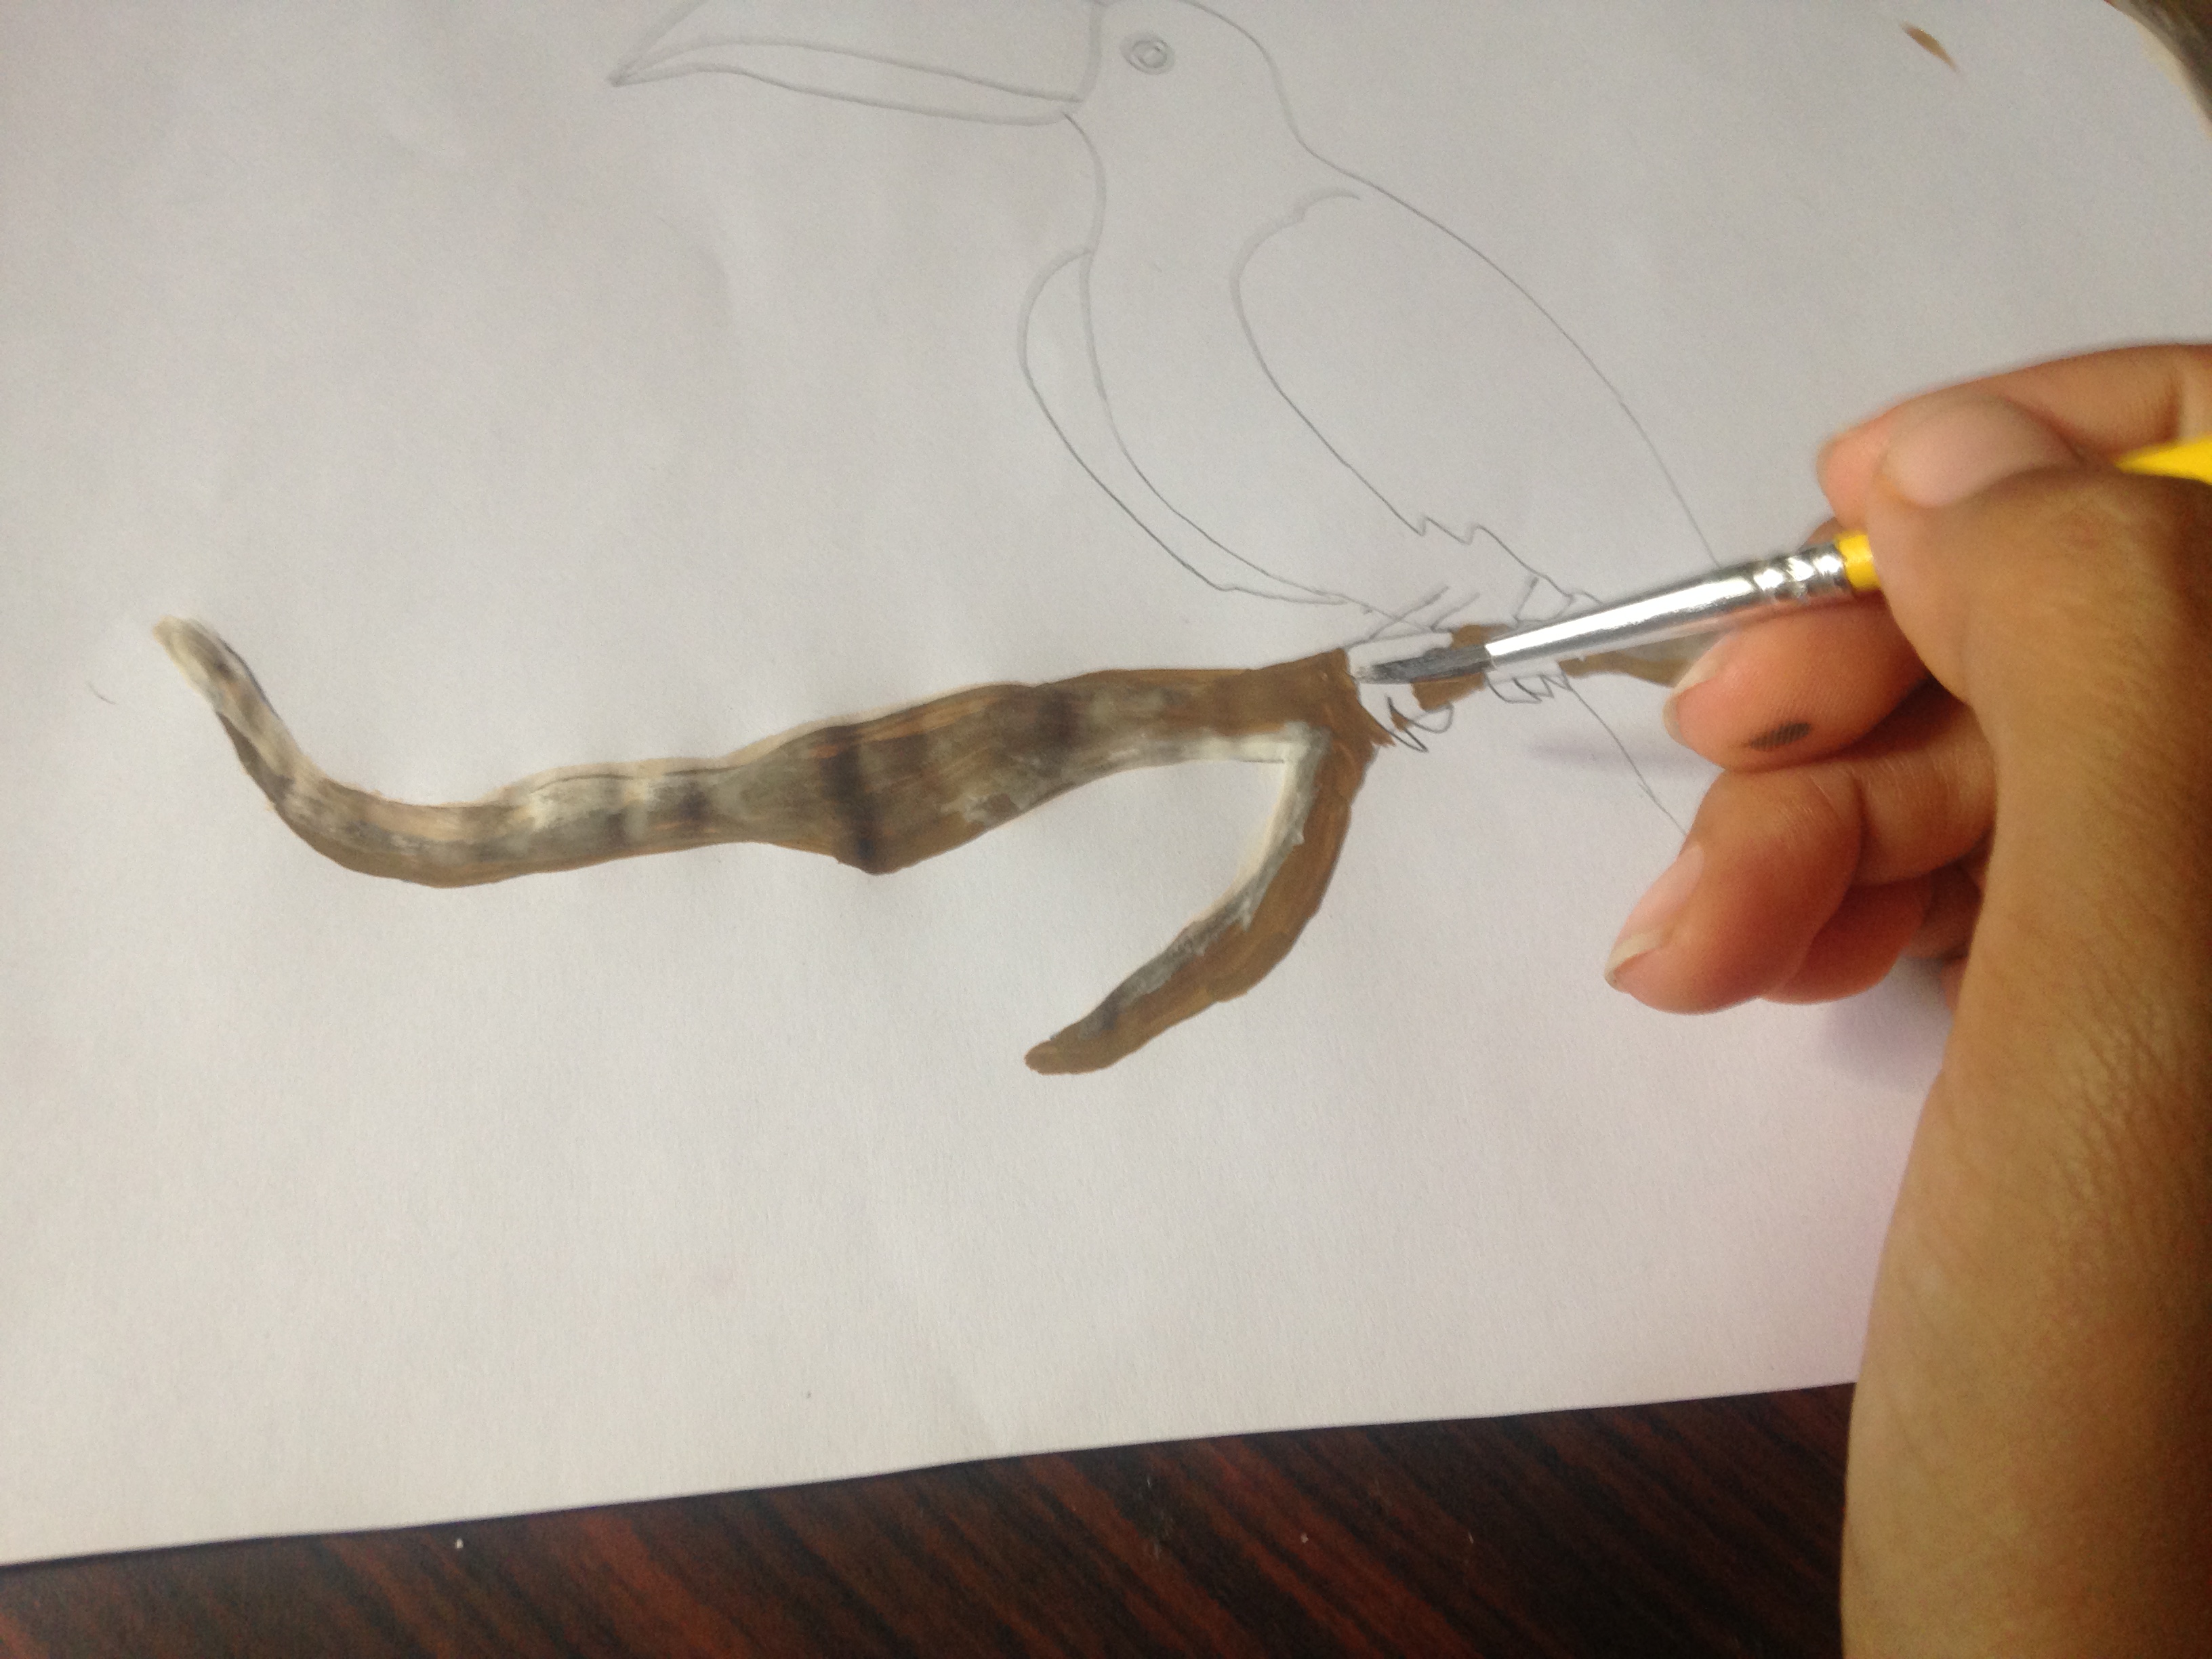
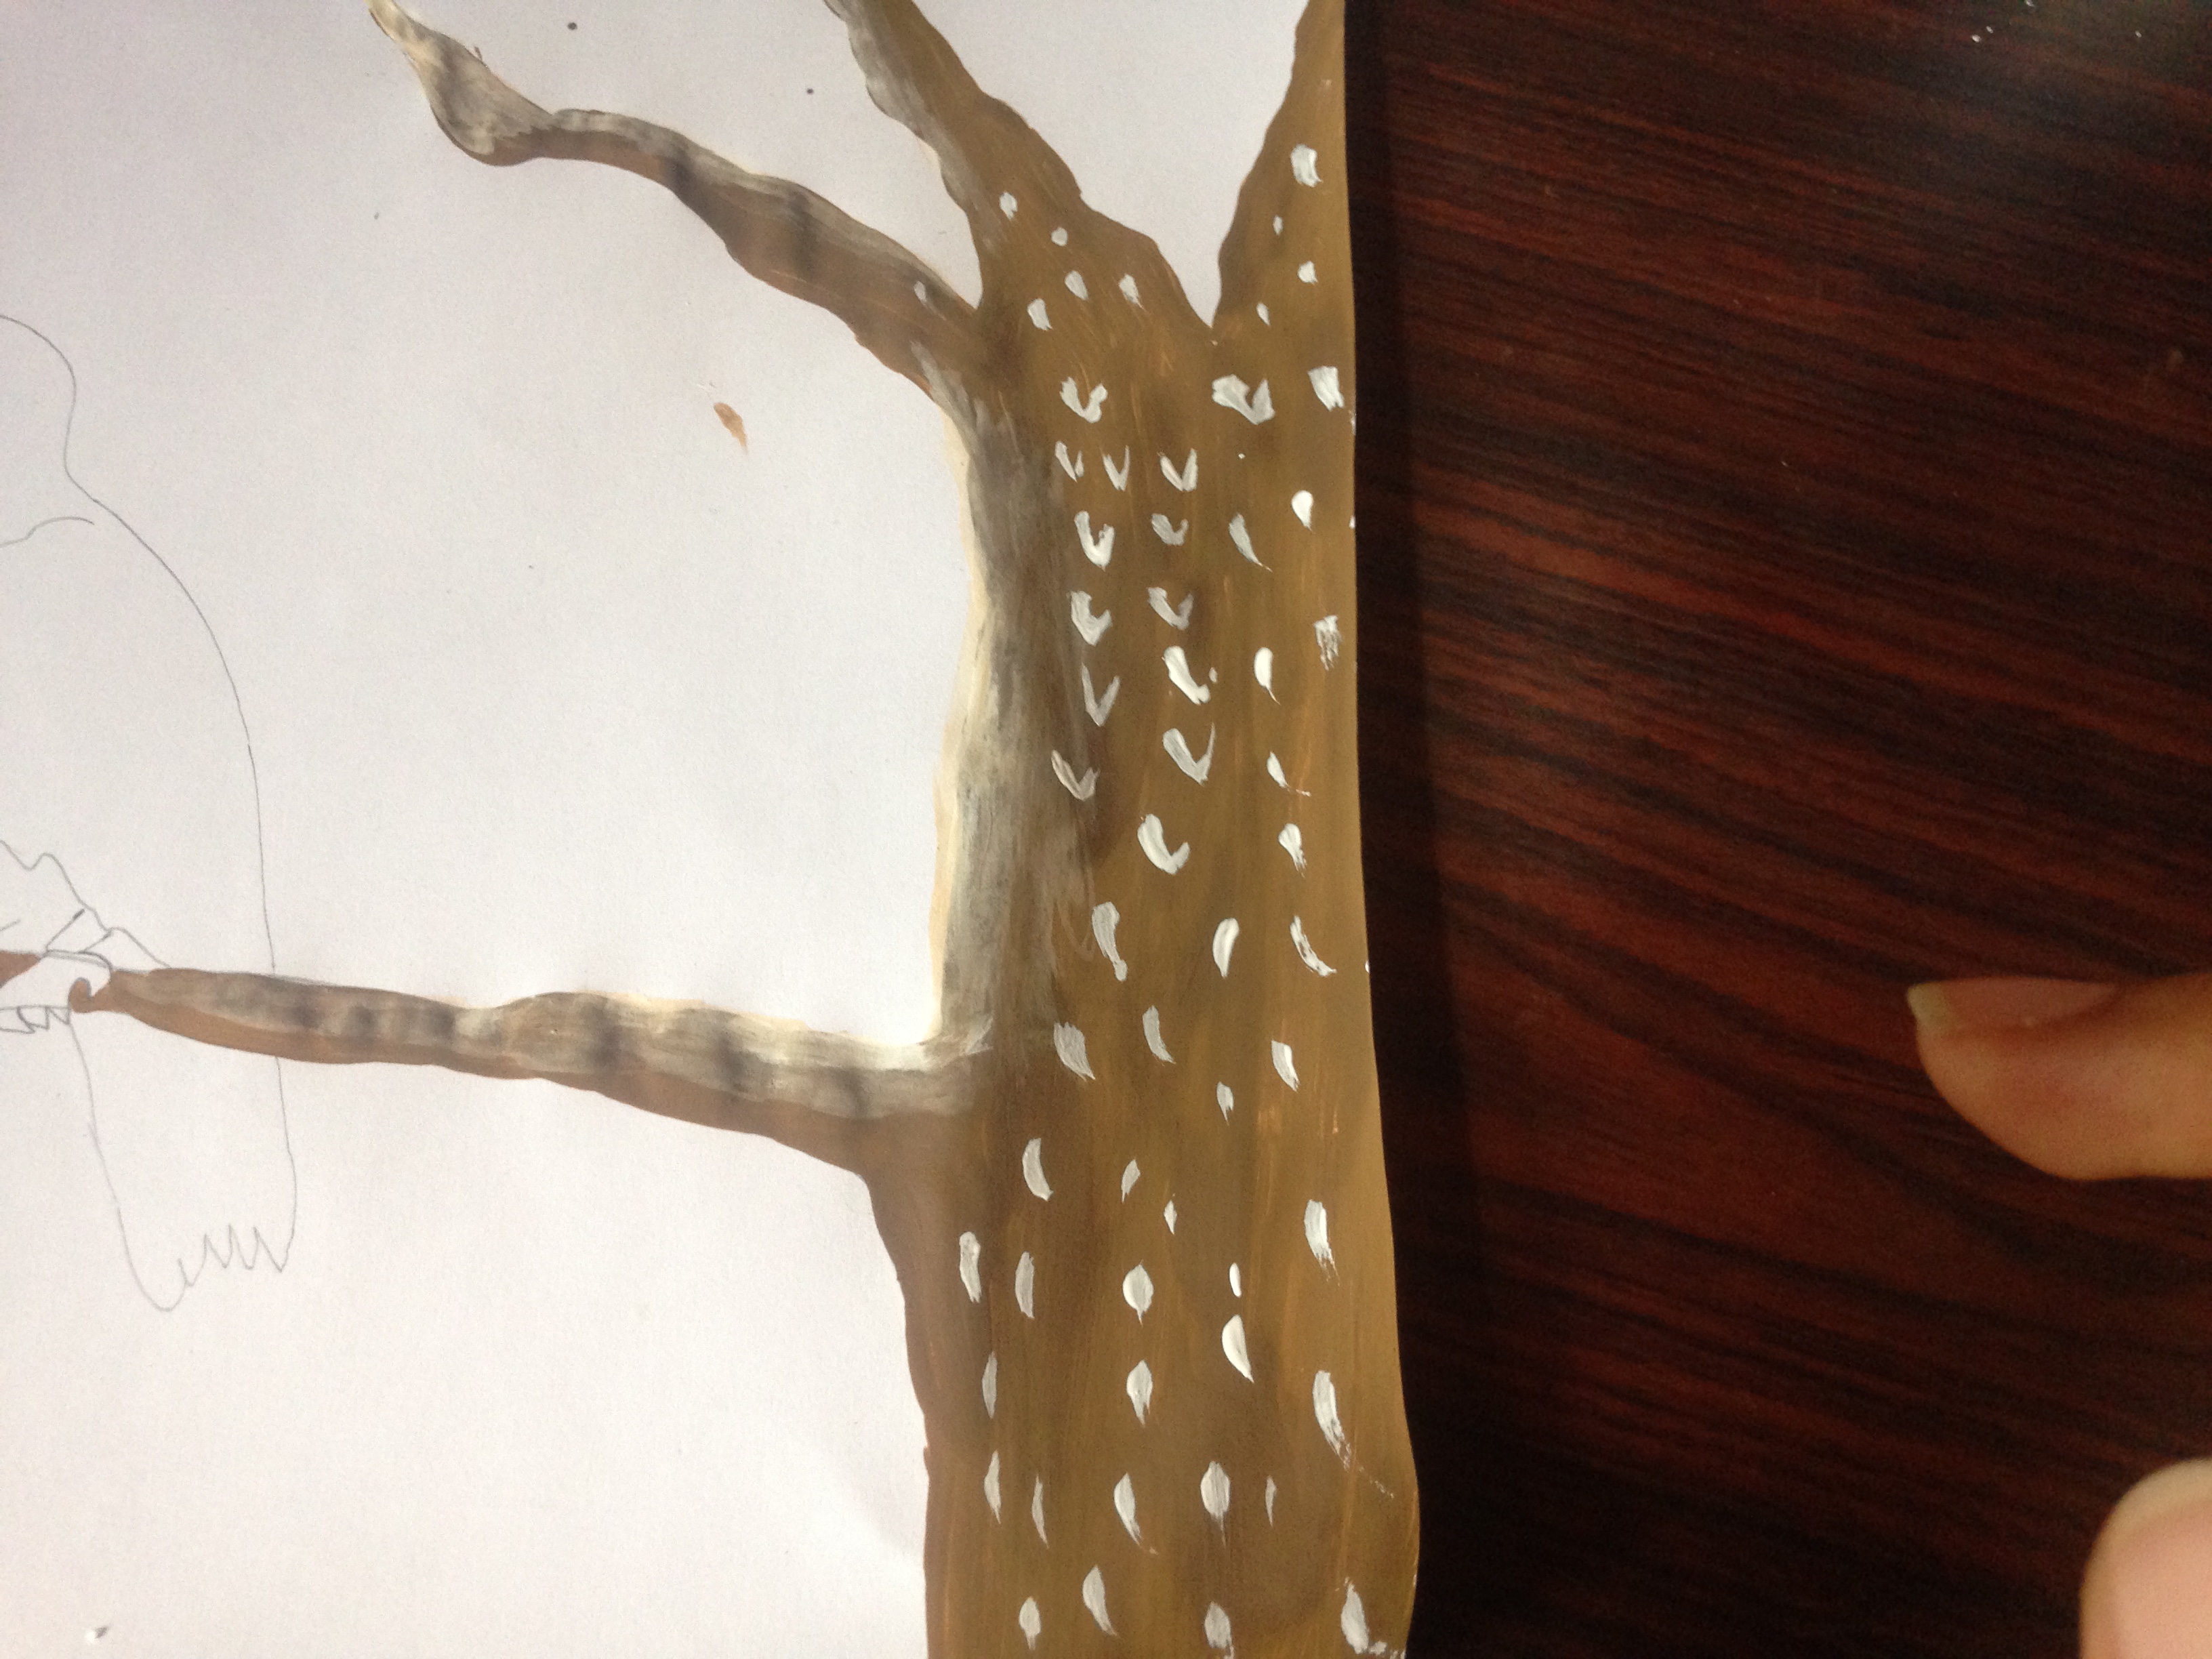
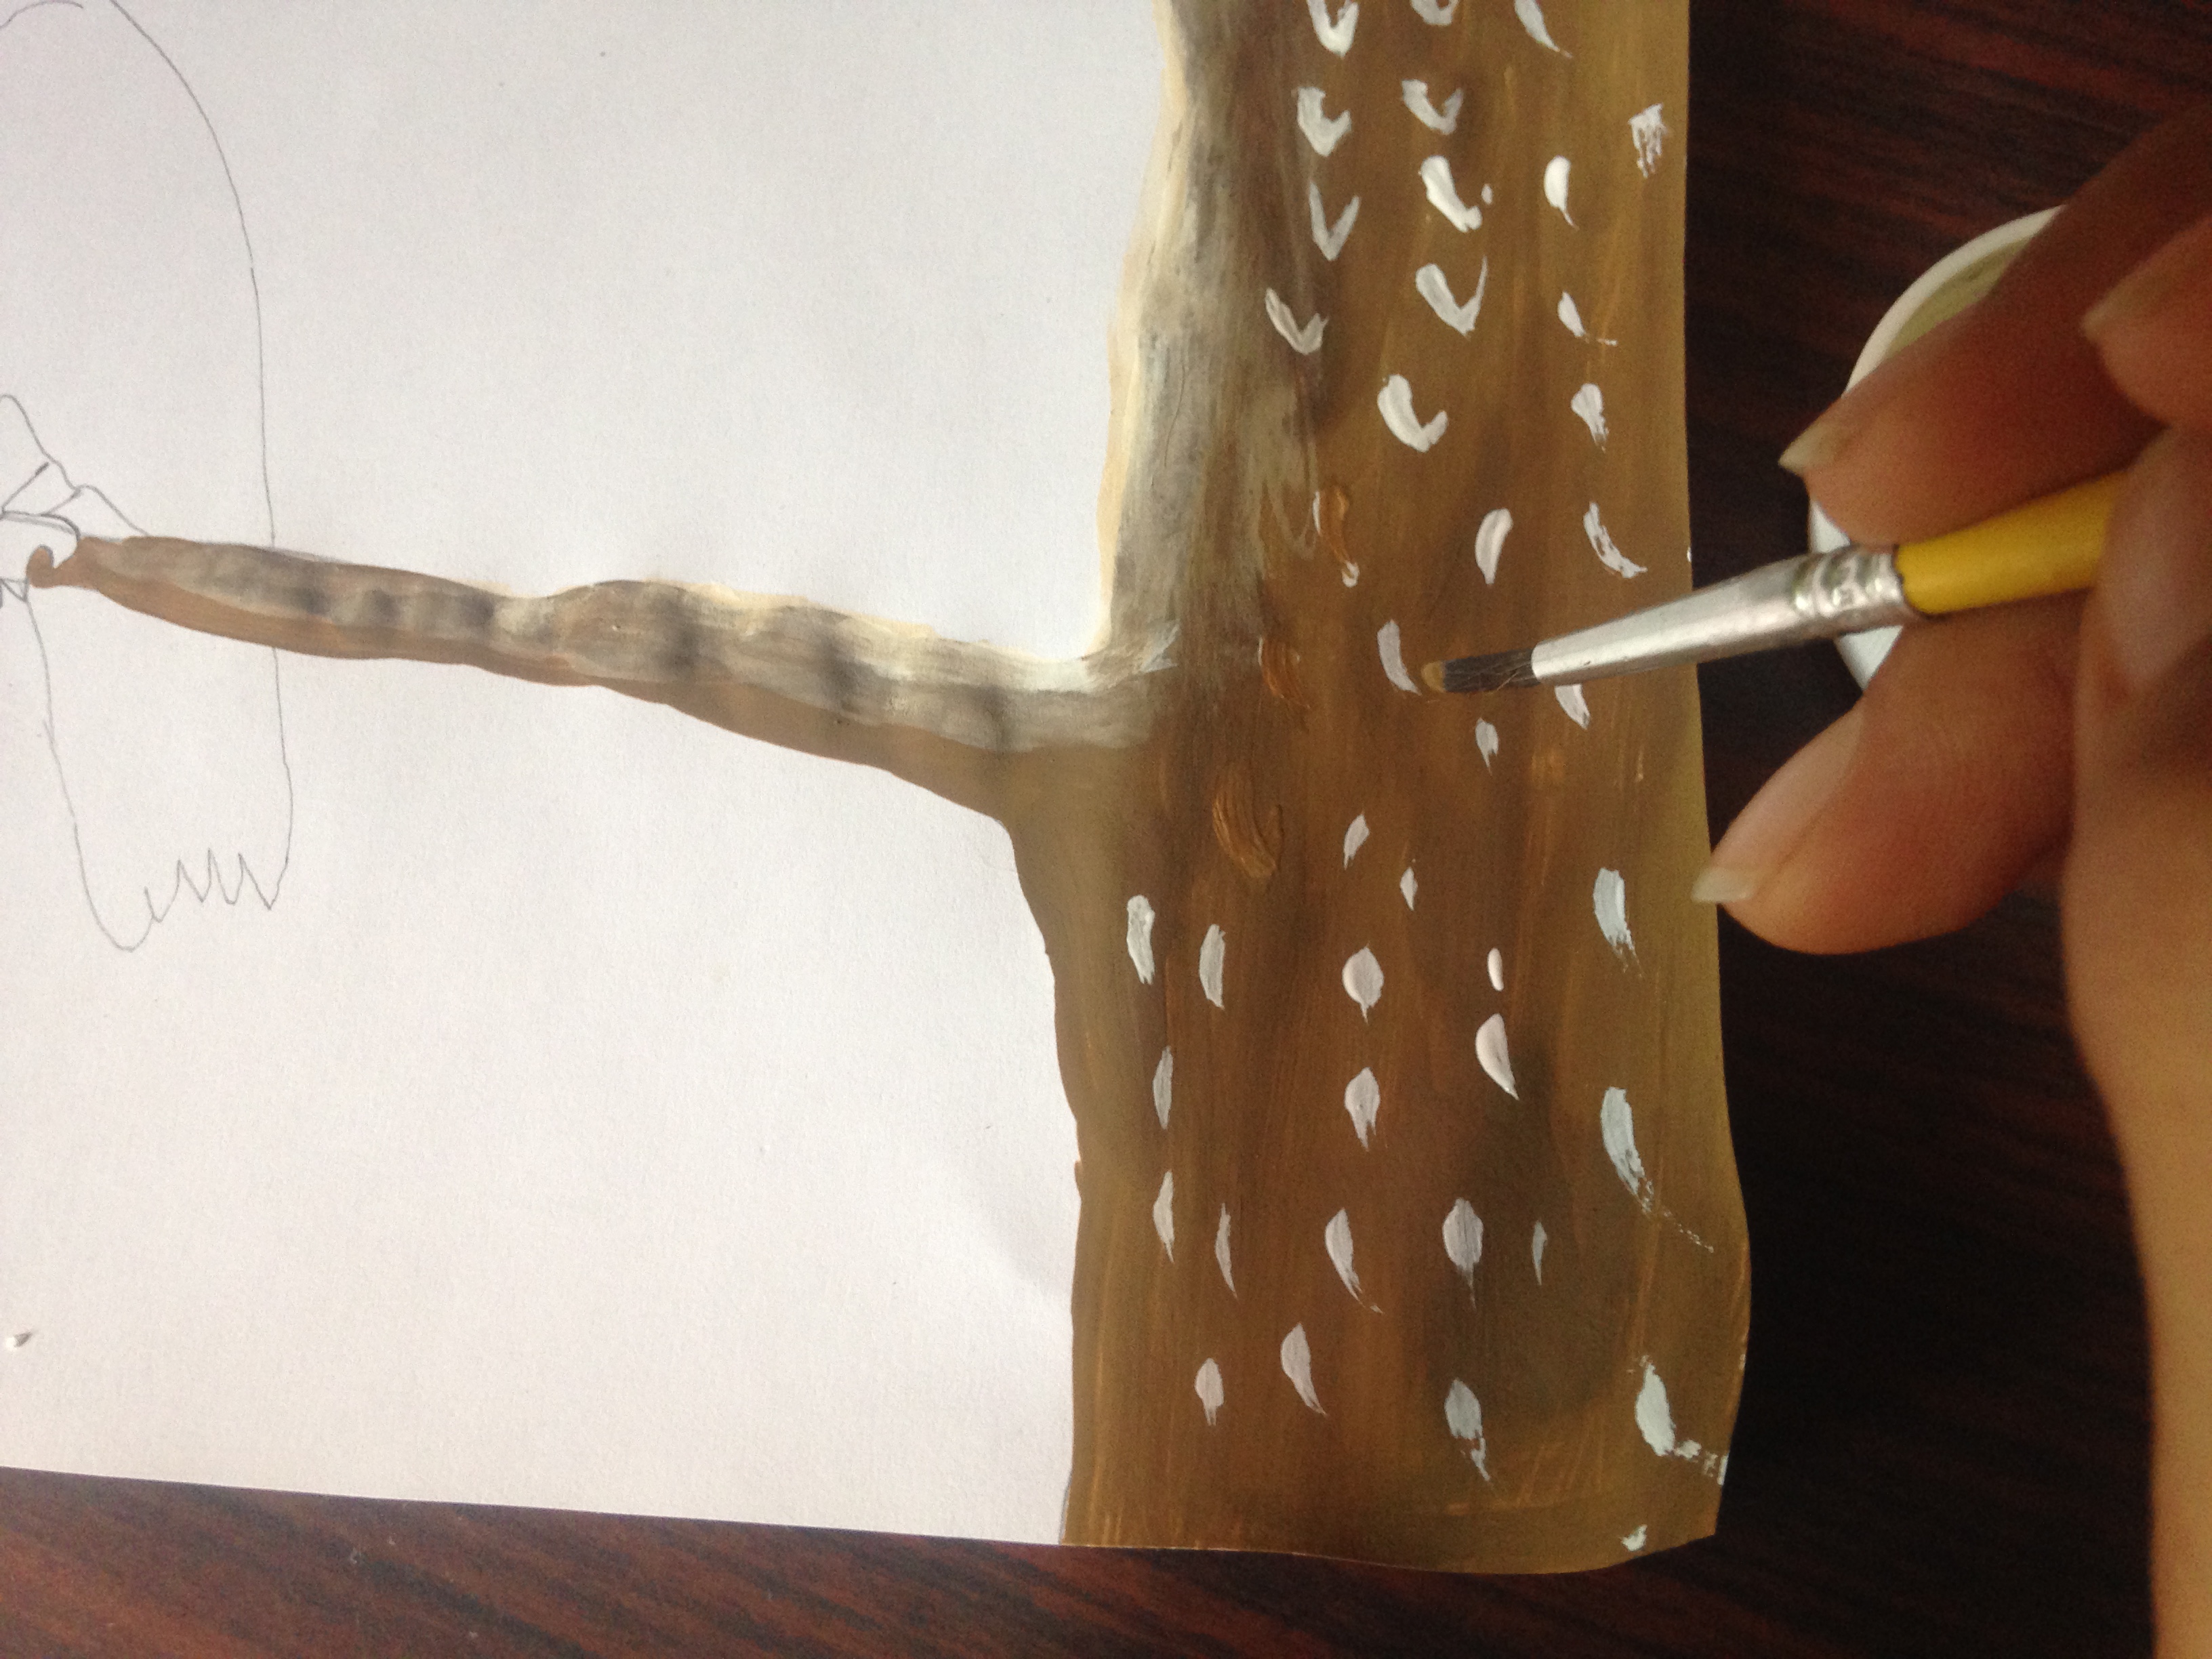
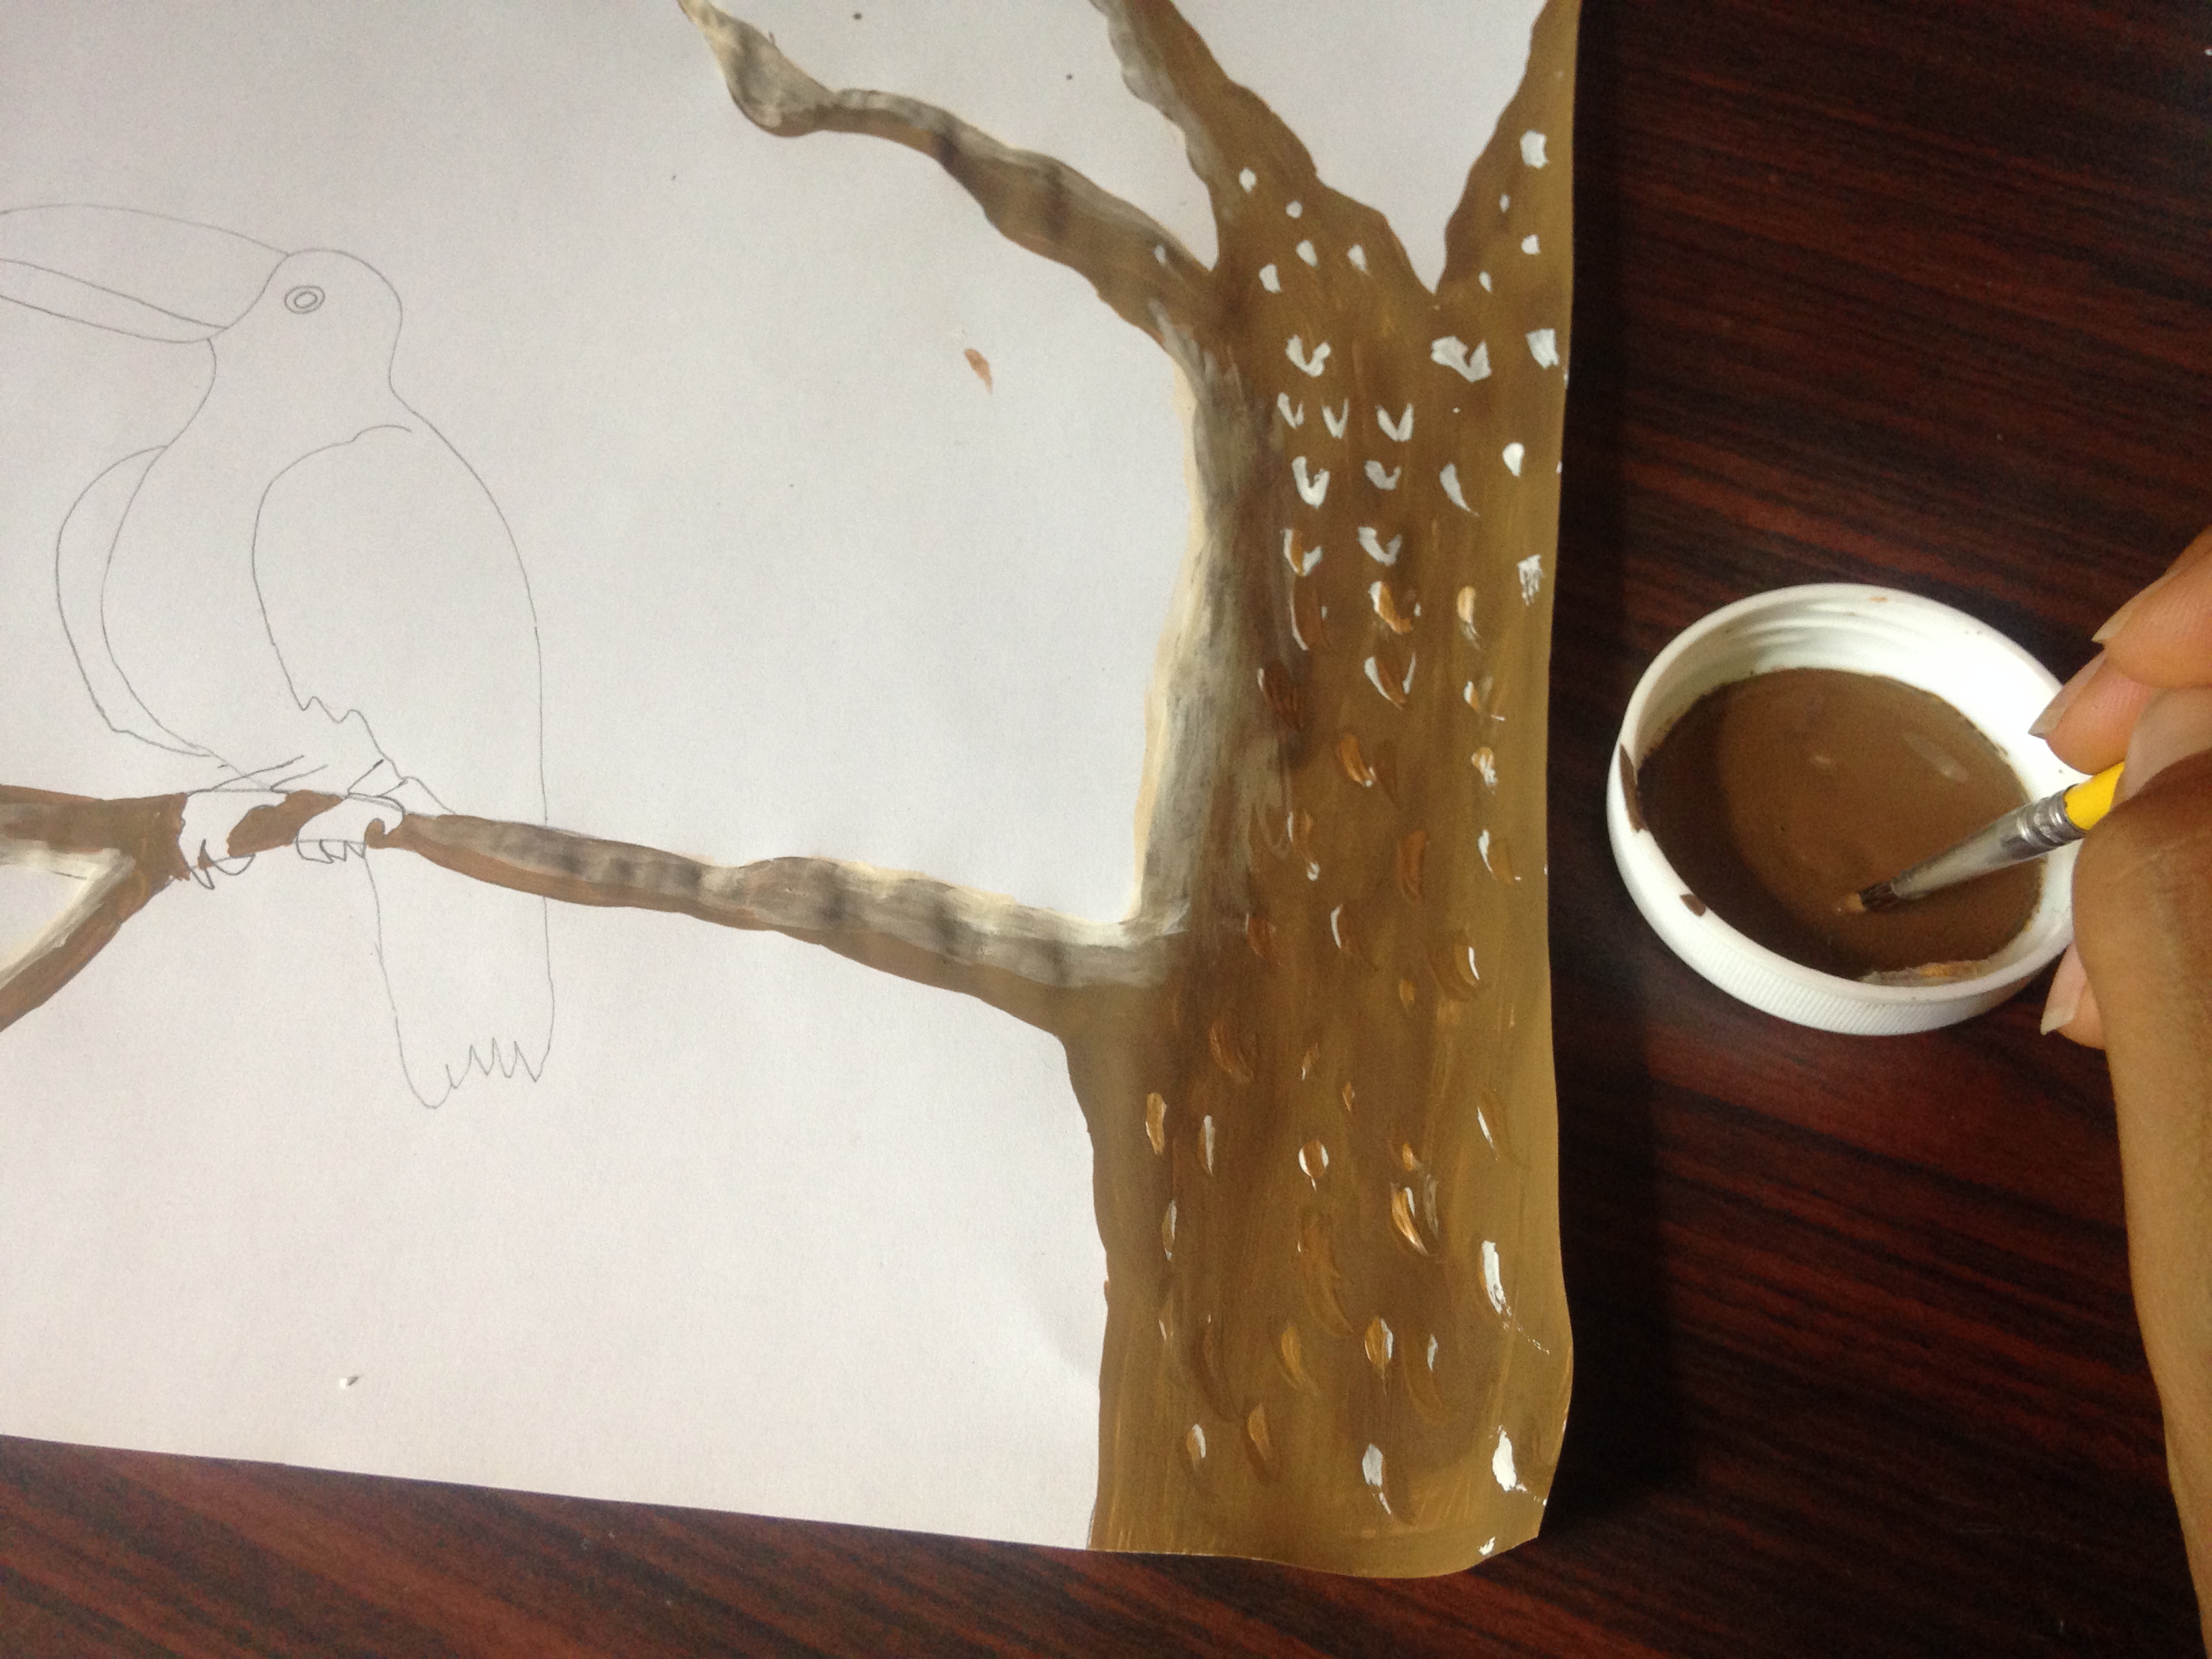
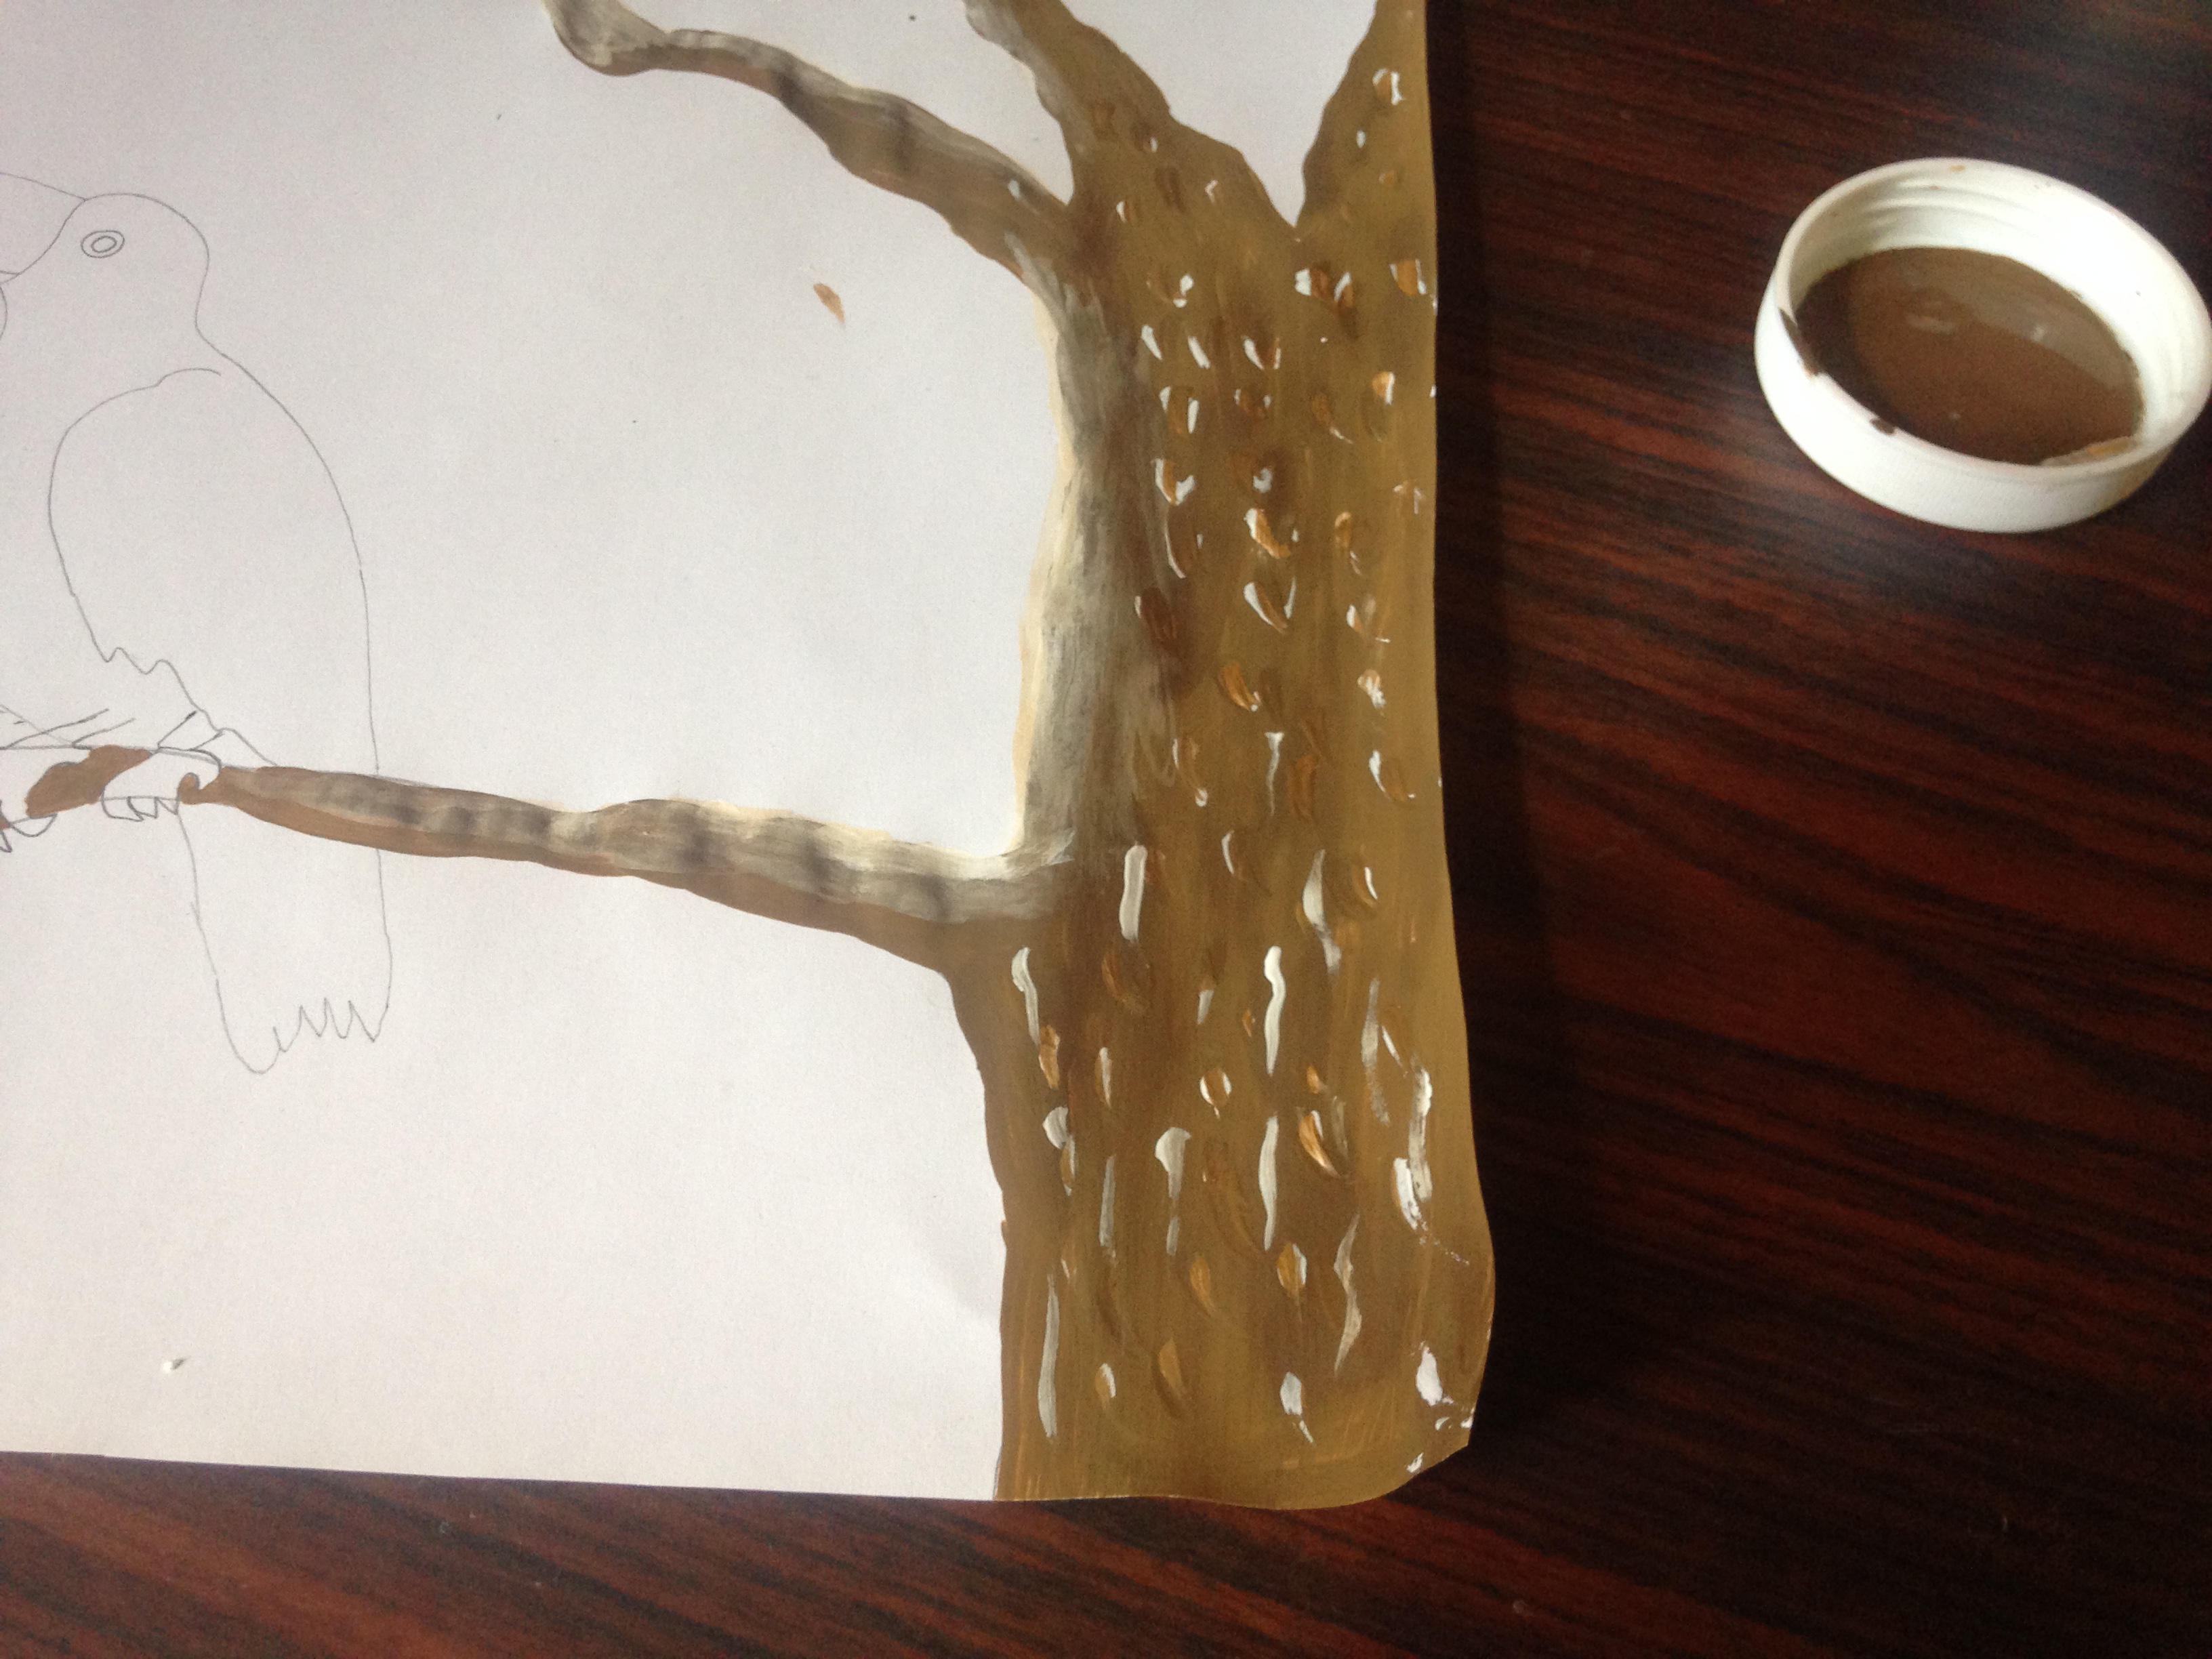
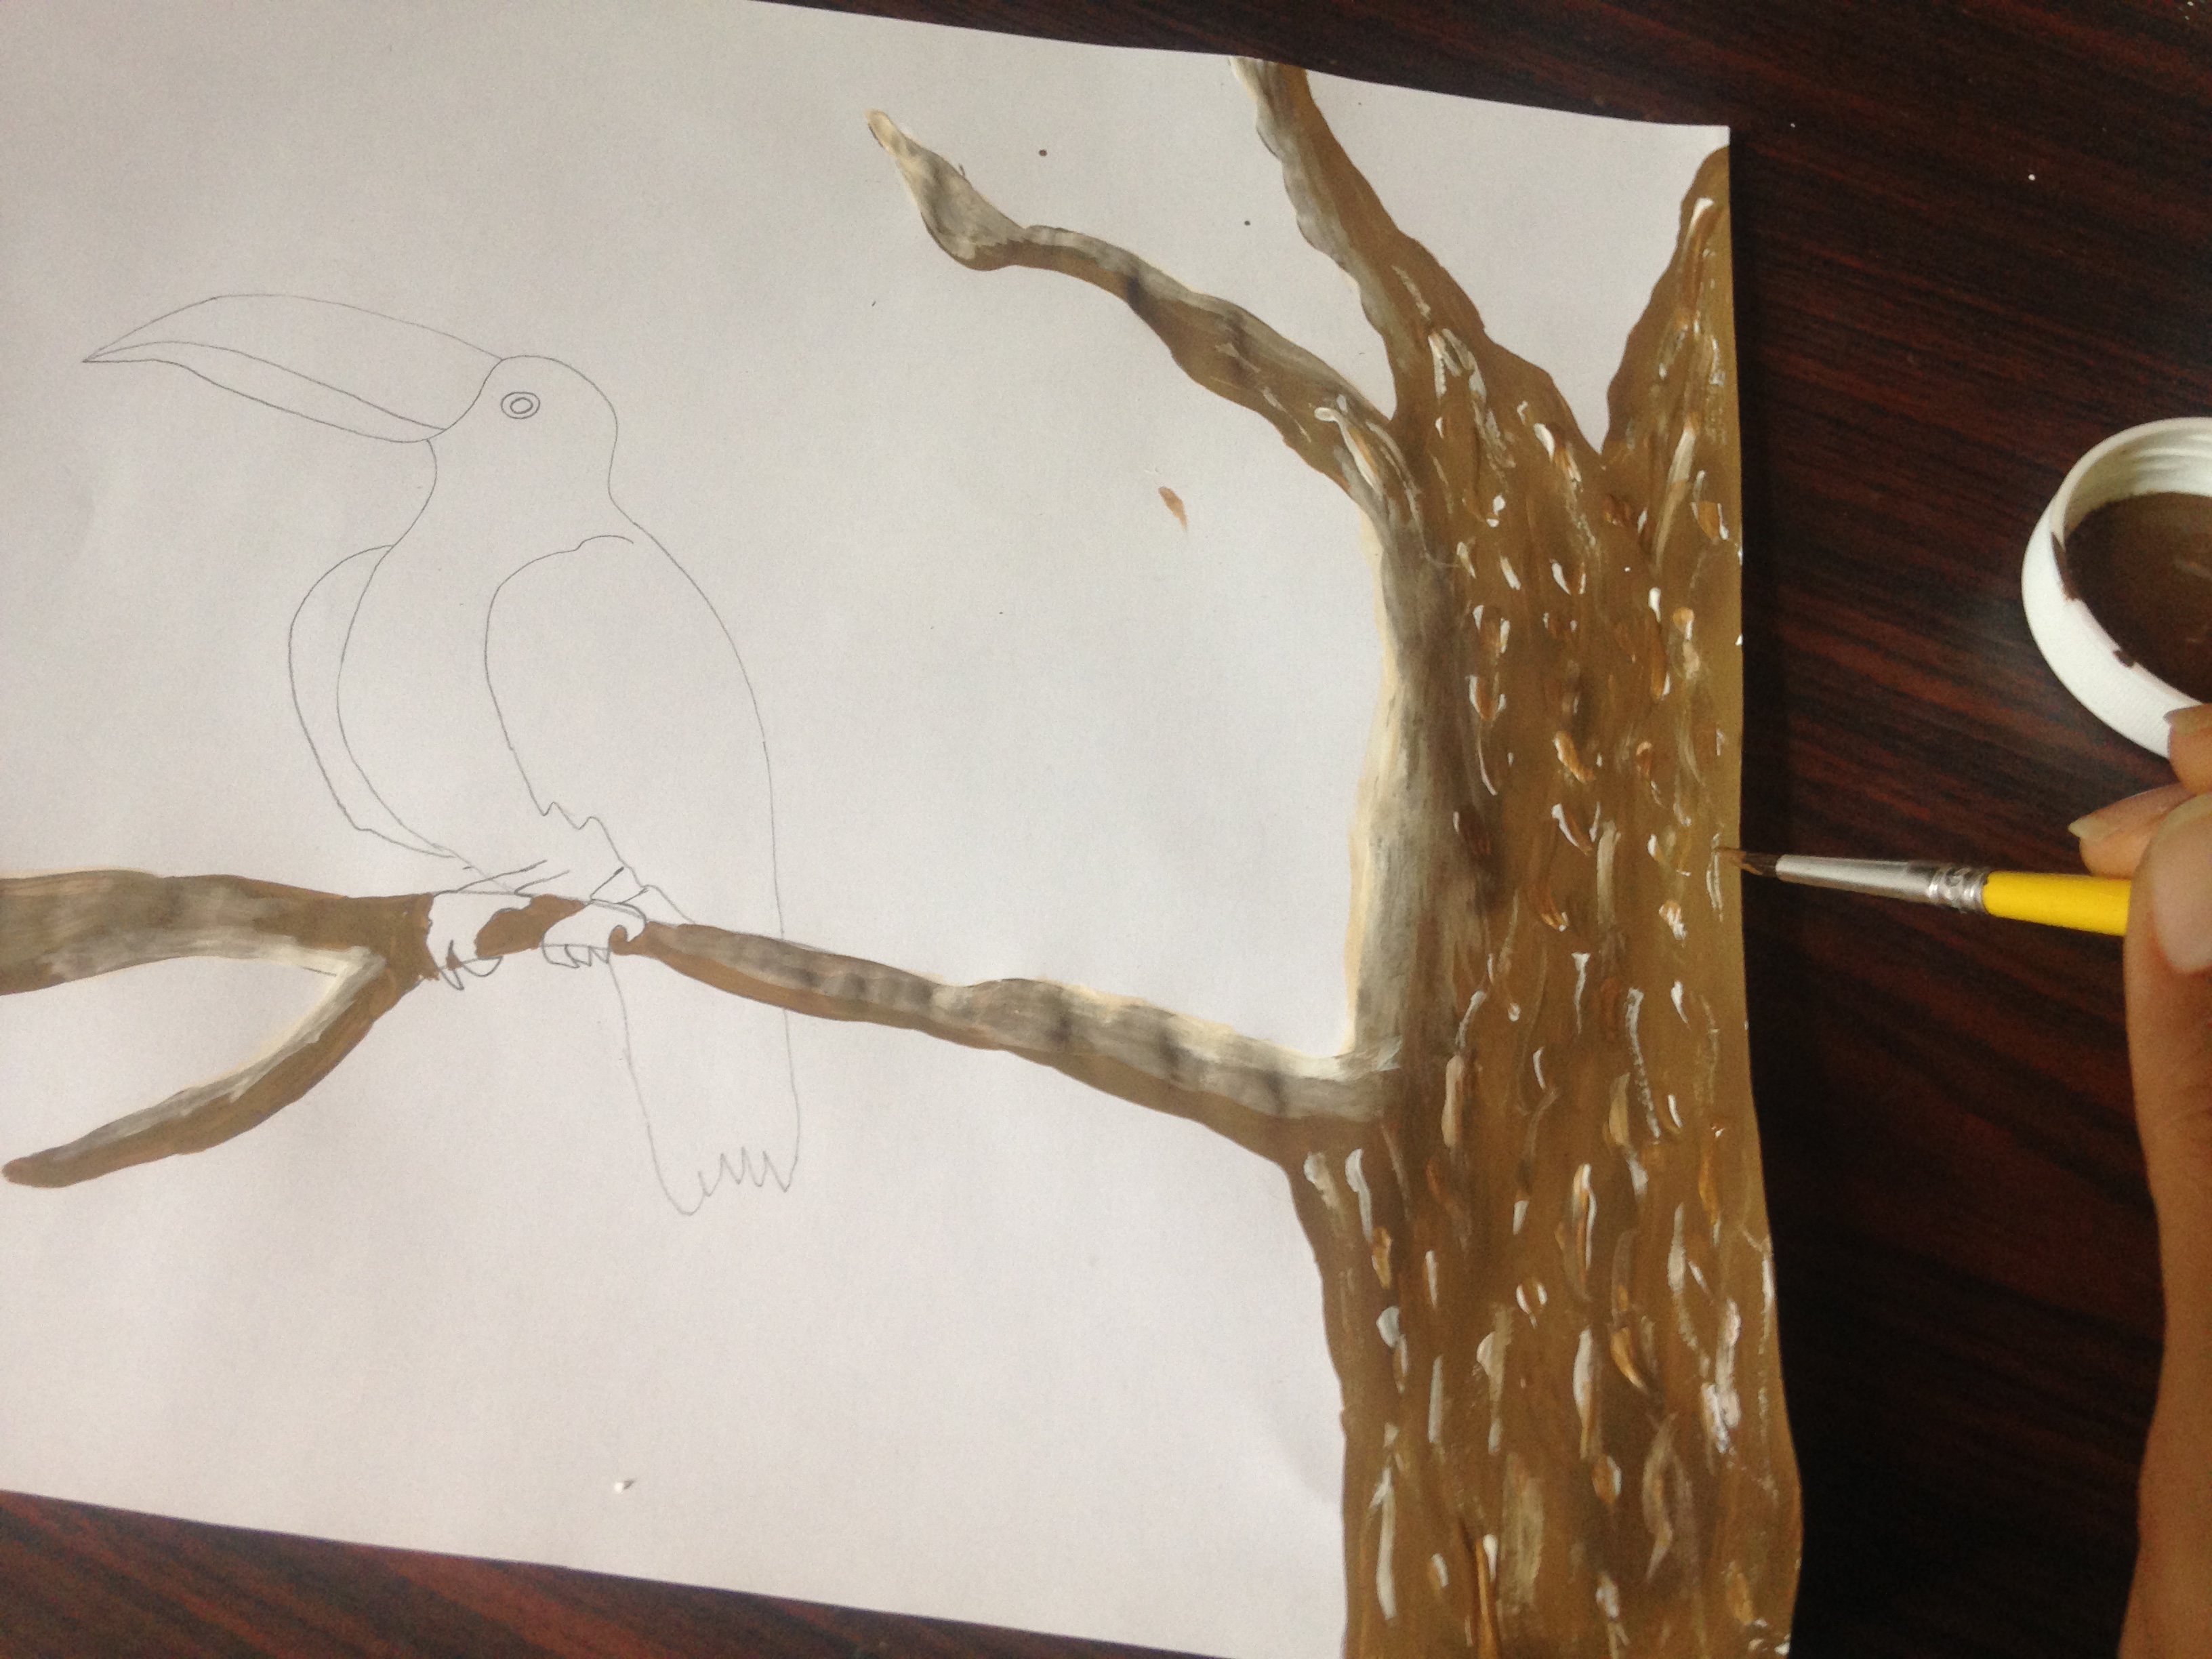
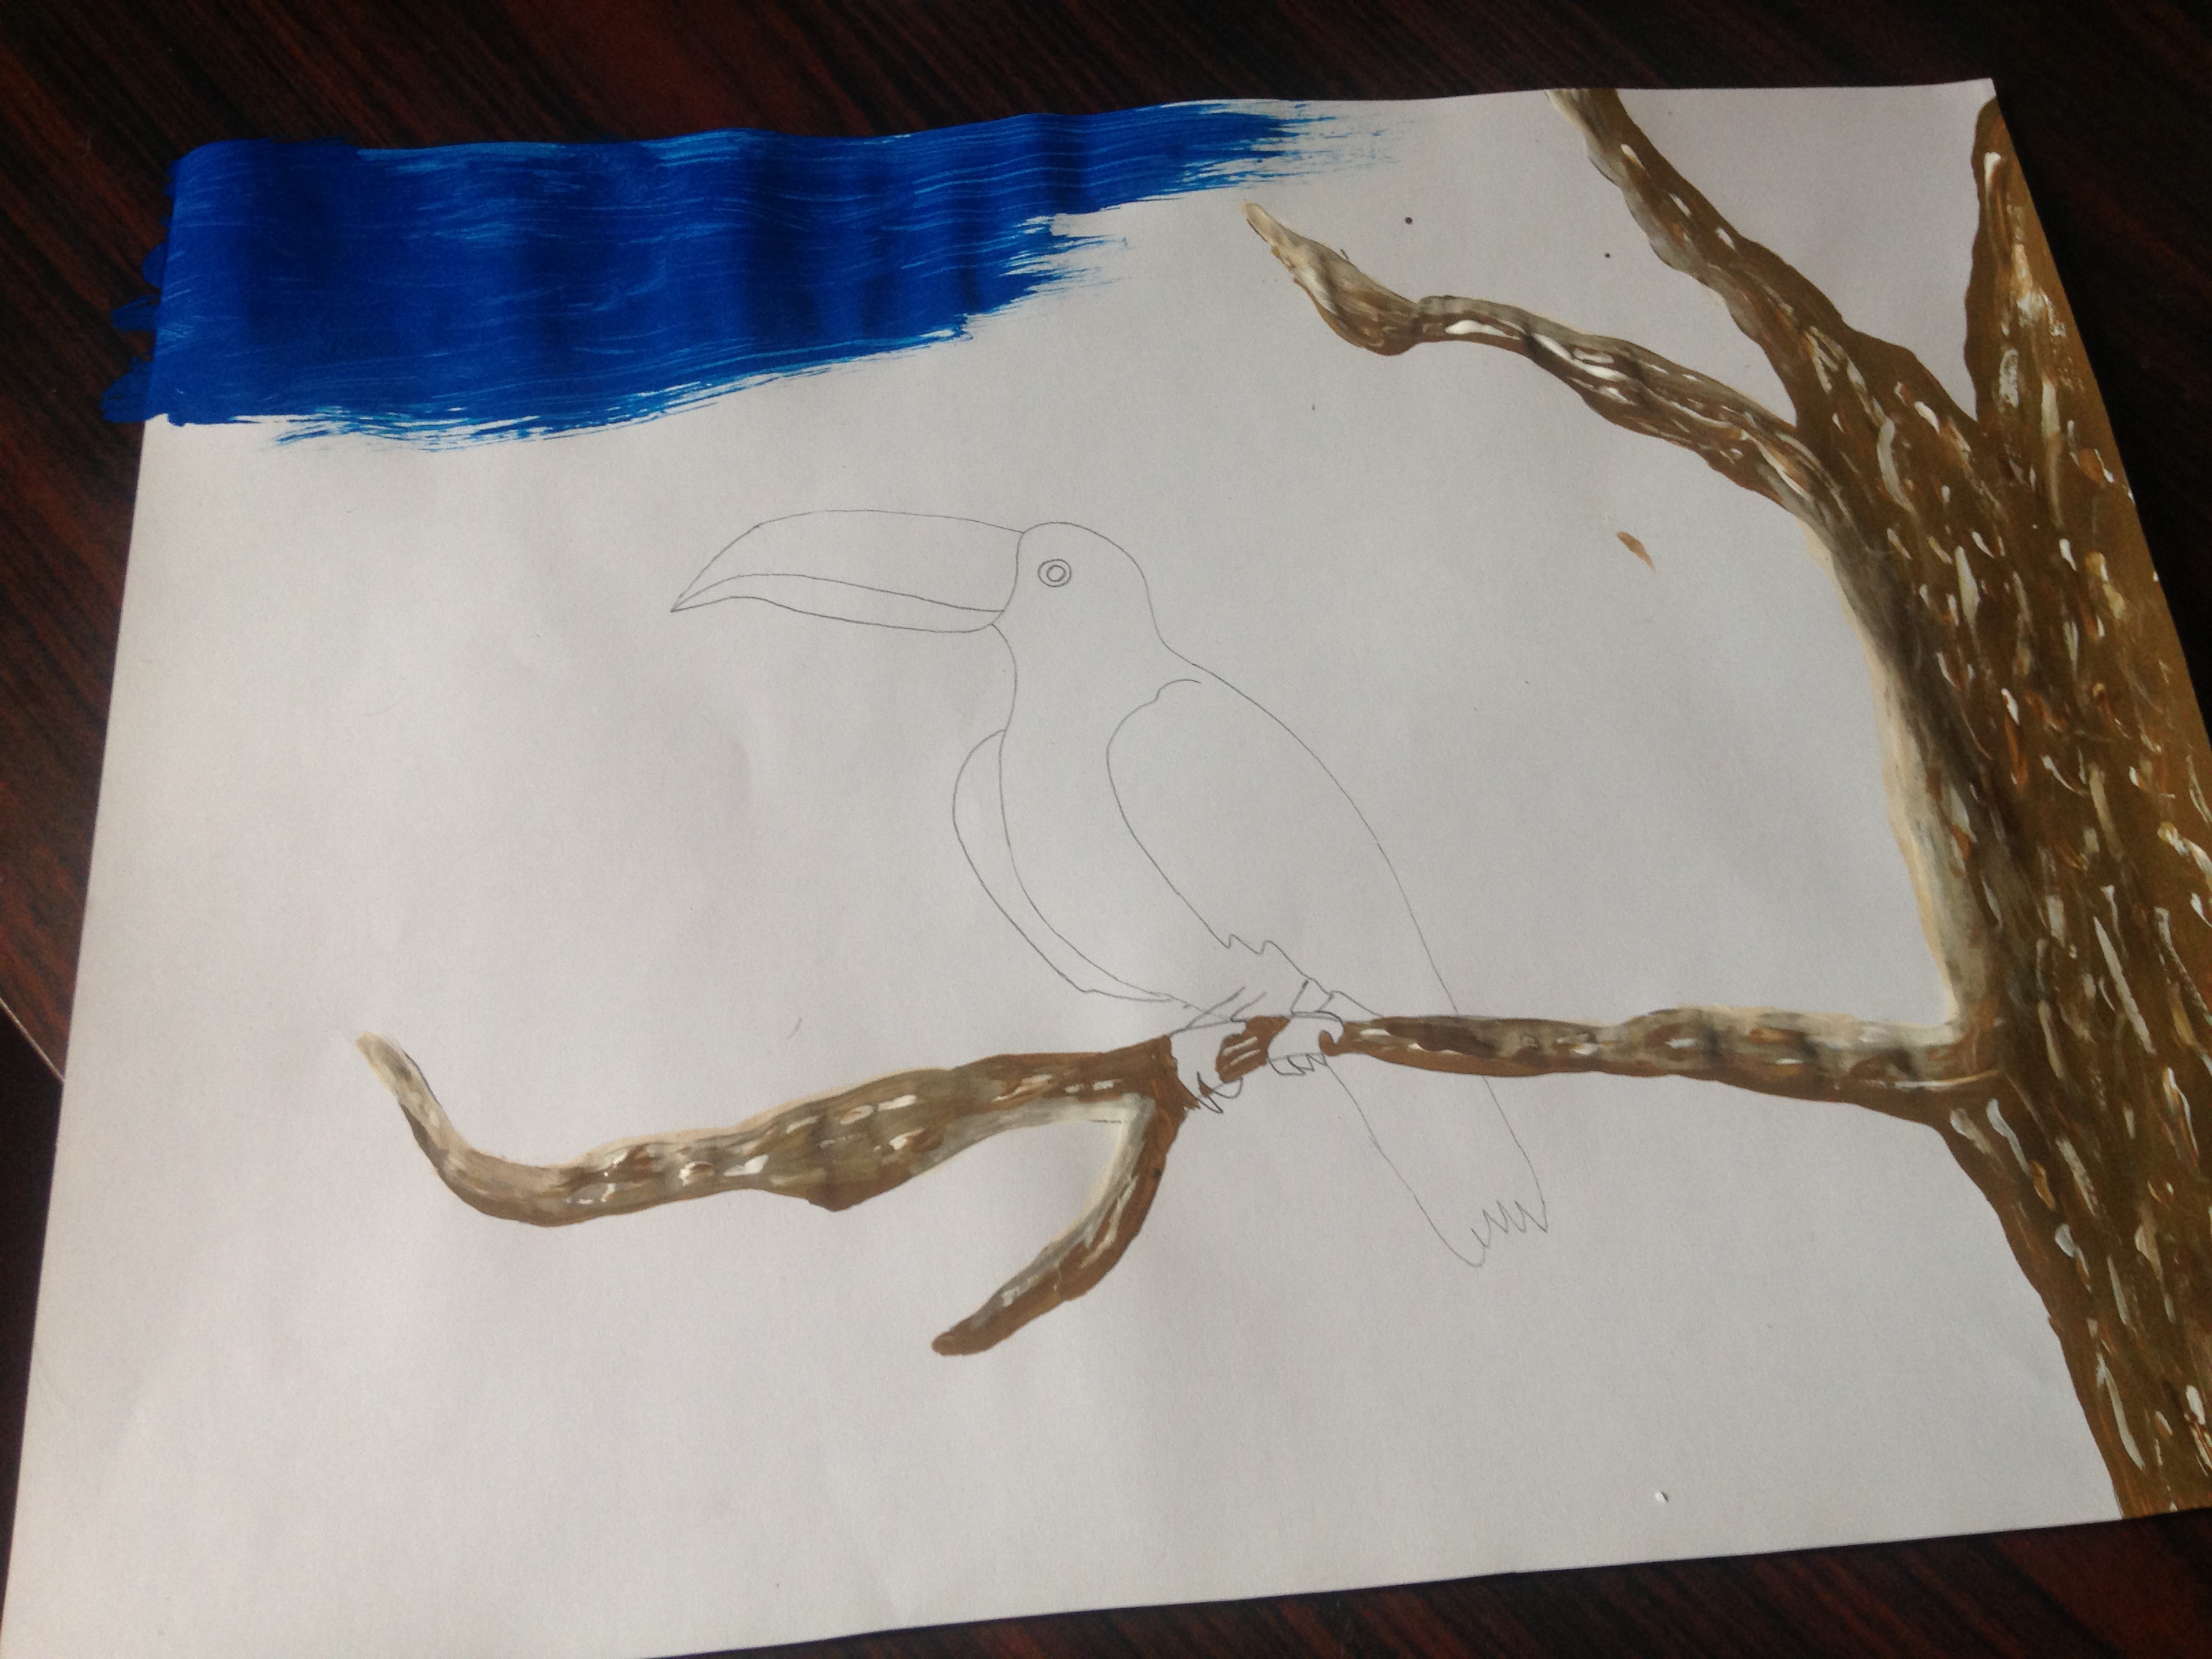
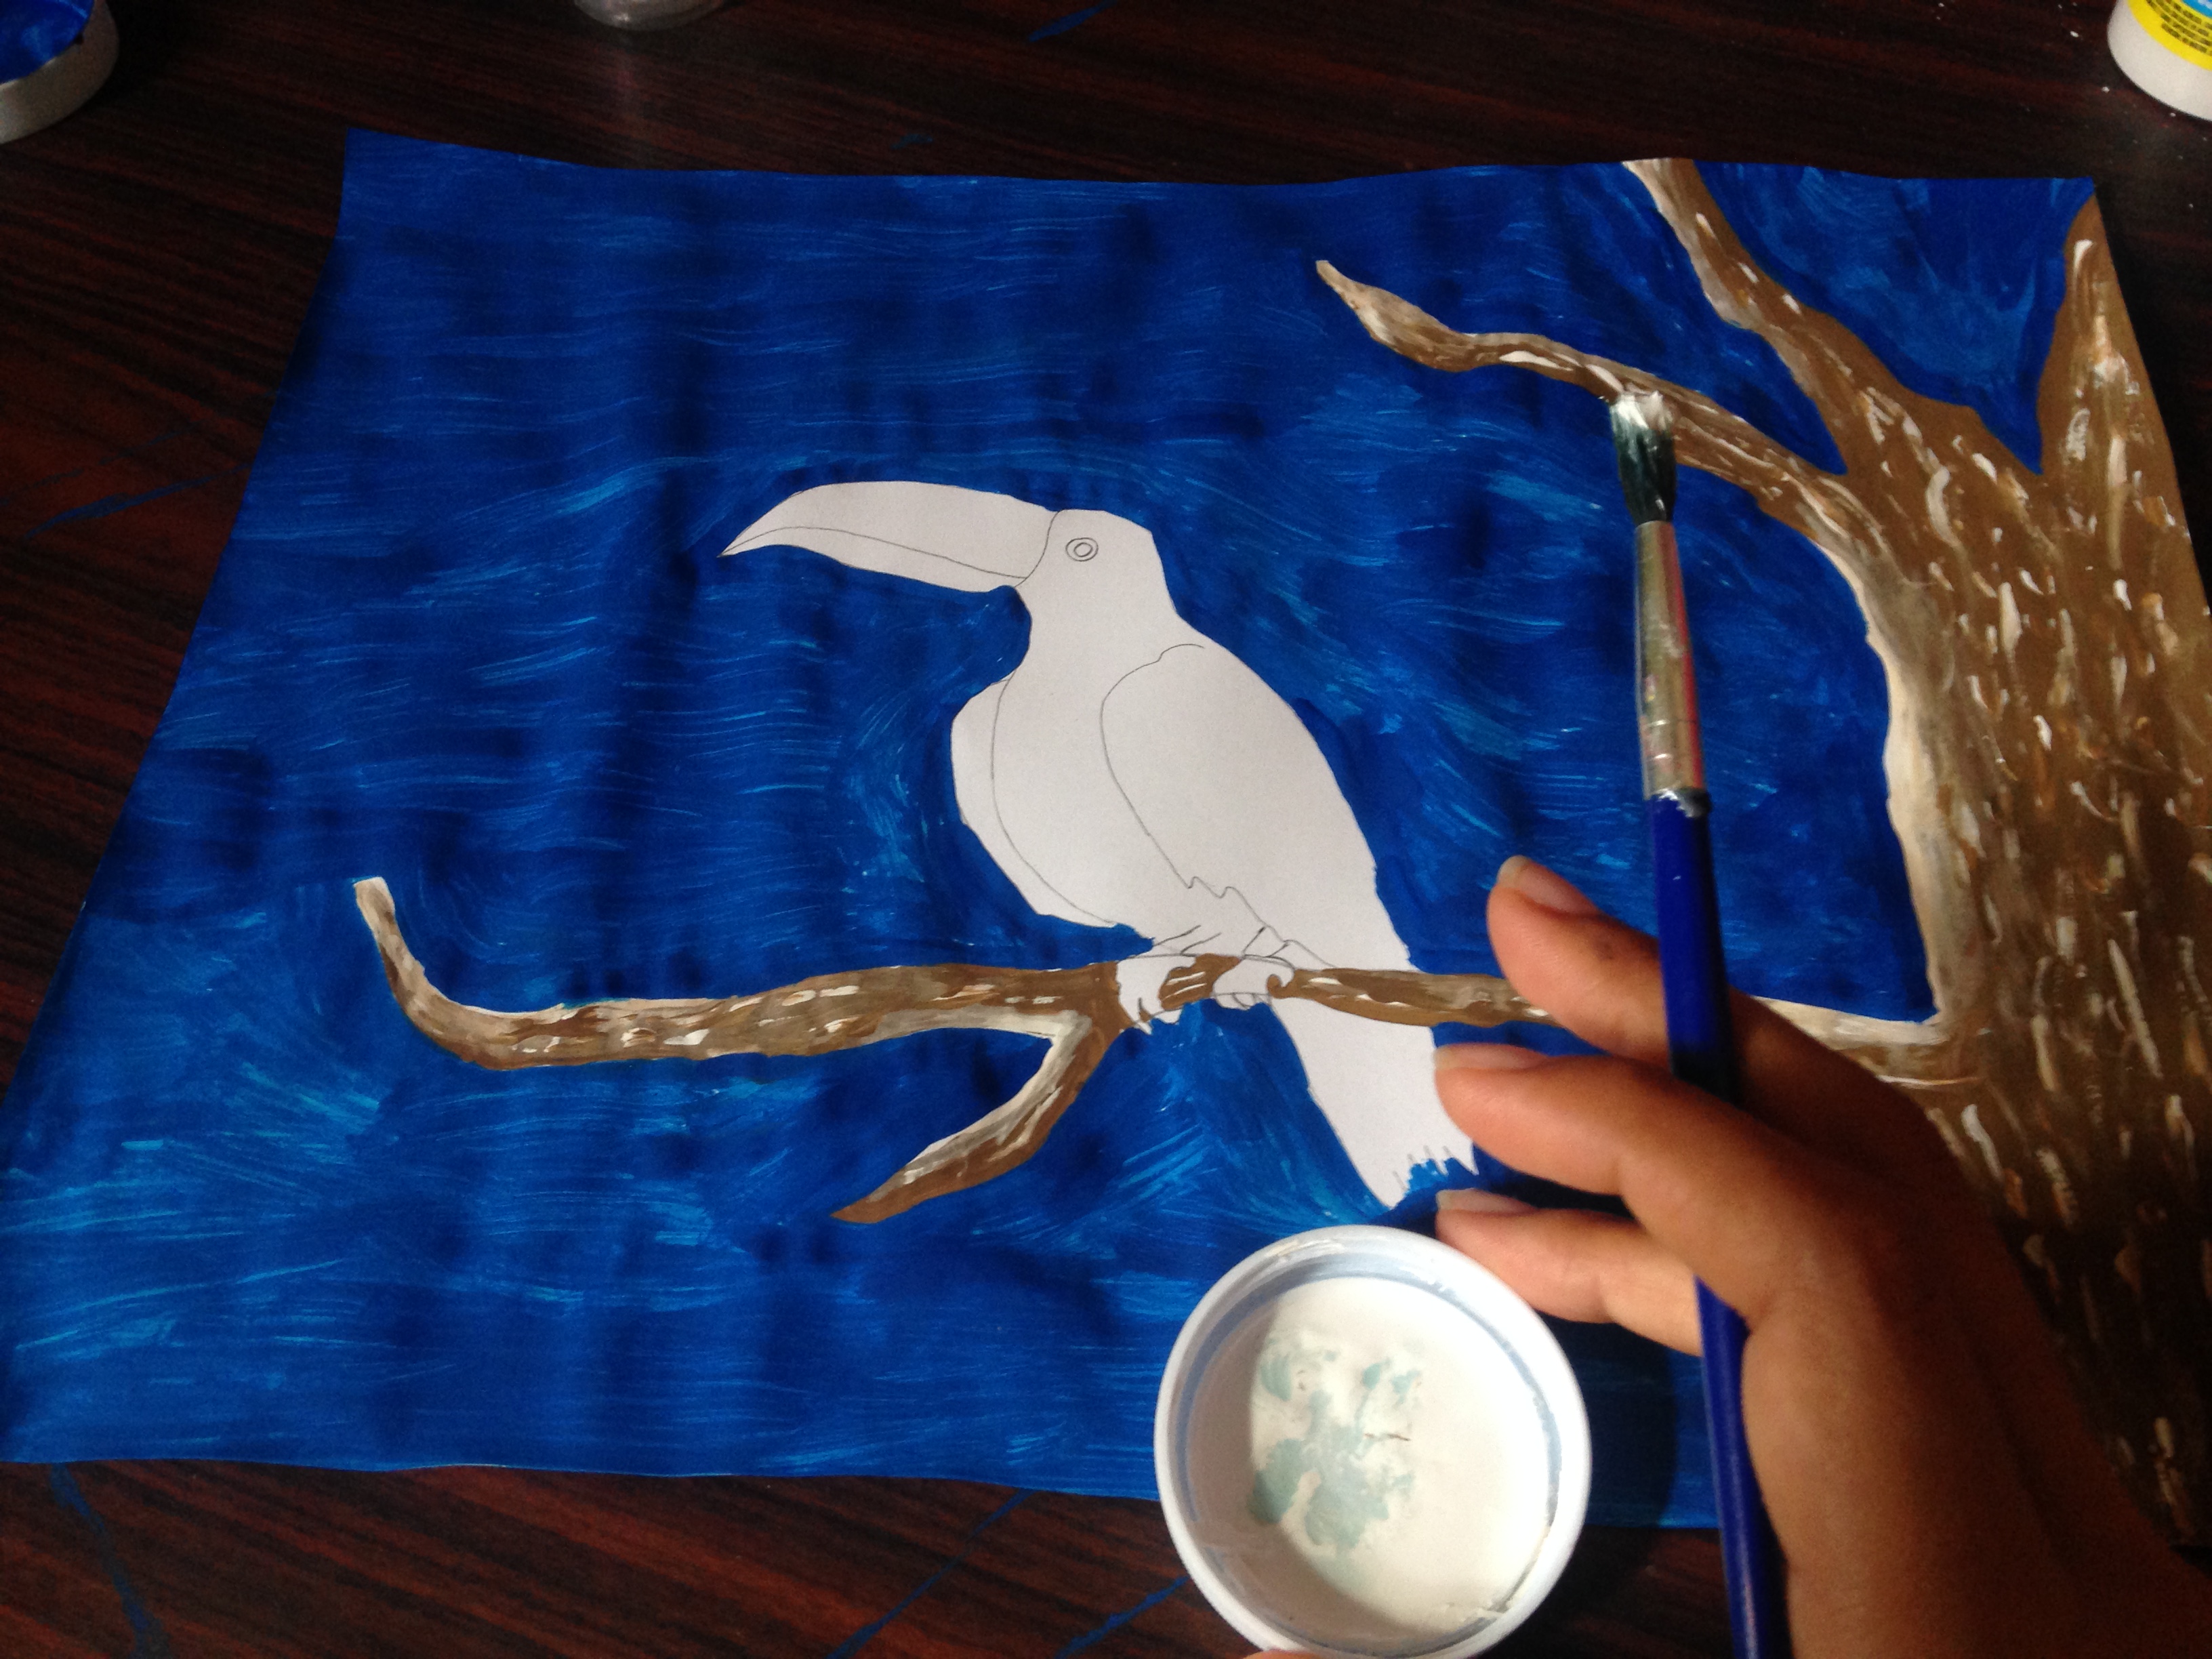
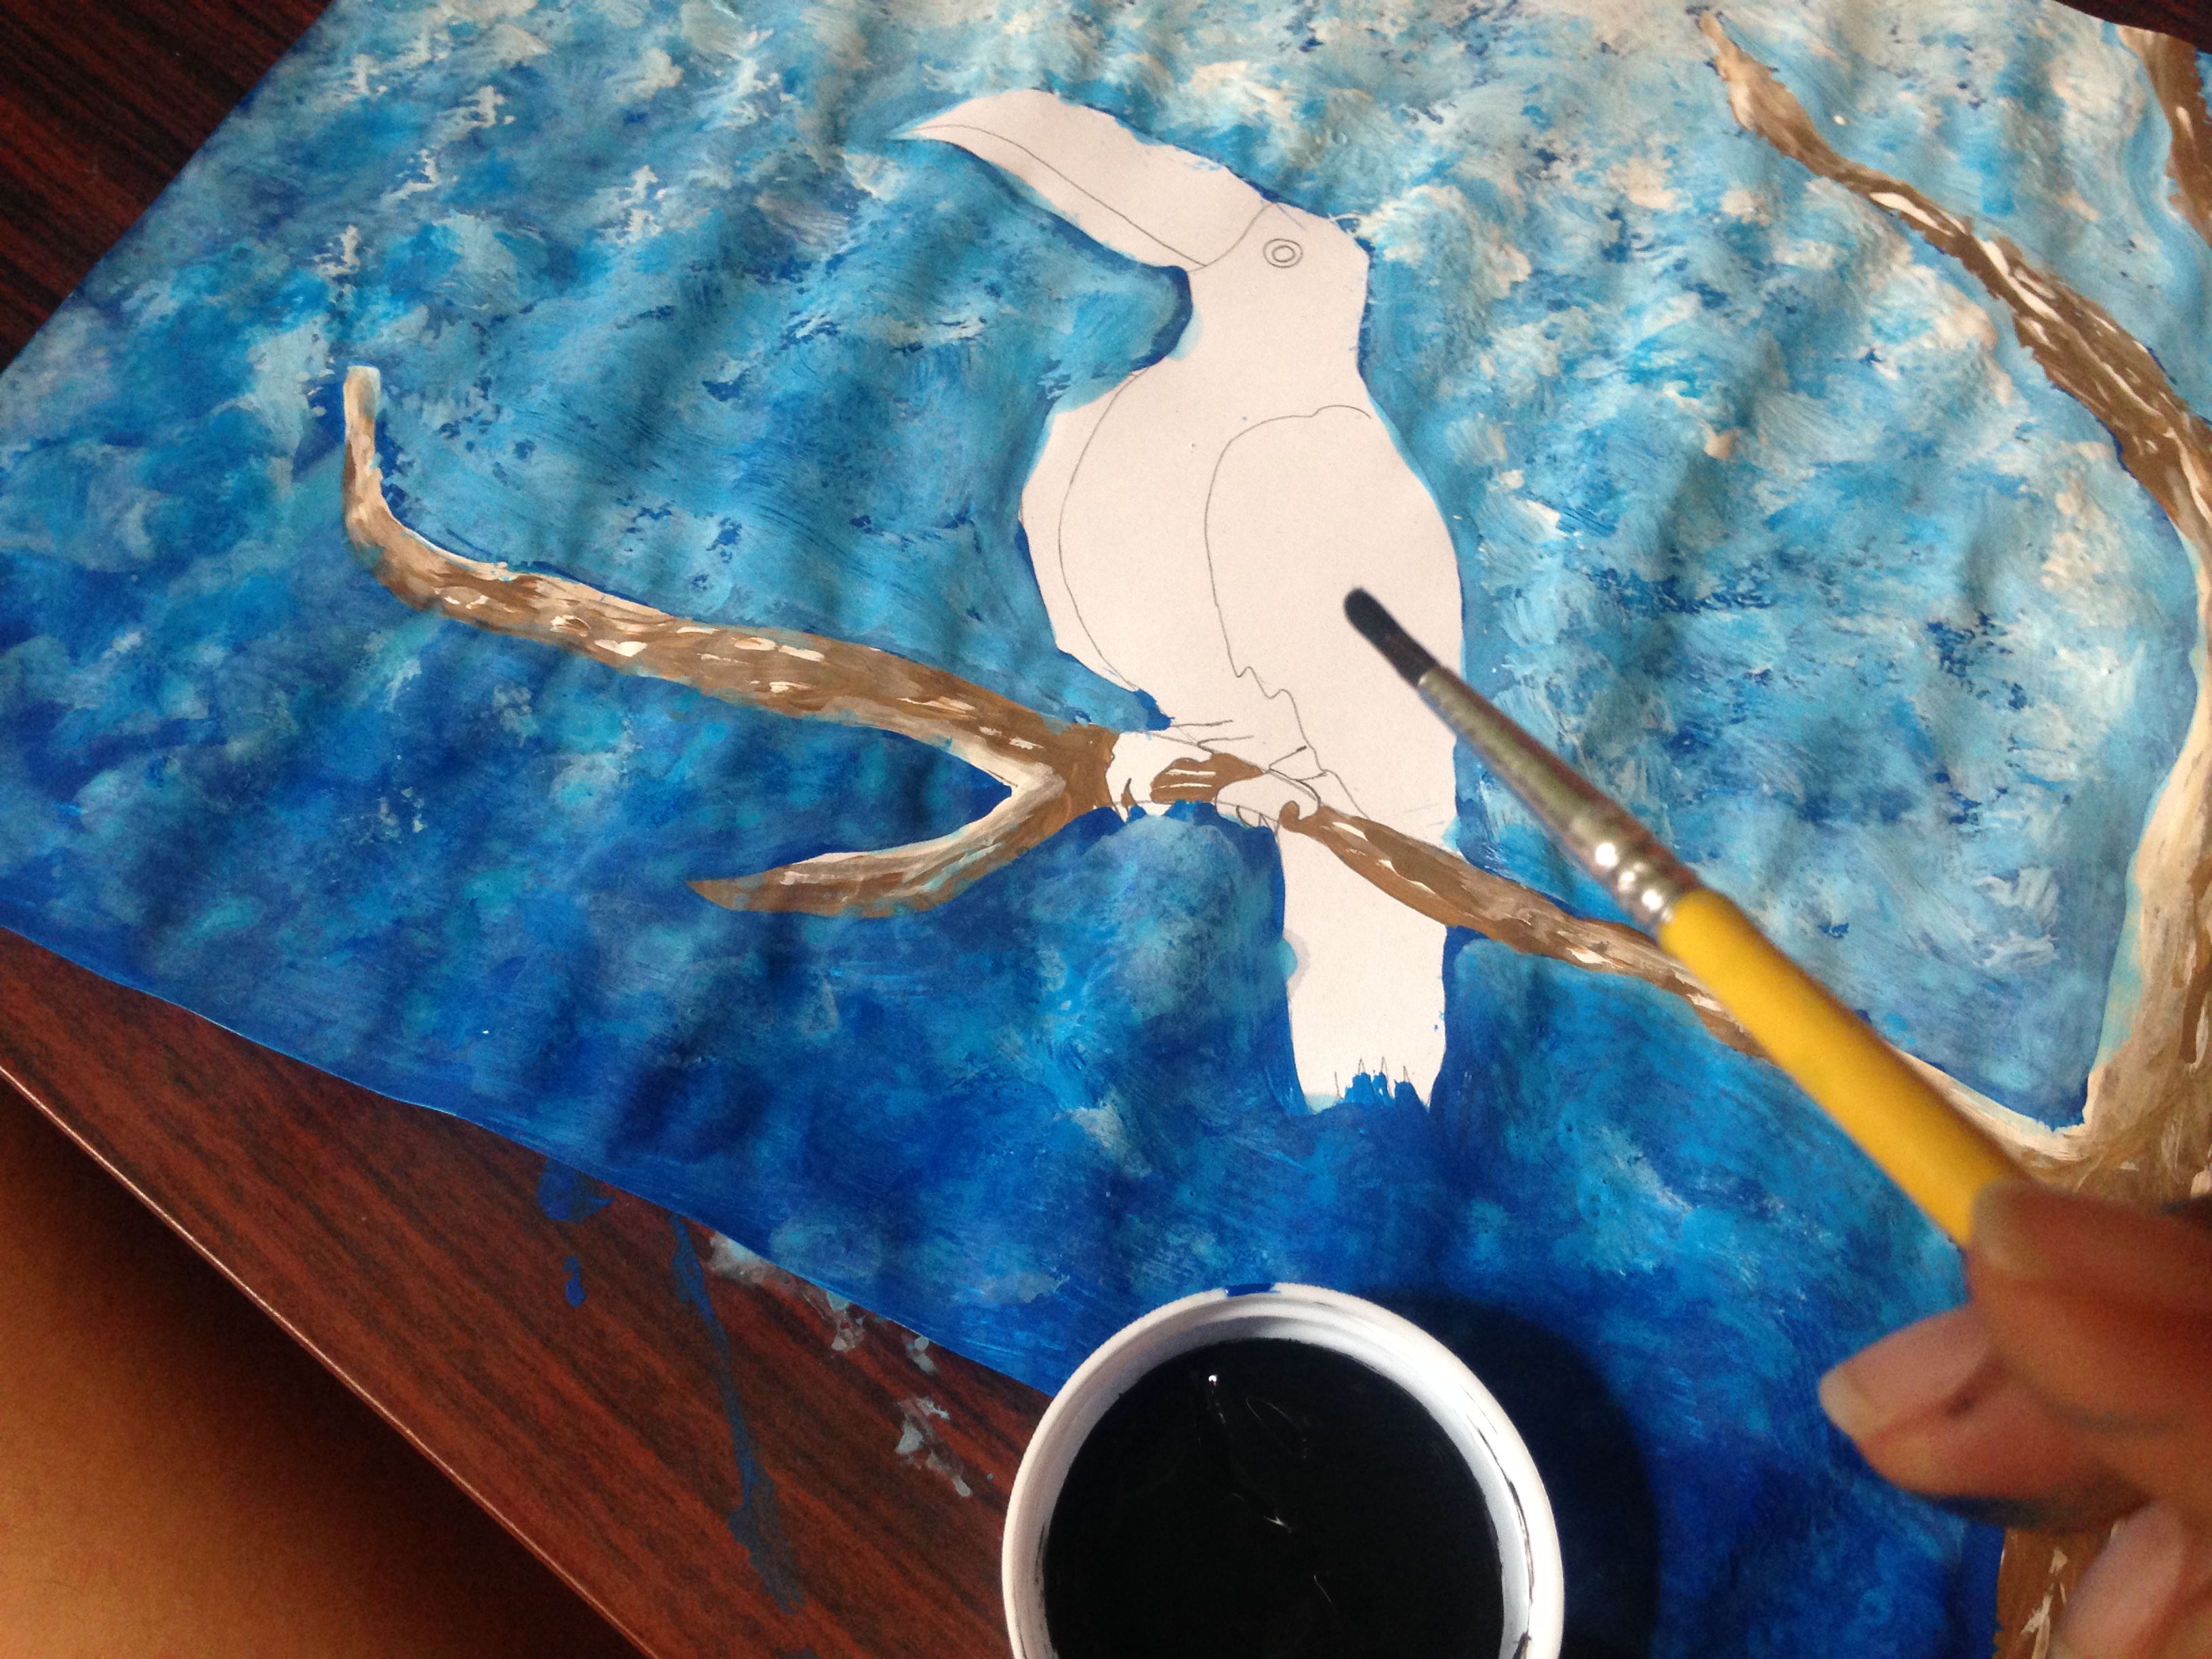
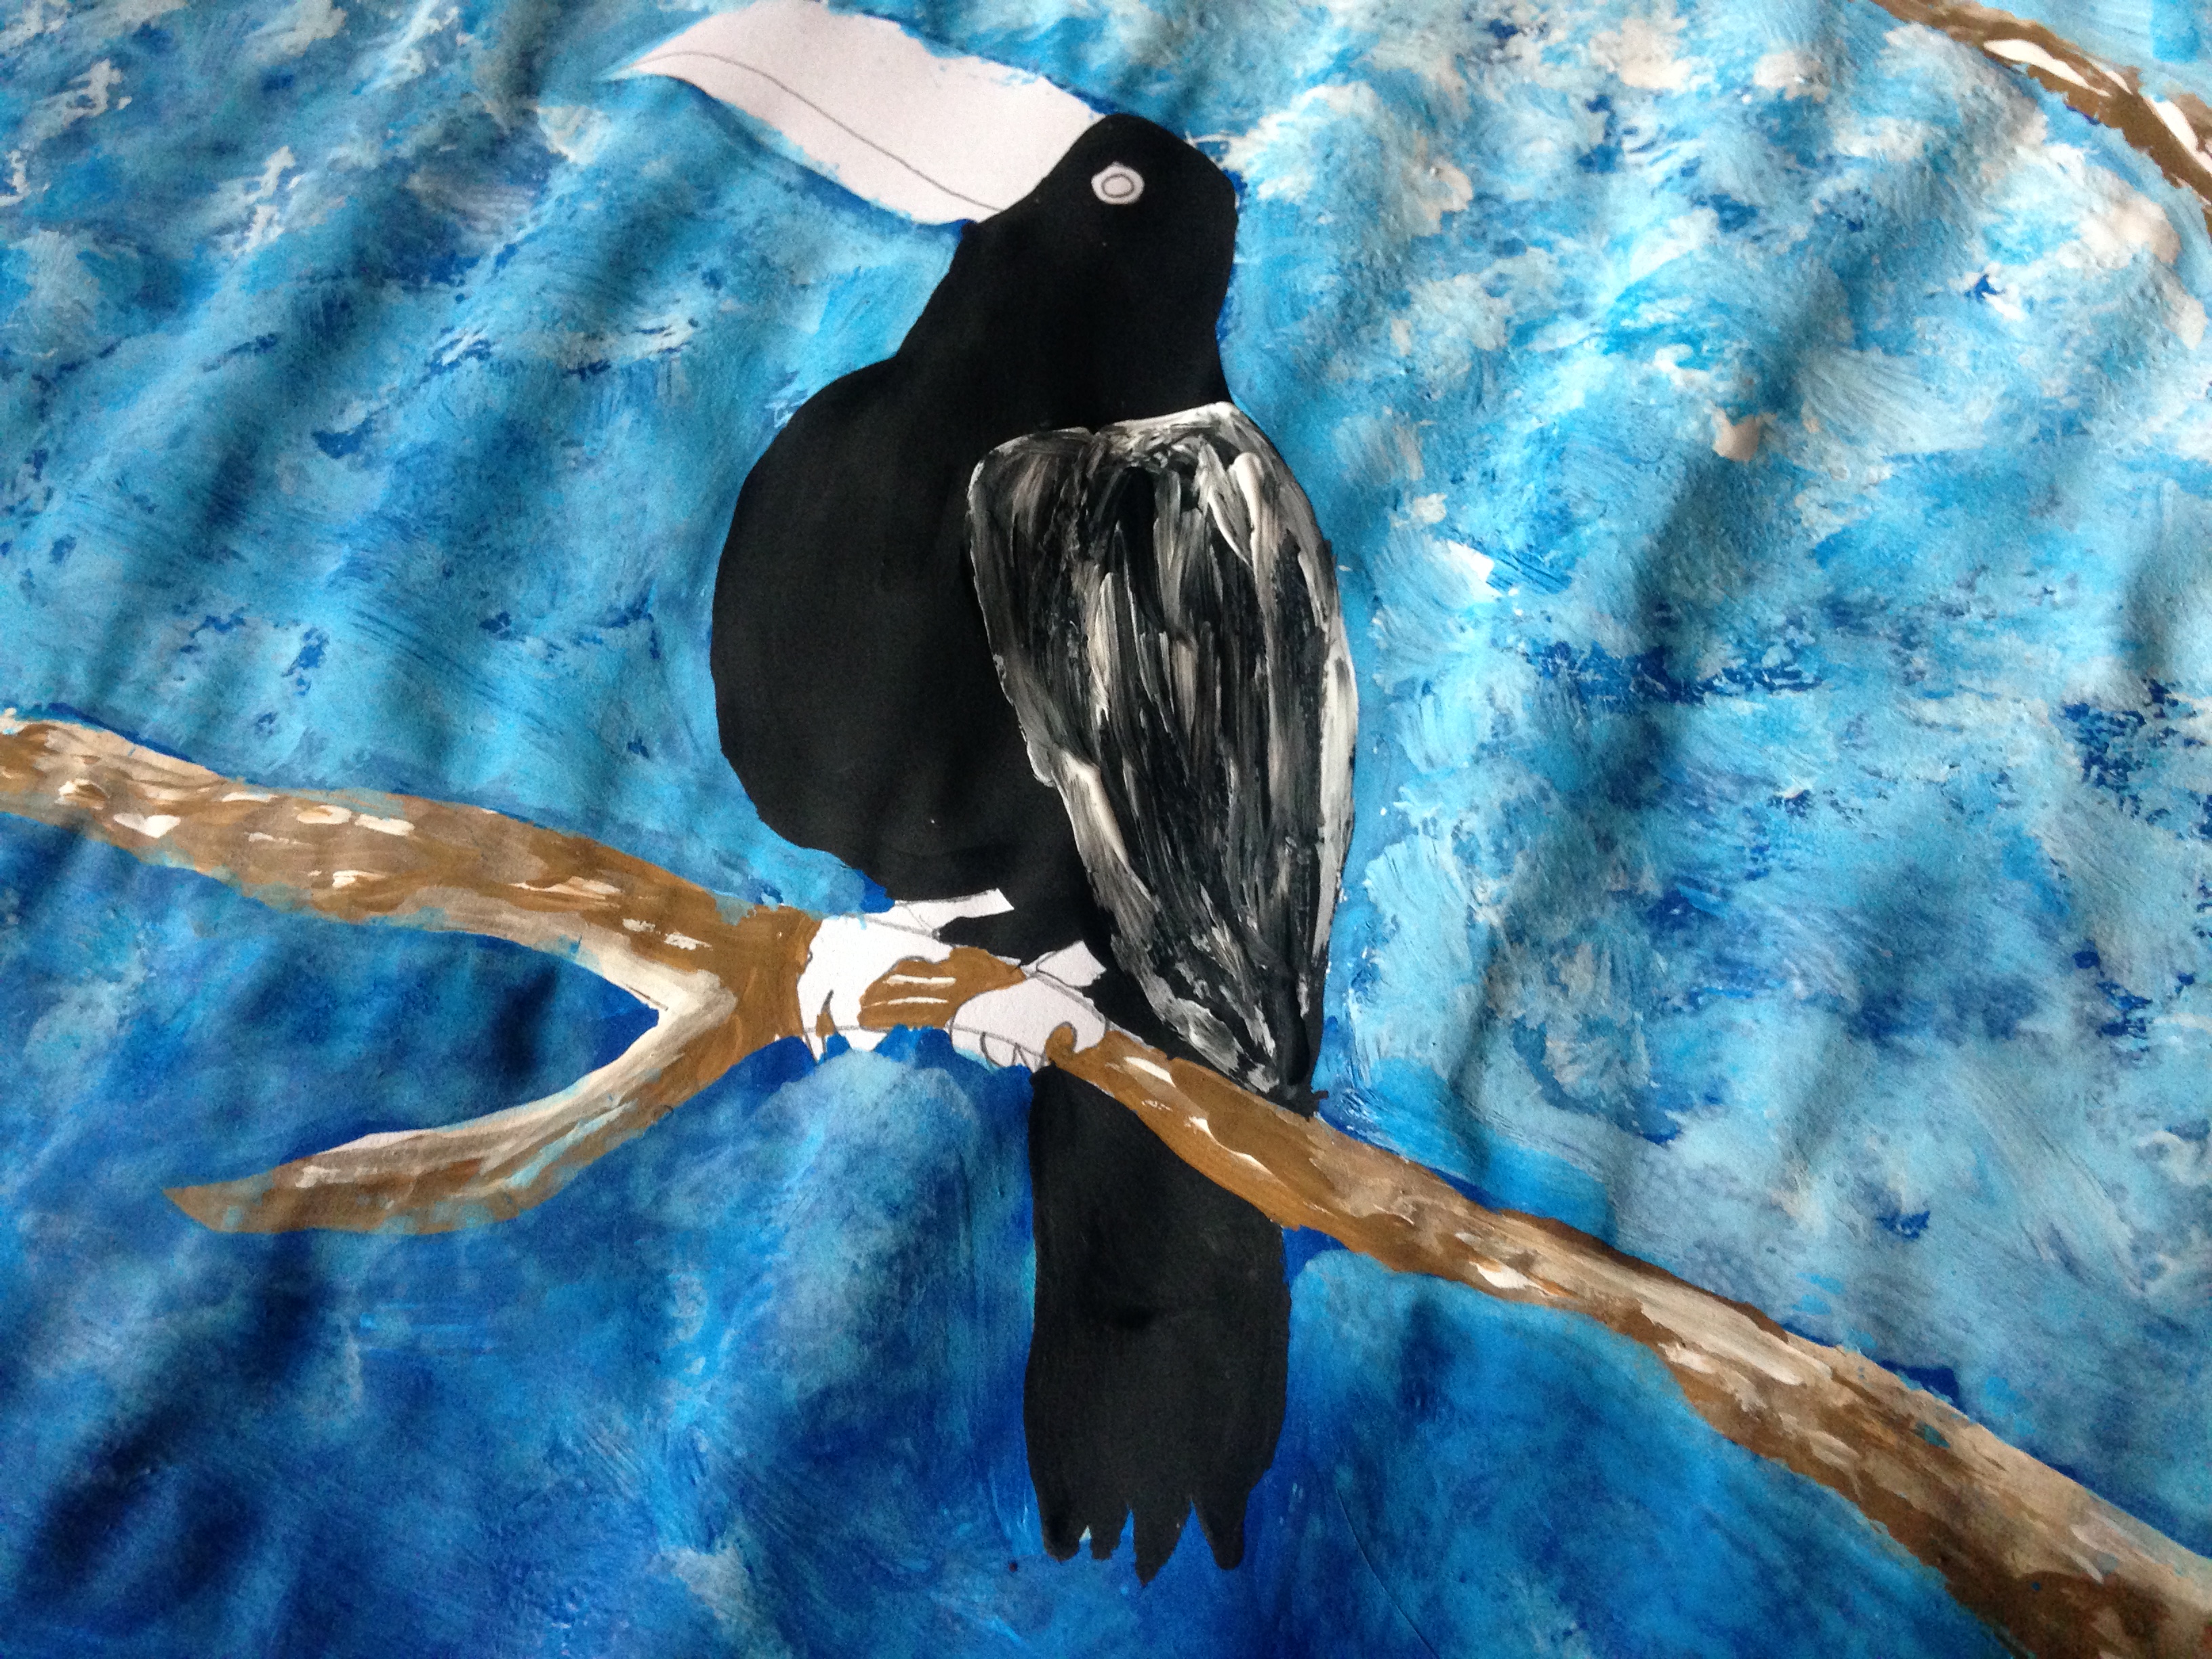
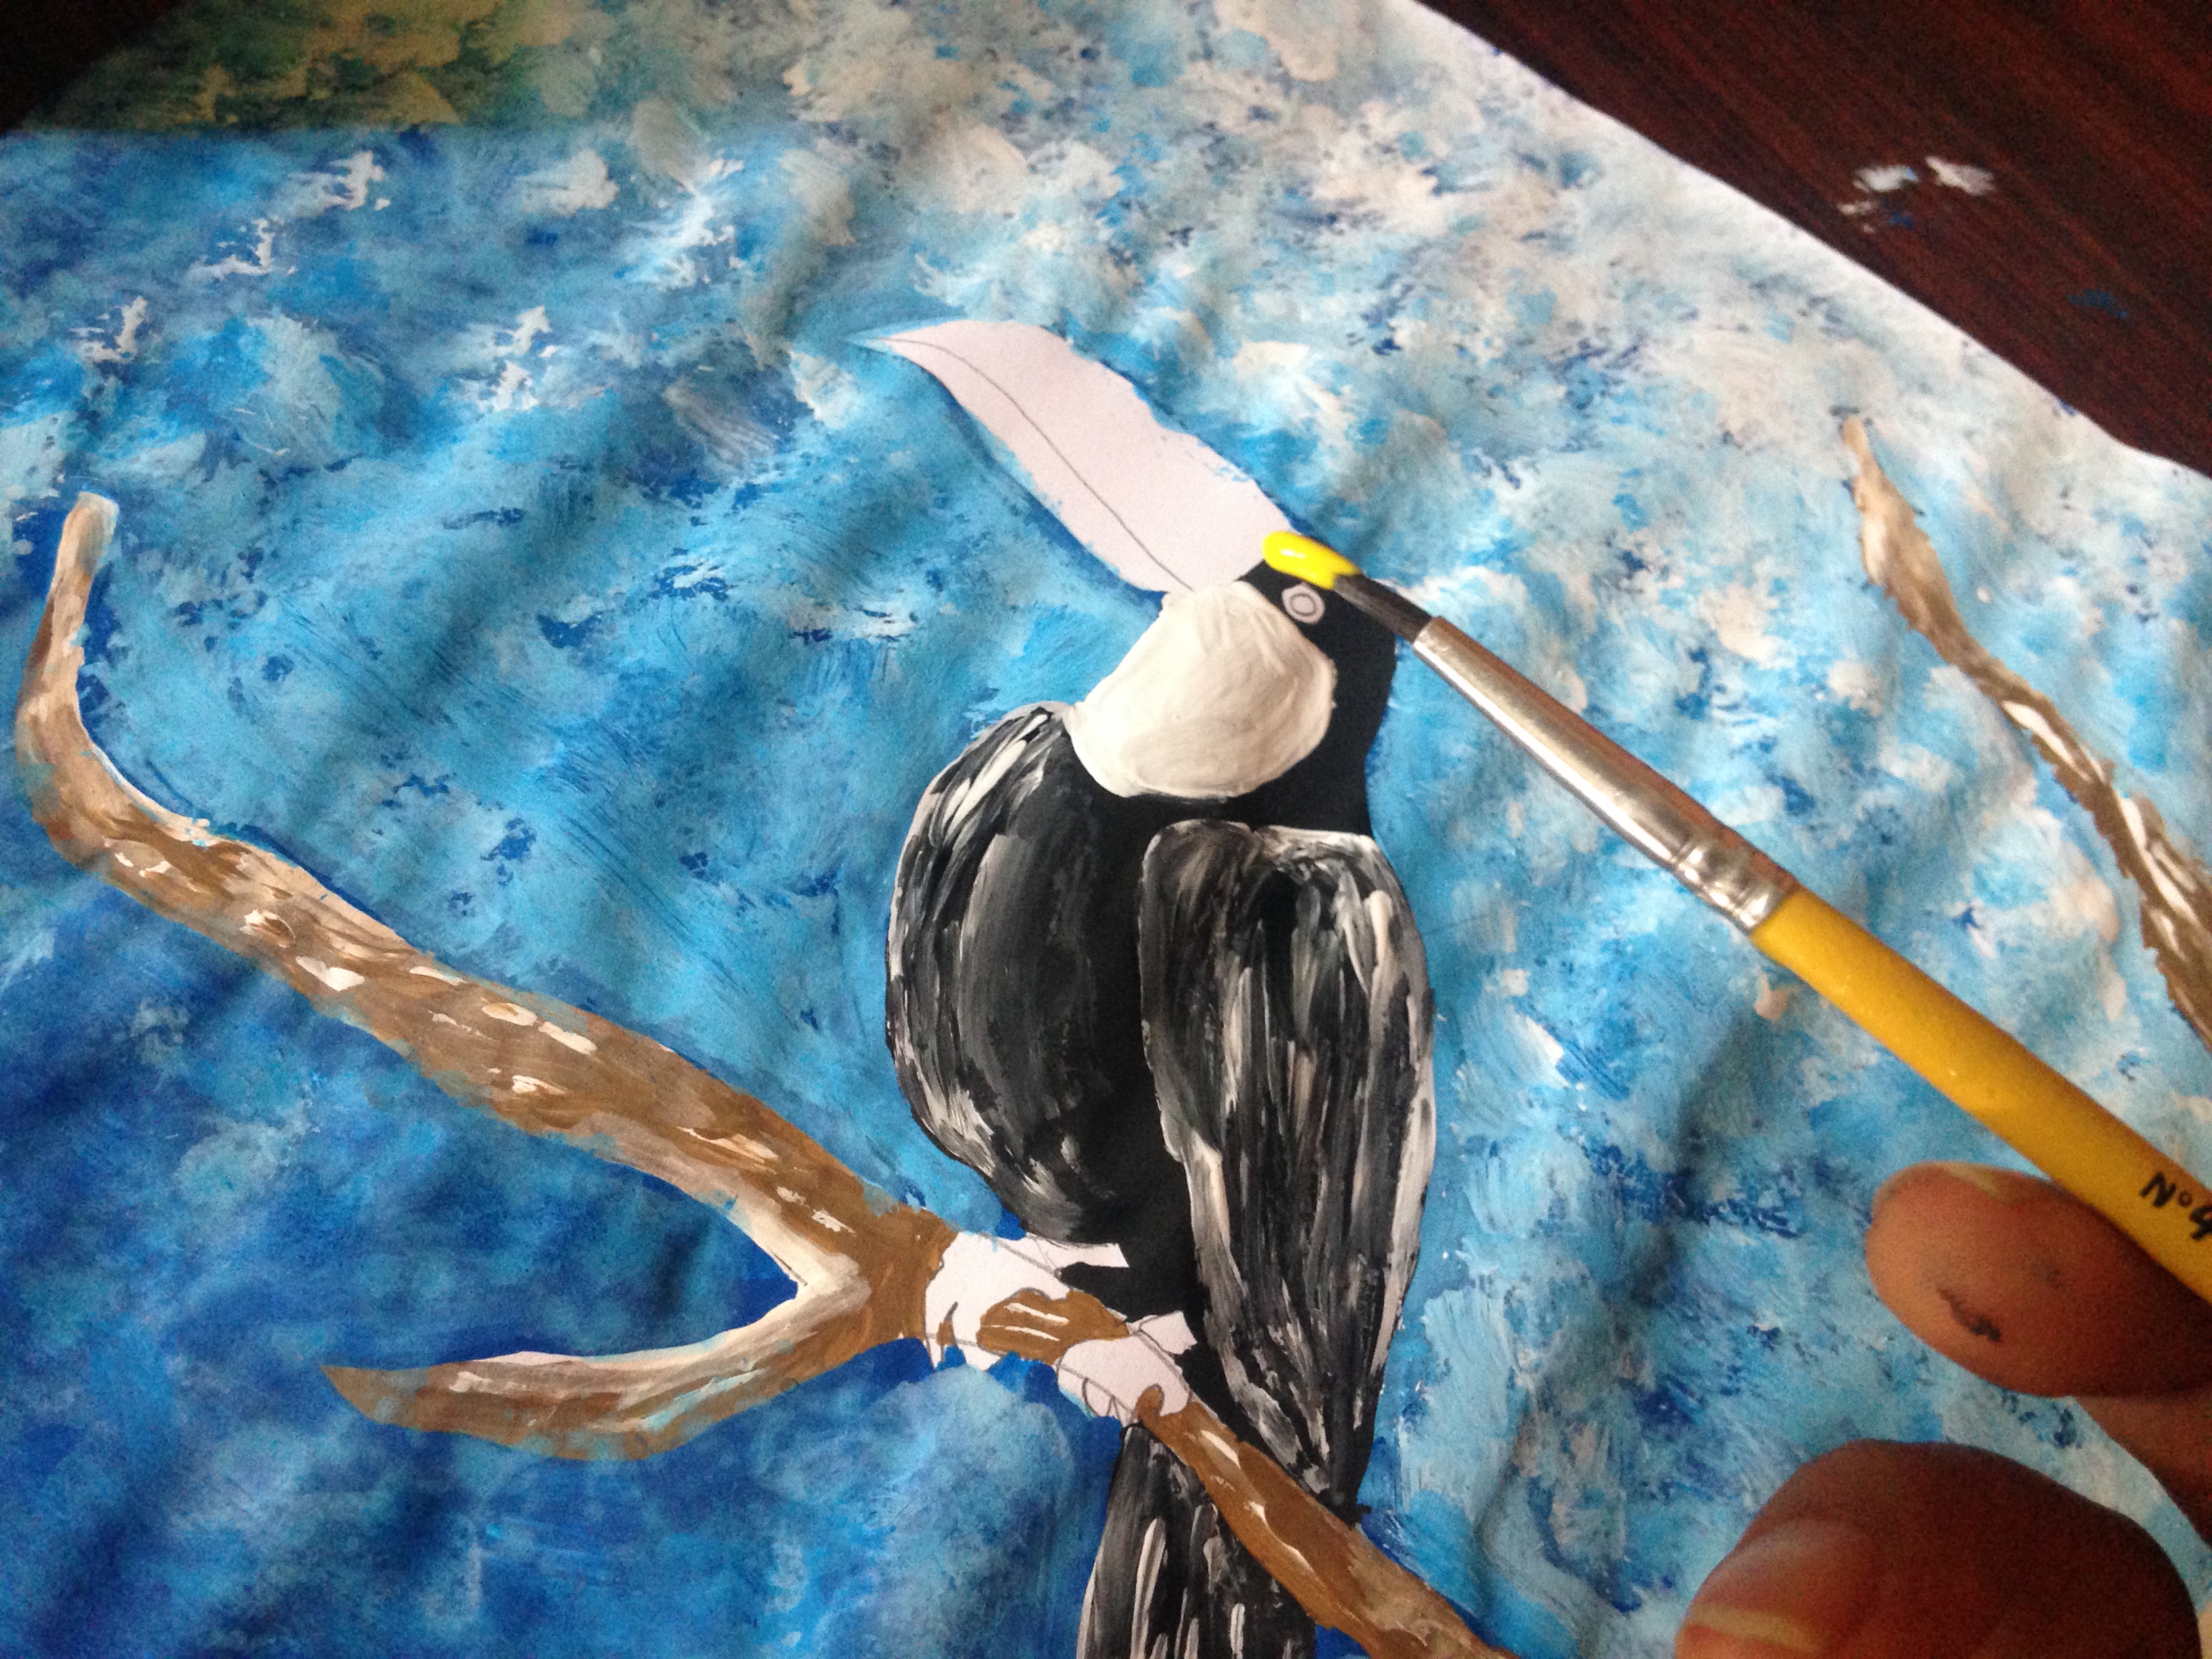
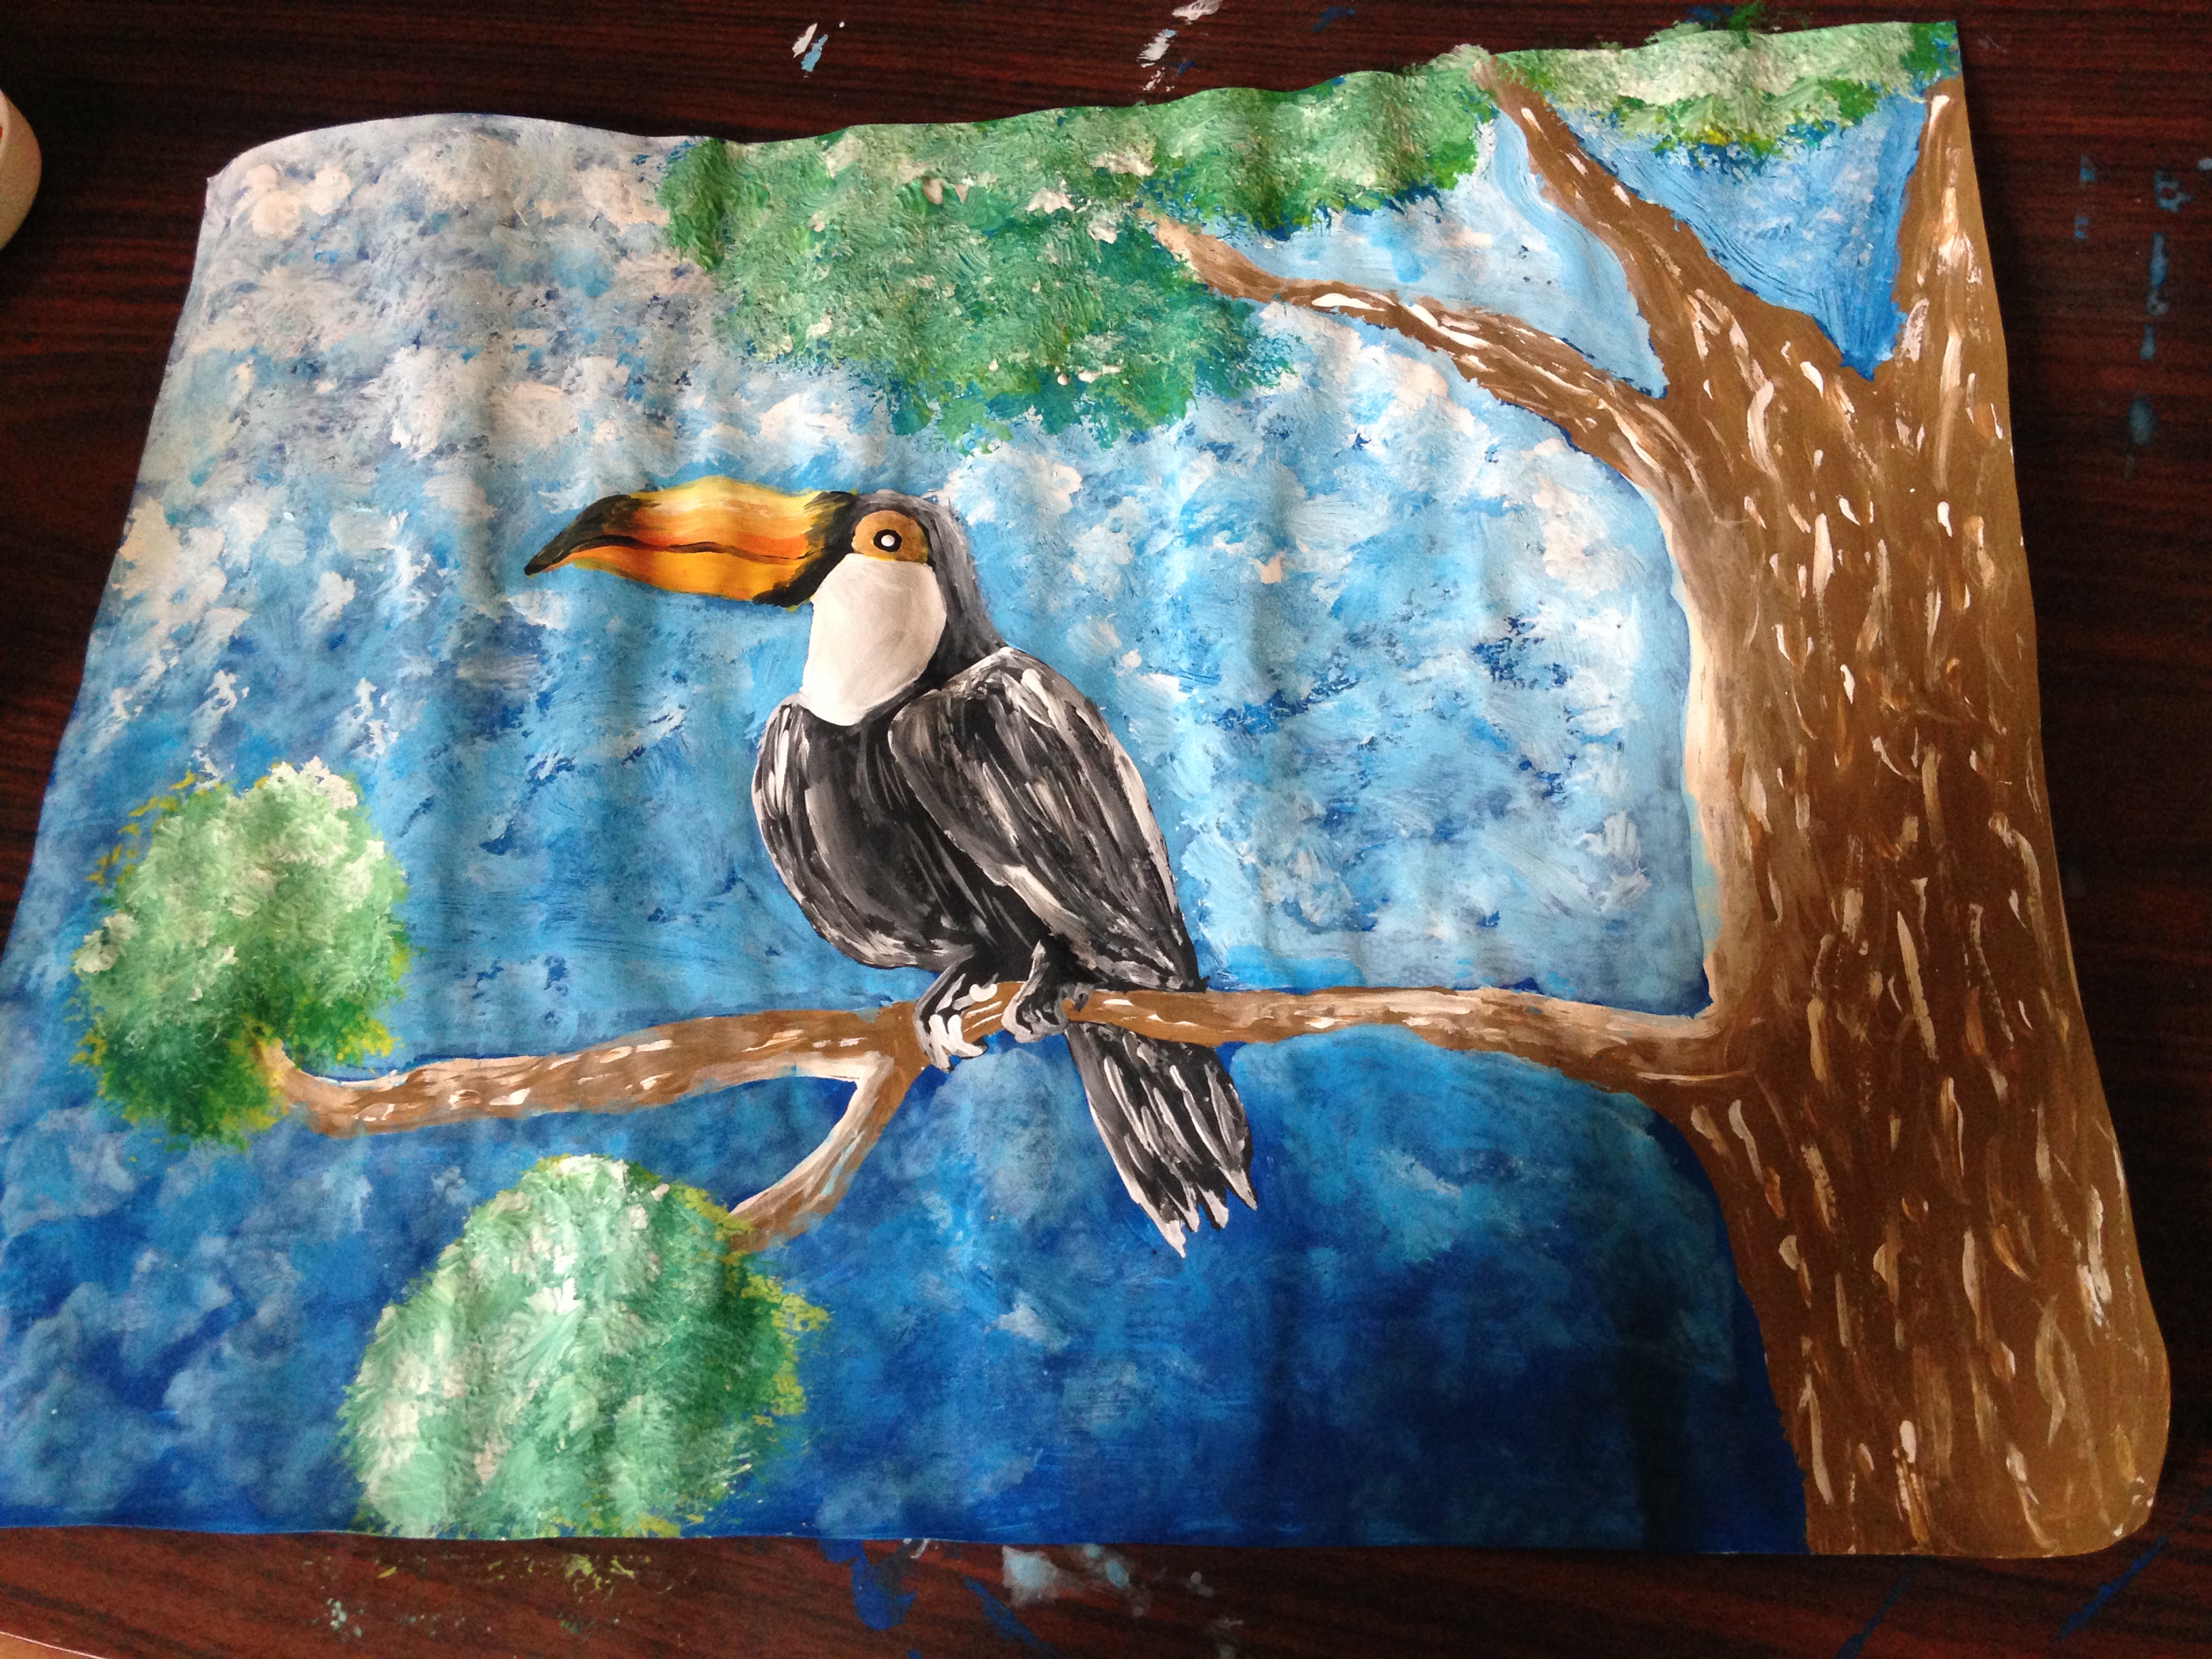
Paso 2
Ahora ya terminado nuestro dibujo lo pintaremos, primeramente comenzaremos con el árbol, usaremos un marrón, y cuando lo pintemos por completo le haremos detalles de iluminación con la pintura blanca en cada borde así como se muestra, tambien le haremos su corteza con pinceladas pequeñas de blanco y de marrón
Step 2
Now that our drawing is finished we will paint it, first we will start with the tree, we will use a brown one, and when we paint it completely we will make lighting details with white paint on each edge as shown, we will also make its bark with small brushstrokes of white and brown


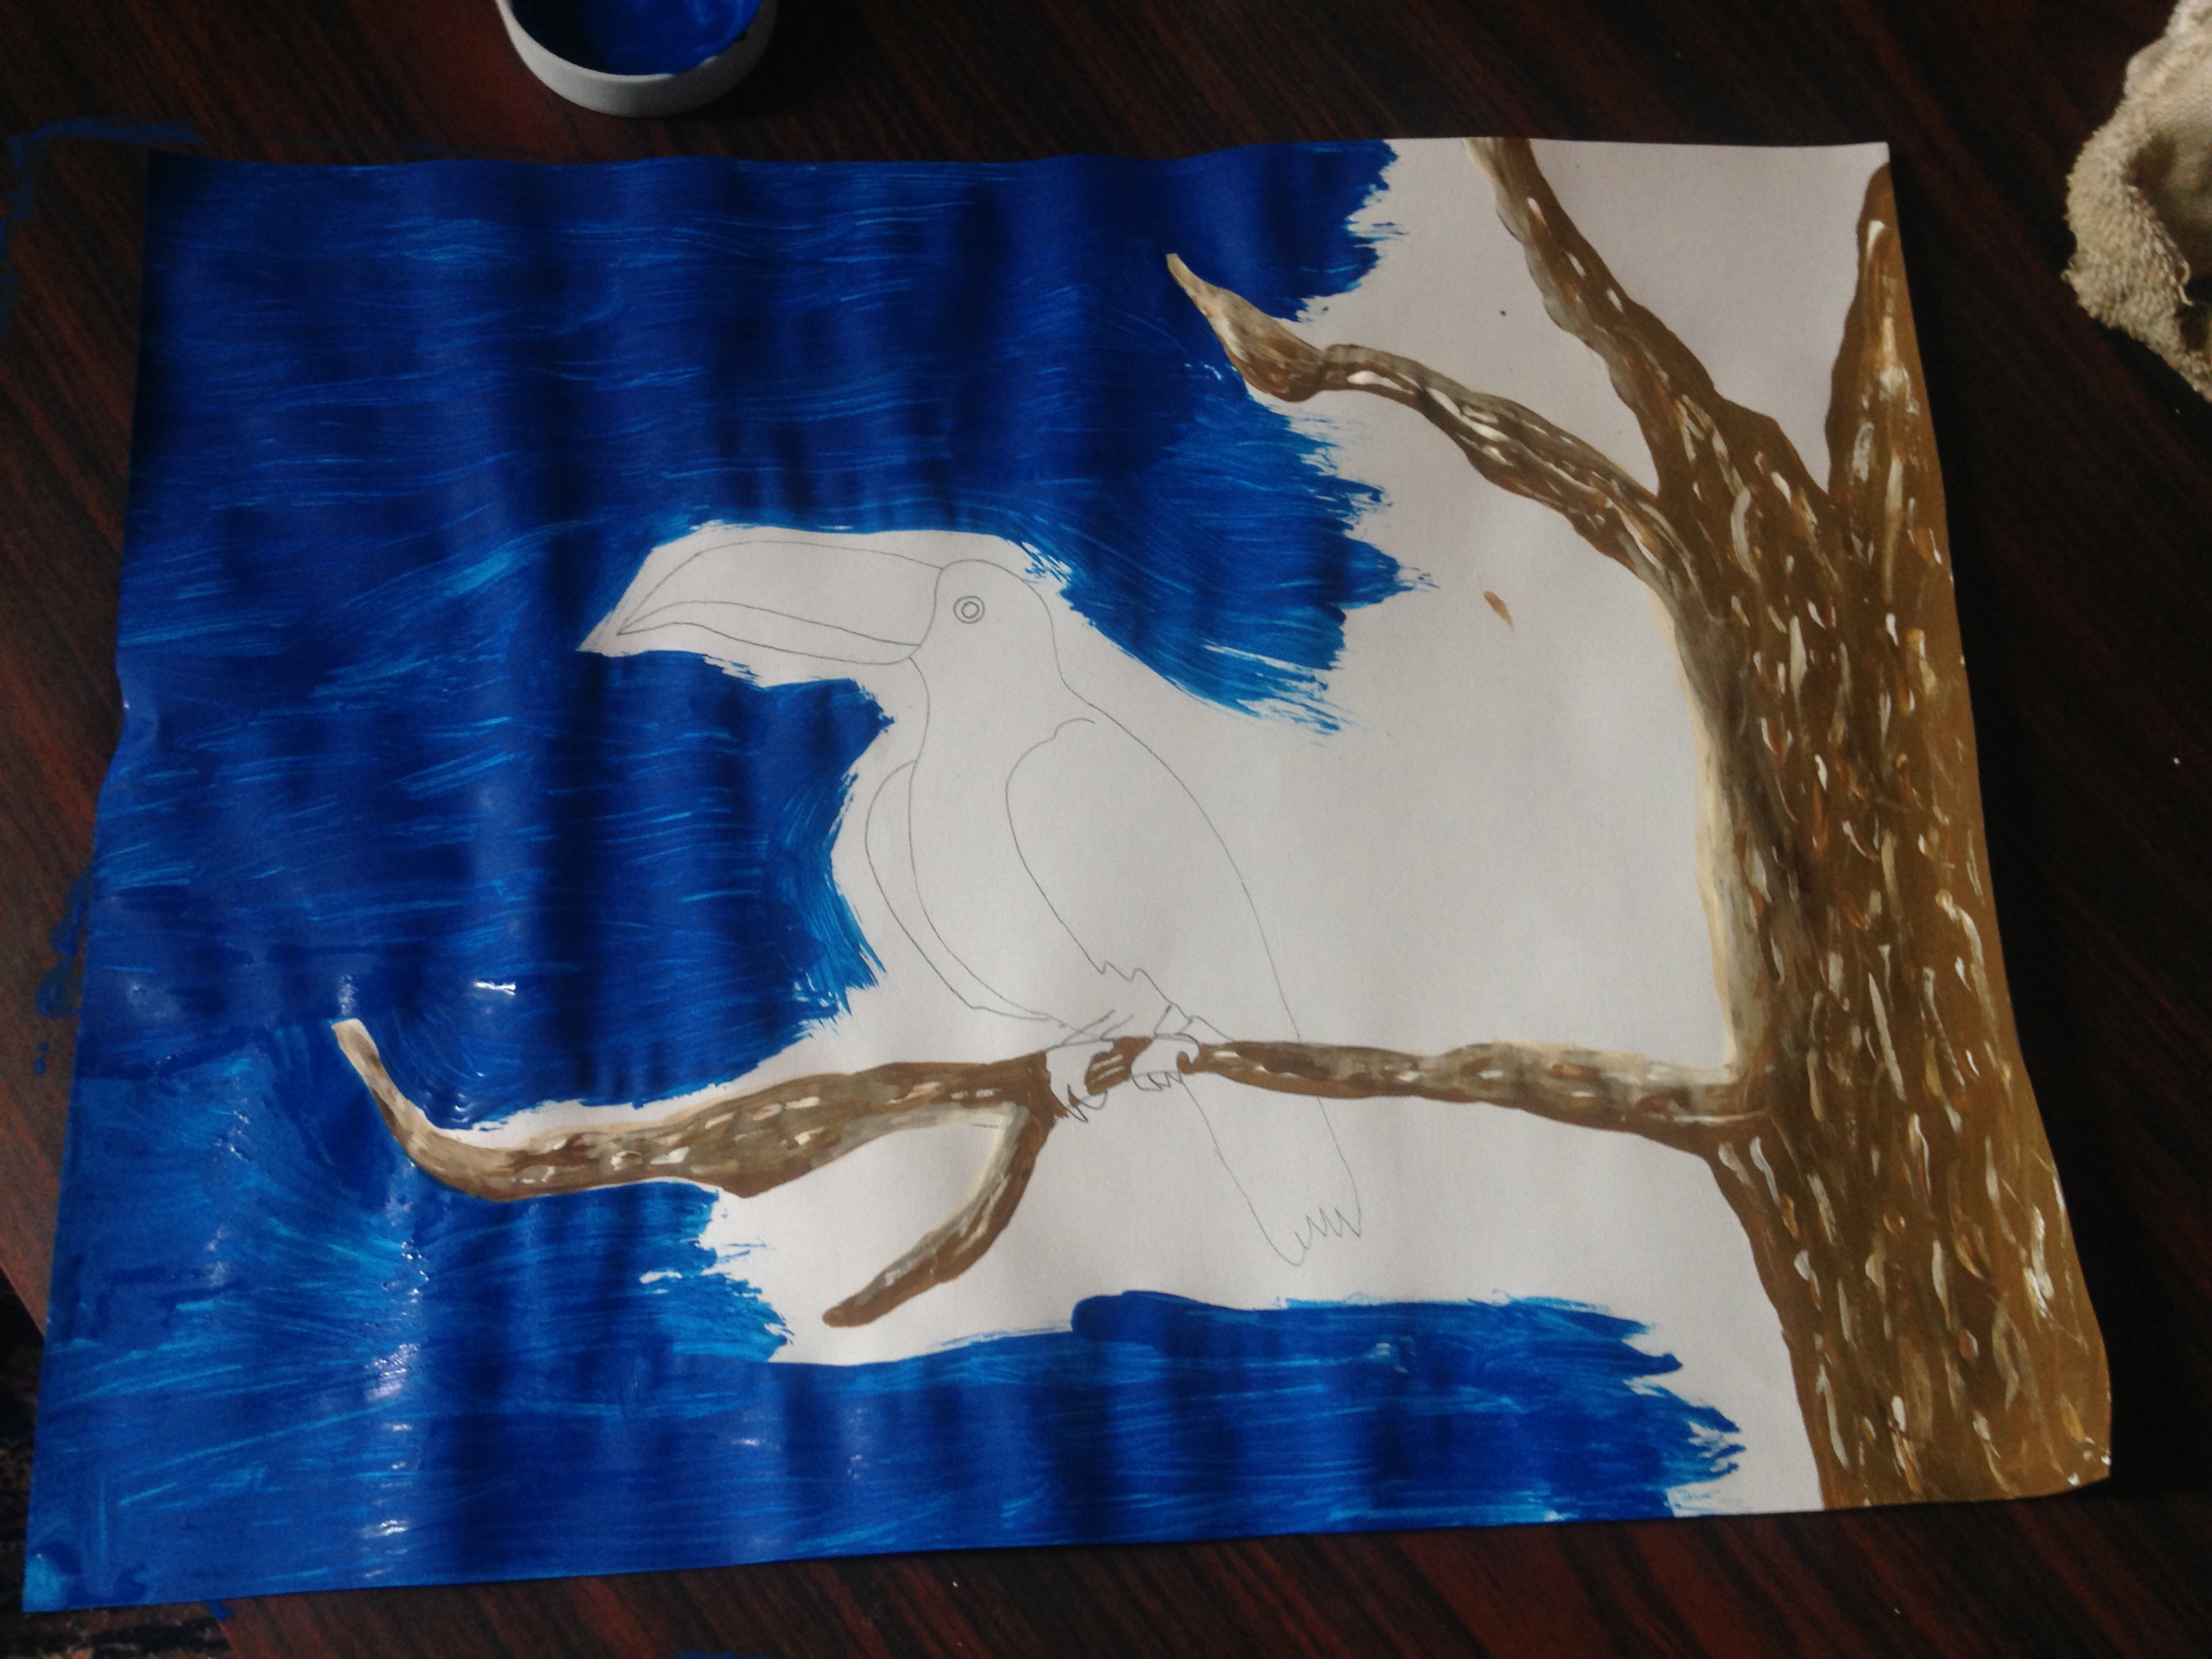
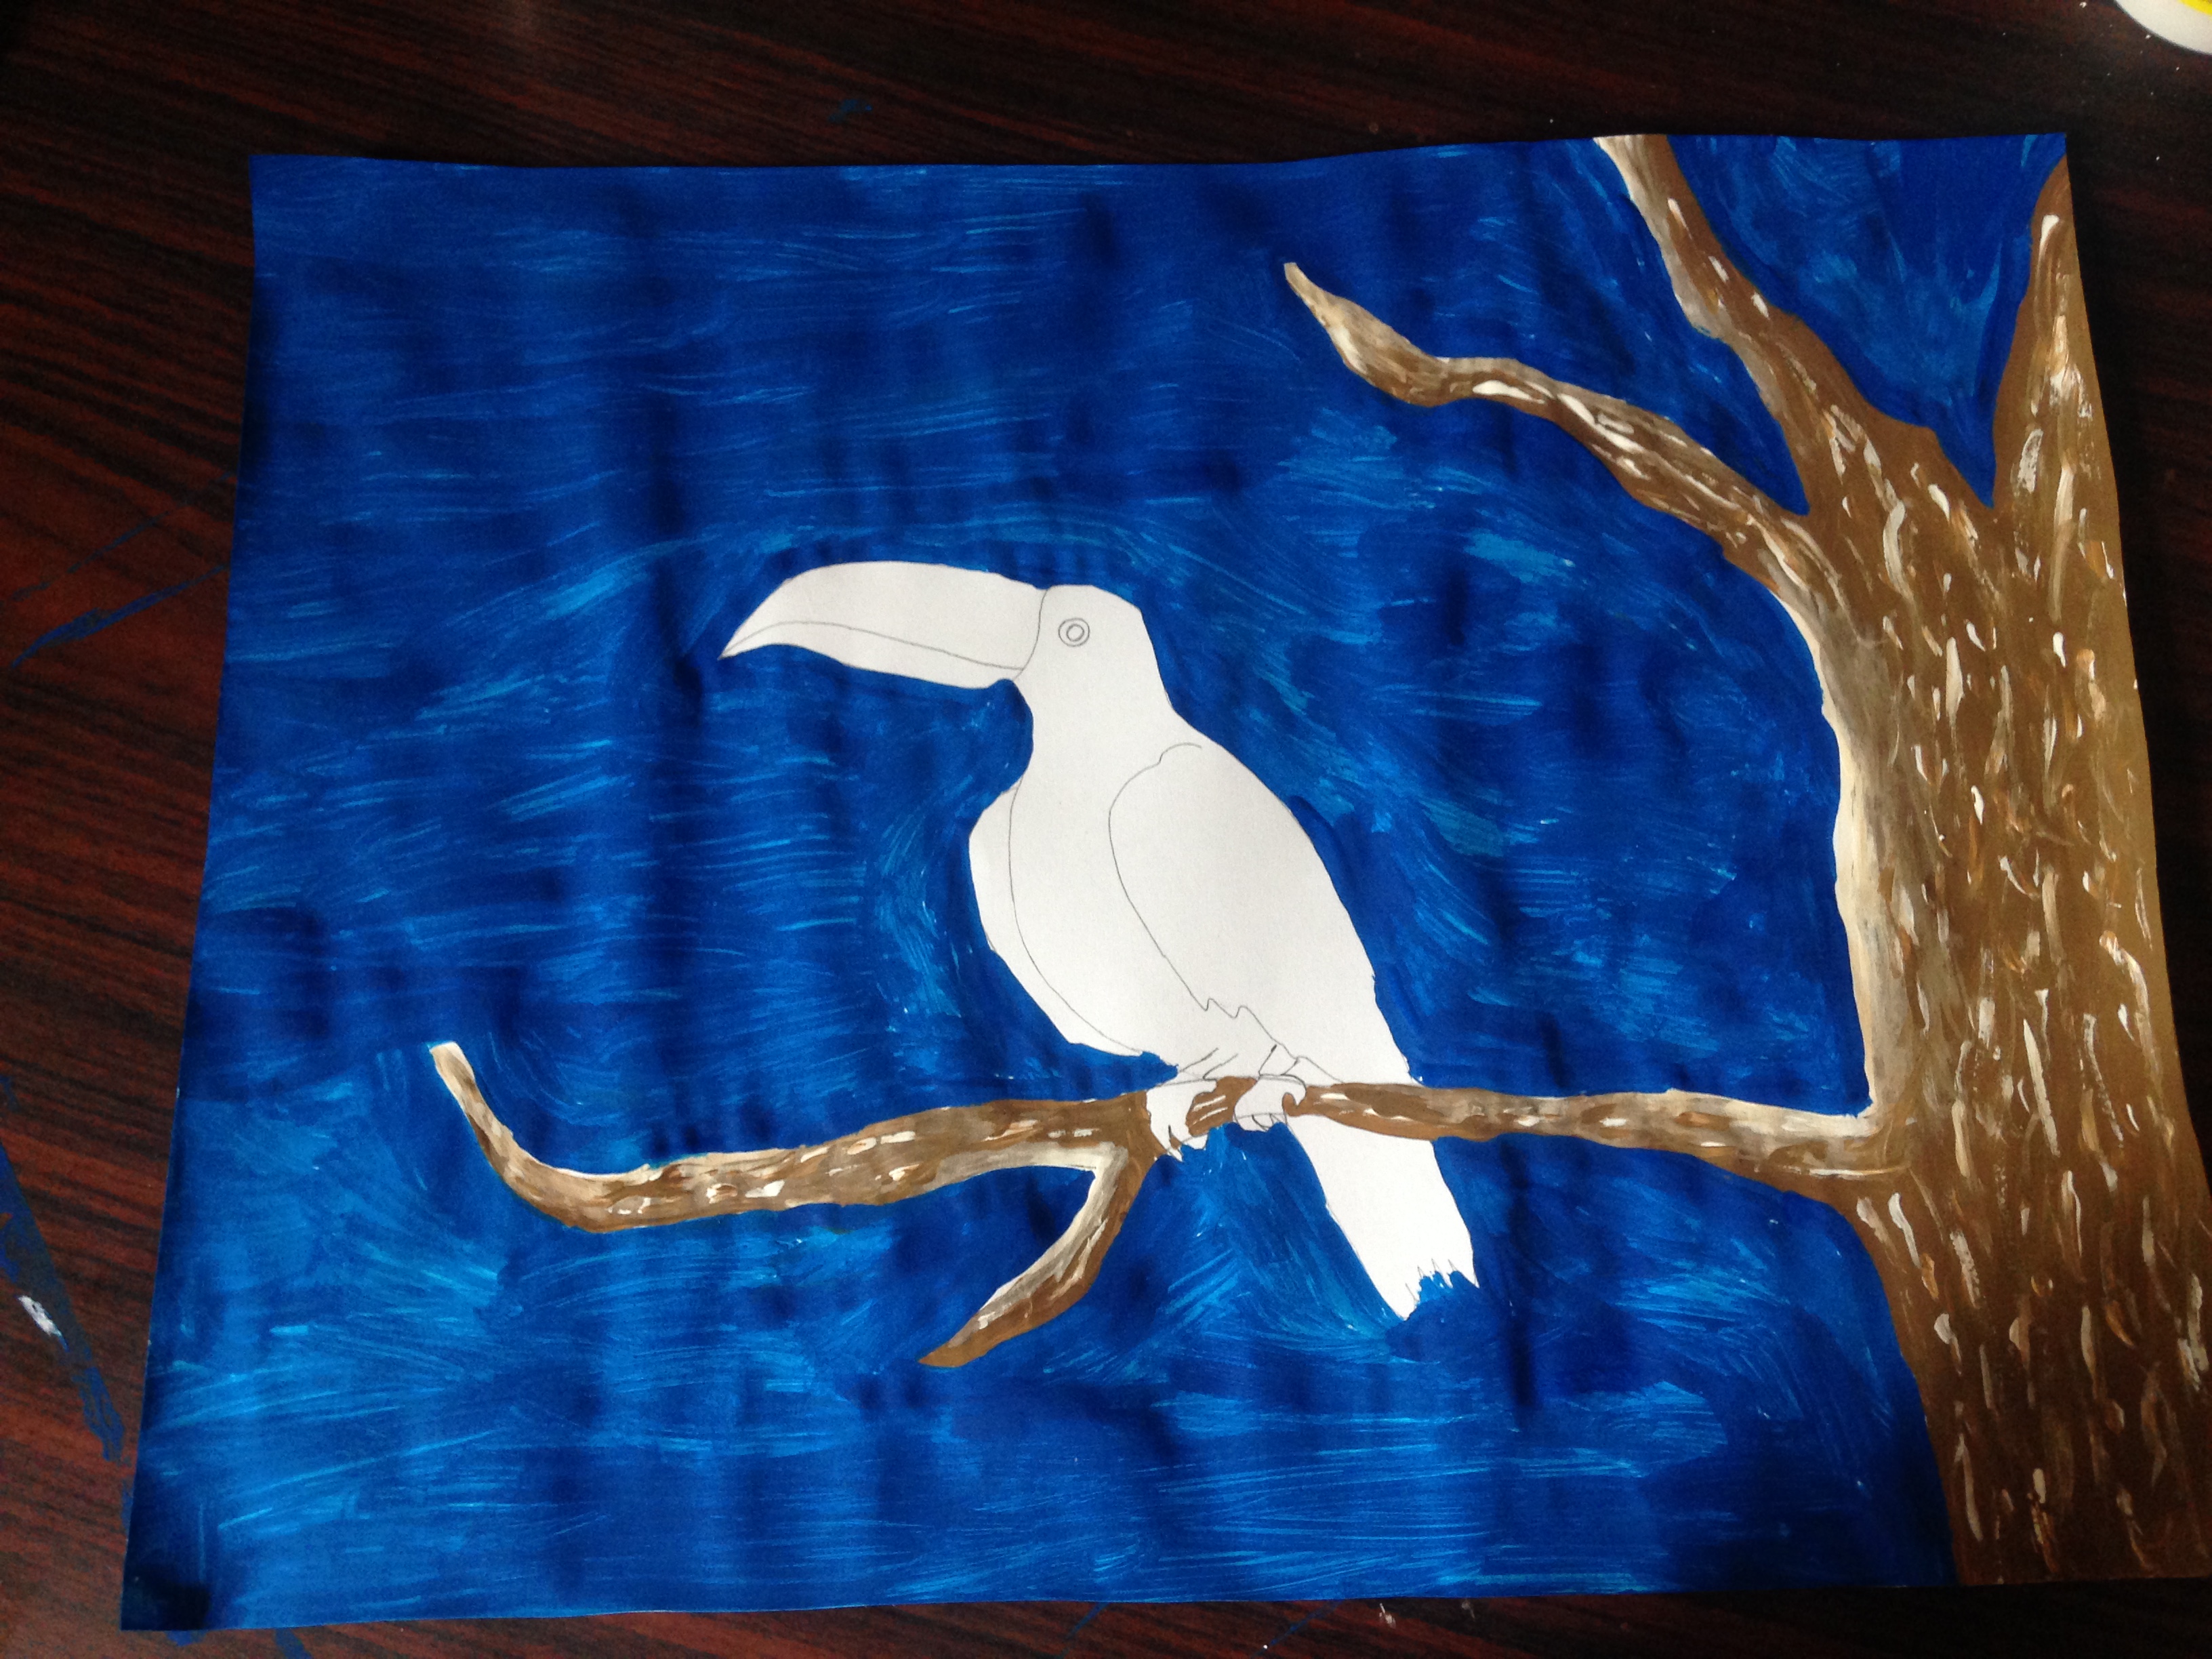
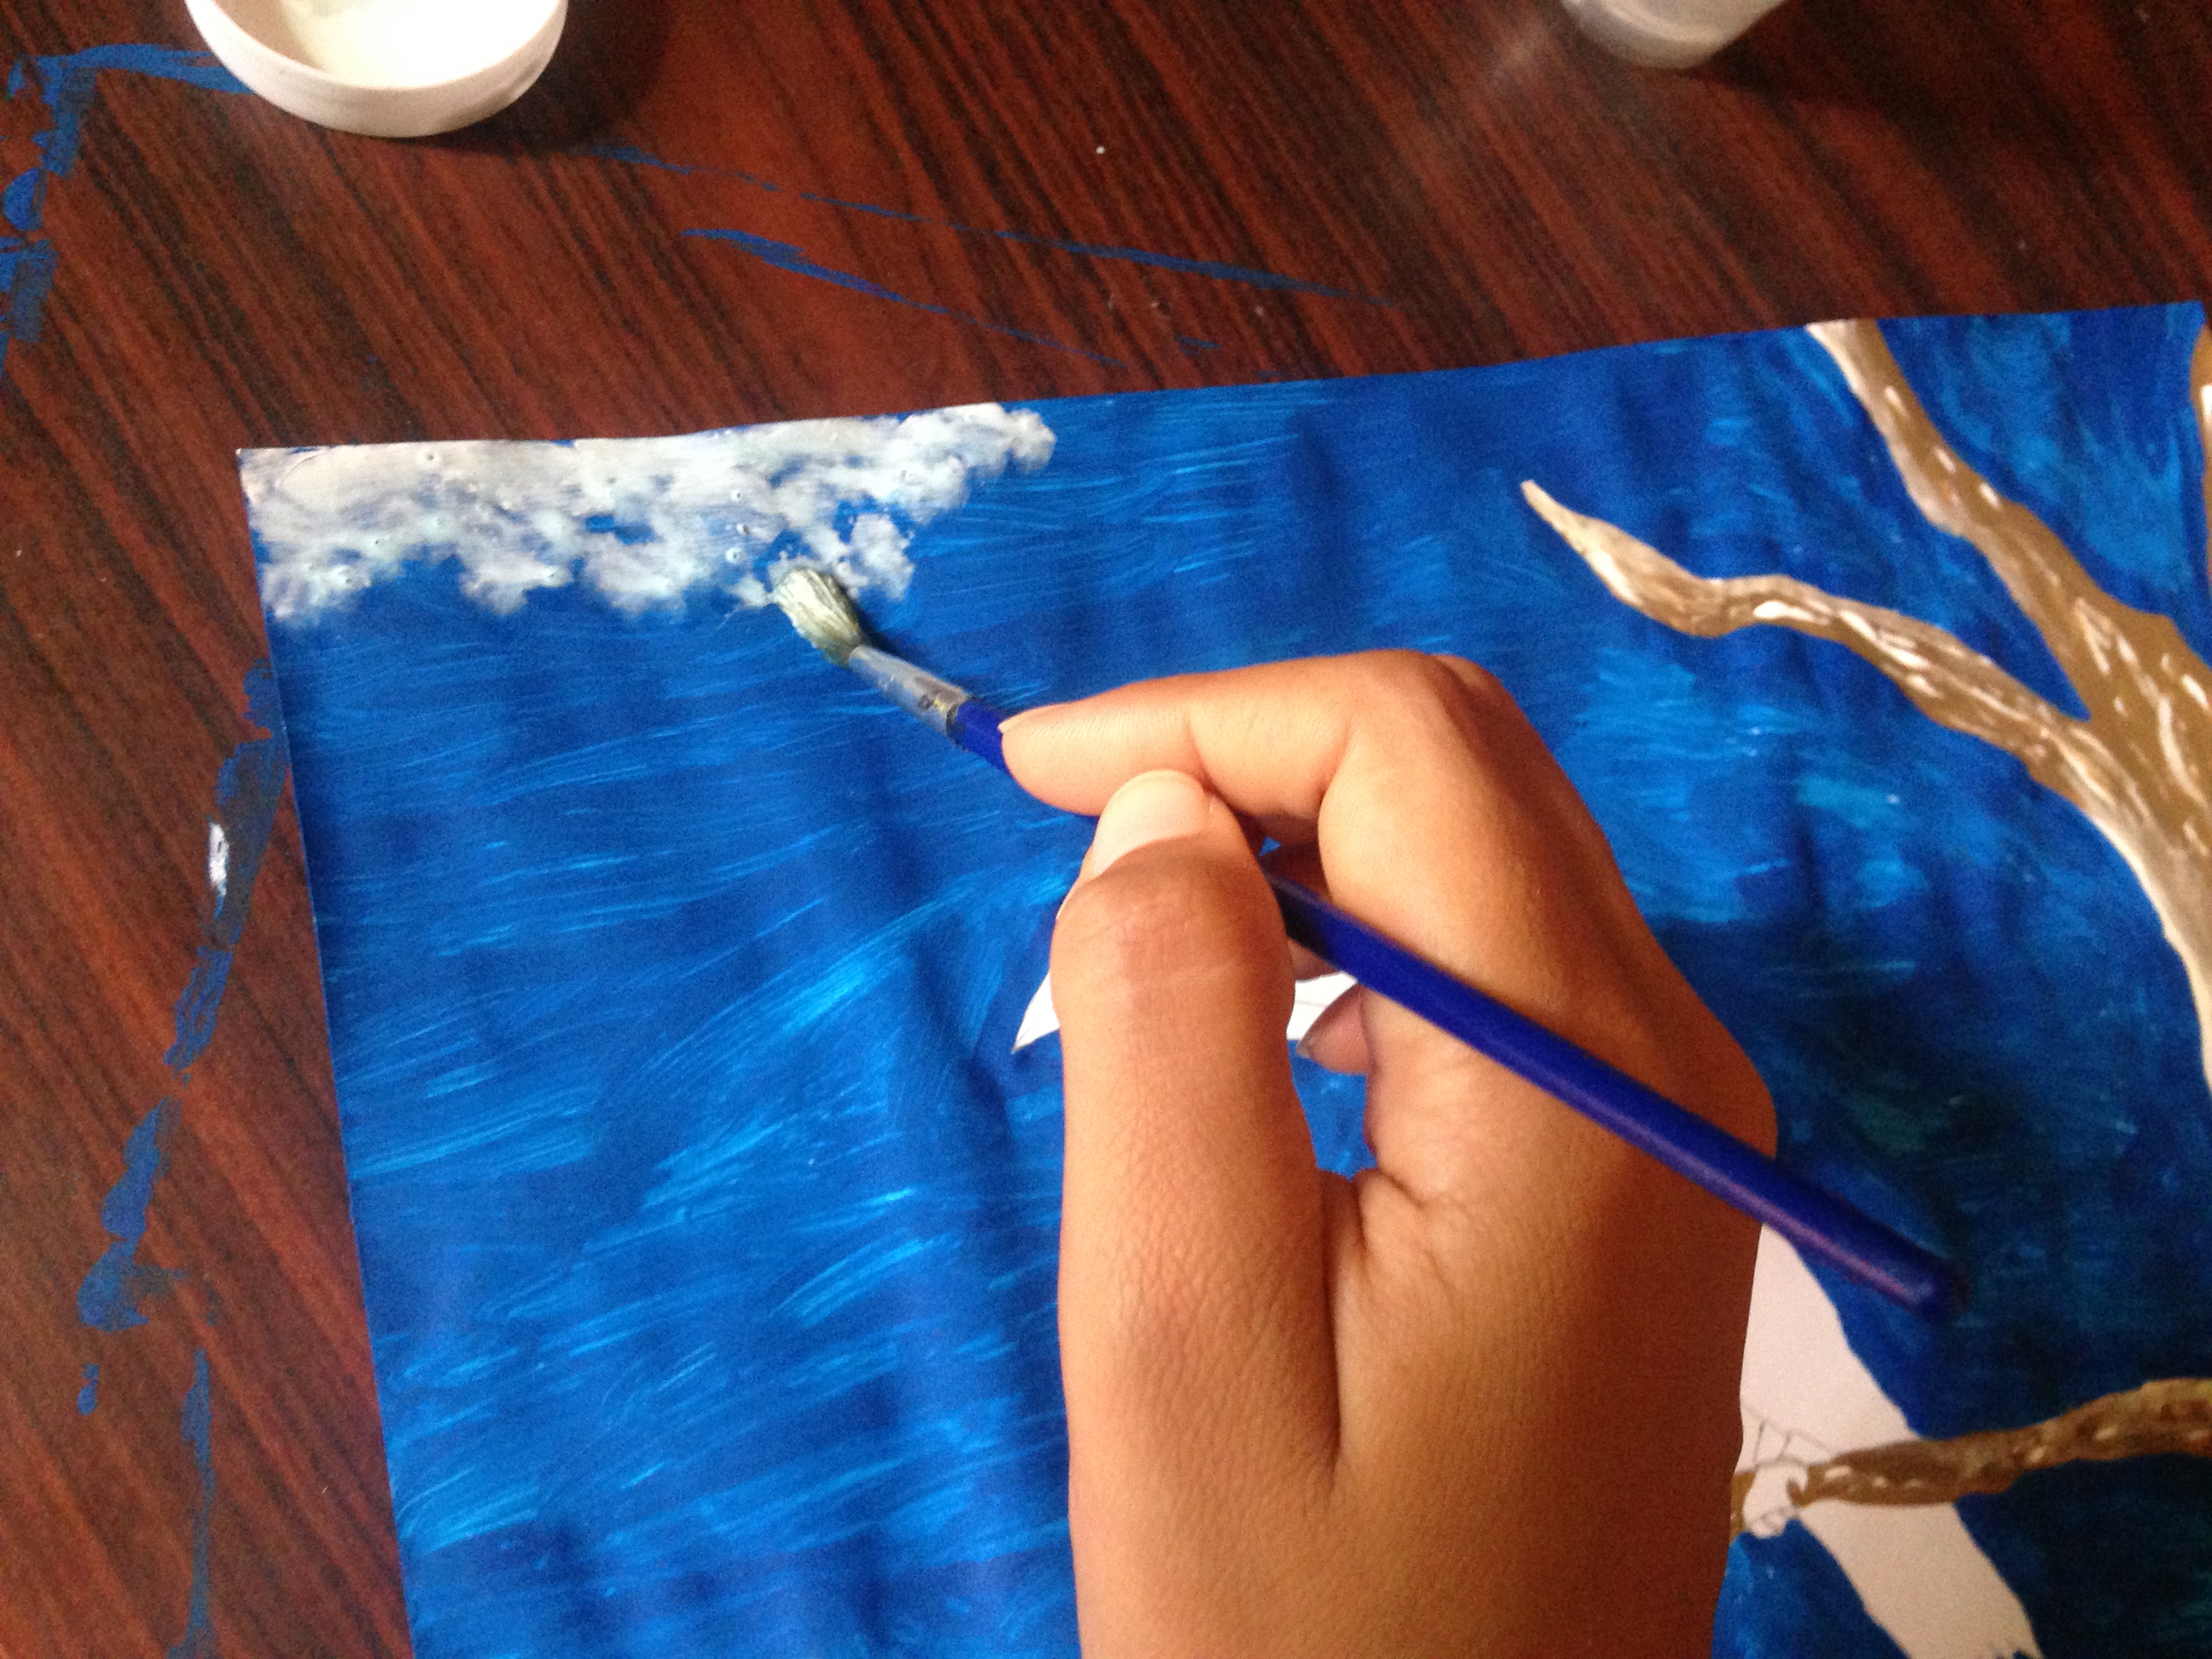
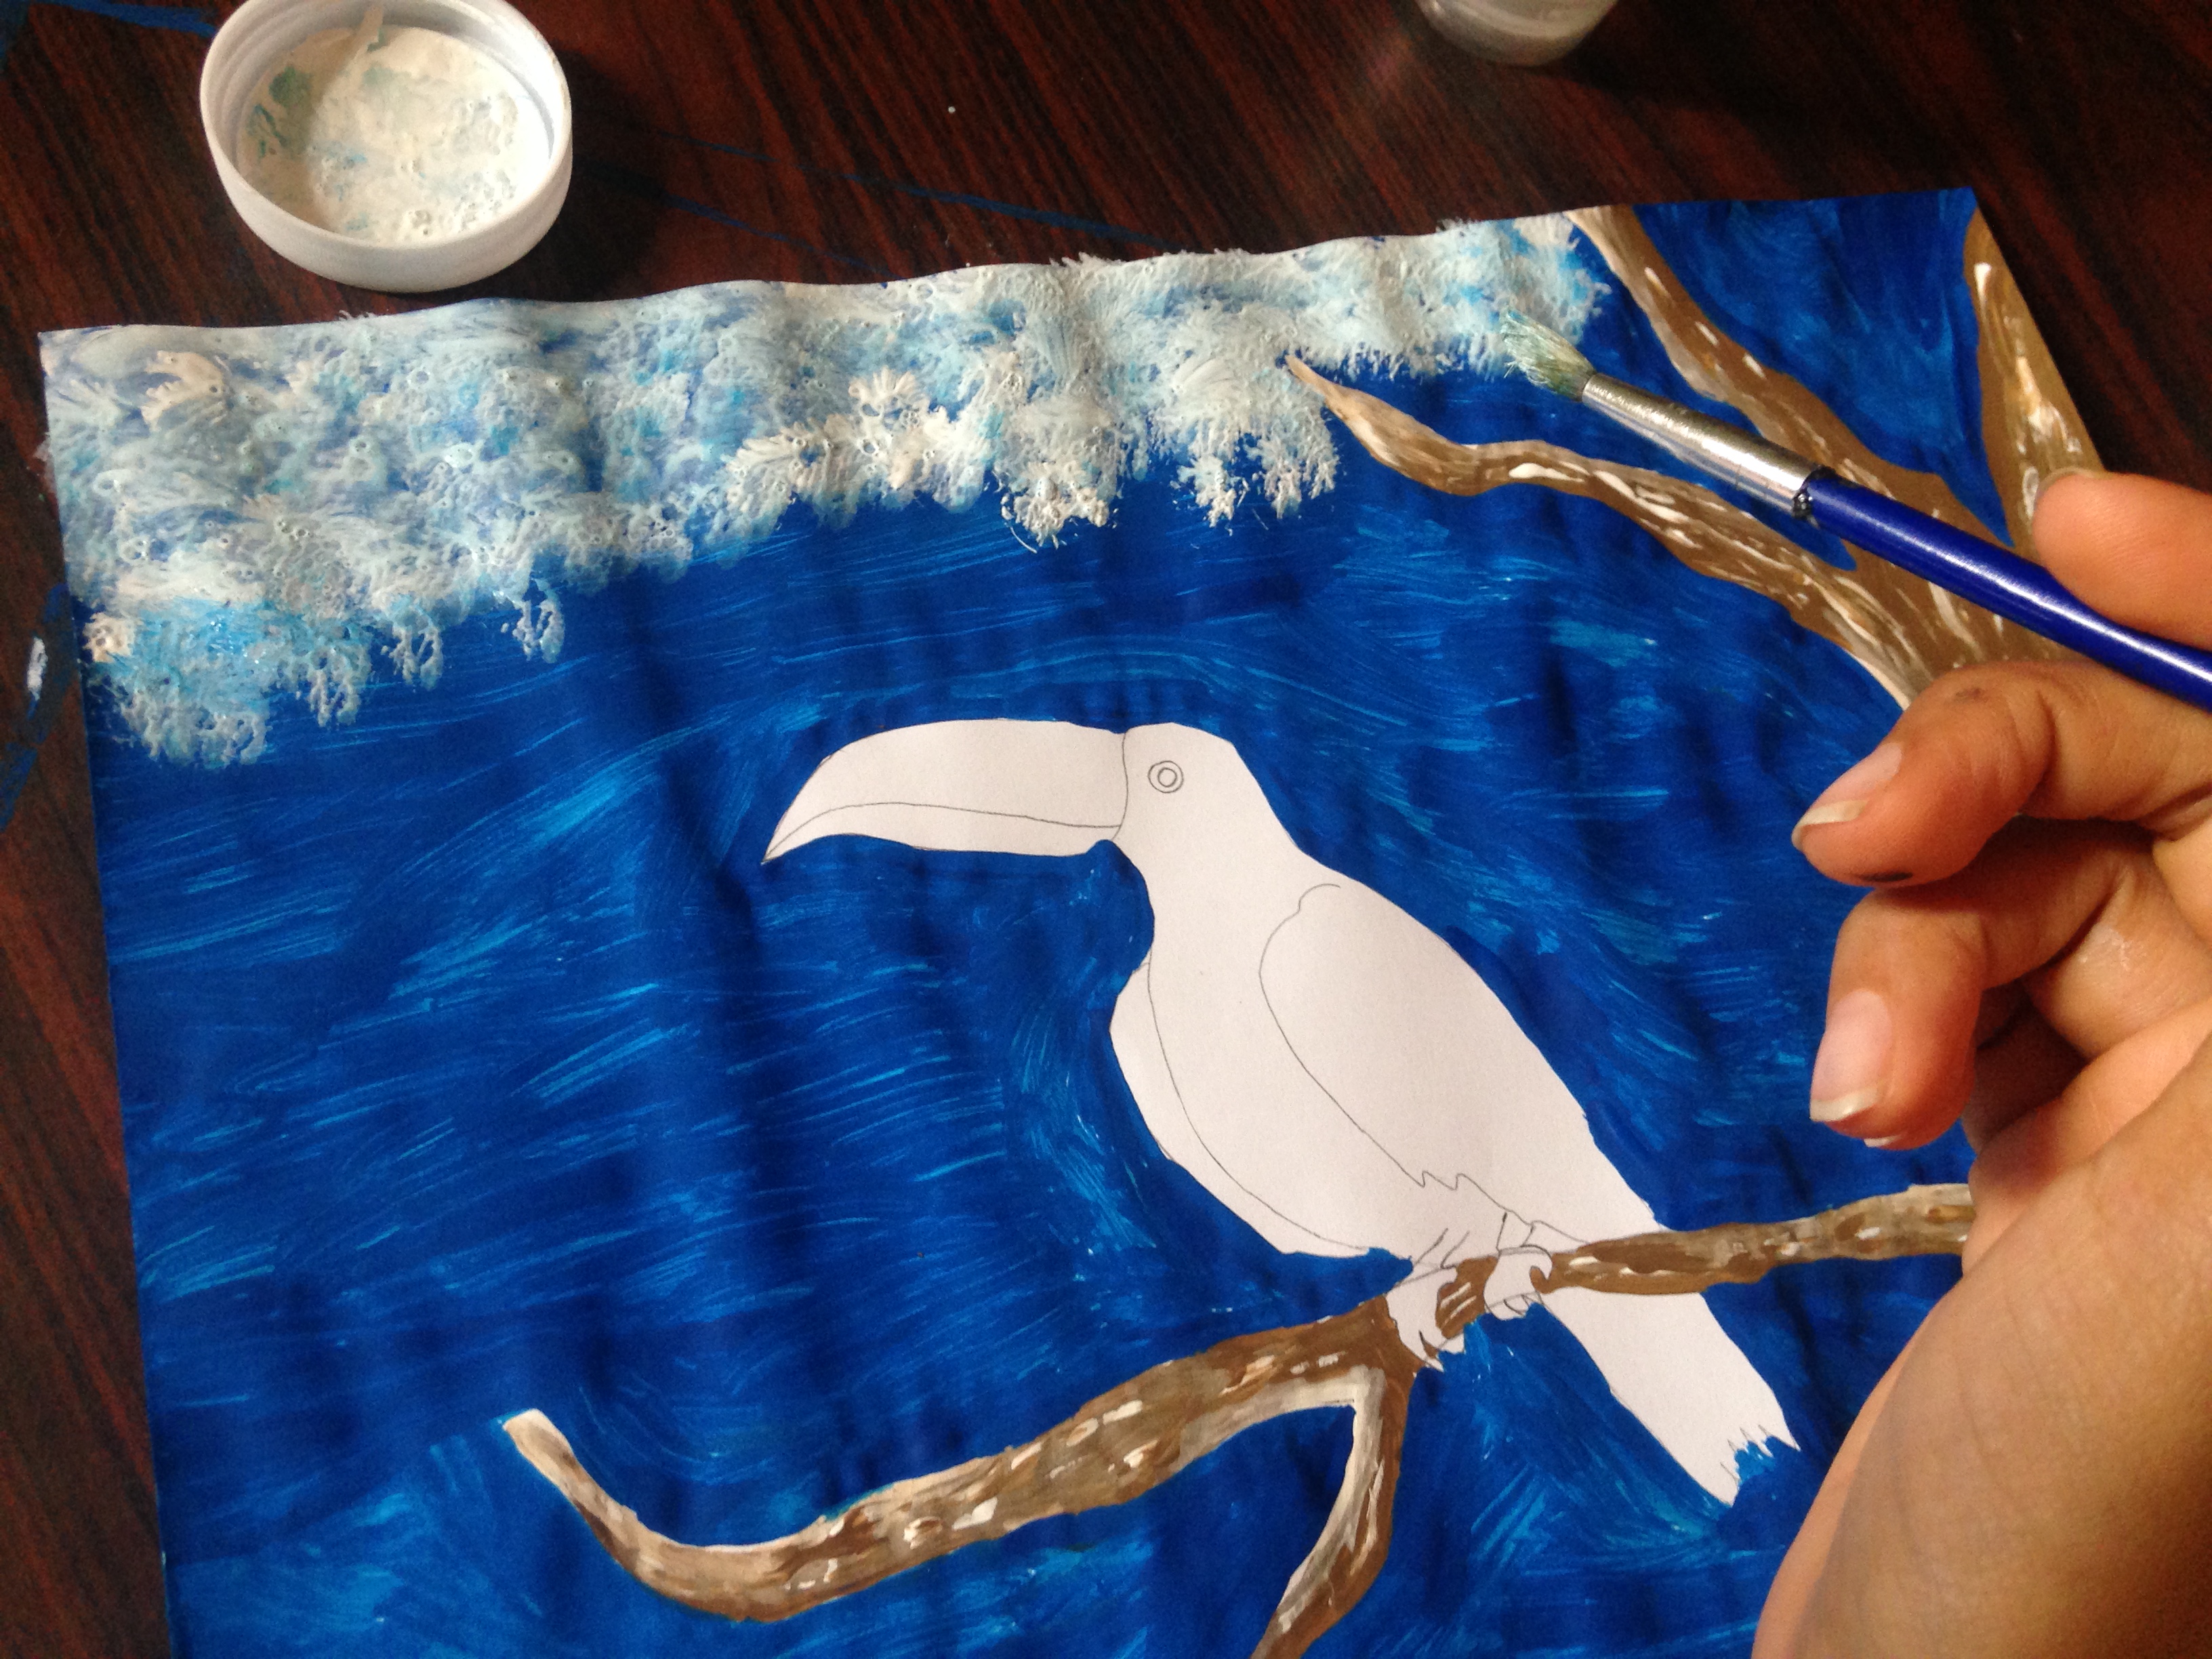
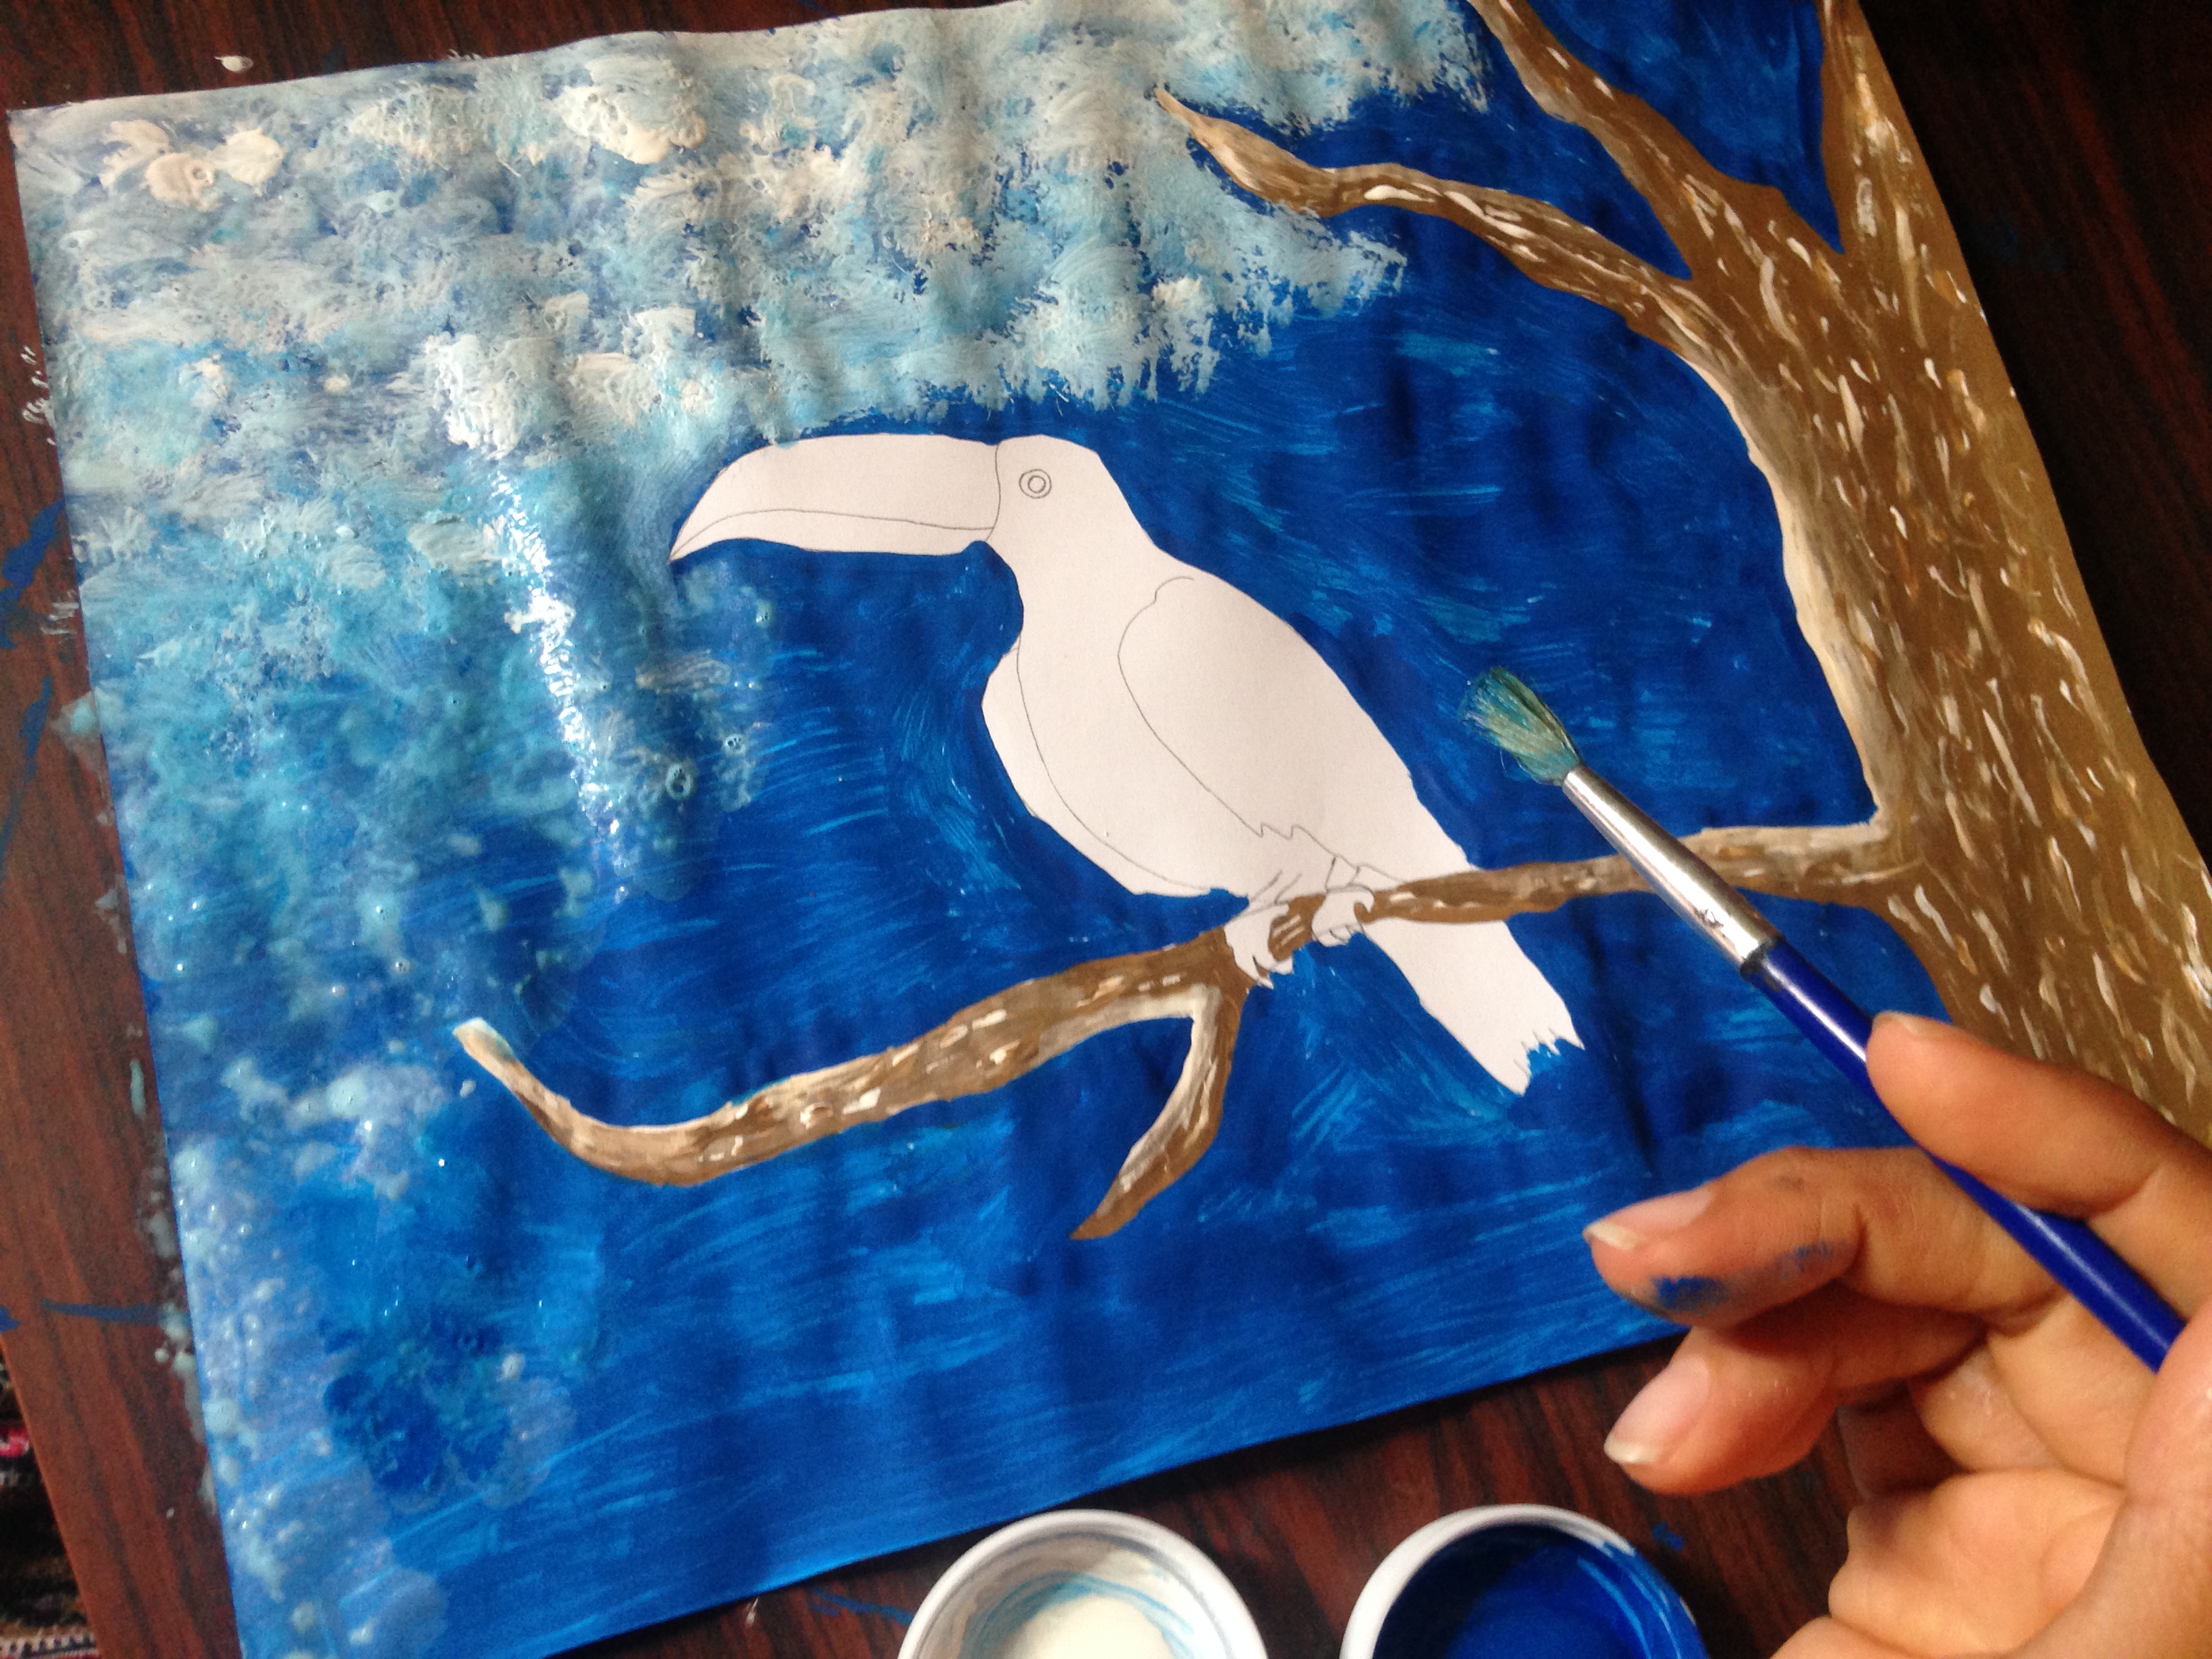
Paso 3
Pintaremos el cielo con la pintura de color azul y luego de pintarlo por completo de arriba hacia abajo haremos toques de blanco para hacer un hermoso efecto del cielo y quede difuminado
Step 3
We will paint the sky with the blue paint and after painting it completely from top to bottom we will make touches of white to make a beautiful effect of the sky and be blurred

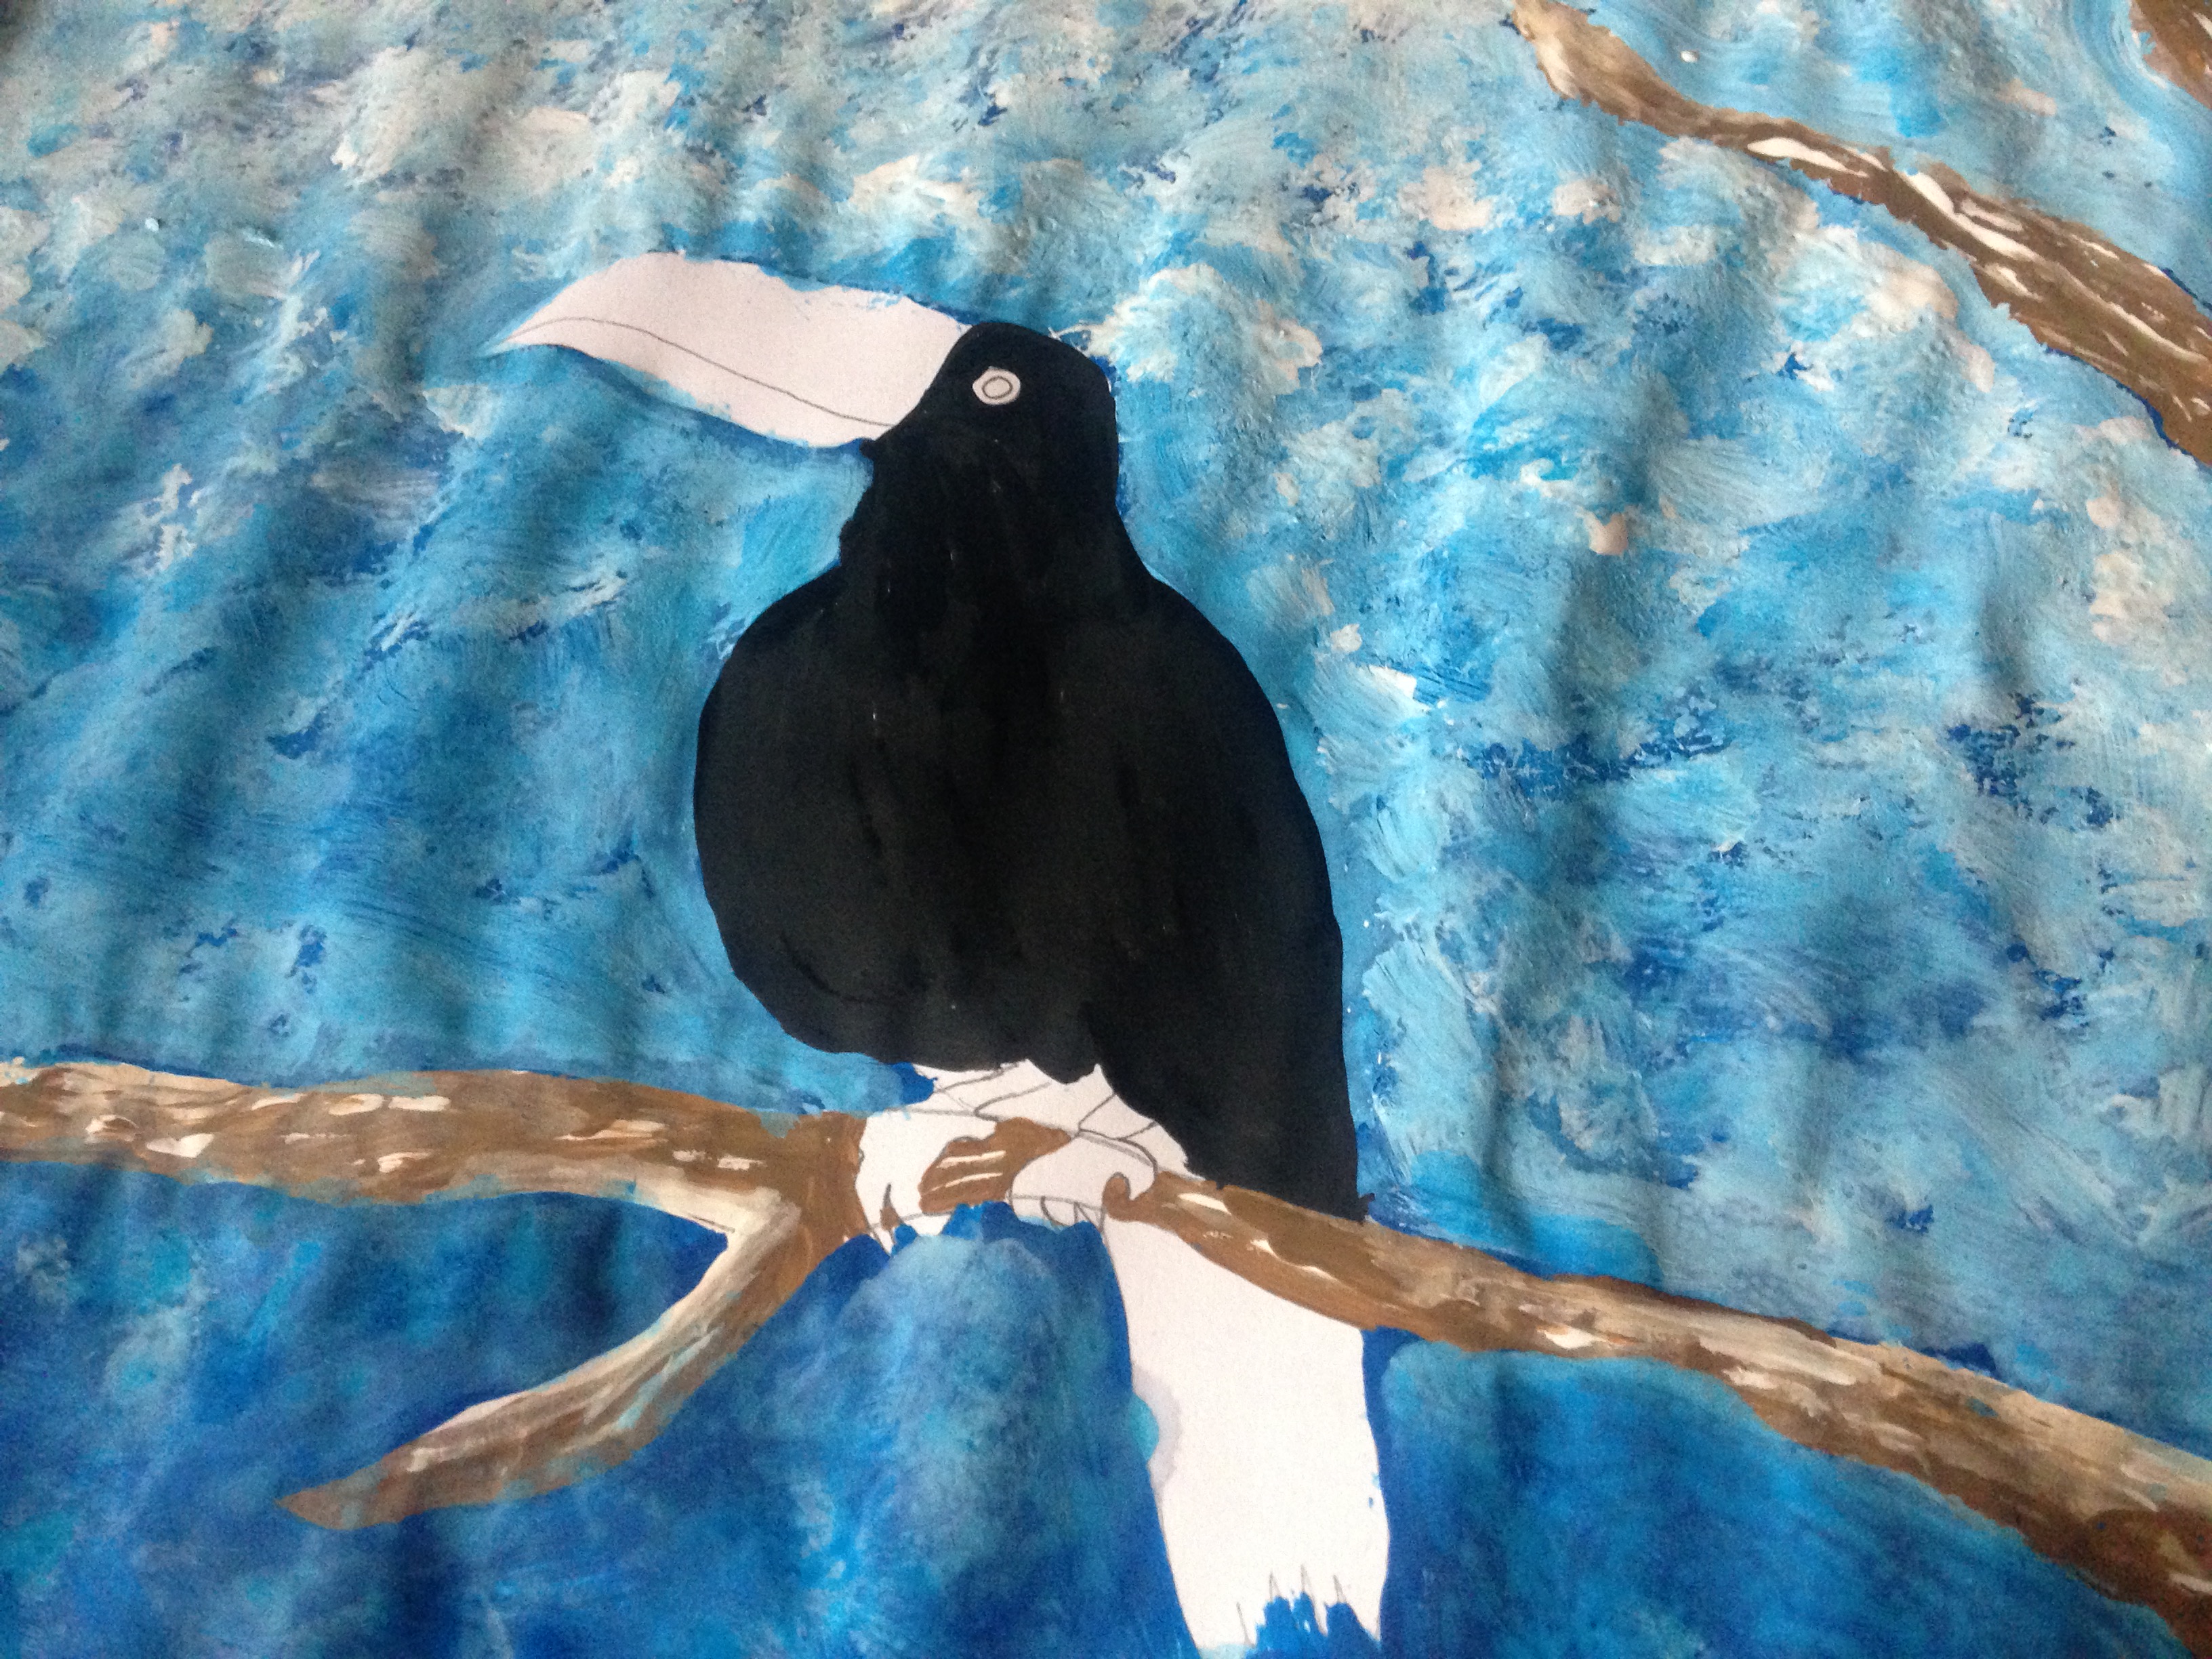
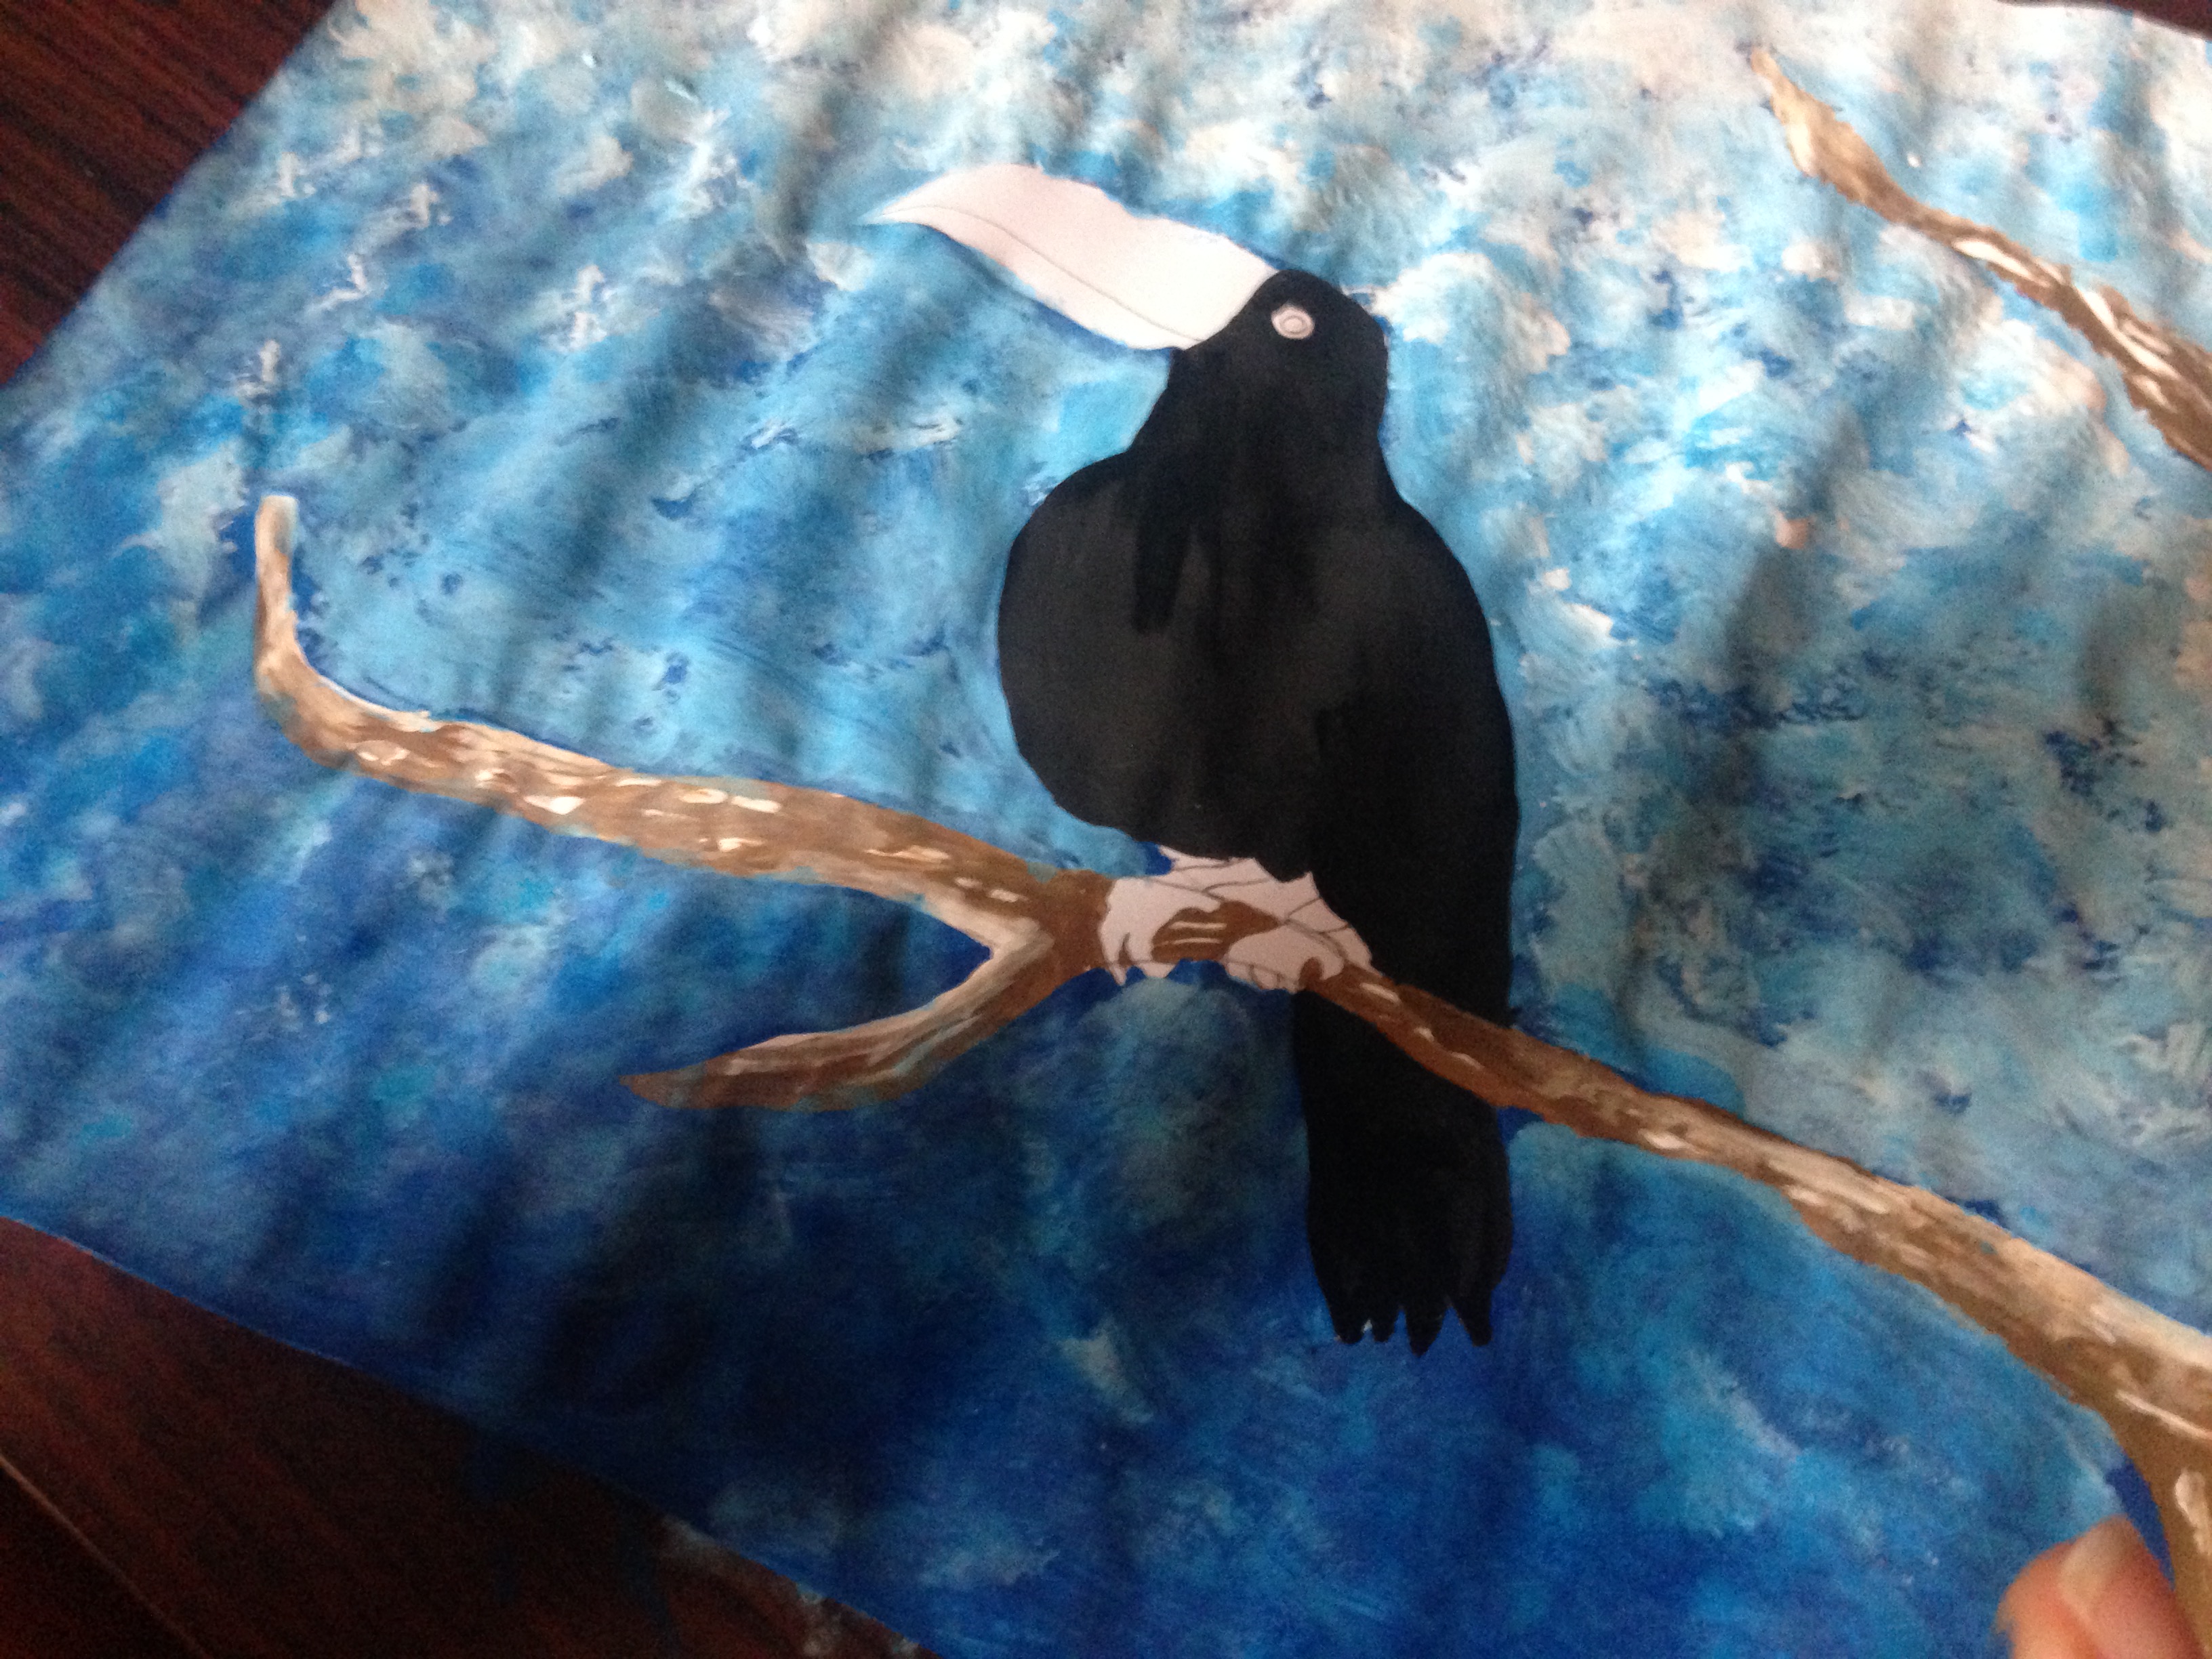
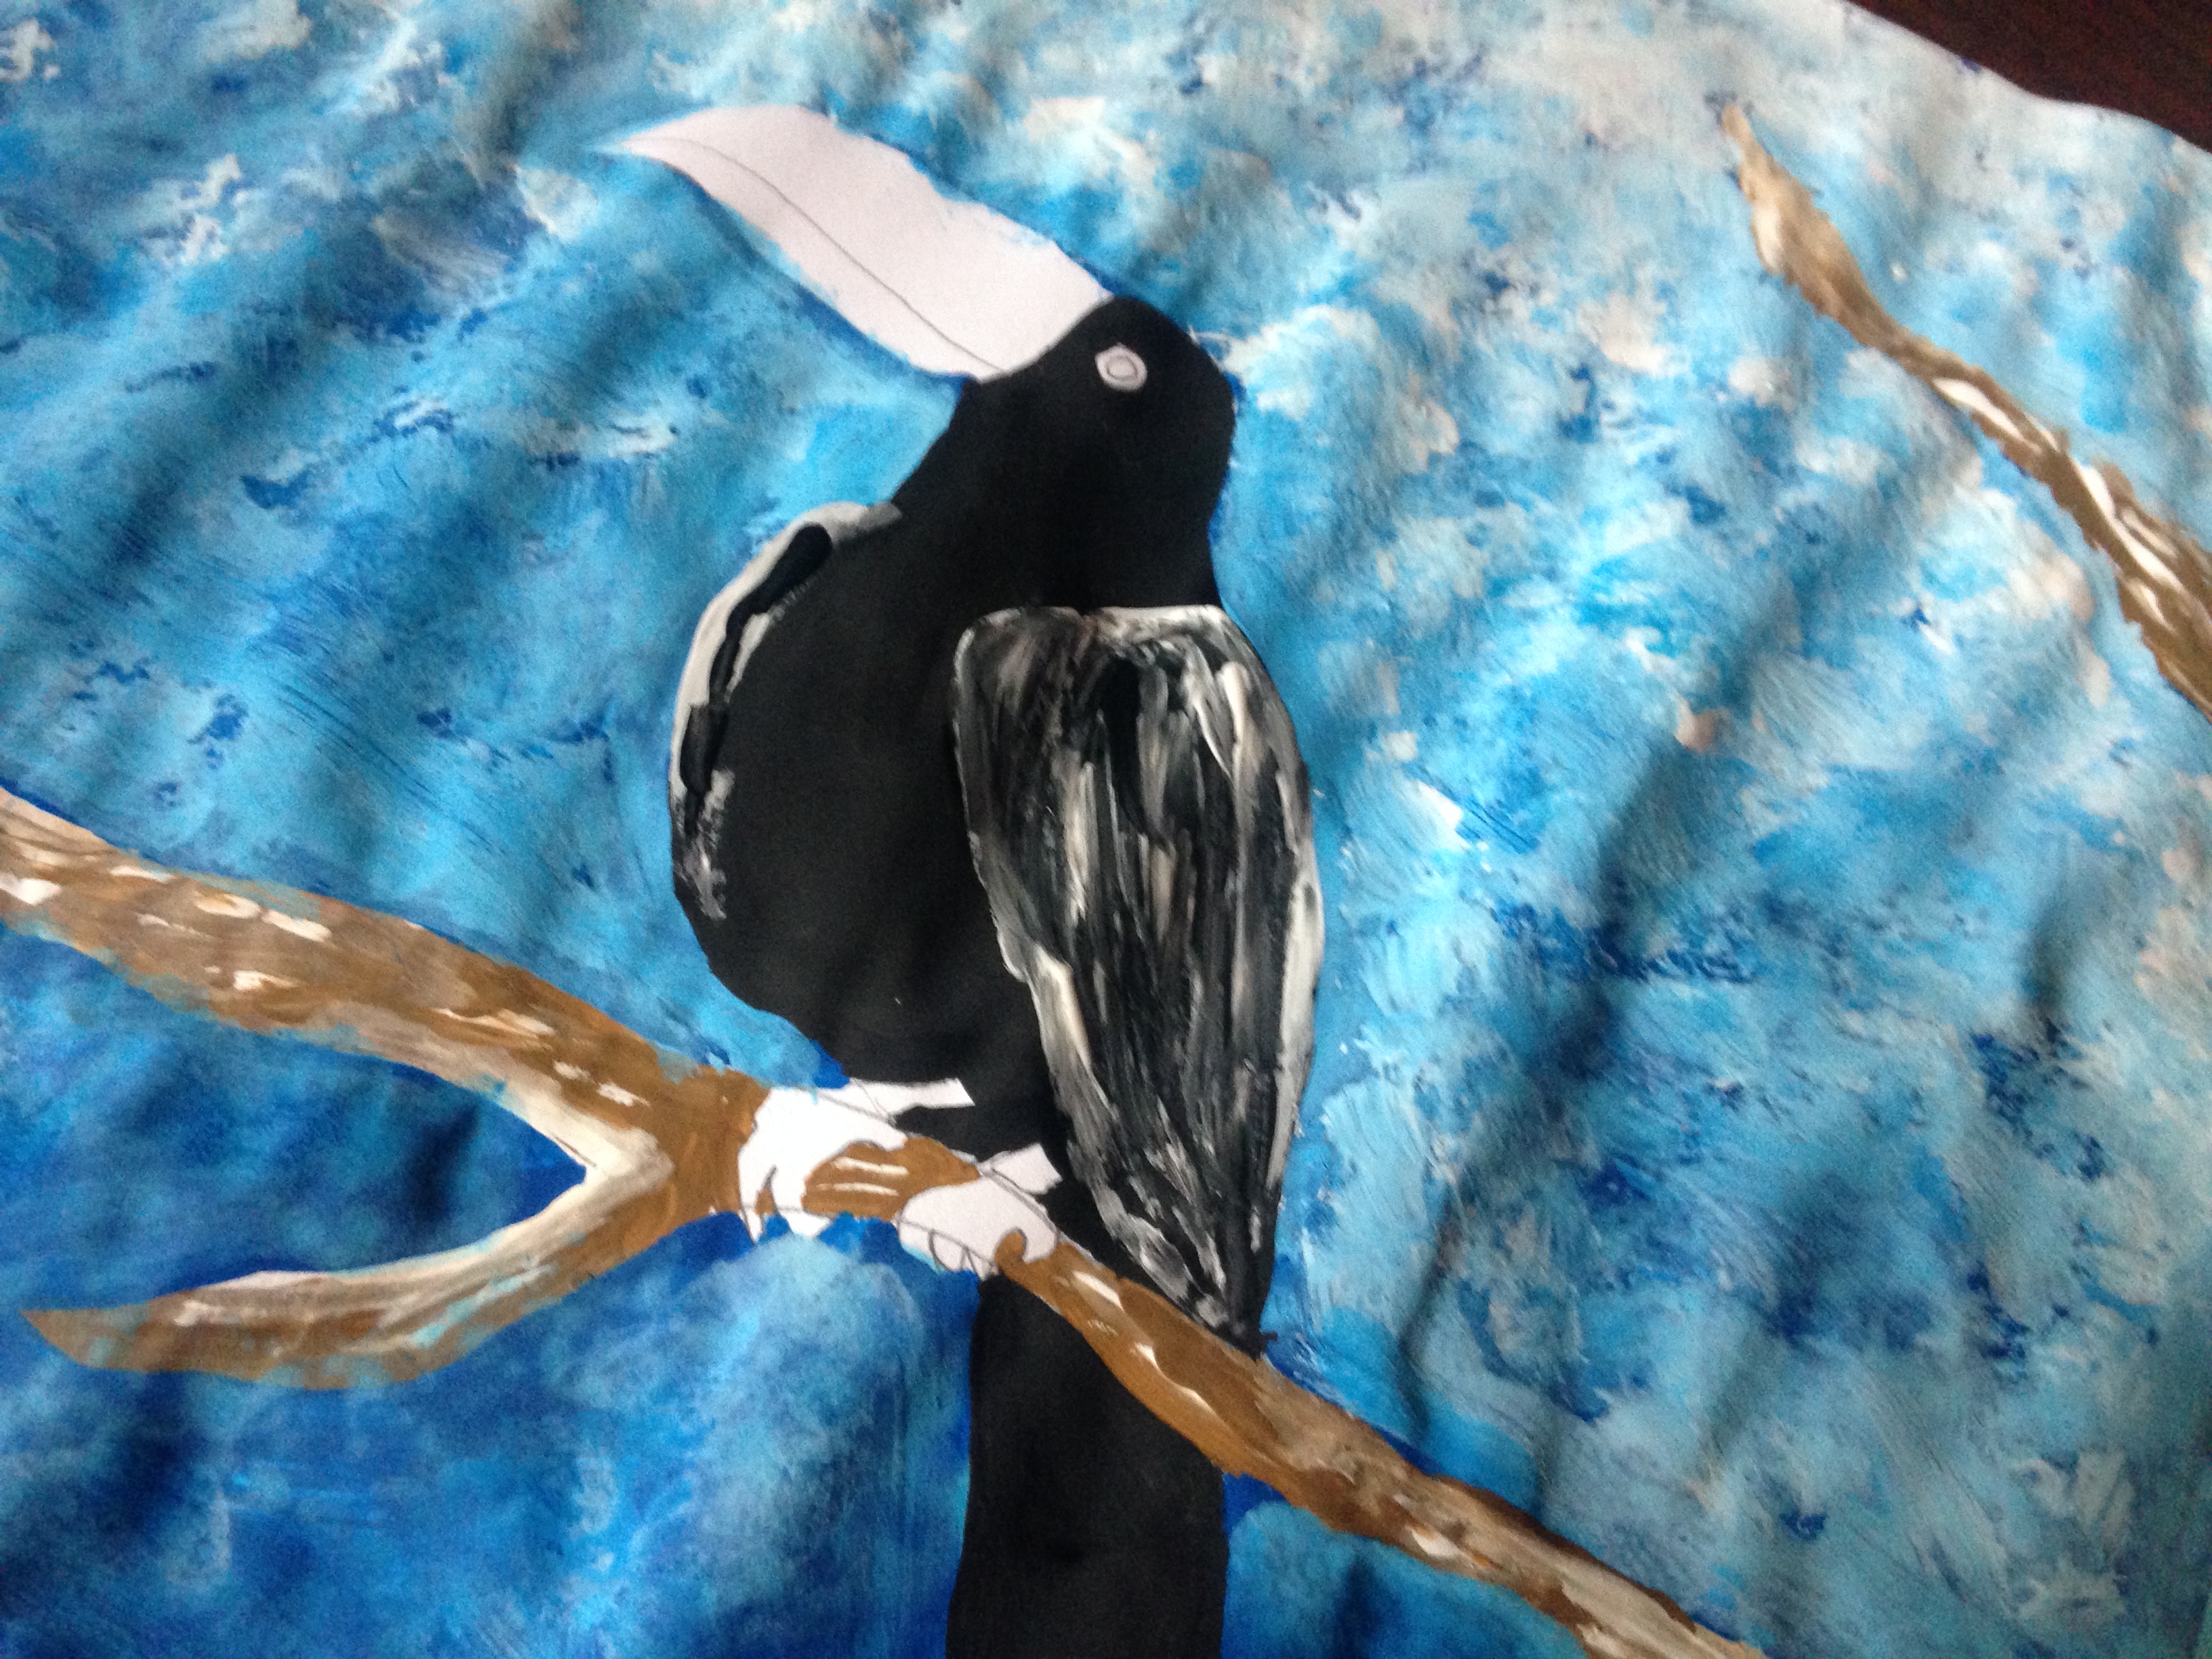
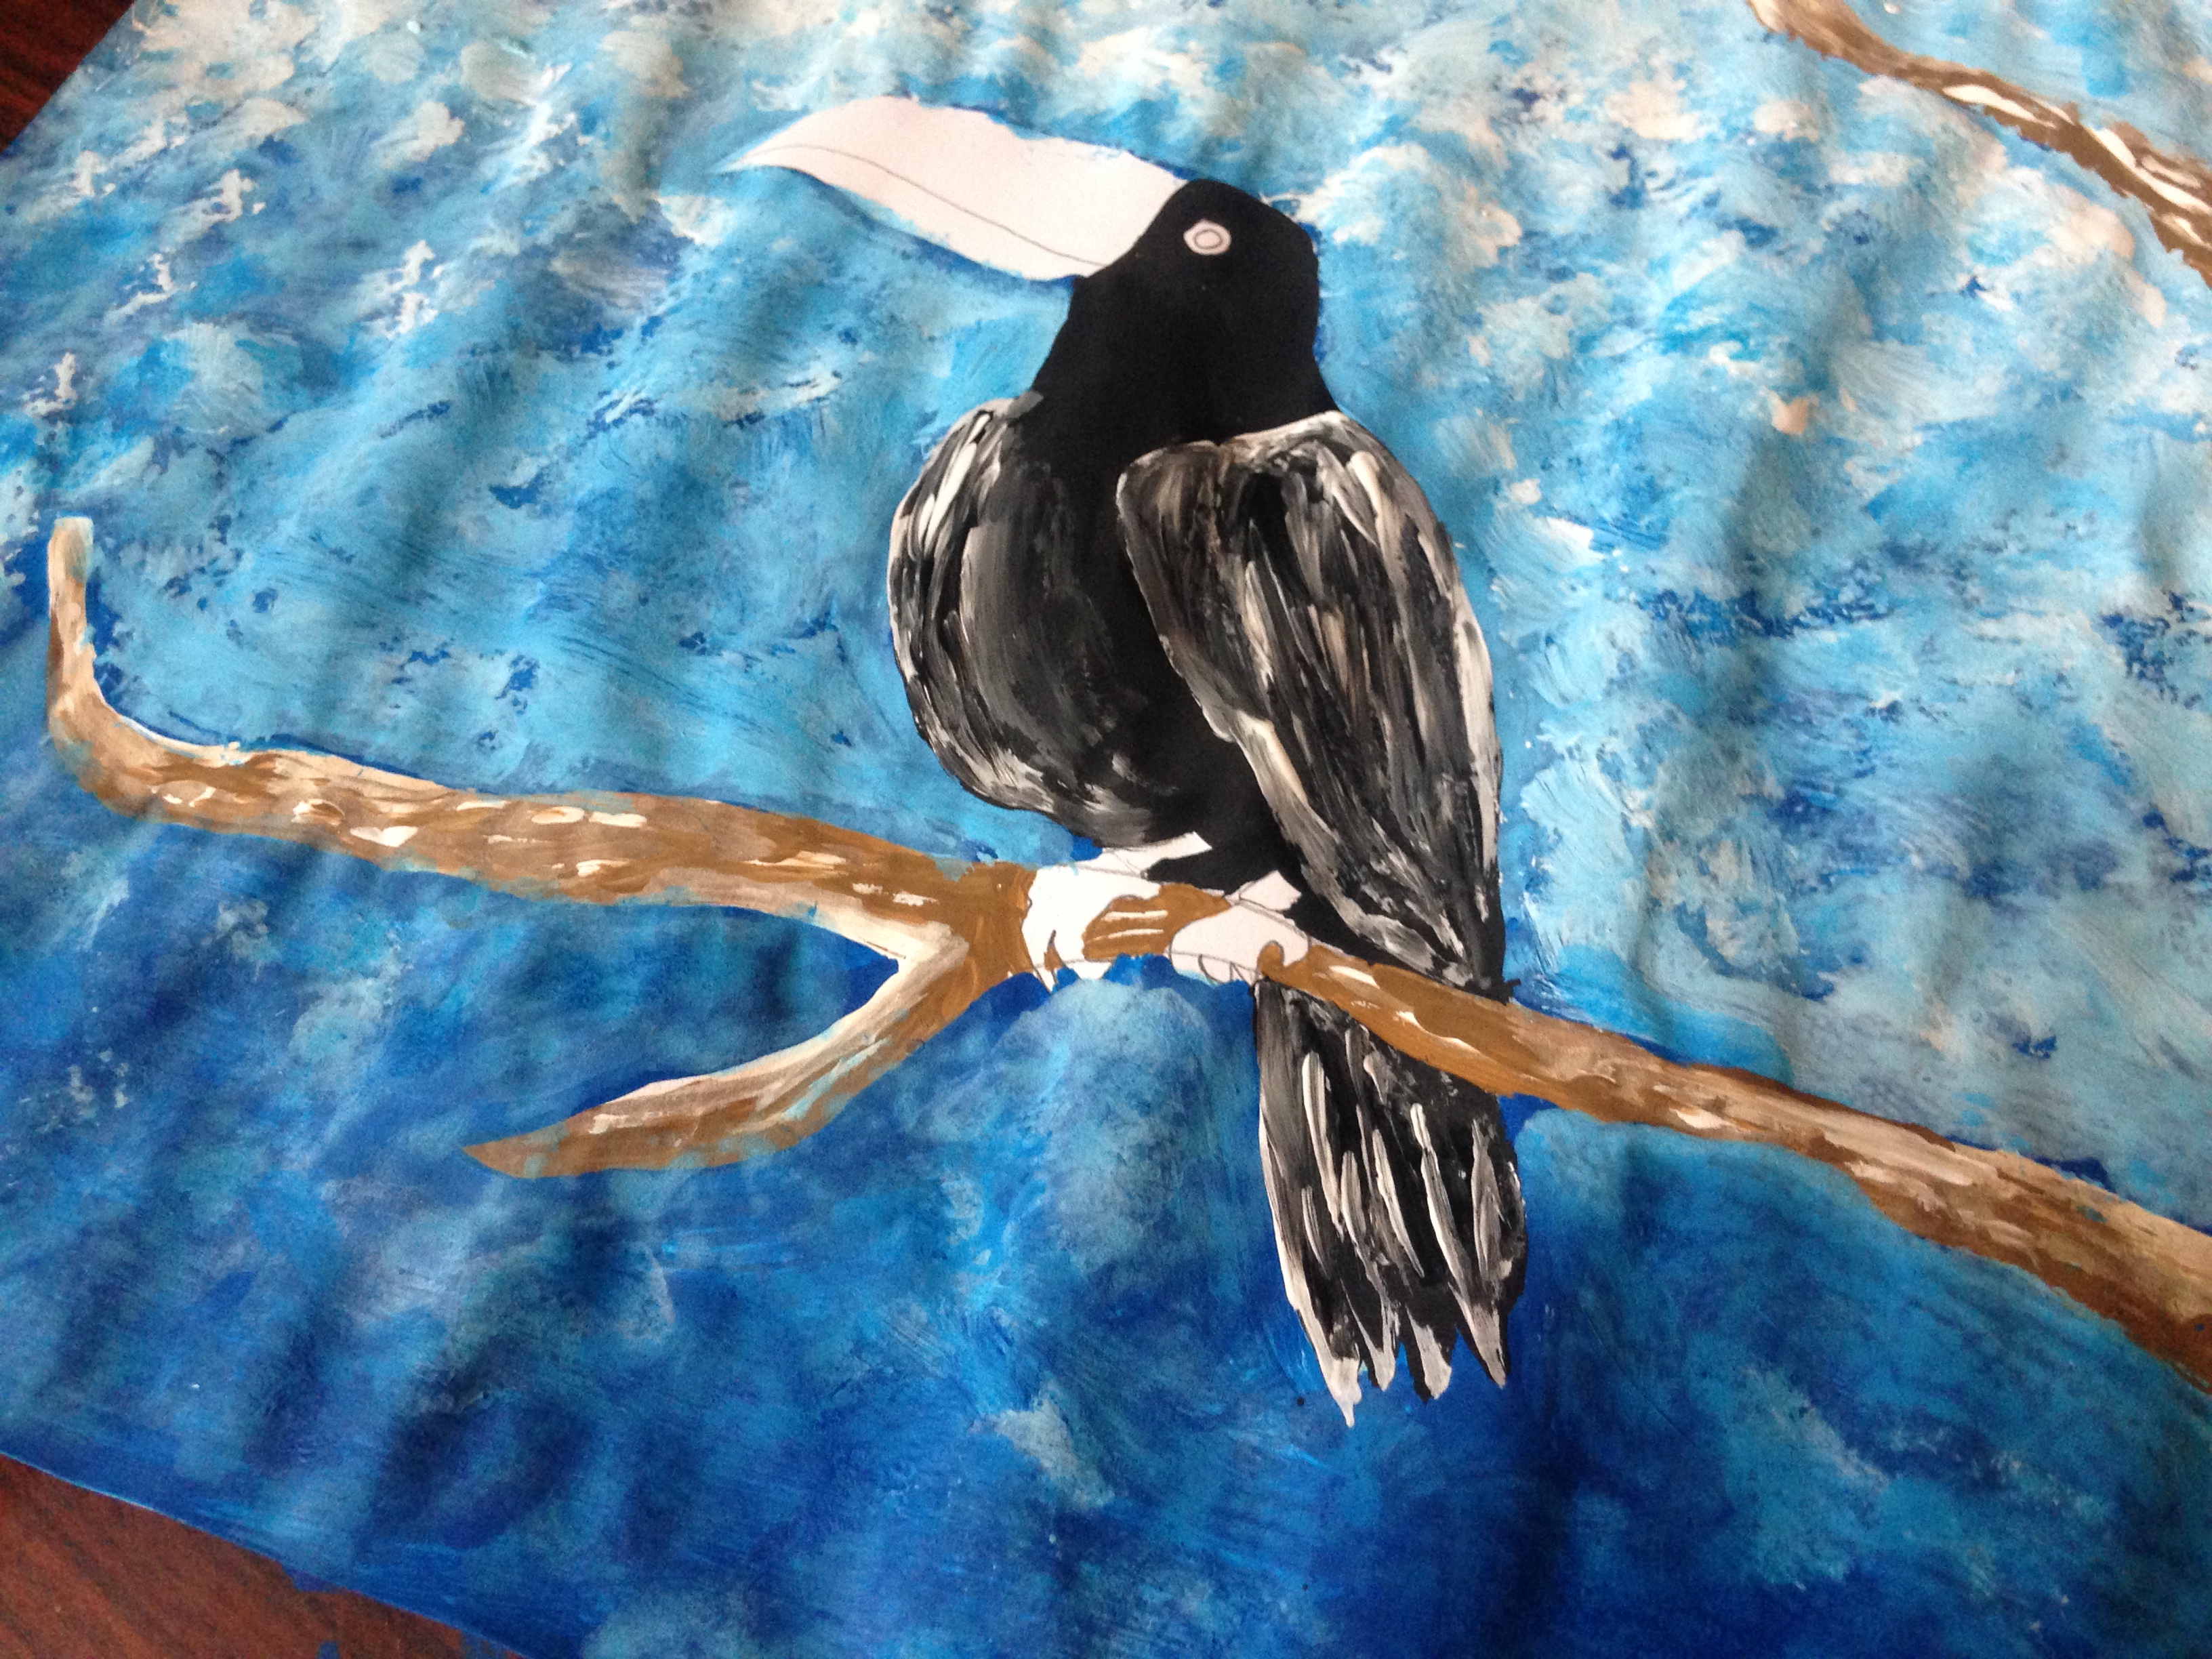
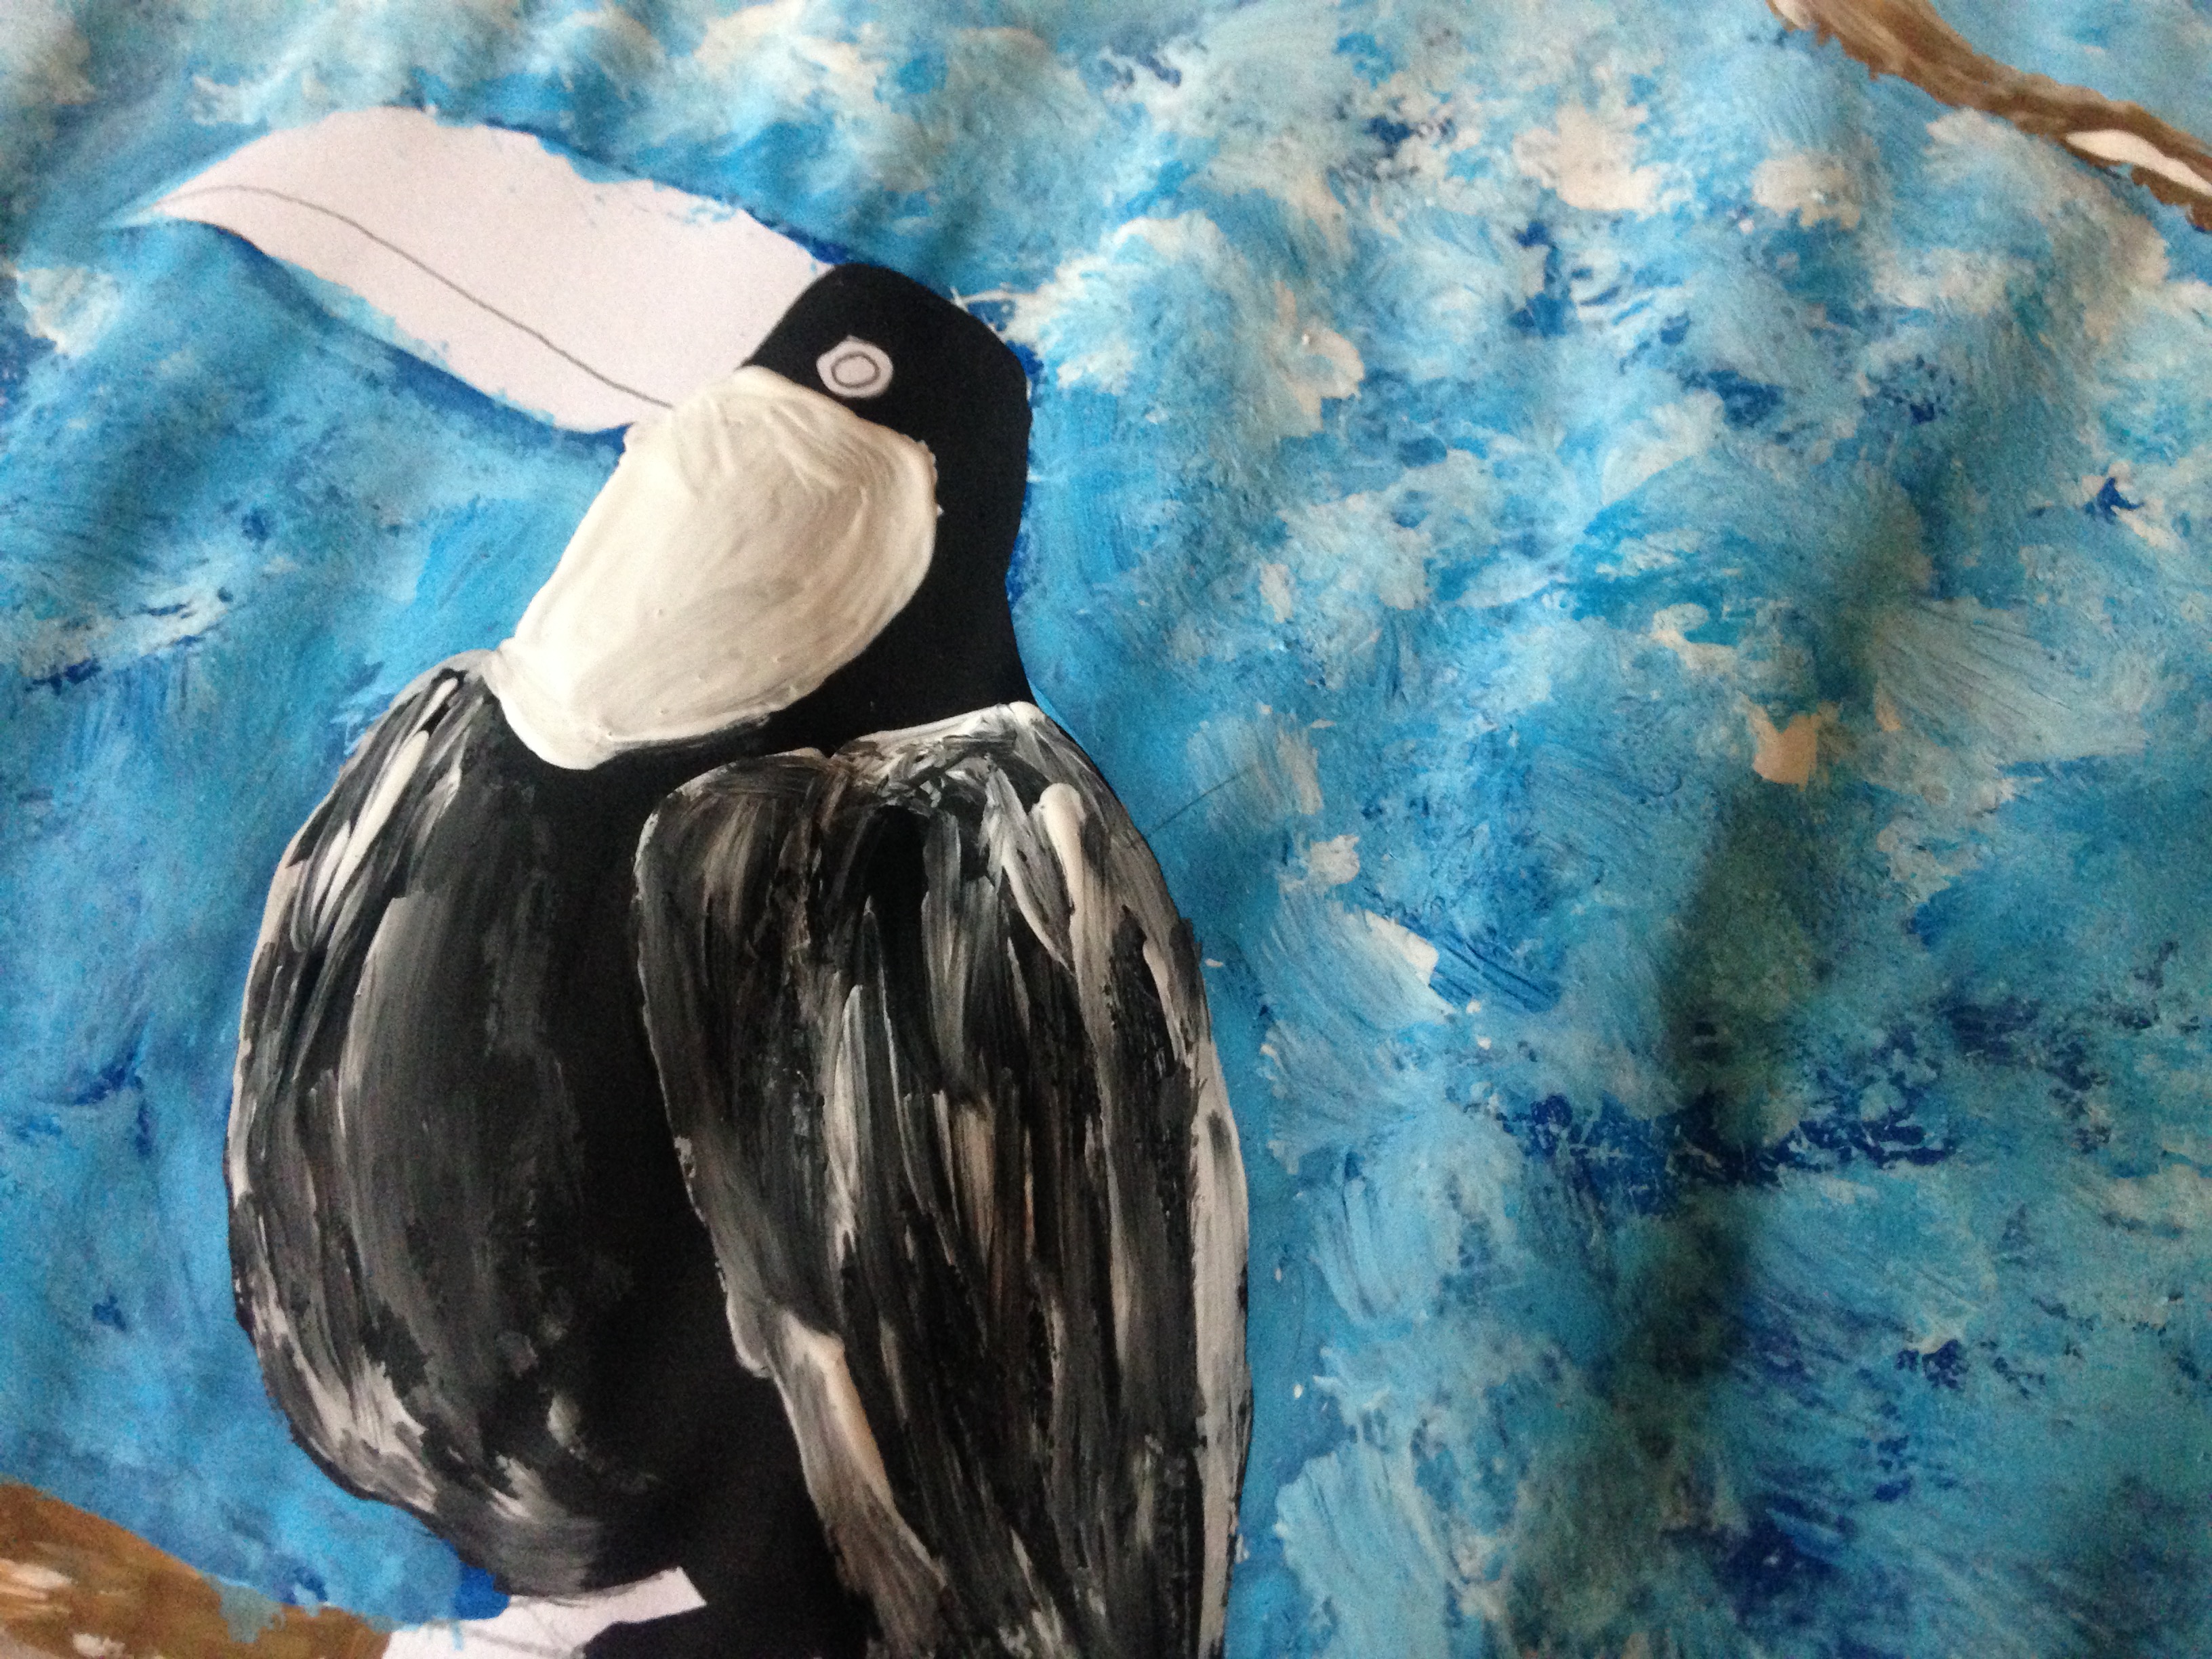
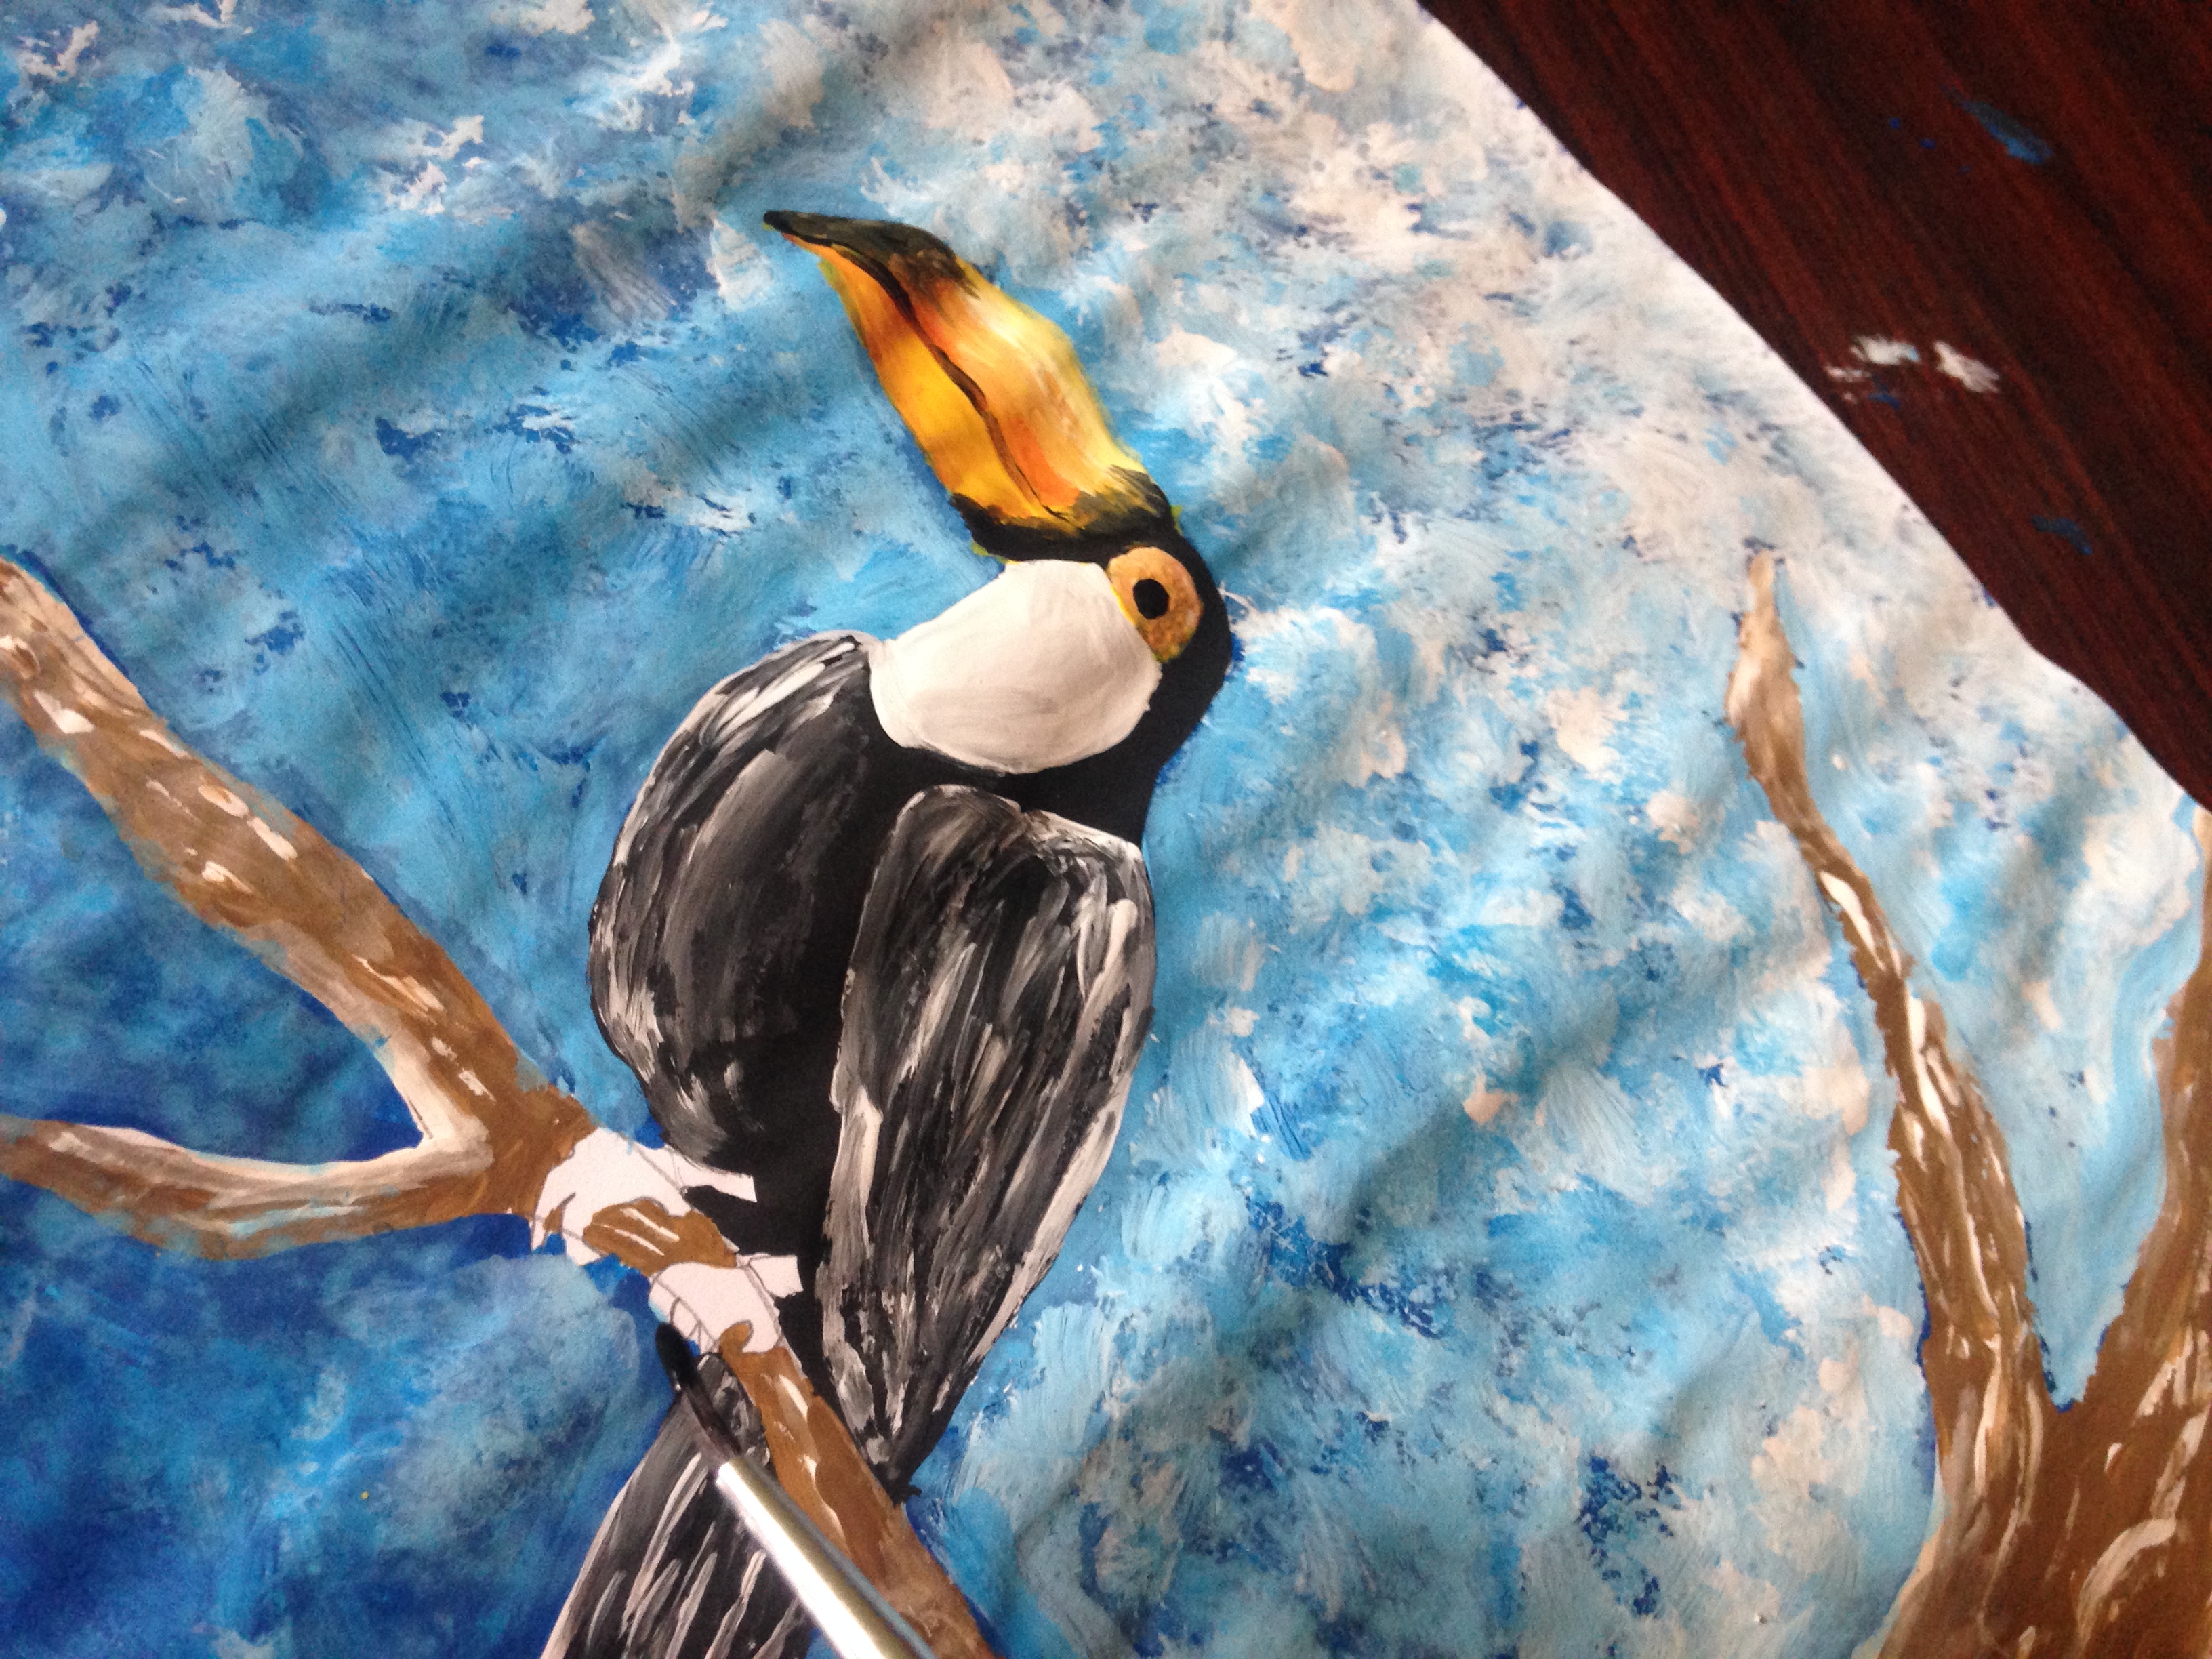
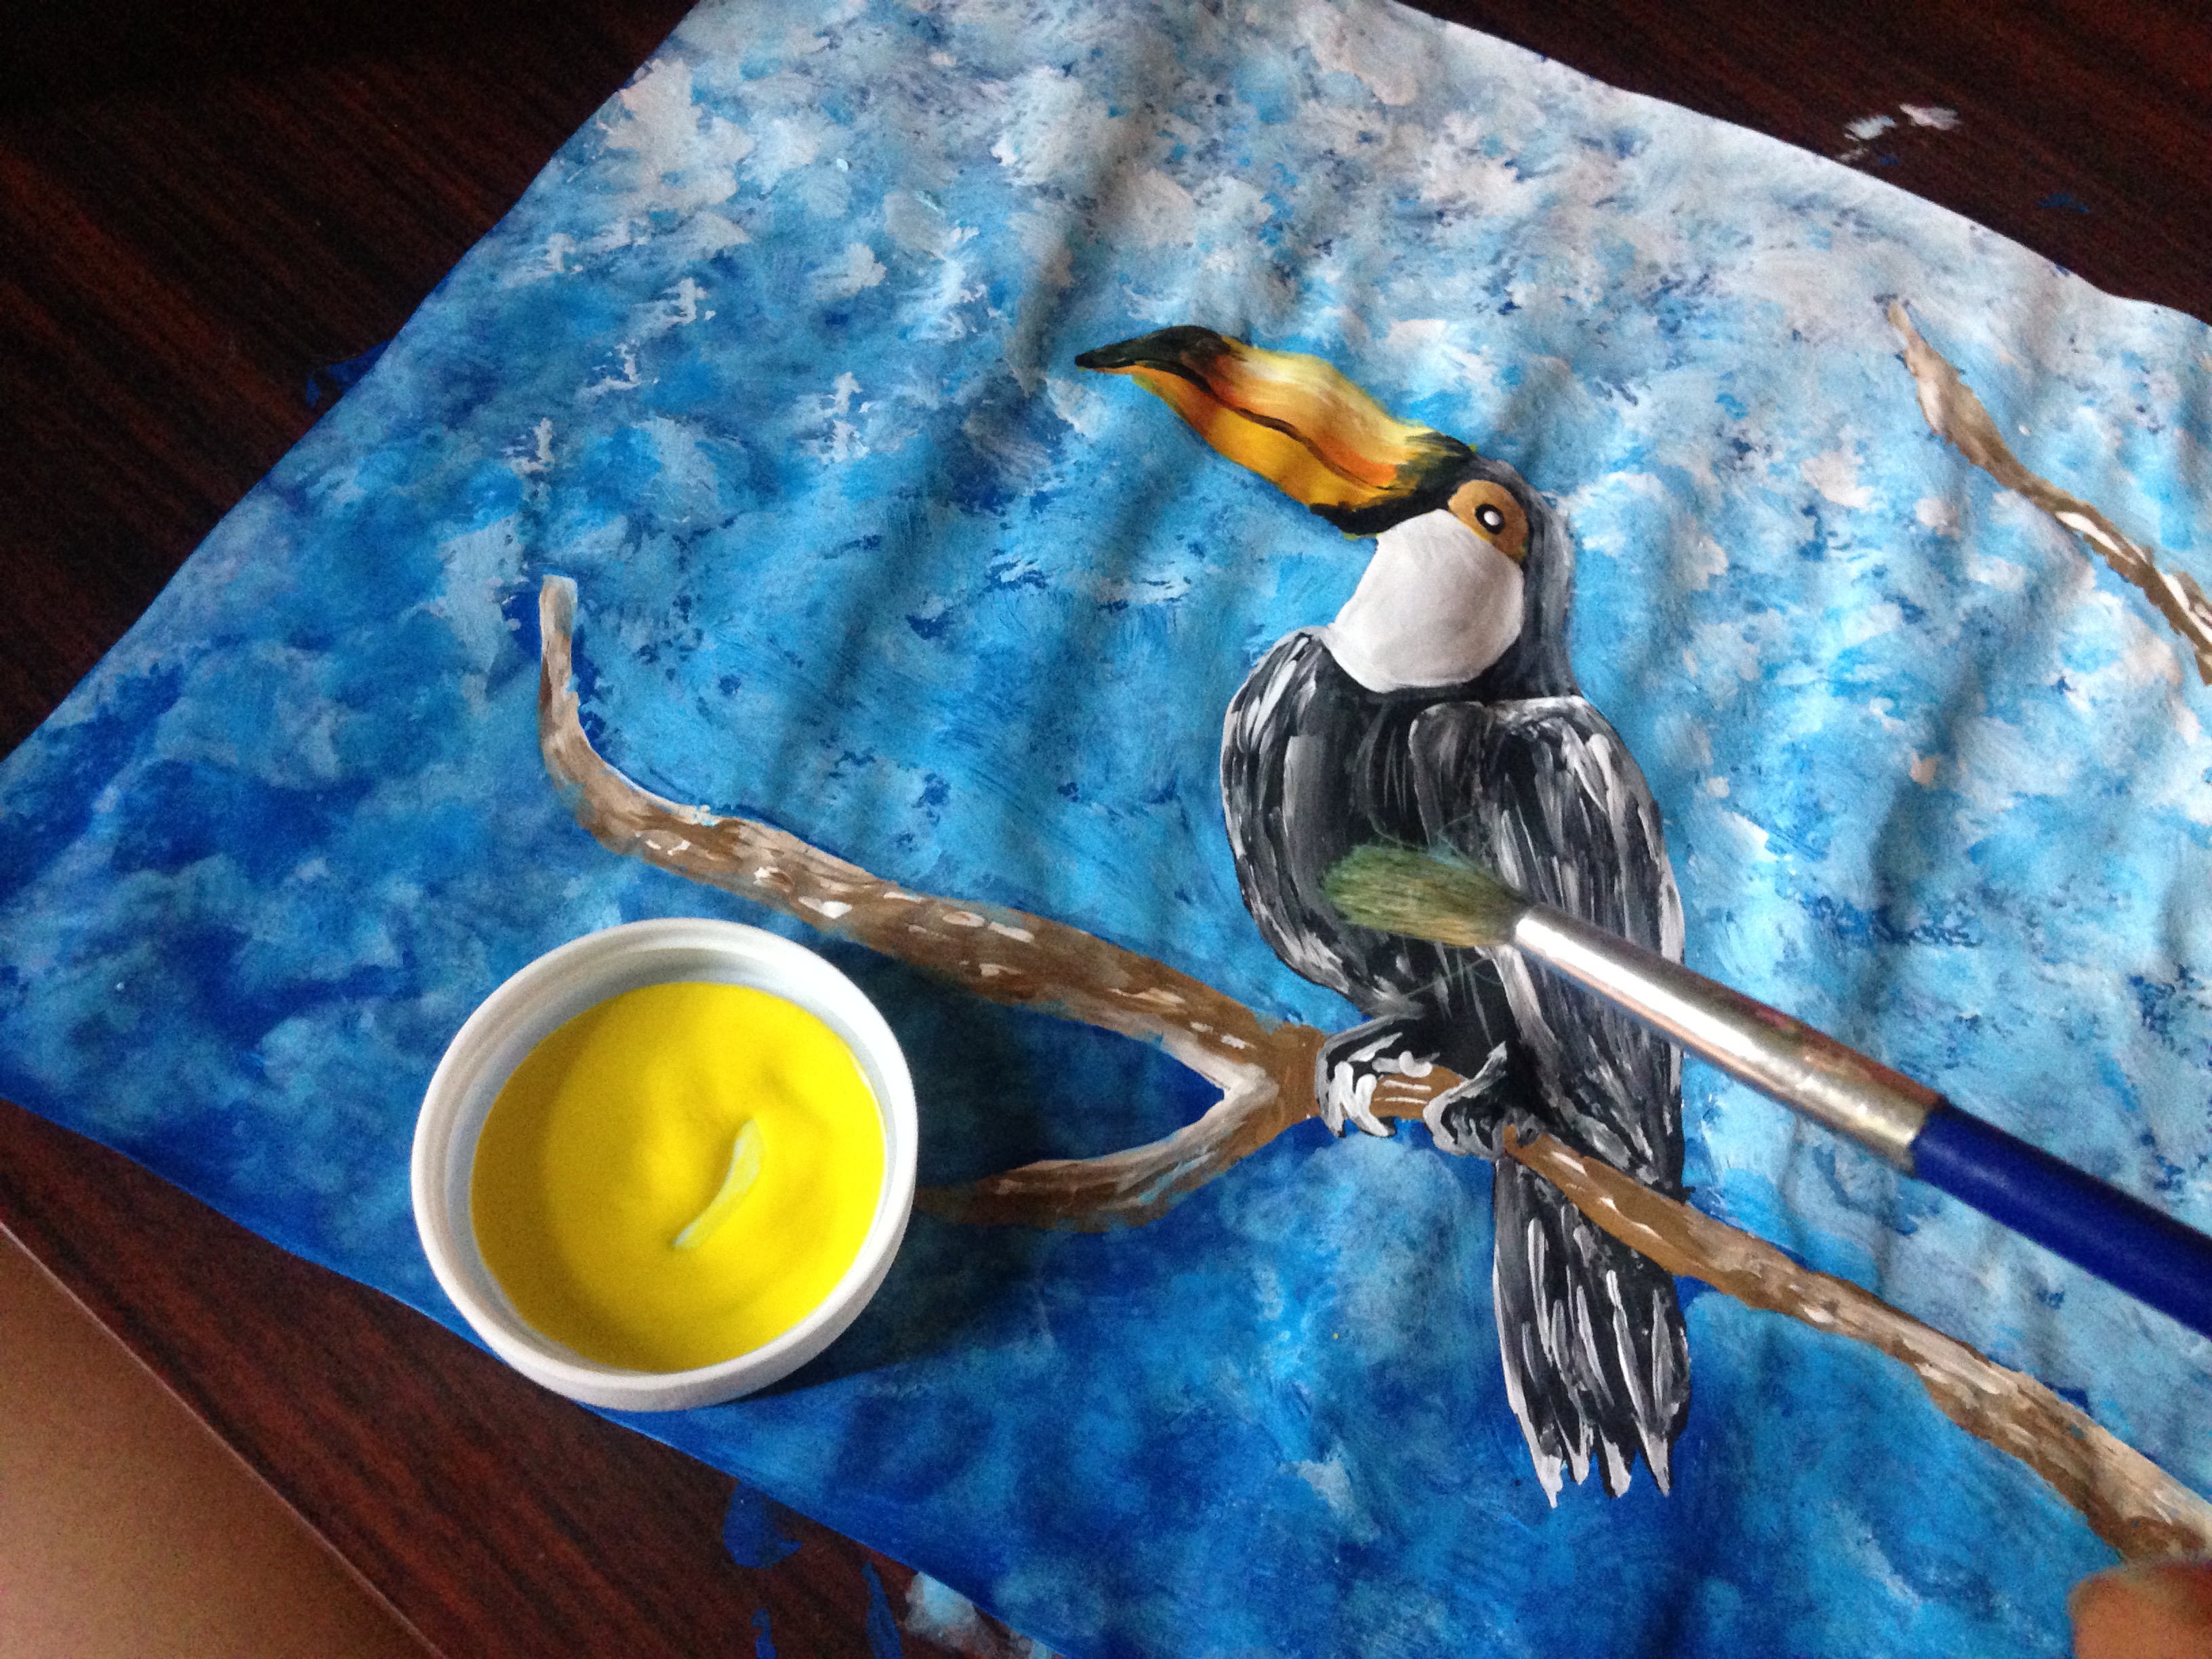
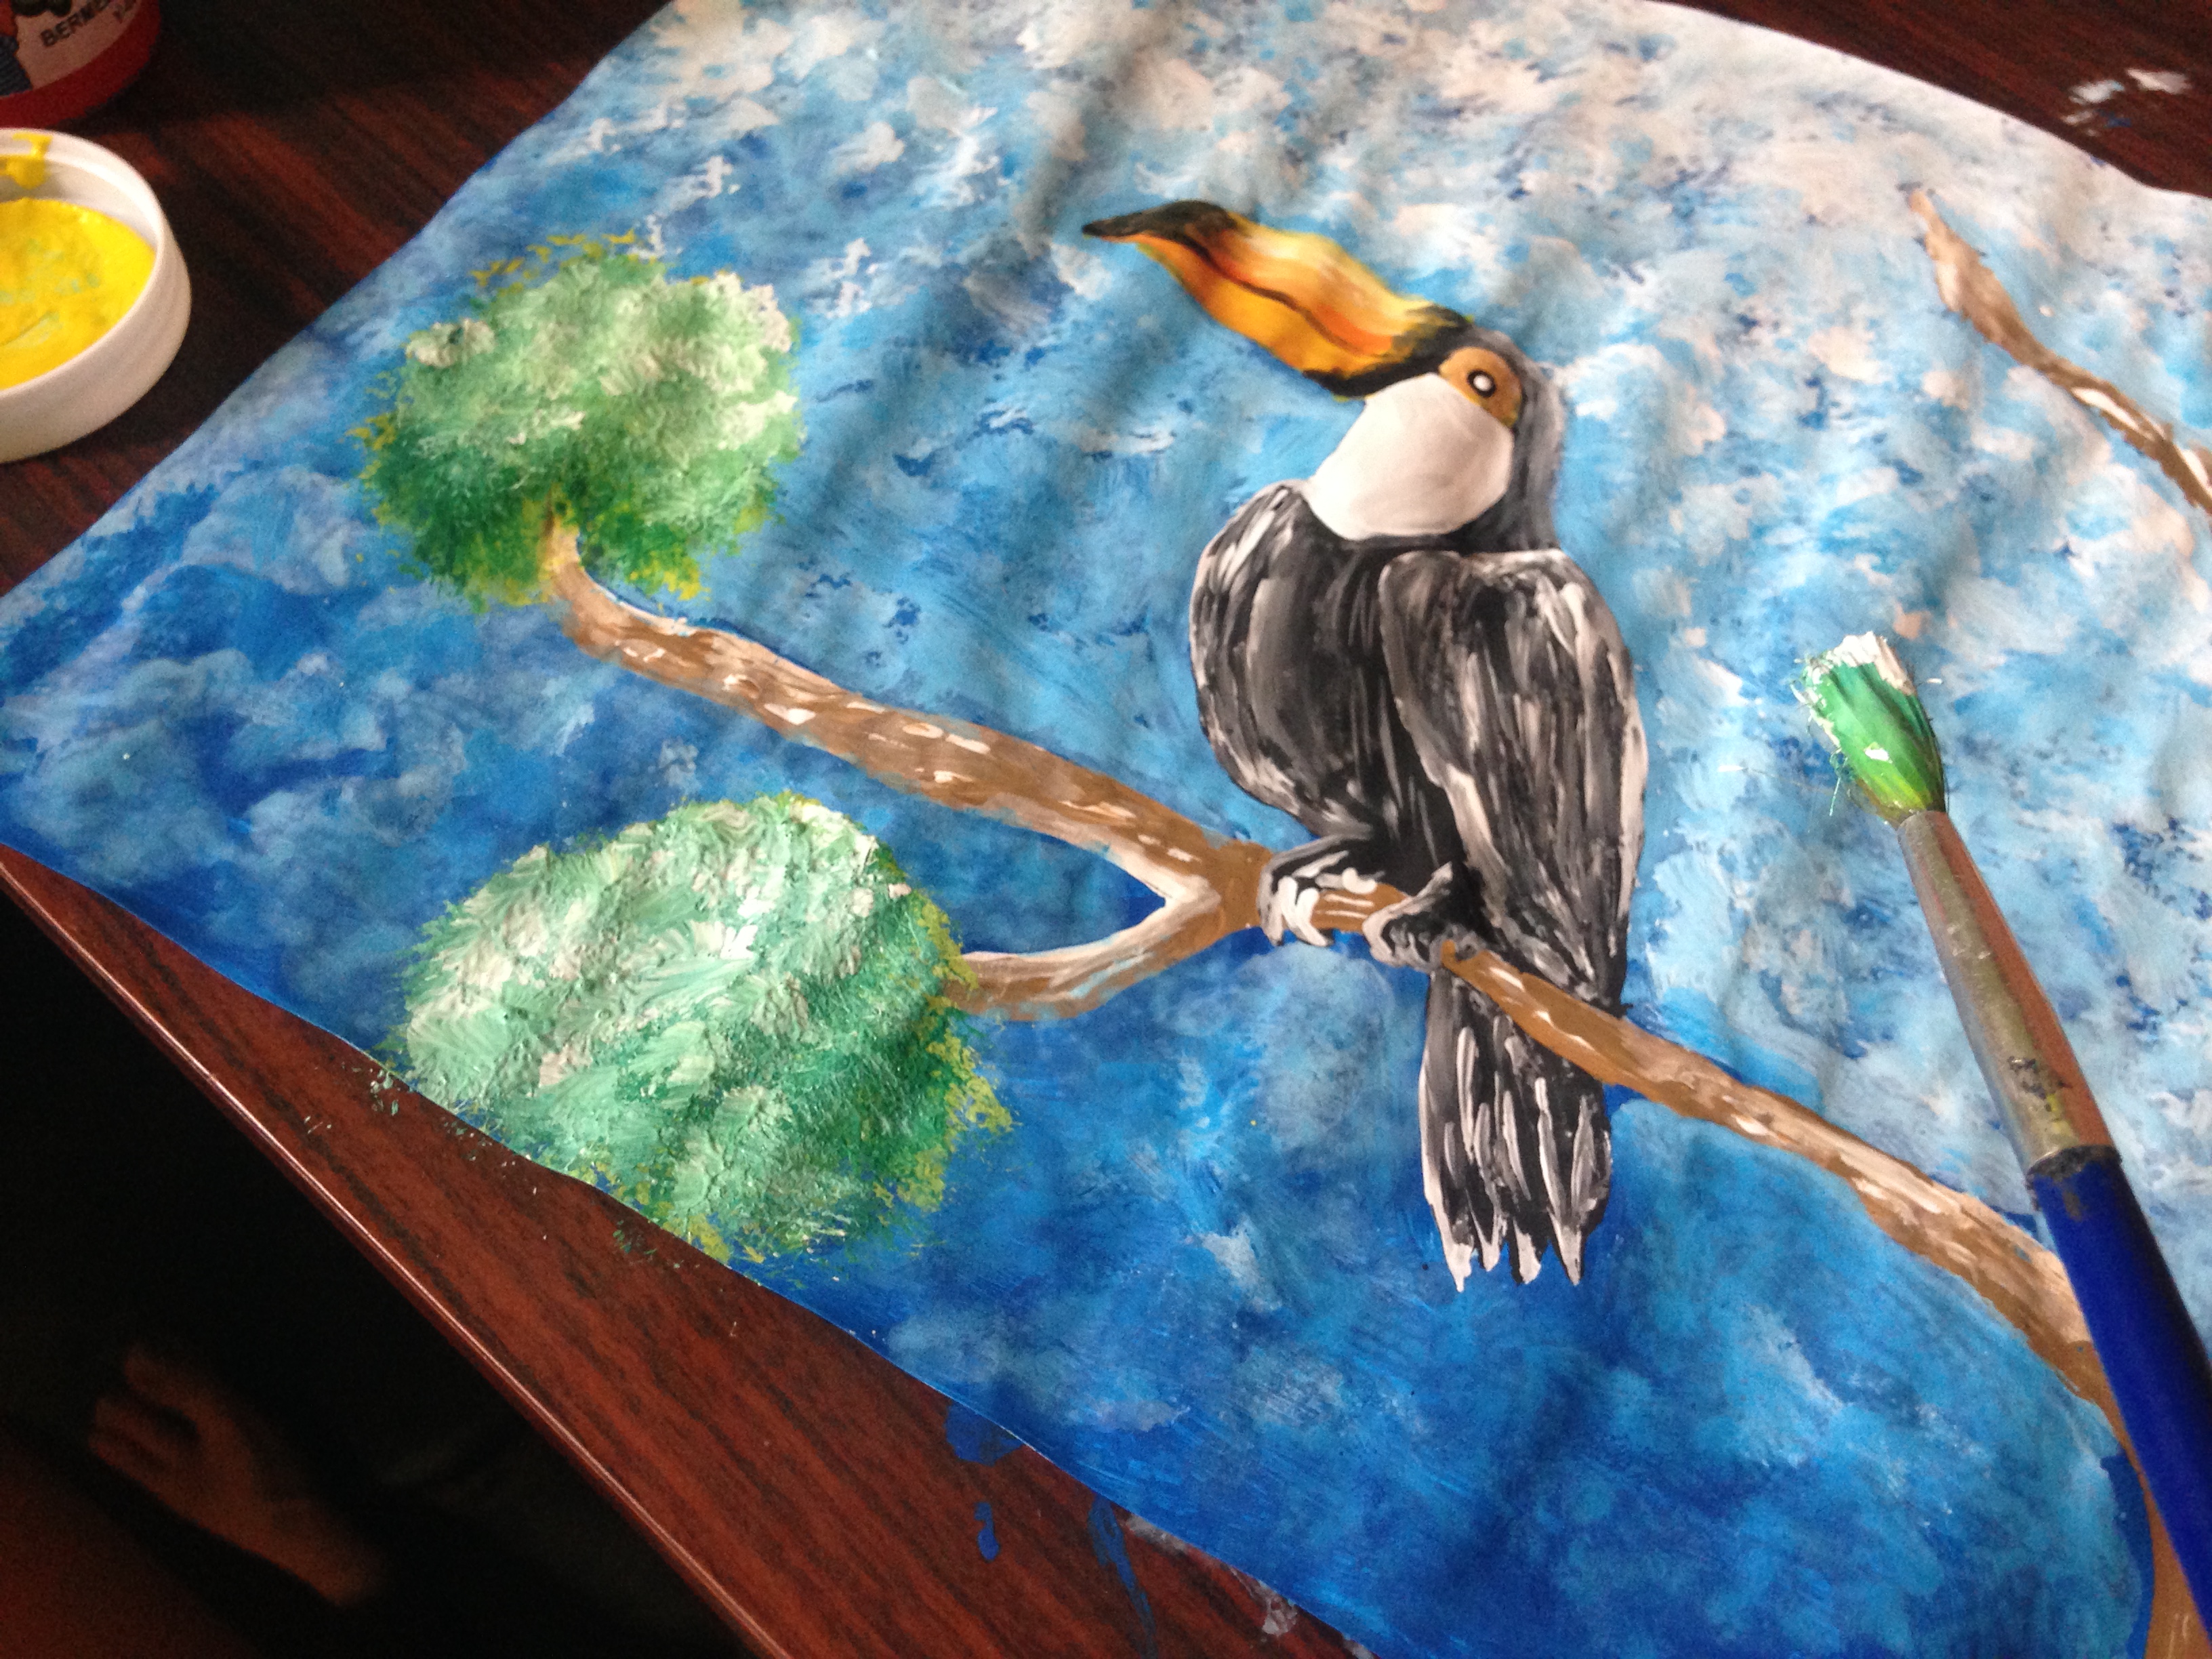
Paso 4
Ahora tomamos la pintura de color negro para pintar nuestro tucán, luego para hacerles el efecto de su plumaje pintaremos con el color blanco en la parte de su alas pinceladas suaves y pequeñas y un degradado en pecho
Step 4
Now we take the black paint to paint our toucan, then to make them the effect of their plumage we will paint with the white color on the part of their wings soft and small brushstrokes and a gradient on the chest

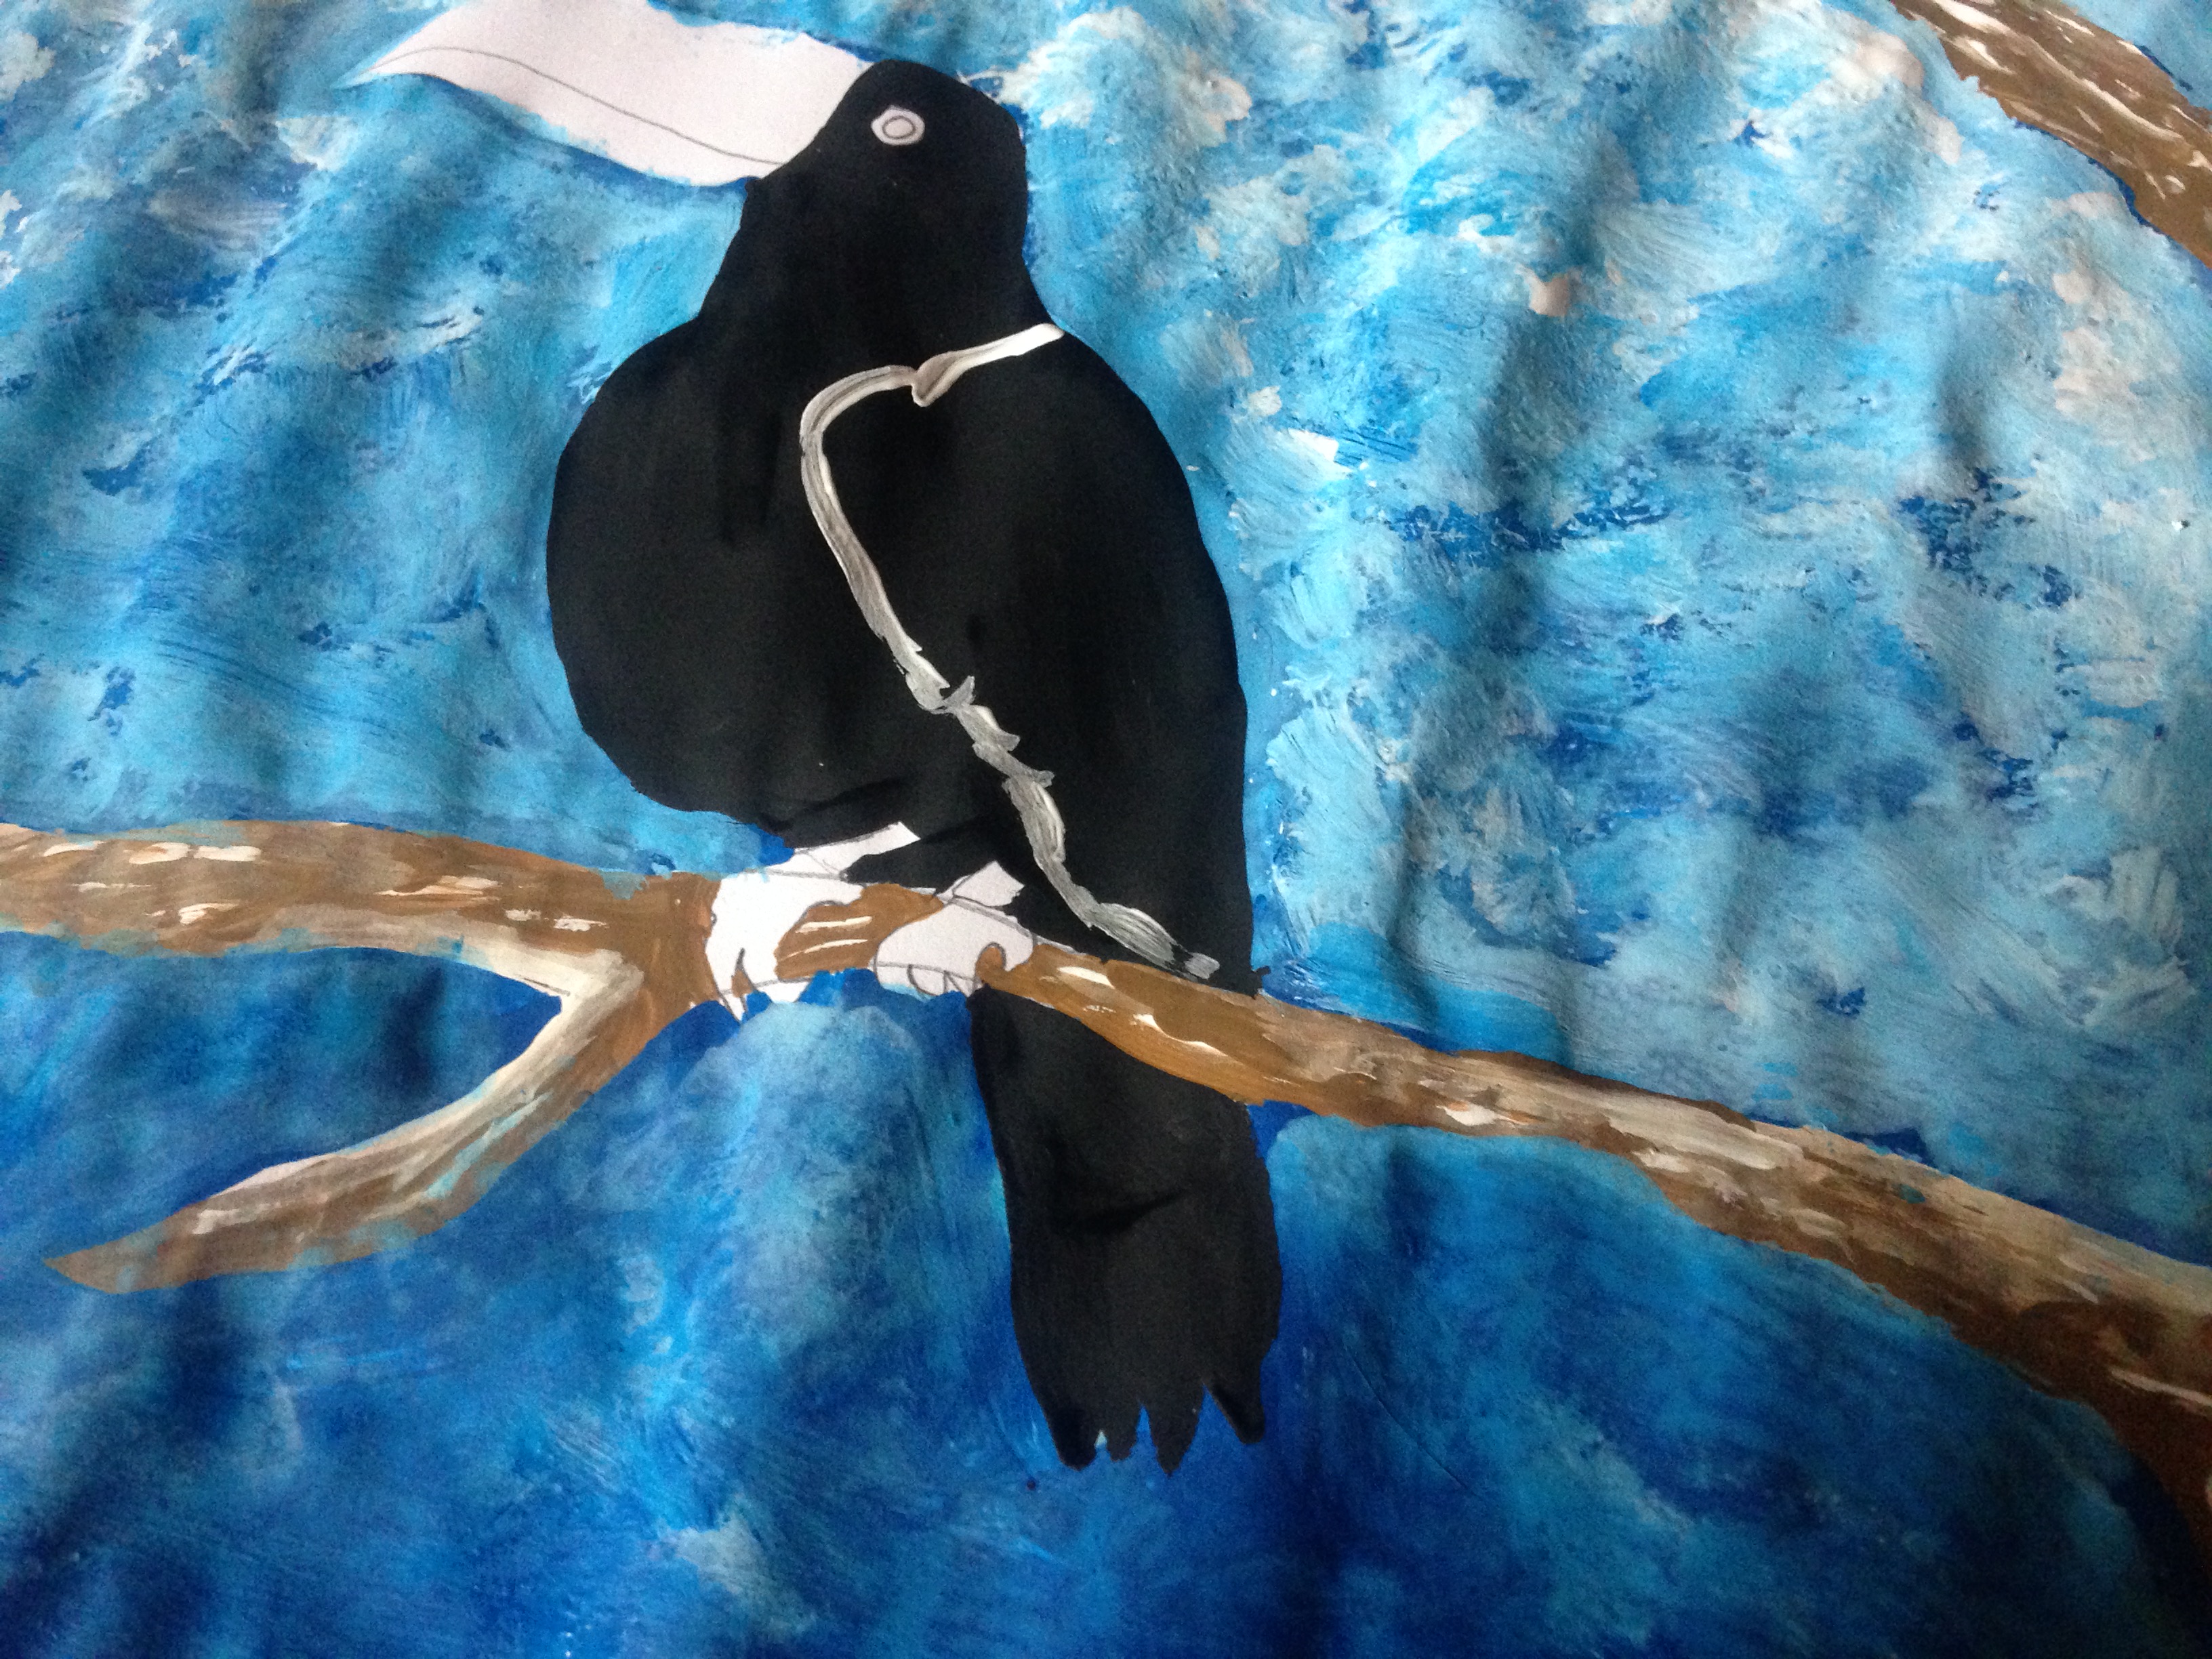


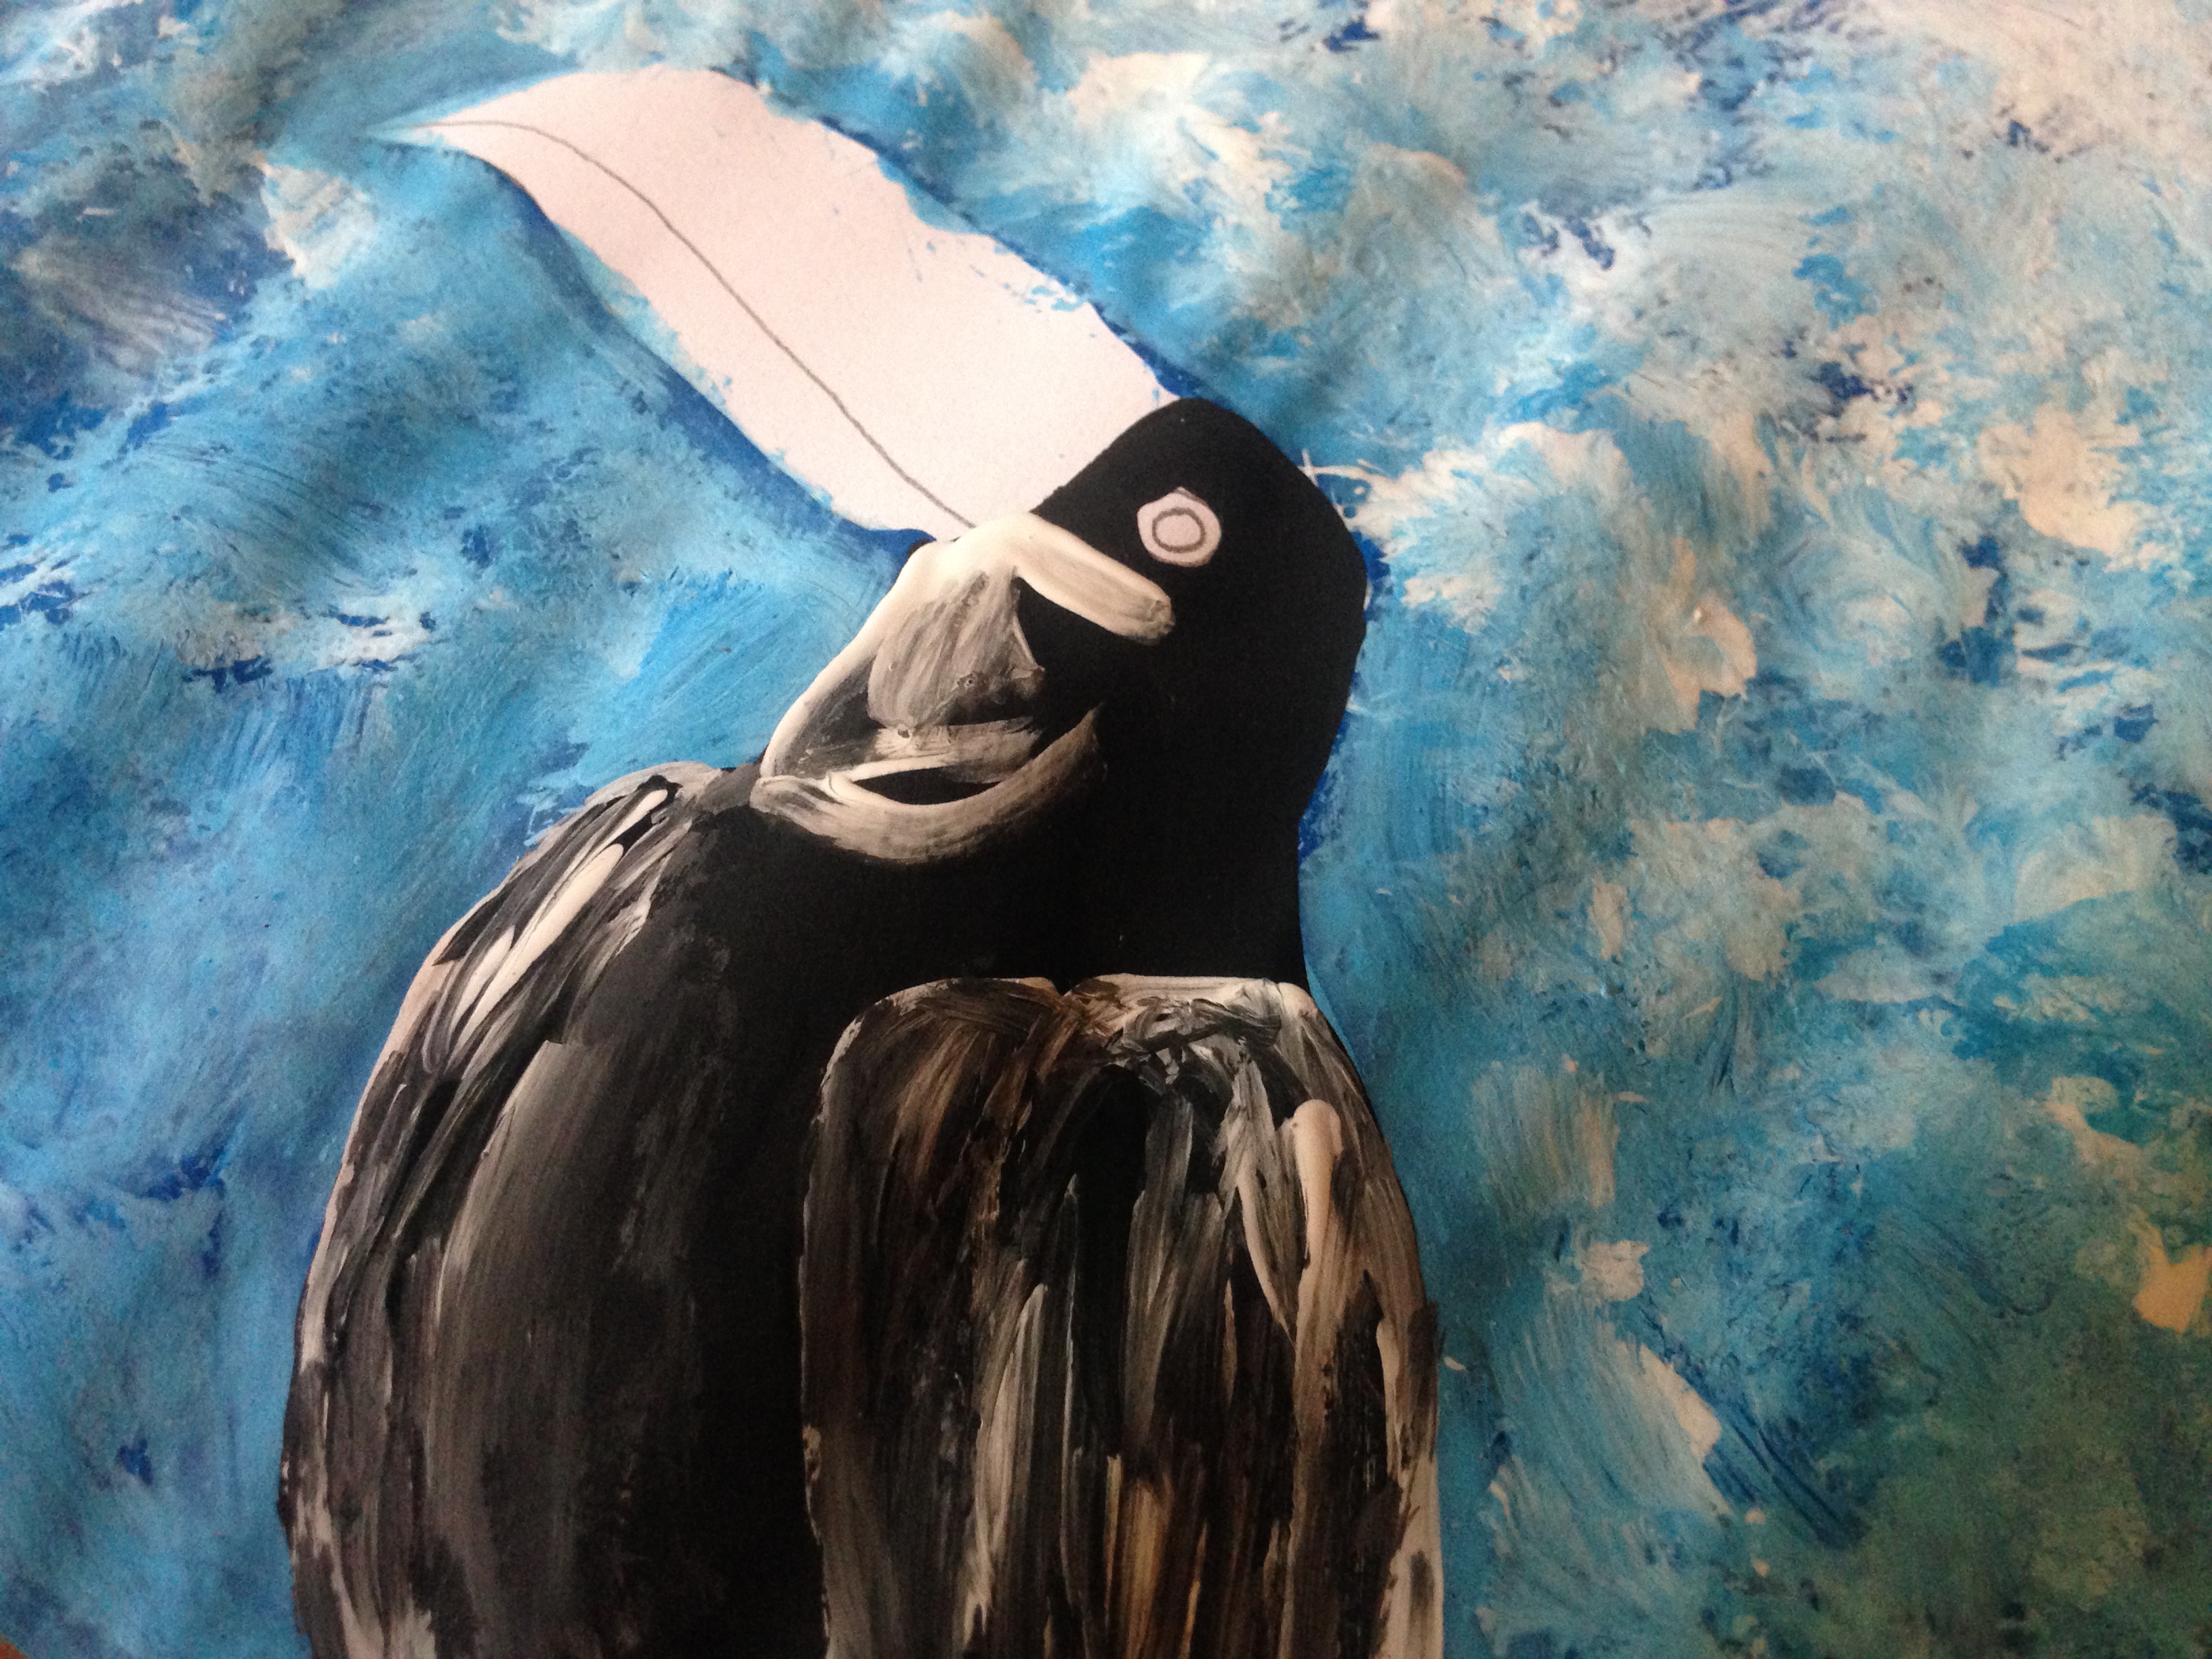
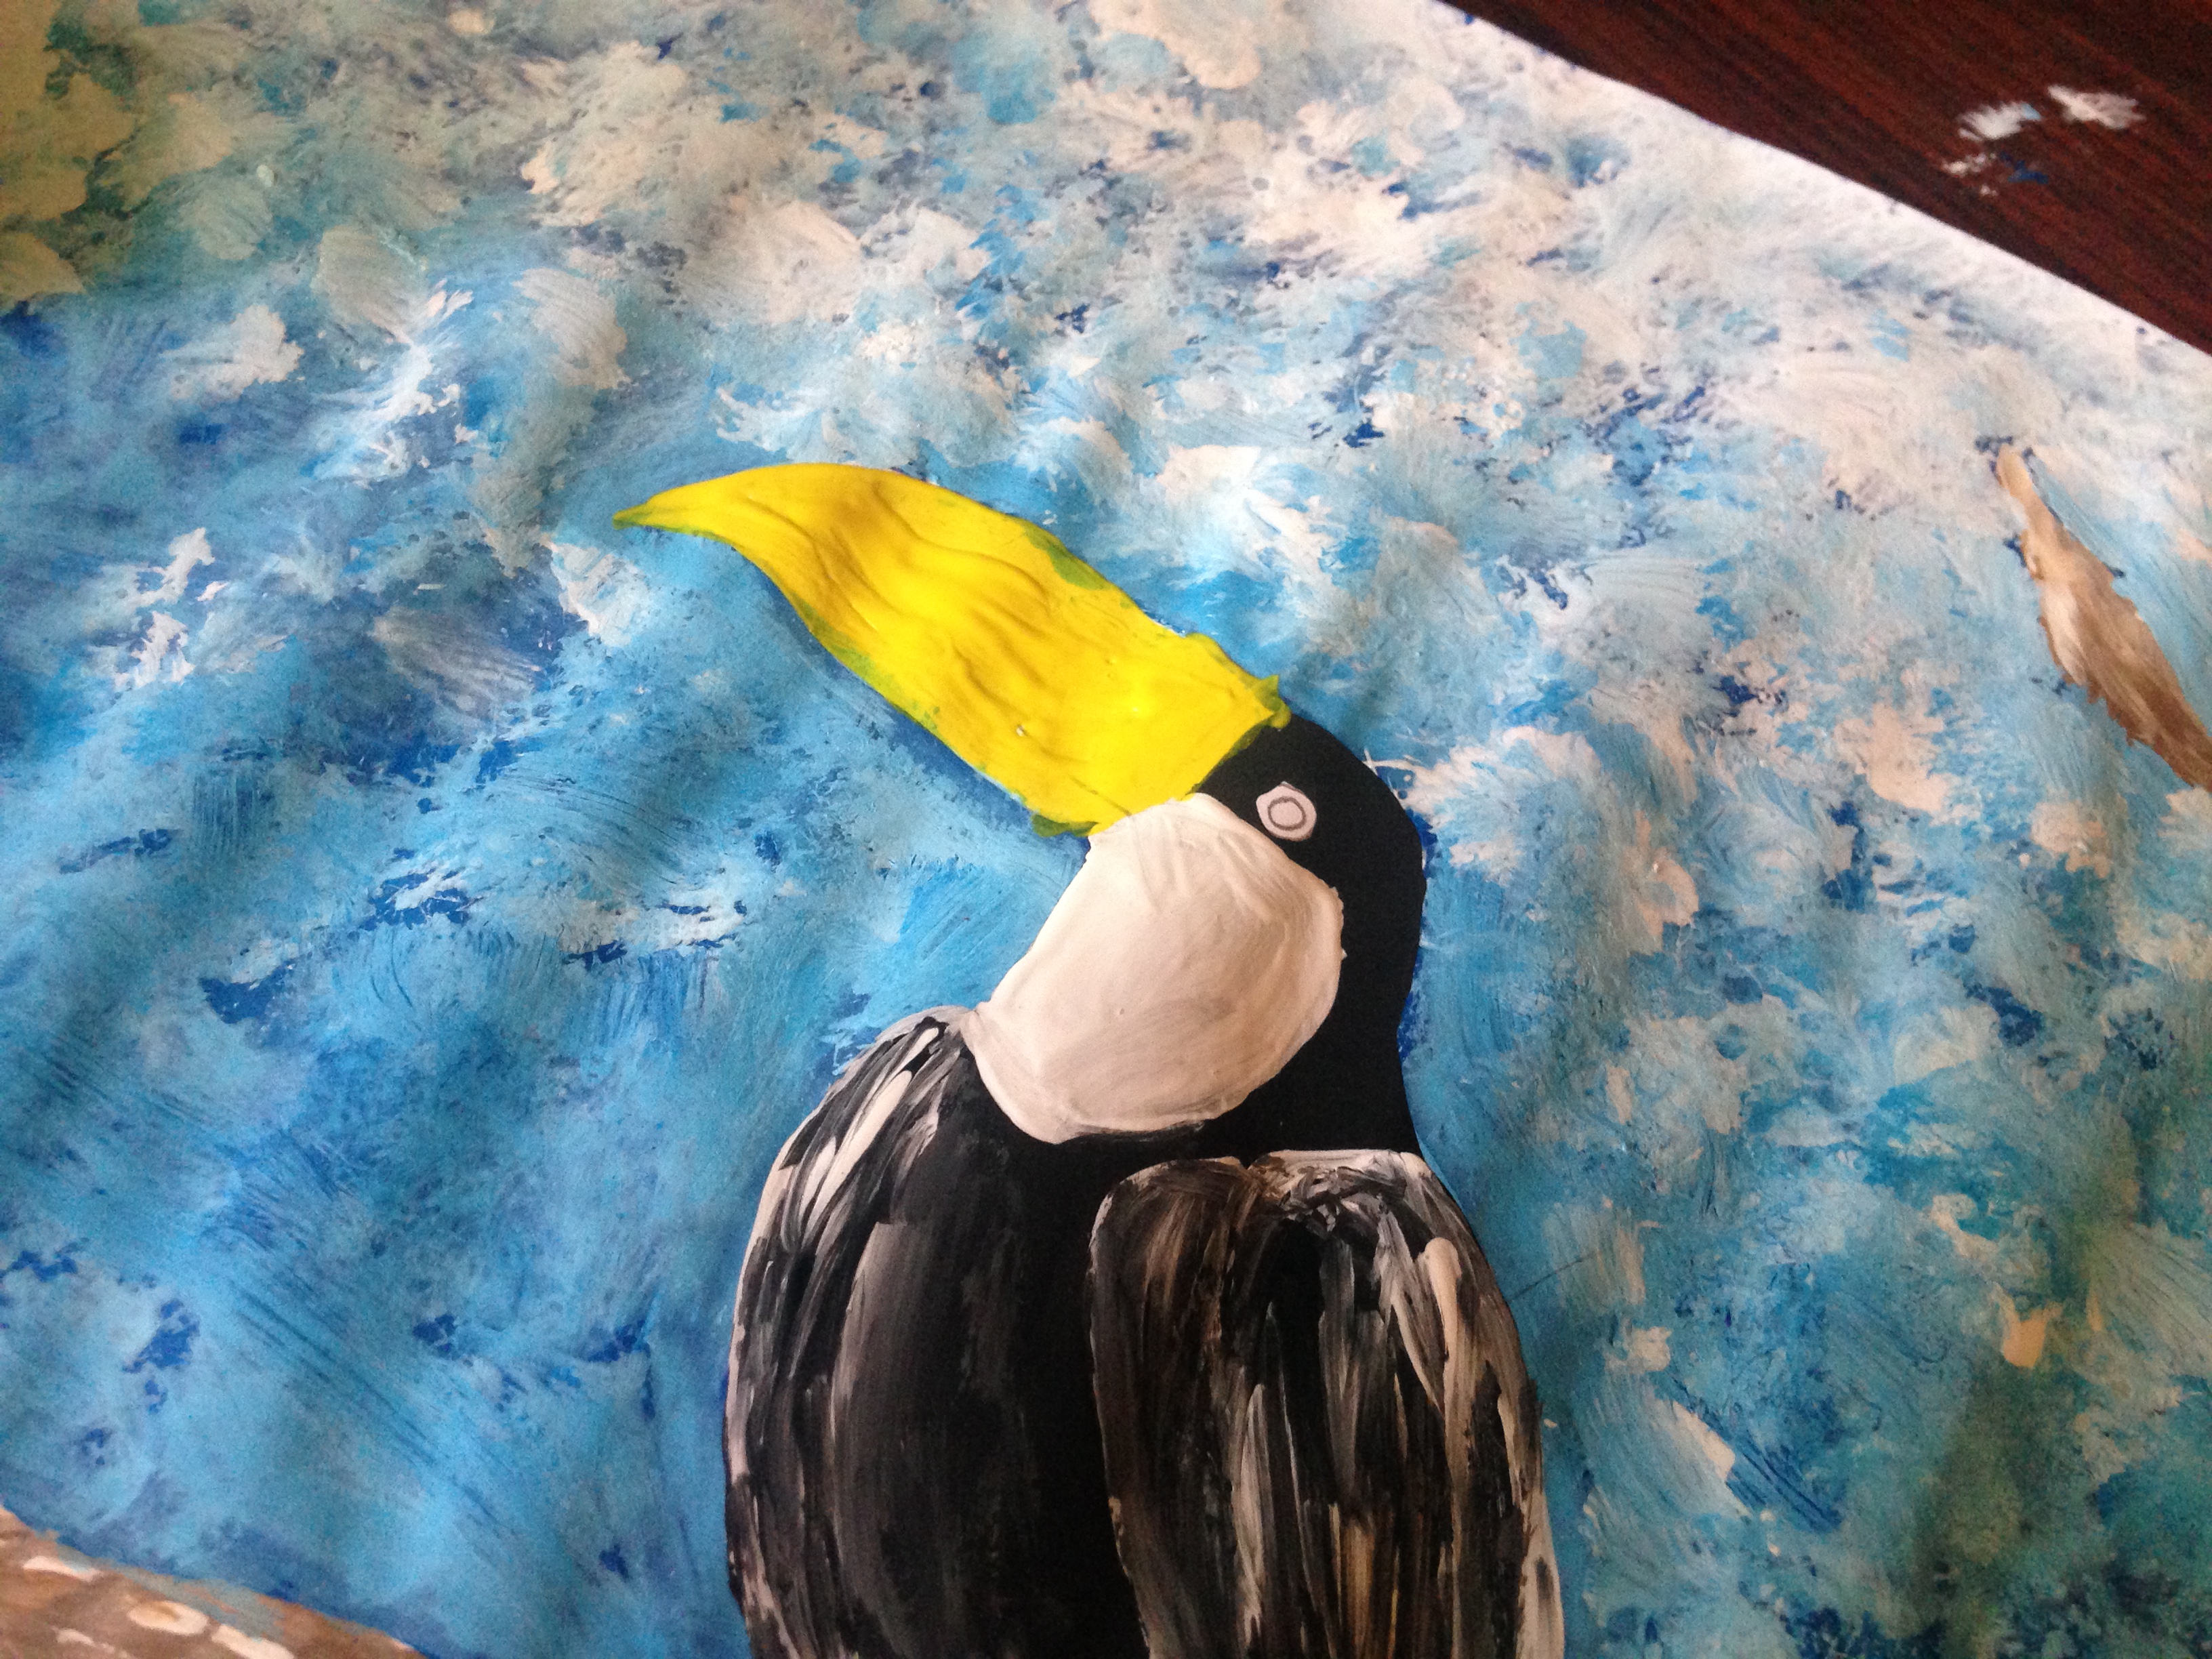
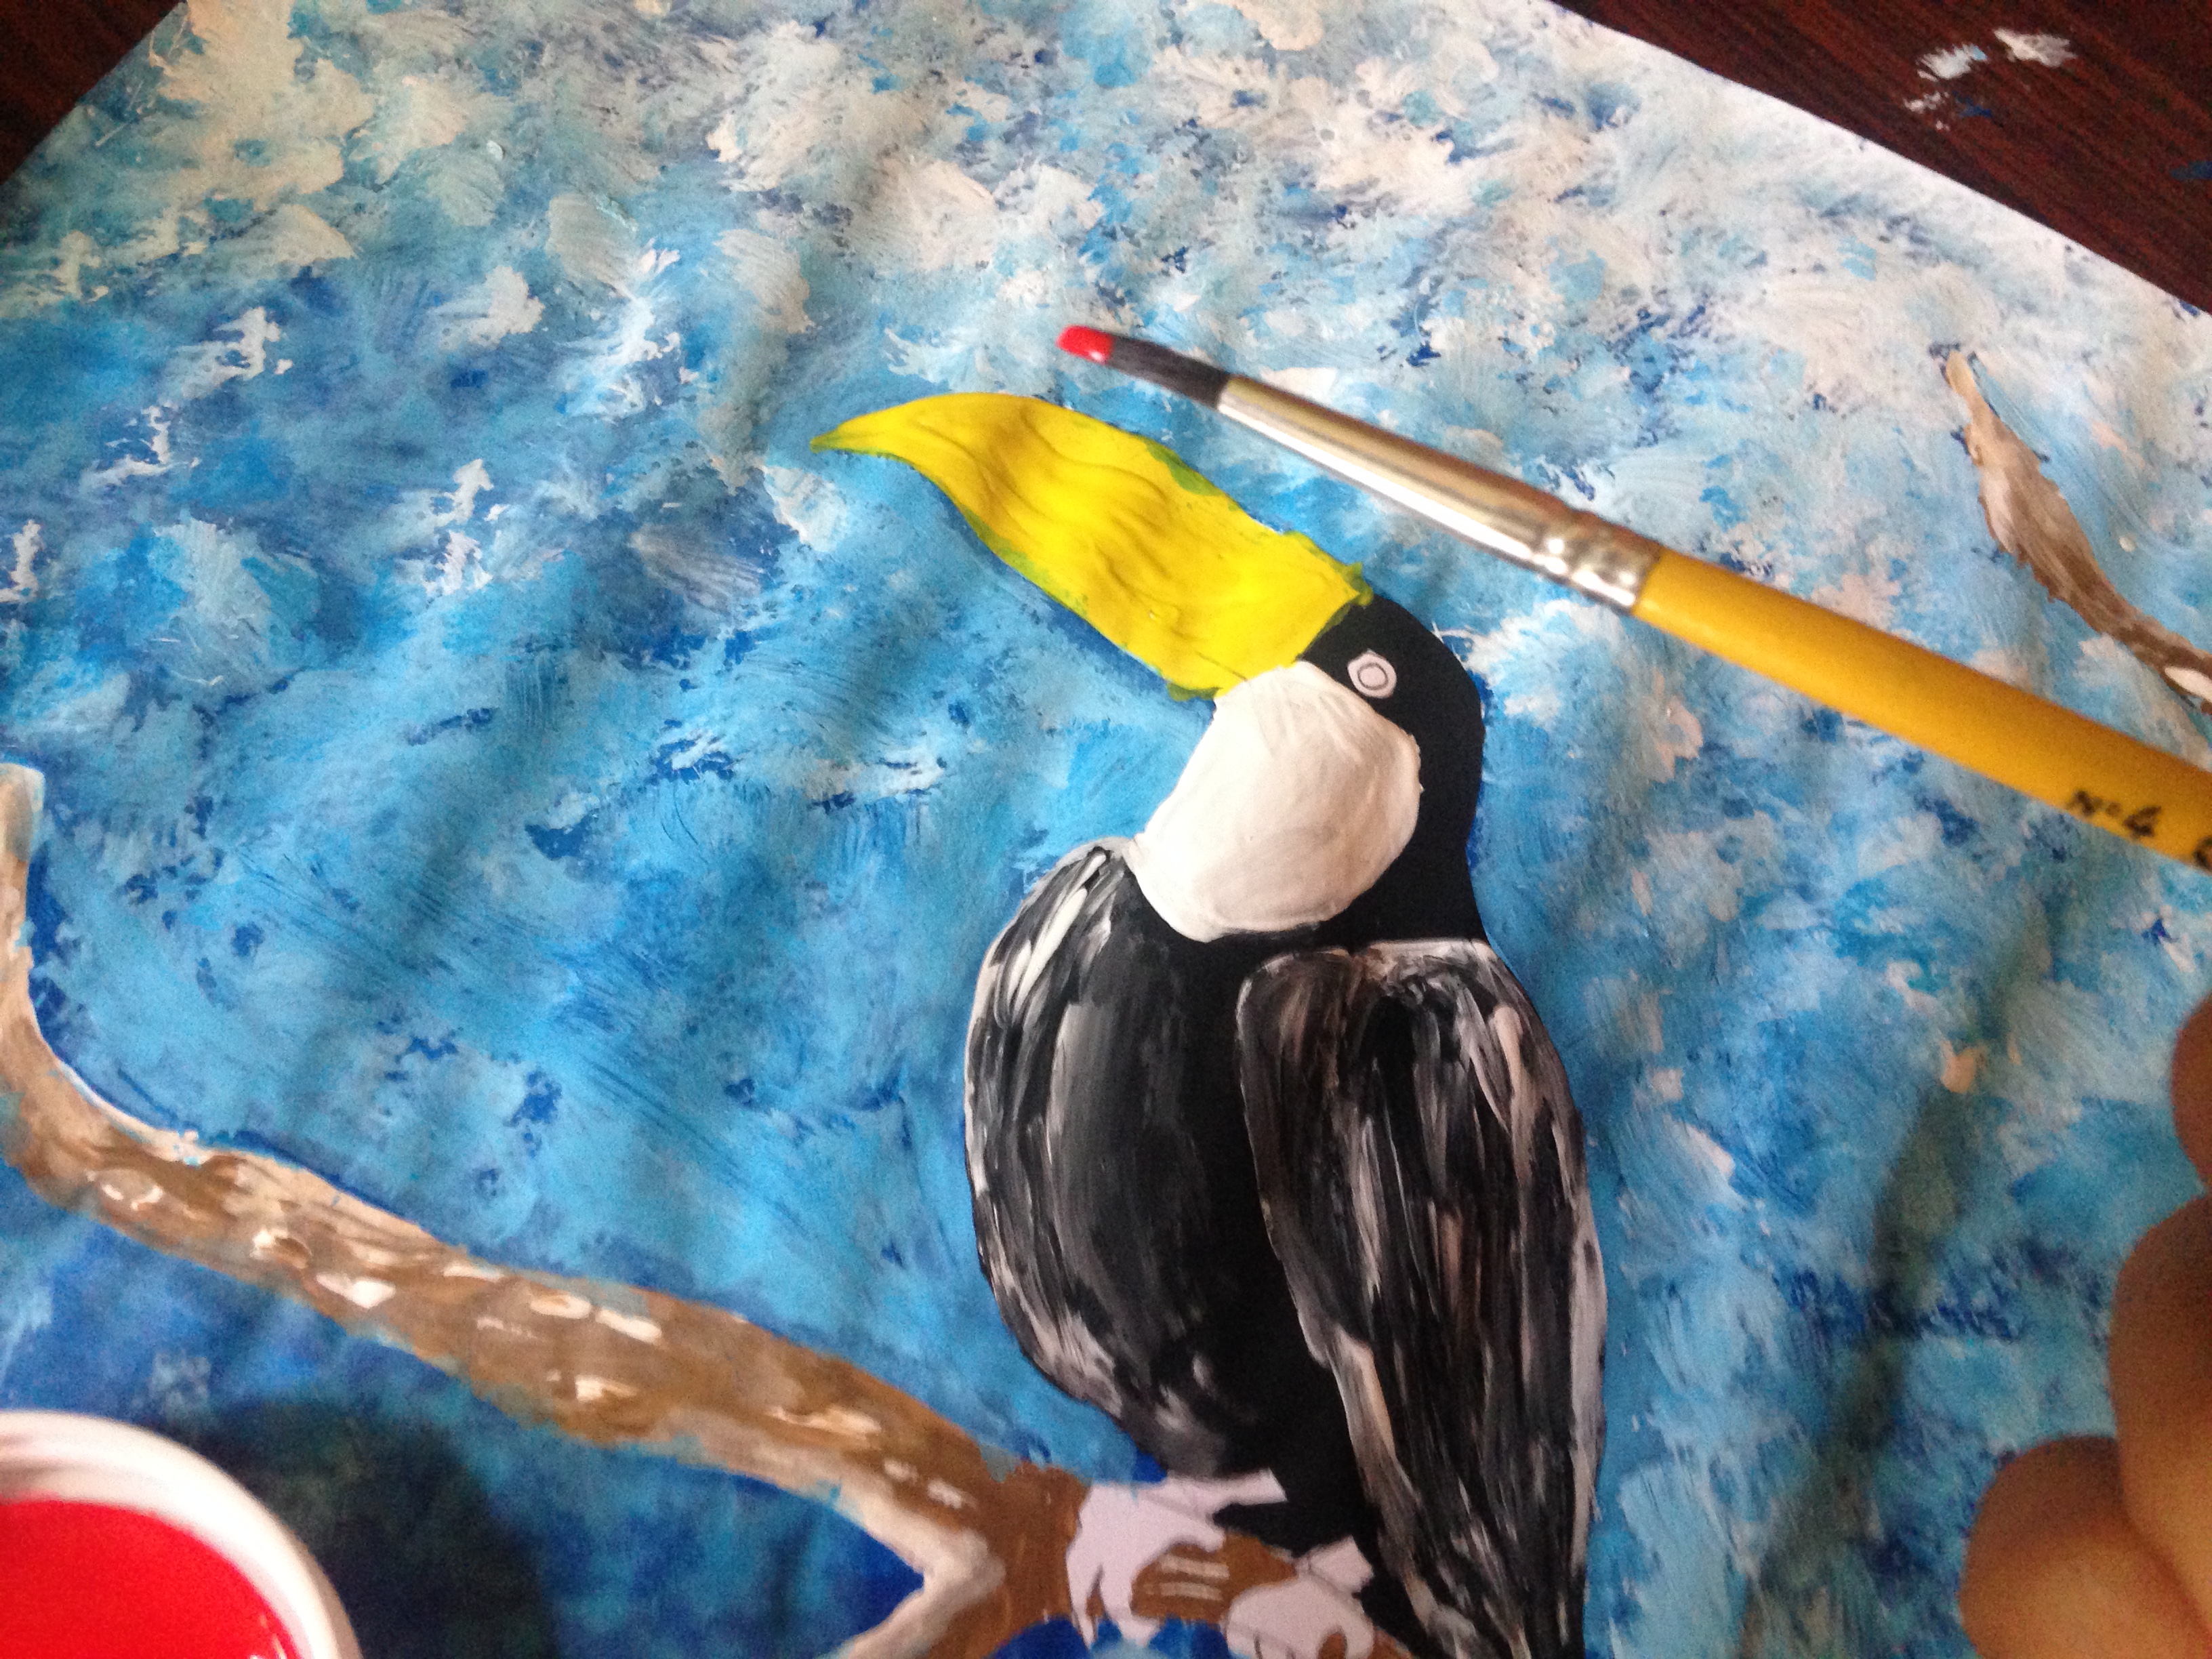
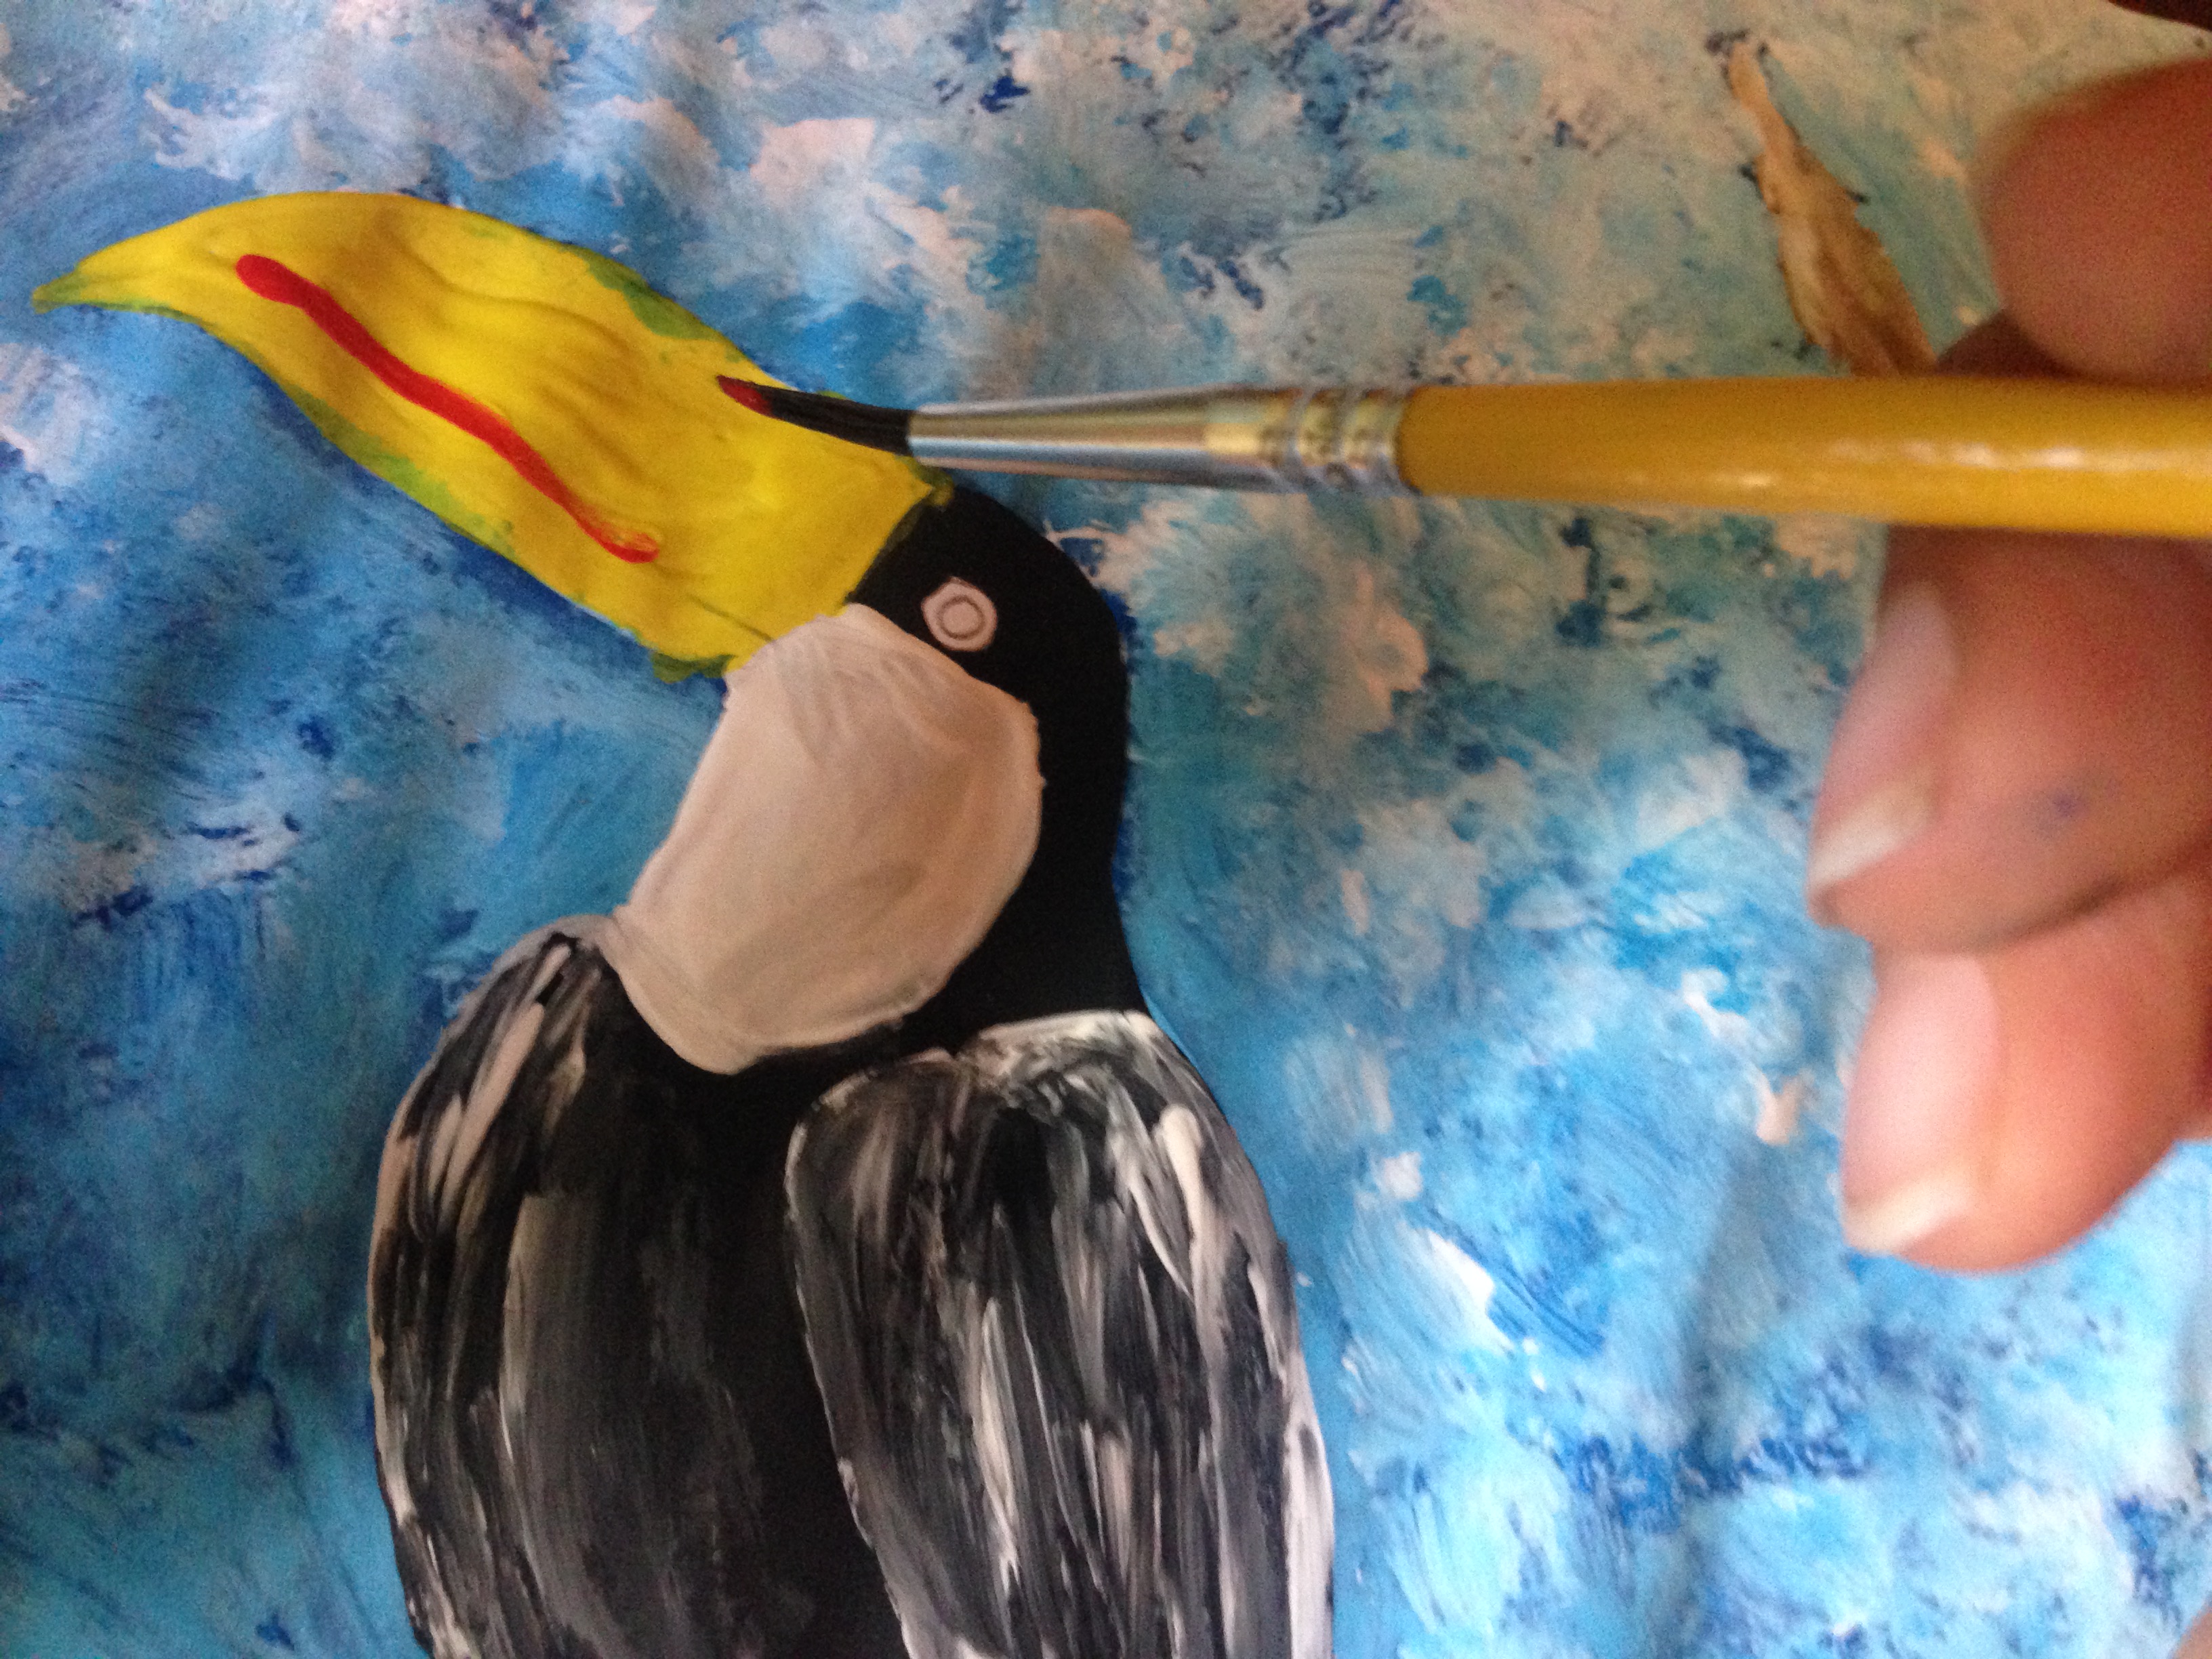
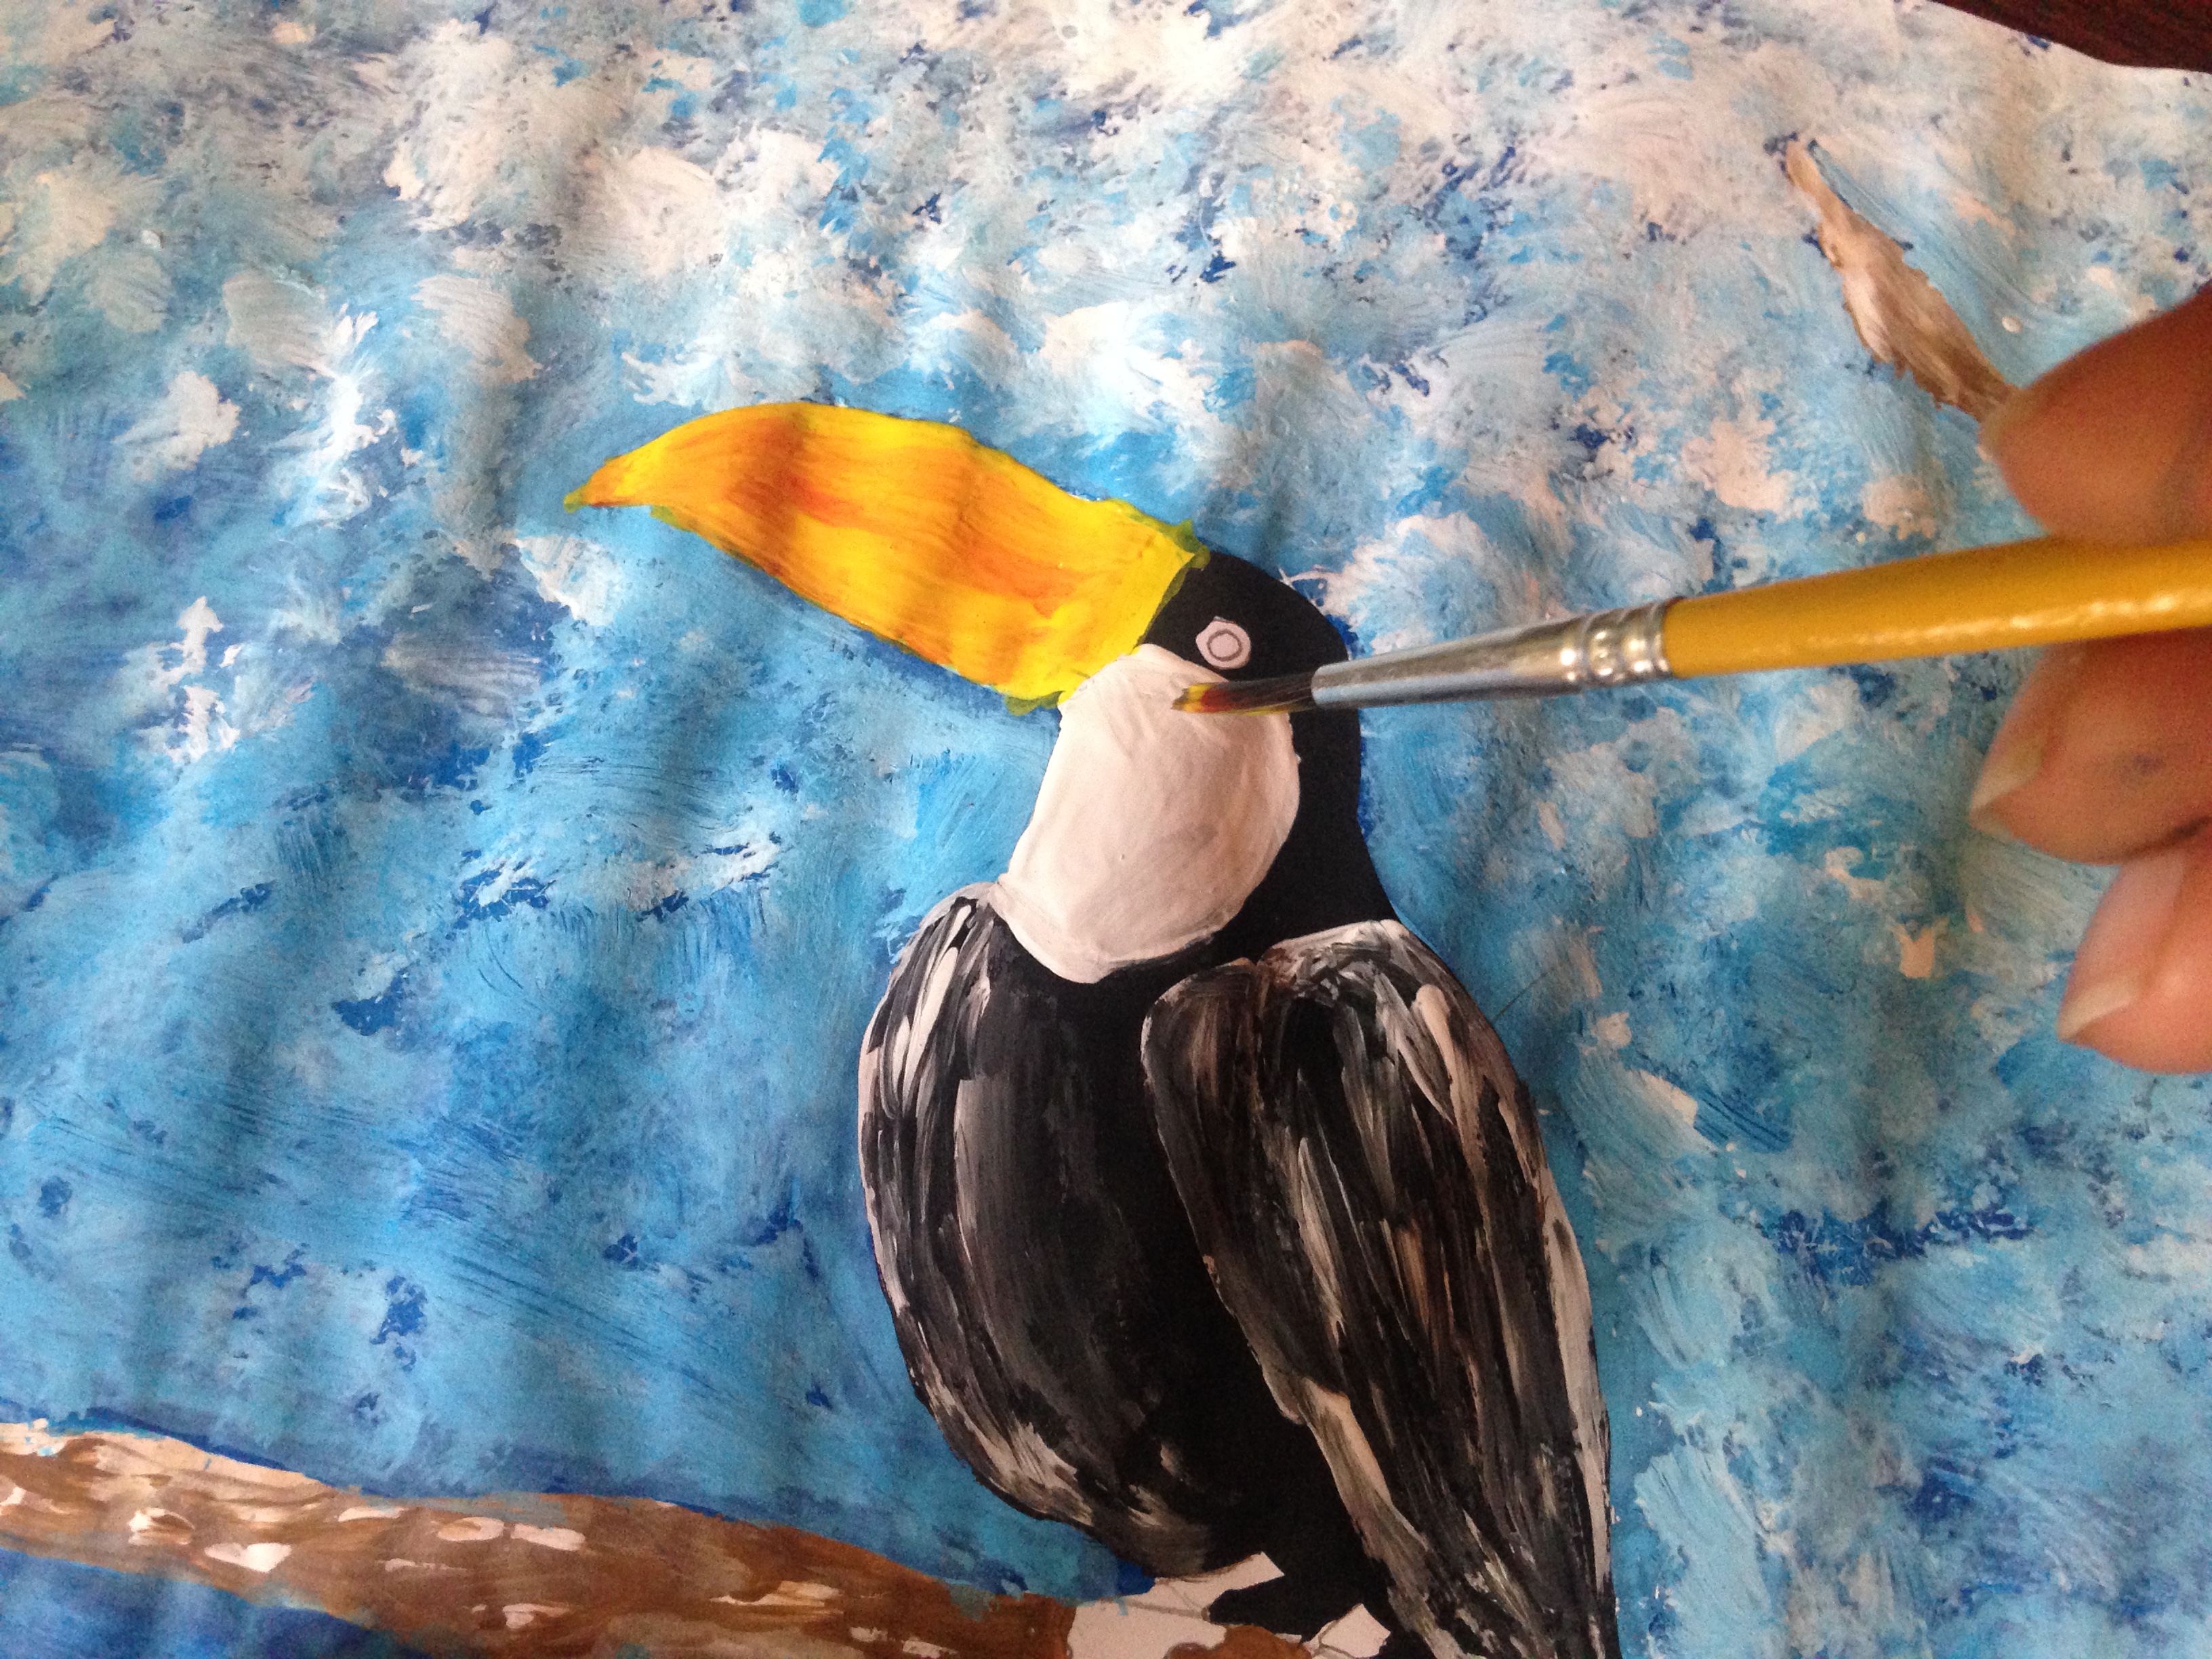
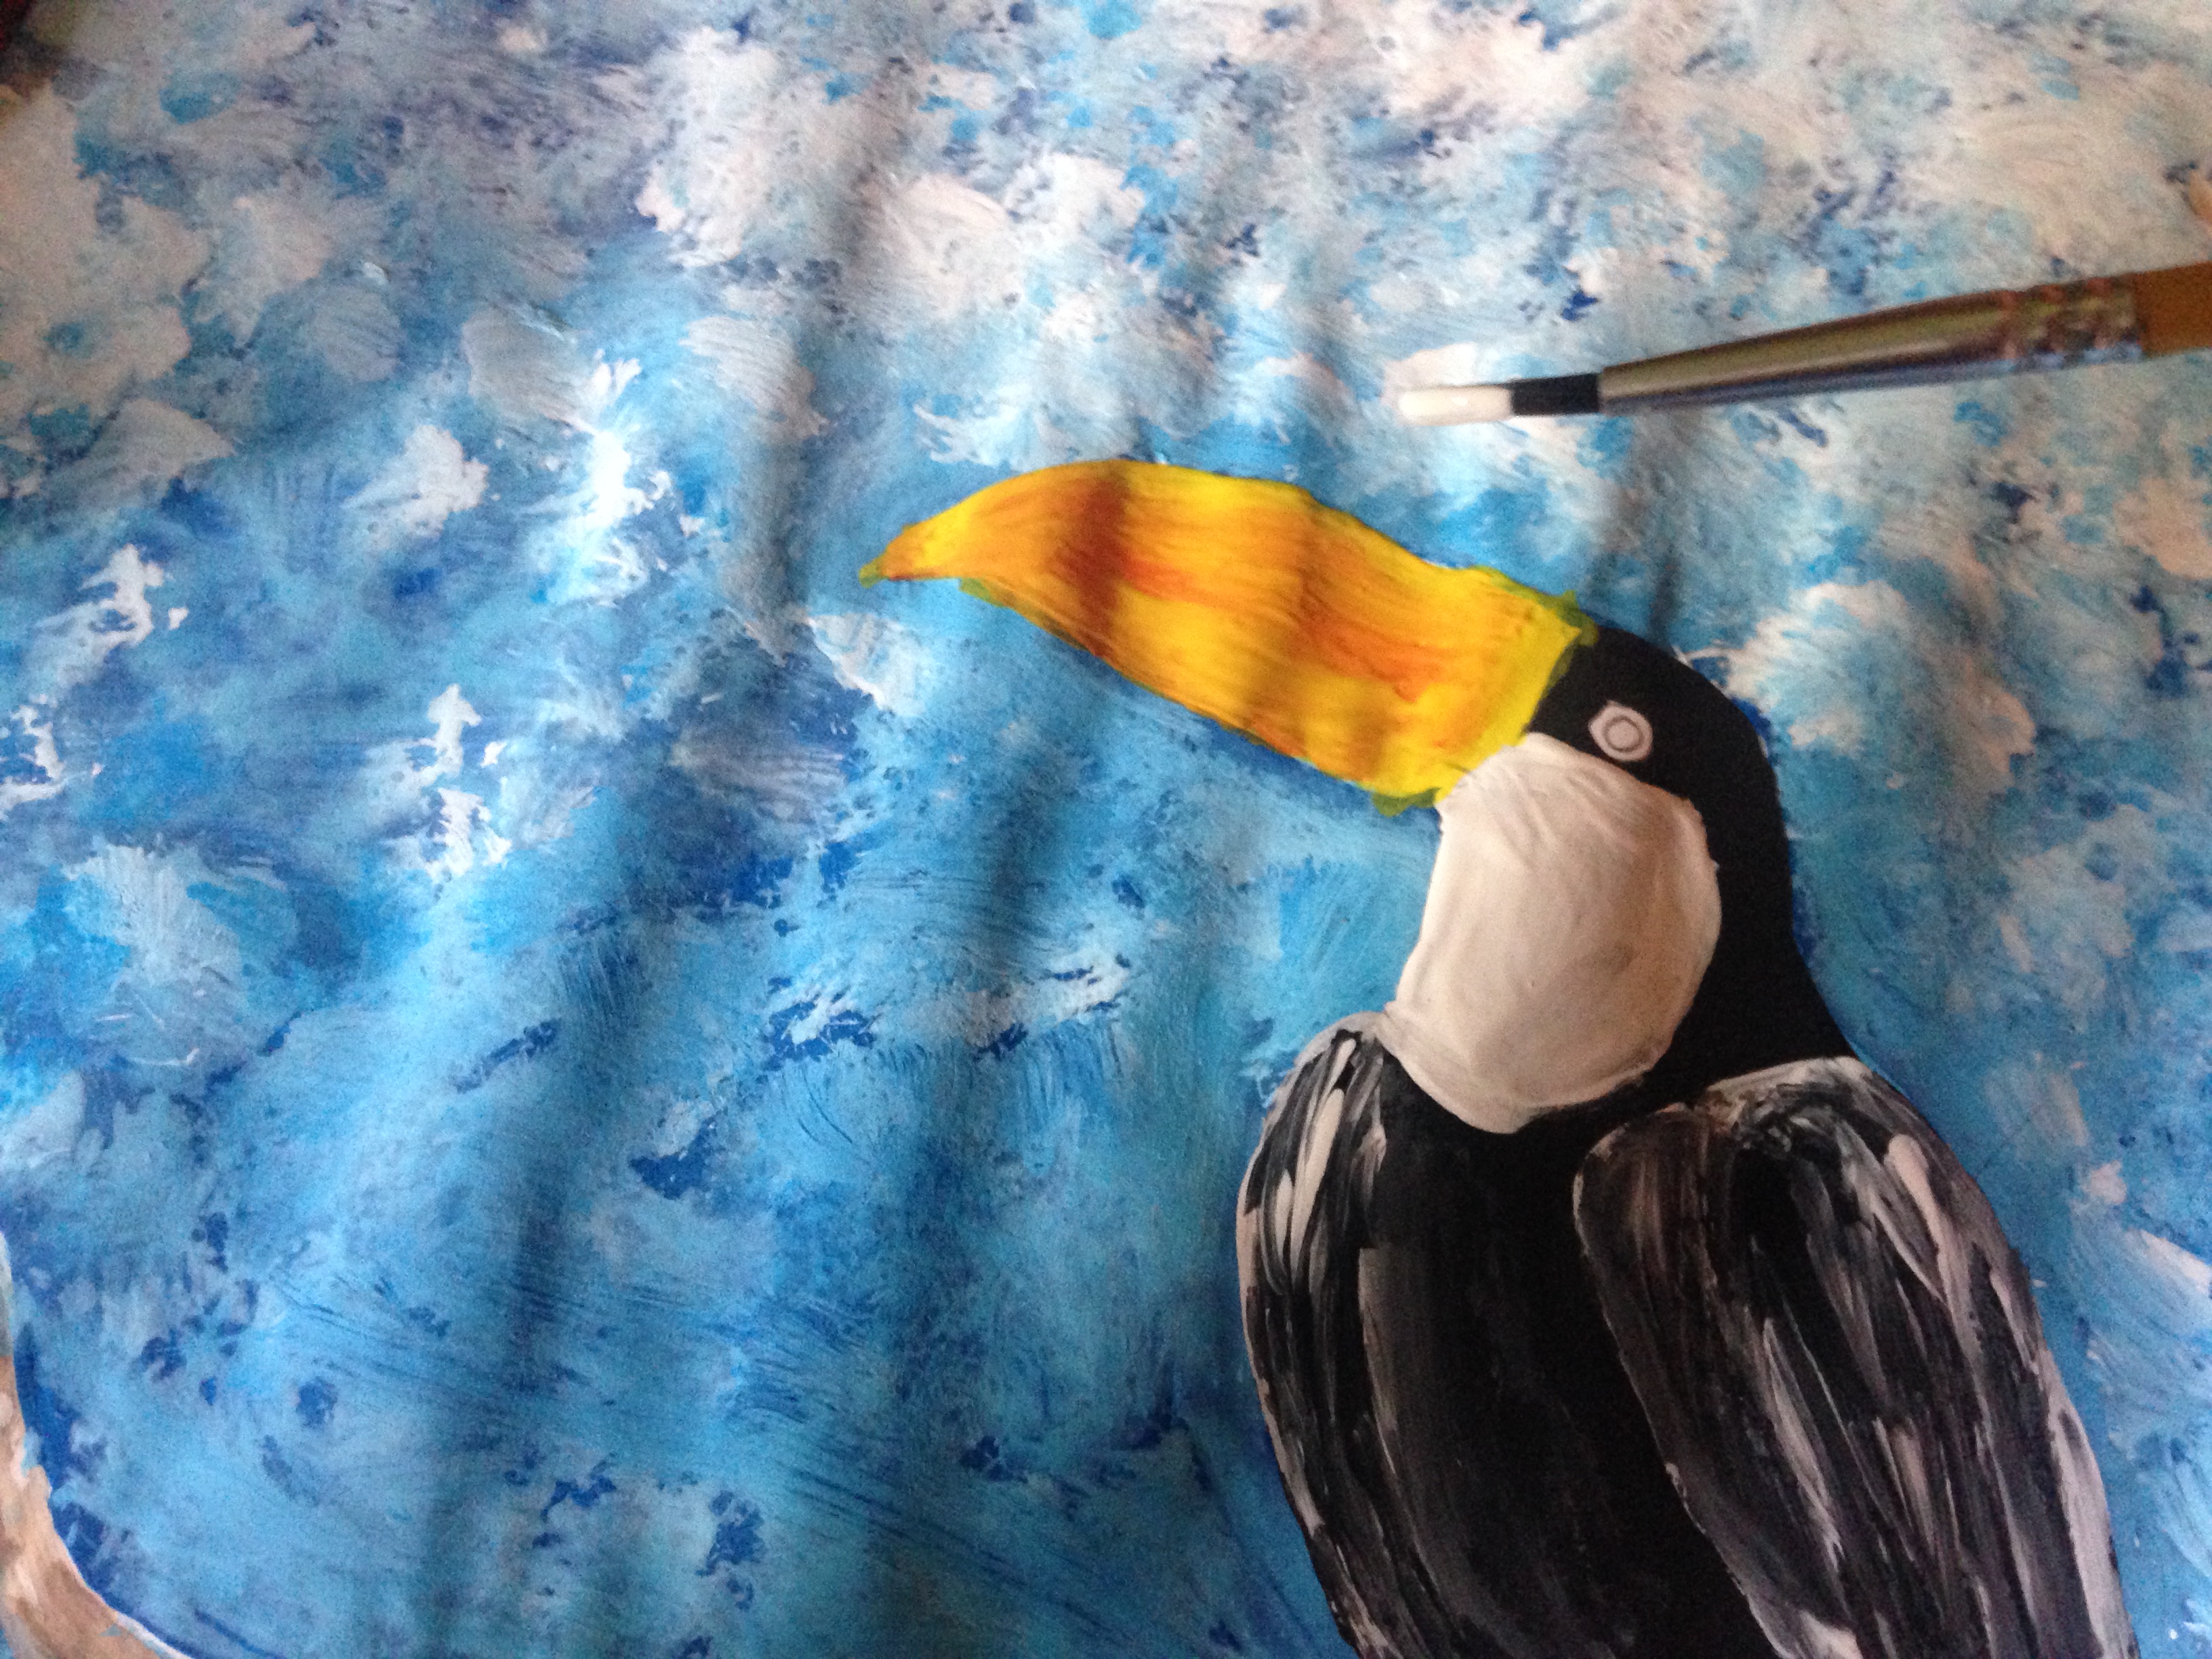
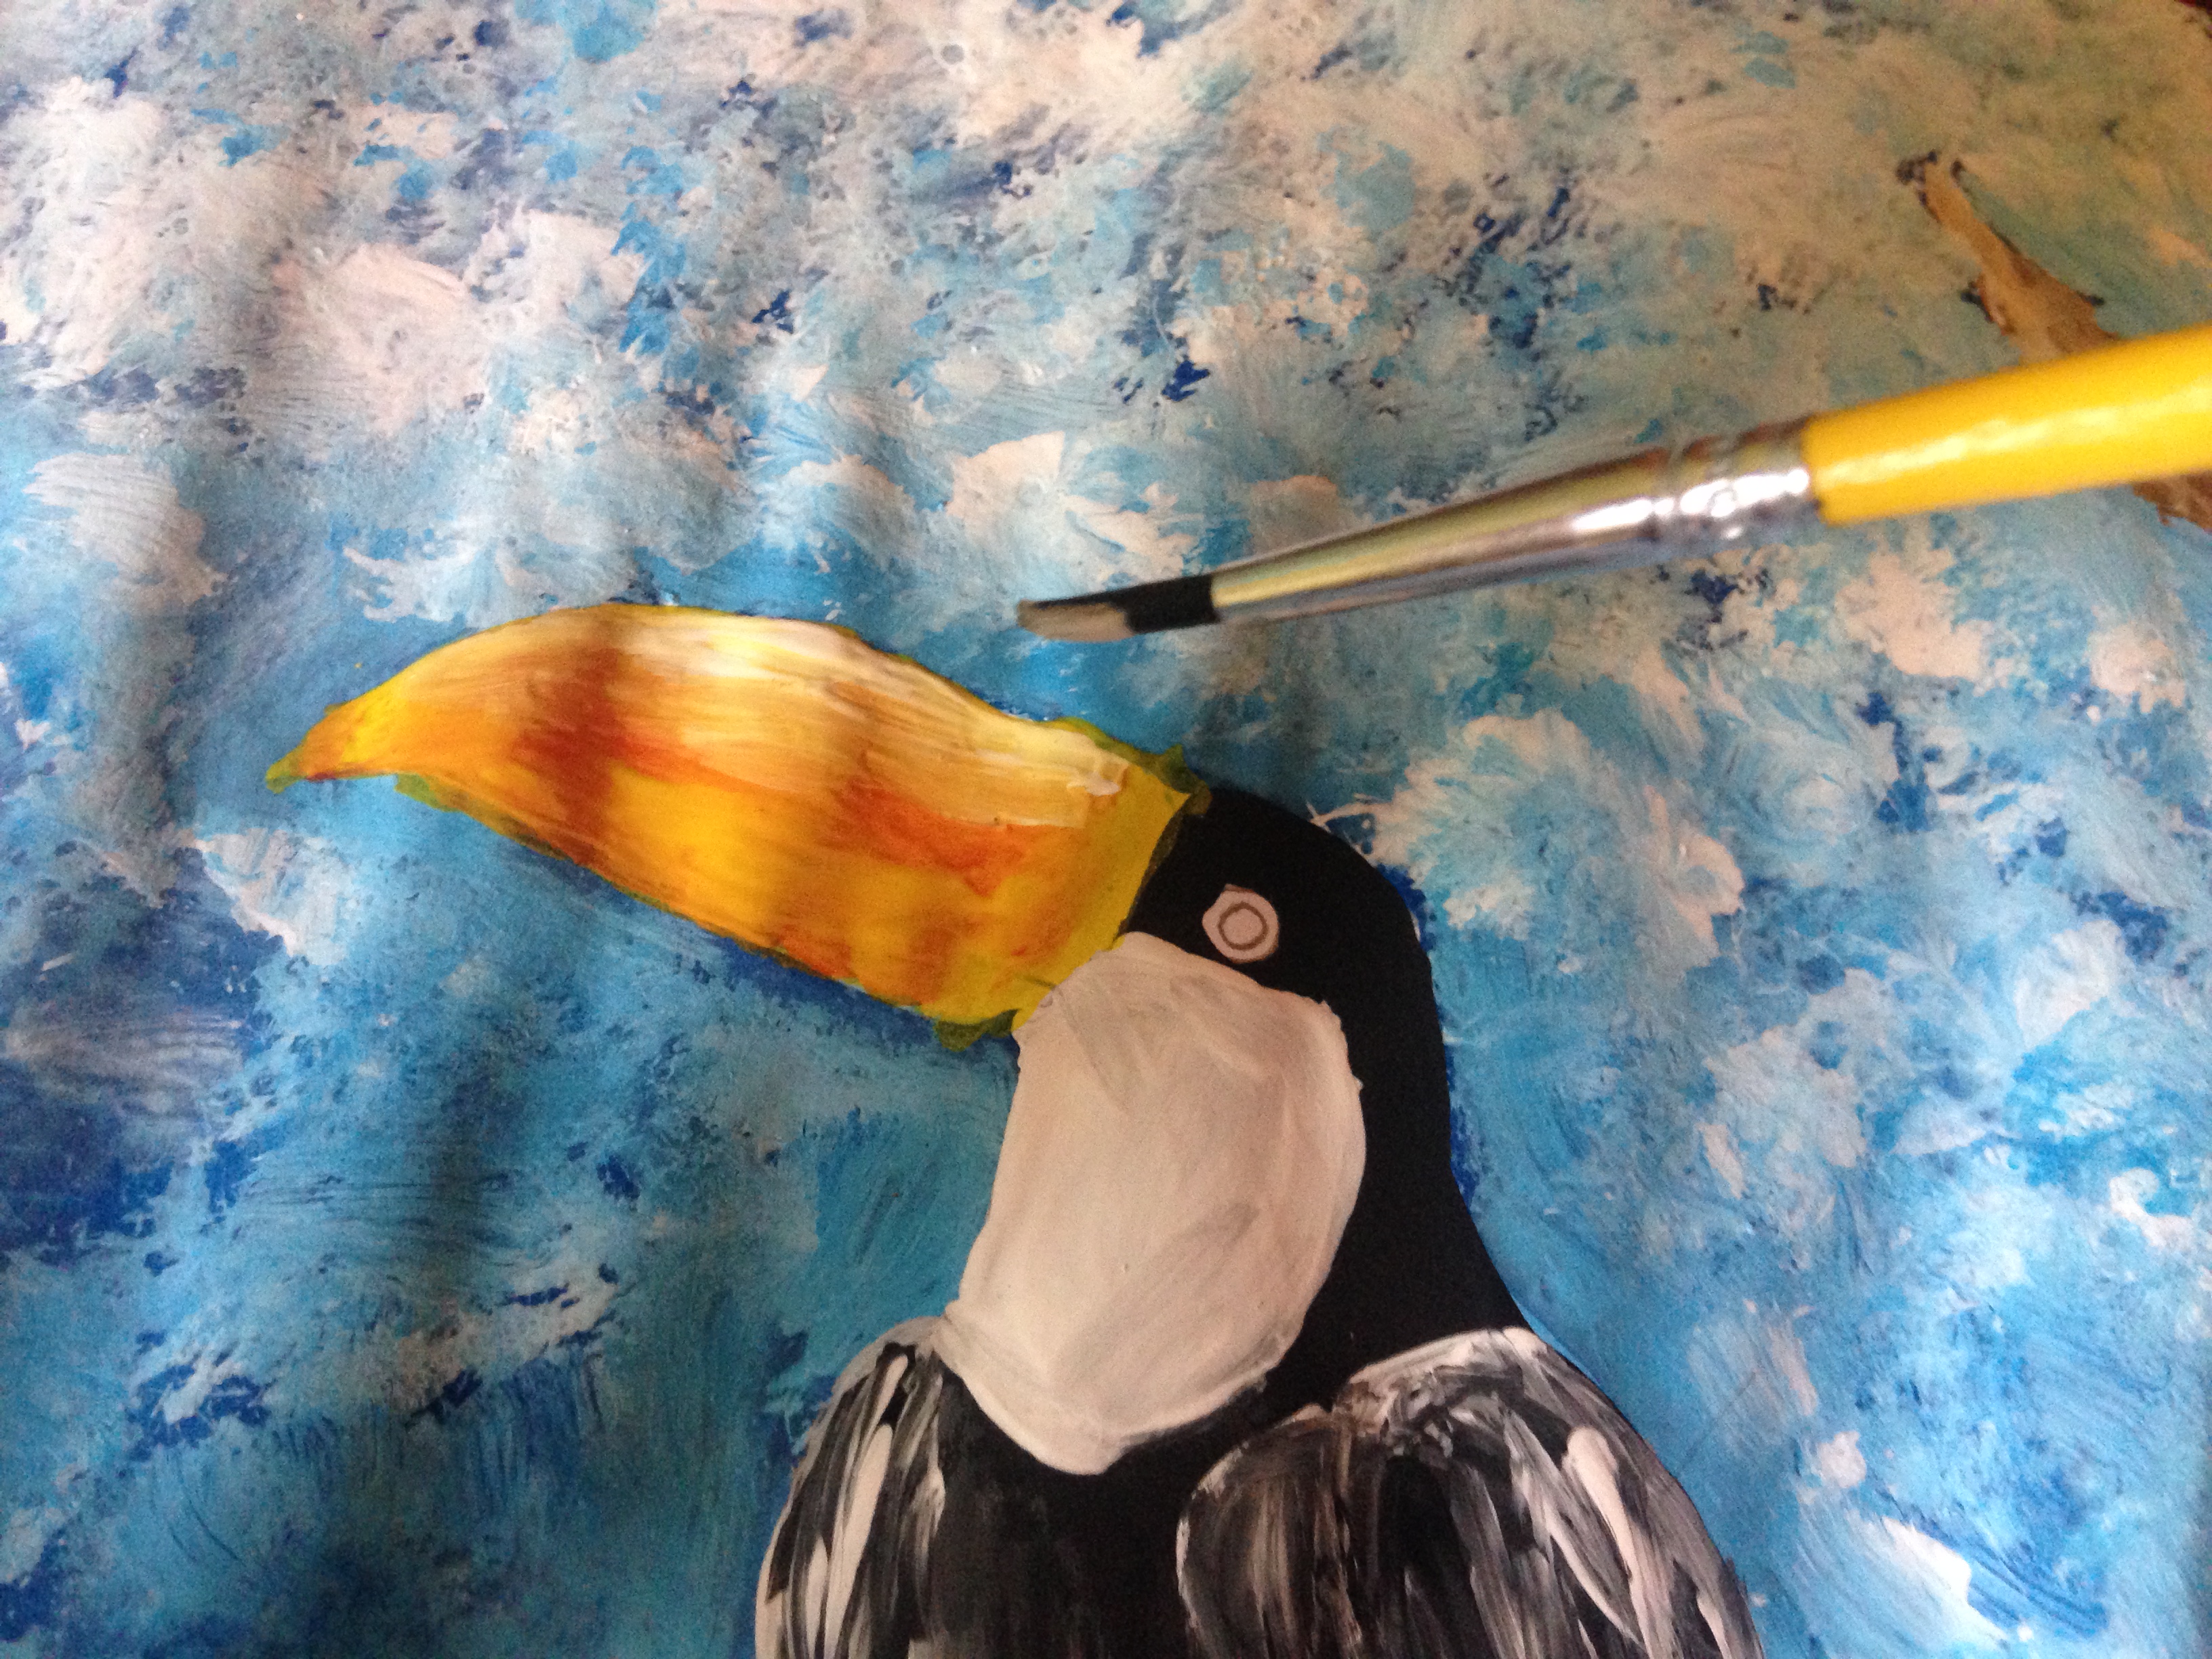
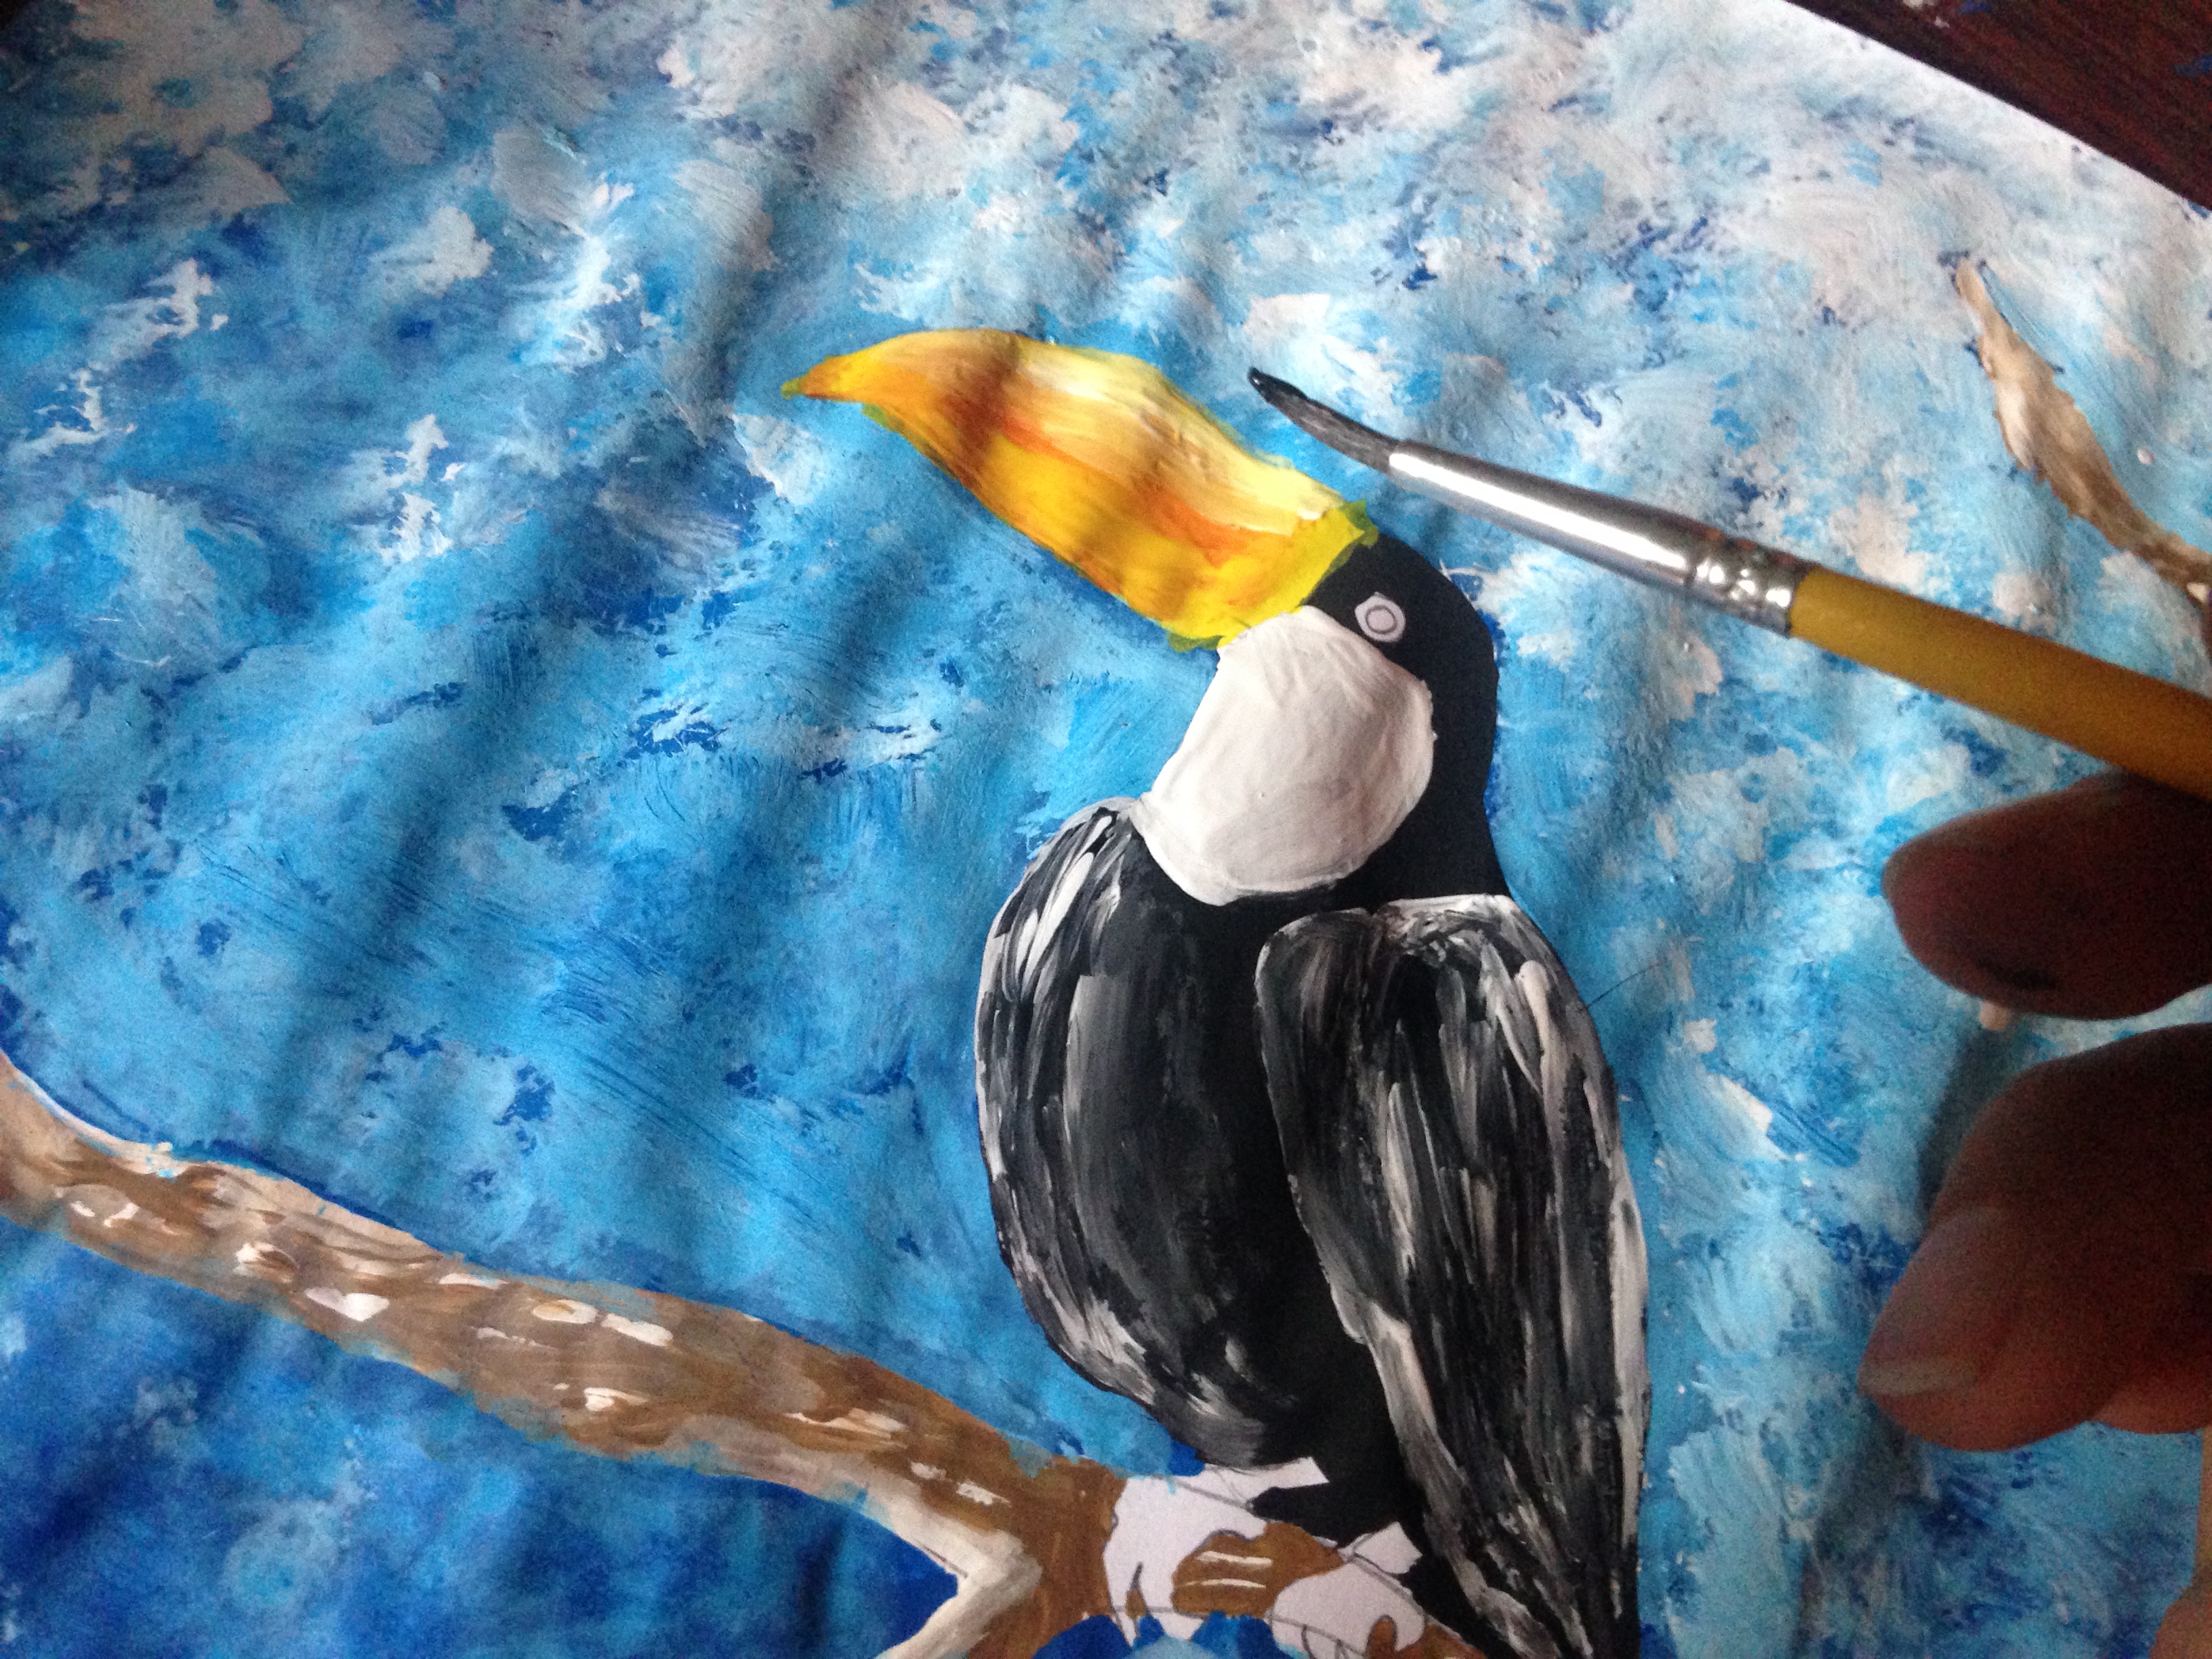
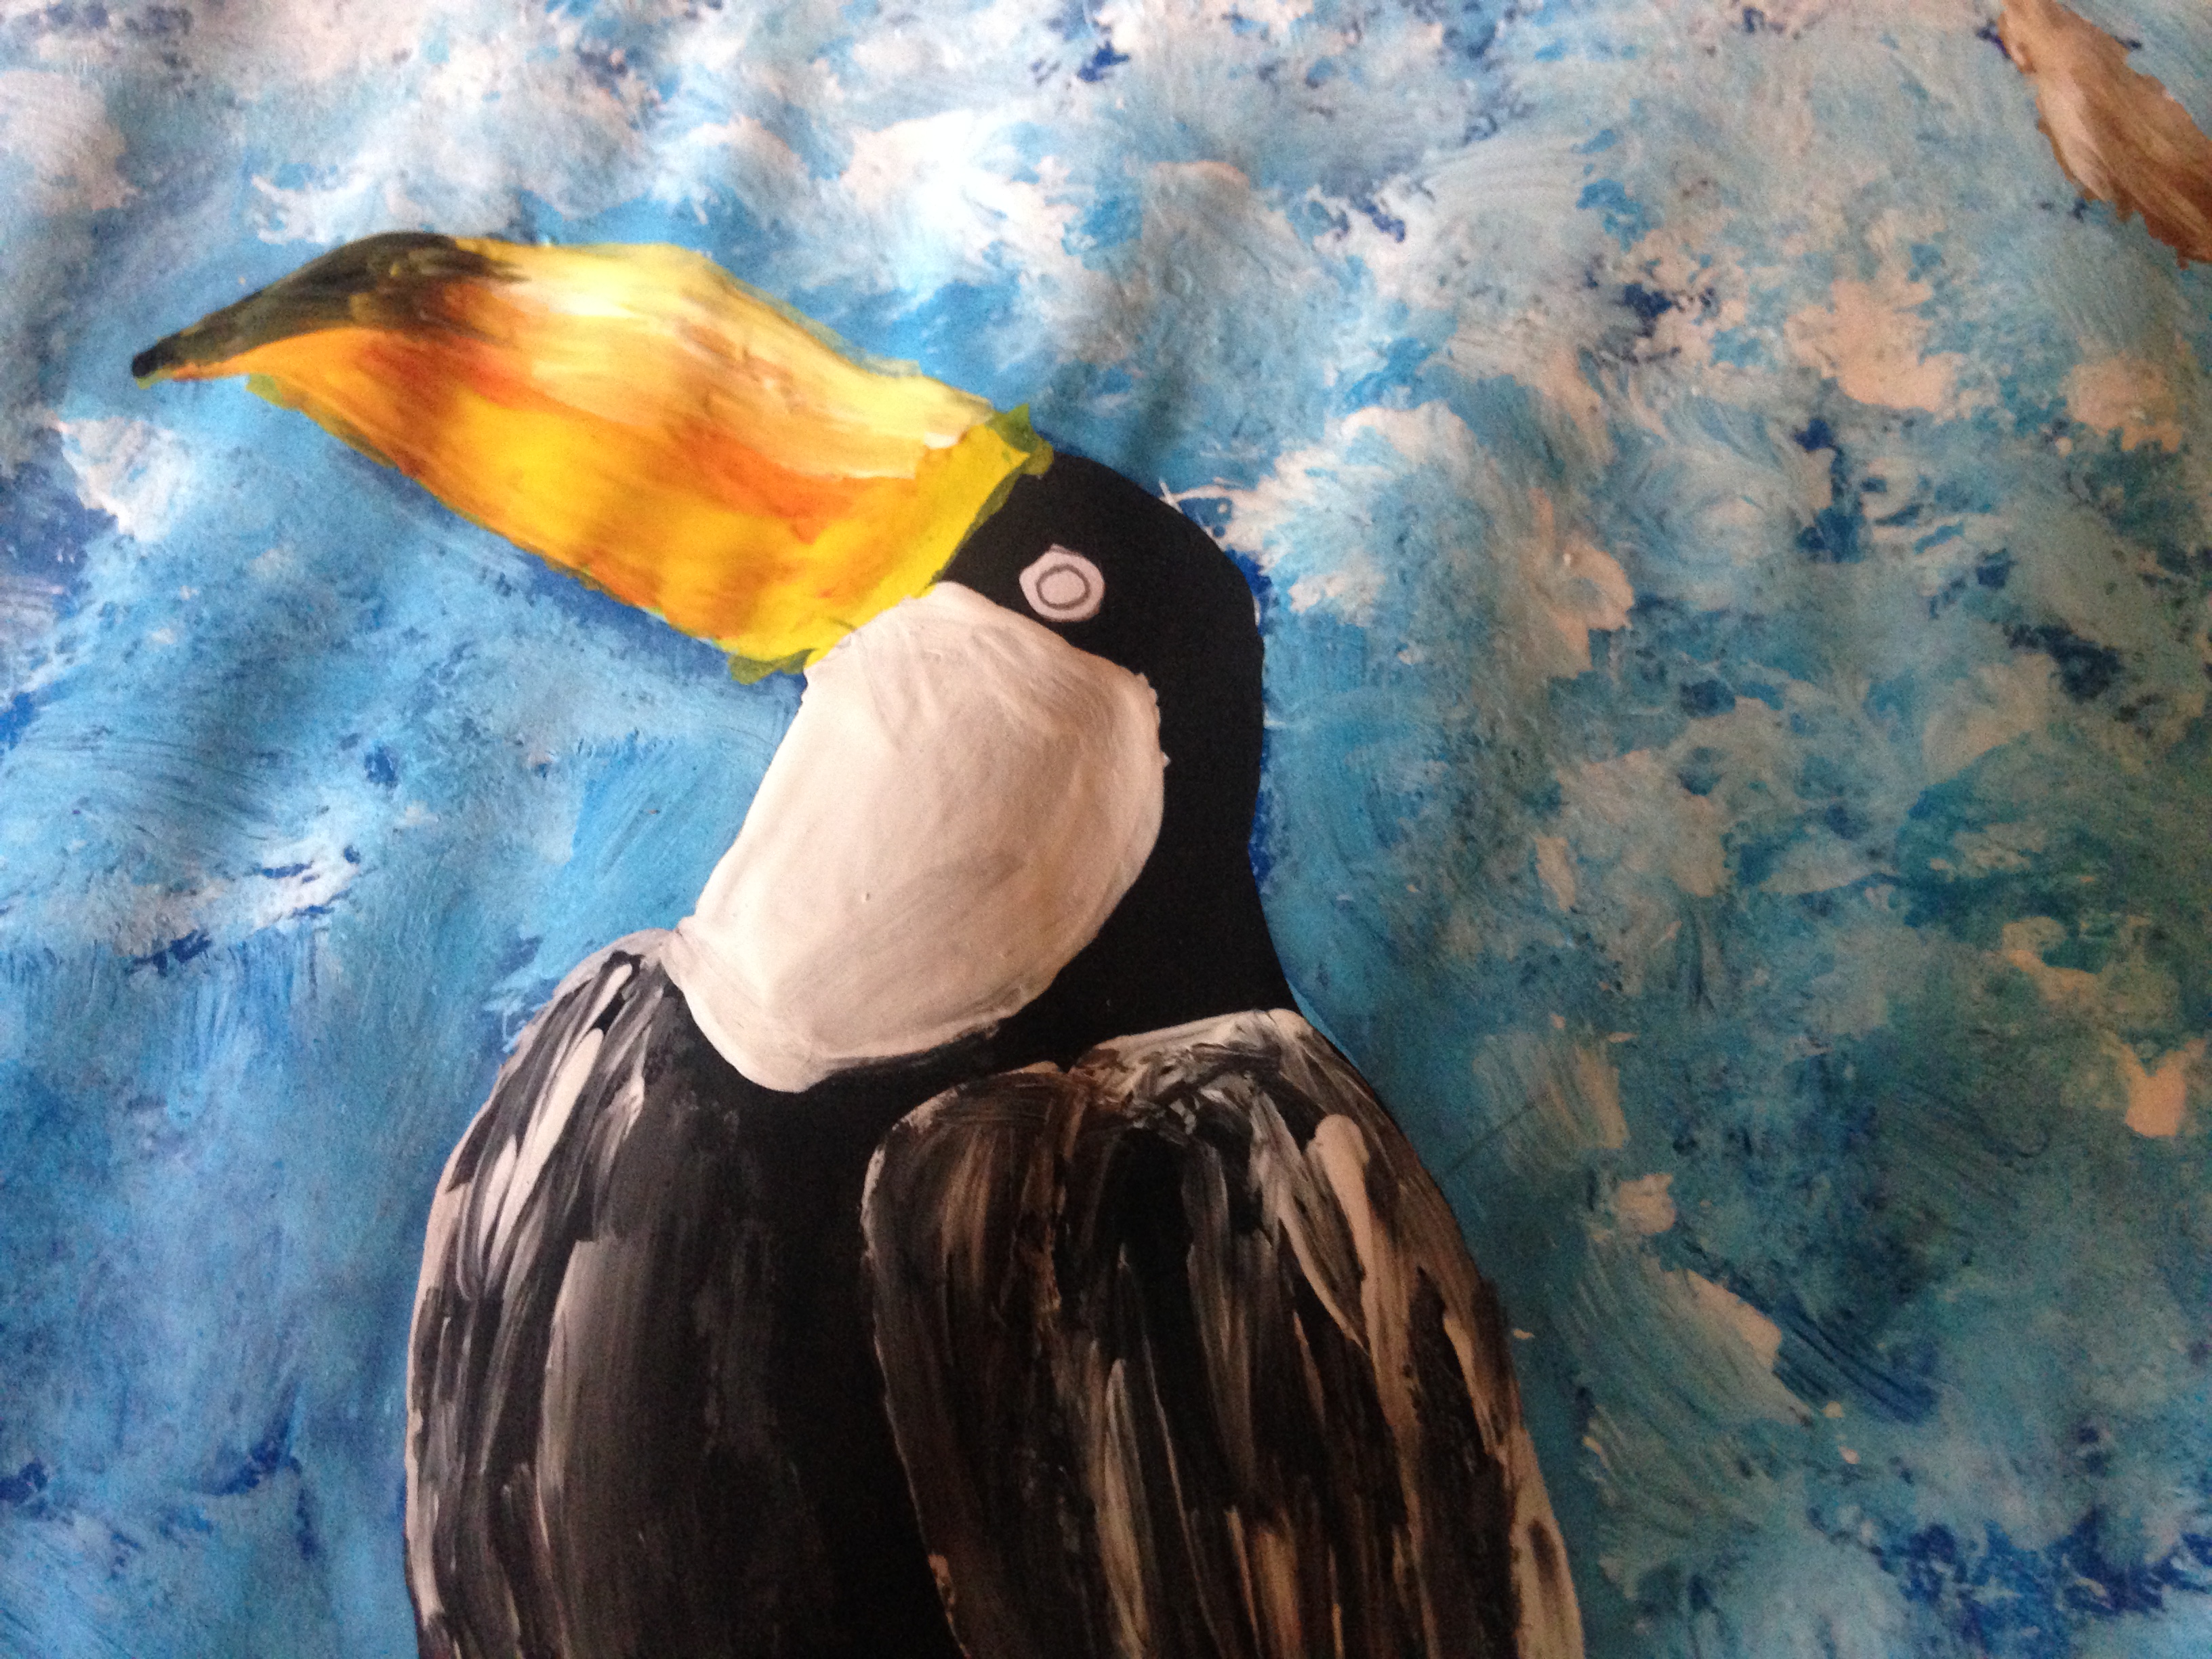
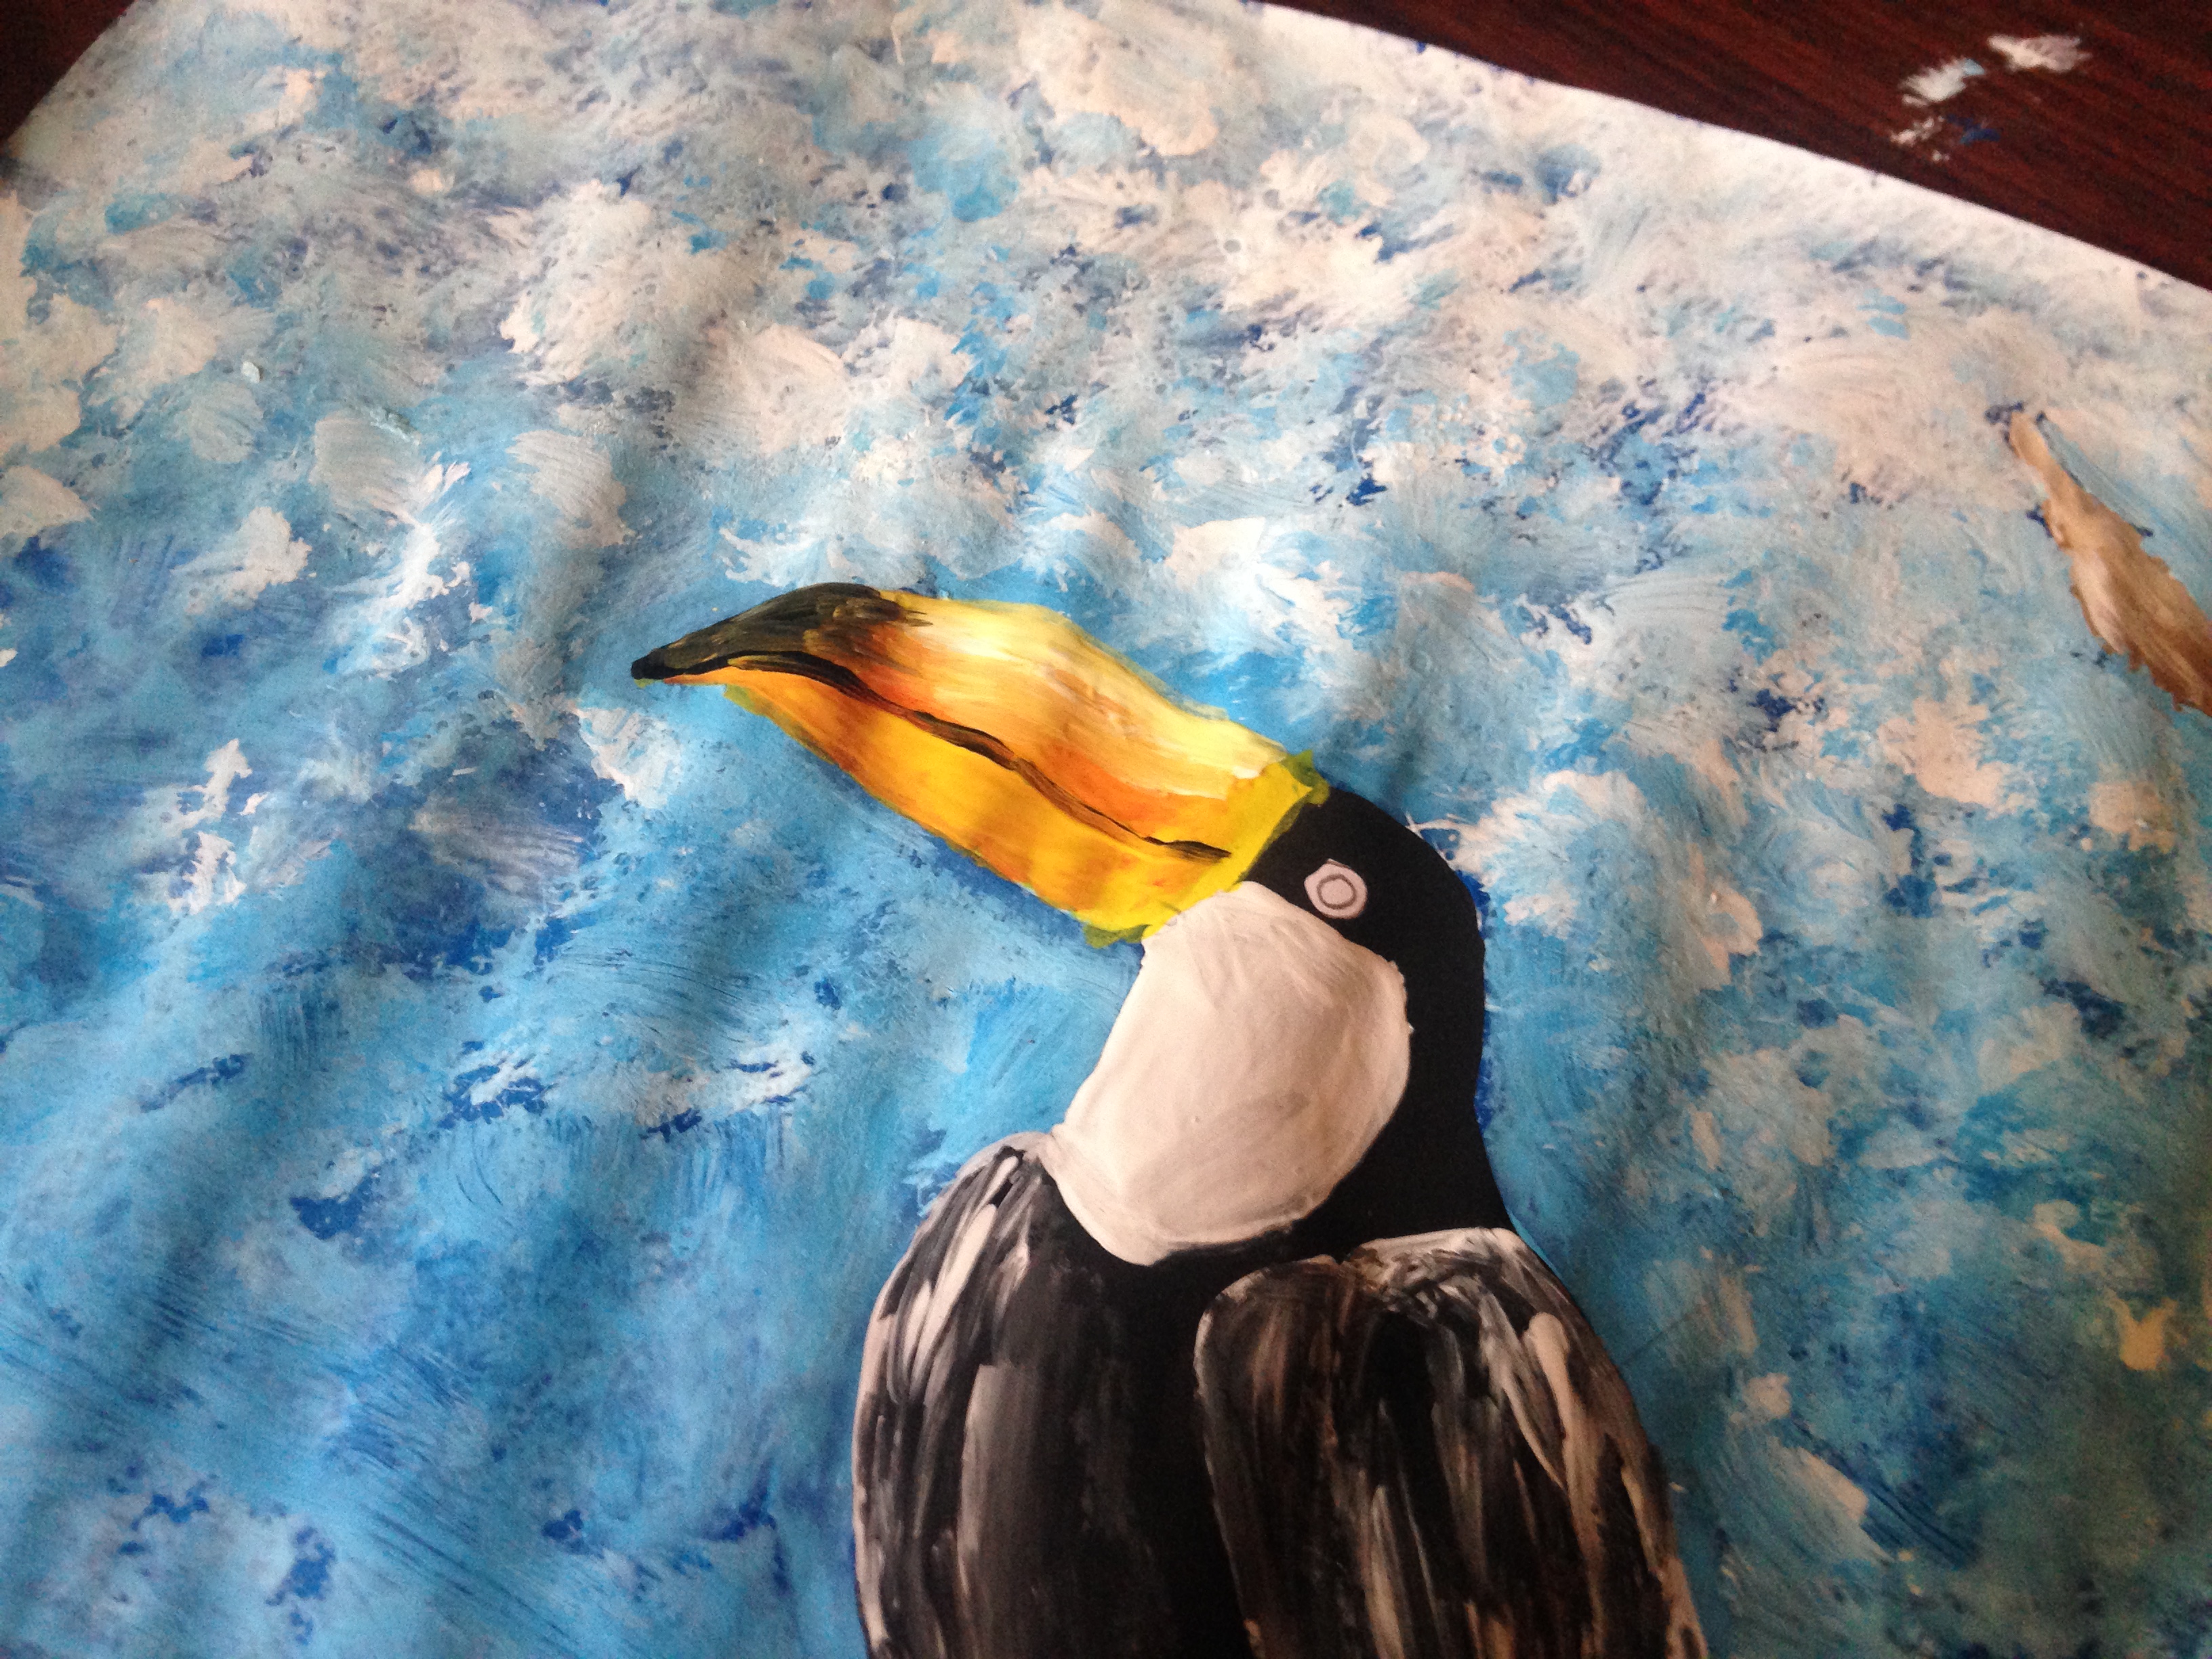
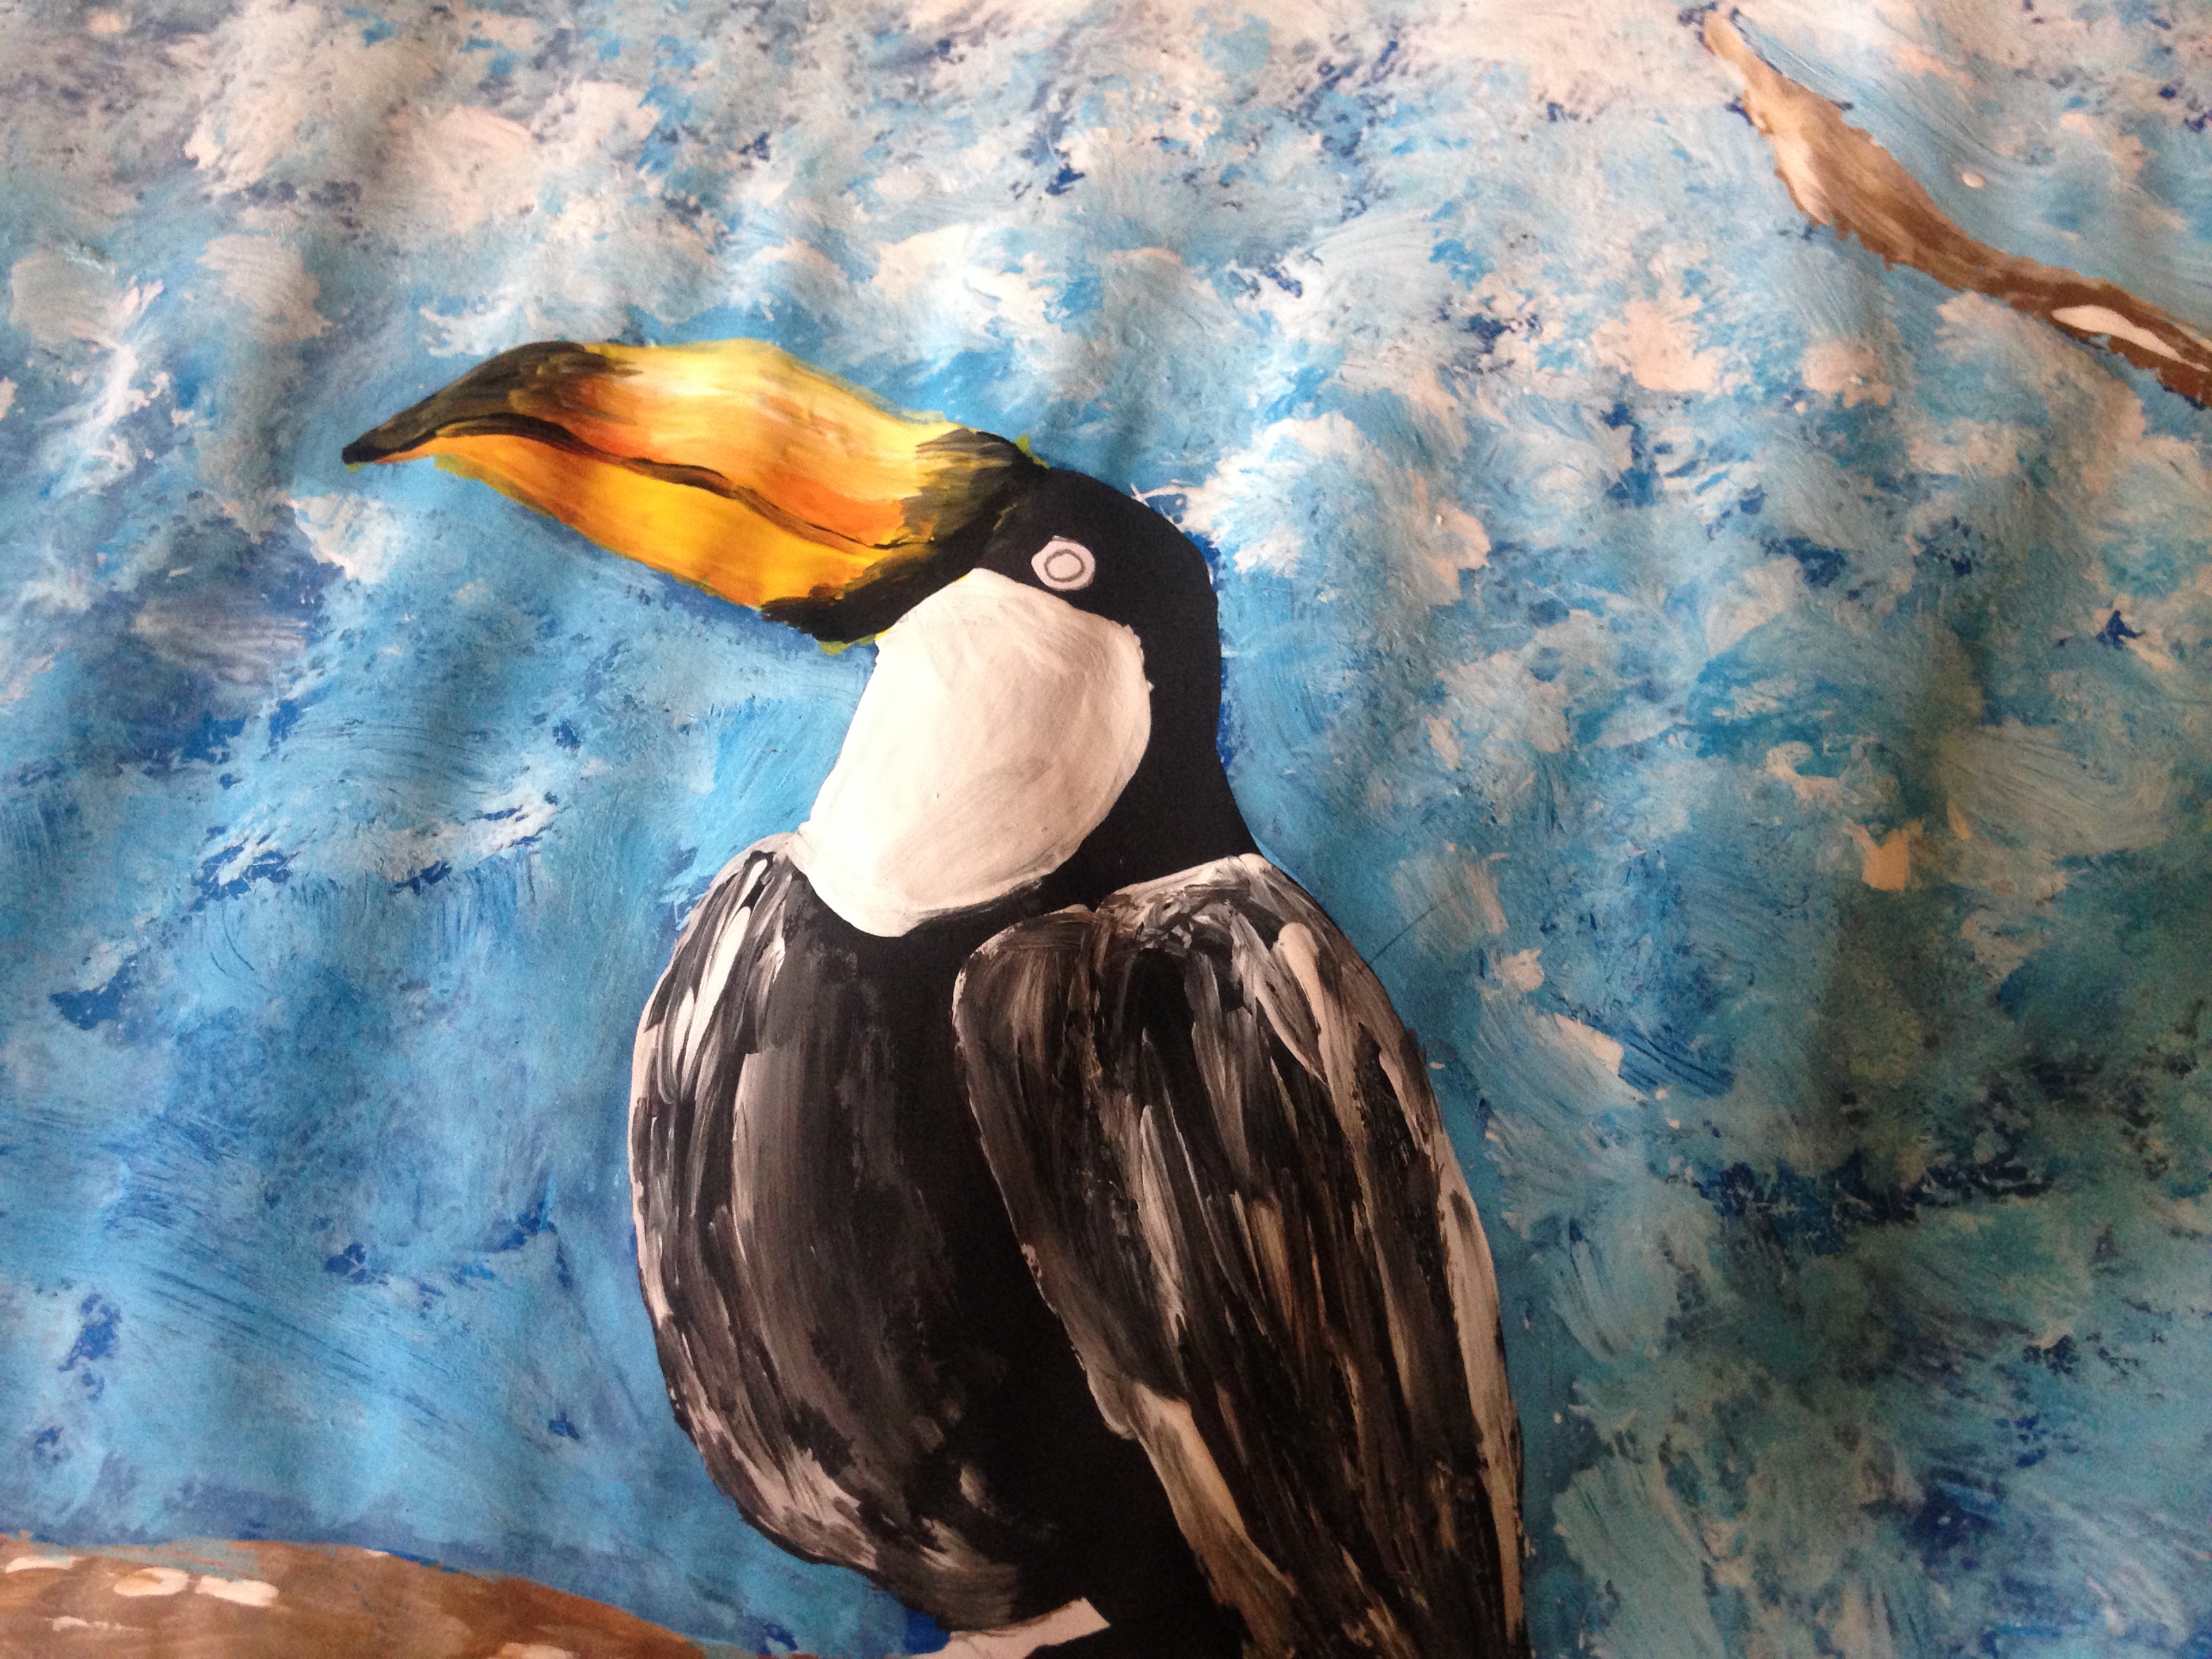
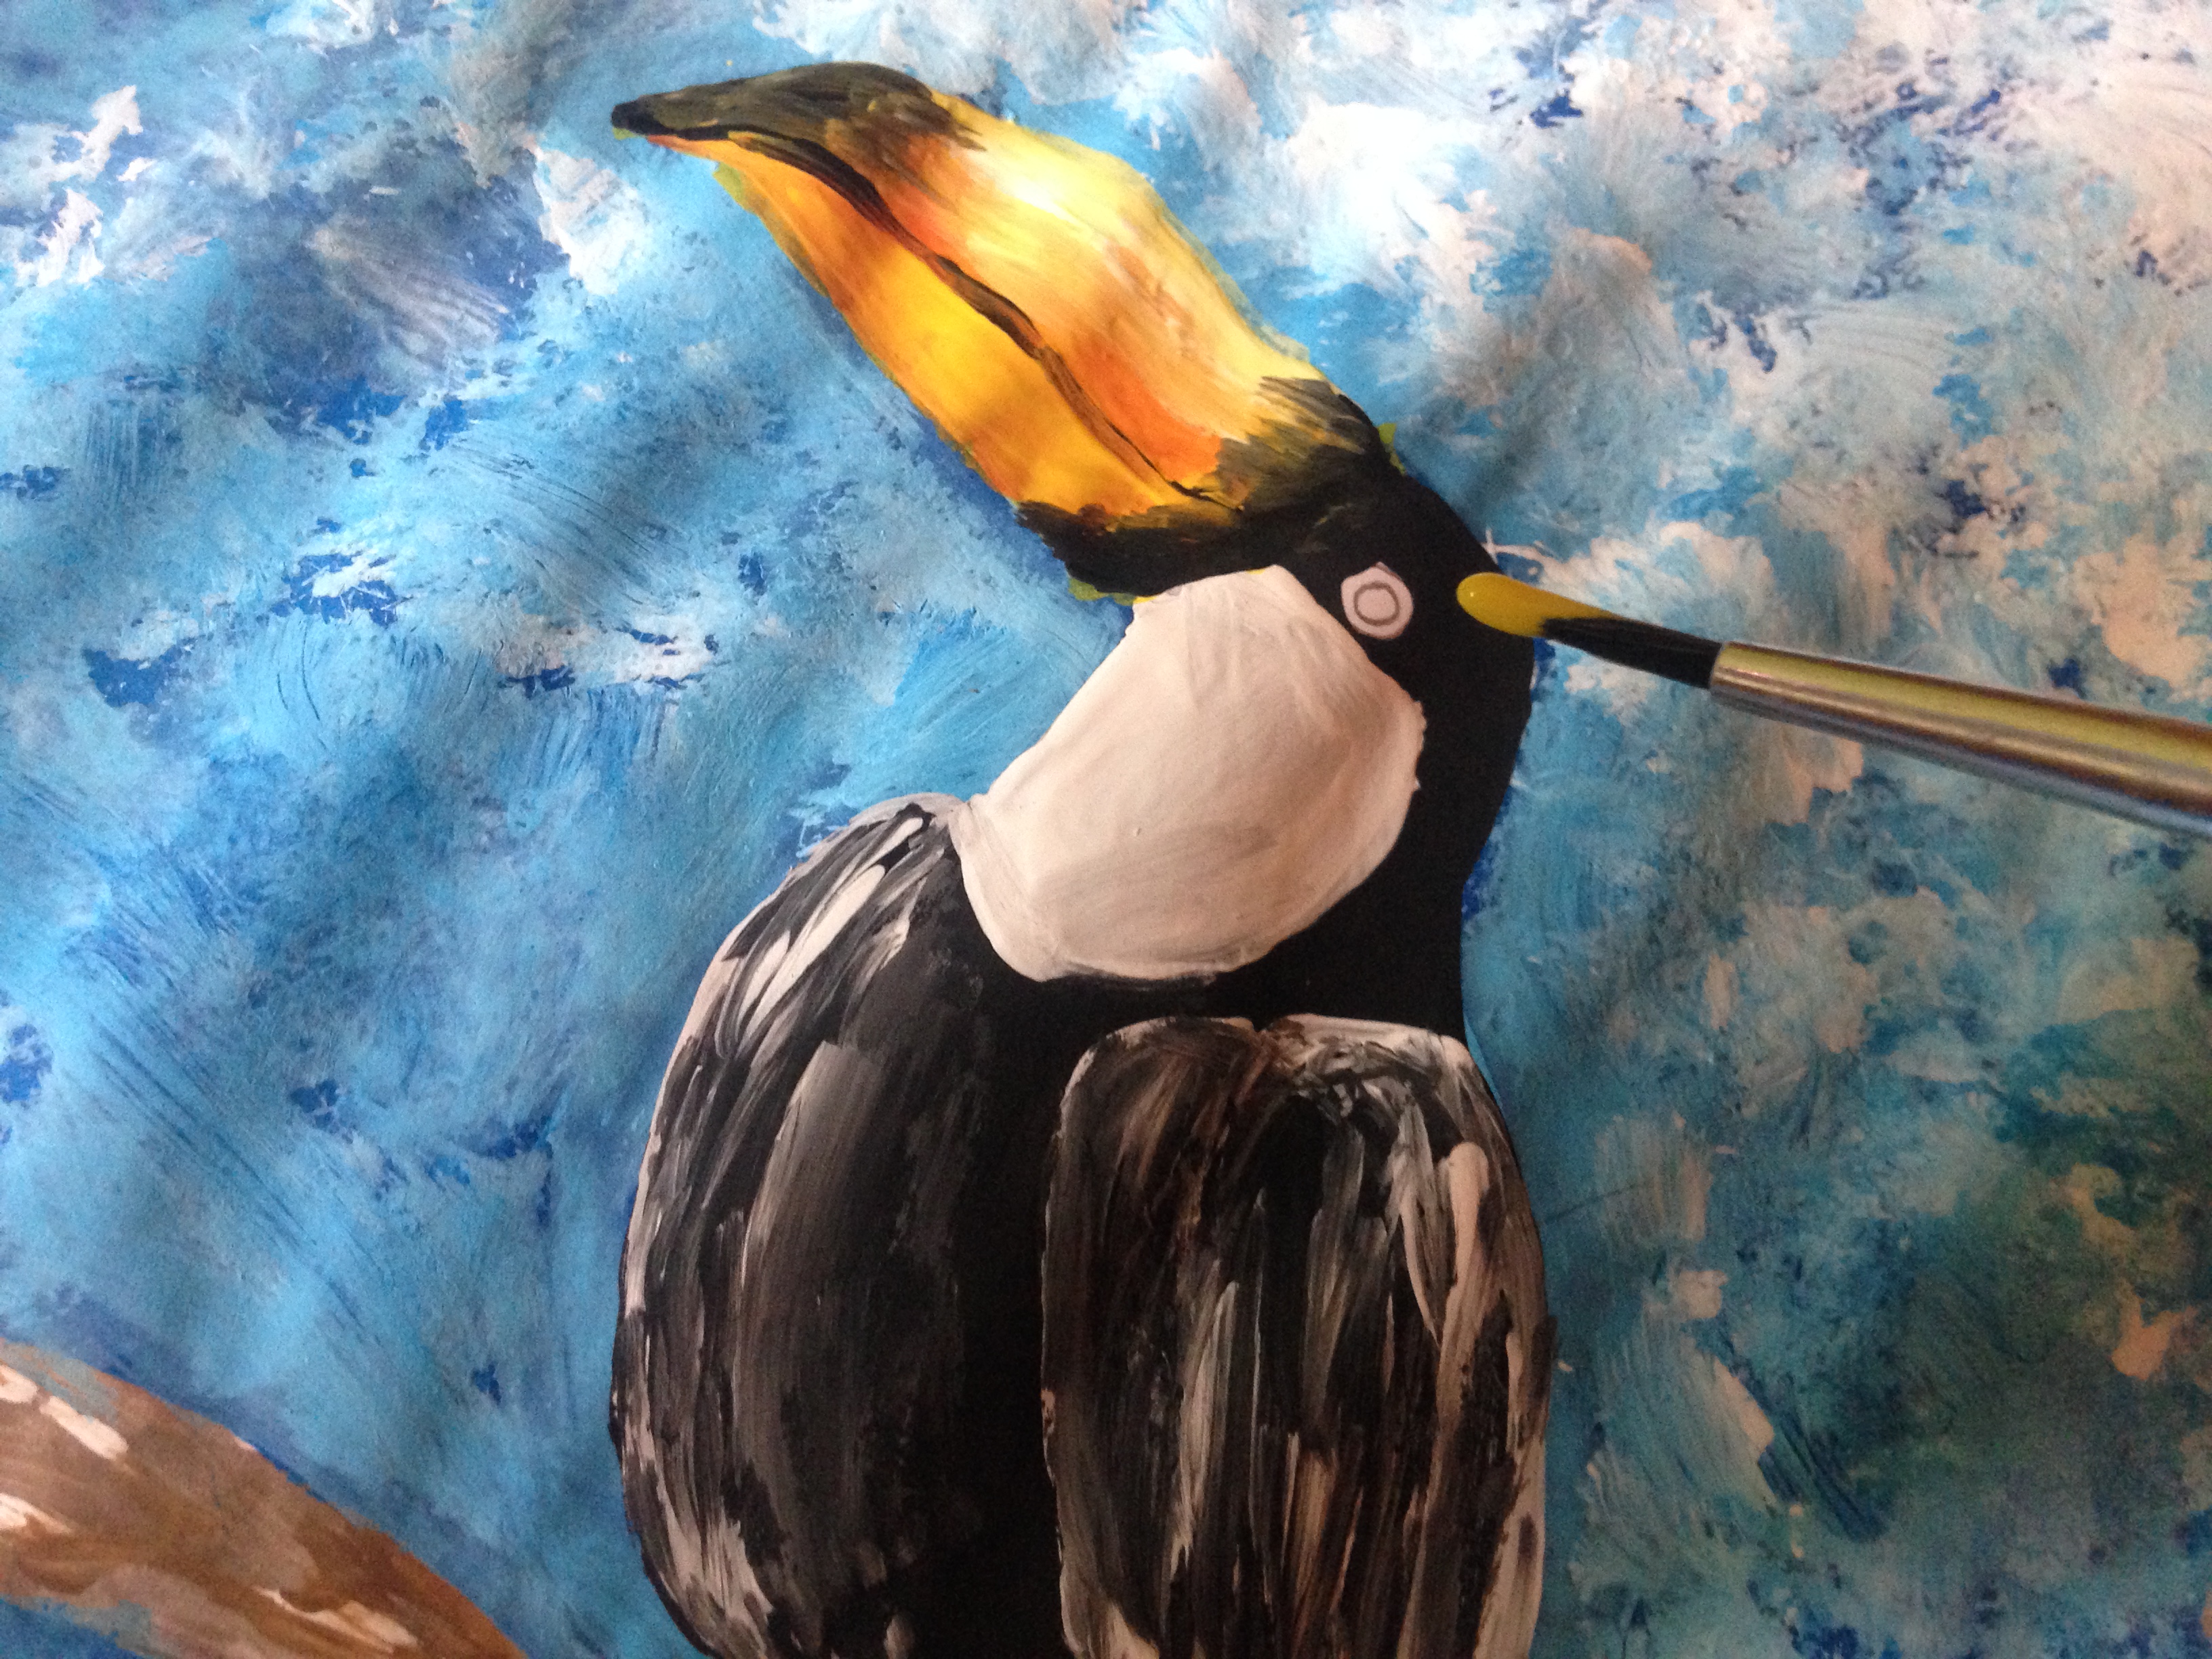
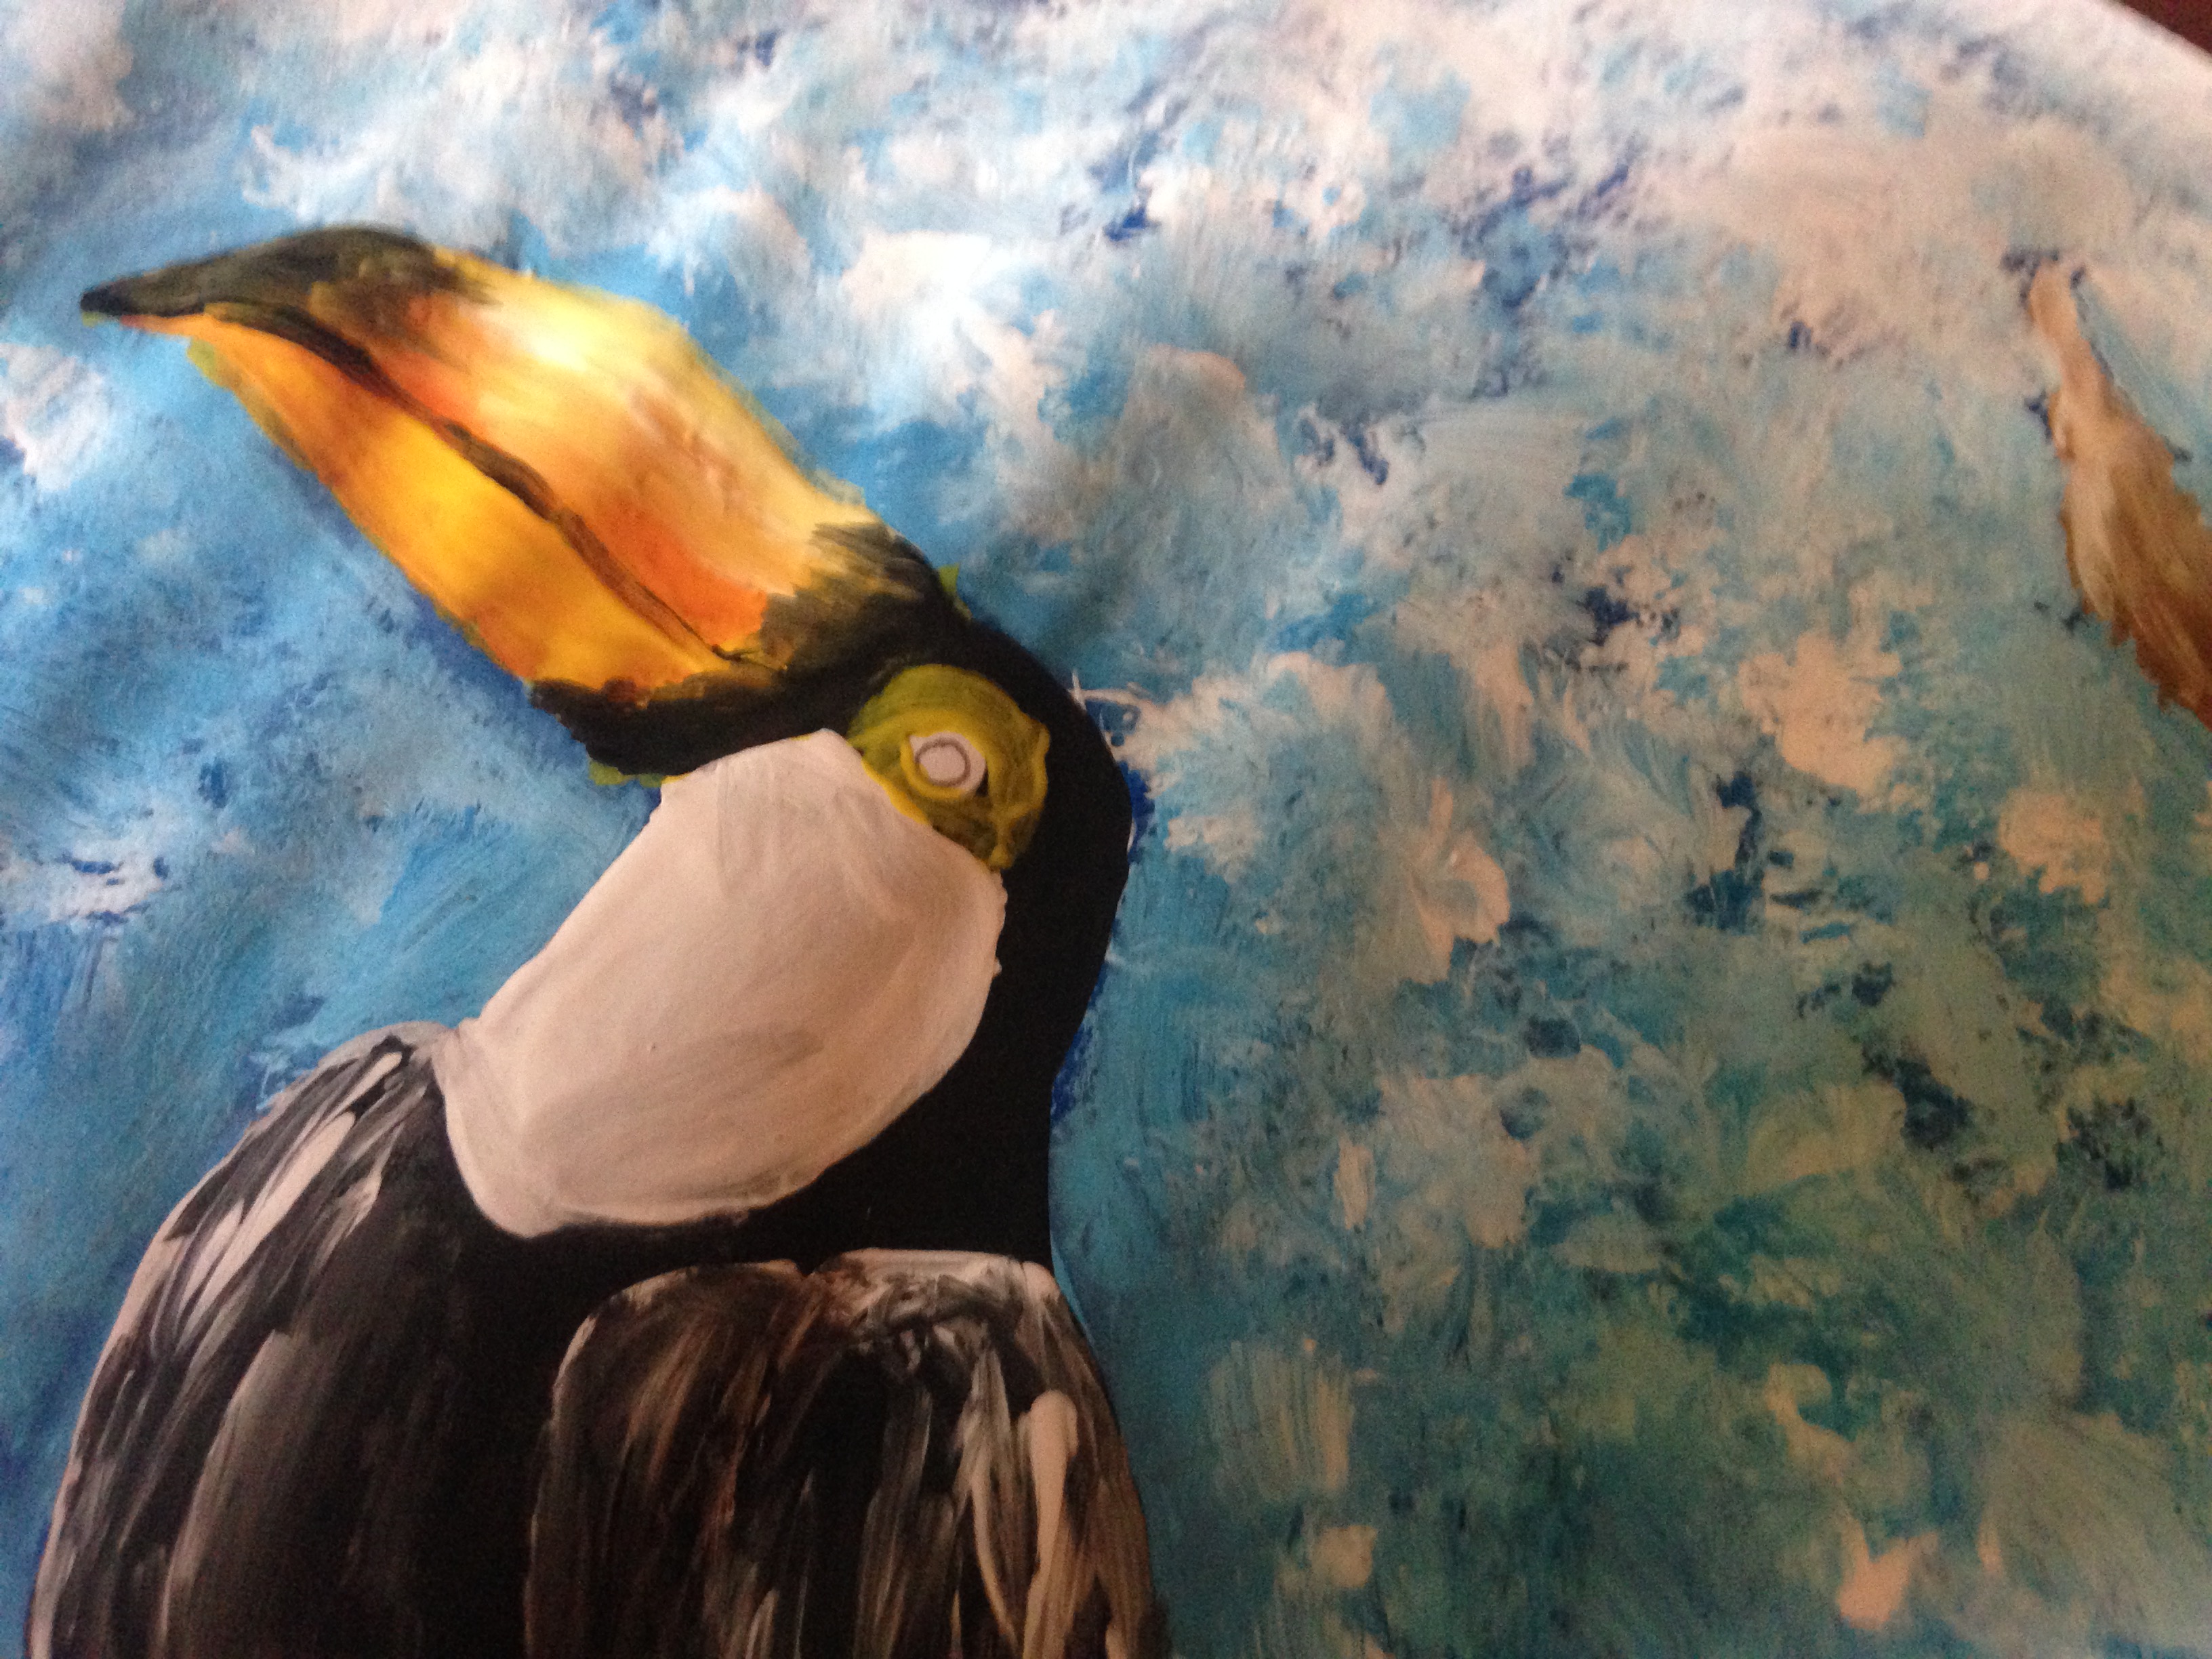
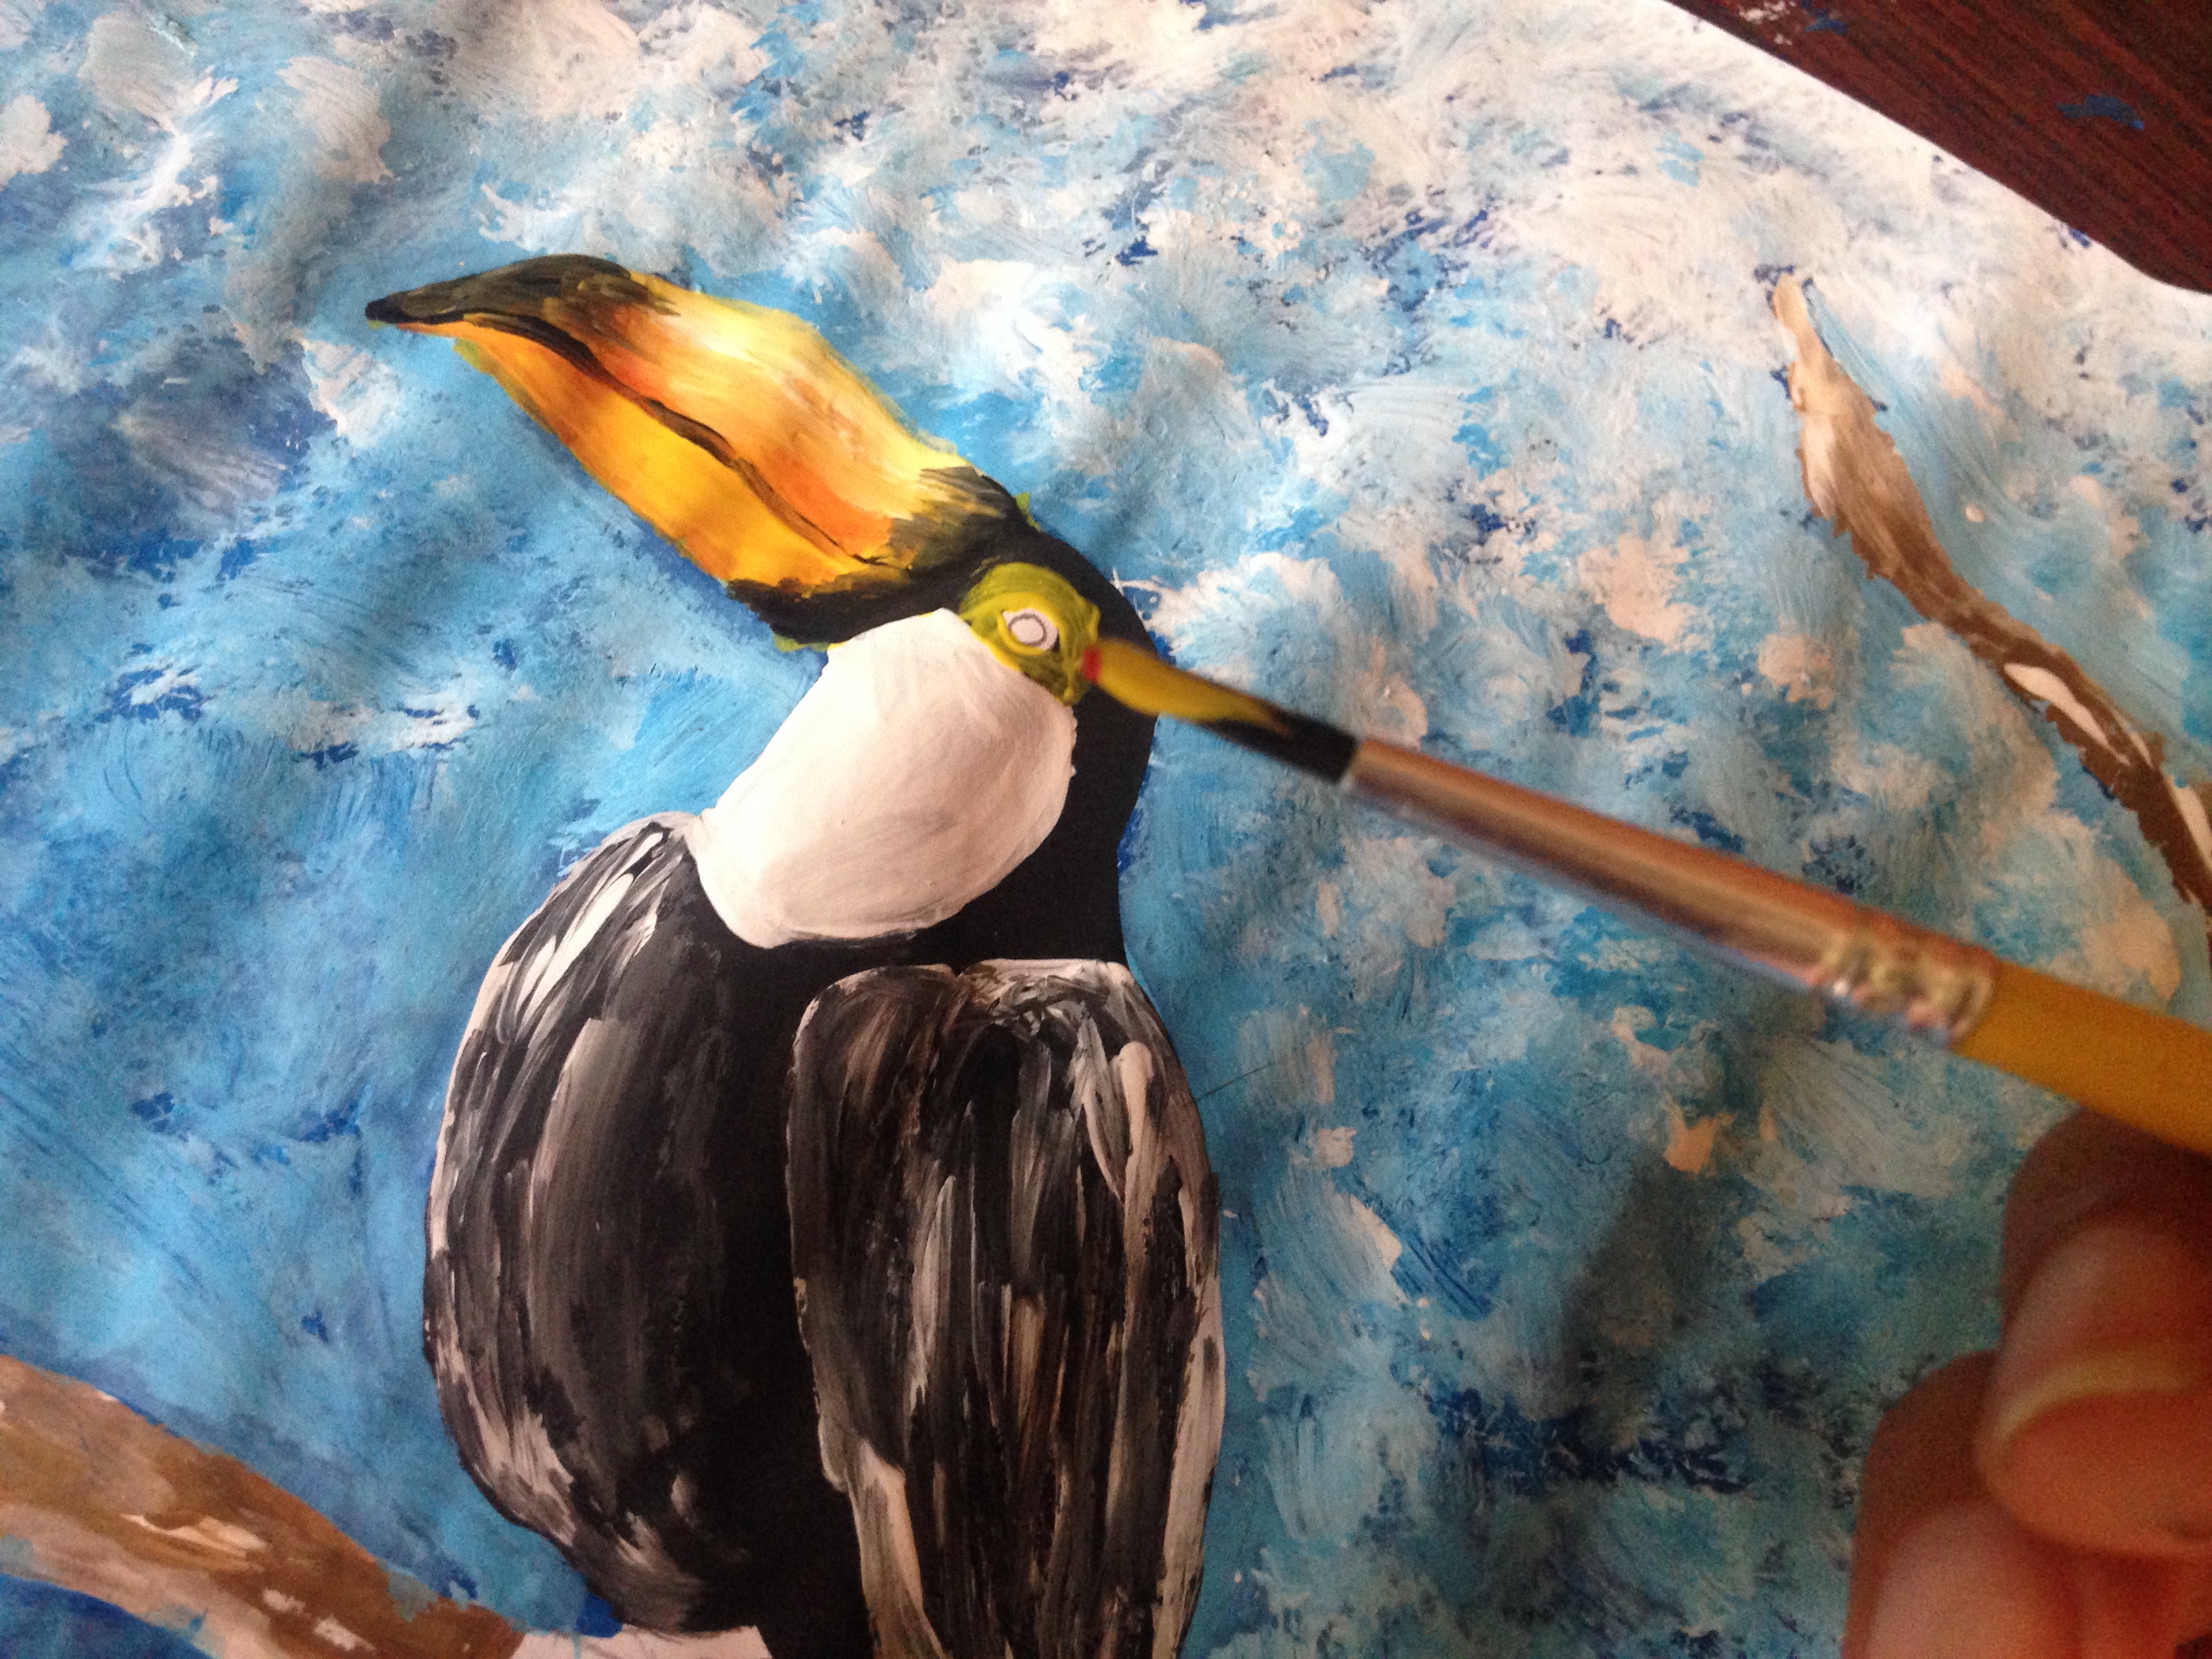
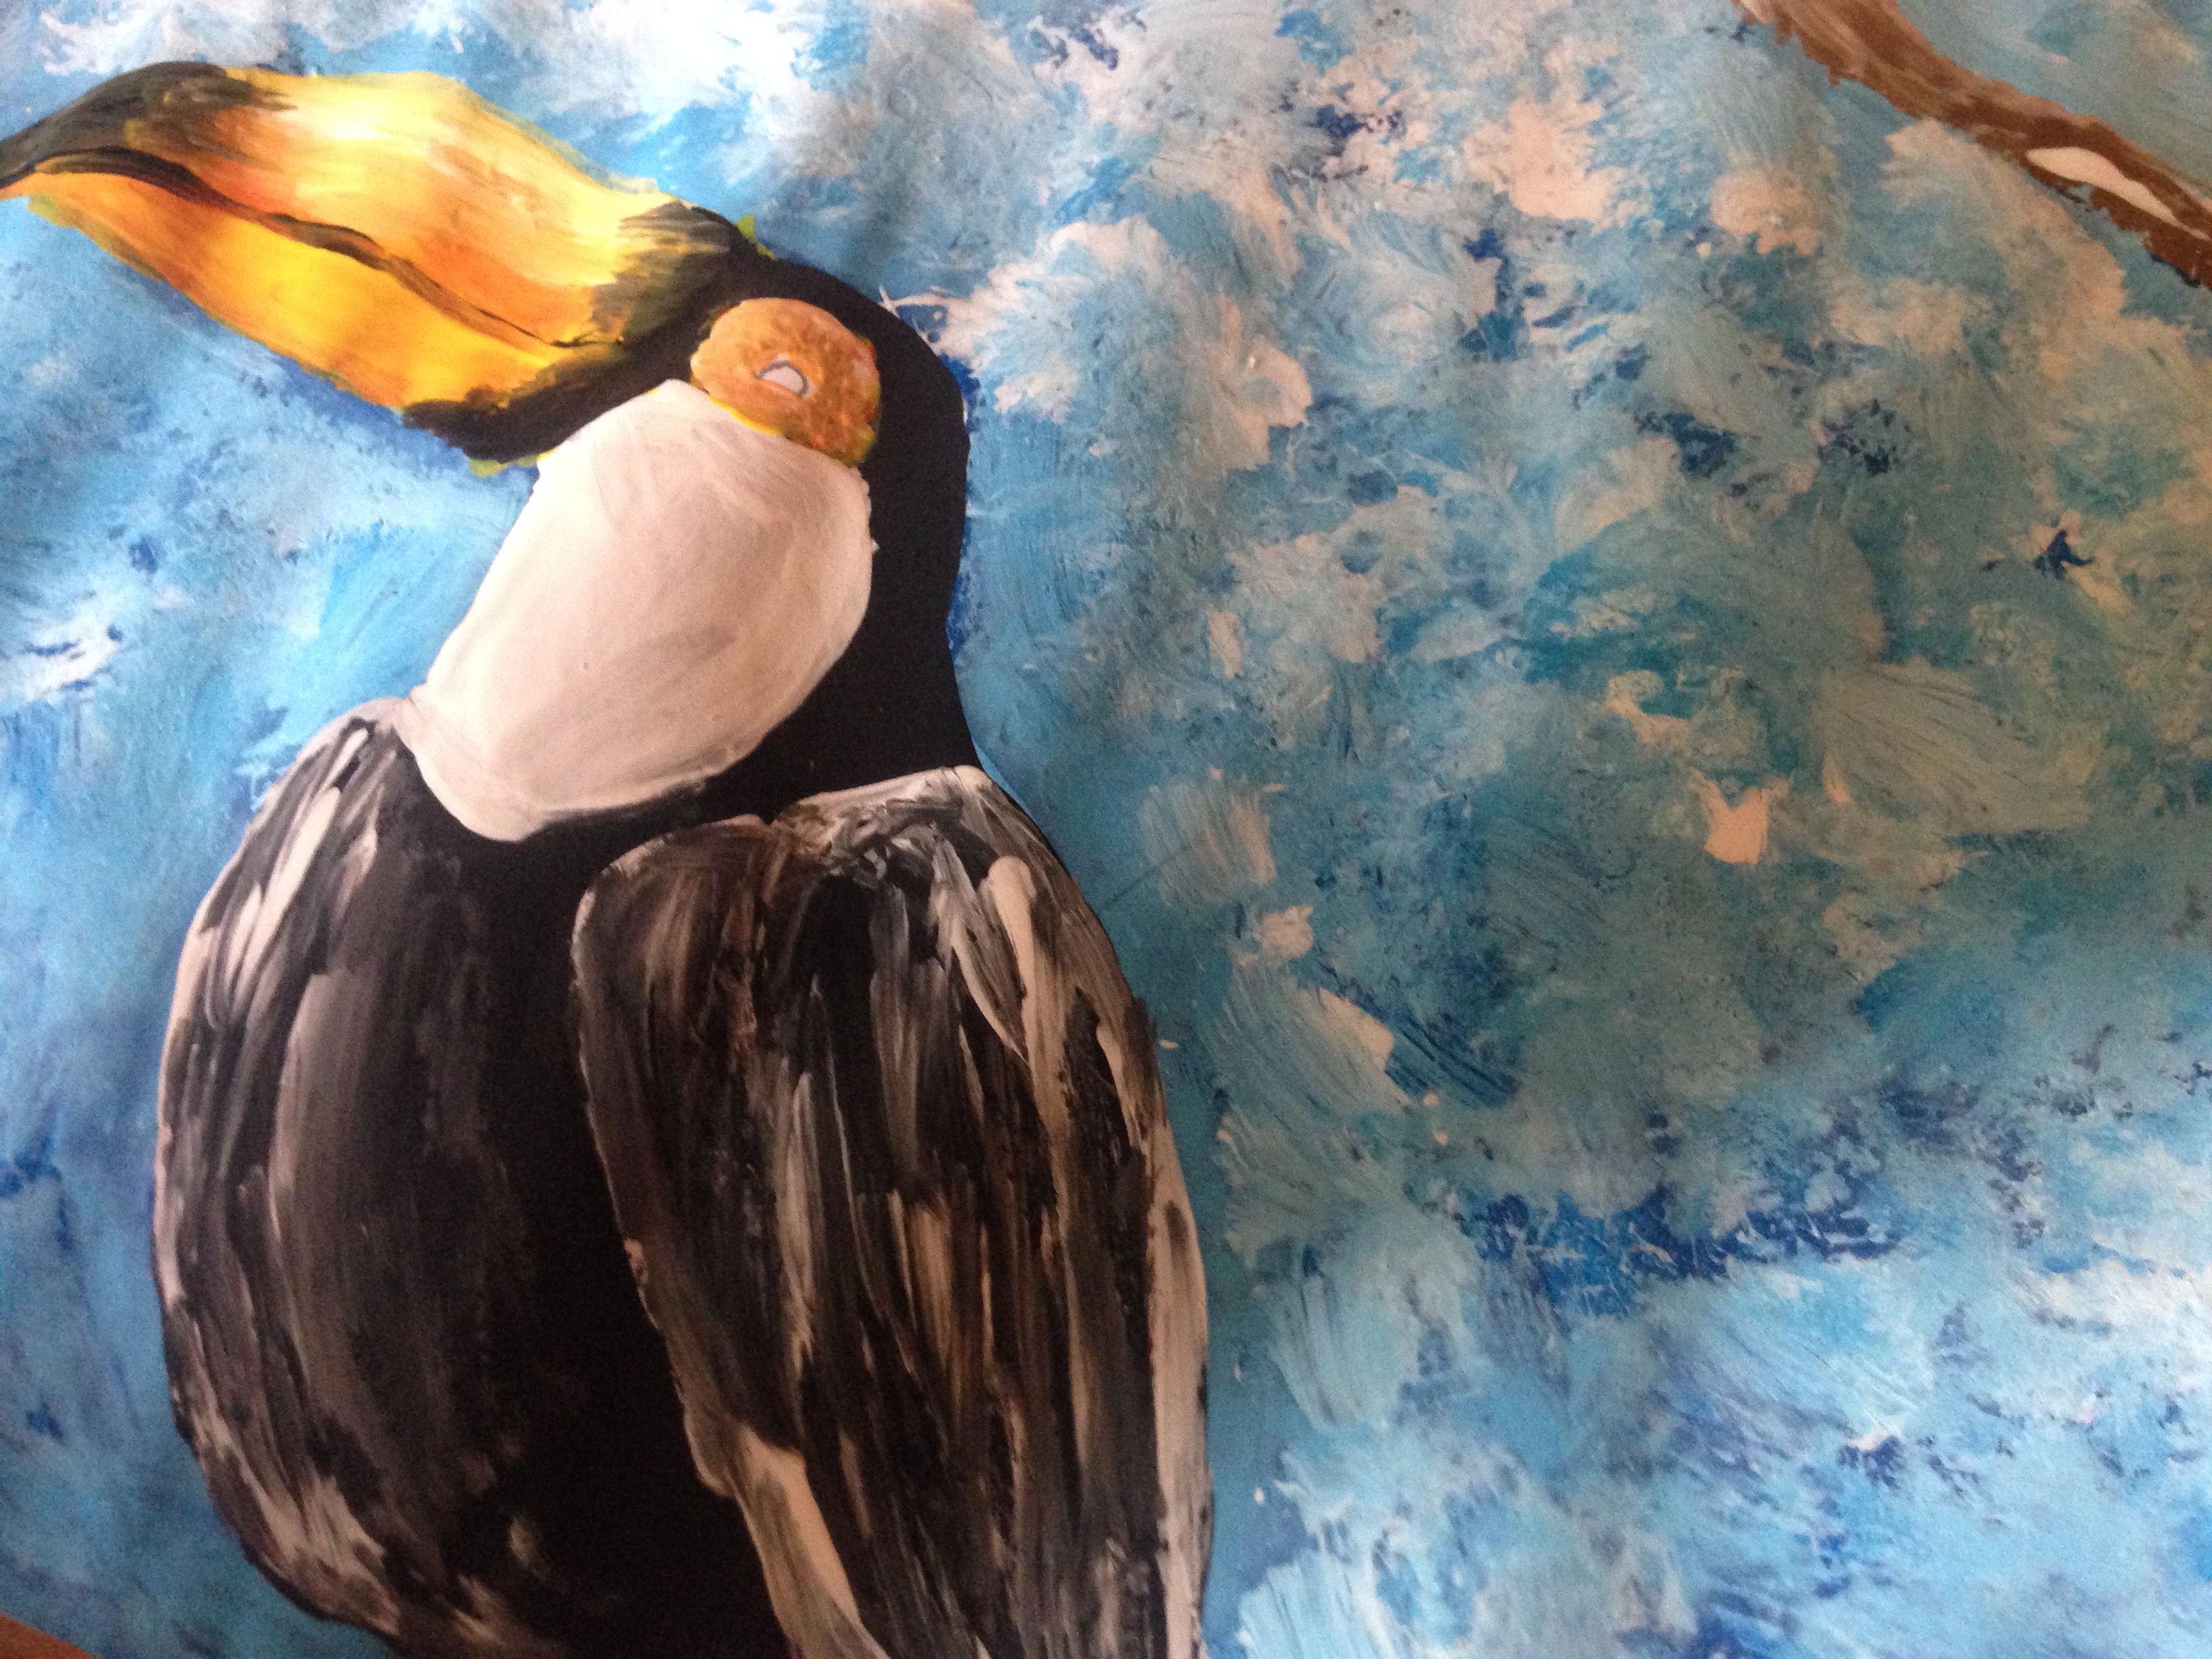
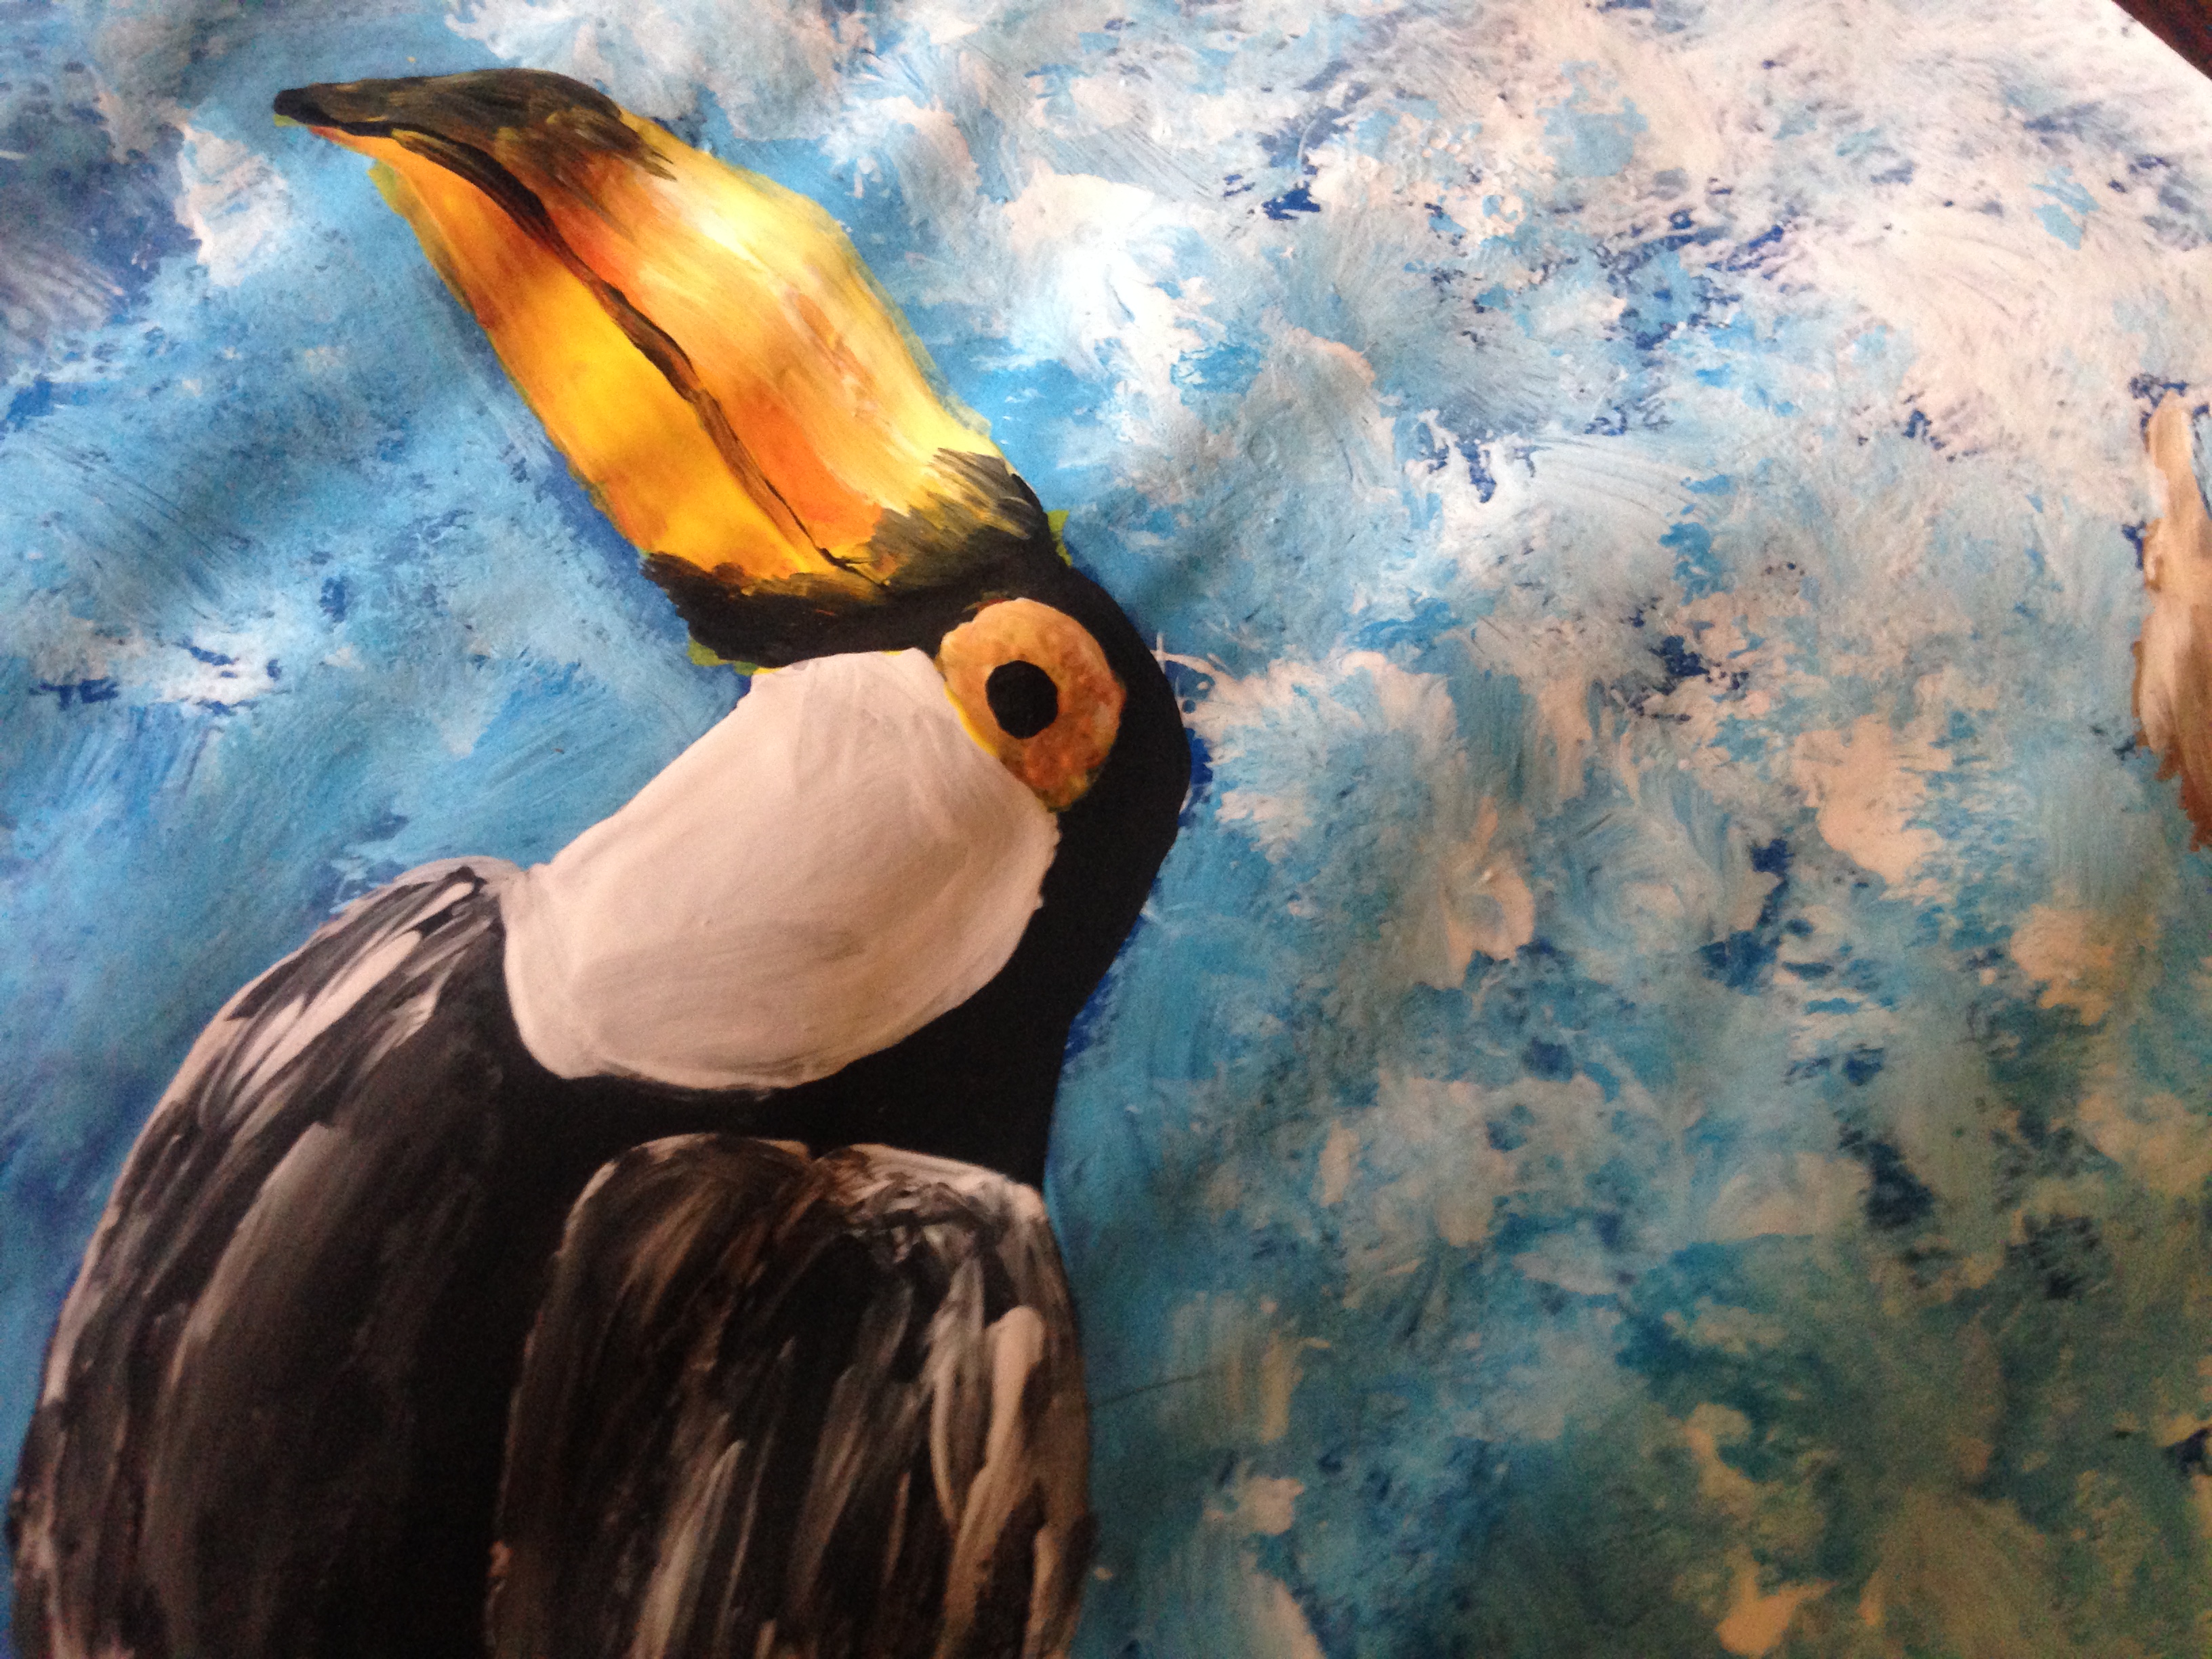
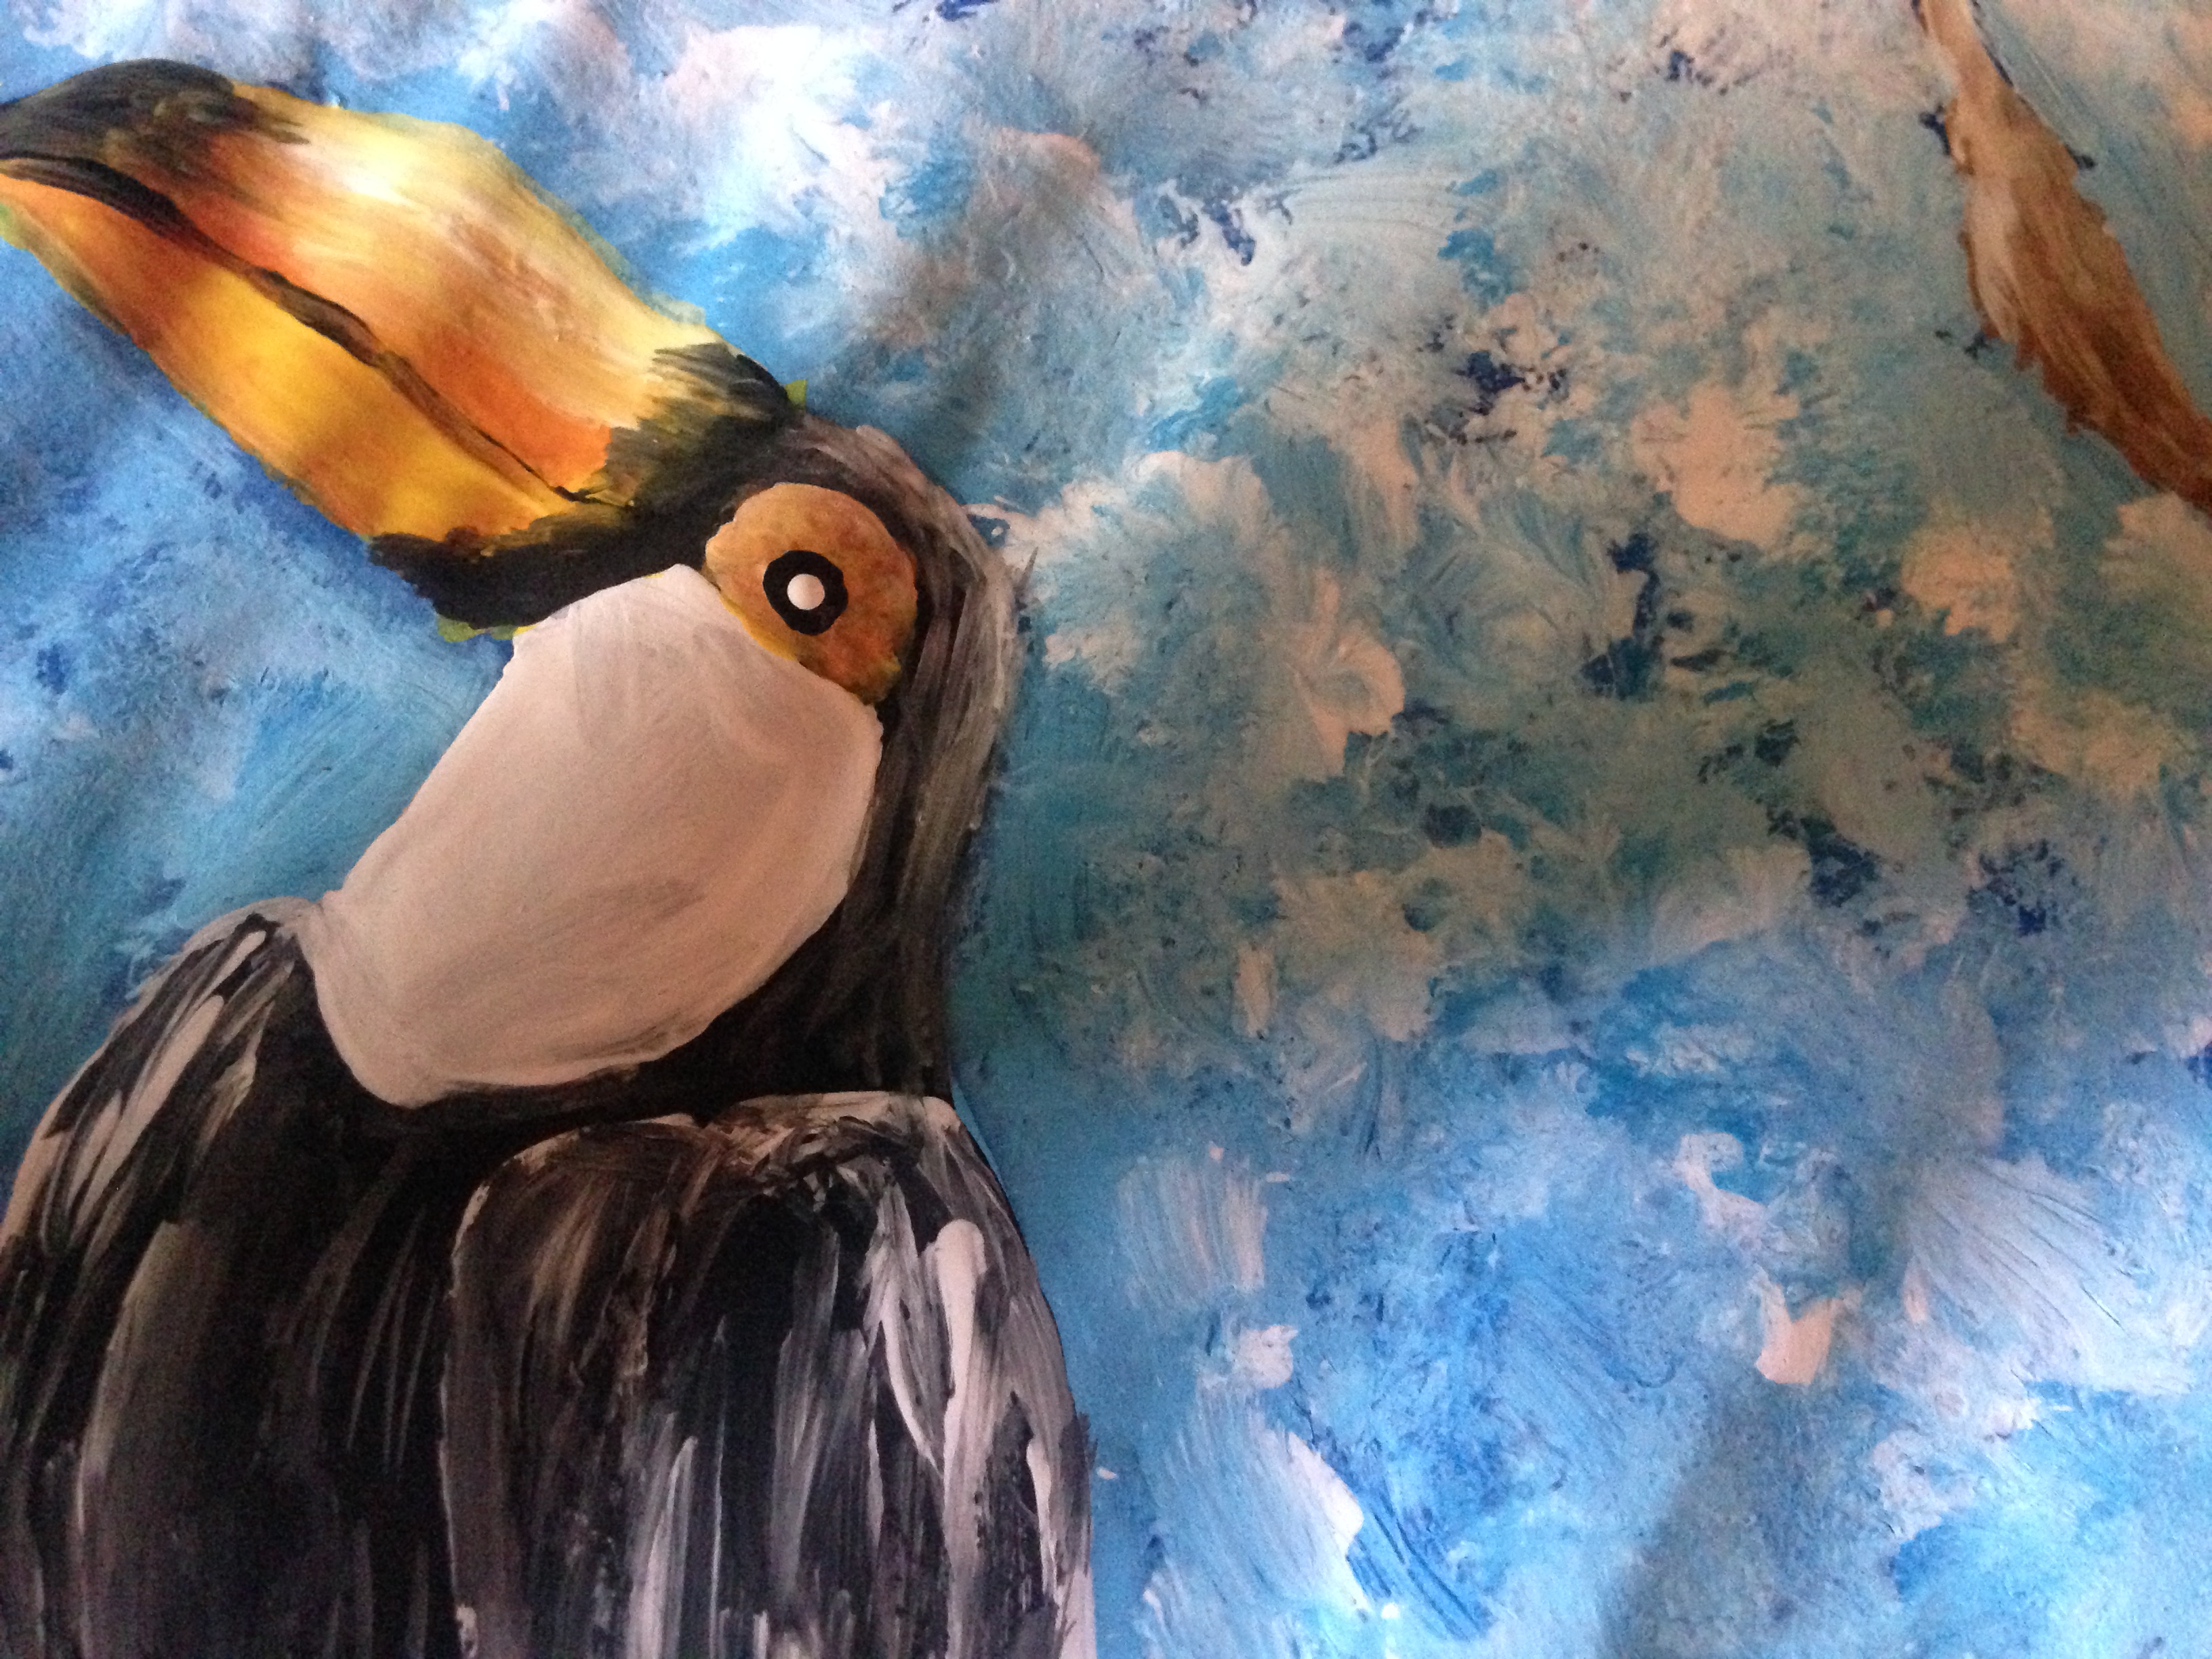
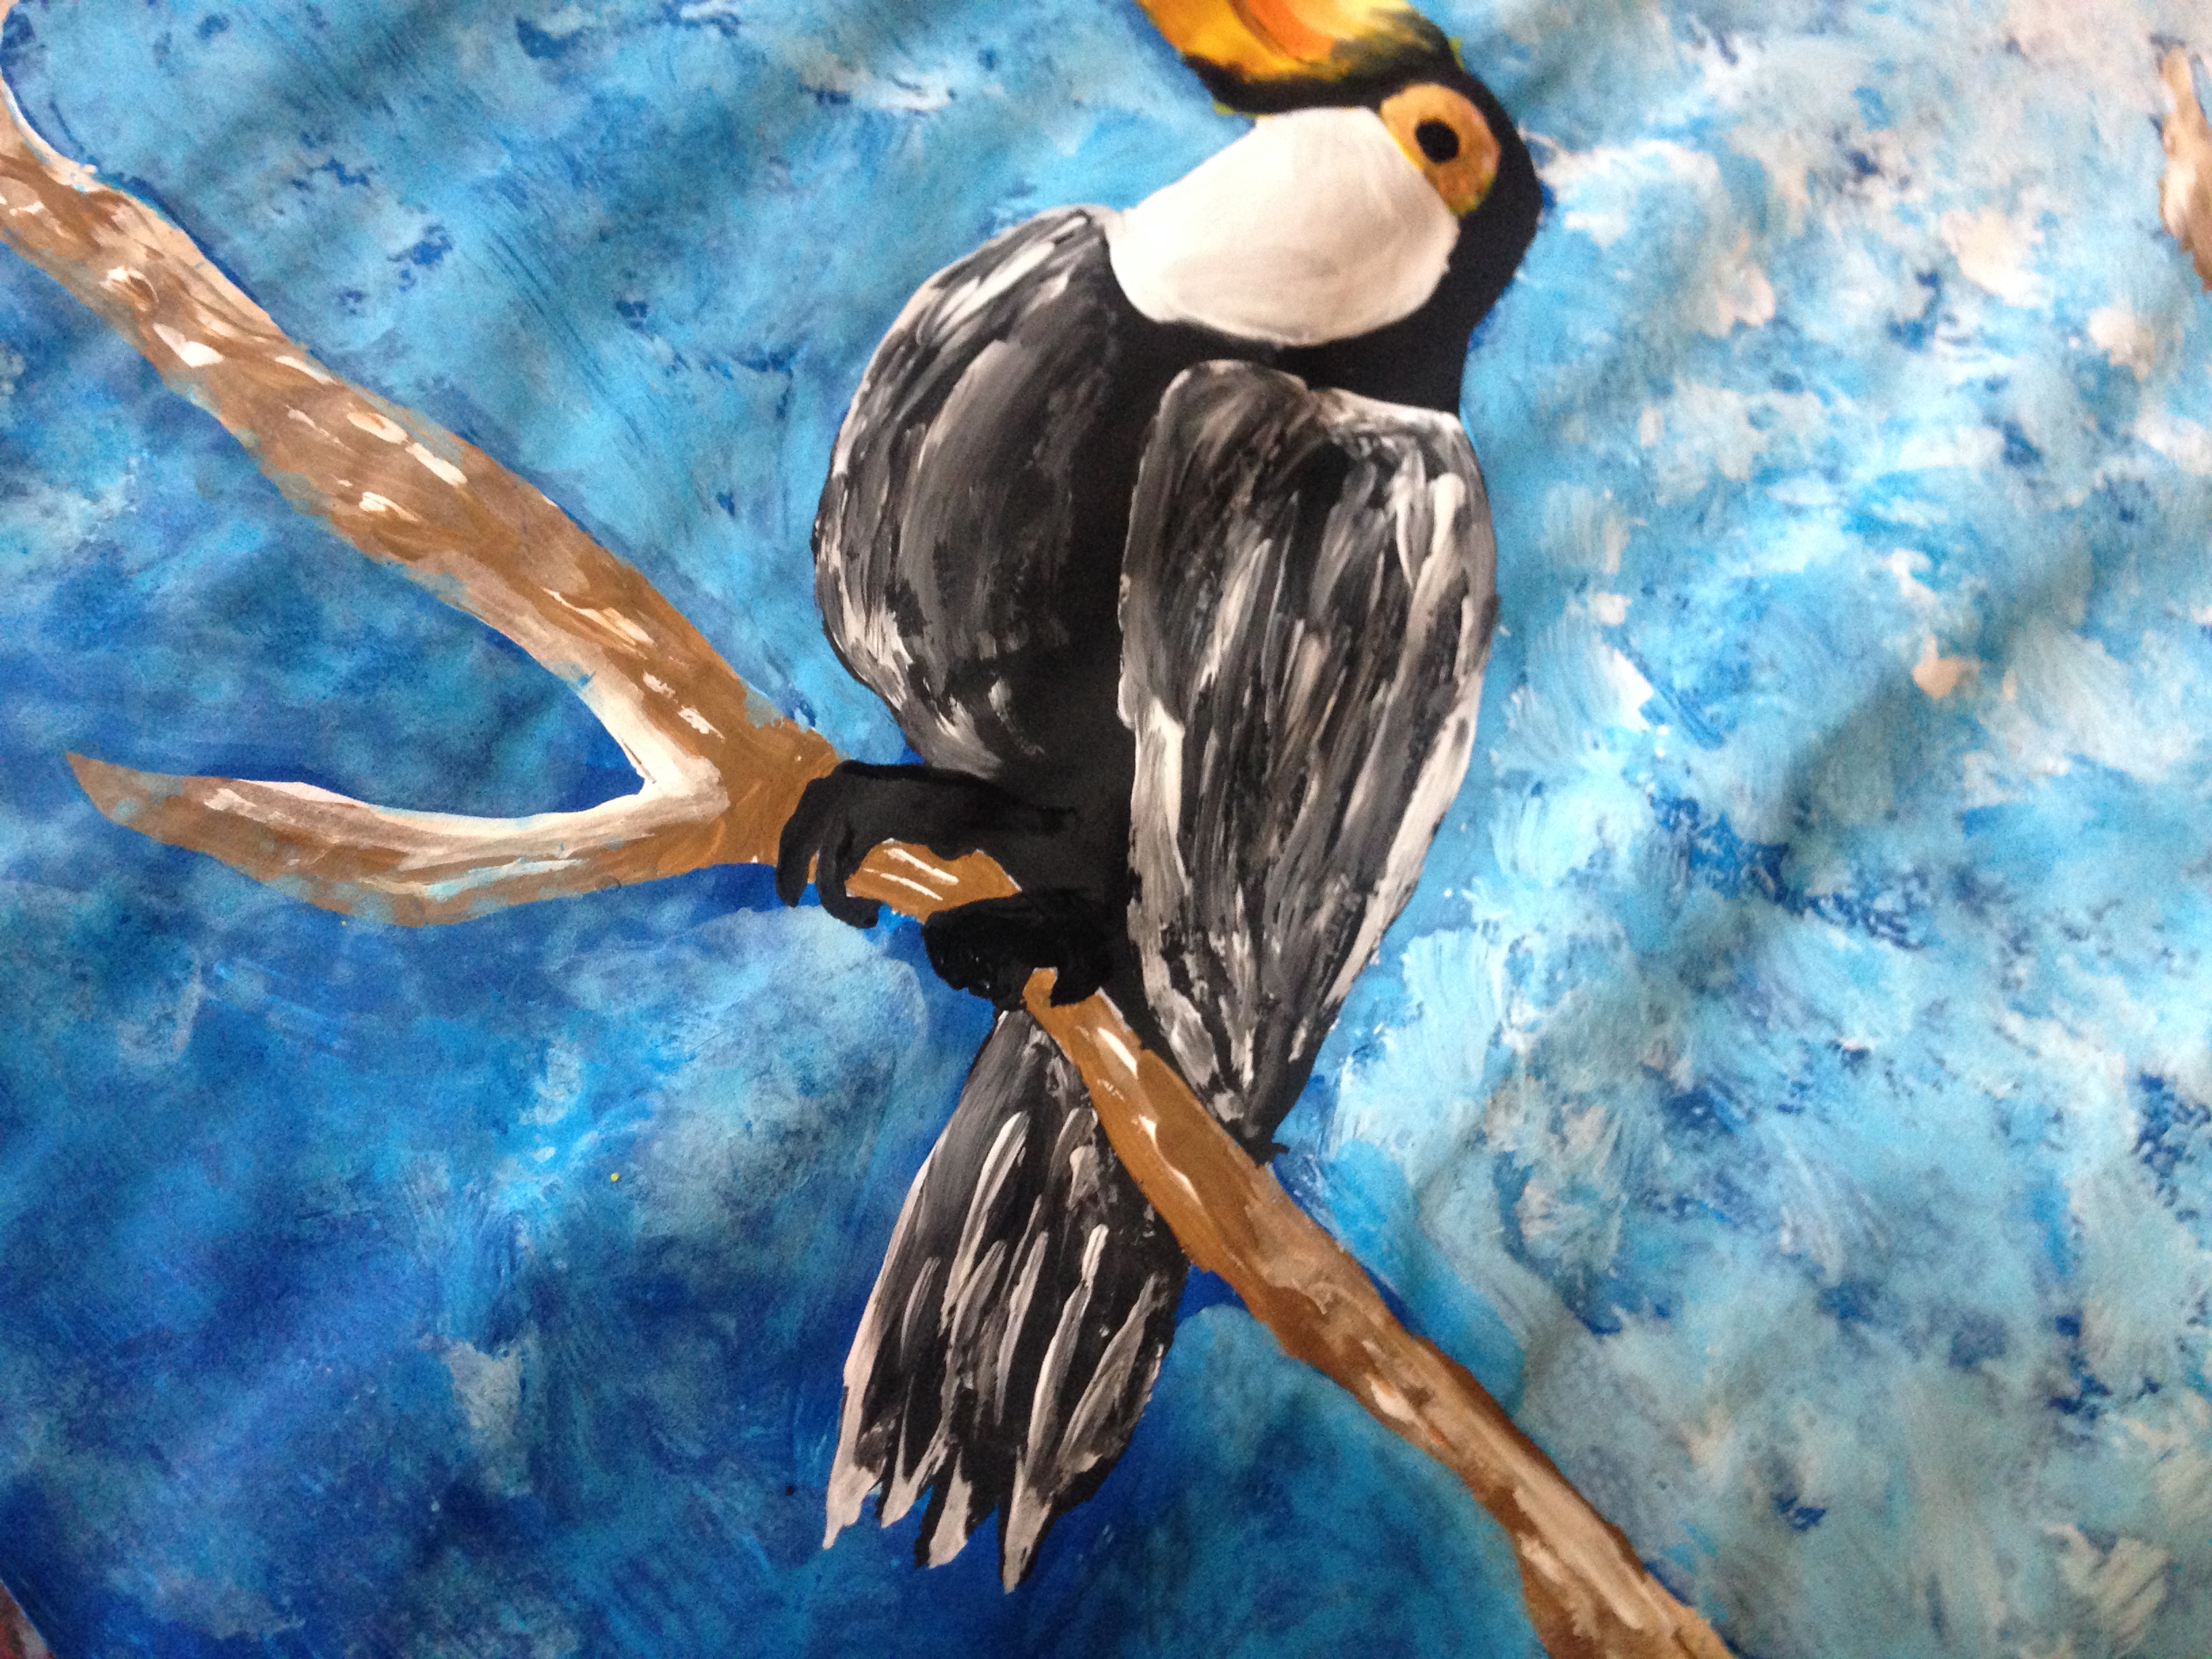
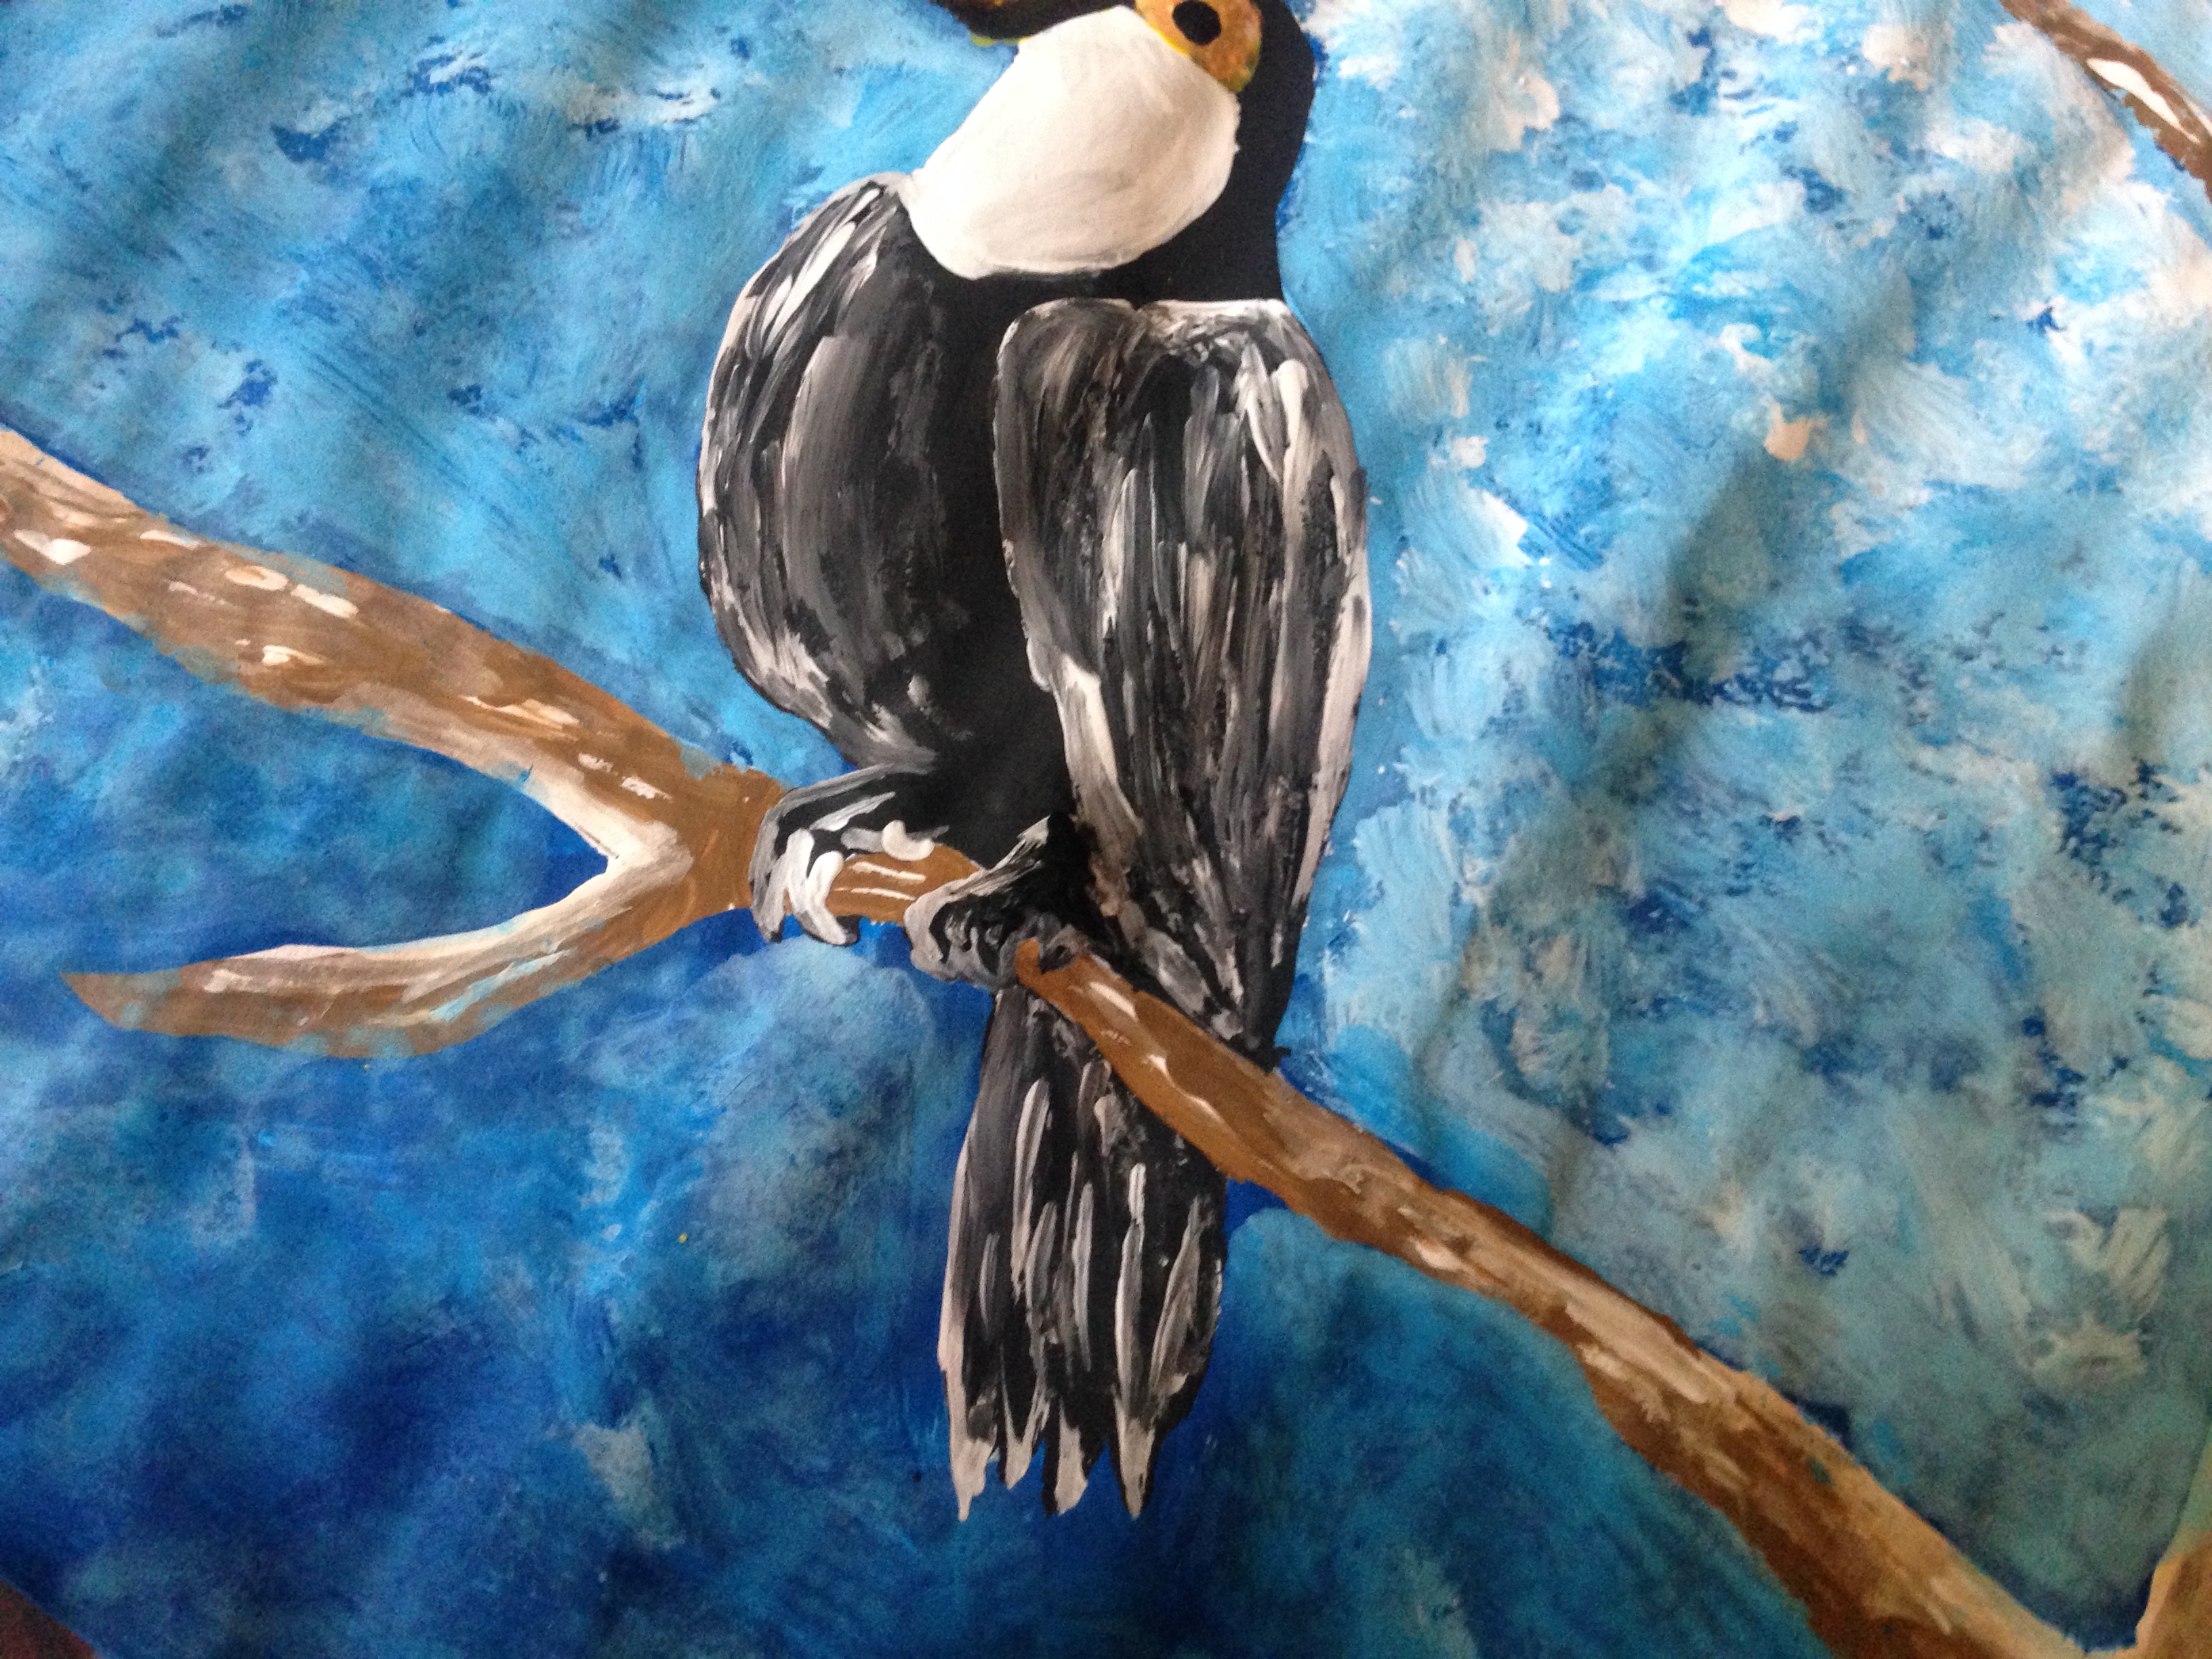
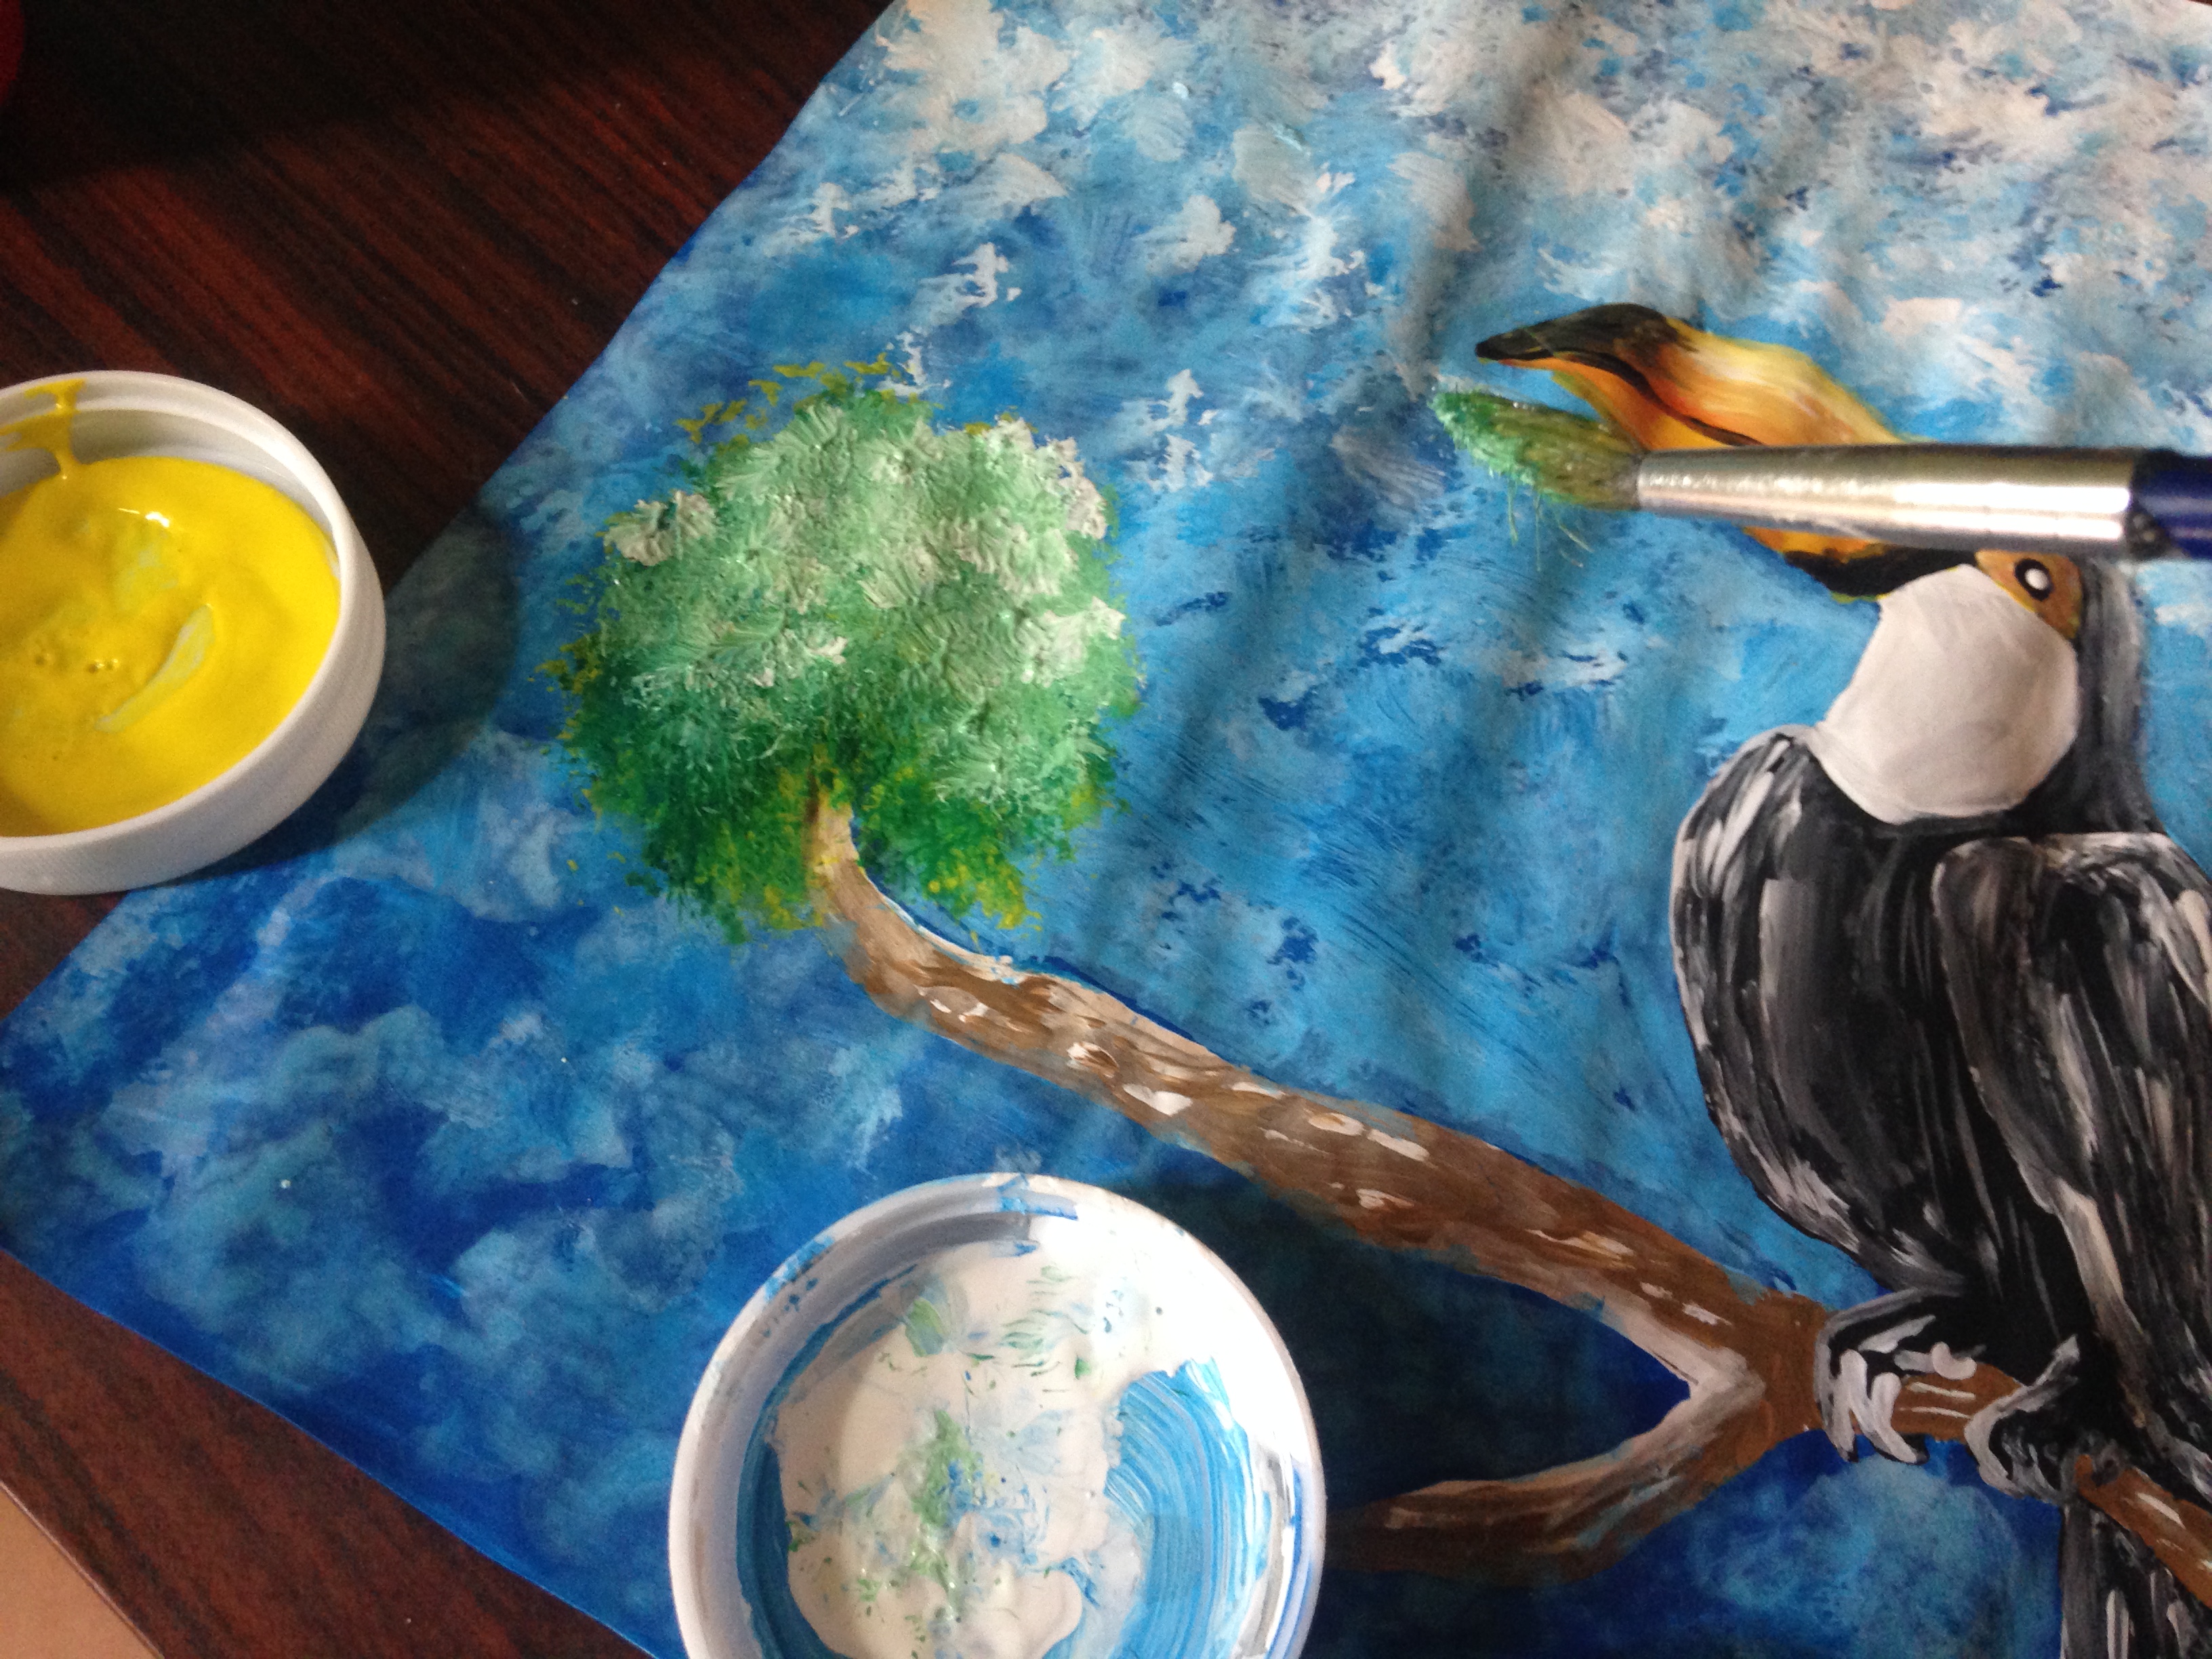
Paso 5
Vamos ahora a pintar los detalles pequeños del tucán, primero haremos una mancha en su cuello blanca, segundo pintamos su pico de color amarillo y para darle un colorido tomamos la pintura roja trazamos una linea y comenzamos difuminar, con la pintura blanca le hacemos un iluminado al pico en la parte inferior, luego con la pintura negra hacemos una comisura de su pico y pintamo un poco de negro al principio del pico y luego al final, tercero ahora vamos a pintar alrededor de su ojo con color amarillo y luego un poco de rojo para hacerle un efecto color naranja, para finalizar con la parte del ojo pintaremos de negro y luego un punto de blanco, y cuarto y ultimo terminaremos de pintar las patas del tuan con negro y definiremos con blanco sus detalles
Step 5
Now we are going to paint the small details of the toucan, first we will make a spot on its white neck, second we will paint its beak yellow and to give it a color we take the red paint, trace a line and begin to blur, with the white paint we make an illuminated to the beak at the bottom, then with the black paint we make a corner of his beak and paint a little black at the beginning of the beak and then at the end, third now we are going to paint around his eye with yellow color and then a little bit of red to make an orange effect, to finish with the part of the eye we will paint black and then a point of white, and fourth and last we will finish painting the legs of the tuan with black and define its details with white


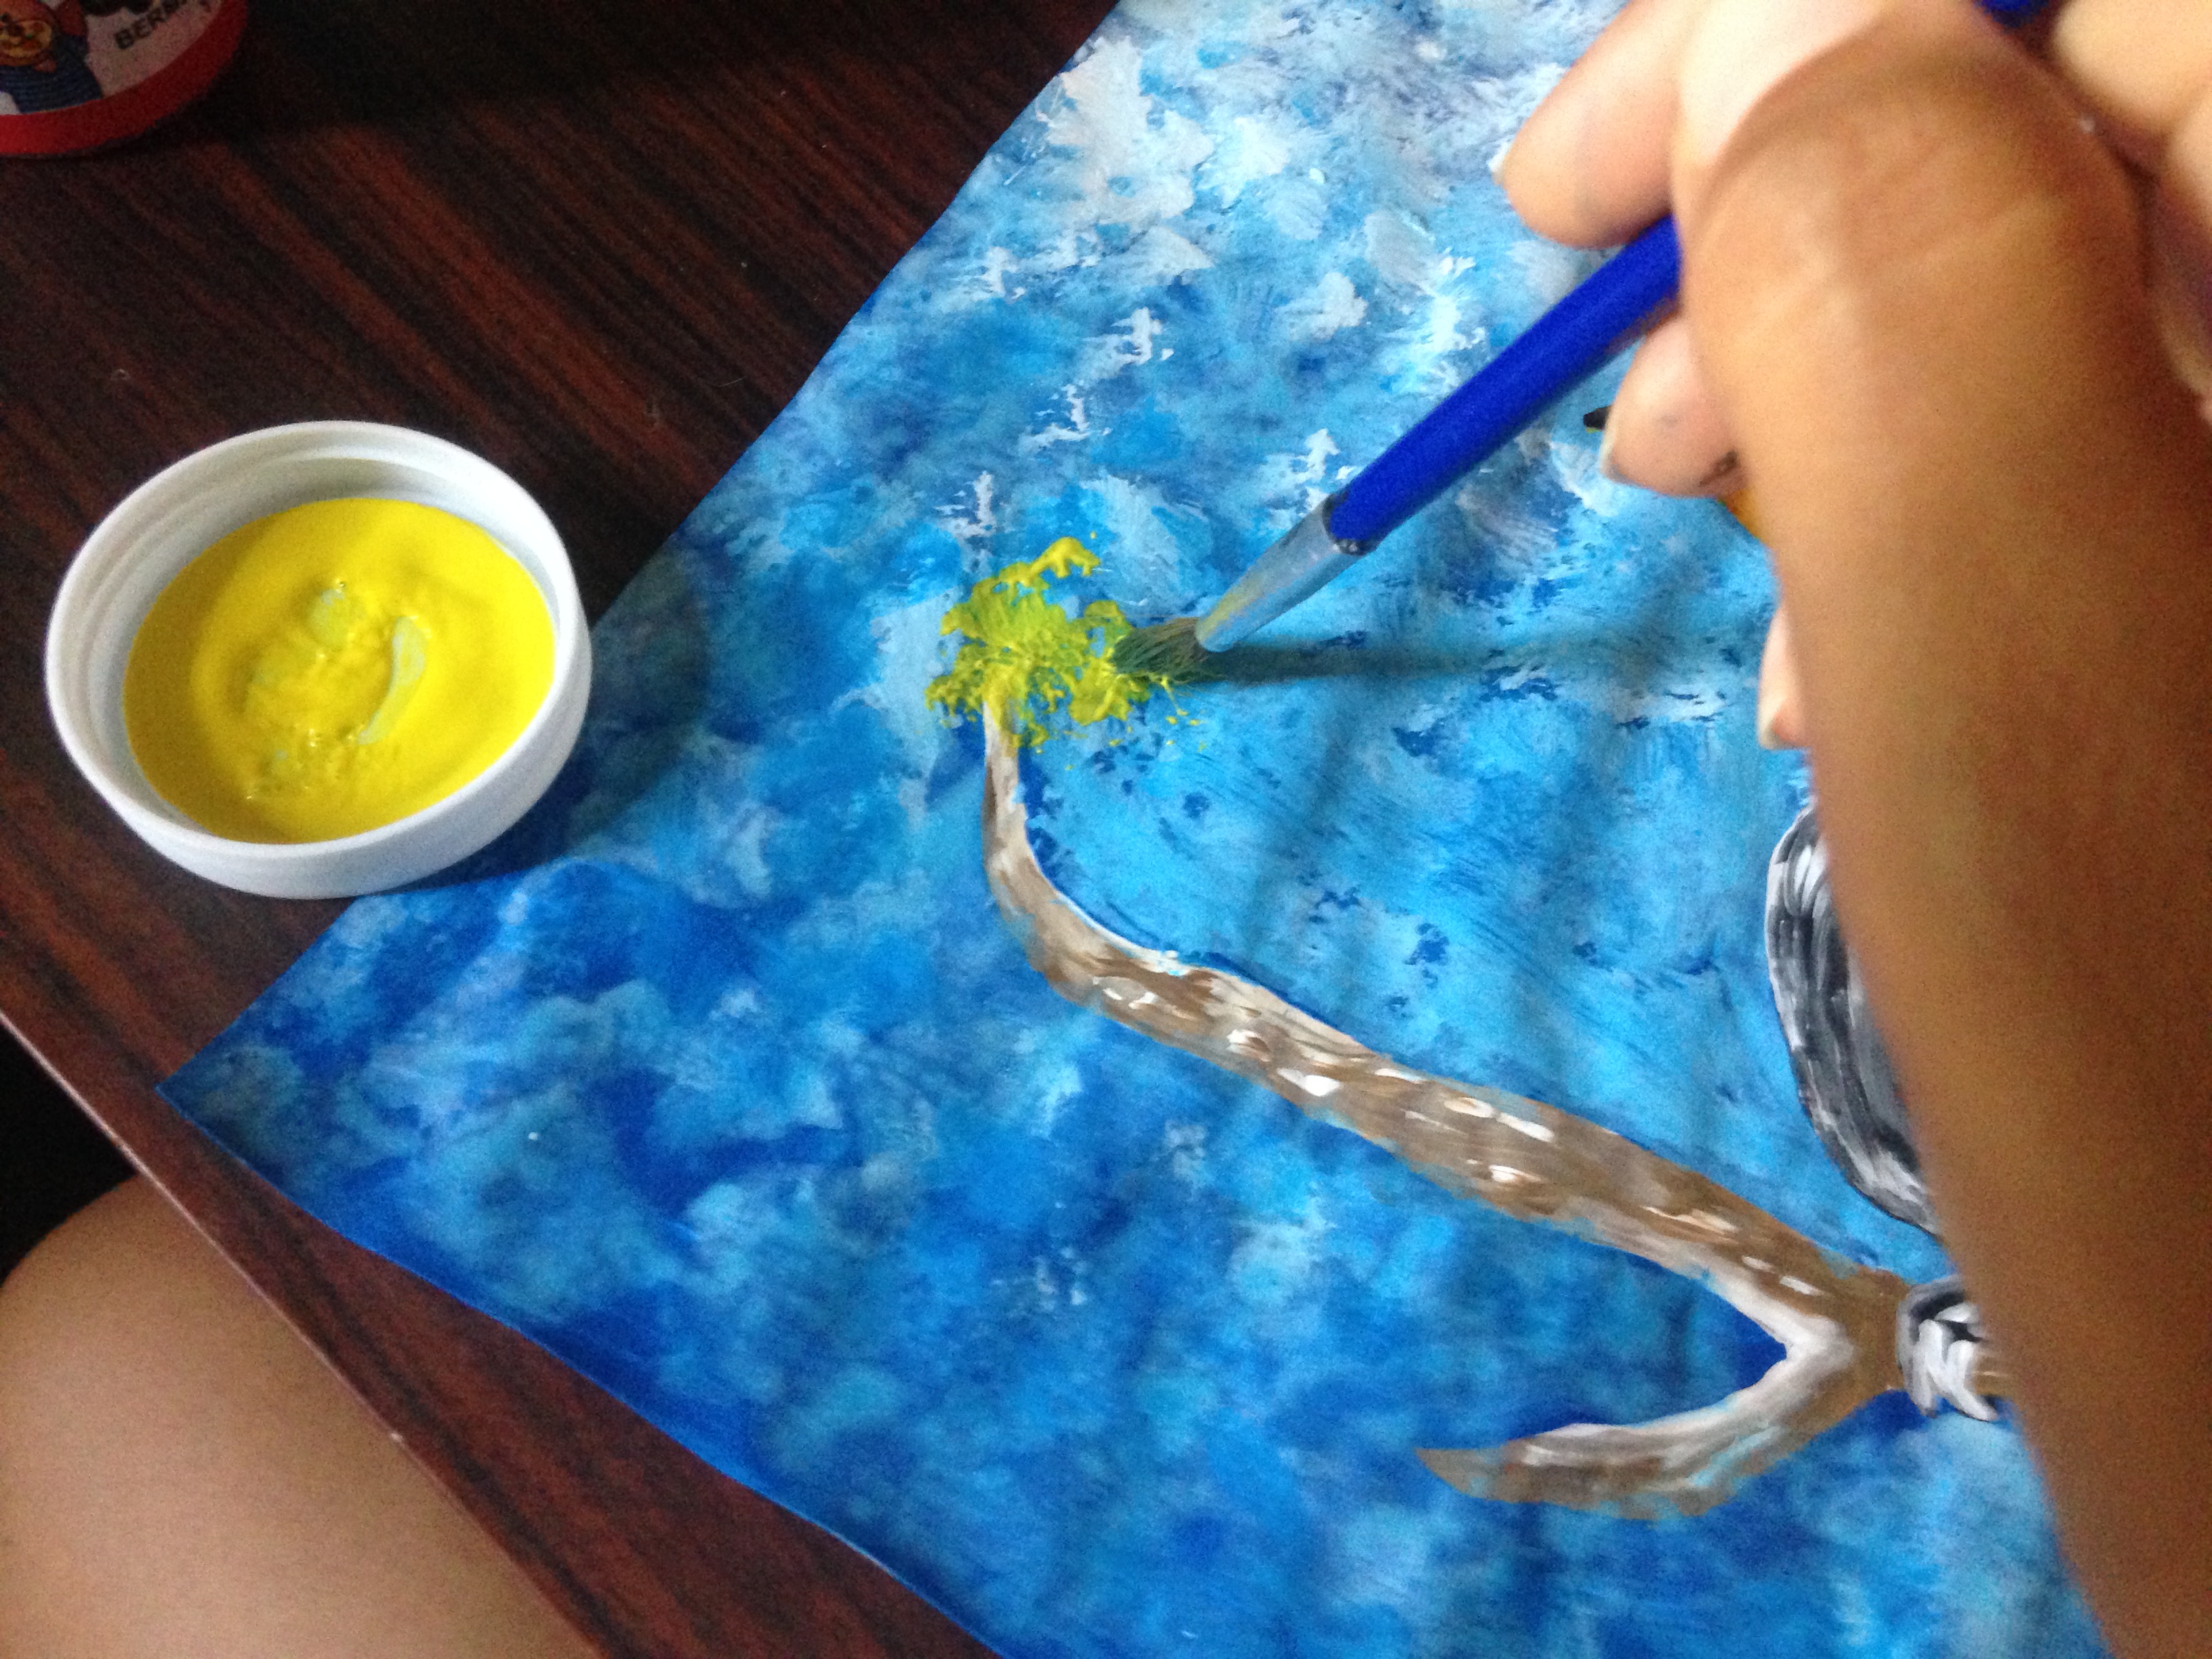
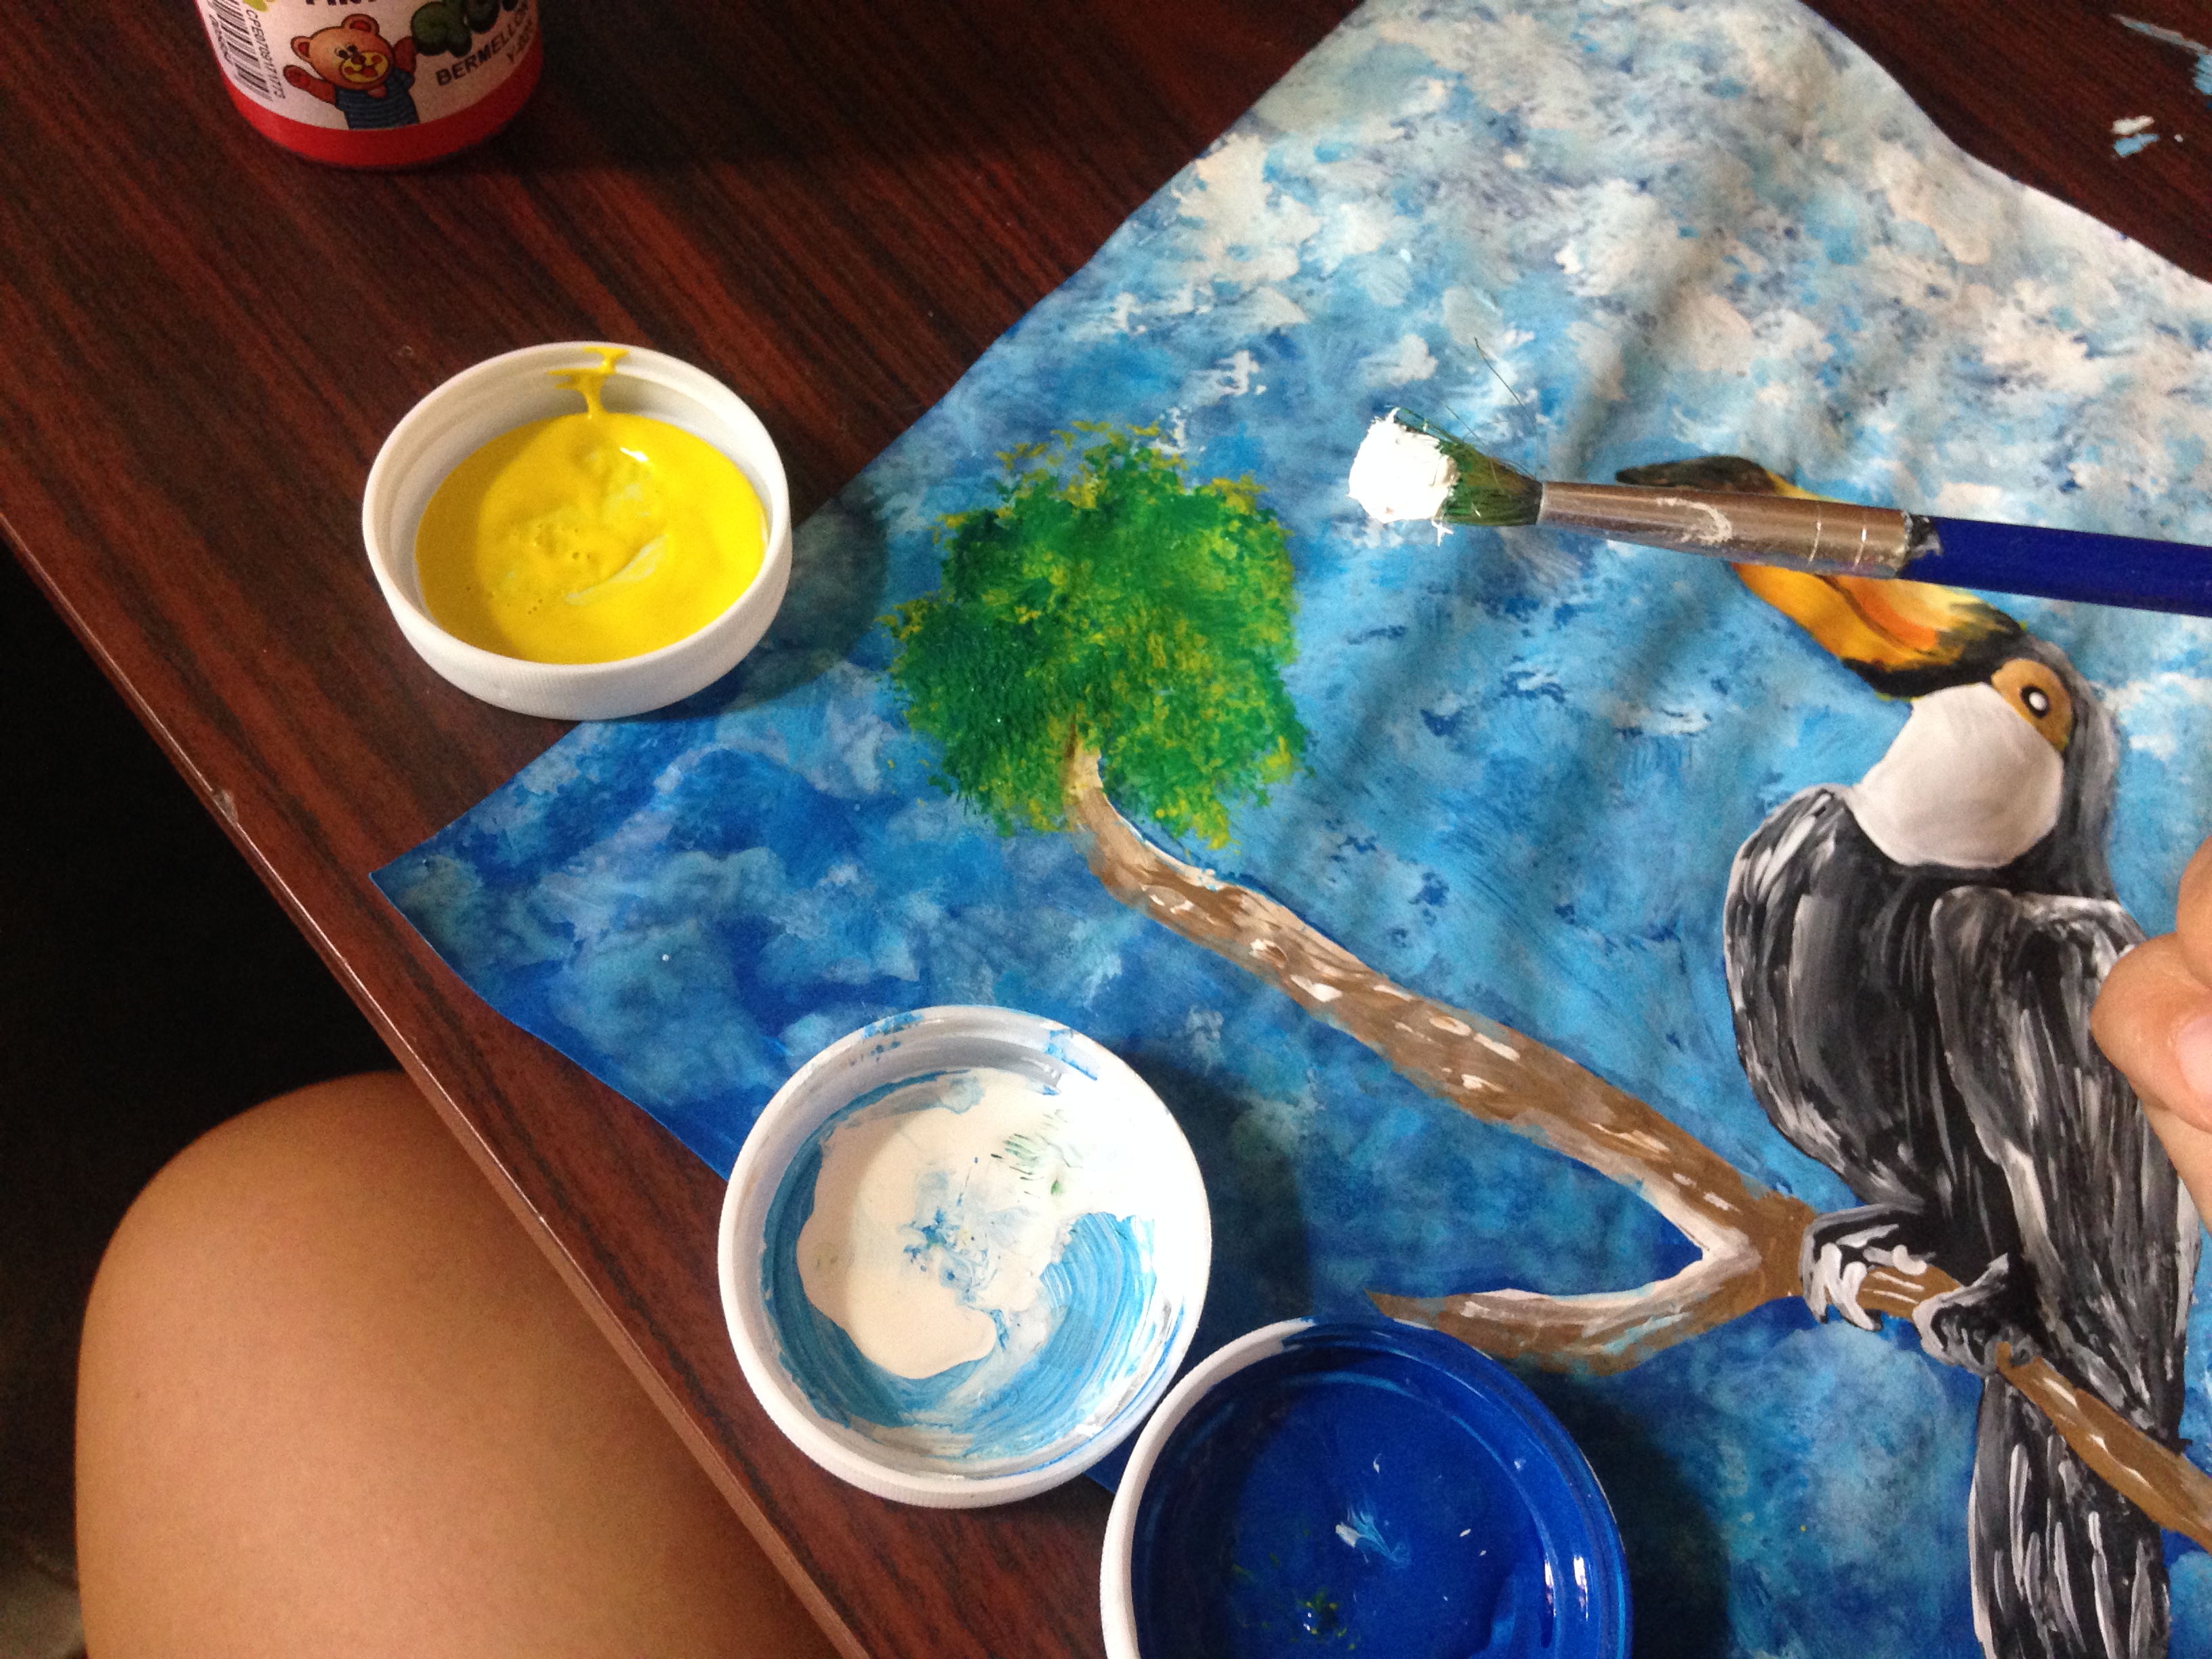
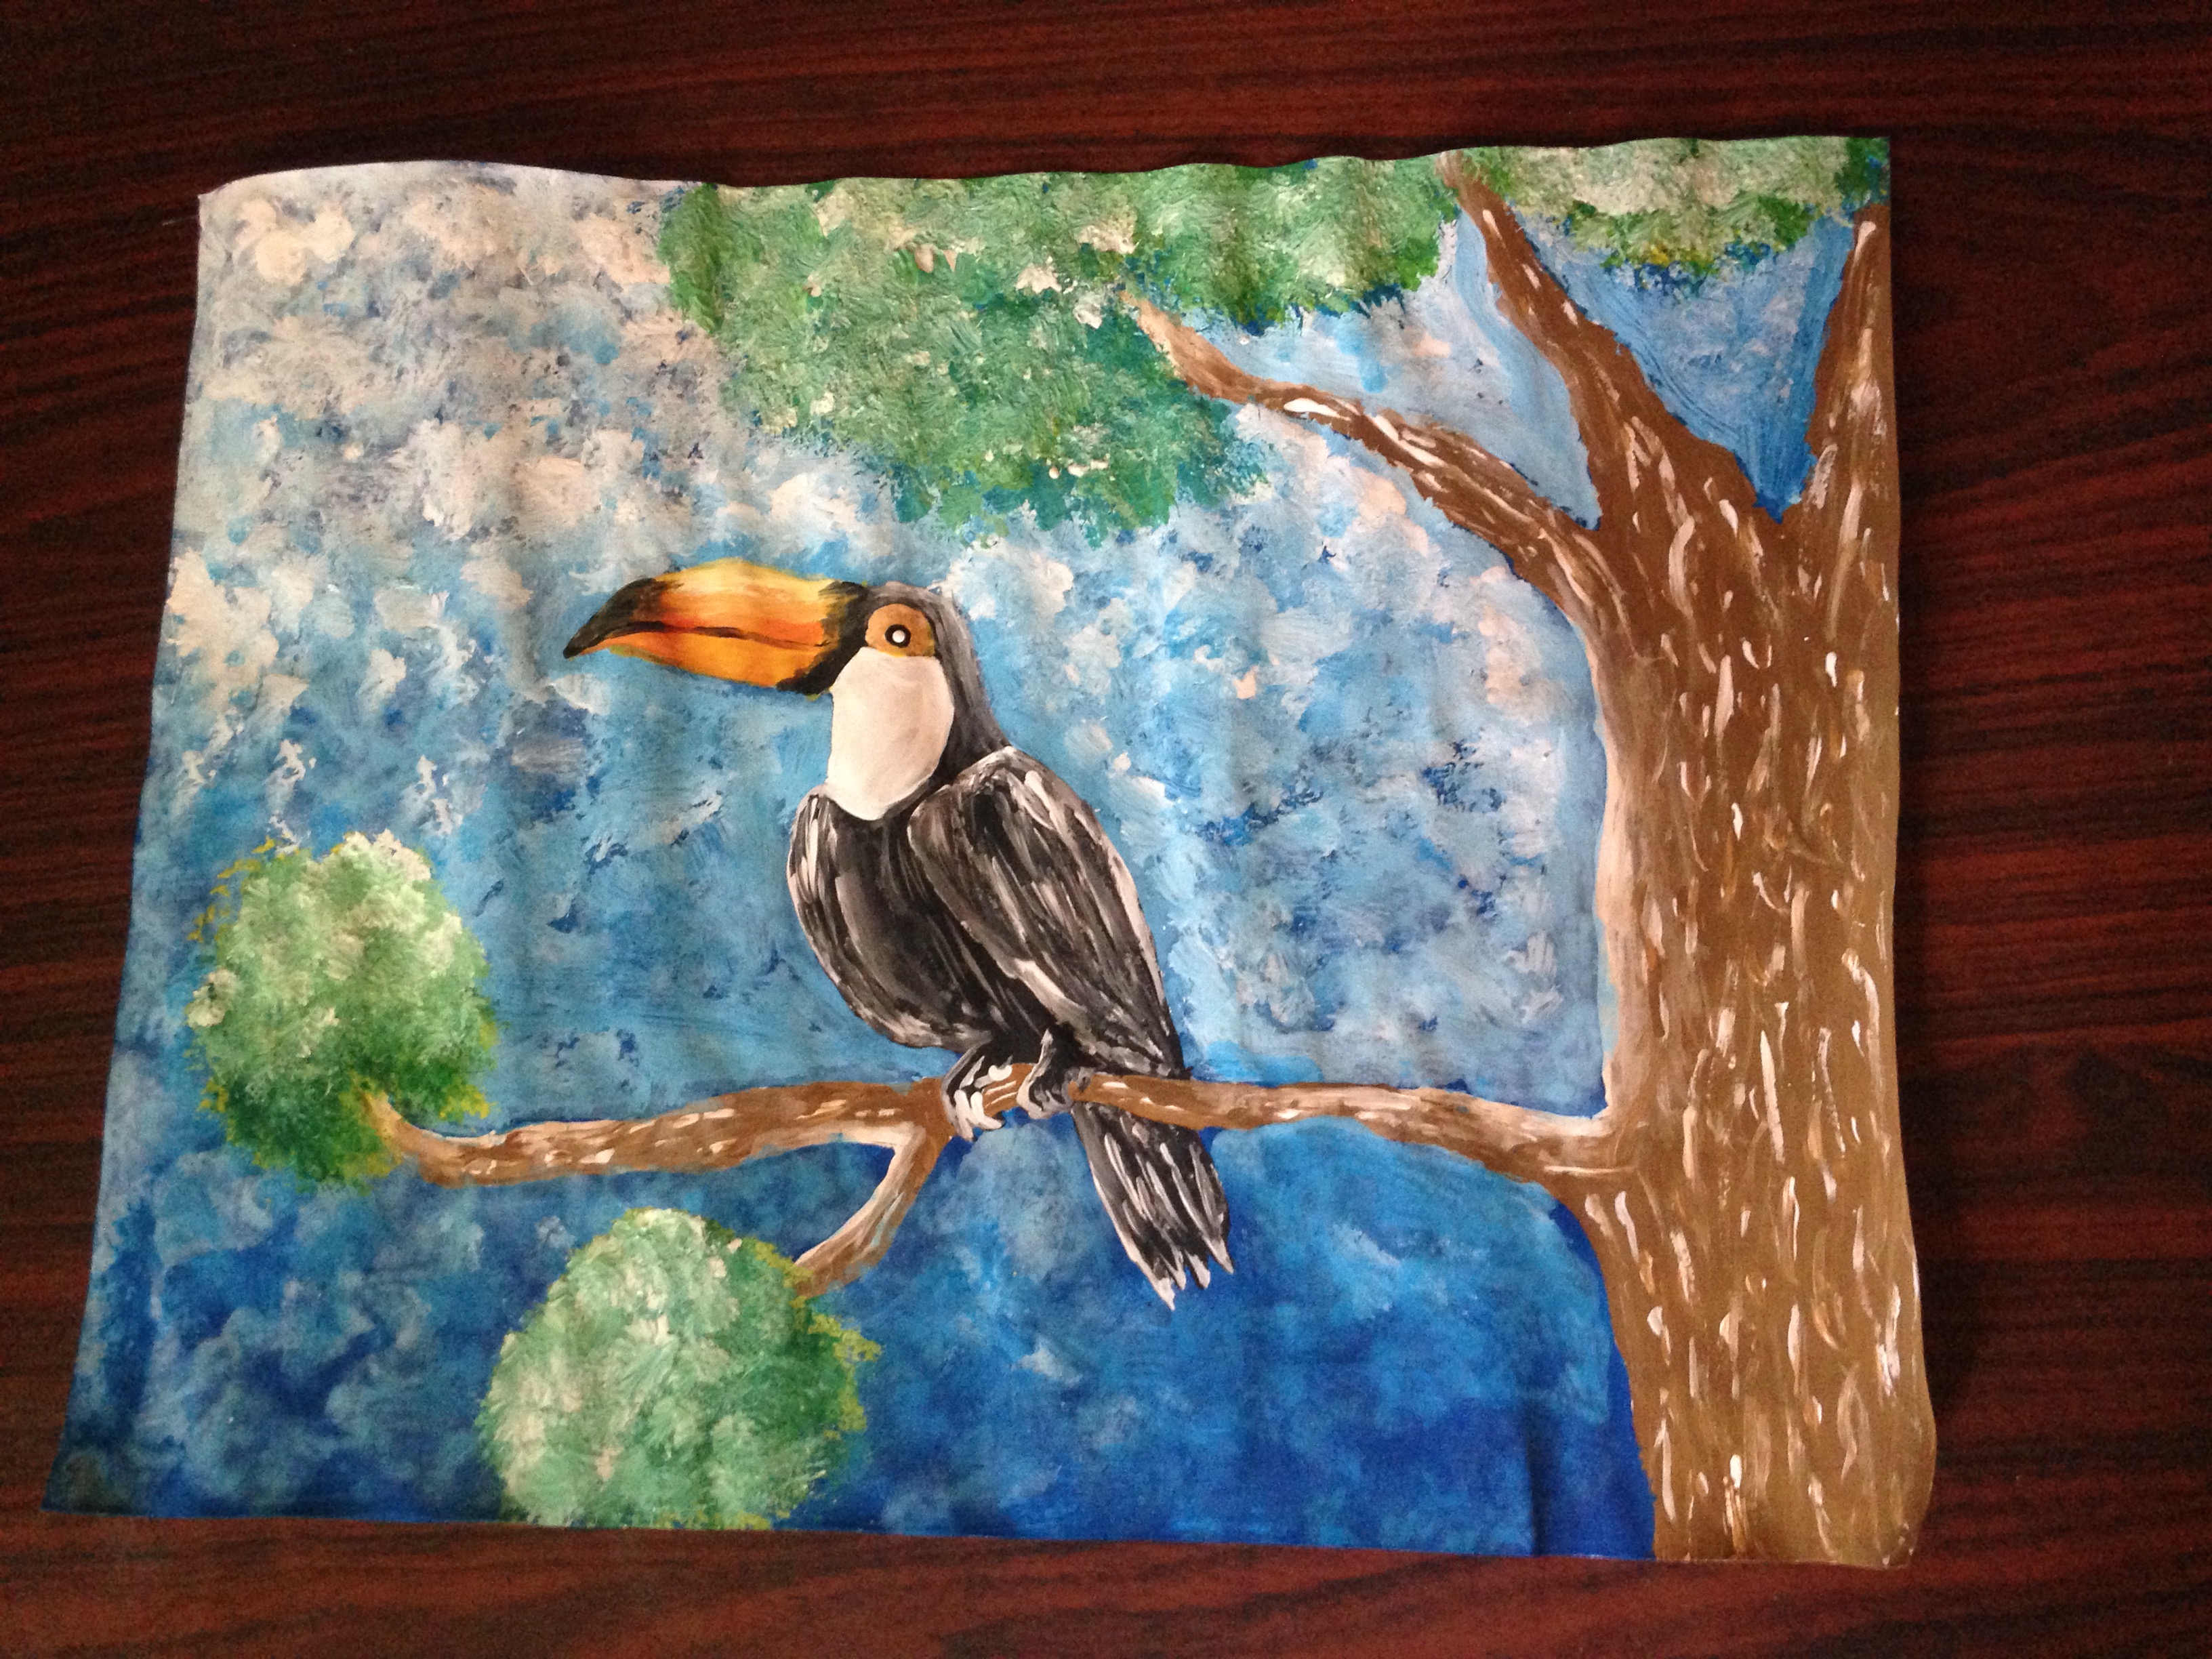
Paso 6
Para finalizar nuestra pintura, tomamos el color amarillo y pintaremos cada rama del árbol para que parezcan sus hojas, luego agregamos la pintura azul y para darle iluminación un color blanco, asi haremos hasta llenar nuestro árbol de hojas
Step 6
To finish our painting, we take the yellow color and we will paint each branch of the tree to look like its leaves, then we add the blue paint and to give it lighting a white color, so we will do until we fill our tree with leaves

Listo, hemos terminado de pintar a nuestro hermoso tucan en su hábitat, espero les sea de provecho, Dios les bendiga nuevamente
Ready, we have finished painting our beautiful toucan in its habitat, I hope it will be of benefit to you, God bless you again
.png)
Bye Bye
Excellent to see the step by step process of painting this!