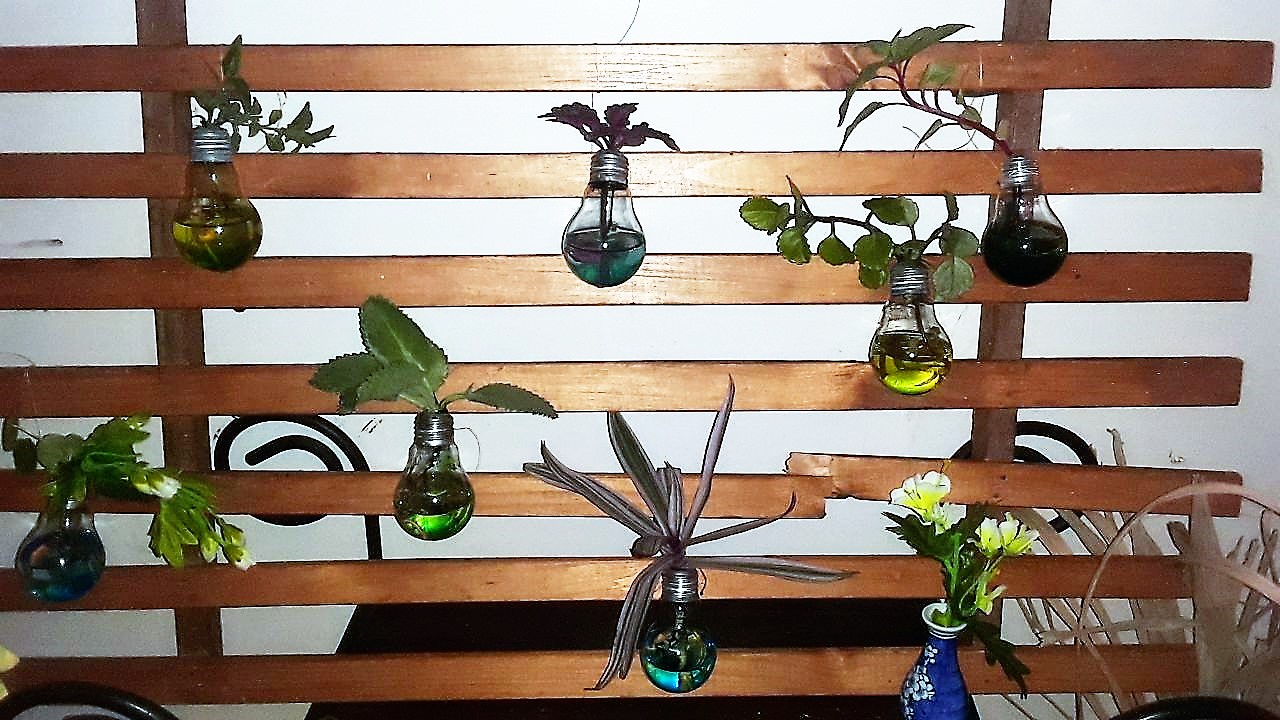
Mi trabajo creativo y de manualidades el dia de hoy se trata de reutilizar y reciclar bombillas eléctricas dañadas para hacer una hermosa decoración en nuestros hogares.
My creative and craft work today is about reusing and recycling damaged light bulbs to make beautiful decorations in our homes.
Los materiales que use fueron los siguientes:
The materials they used were the following:
- Bombillas eléctricas dañadas.
- Colorantes.
- Tijeras.
- Alicates.
- Pinzas.
- Árboles.
- Nailon fino.
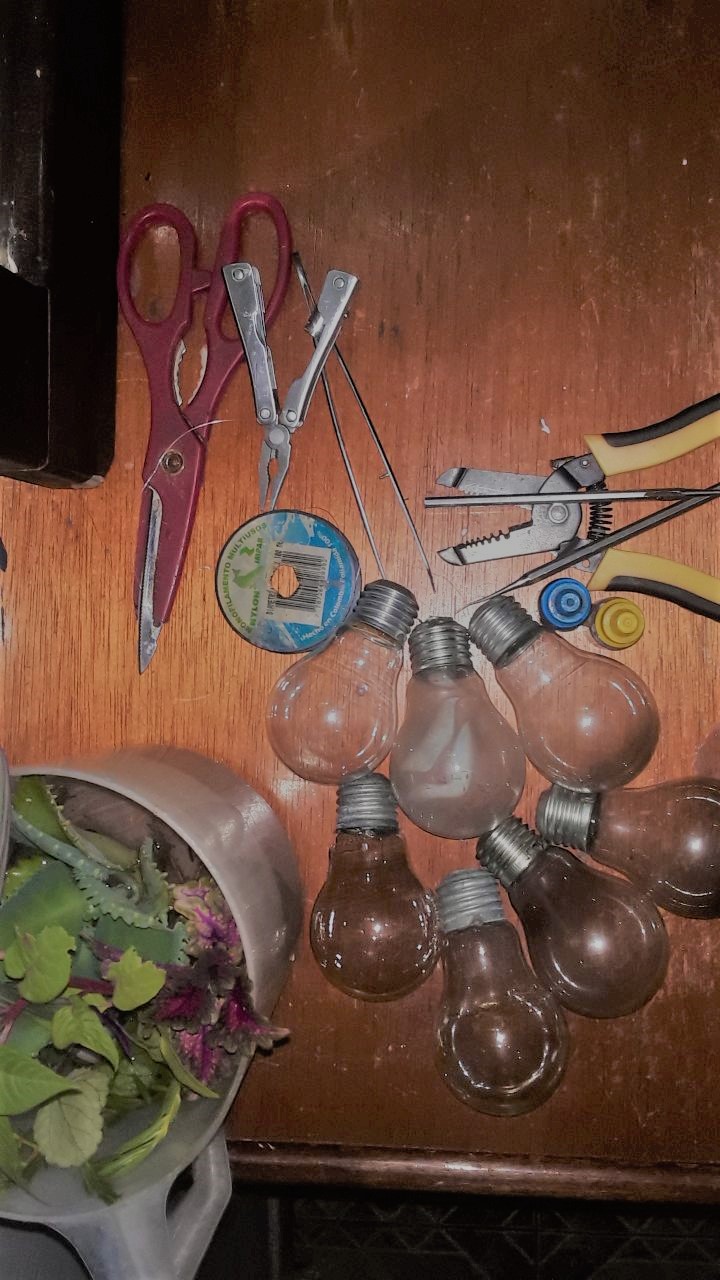
- Damaged electric bulbs.
- Colorants.
- Pair of scissors.
- Pliers.
- Tweezers.
- Trees.
- Thin nylon.
Pasos a seguir:
Steps to follow:
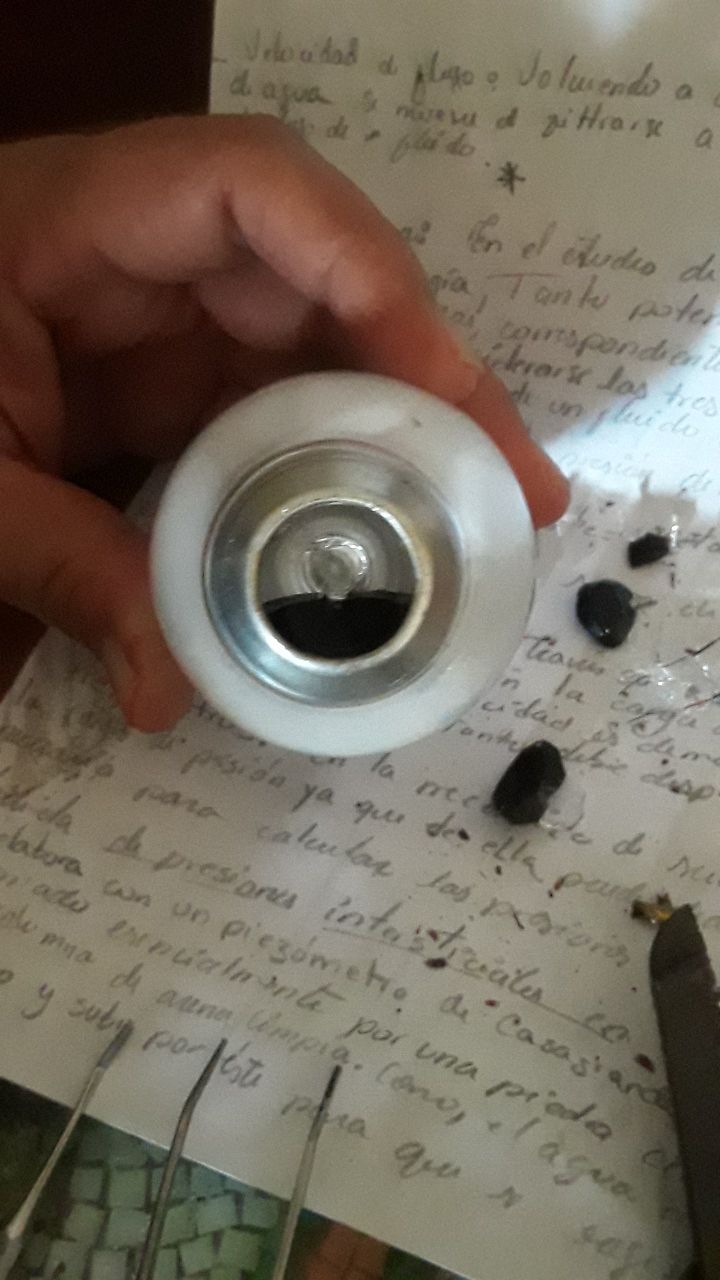
1: Lo primero que debemos hacer es abrir y vaciar todas las bombillas eléctricas que vayamos a utilizar.
- Con un alicate sostenemos el punto de soldadura, el cual está en la parte superior de la bombilla.
1: The first thing we must do is open and empty all the electric bulbs that we are going to use.
- With a tweezers we hold the soldering point, which is located in the upper part of the bulb.
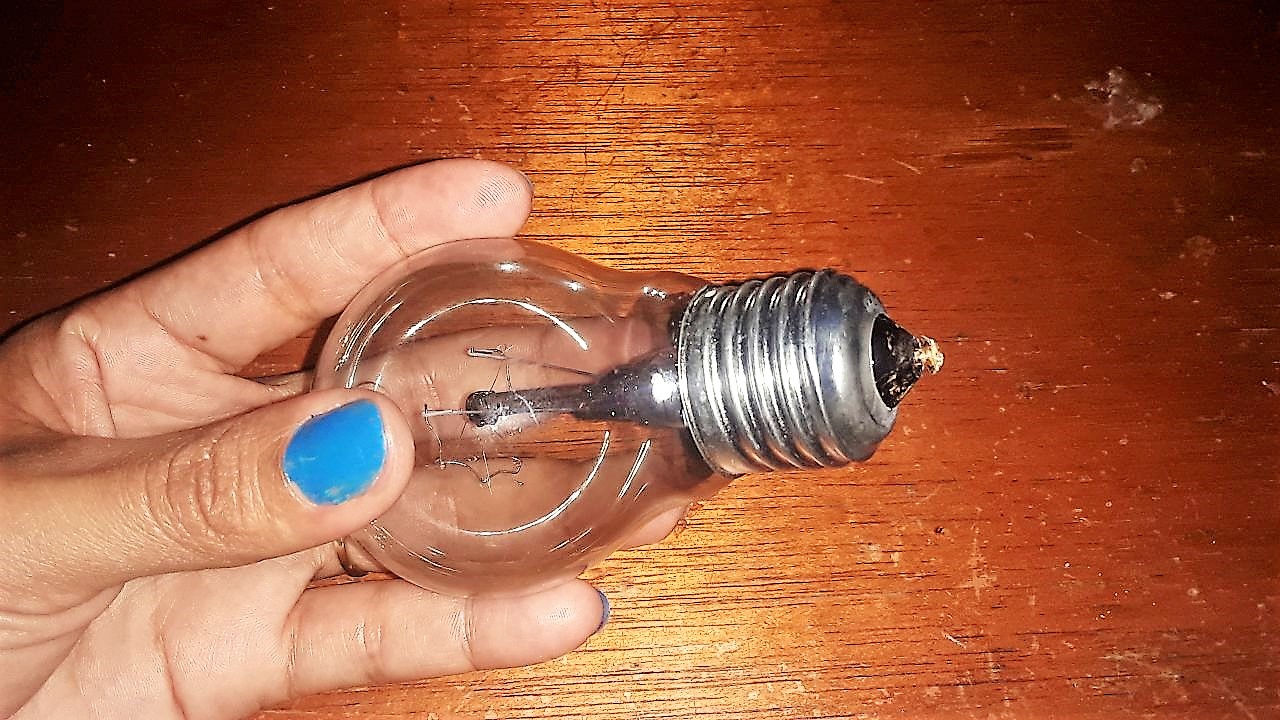
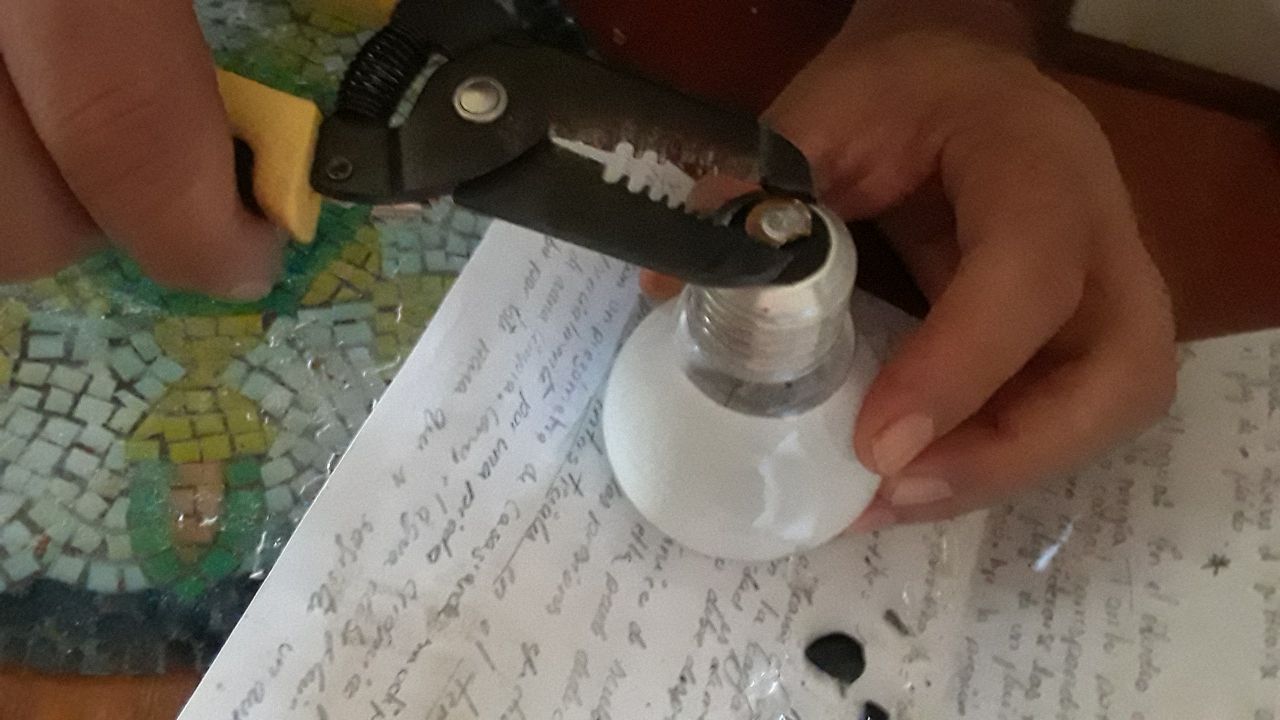
2: Luego con la ayuda de un alicate y sujetando fuertemente la bombilla gira el punto negro de soldadura o el aislamiento y con una pinza rompe los filamentos de adentro. tendrás que hacerle presión hacia dentro hasta que se despeguen. Debes usar lentes como protección.
2: Then with the help of a pliers and holding the bulb tightly, turn the black spot of solder or the insulation and with a tweezers, break the filaments inside. you will have to press inwards until they come off. You must wear glasses for protection.
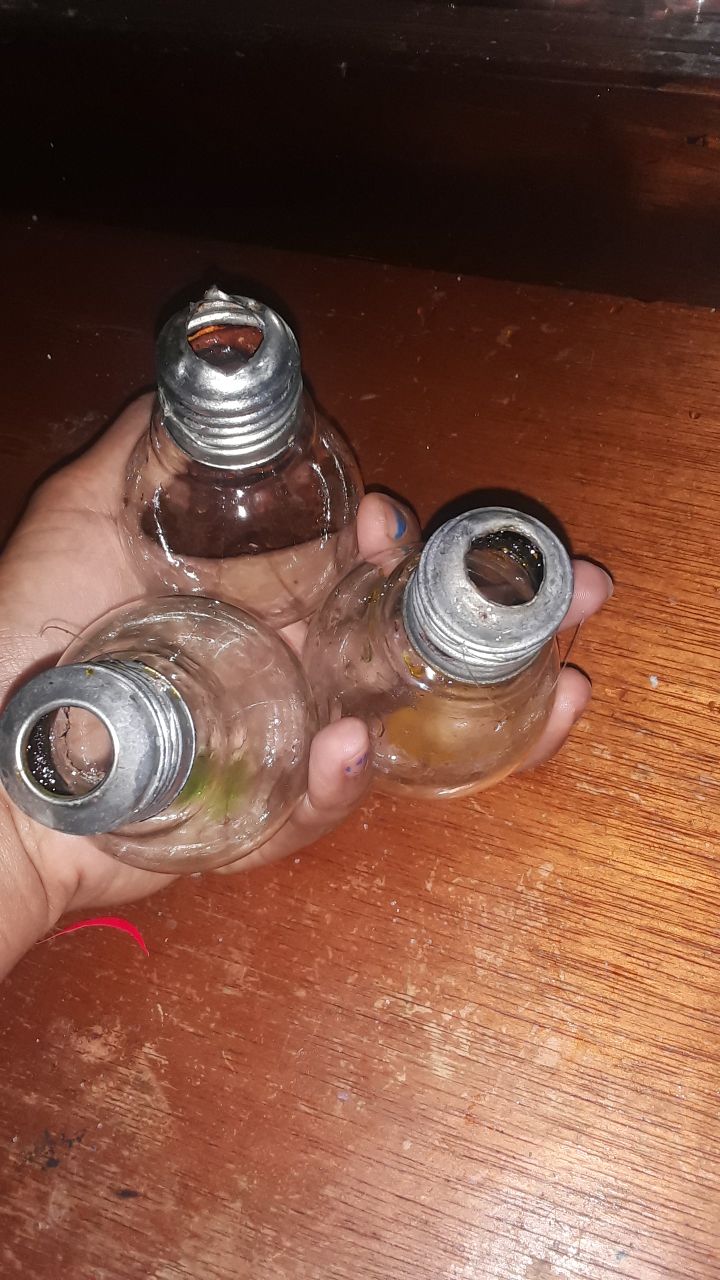
3: Luego de abrir y vaciar las bombillas las debemos limpiar, nos deben quedar así:
3: After opening and emptying the bulbs we must clean them, they should look like this:
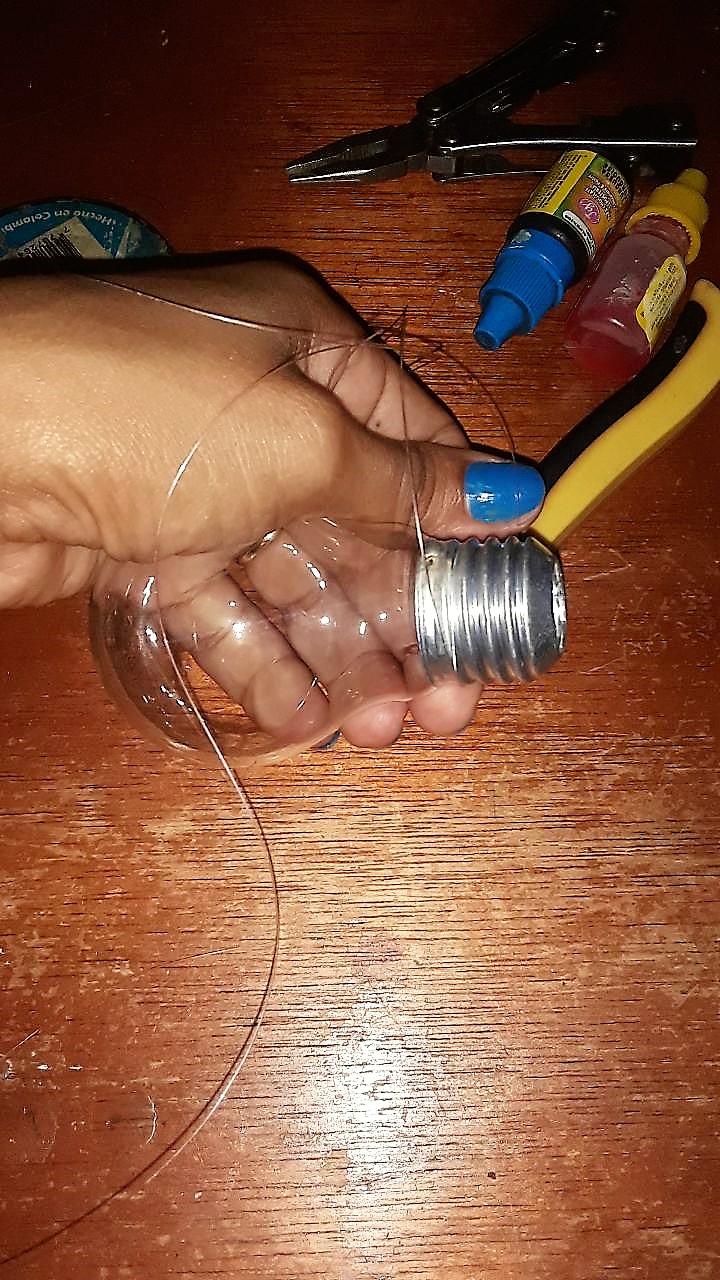
4: Con el nailon lo sujetamos por el casquillo metálico, que está en la parte superior de la bombilla. El nailon será la forma que usaremos para atar las bombillas a la madera que vamos a decorar.
4: With the nylon we hold it by the metal cap, which is in the upper part of the bulb. The nylon will be the form that we will use to tie the bulbs to the wood that we are going to decorate.
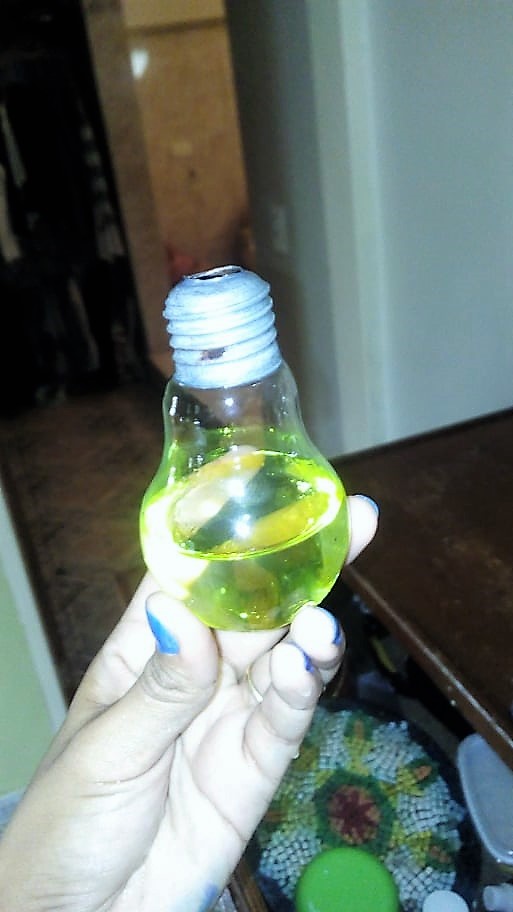
5: Ya abiertas, vaciadas y limpias le agregamos agua y el colorante del color deseado a las bombillas para darle otro toque de decoración más sofisticado.
5: Once opened, emptied and cleaned, we add water and the colorant of the desired color to the bulbs to give it another touch of more sophisticated decoration.
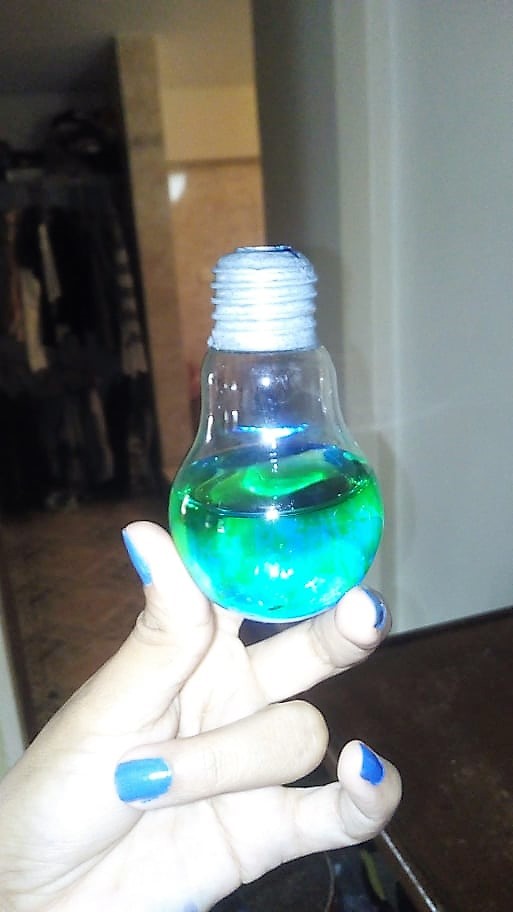
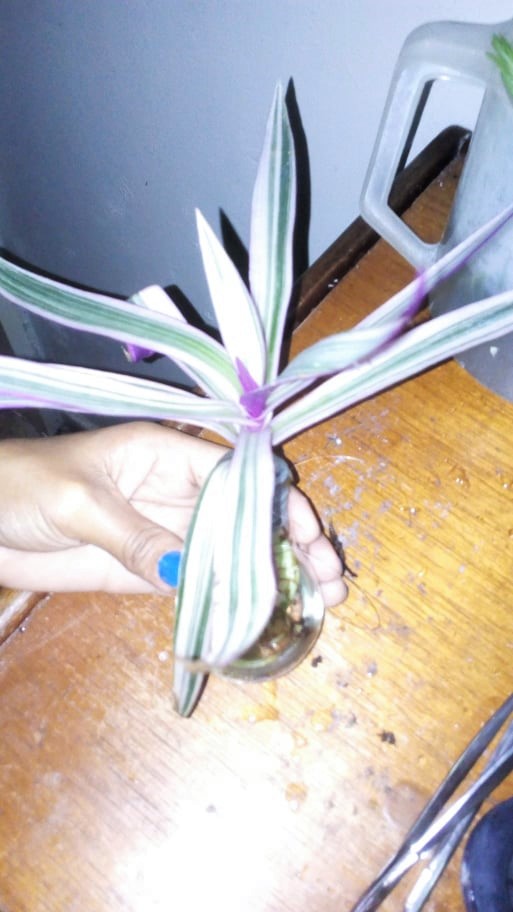
6: En este paso es el momento donde introducimos las plantas en las bombillas para empezar a decorar el sitio deseado.
6: In this step it is the moment where we introduce the plants in the bulbs to start decorating the desired place.
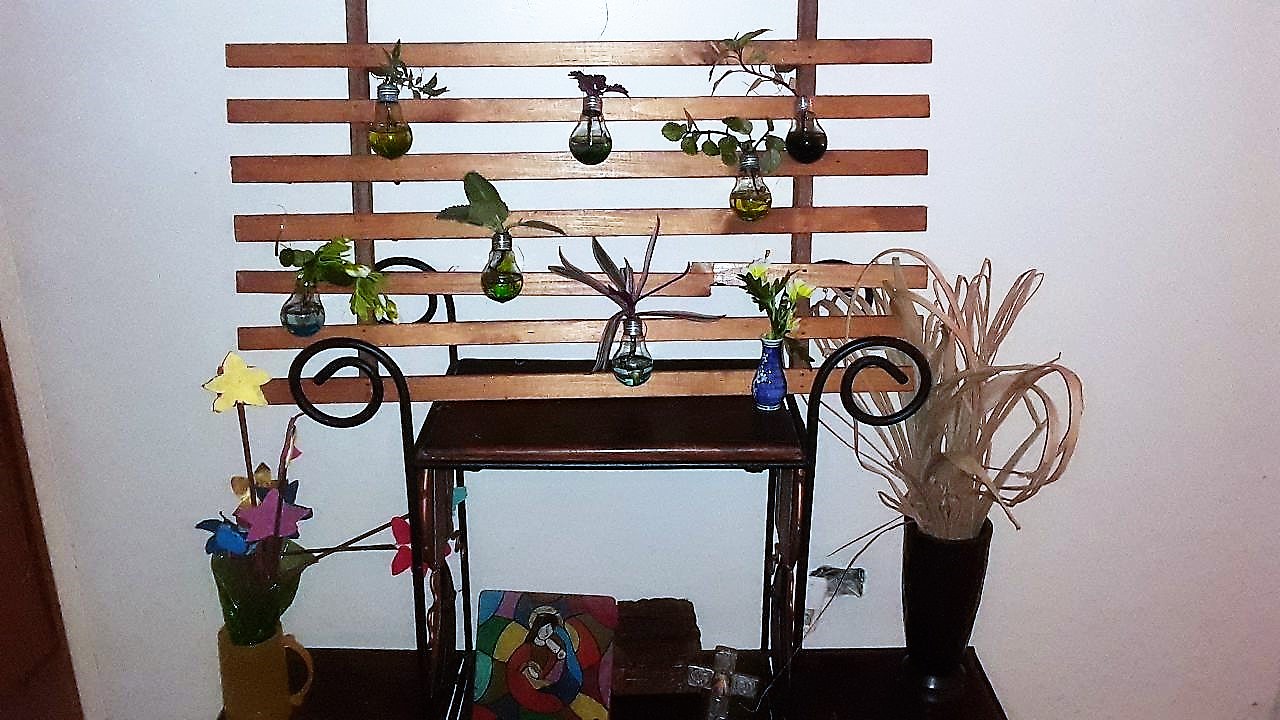
7: Mi decoración fue adornar una madera apoyada a la pared, con la ayuda de nailon sujete a la madera la bombilla y de esta manera me quedo mi maravillosa idea de decorar con bombillas eléctricas dañadas.
7: My decoration was to decorate a wood leaning against the wall, with the help of nylon I fastened the bulb to the wood and in this way I kept my wonderful idea of decorating with damaged electric bulbs.

Thanks for visiting my post, see you soon.
🫶🫶🫶