Buenas buenaas 🤗🤗queridos lectores, feliz día☺️,esperamos que se encuentren bien.
Good good morning 🤗🤗 dear readers, happy day☺️, we hope you are well.
Nos hemos tardado en hacer otra publicacion, pero aqui estamos🙋😅, el dia de hoy les motraremos a una carismática muñeca que creamos con materiales reciclables, se tratra de nuestra Madama del Callao, "Doña Petra".💖💖
We have been late in making another publication, but here we are🙋😅, today we will motivate you to a charismatic doll that we created with recyclable materials, it is our Madama del Callao, "Doña Petra" .💖💖
Ahora les describieremos cuales fueron los materiales que usamos para crear esta coqueta muñeca.😉
Now we will describe the materials we used to create this cute doll .😉
Materiales:
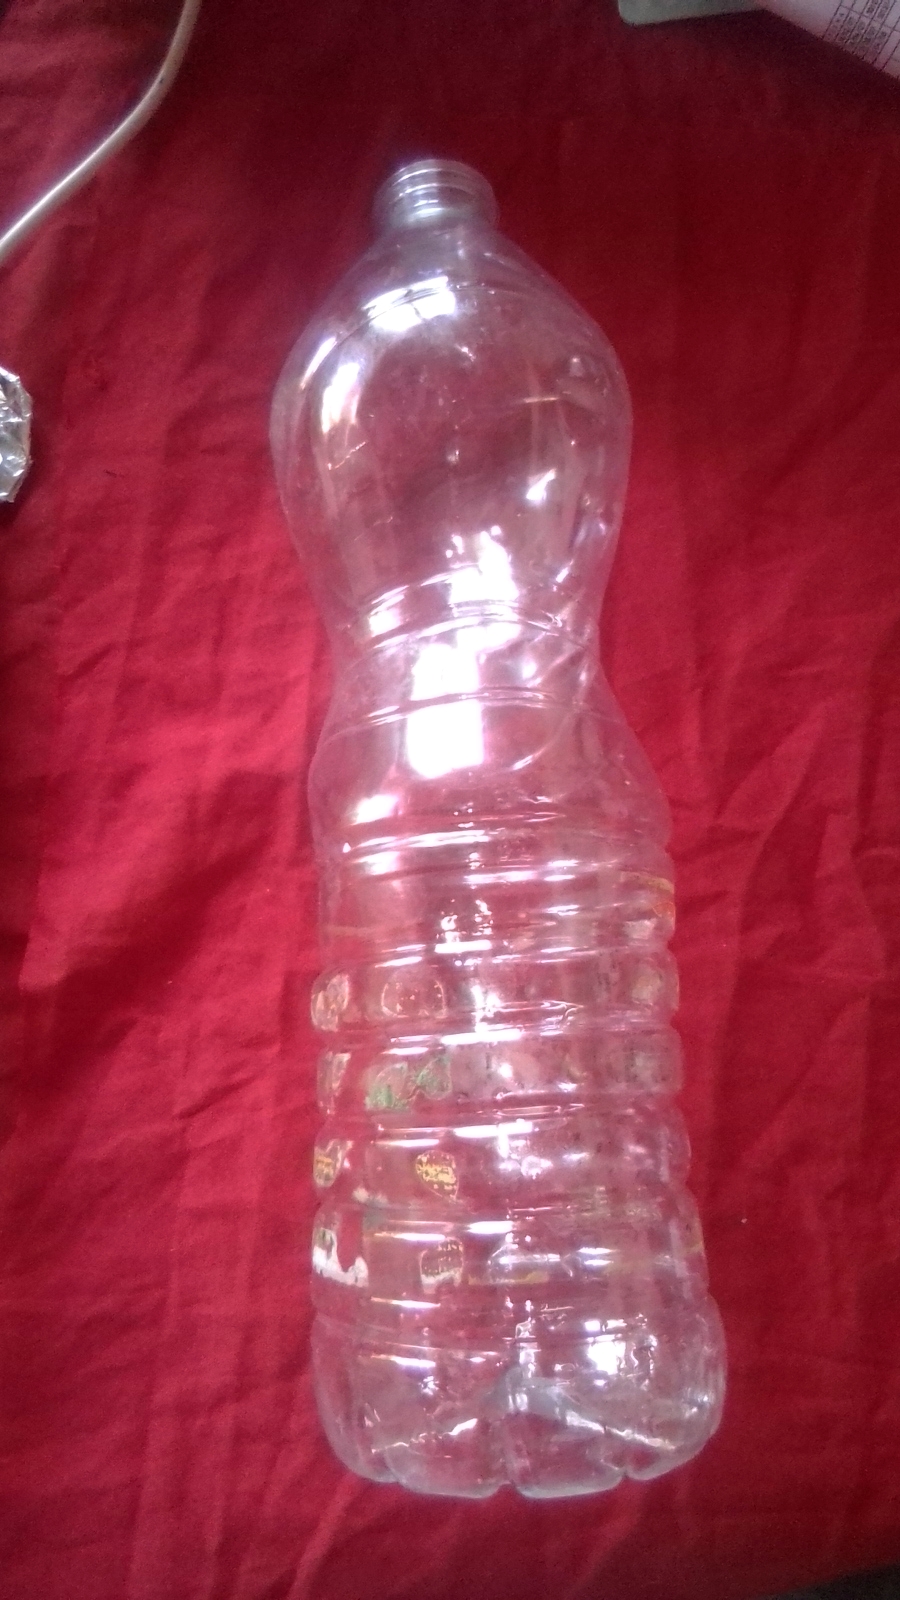
- Botella plástica de aceite comestible.
- Cucharillas desechables.
- Pedazos de telas .
- Papel crepé.
- Un bombillo led pequeño.
- Una media vieja .
- Trozos de foami .
- Pistola de Silicón.
- Pintura al frio marca Yogui color blanco.
- Tijeras.
- Segueta.
- Algodón.
- Aguja e hilo de coser.
Materials:
- Plastic bottle of edible oil.
- Disposable spoons.
- Pieces of fabrics.
- Crepe paper.
- A small led bulb.
- An old stocking.
- Pieces of foam.
- Silicone gun.
- Cold paint Yogi brand white.
- Pair of scissors.
- Hacksaw.
- Cotton.
- Sewing needle and thread.
Ahora un resumen del paso a paso.🤓
Now a summary of the step by step. 🤓
Paso 1:
Tomamos unos trozos de papel crepé, creamos unos bultos y lo fijamos a los costados de la botella plástica, para que simulen las caderas de la muñeca.
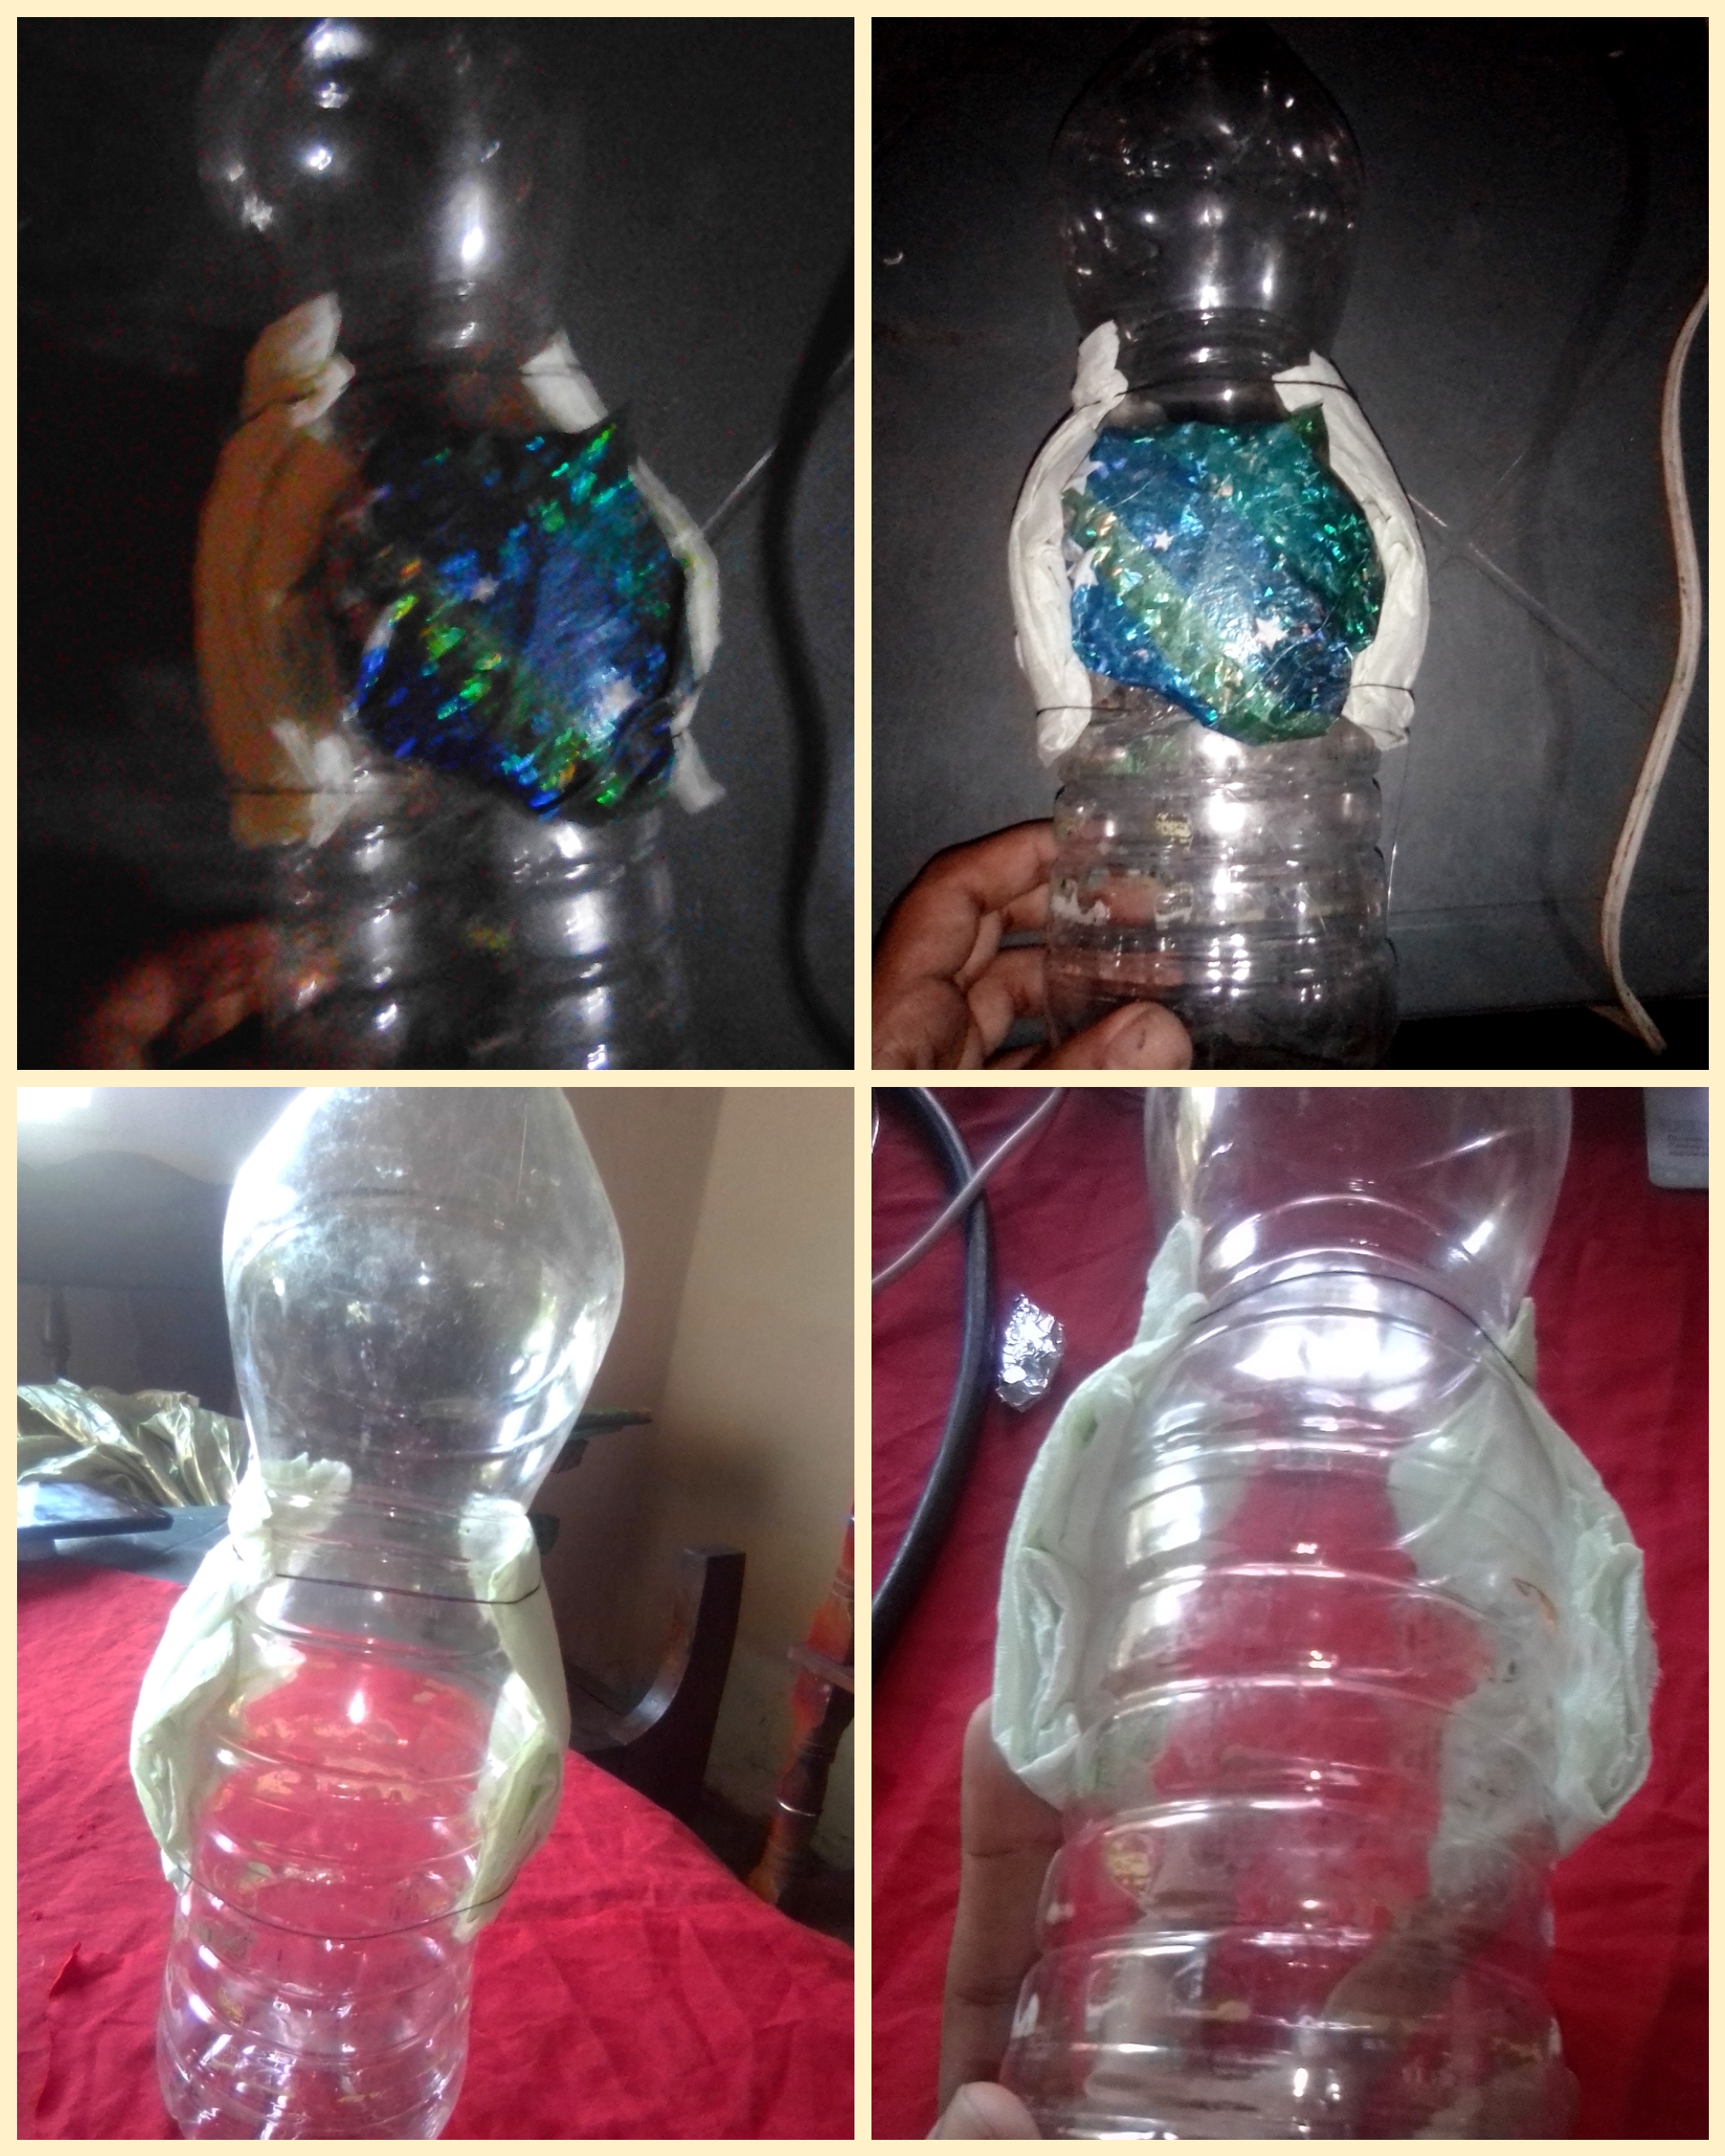
Step 1: We take some pieces of crepe paper, create some lumps and fix it to the sides of the plastic bottle, so that they simulate the hips of the doll.
Tambien arrugamos papel en forma de pelota para simular sus pompas 😅jej.
We also crumpled paper into a ball shape to simulate its bubbles 😅jej.
Paso 2:
Cortamos las cucharillas desechables, para fijarlas en la parte de abajo de la botella.
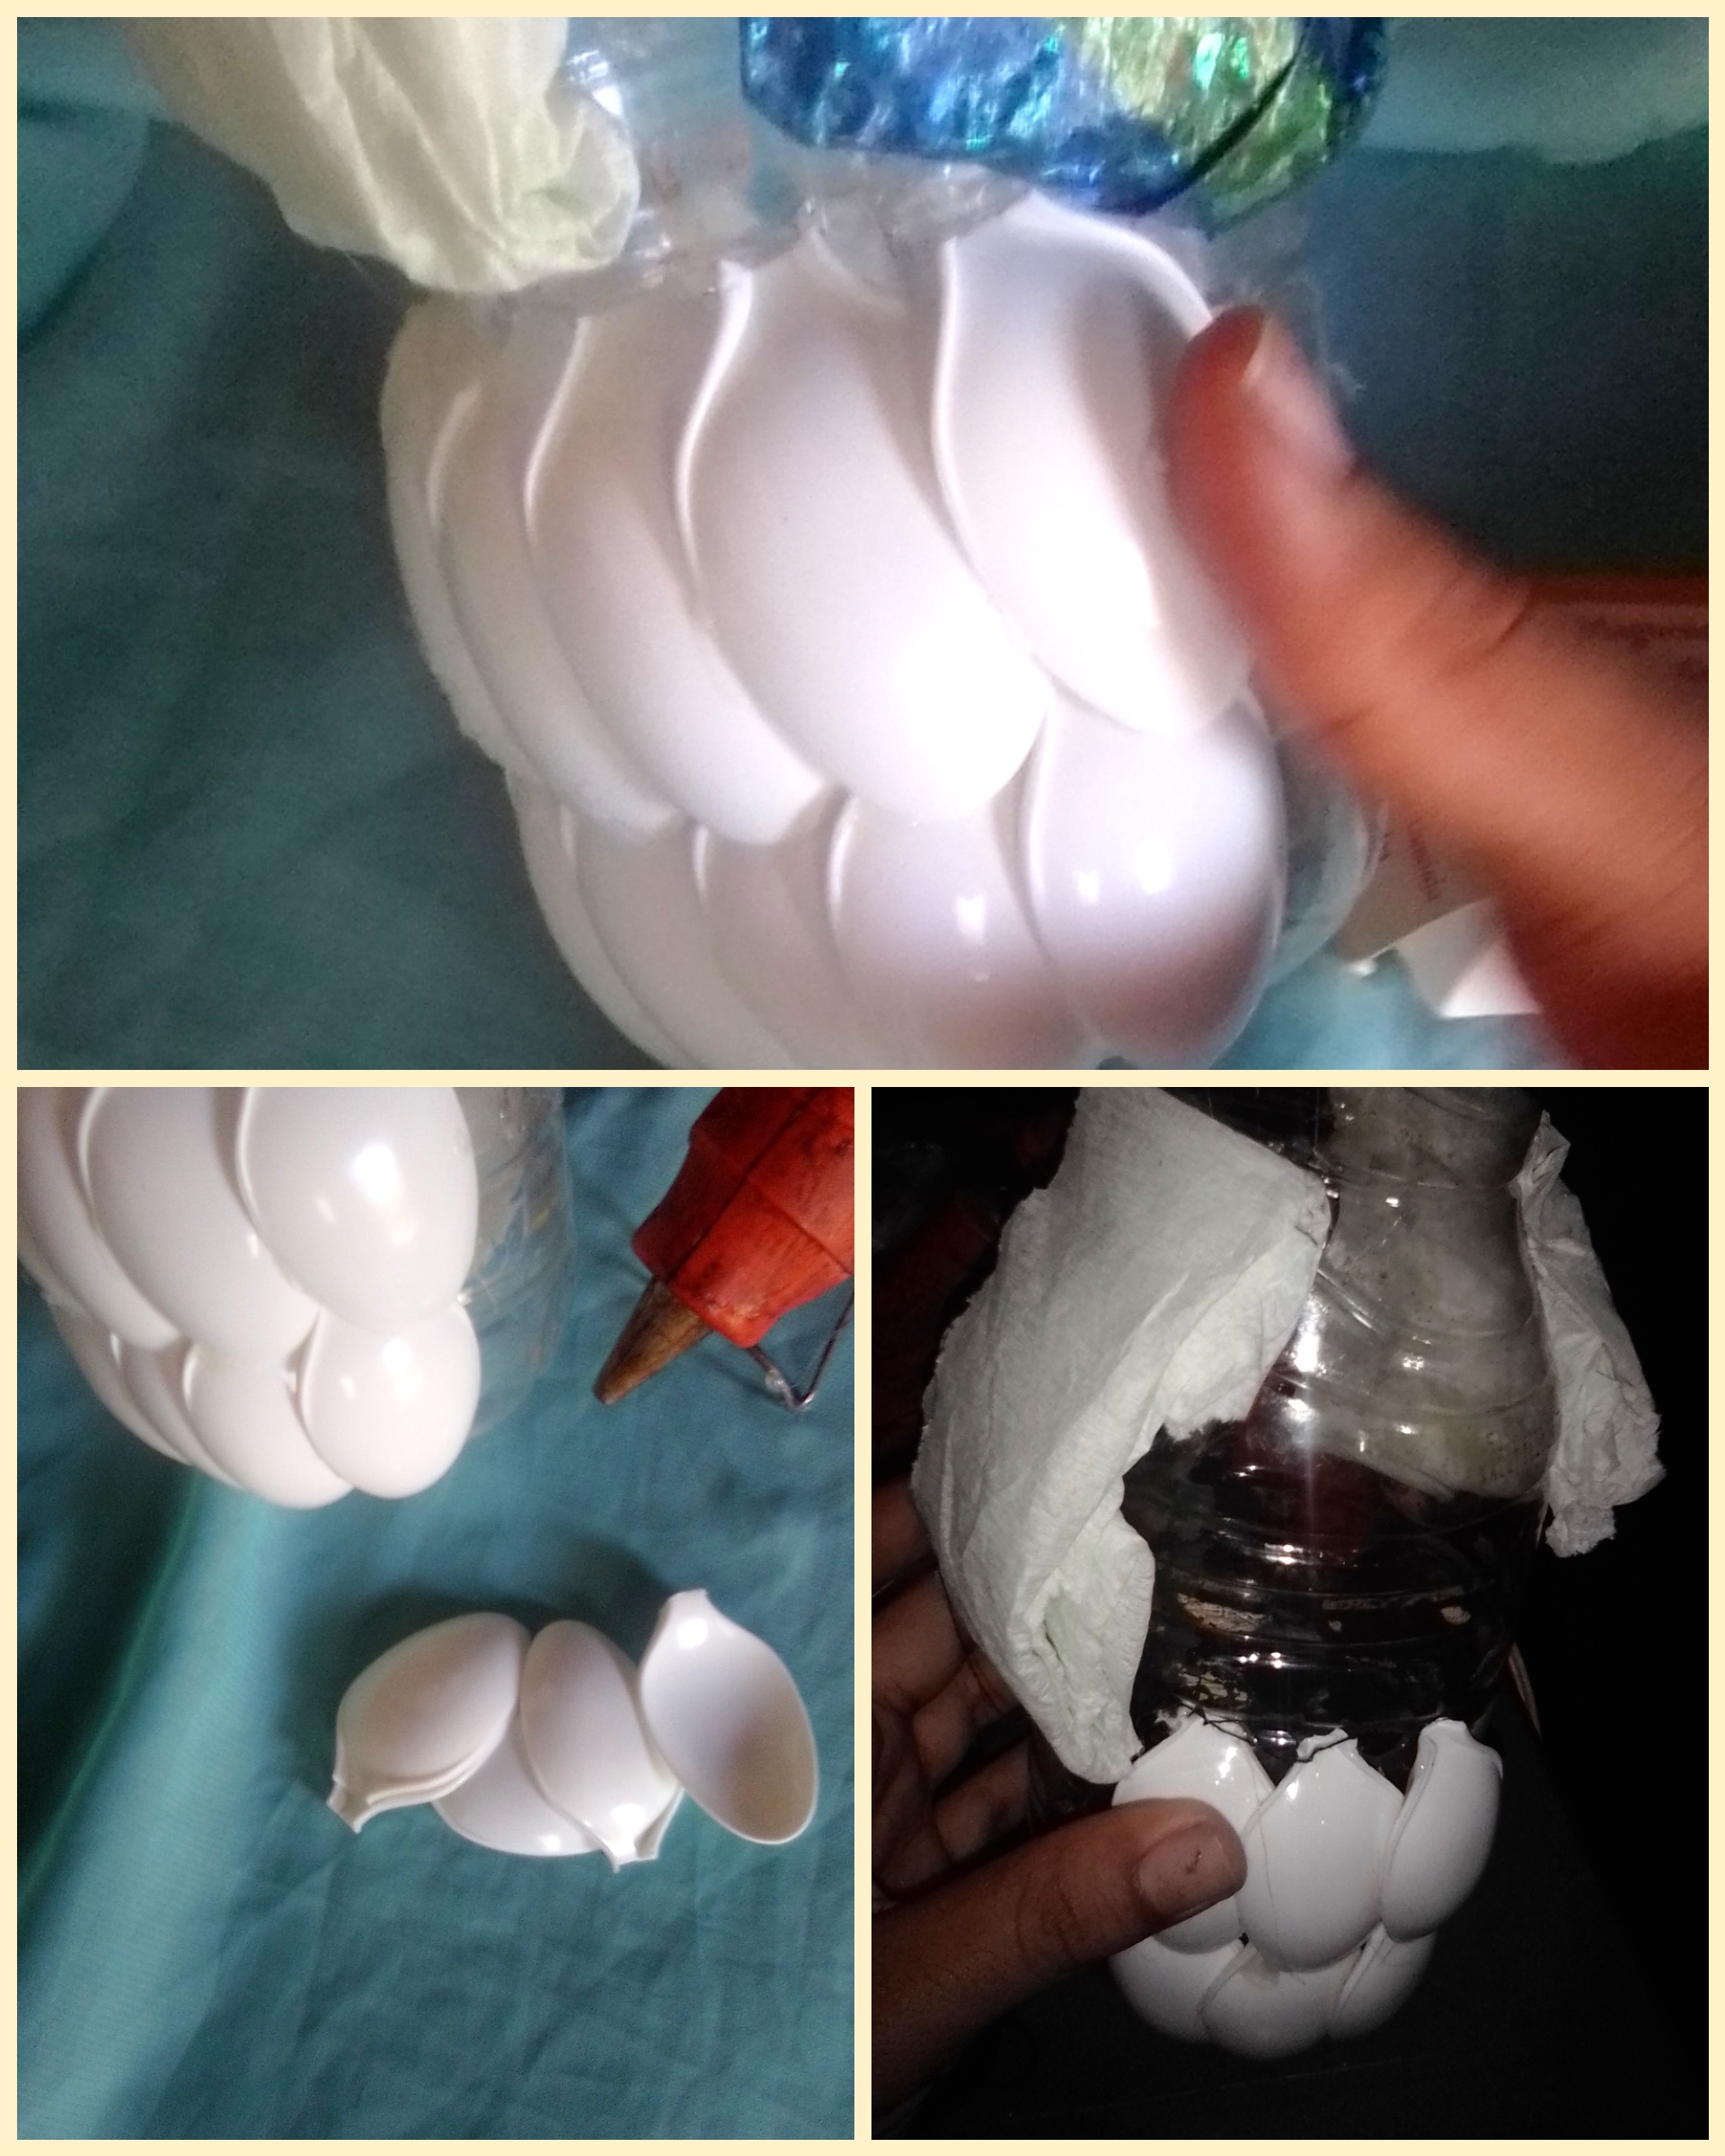
Step 2: We cut the disposable spoons, to fix them at the bottom of the bottle.
Las fijamos lo mas pegaditas para que se viera un bonito efecto.
We set them as close together so that a nice effect could be seen.
Paso 3:
Para el vestuario de la muñeca, usamos telas de colores muy llamativos, una es de color rojo con estampado floral, lo tomamos como falda para ella, y otra de color marron para tapar los espacios que quedaban entre la falda y las cucharrillas.
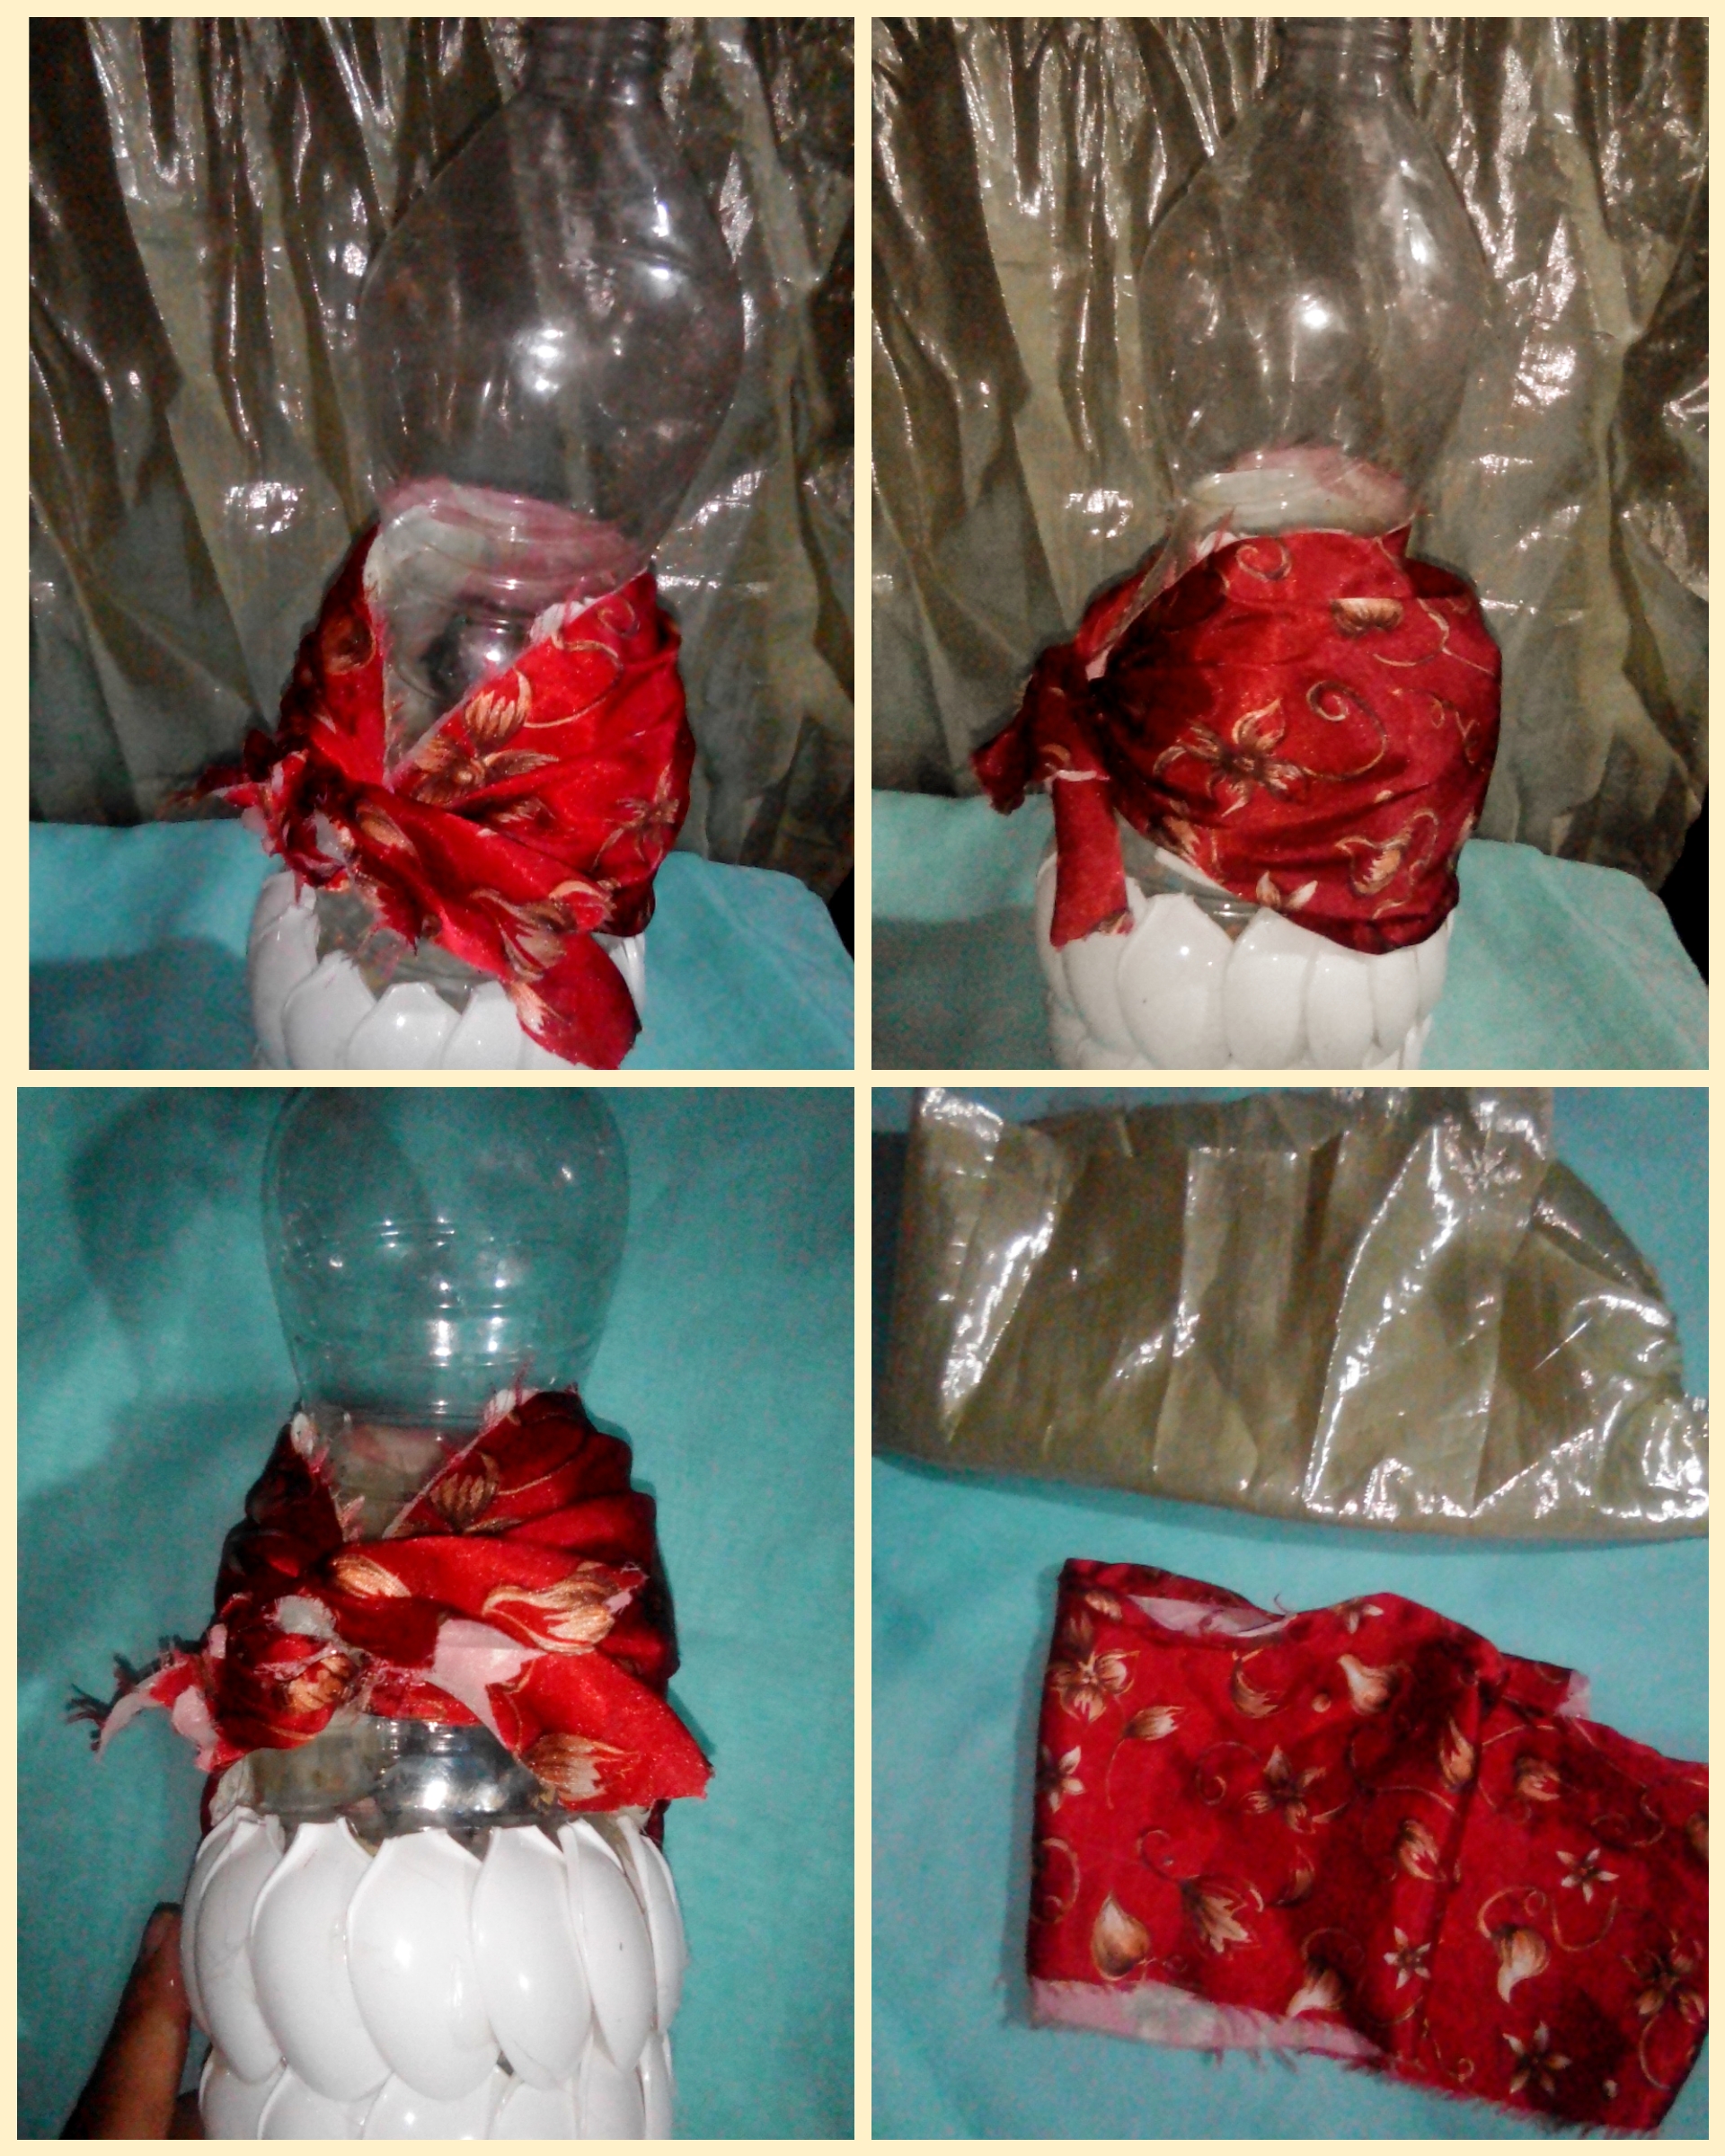
Step 3: For the doll's wardrobe, we used fabrics of very striking colors, one is red with a floral print, we take it as a skirt for her, and the other is brown to cover the spaces that were between the skirt and the spoons.
Le colocamos un fajín con tela de color verde tornasol. Usamos esa misma tela para hacerle los brazos y la bufanda.

We put a sash with iridescent green fabric. We used that same fabric to make the arms and scarf.
Paso 4:
Para la parte de arriba de la muñeca, cortamos mas cucharillas para hacerle un corcel.
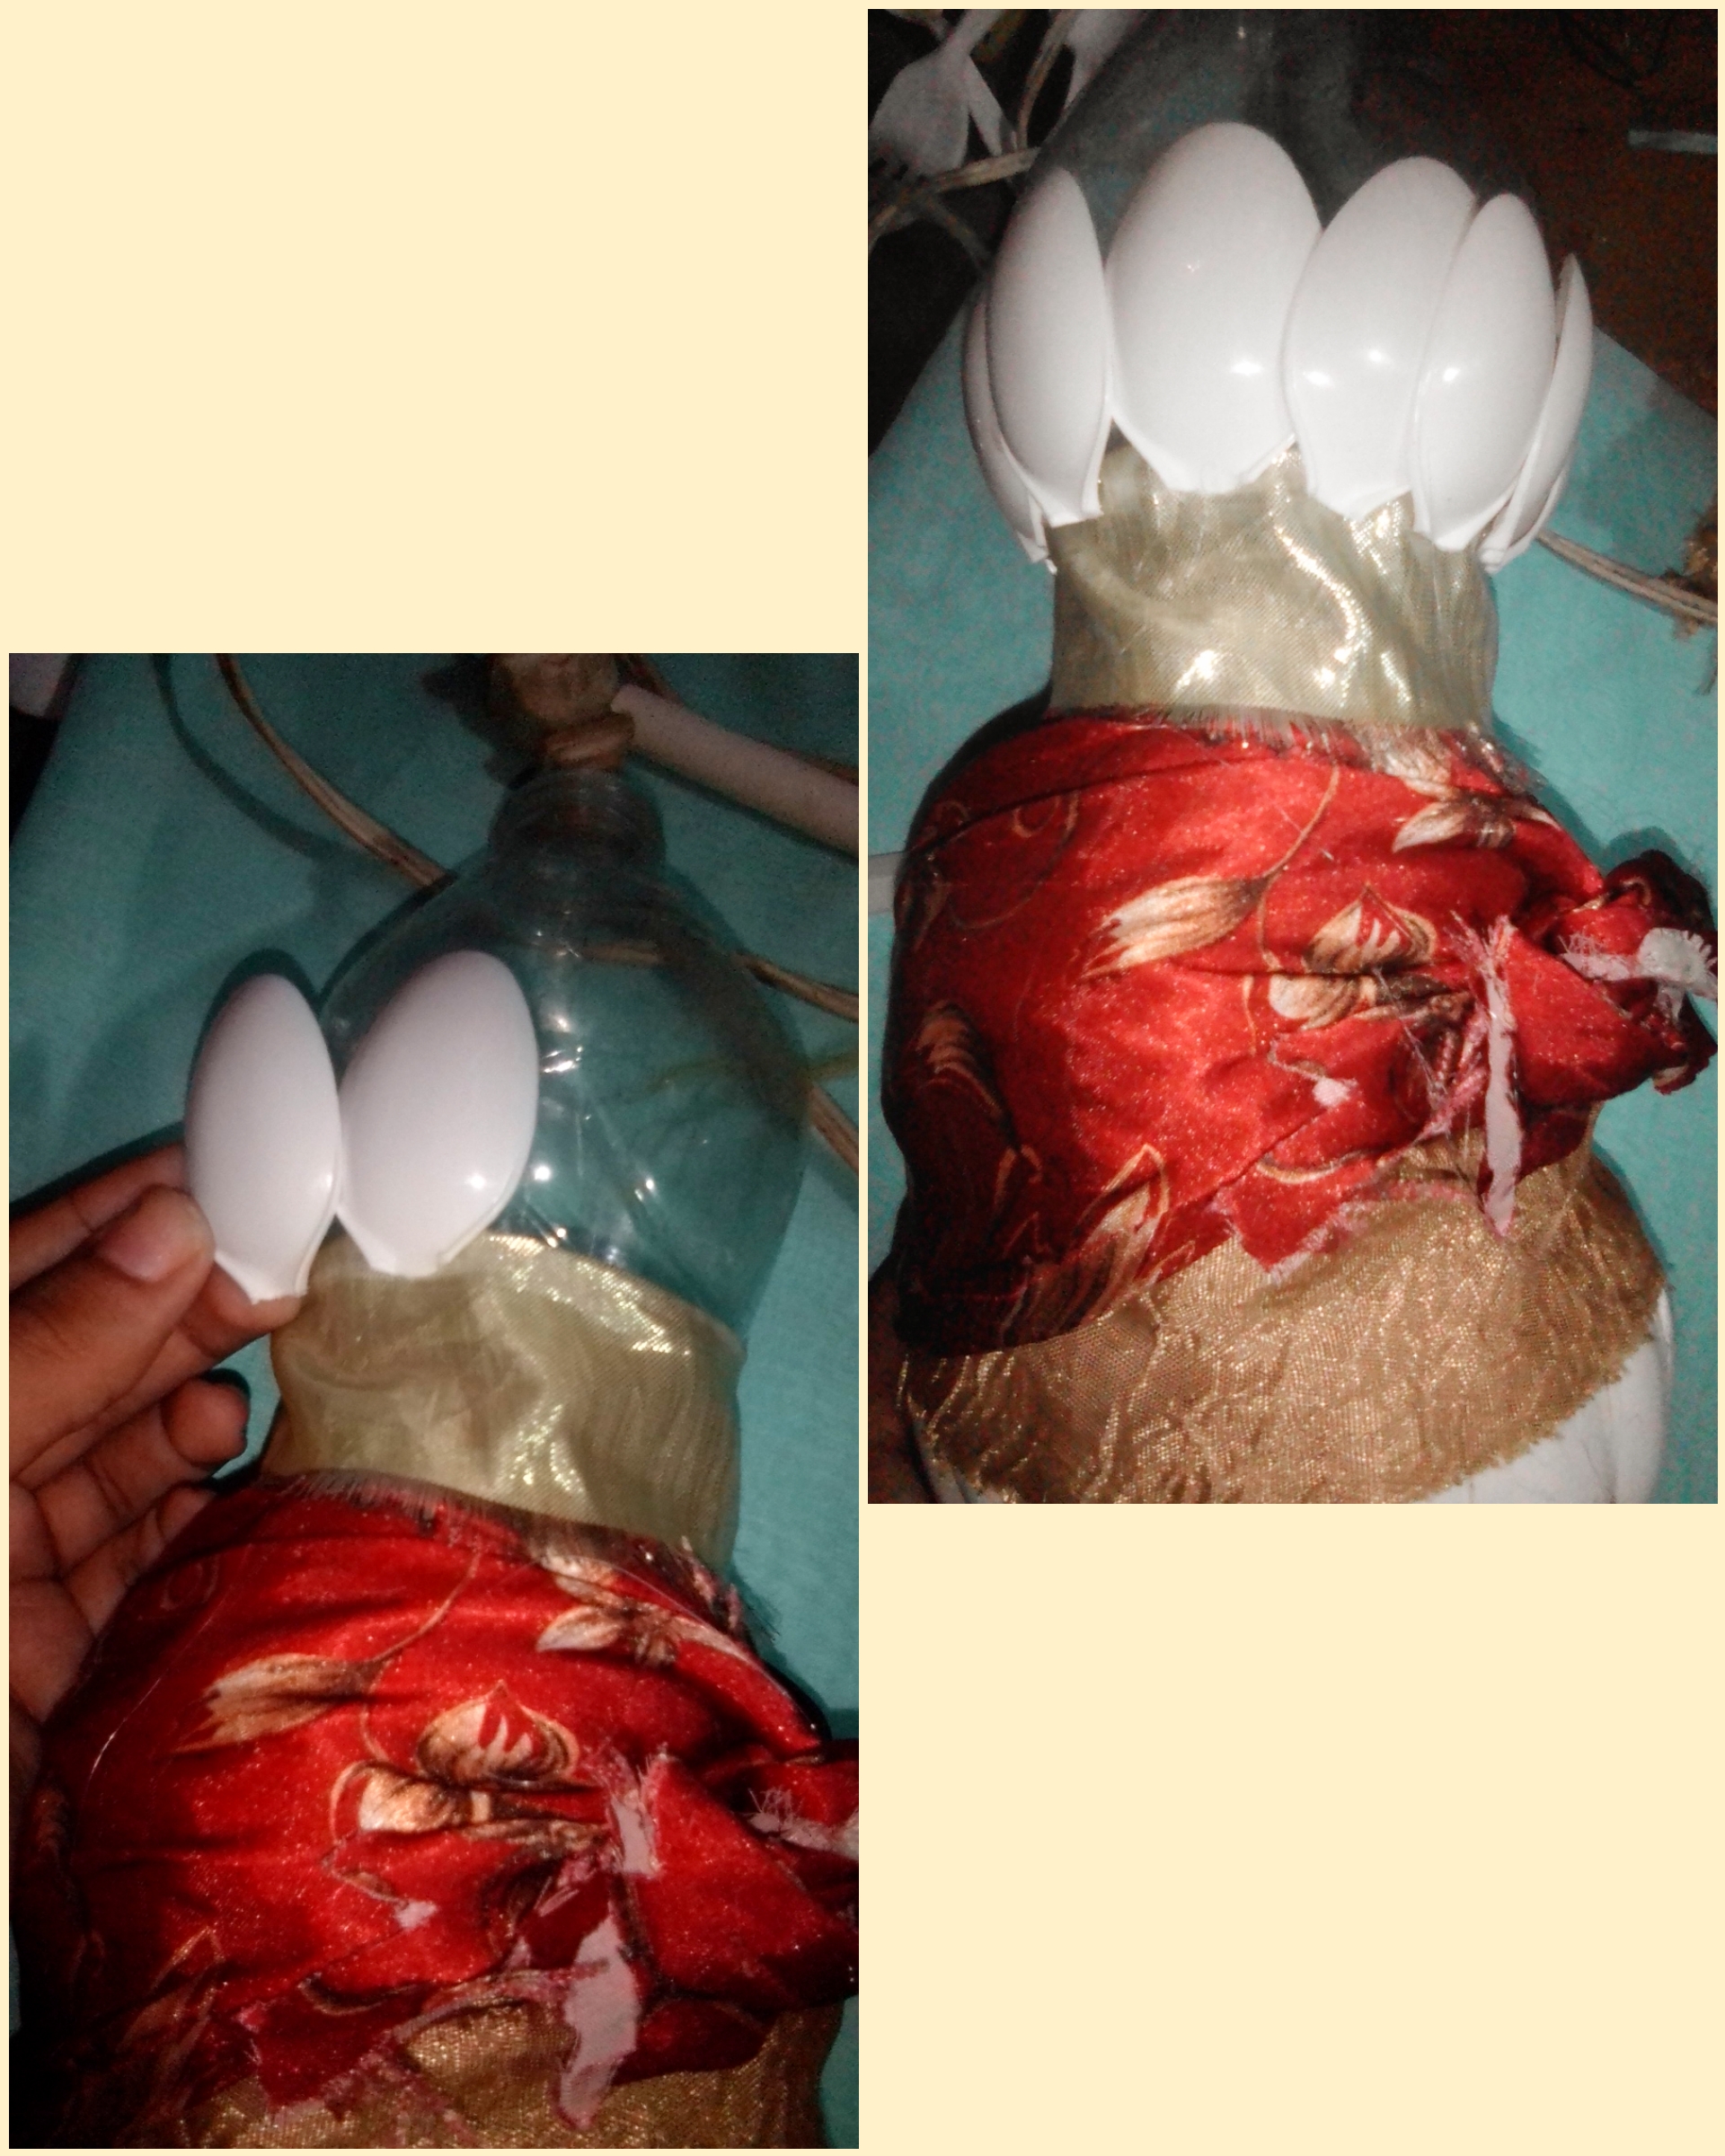
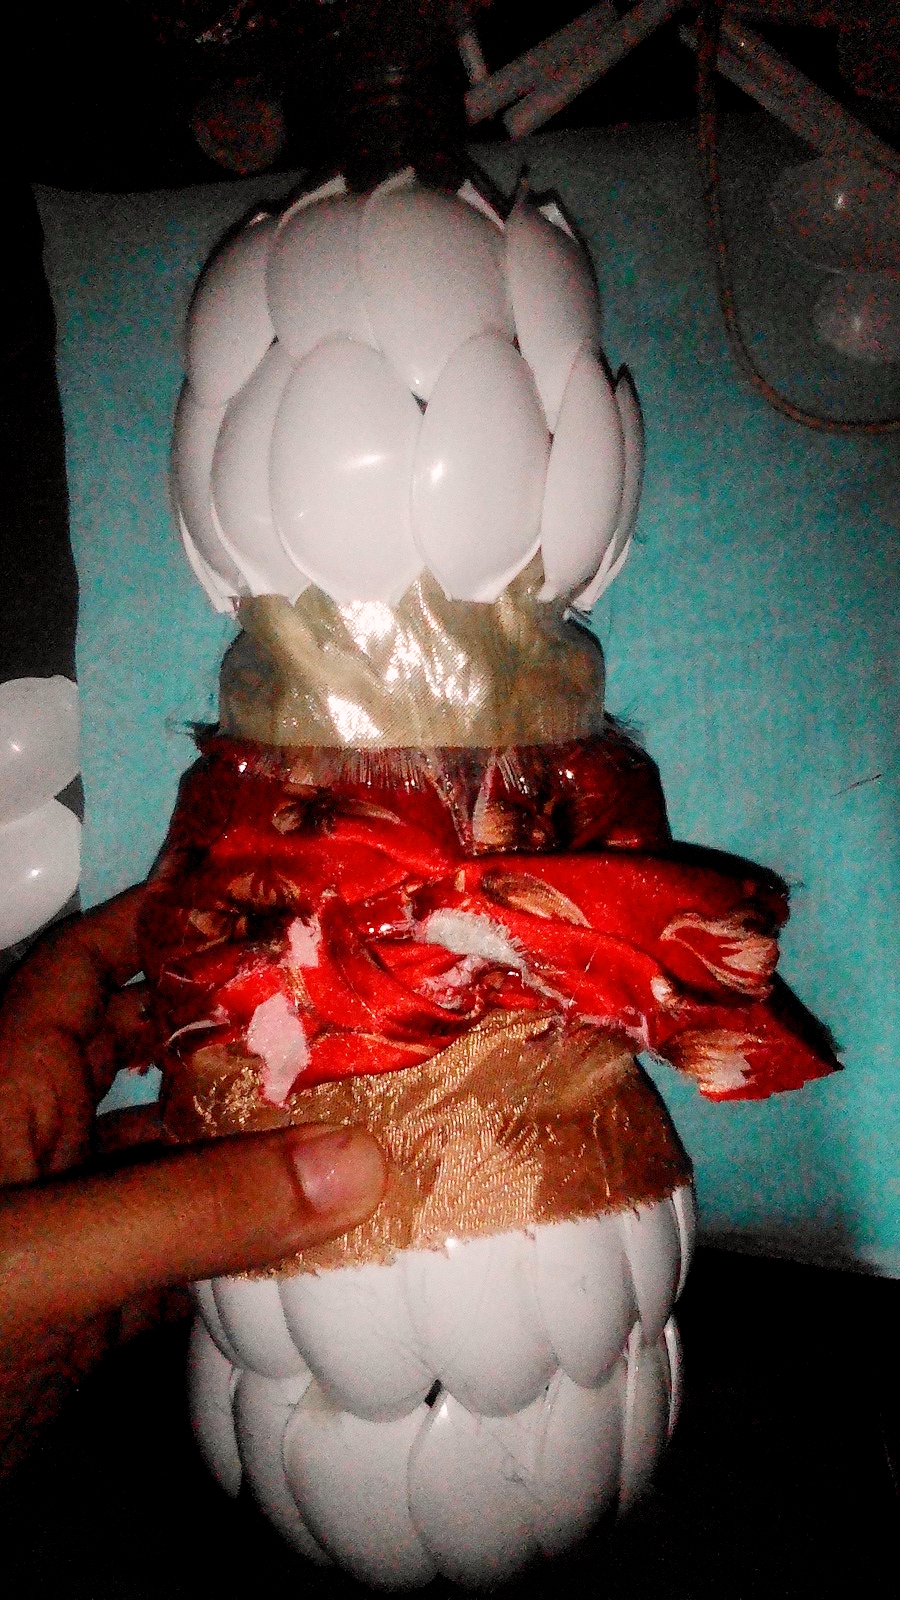
Step 4: For the upper part of the doll, we cut more teaspoons to make a steed.
Paso 5:
La misma tela que se uso para la falda, la recortamos en forma de flores para hacerle una blonda.
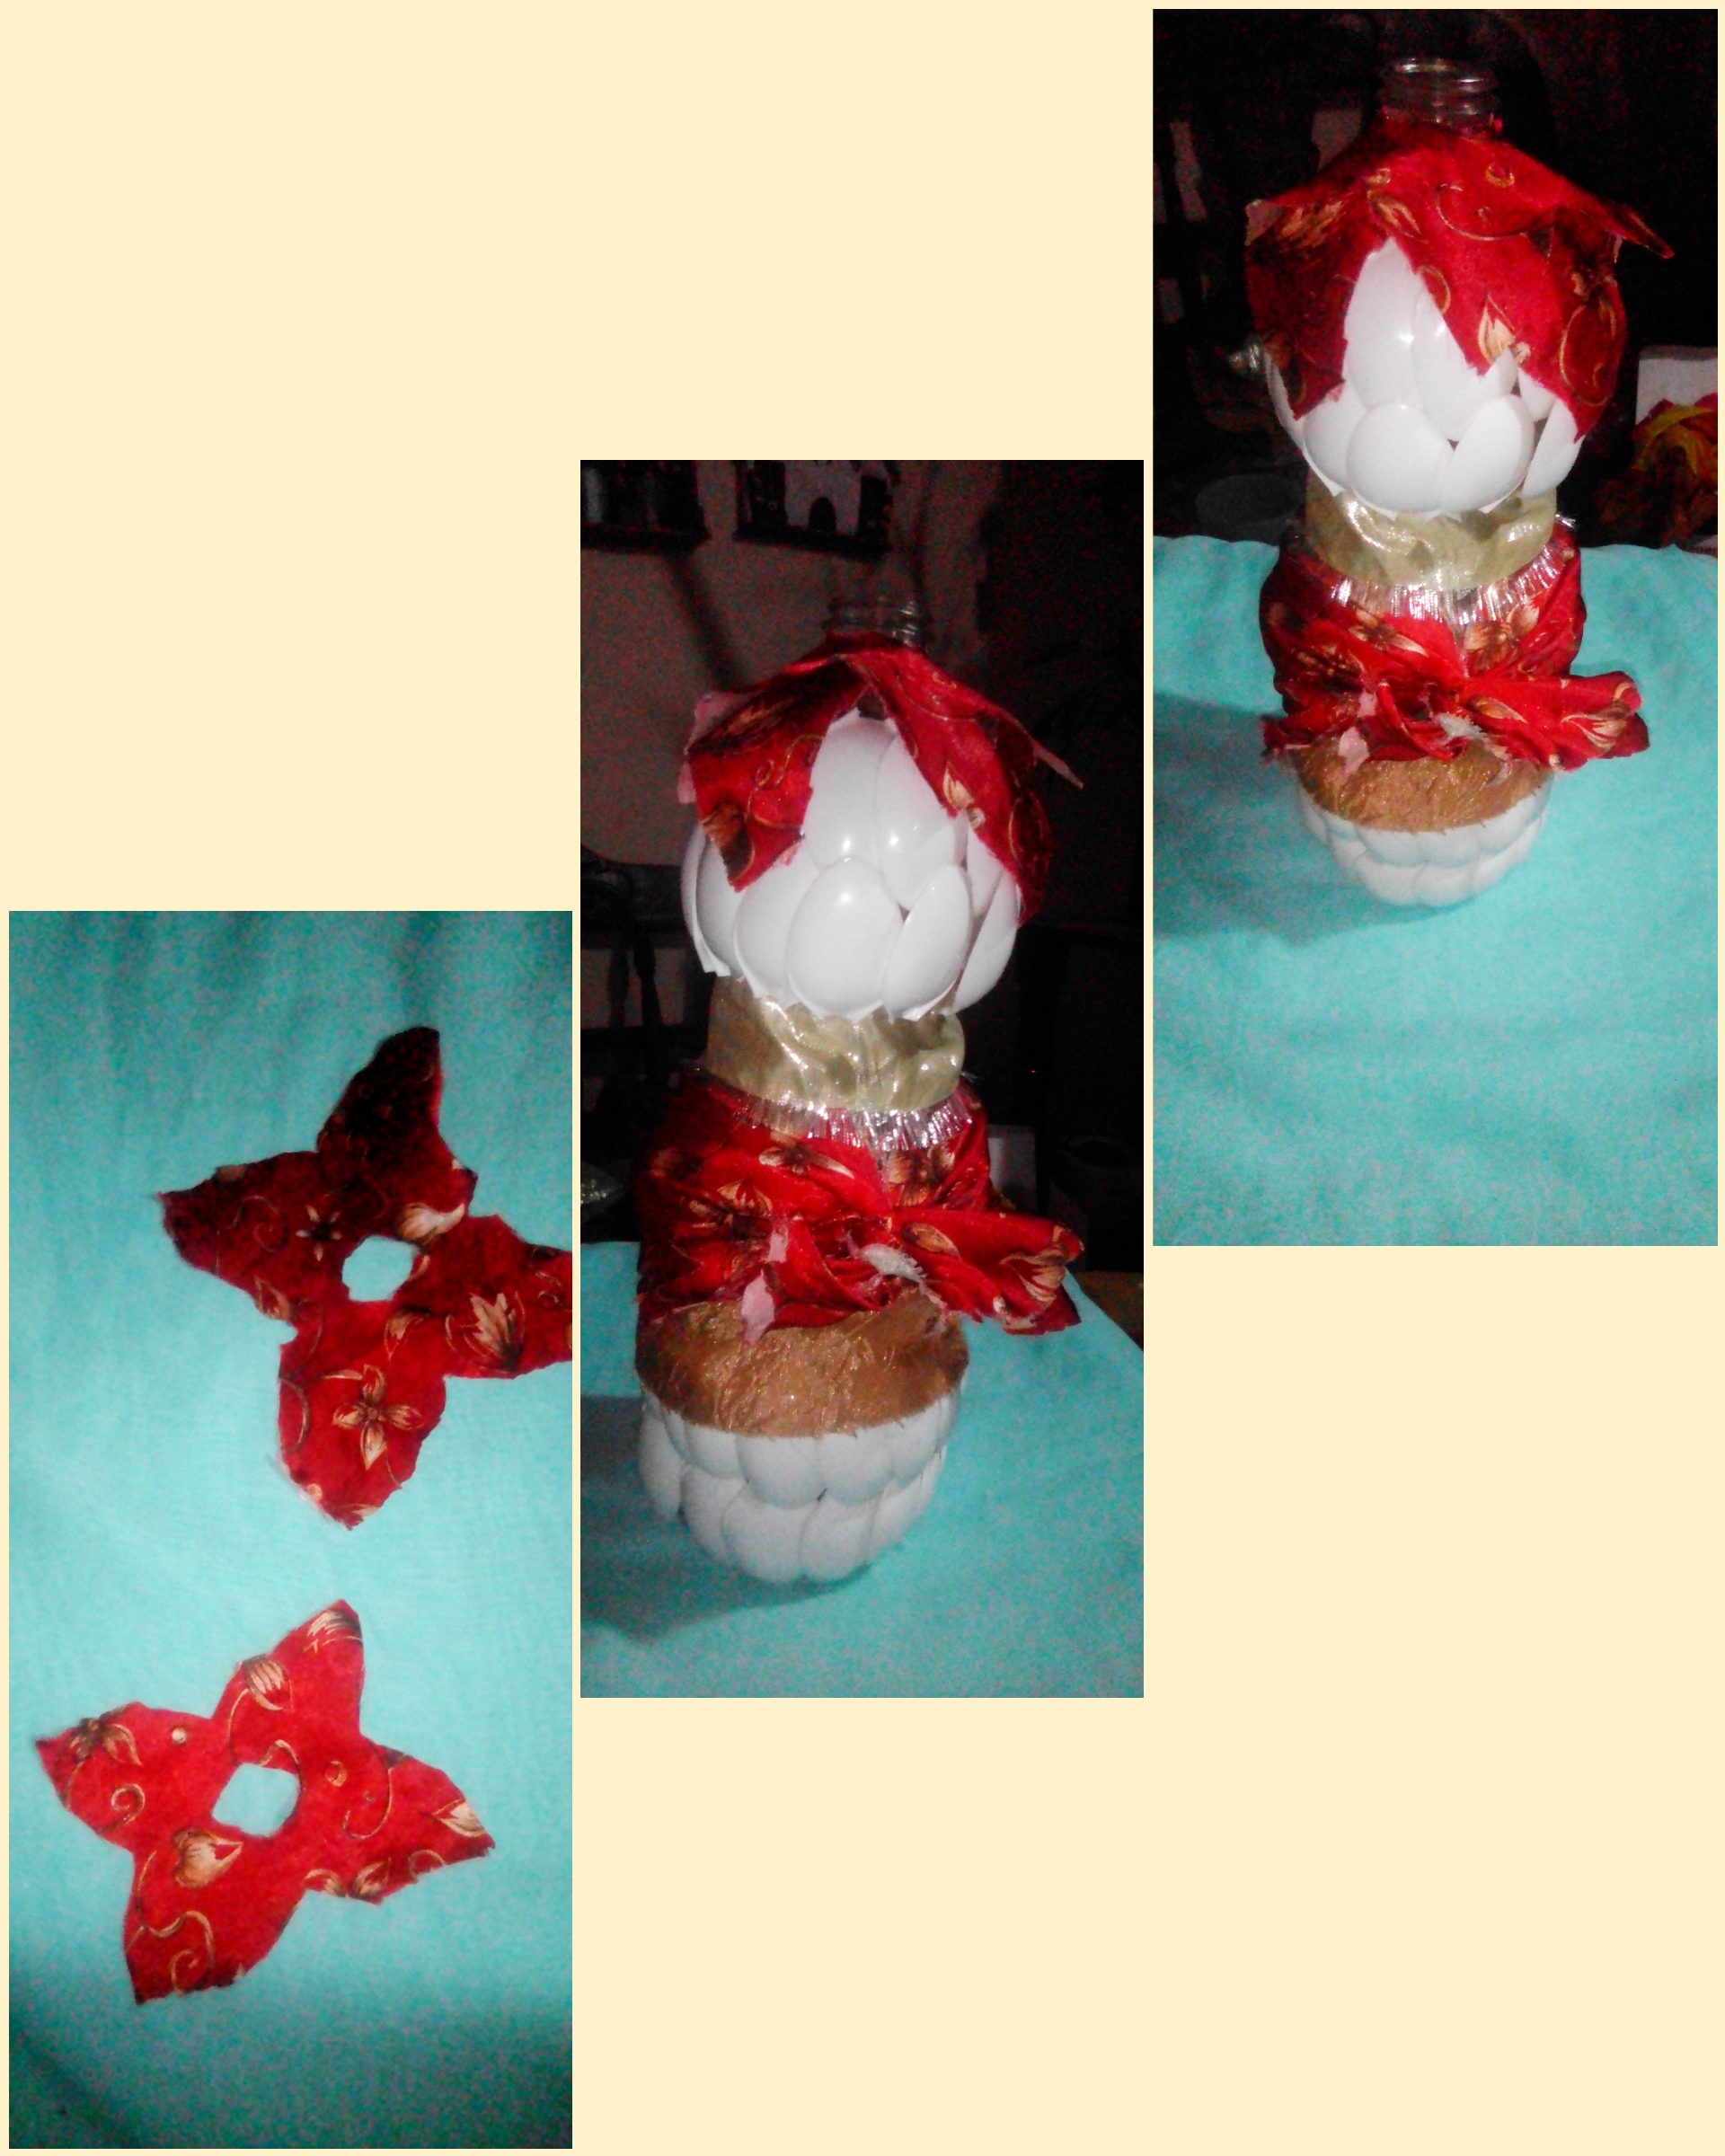
Step 5: The same fabric that was used for the skirt, we cut it in the shape of flowers to make a lace.
Paso 6 :
Le hicimos los brazos con la misma tela del fajín, como mencionamos anteriormente, cocimos la tela en forma de tubo y lo rellenamos con algodón.
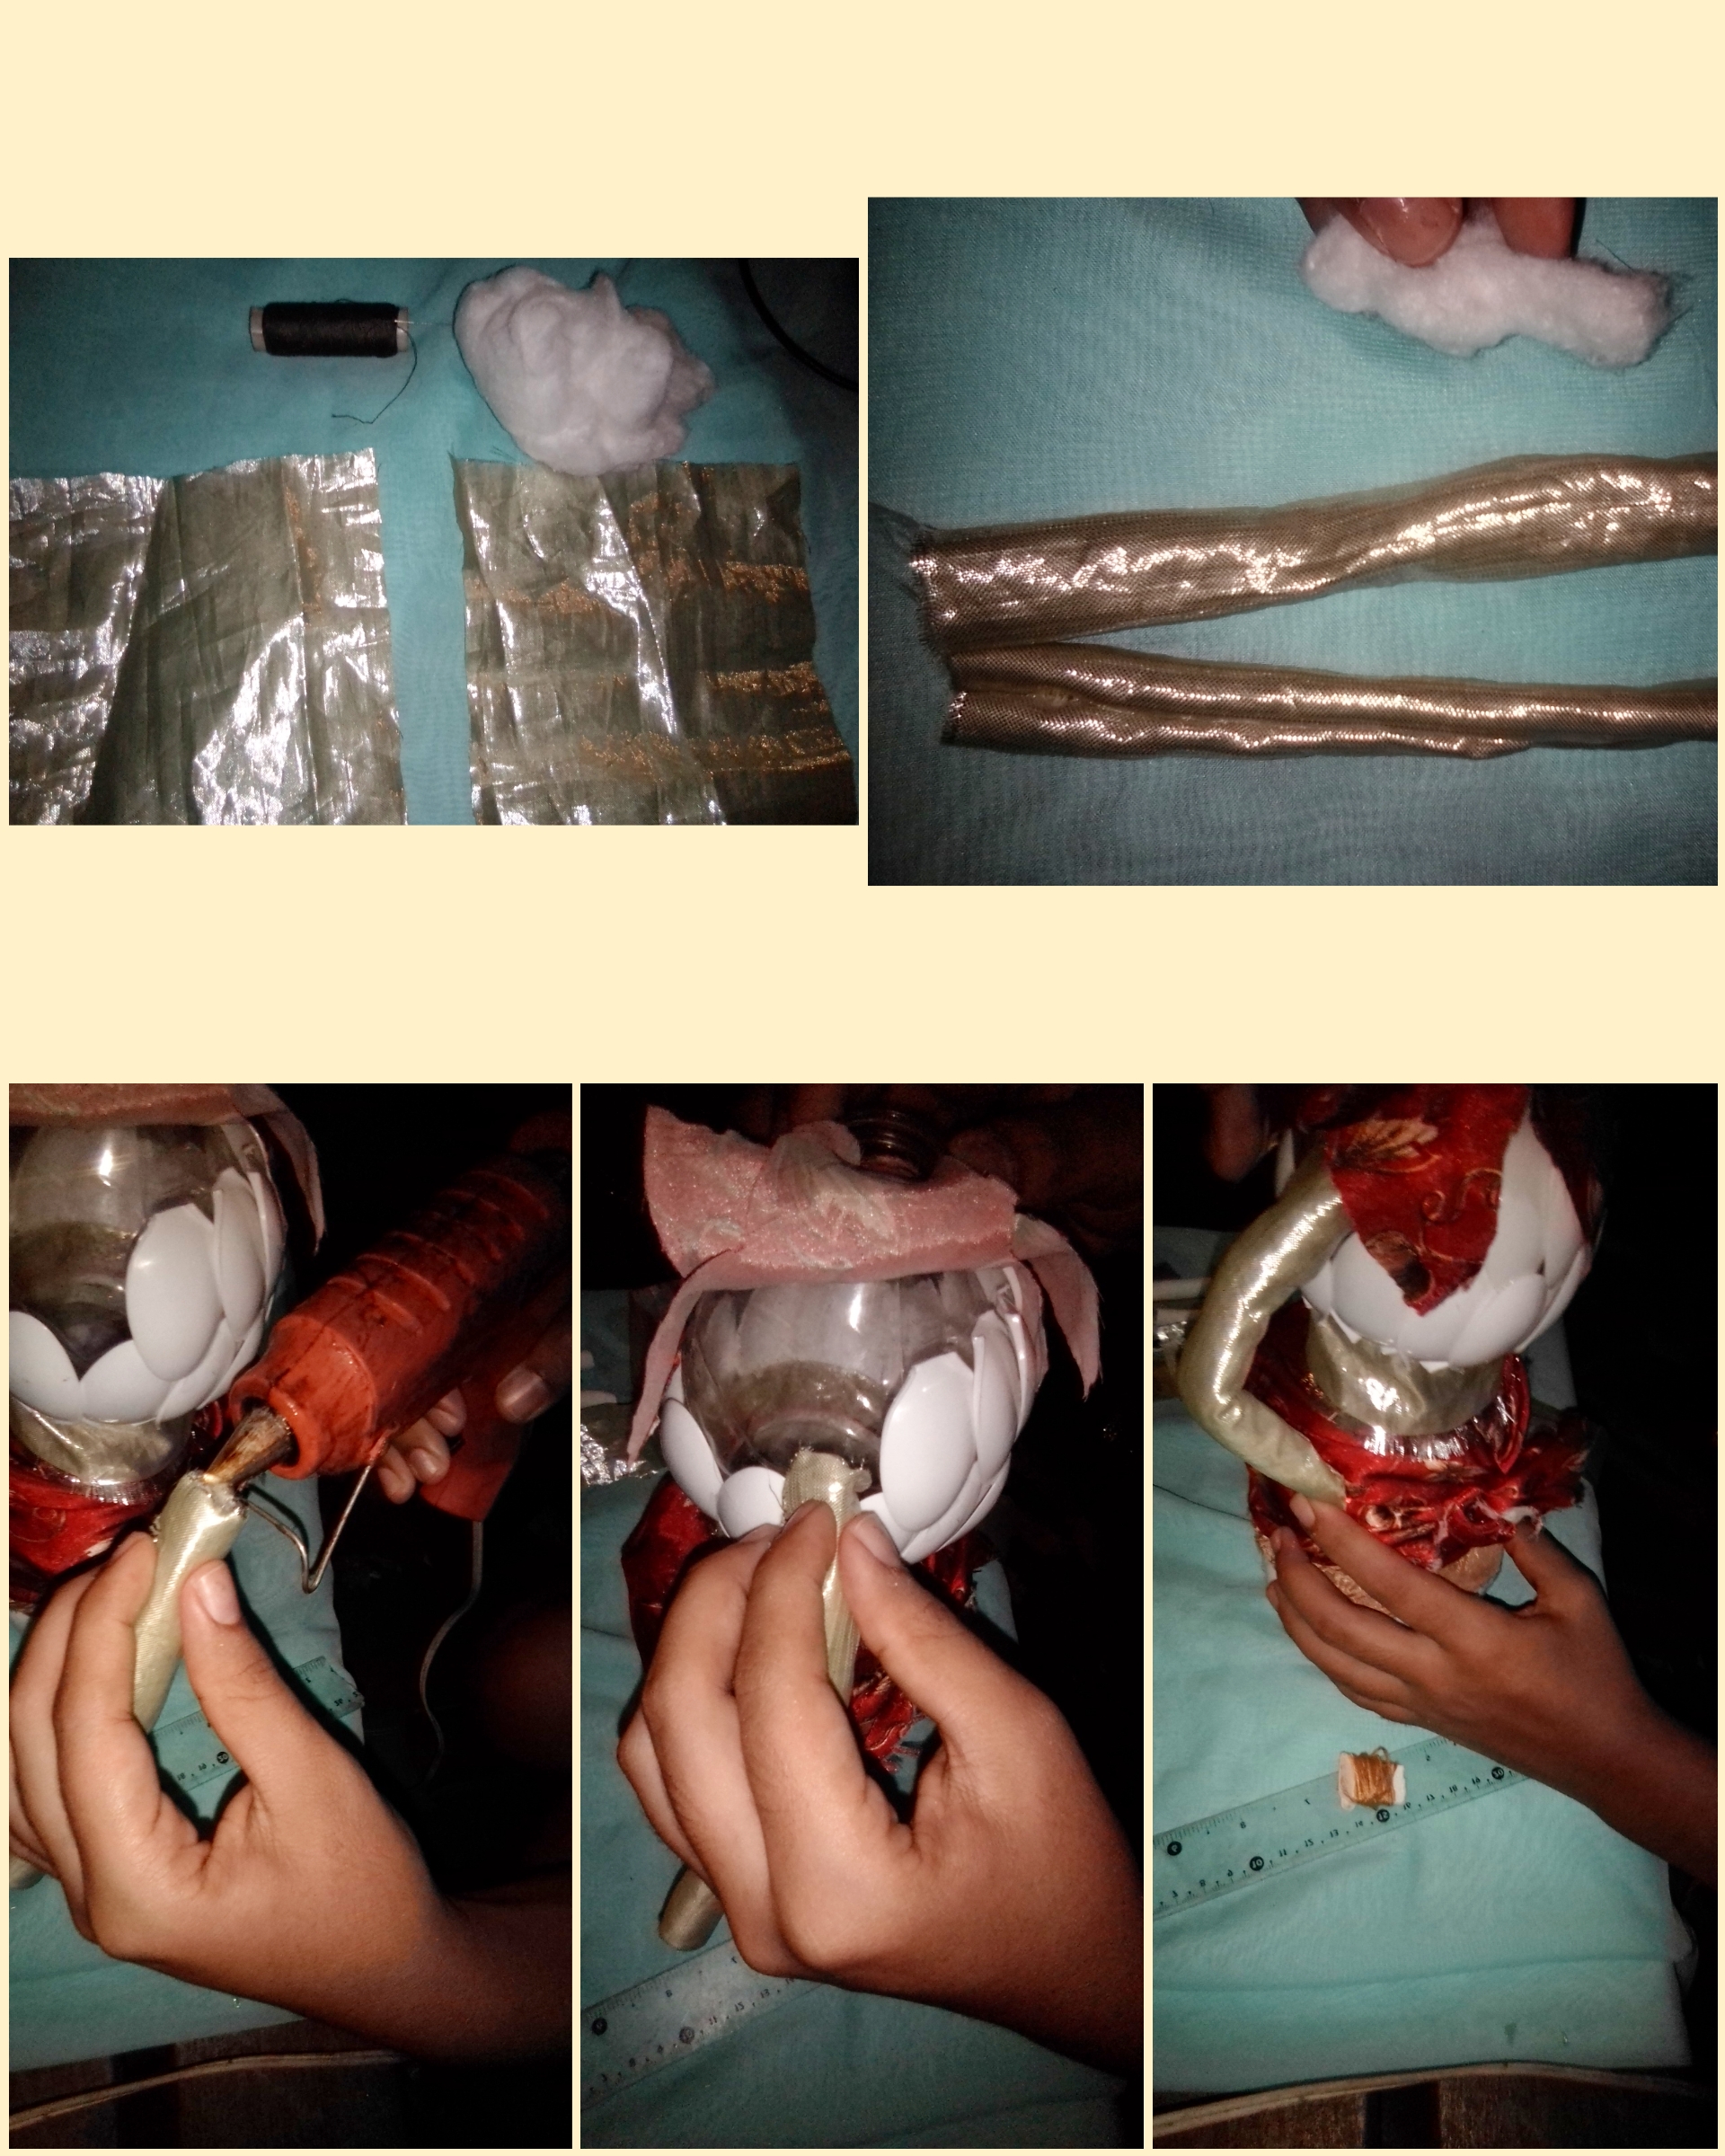
Step 6: We made the arms with the same fabric as the sash, as we mentioned earlier, we cooked the fabric in the shape of a tube and filled it with cotton.
Paso 7:
Para la cabeza, utilizamos un bombillo y con la ayuda de una segueta cortamos la parte de abajo, para que encajara perfectamente con el pico de la botella.
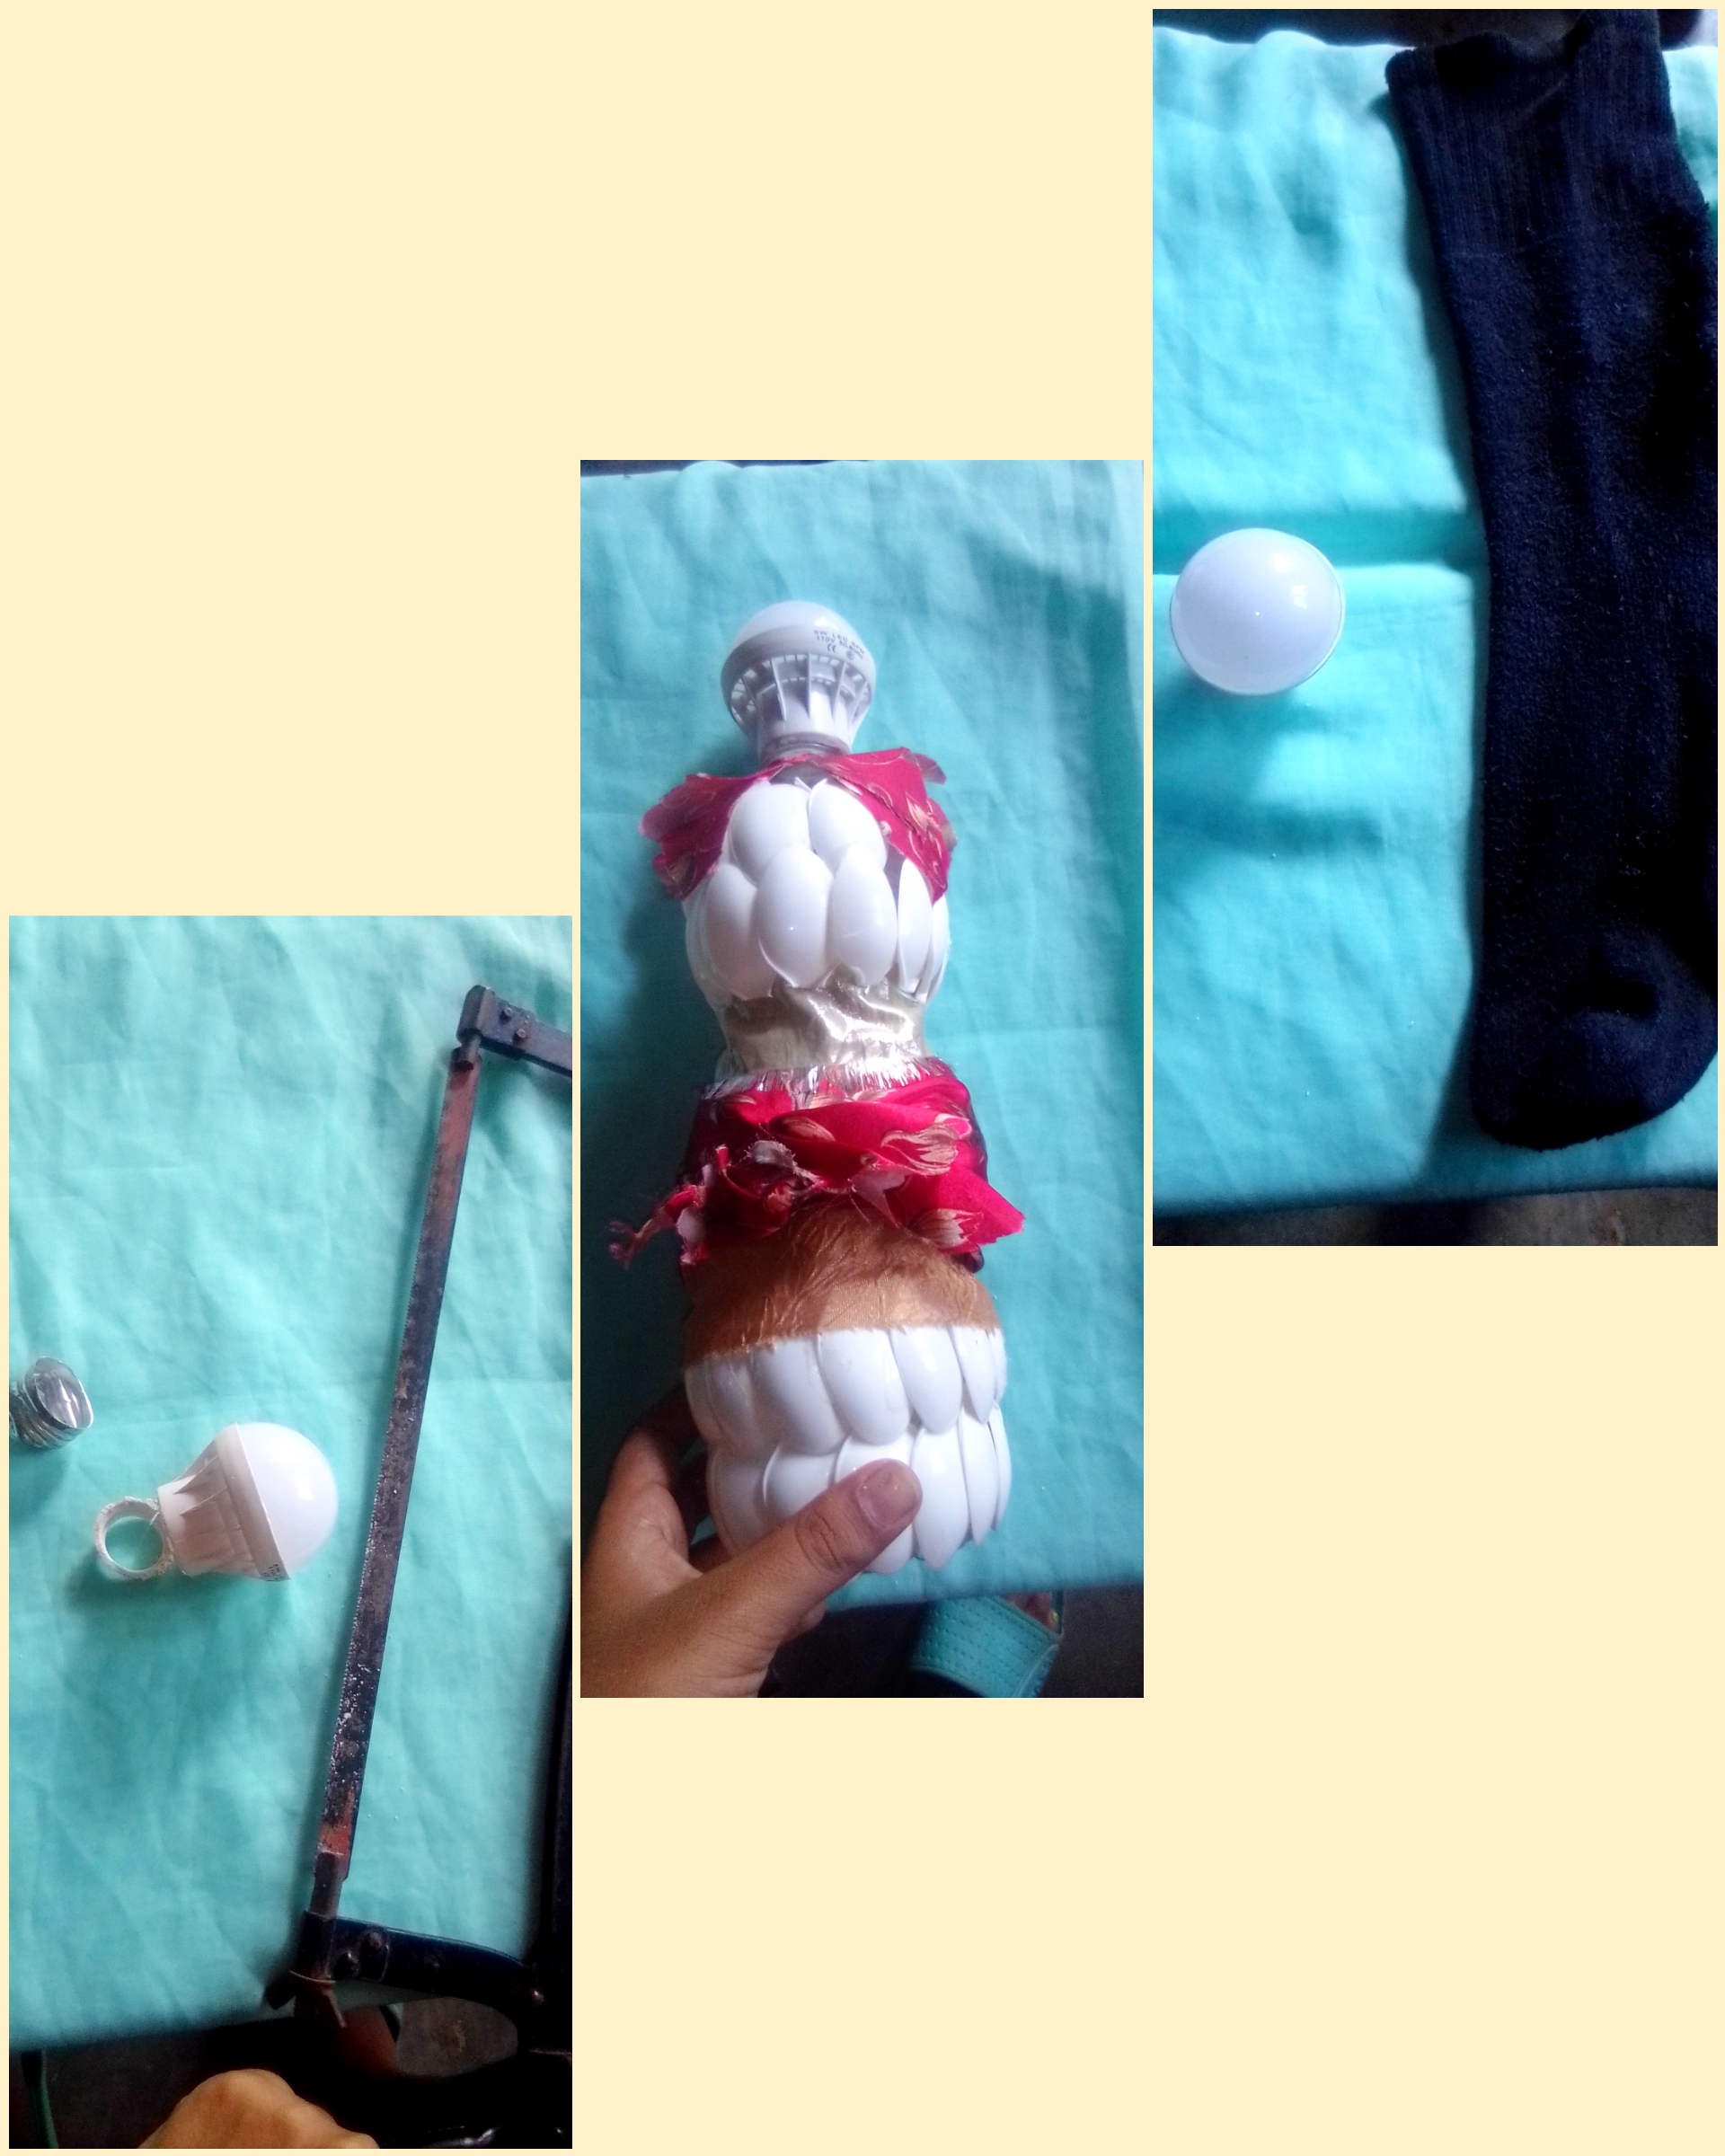
Step 7: For the head, we used a light bulb and with the help of a hacksaw we cut the bottom part, so that it fit perfectly with the spout of the bottle.
Luego envolvimos el bombillo con una media negra.
Then we wrapped the light bulb with a black stocking.
Paso 8:
Ahora, para el Turbante, usamos una tela roja, la cortamos en forma de un cuadrado para poder doblarla y formar un triángulo.
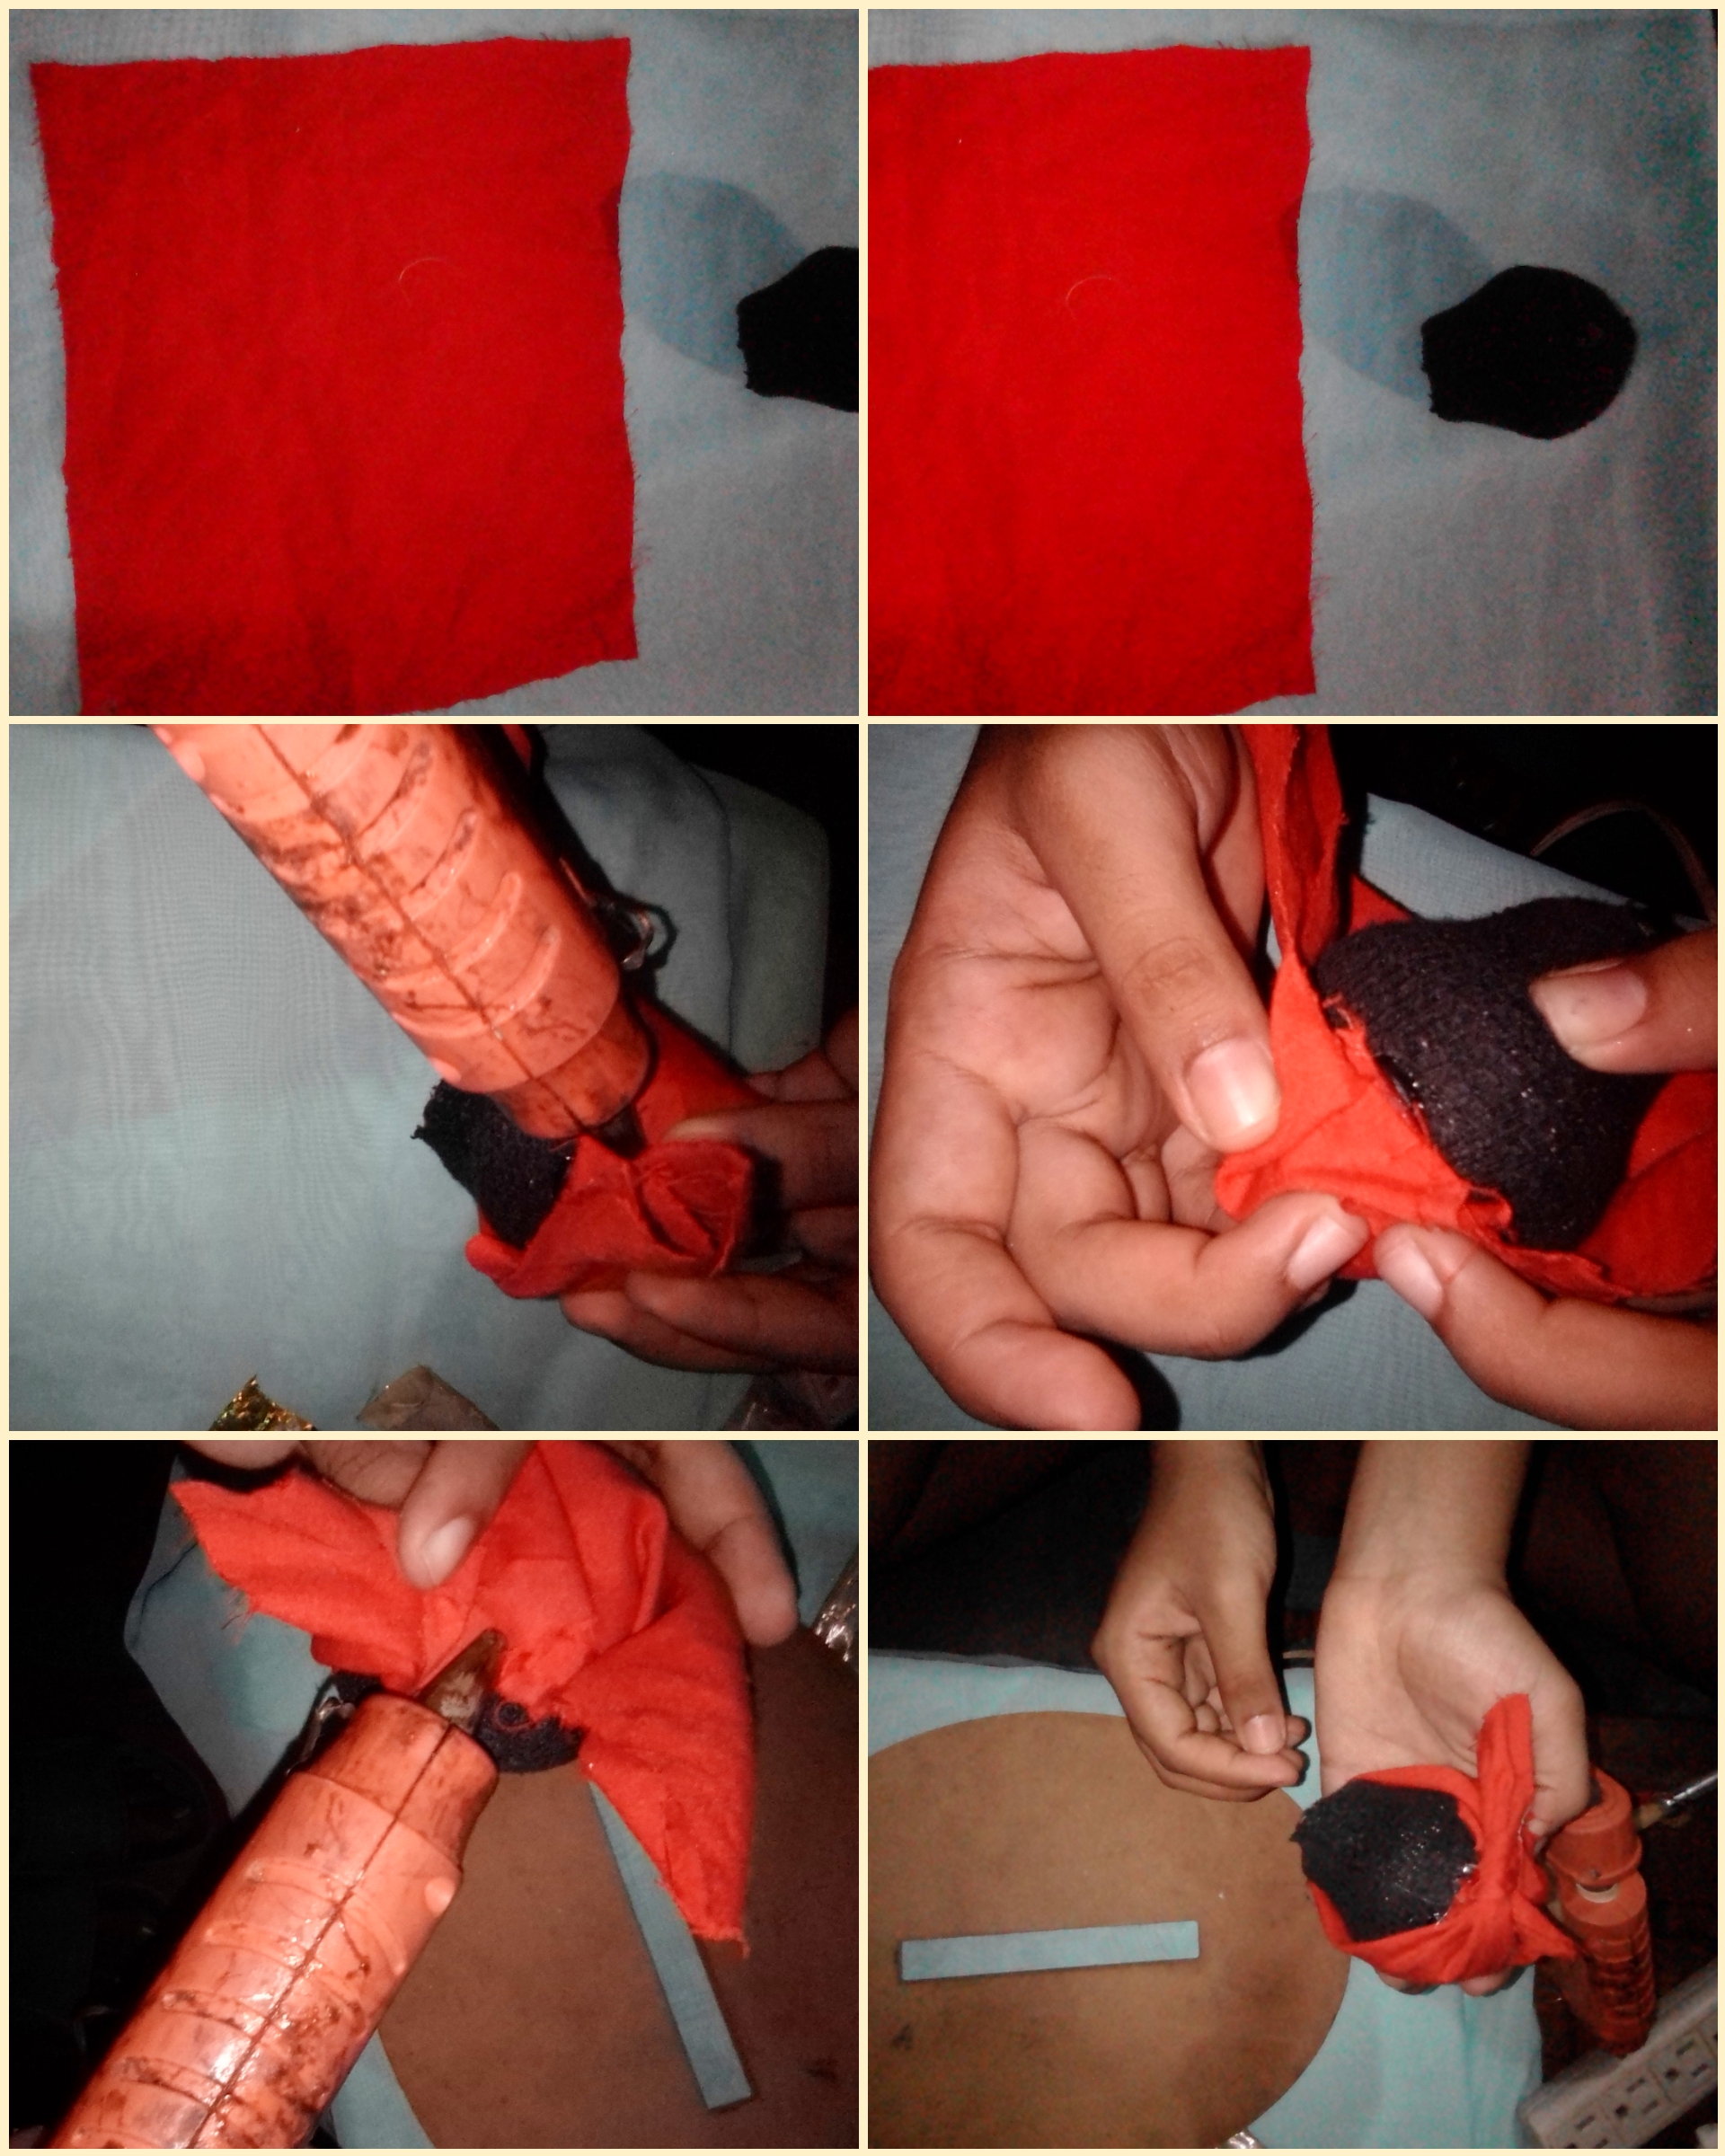
Step 8: Now, for the Turban, we use a red cloth, we cut it in the shape of a square to be able to fold it and form a triangle.
Empezamos a armar el Turbante, cruzando las puntas del triángulo y reforzandolo con silicón.
We begin to assemble the Turban, crossing the tips of the triangle and reinforcing it with silicone.
Paso 9:
Para hacerle el rostro, se usó retazos de foami, se recorto en formas ovaladas y luego se pintó de blanco, y le pintamos las pupilas. Para la boca tambien usamos foami, se hizó la forma de los labios, y ya que no teníamos otro color de pintura al frío, lo pintamos con pintura de uñas color rojo escarchado,(por cierto quedo muy bien😉).
Step 9: To make her face, she used pieces of foam, cut it into oval shapes and then painted it white, and we painted her pupils. For the mouth we also used foami, the shape of the lips was made, and since we had no other cold paint color, we painted it with frosty red nail paint,(by the way it looked very good😉)..
Paso 10:
Por último le colocamos el cabello, con hilo de bordar de color mostaza.
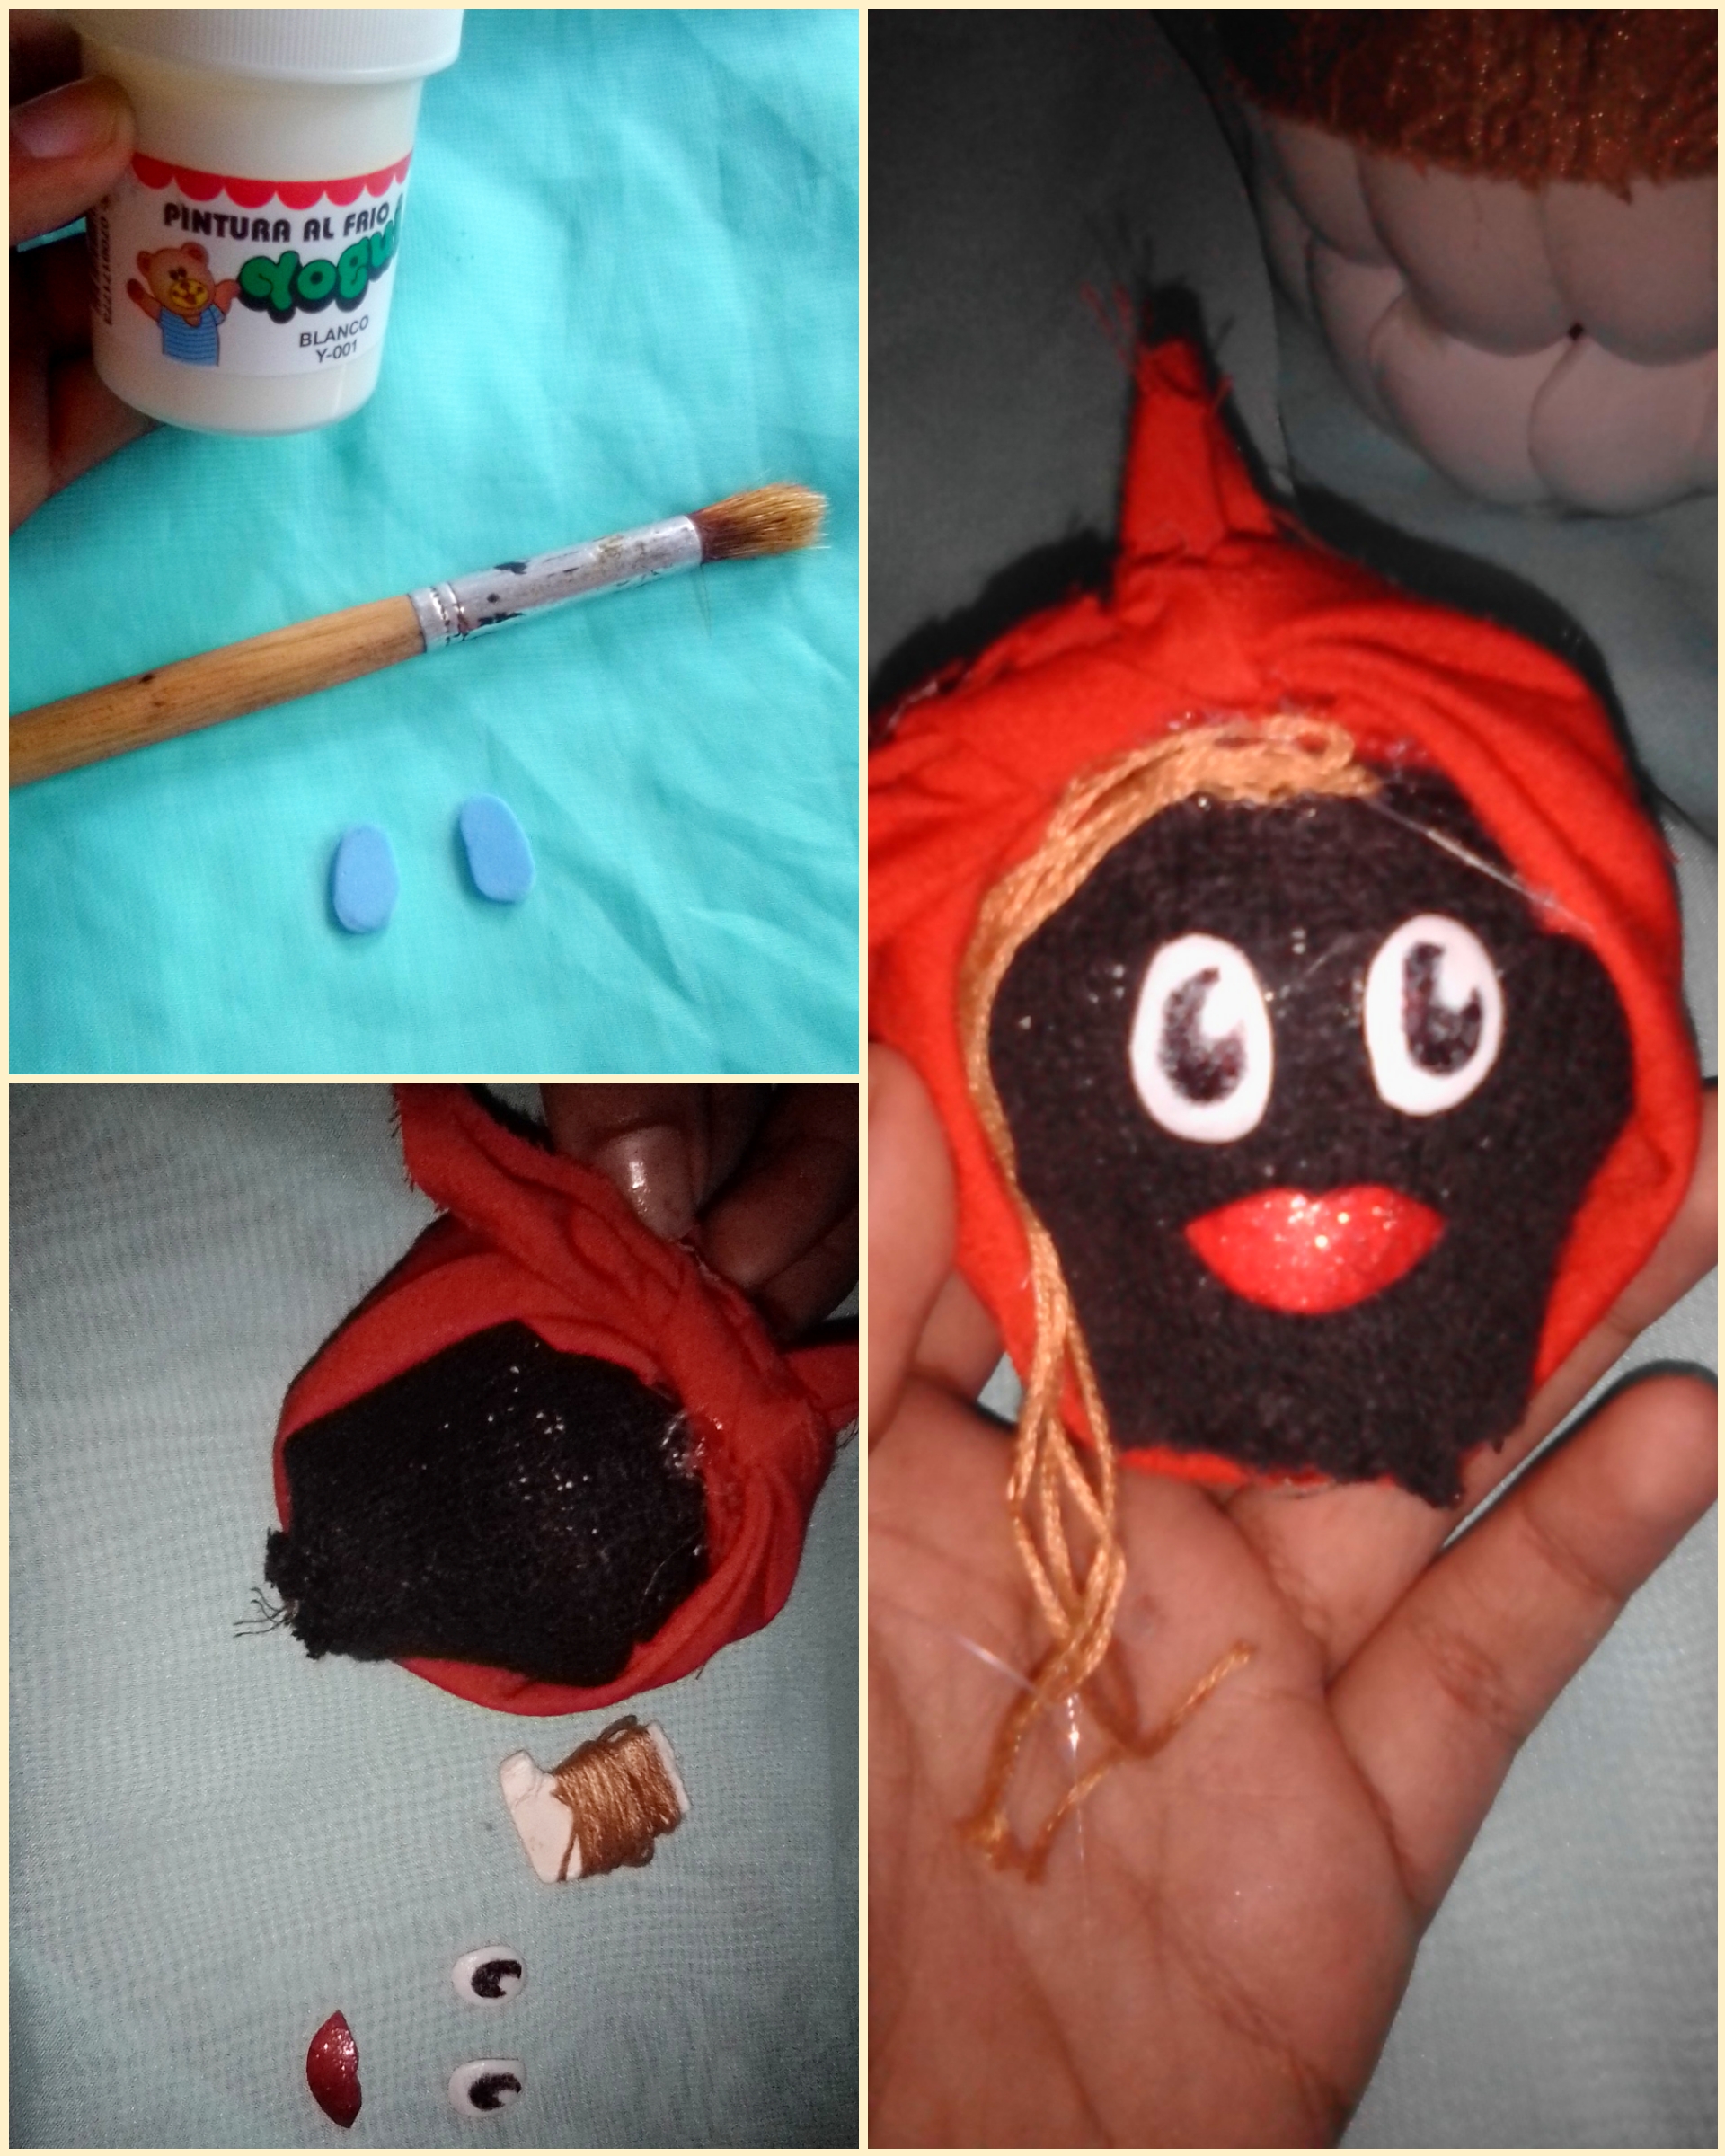
Step 10: Finally we put the hair, with mustard colored embroidery thread.
Y Tarán 😄, listo terminamos a nuestra bella Madama del Callao "Doña Petra" 😘, sabemos que estamos muuy lejos del Carnaval 🥳😅, pero no nos resistimos a crear esta muñeca.😁
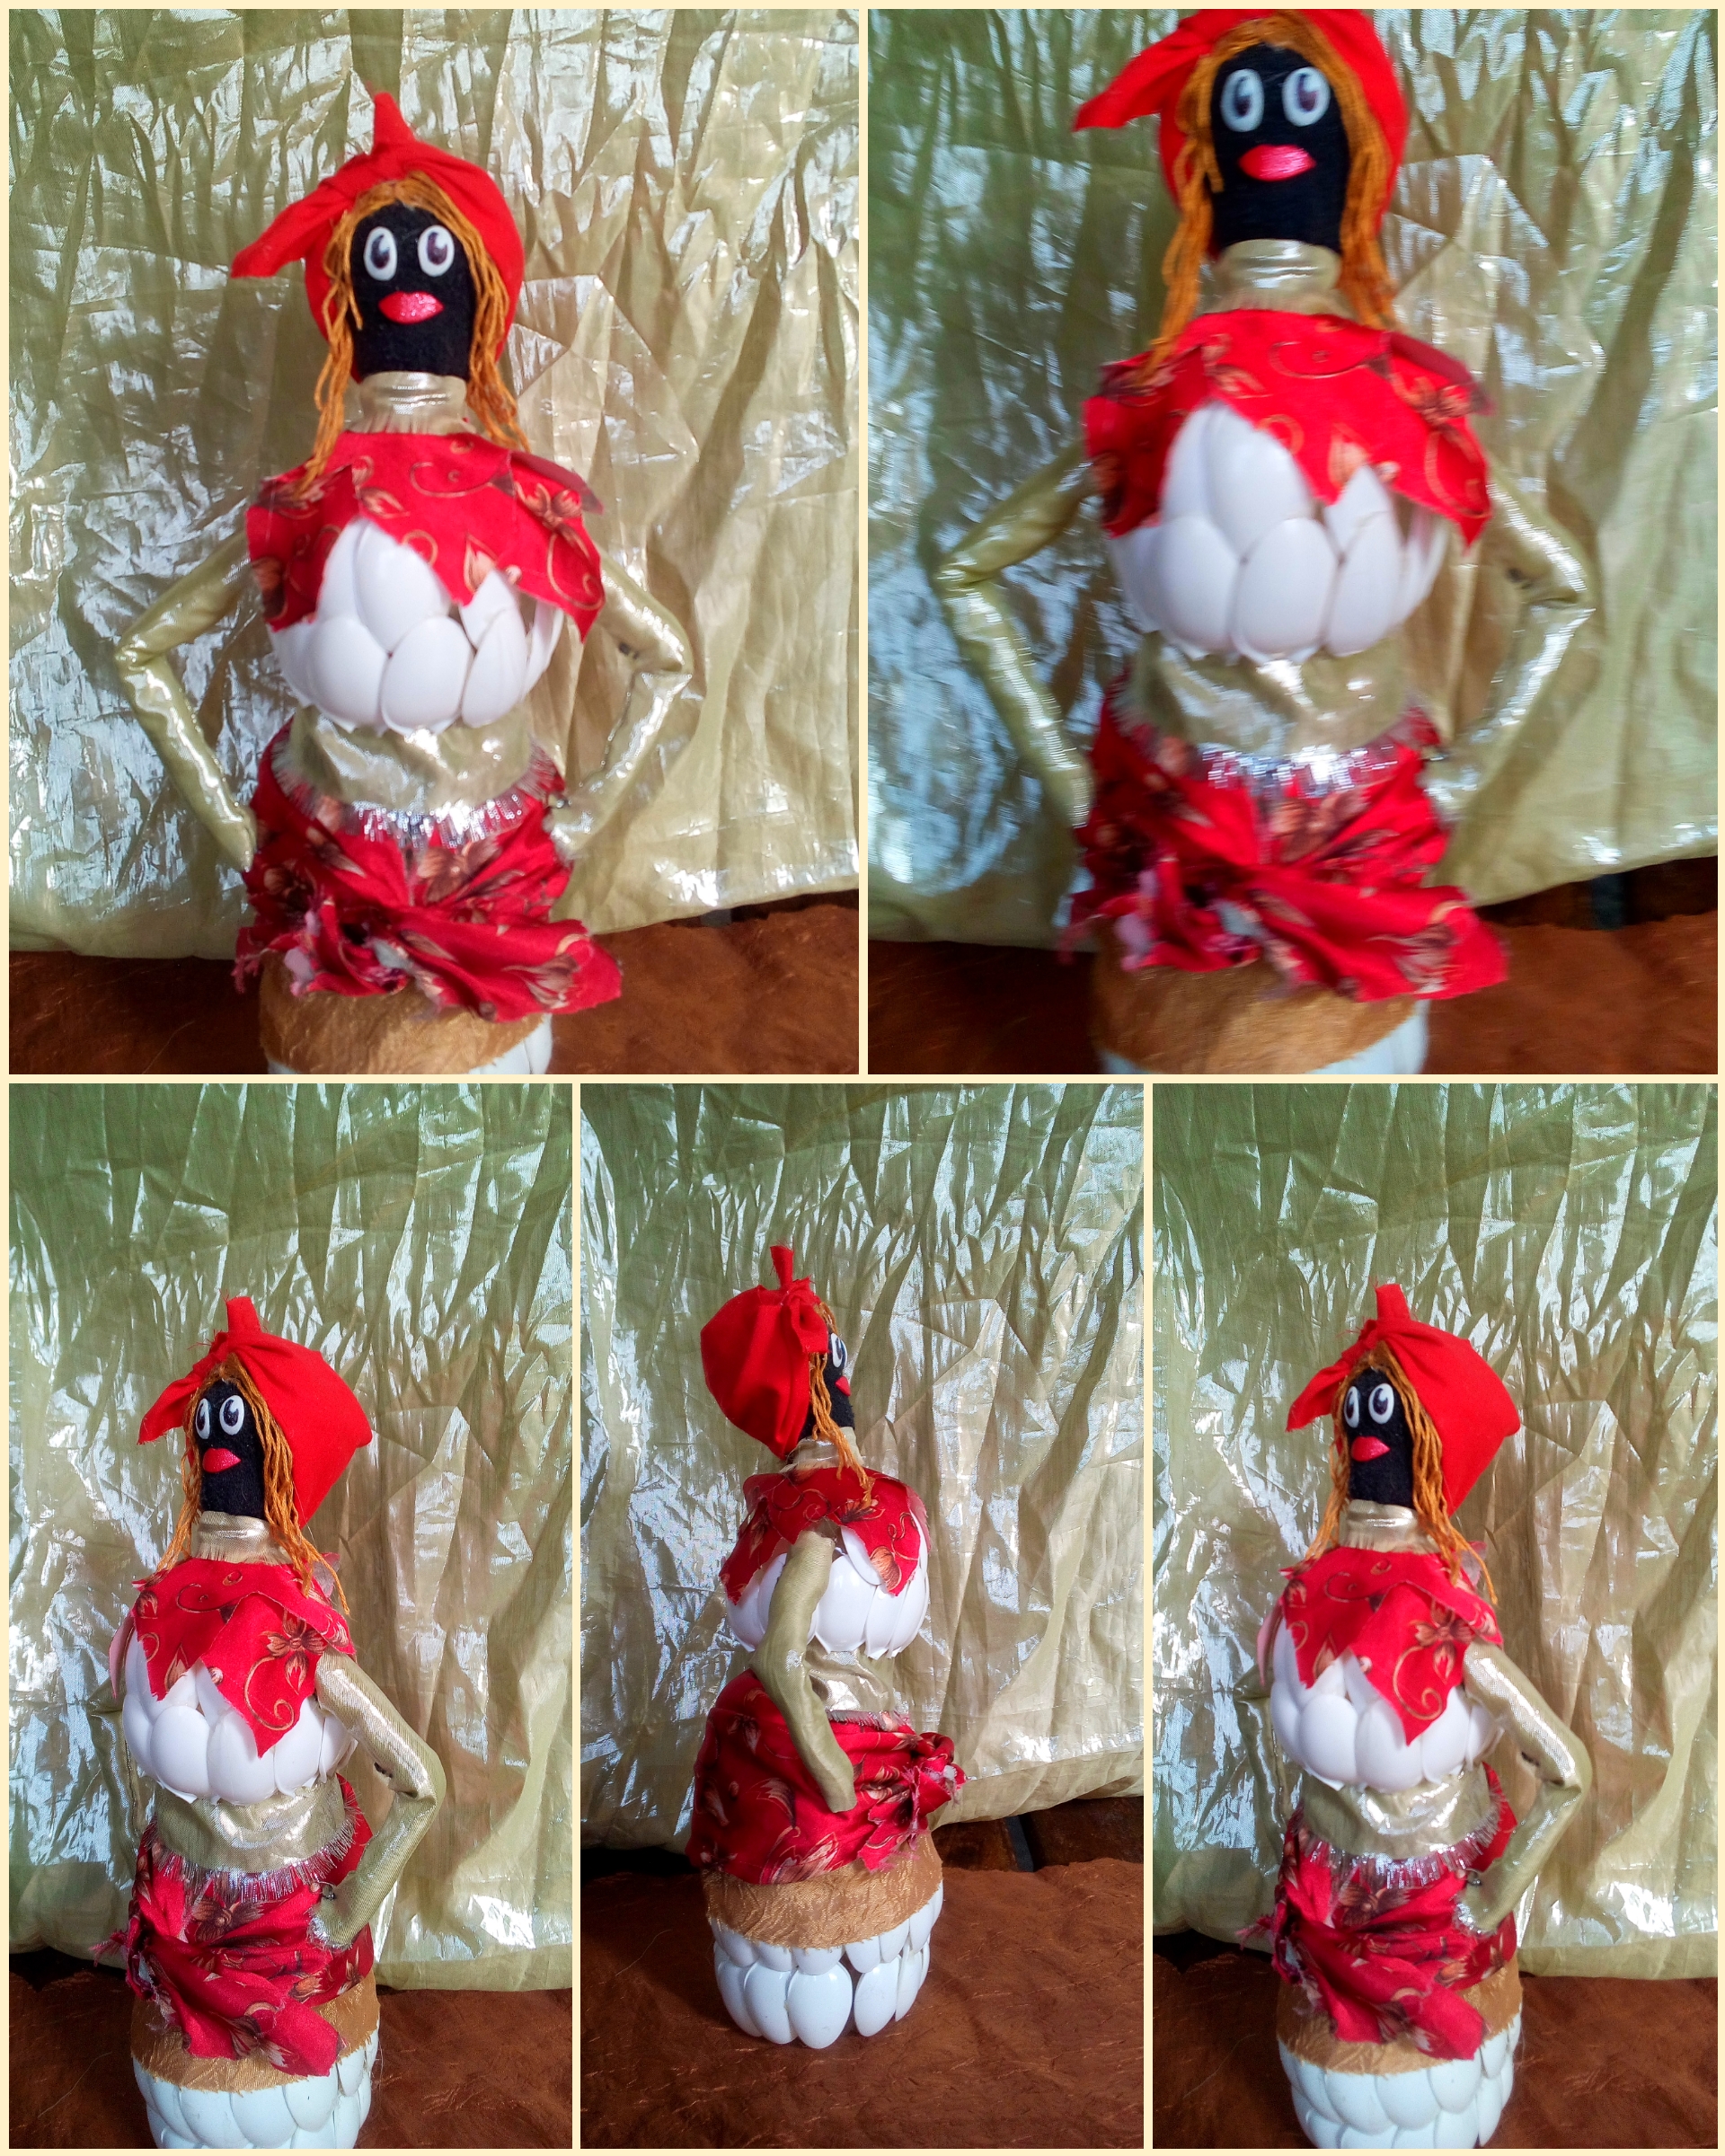
And Ta-da 😄, ready we finished our beautiful Madama del Callao "Doña Petra" 😘, we know that we are very far from Carnival 🥳😅, but we cannot resist creating this doll.😁
Bueno queridos lectores esto es todo por hoy, Espero que les haya gustado esta Linda Muñeca, y el paso a paso,que fue un poco breve 😅. Saludos 🤗y Bendiciones🙏 .Los dejamos con estas fotos.
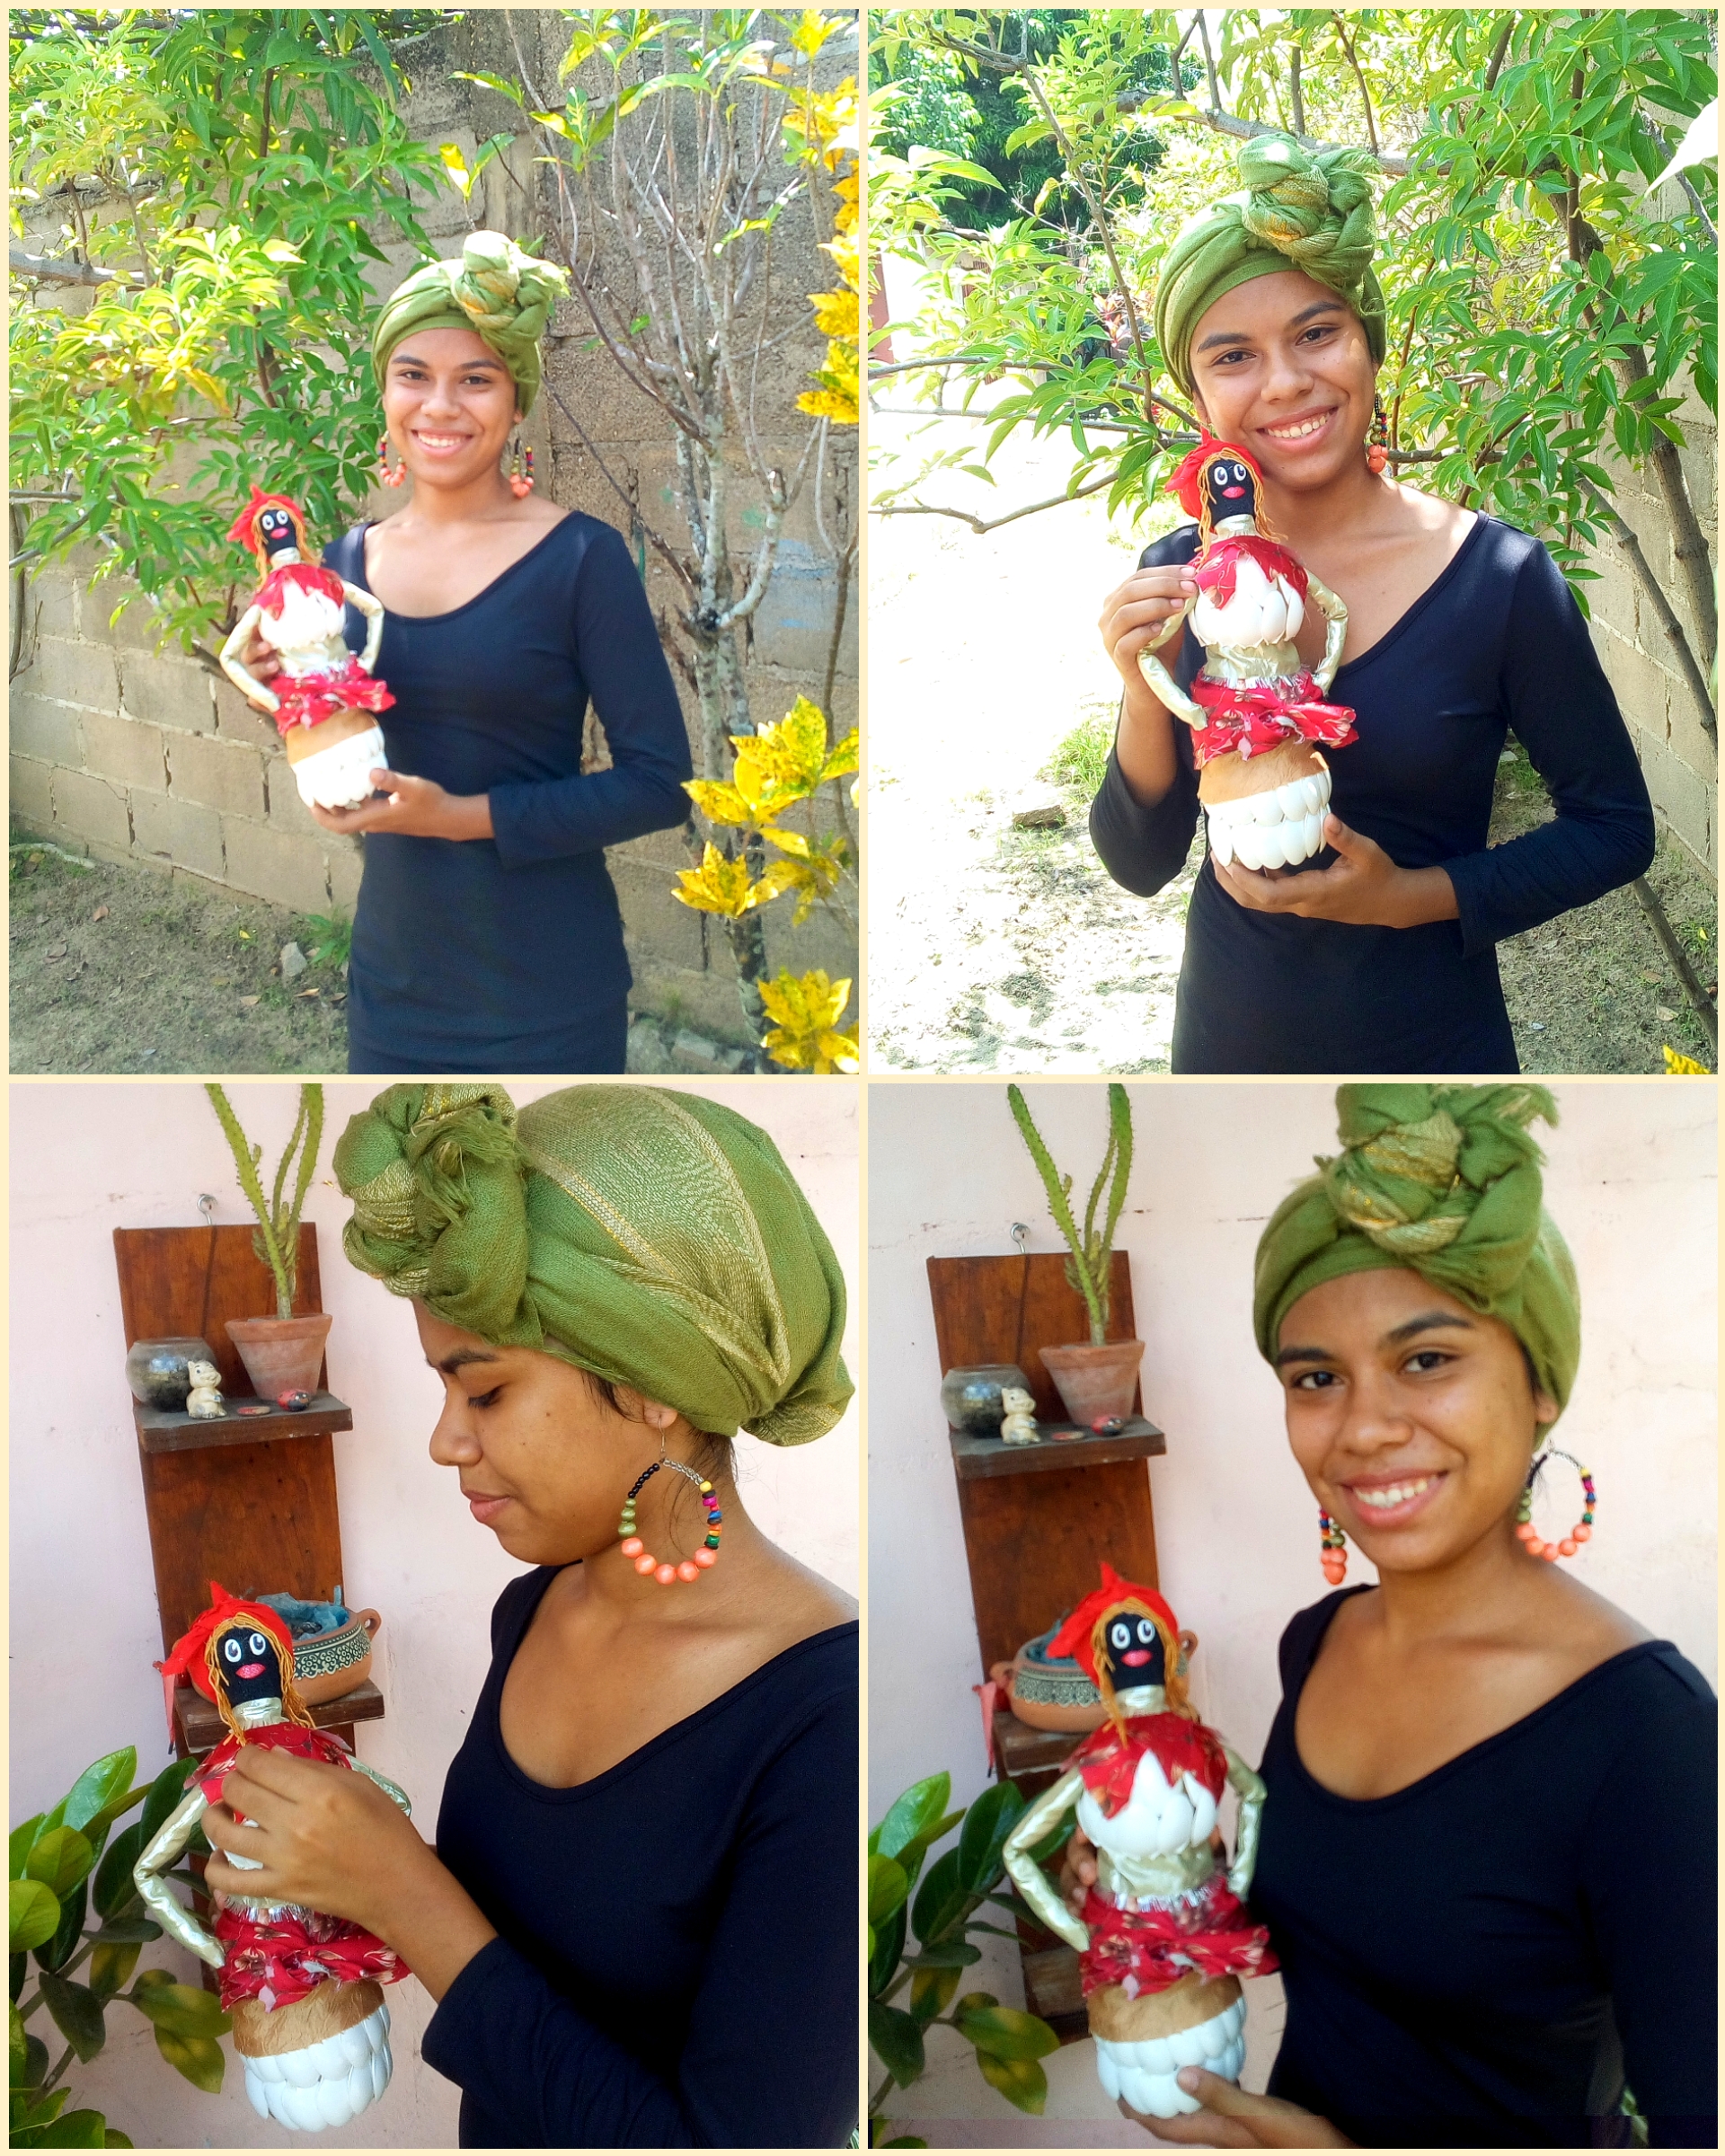
Well dear readers this is all for today, I hope you liked this Cute Doll, and the step by step, which was a bit brief 😅. Greetings 🤗and Blessings🙏. We leave you with these photos.
Las fotografias fueron tomadas con un teléfono inteligente (Smooth 5.0), y editadas con la app Polish.
The photographs were taken with a smartphone (Smooth 5.0), and edited with the Polish app.
Congratulations @holamigente! You have completed the following achievement on the Hive blockchain and have been rewarded with new badge(s) :
Your next target is to reach 50 comments.
You can view your badges on your board and compare yourself to others in the Ranking
If you no longer want to receive notifications, reply to this comment with the word
STOPTo support your work, I also upvoted your post!