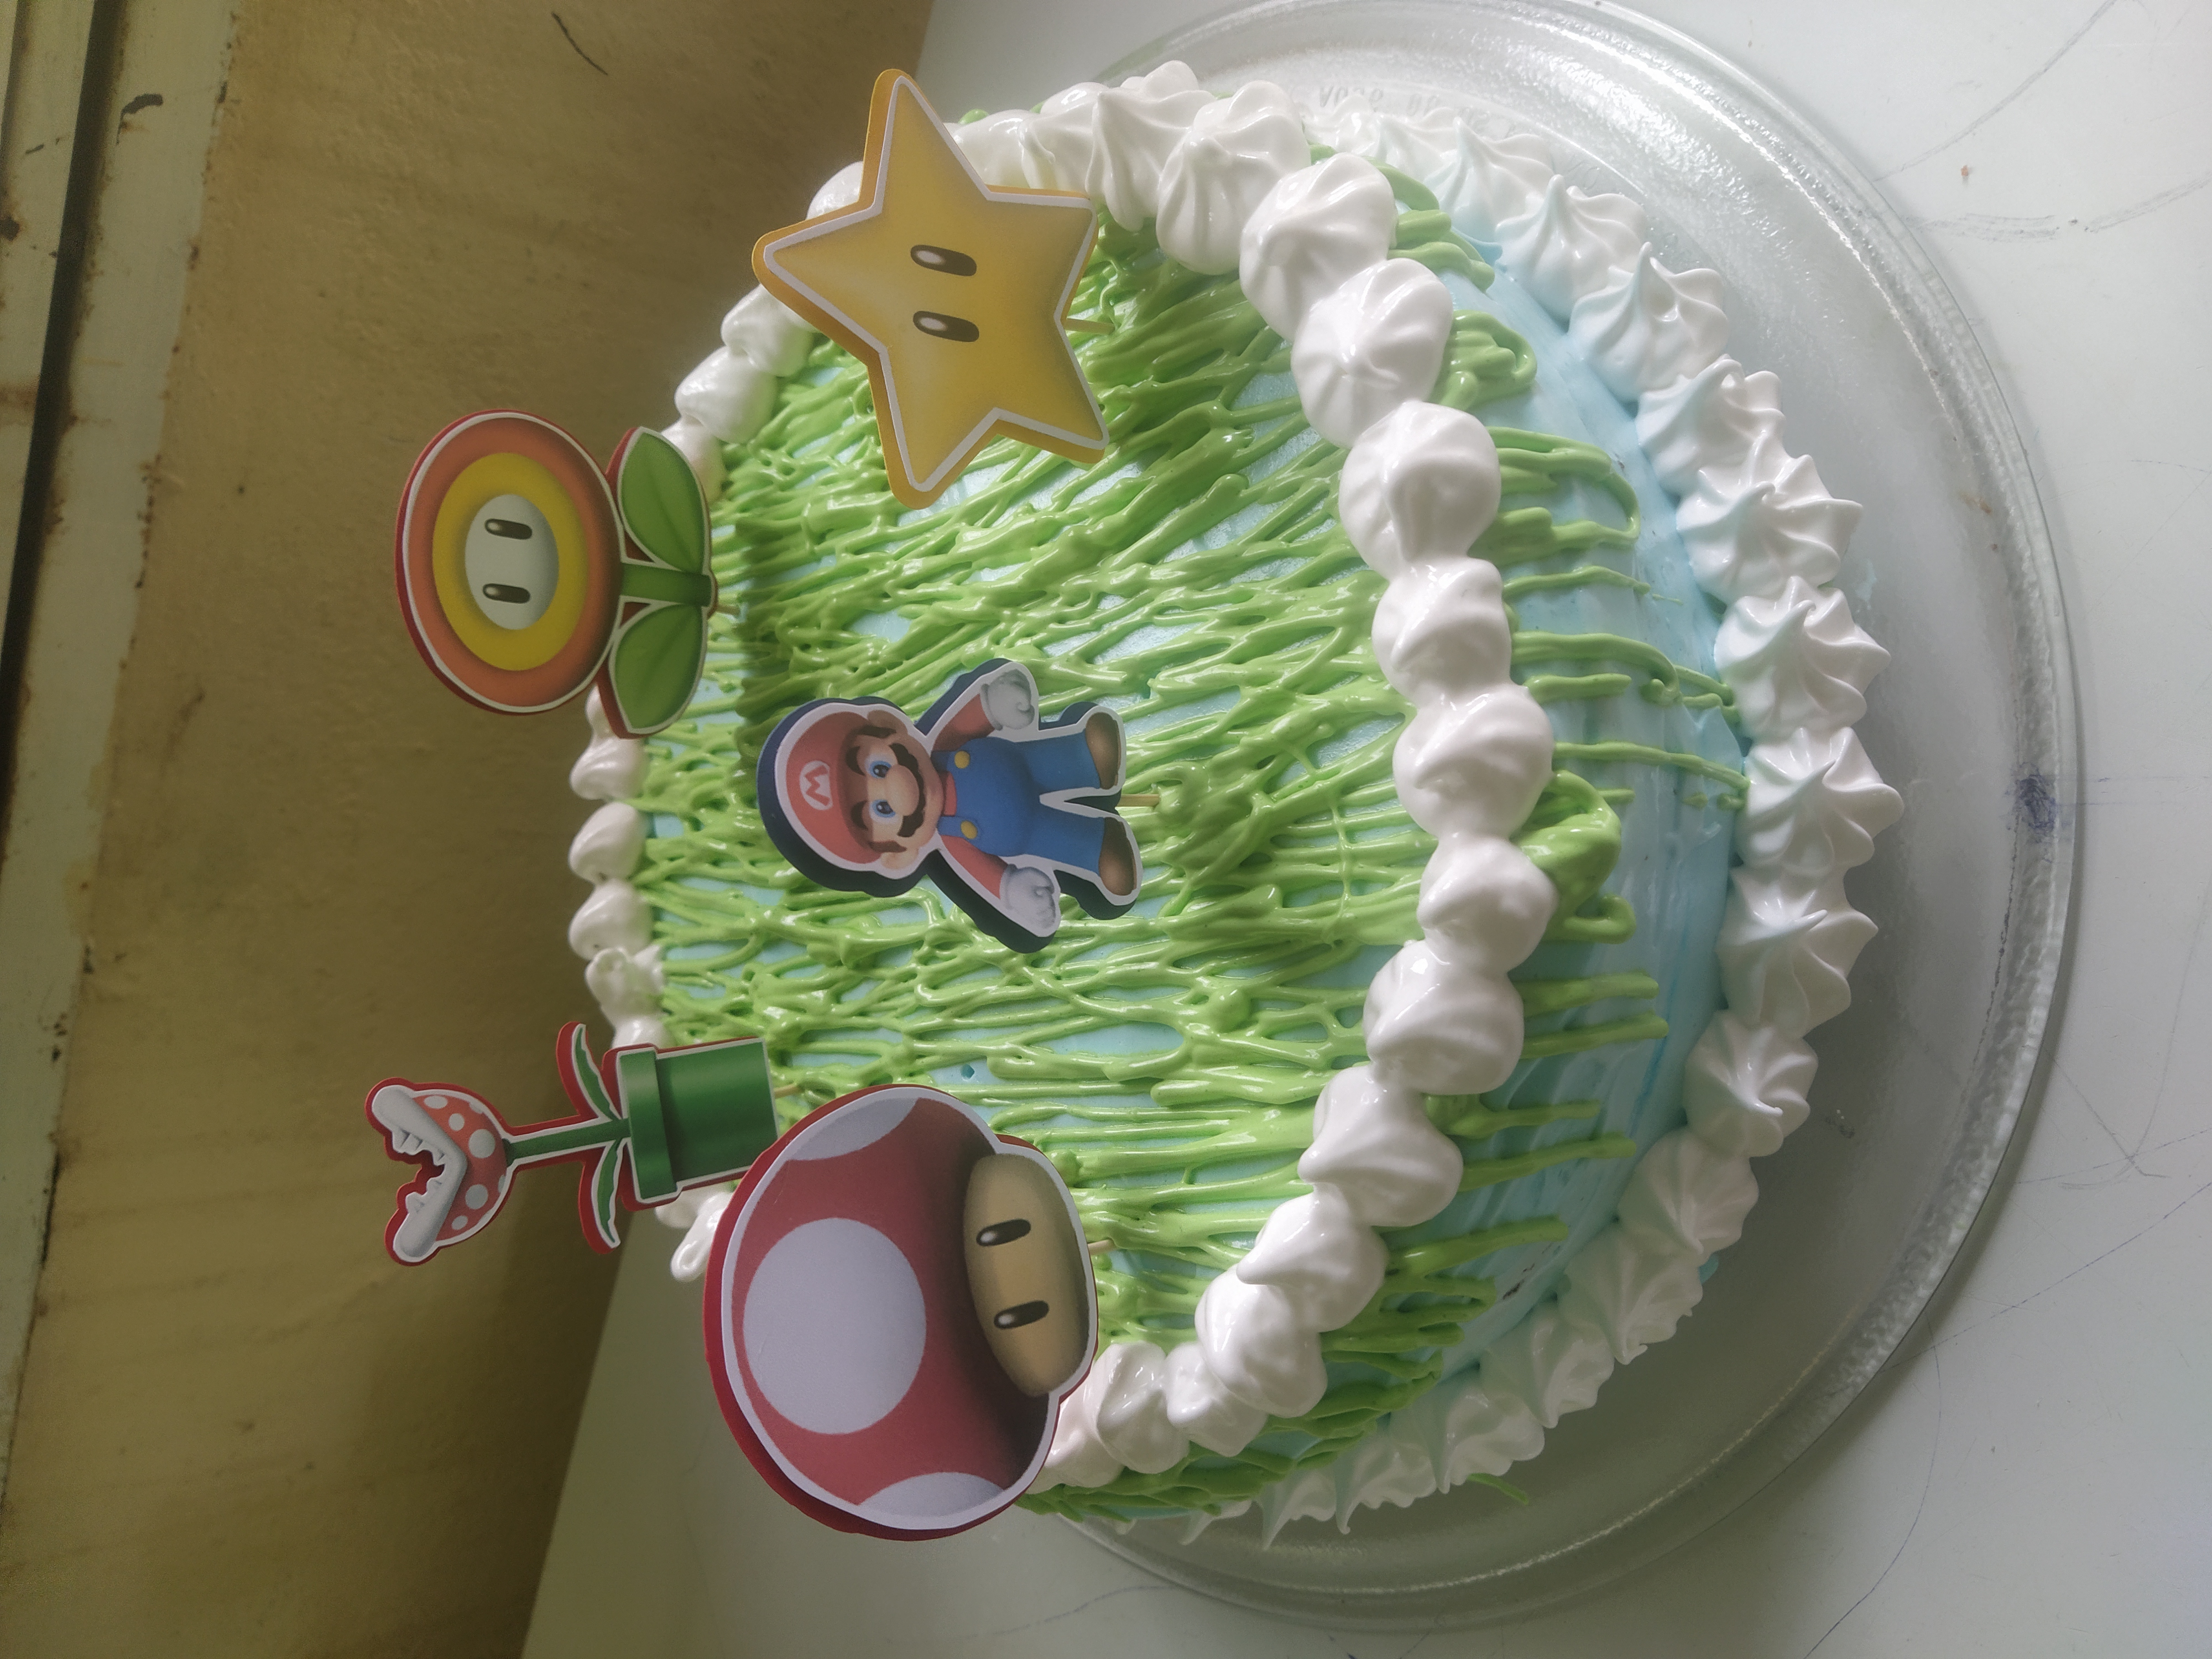
Materials:
7 egg whites.
500 gm of sugar.
Vanilla essence.
Coconut essence.
Artificial color, blue and green.
A pastry sleeve.
Nozzles.
A mixer.
Hola amigos de la gran comunidad de GEMS, contenta de compartir con ustedes el paso a paso de como decorar una torta de cumpleaños, a continuación les muestro los materiales y el procedimiento, para que lo disfruten y lo pongan en practica.
Materiales:
7 claras de huevo.
500 gm de azucar.
Esencia de vainilla.
Esencia de coco.
Color artificial, azul y verde.
Una manga repostera.
Boquillas.
Una batidora.
Process:
- First we take the egg whites, and beat them for about 10 at high speed, until they are stiff.
- We continue beating and add the sugar in the form of rain, then the vanilla essence, beat until a firm mixture is obtained.
- Segment the mixture into three equal parts.
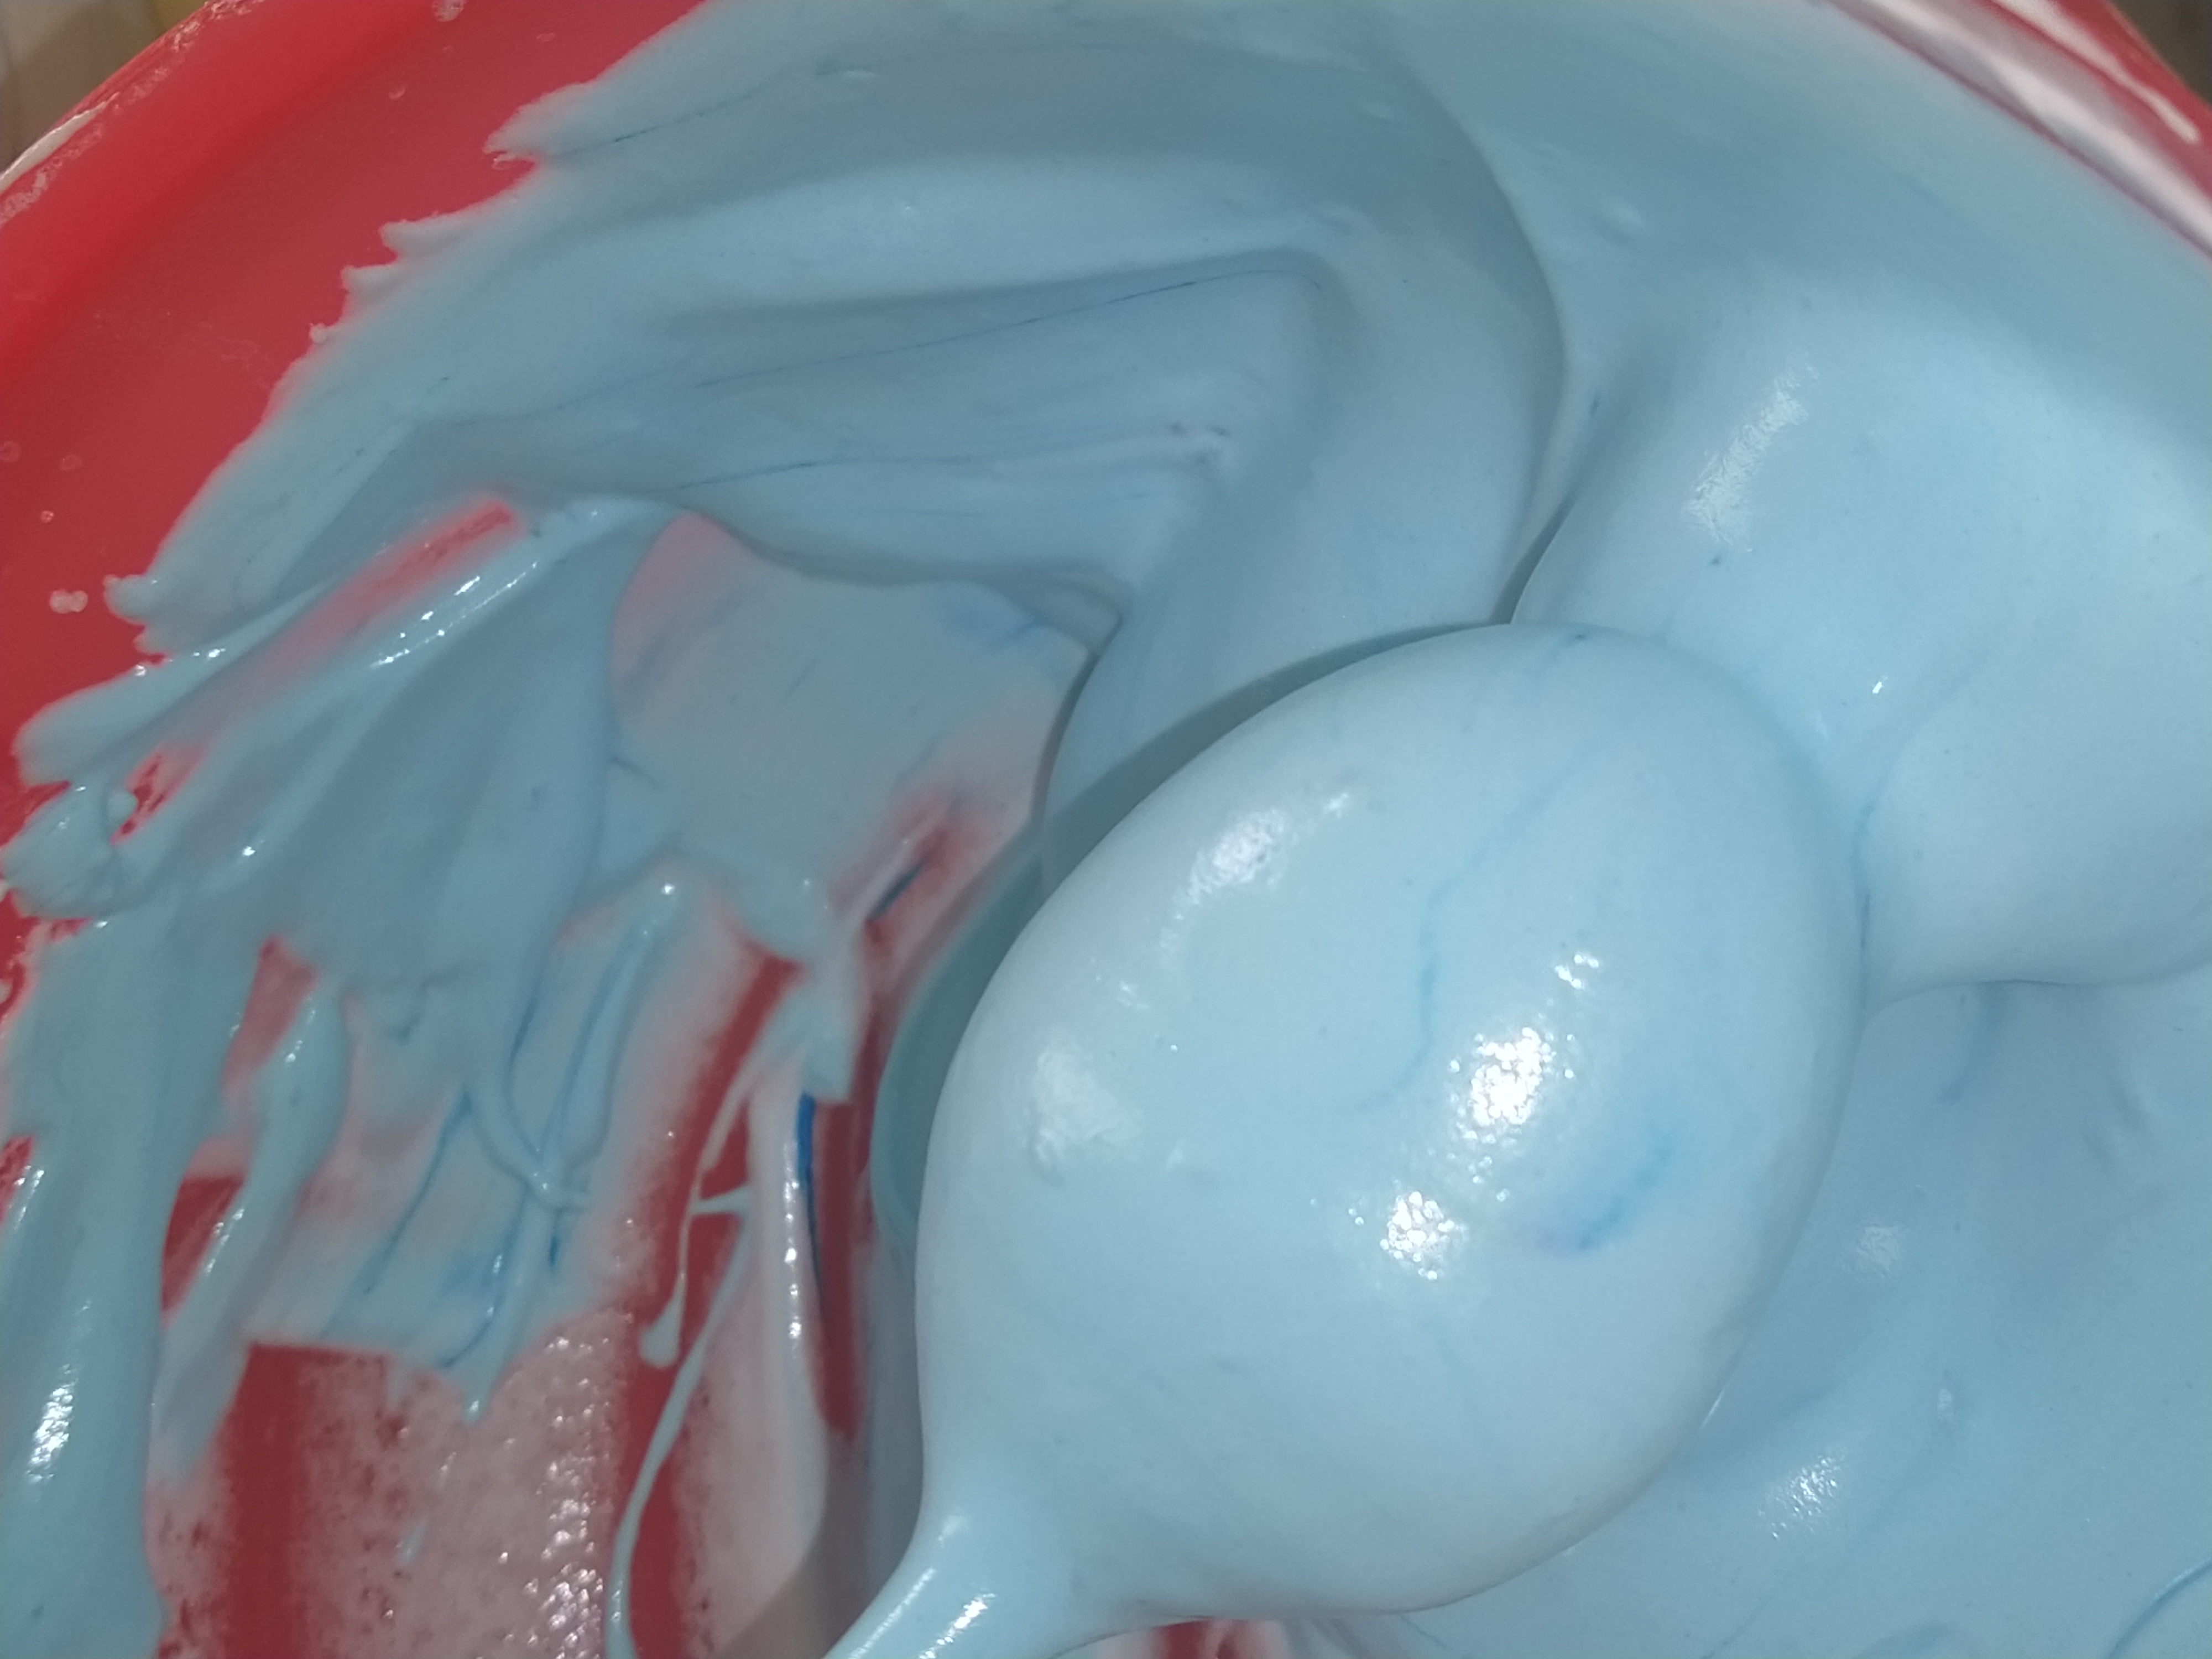
- Take a part of the mixture and add artificial color, blue color and mix until obtaining the desired color.
Procedimiento:
- Primero tomamos las claras de huevo, y la batimos por unos 10 a alta velocidad, hasta que esten a punto de nieve.
- Seguimos batiendo y agregamos el azucar en forma de lluvia, seguidamente la esencia de vainilla, batir hasta tener una mezcla firme.
- Segmentar la mezcla en tres partes iguales.
- Tomar una parte de la mezcla y agregar color artificial, color azul y mezclar hasta obtener el color deseado.

- Place the blue mixture on the cake, and spread all the way around.
- Colocar la mezcla color azul sobre la torta, y esparcir en todo el contorno.
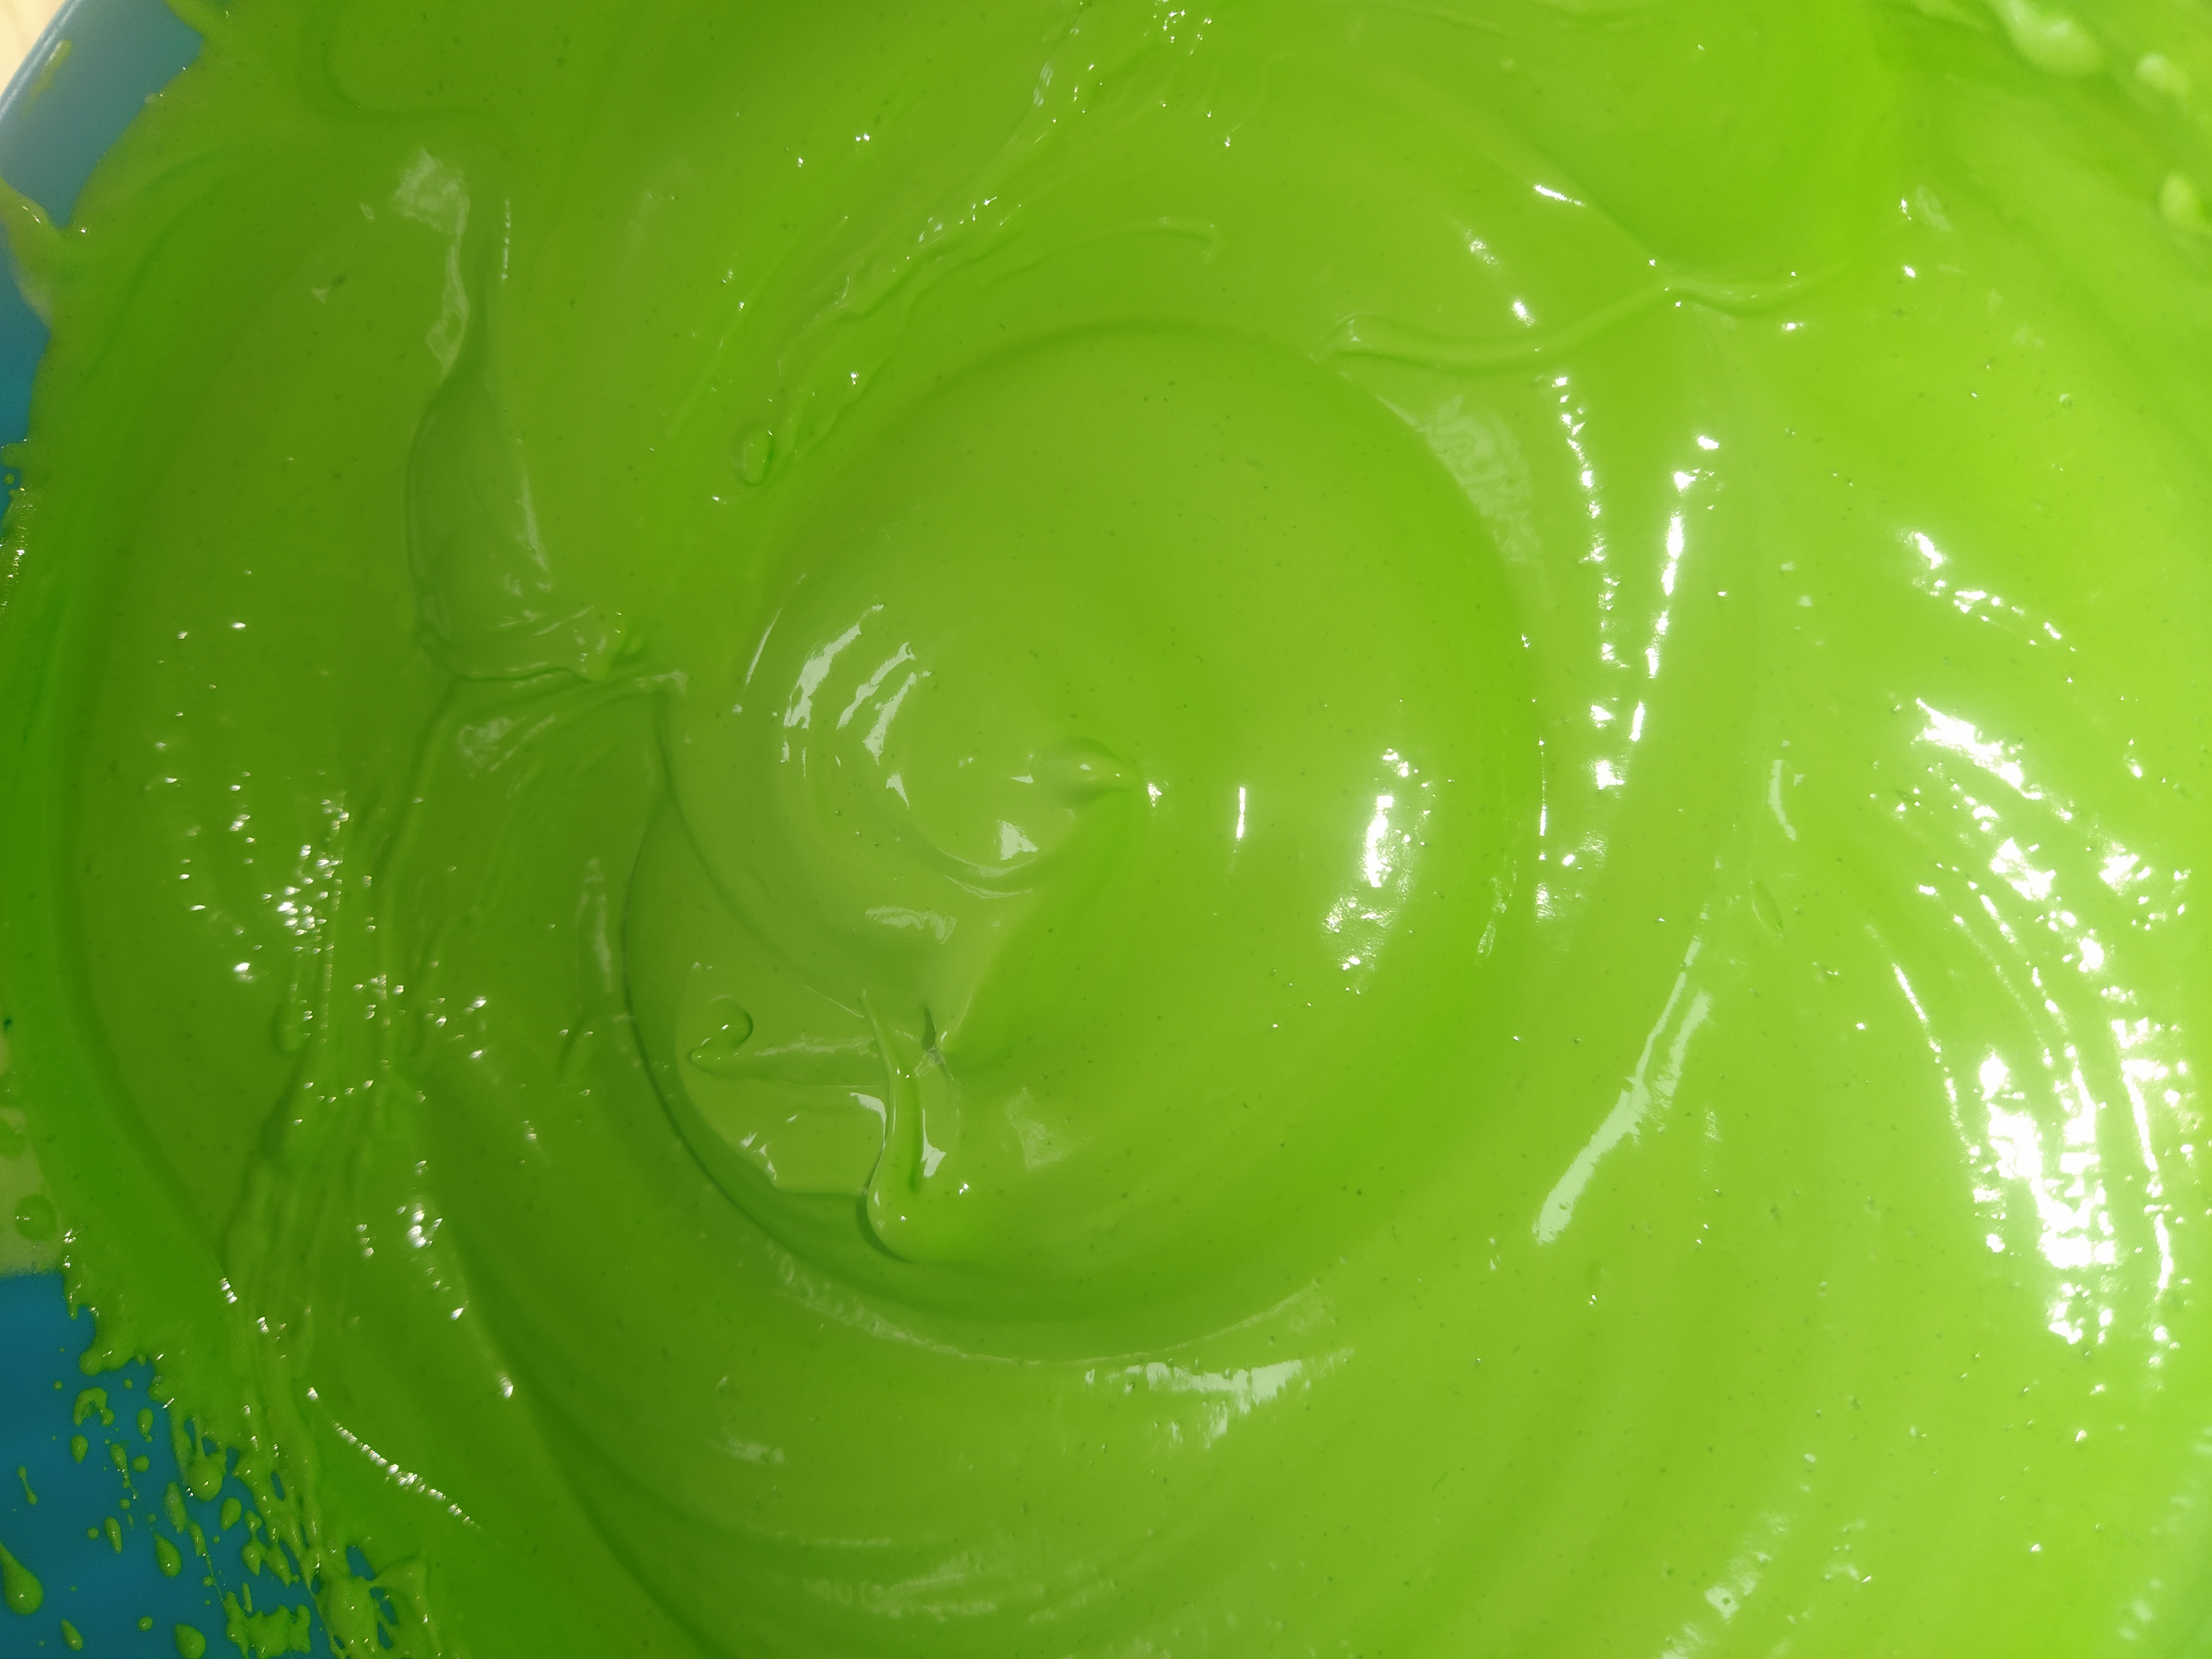
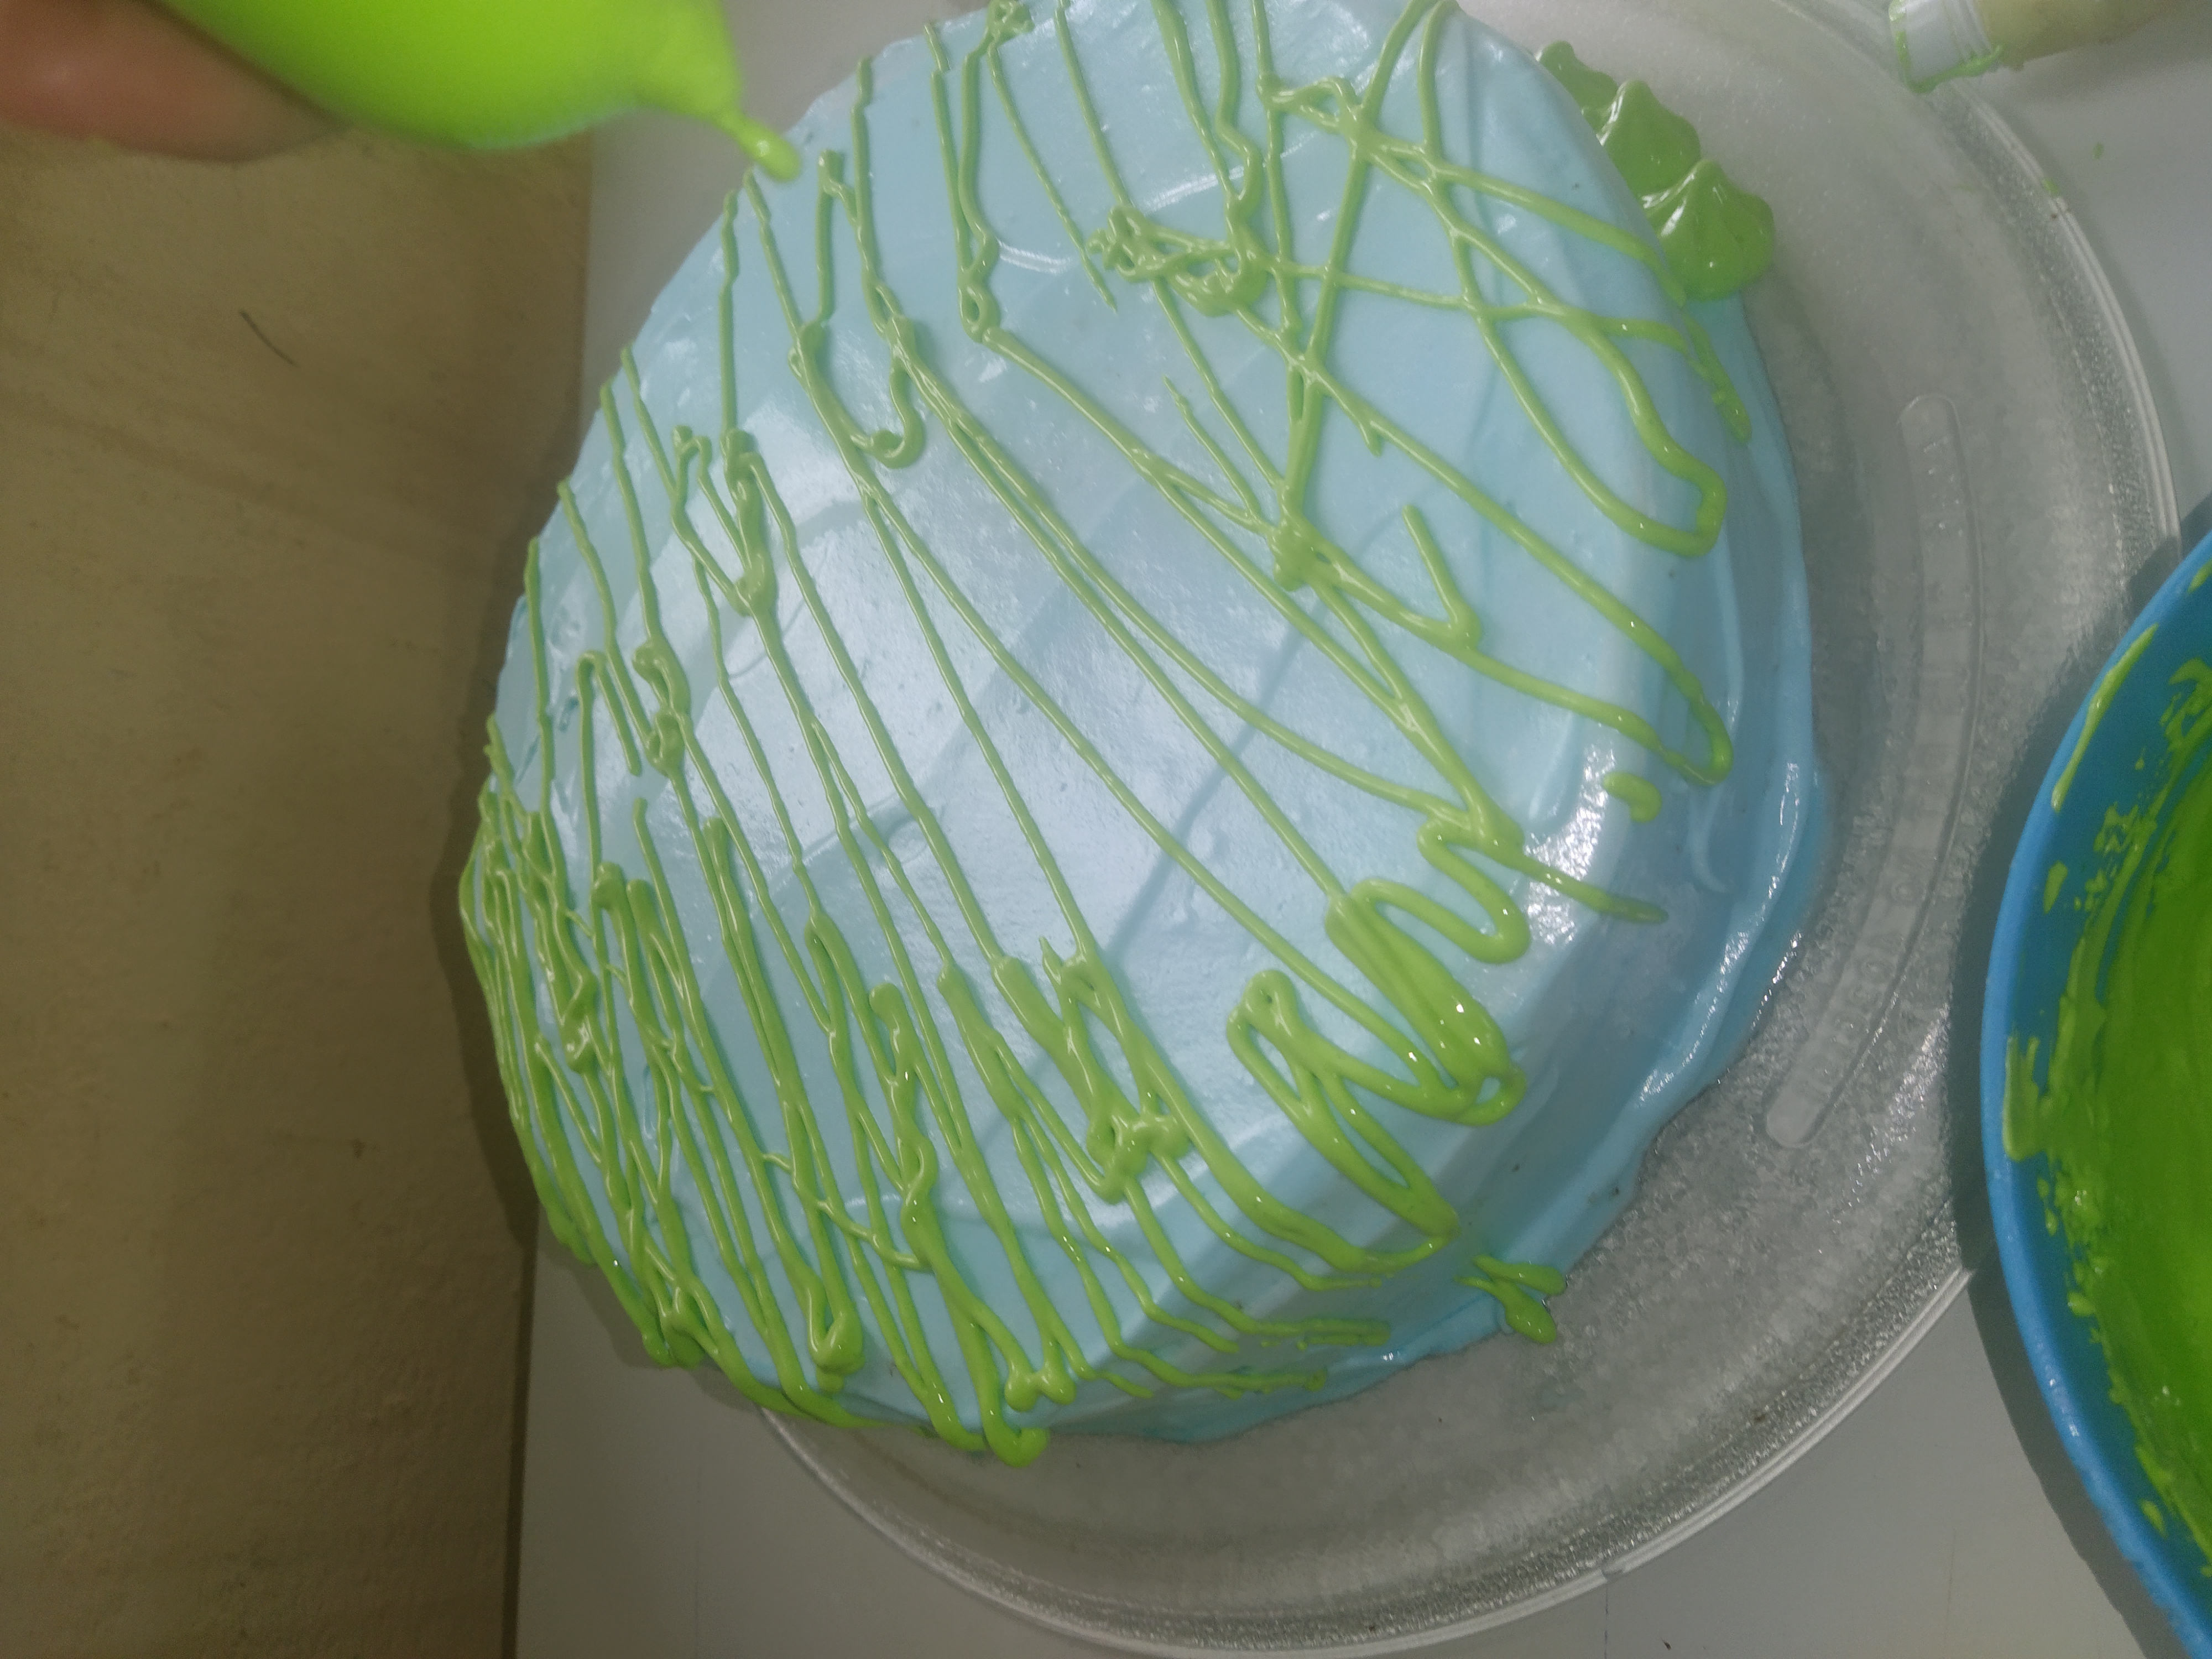
- Take a second part of the mixture and dye it green, place it in a sleeve with a very fine circular nozzle, or place it in a plastic bag and open a very small hole, press on the cake, only the top part, in lines from one side to the other, in order to simulate a kind of lawn.
- Toma una segunda parte de la mezcla y teñir de color verde, colocar en una manga con una boquilla circular muy fina, o colócala en una bolsa plástica y abrir un orificio muy pequeño, precione sobre la torta, solo la parte de arriba, en lineas de un lado a otro, de manera de simular una especie de césped.
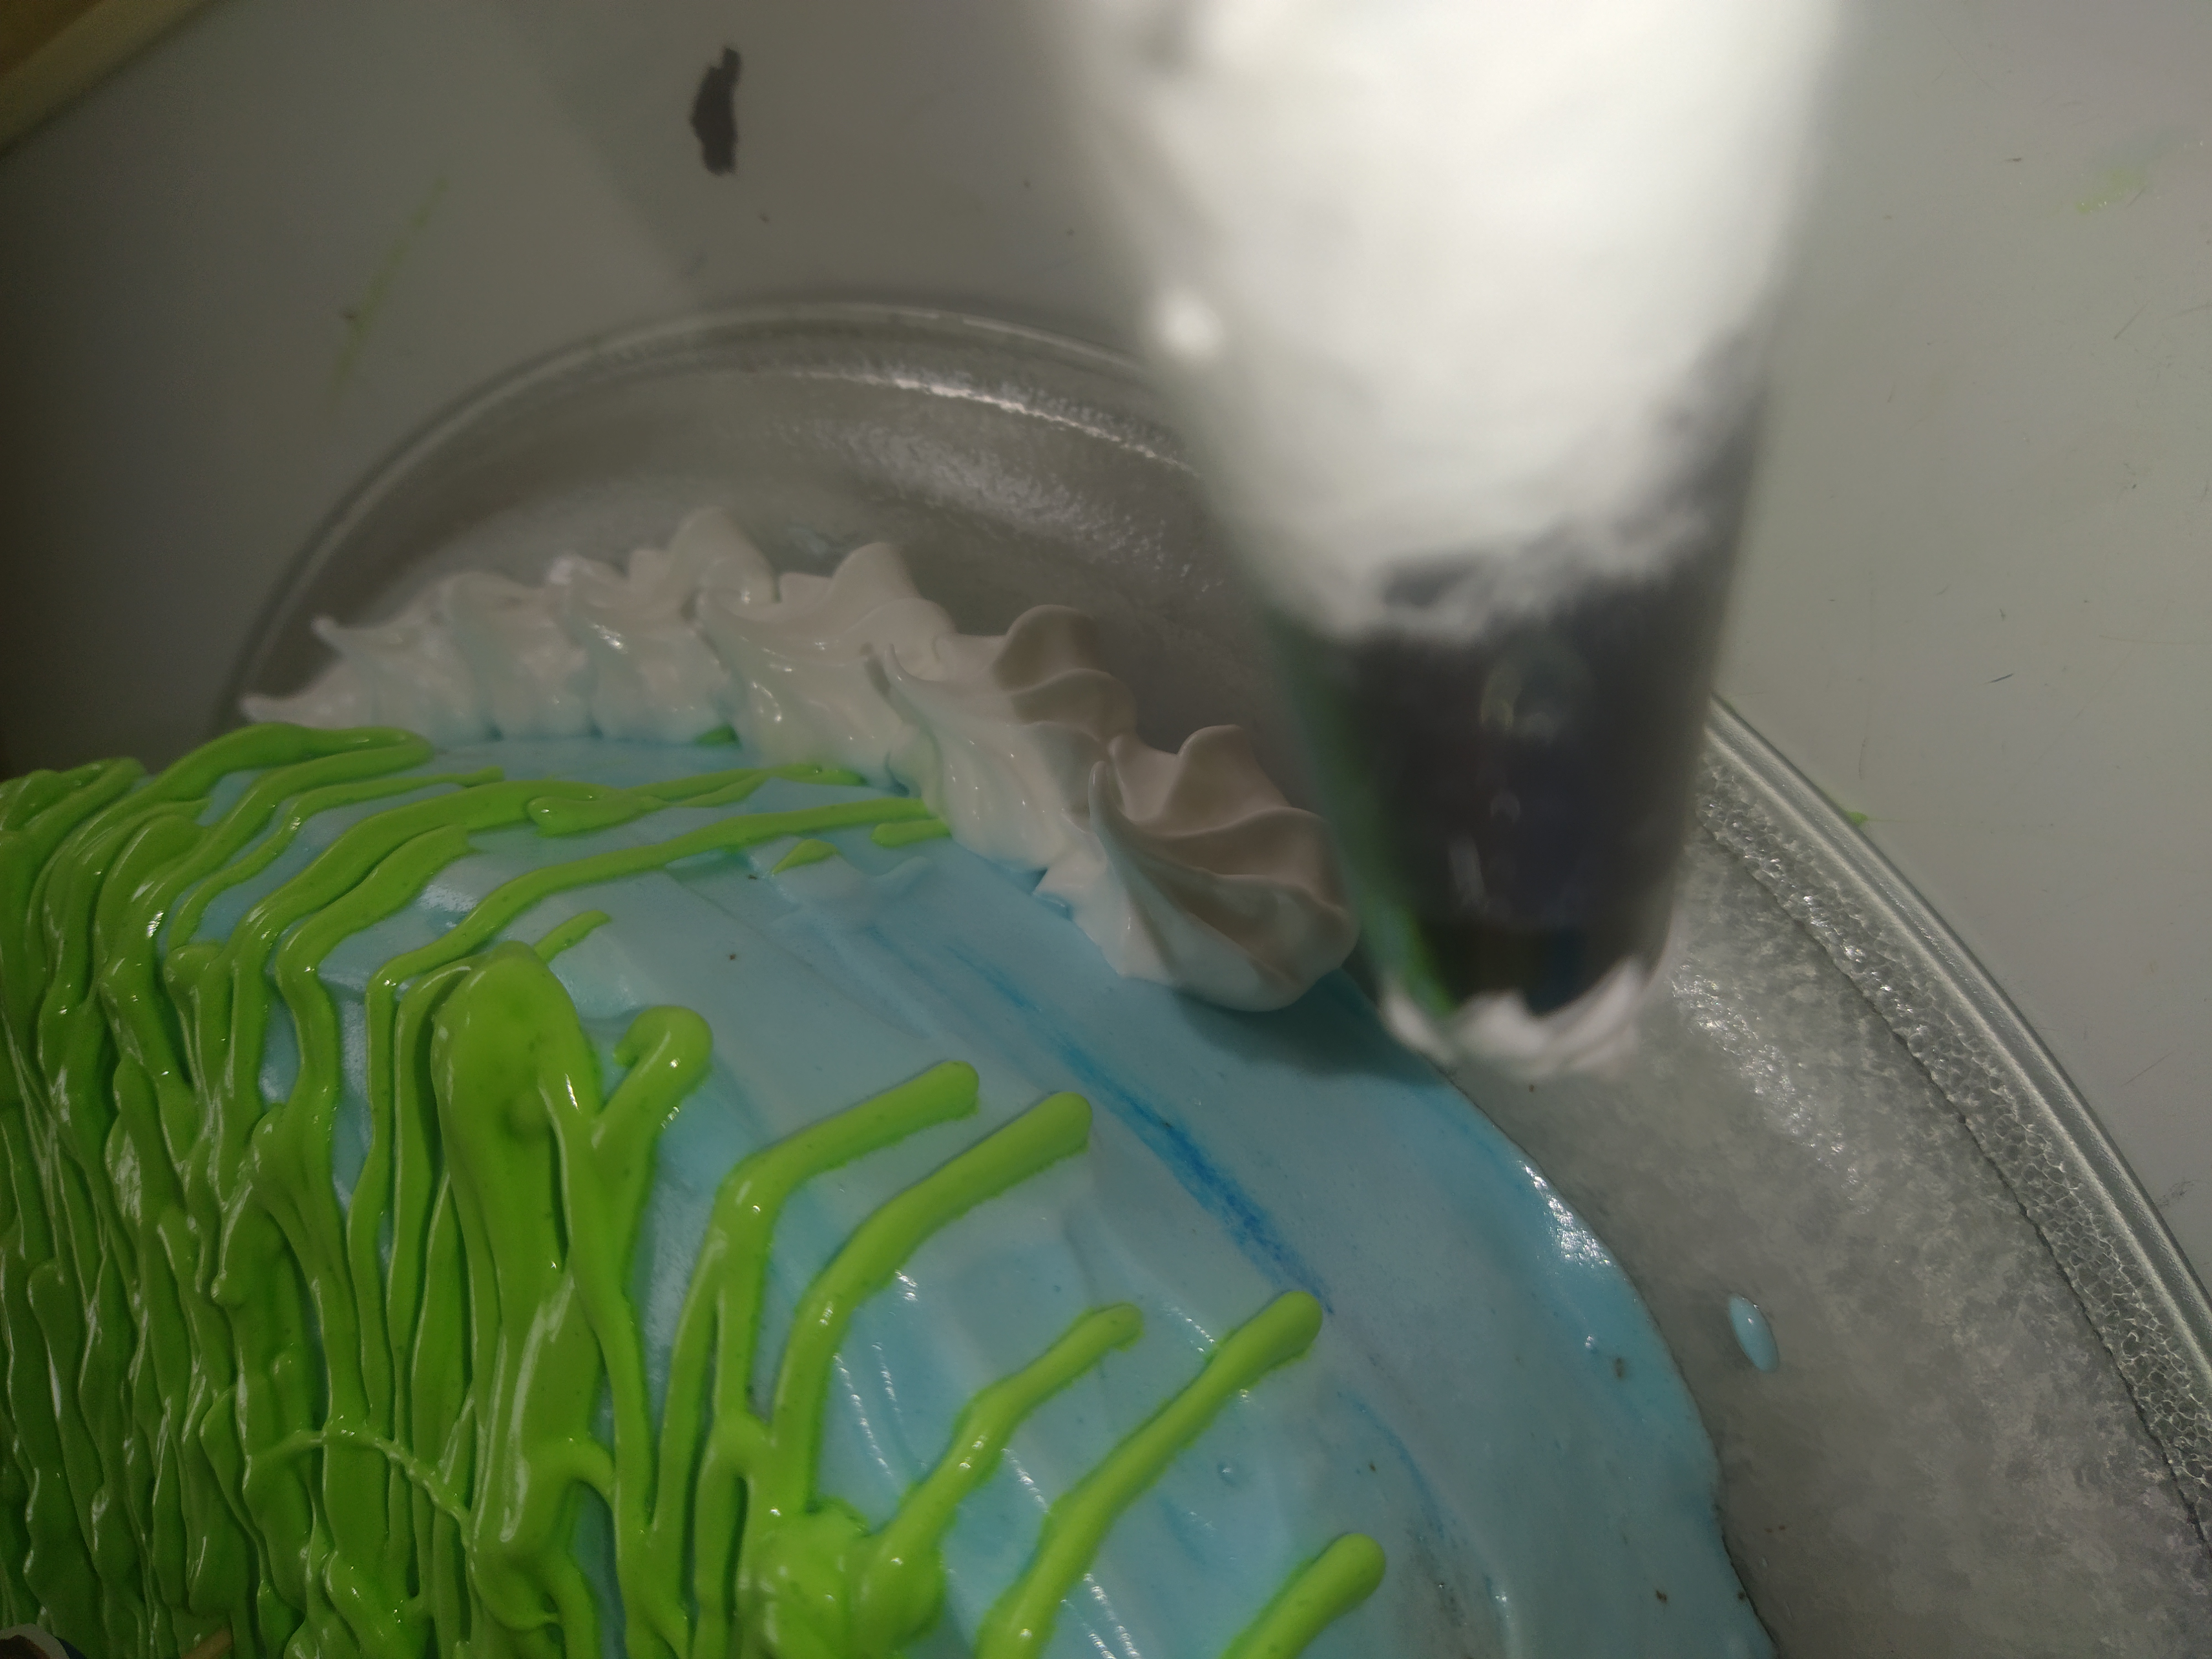
- We leave the third part of the mixture white, without adding artificial color, we place it in the pastry sleeve with a star nozzle, and we make peaks in the contour of the cake, at the top and at the bottom .
- La tercera parte de la mezcla la dejamos de color blanco, sin agregar color artificial, la colocamos en la manga repostera con una boquilla de estrella, y realizamos picos en el contorno de la torta, en la parte de arriba y en la parte baja.
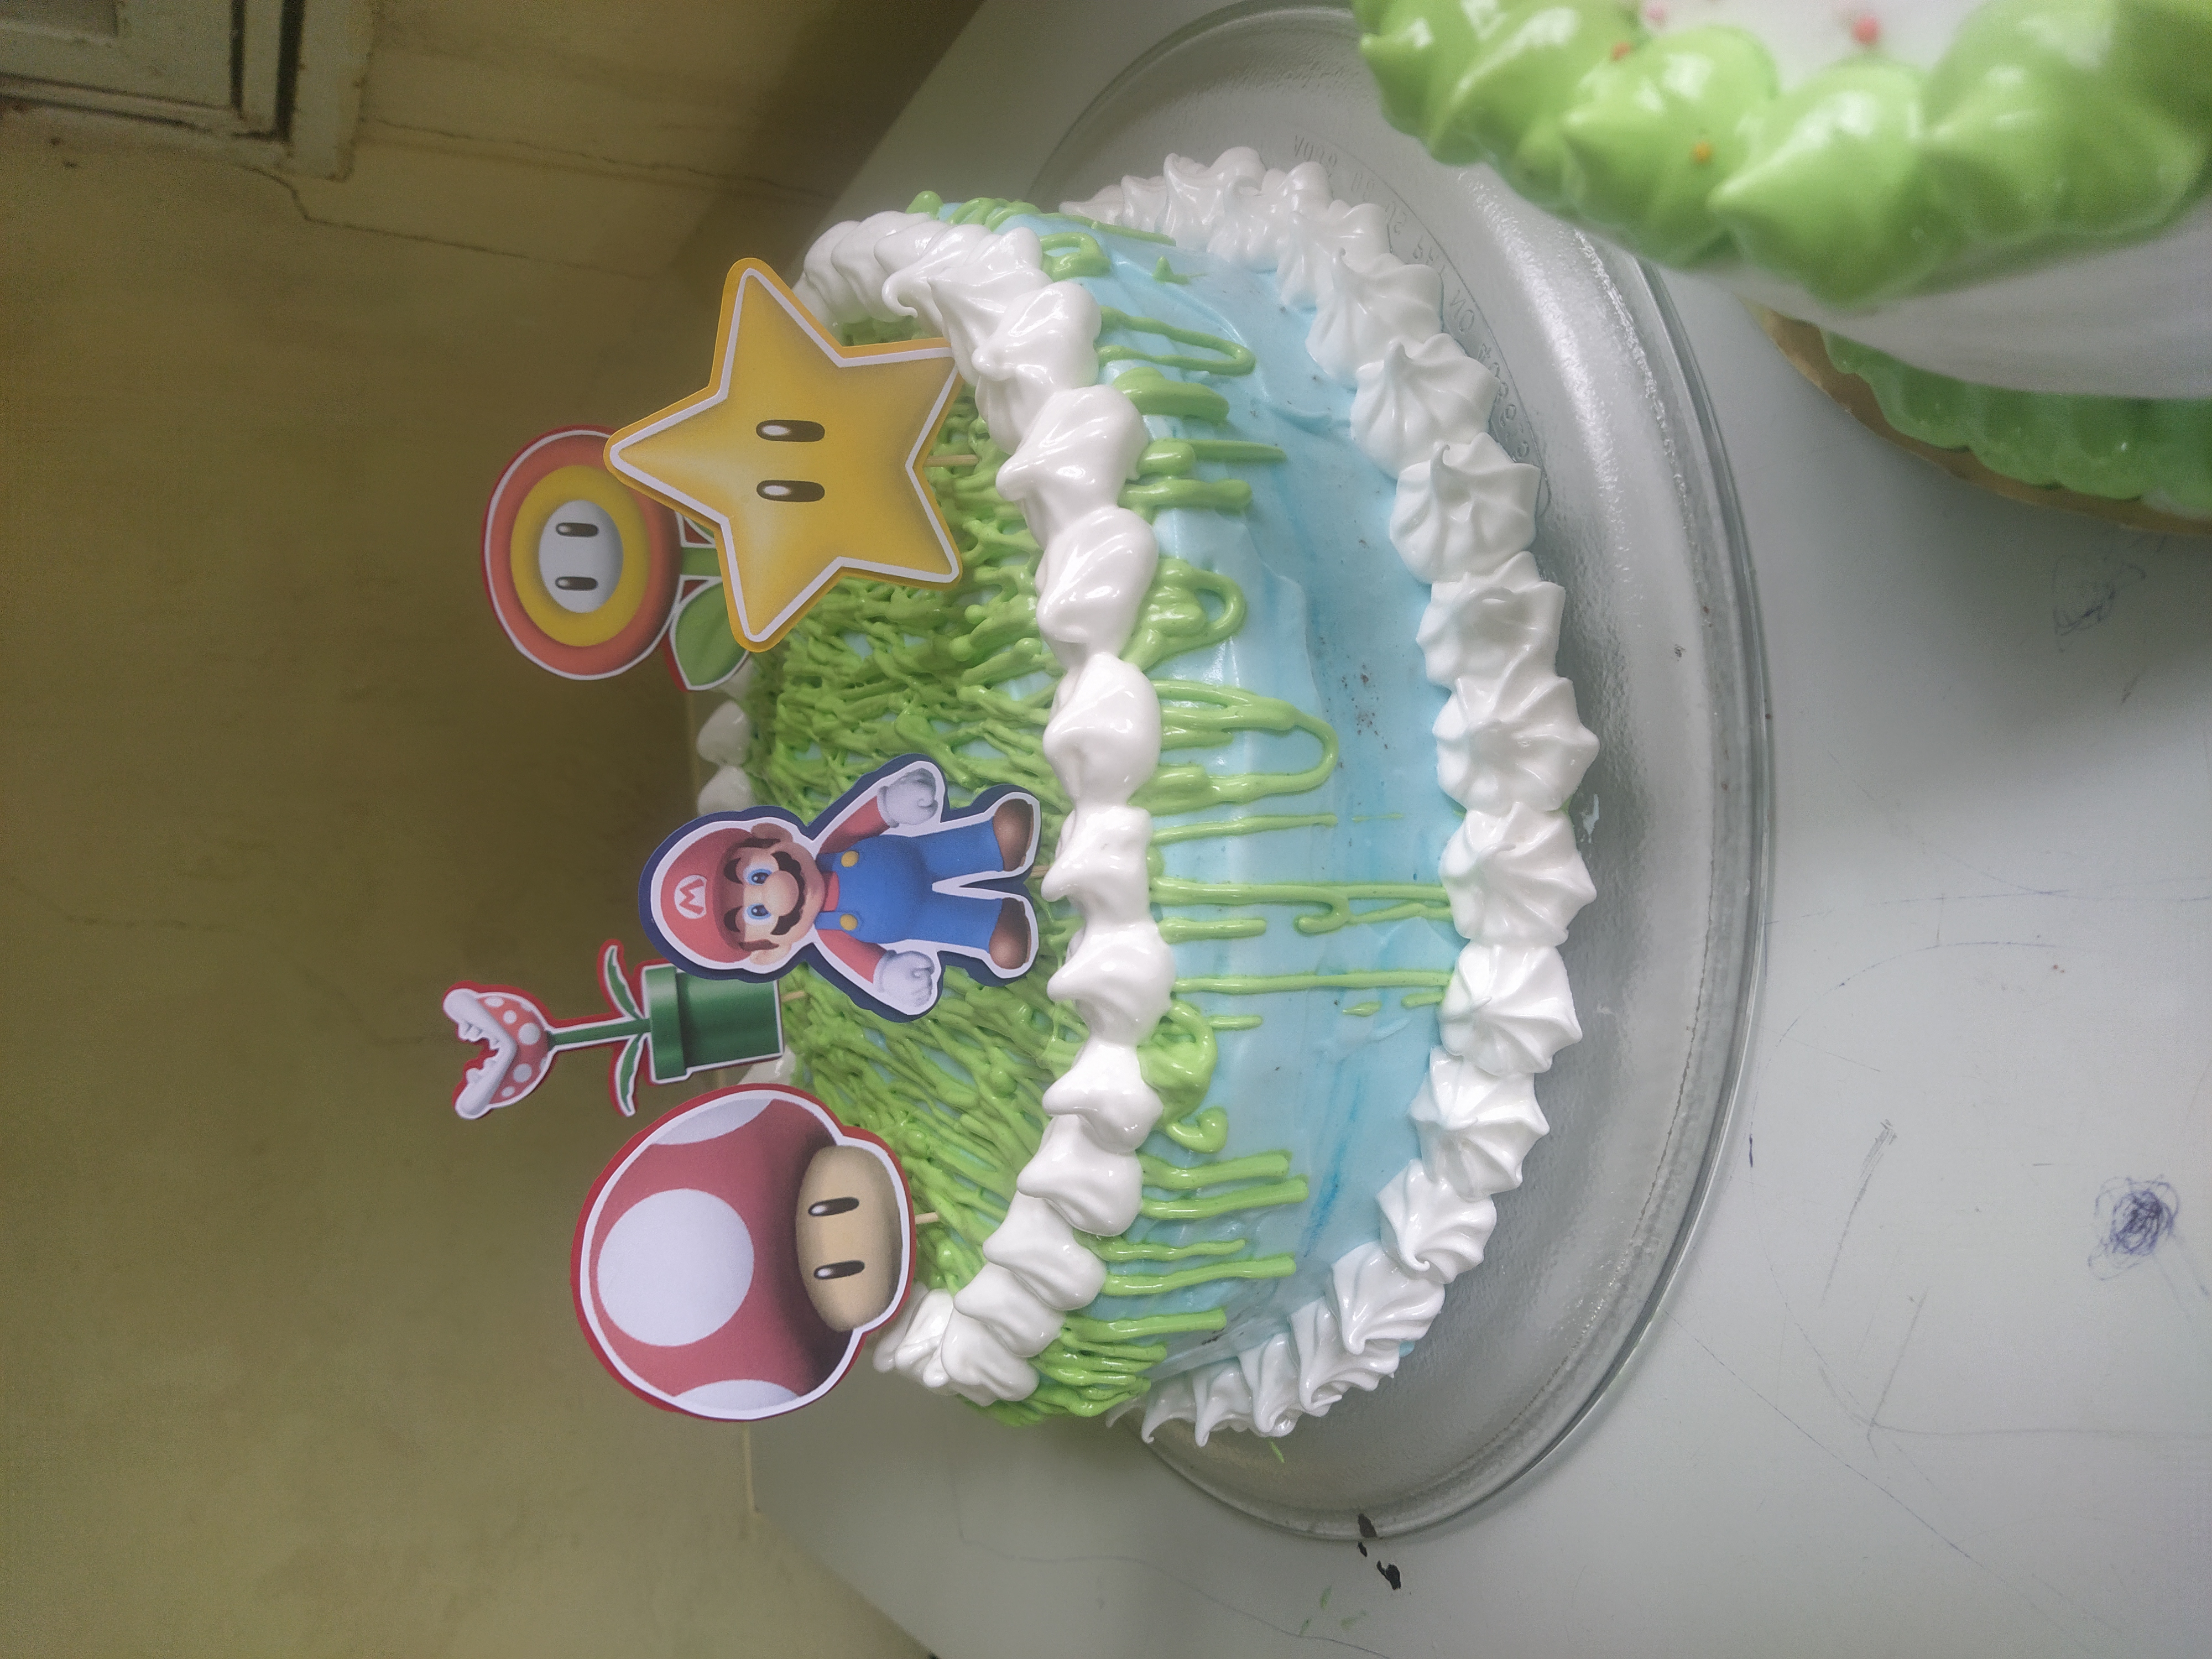
- To finish, place some toppers of my son's favorite character, Super Mario Bross.
I hope you liked this step by step, it helps you to put it into practice at home.
Photos: 💯% original.
Captured with my smartphone📲
Friends thanks for supporting my posts, @karen16.
Author: @karen16.
- Para culminar, coloque unos topper del personaje favorito de mi hijo, super Mario Bross.
- Espero les haya gustado esta paso a paso, les sirva para ponerlo en practica en sus casas.
Fotos: 💯% originales.
Capturadas con mi telefono inteligente📲
Amigos gracias por el apoyo a mis publicaciones, @karen16. Autor: @karen16.