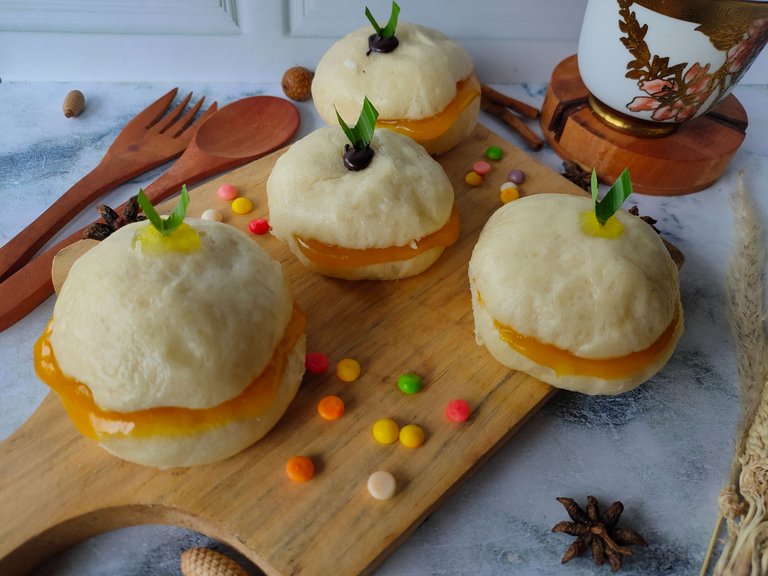
yooo hello my fellow hivers and all hive communities from all over the world wherever you are. back again with me Jodi Pamungkas and Ema on the food and snack recipe blog that is very easy for you to make yourself at home without requiring a lot of money and time. Happy weekend to all of you who are on vacation or relaxing at home with family, I hope you are all fine without any problems. Thank you to all of you who have read and stopped by my previous post regarding the recipe for how to make lemon pounds very easily and it tastes good too. have you tried this recipe? if so, provide a picture of your lemon pound cake below this post. On this Tuesday I will share a recipe that is quite easy for you to make yourself at home and it tastes very good. Who among you likes Serikaya Jam? Yes, this jam is quite rare to find abroad and very easy to find in Indonesia. Well, if you are outside Indonesia, you can replace Serikaya Jam with other jams according to your wishes. without further ado, just take a look at the recipe below until it's finished and I hope you succeed in making this serikaya bread. good luck !
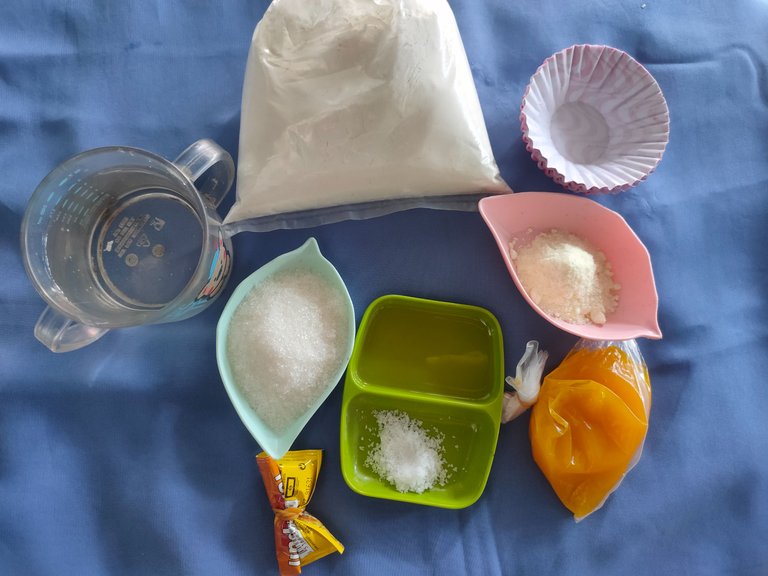
Well, the ingredients you have to prepare to make Serikaya Jam are certainly not expensive and you can get them at the nearest supermarket. You can also replace other brands with brands that are available around your house. The first thing you have to prepare is yeast, serikaya jam, mineral water, sugar, salt, powdered milk, cooking oil, medium protein flour and parchment paper. after you have prepared all the following ingredients, now let's start the first step of making serikaya bread dough.
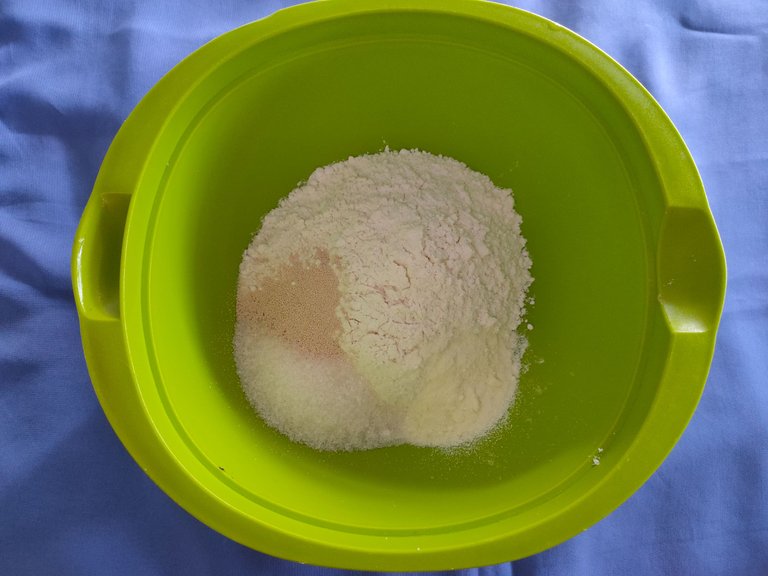
The first step, what you have to do first is prepare 1 place and put 15 tablespoons of medium protein flour, 1 tablespoon of powdered milk, half a tablespoon of yeast and 4 tablespoons of sugar. Then, stir the dry mixture until well blended using a spoon only.
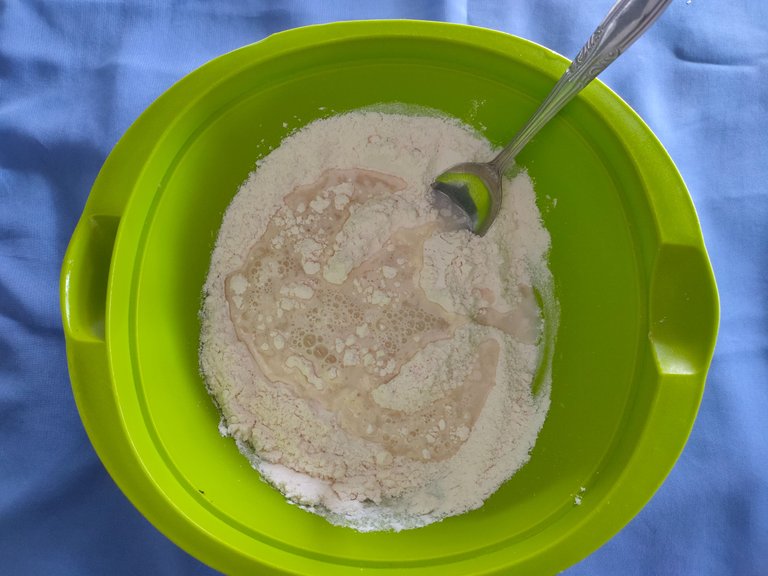
the second step, after you have kneaded the dry mixture until well blended, now add enough mineral water to the dough or you can also replace mineral water with enough liquid milk. then, knead by hand until the dough is half smooth or you can also use a mixer to knead the dough.
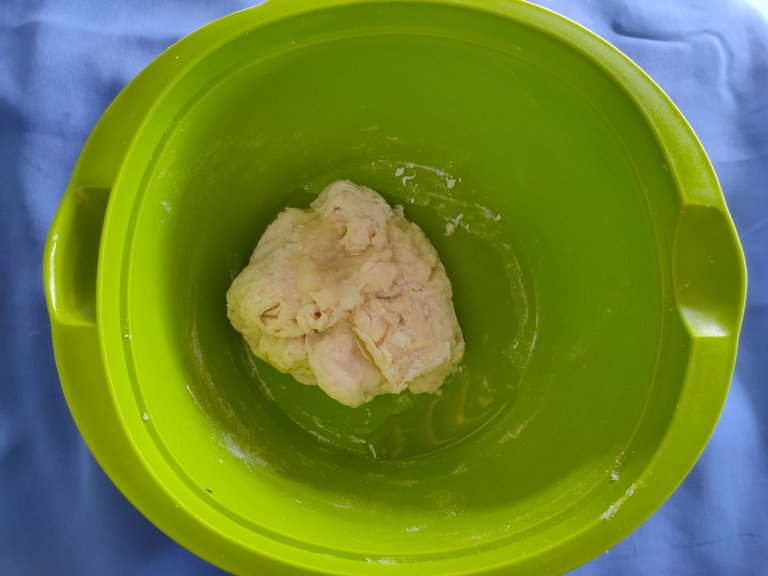
the third step, after the dough has been kneaded until half khalis, now add 2 tablespoons of cooking oil and half a teaspoon of salt into the dough. Then, knead the dough again by using your hands until the dough is smooth and soft. Don't forget to wash your hands first before kneading the dough to make it sterile.
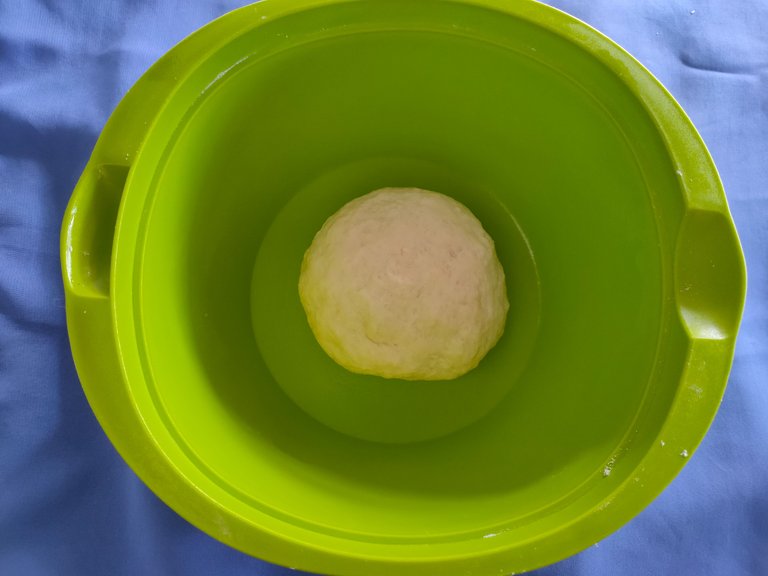
the fourth step, after the dough has been kneaded until it is smooth and soft, now cover the dough using a clean cloth and let the dough double for about 30 minutes. bread making is almost similar to my previous bread recipes.
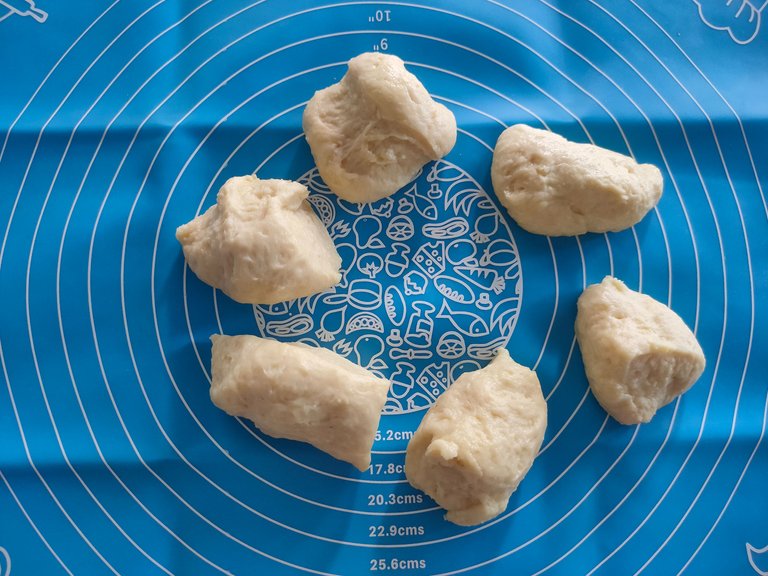
the fifth step, after the dough has been allowed to rise for 30 minutes, now all you have to do is prepare a work mat and put the dough on the work mat, then cut the dough into 6 parts like the photo above. why don't we need to sprinkle flour on the work mat, because we have added cooking oil to the dough.
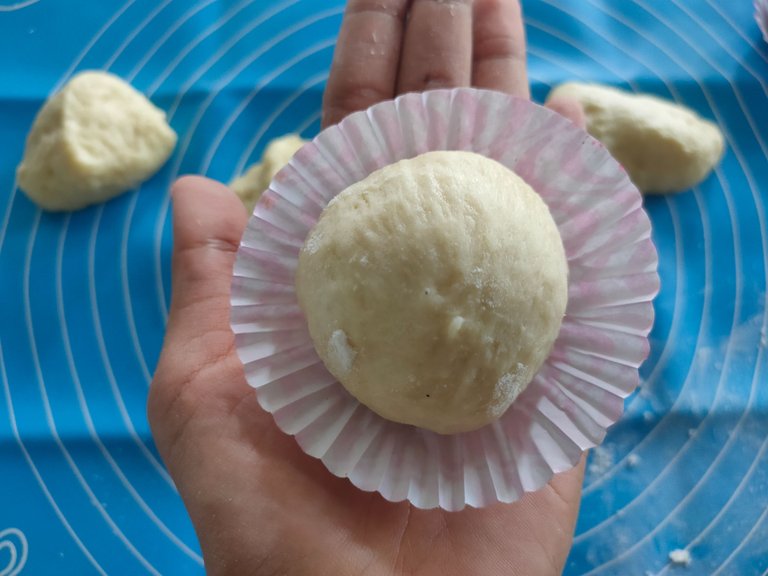
the sixth step, after you have cut the dough into 6 parts, now take 1 dough and round the dough like the photo above, then place it on the parchment paper that you prepared earlier. Repeat this step until all the dough has been rounded and placed on parchment paper.
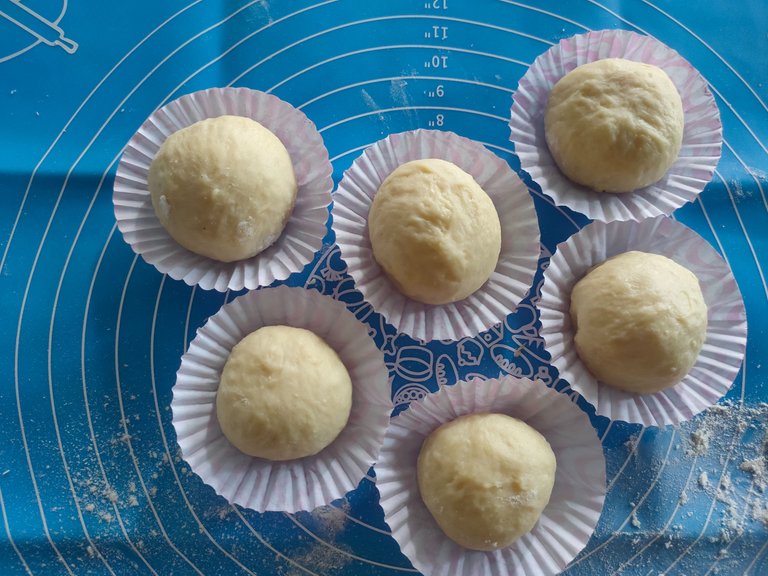
seventh step, after you have rounded the dough and put the dough on parchment paper, now cover the dough again using a clean cloth and let the dough rest for about 20 minutes. So far, have you had any problems? Give your feedback and at what stage are you having trouble.
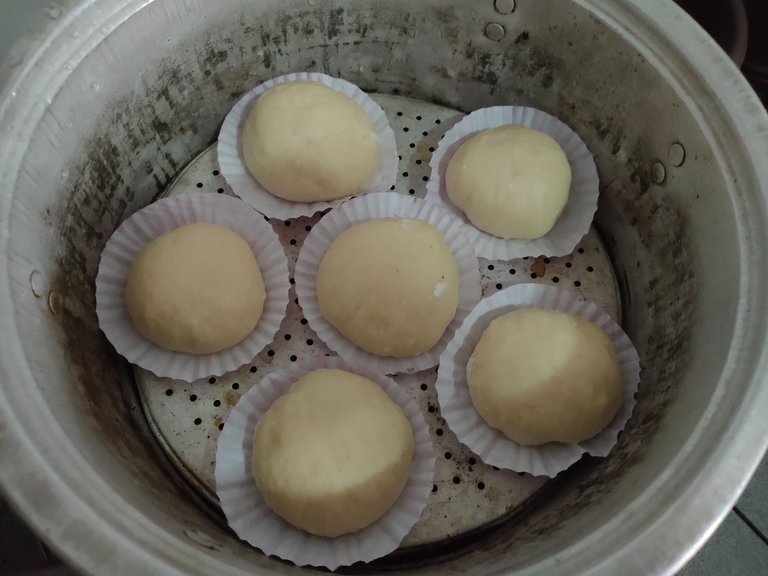
the eighth step, after the dough has been allowed to rest for 20 minutes, now prepare a steamer and preheat the steamer for 5 minutes. after that, put all the dough one by one into the steamer and steam the dough for about 10 or 15 minutes.
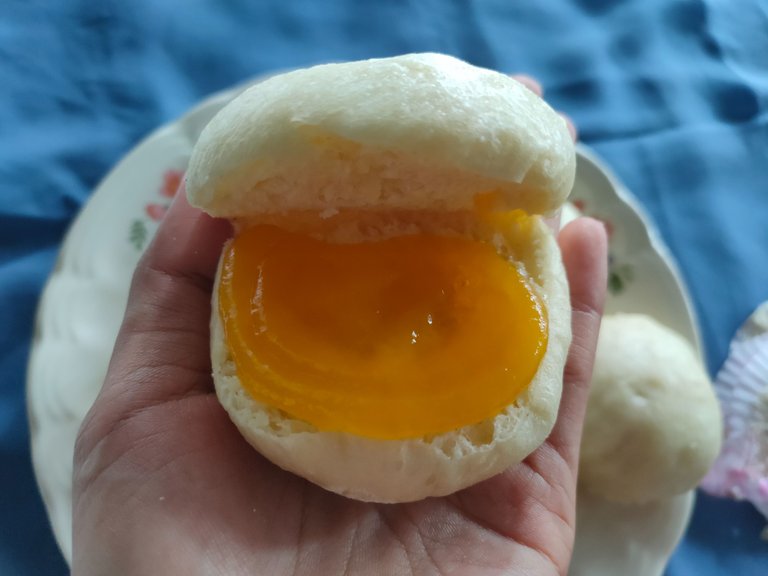
the last step, after the dough has been steamed and is cooked, now all you have to do is cut the bread into 2 parts like the photo above and spread the Serikaya jam evenly over the bread like the photo above.
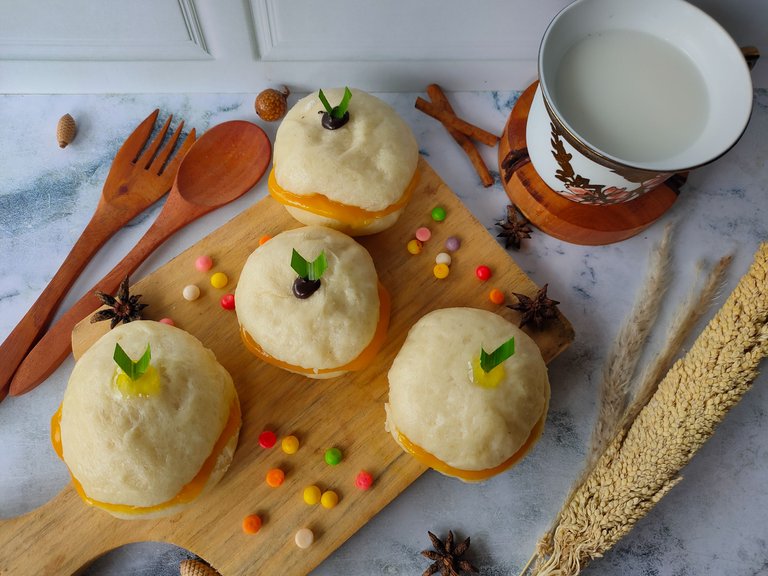
and finally, Serikaya steamed buns can be enjoyed together with your family and friends. This bread is quite popular in Indonesia and not a few people have sold this Serikaya bread. the taste is so distinctive and the serikaya jam is very good, it makes me quite addicted to eating this serikaya bread. What do you think ? very easy and not difficult right? give your feedback below this post. Thank you for those of you who have read and stopped by my post today regarding the Serikaya Steamed Bread recipe. don't forget to give your advice and support so that Ema and I are more enthusiastic about sharing the next recipe. see you in the next recipe with me, Jodi Pamungkas and Ema. until we meet and I hope you succeed in making this recipe.
Congratulations @jodipamungkas! You have completed the following achievement on the Hive blockchain and have been rewarded with new badge(s):
You can view your badges on your board and compare yourself to others in the Ranking
If you no longer want to receive notifications, reply to this comment with the word
STOPCheck out the last post from @hivebuzz:
Support the HiveBuzz project. Vote for our proposal!
Thank you for sharing this amazing post on HIVE!
Your content got selected by our fellow curator @priyanarc & you just received a little thank you via an upvote from our non-profit curation initiative!
You will be featured in one of our recurring curation compilations and on our pinterest boards! Both are aiming to offer you a stage to widen your audience within and outside of the DIY scene of hive.
Join the official DIYHub community on HIVE and show us more of your amazing work and feel free to connect with us and other DIYers via our discord server: https://discord.gg/mY5uCfQ !
If you want to support our goal to motivate other DIY/art/music/homesteading/... creators just delegate to us and earn 100% of your curation rewards!
Stay creative & hive on!