Hola colmena! Espero se encuentren súper bien! Bendiciones! El día de hoy les traigo un creativo joyero hcjo con material de provecho. Sígueme hasta el fin!
Hello hive! I hope you are super well! Blessings! Today I bring you a creative jewelry box made with useful material. Follow me to the end!
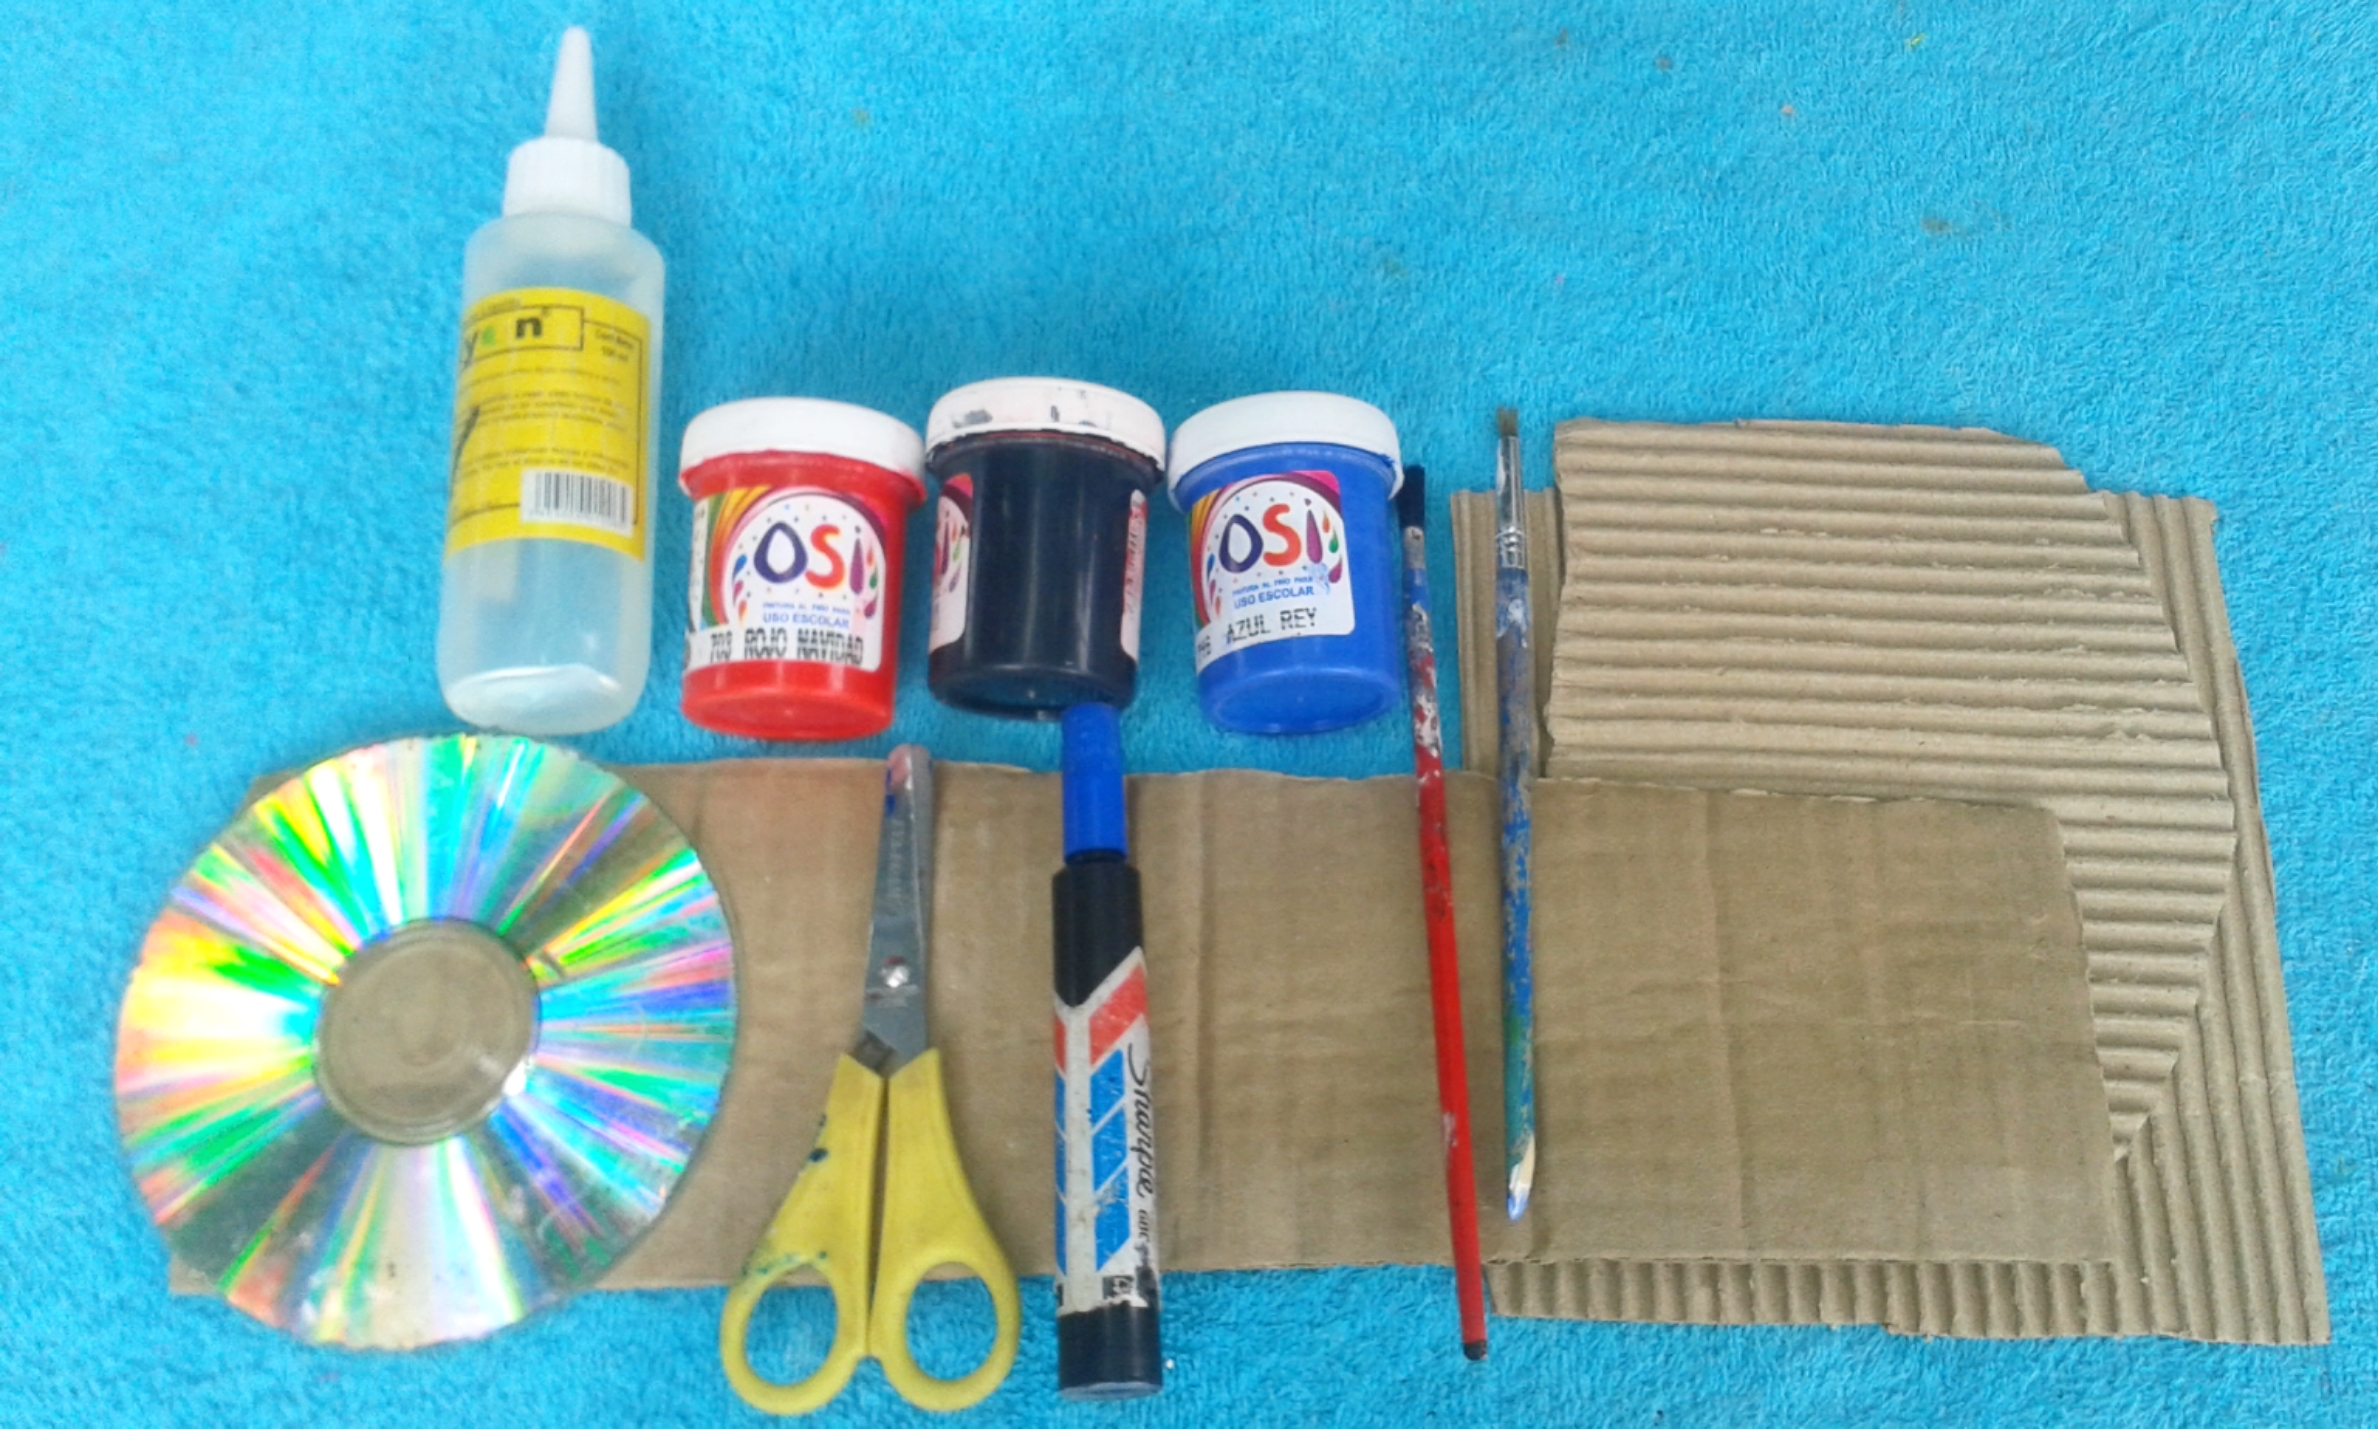
Materiales // Materials
- Tres cartones
- Un CD (disco)
- Pintura azúl, roja y negra
- Pinceles
- Silicón
- Tijera
- Marcador
- Three cartons
- A CD (disc)
- Blue, red and black paint
- Brushes
- Silicone
- Scissor
- Marker
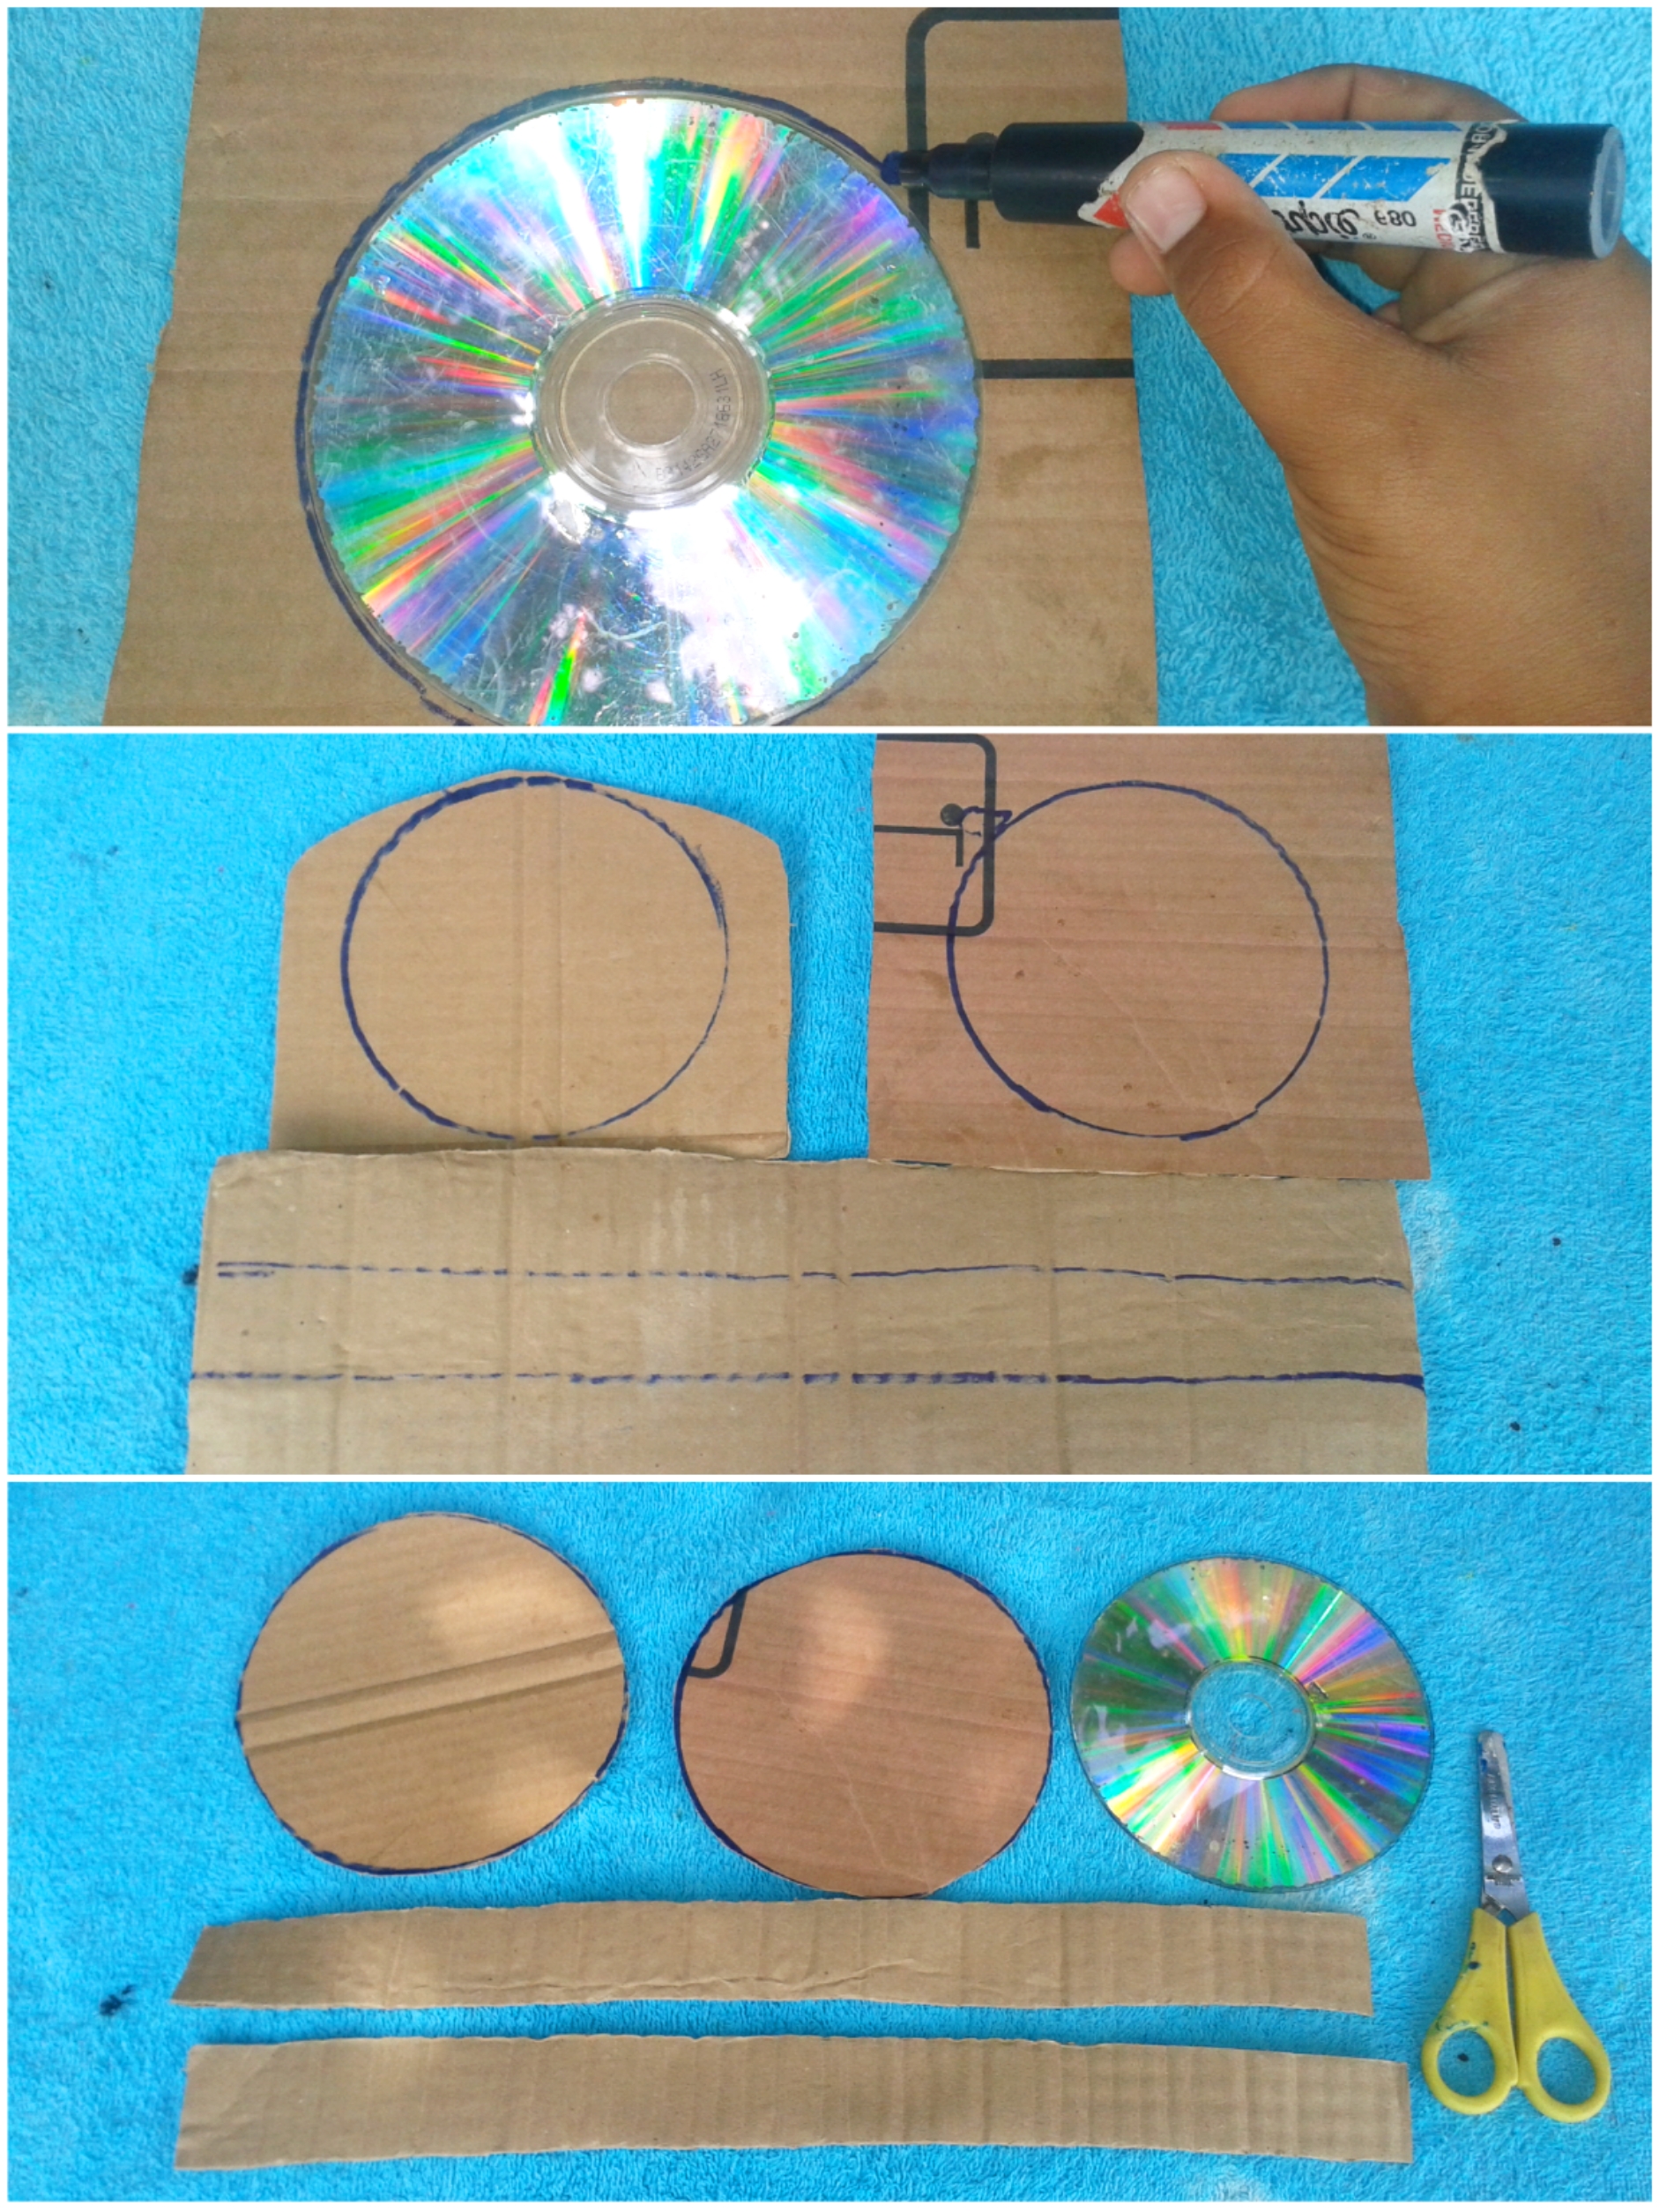
Procedimiento // Process
Paso uno: Con la ayuda del disco trazarás dos círculos en el cartón, también dos tiras que colocaremos a los bordes. Luego recortarás.
Step one: With the help of the disk you will draw two circles on the cardboard, also two strips that we will place on the edges. Then you will trim.
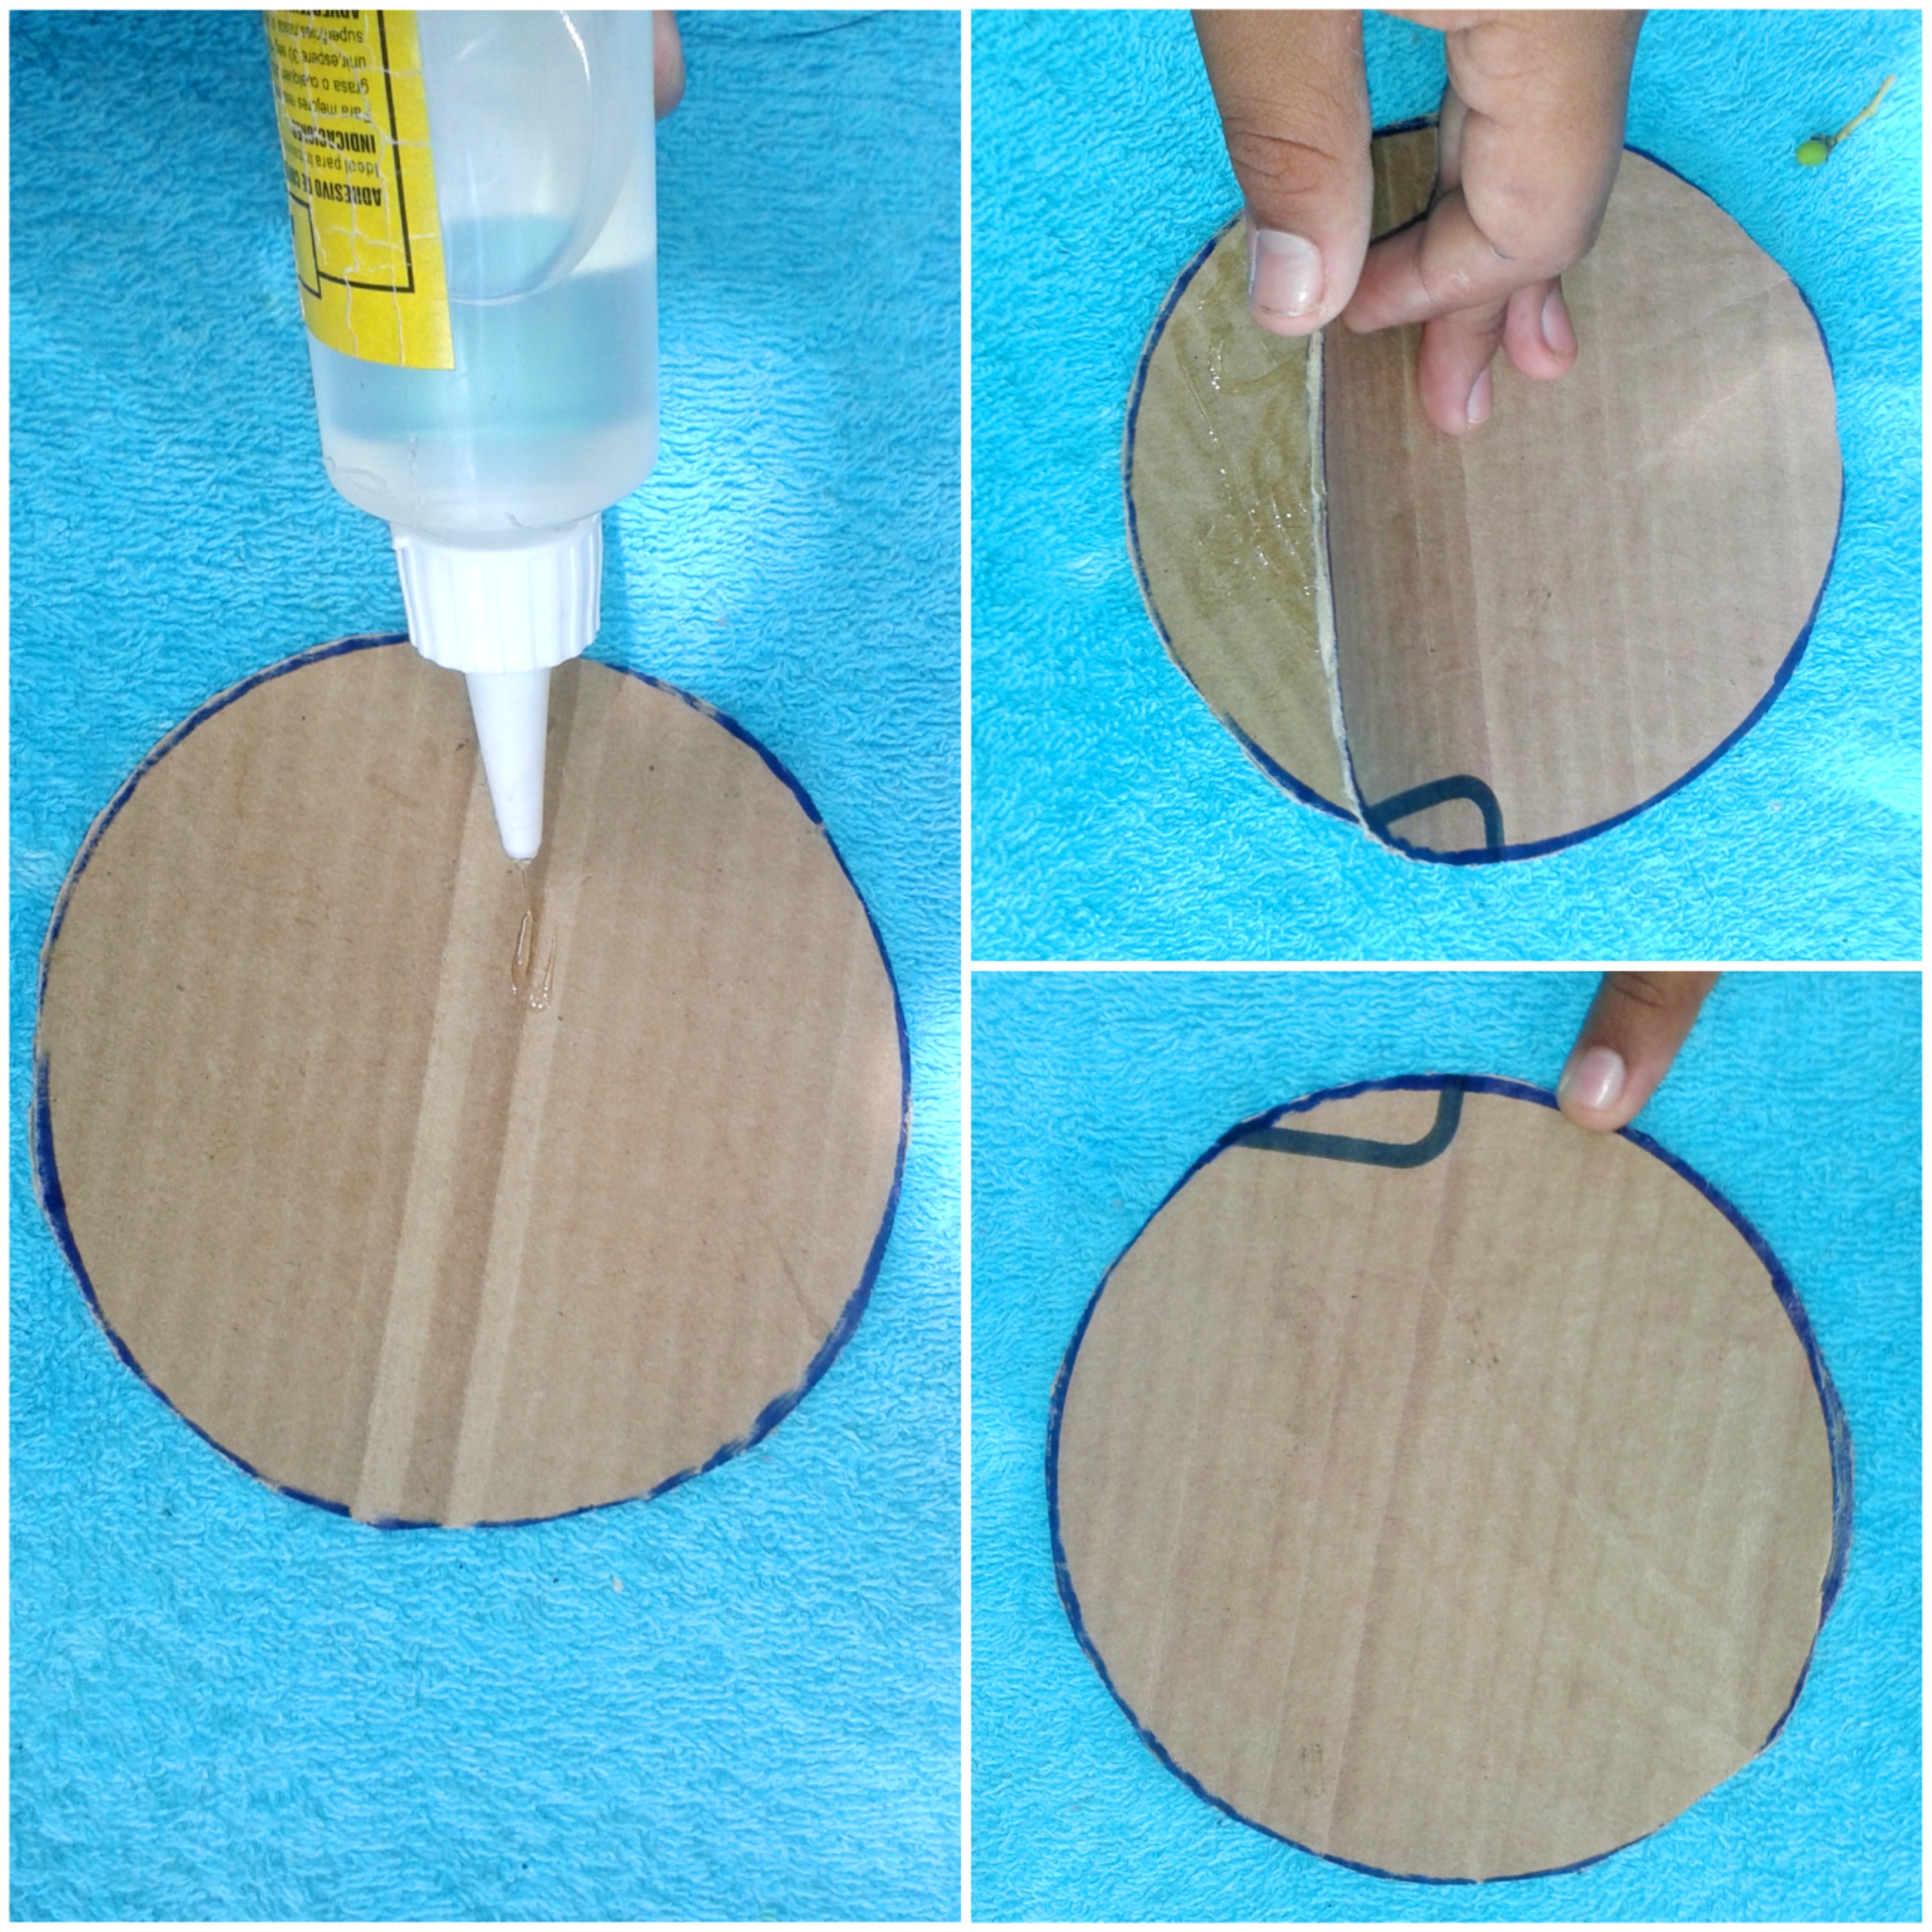
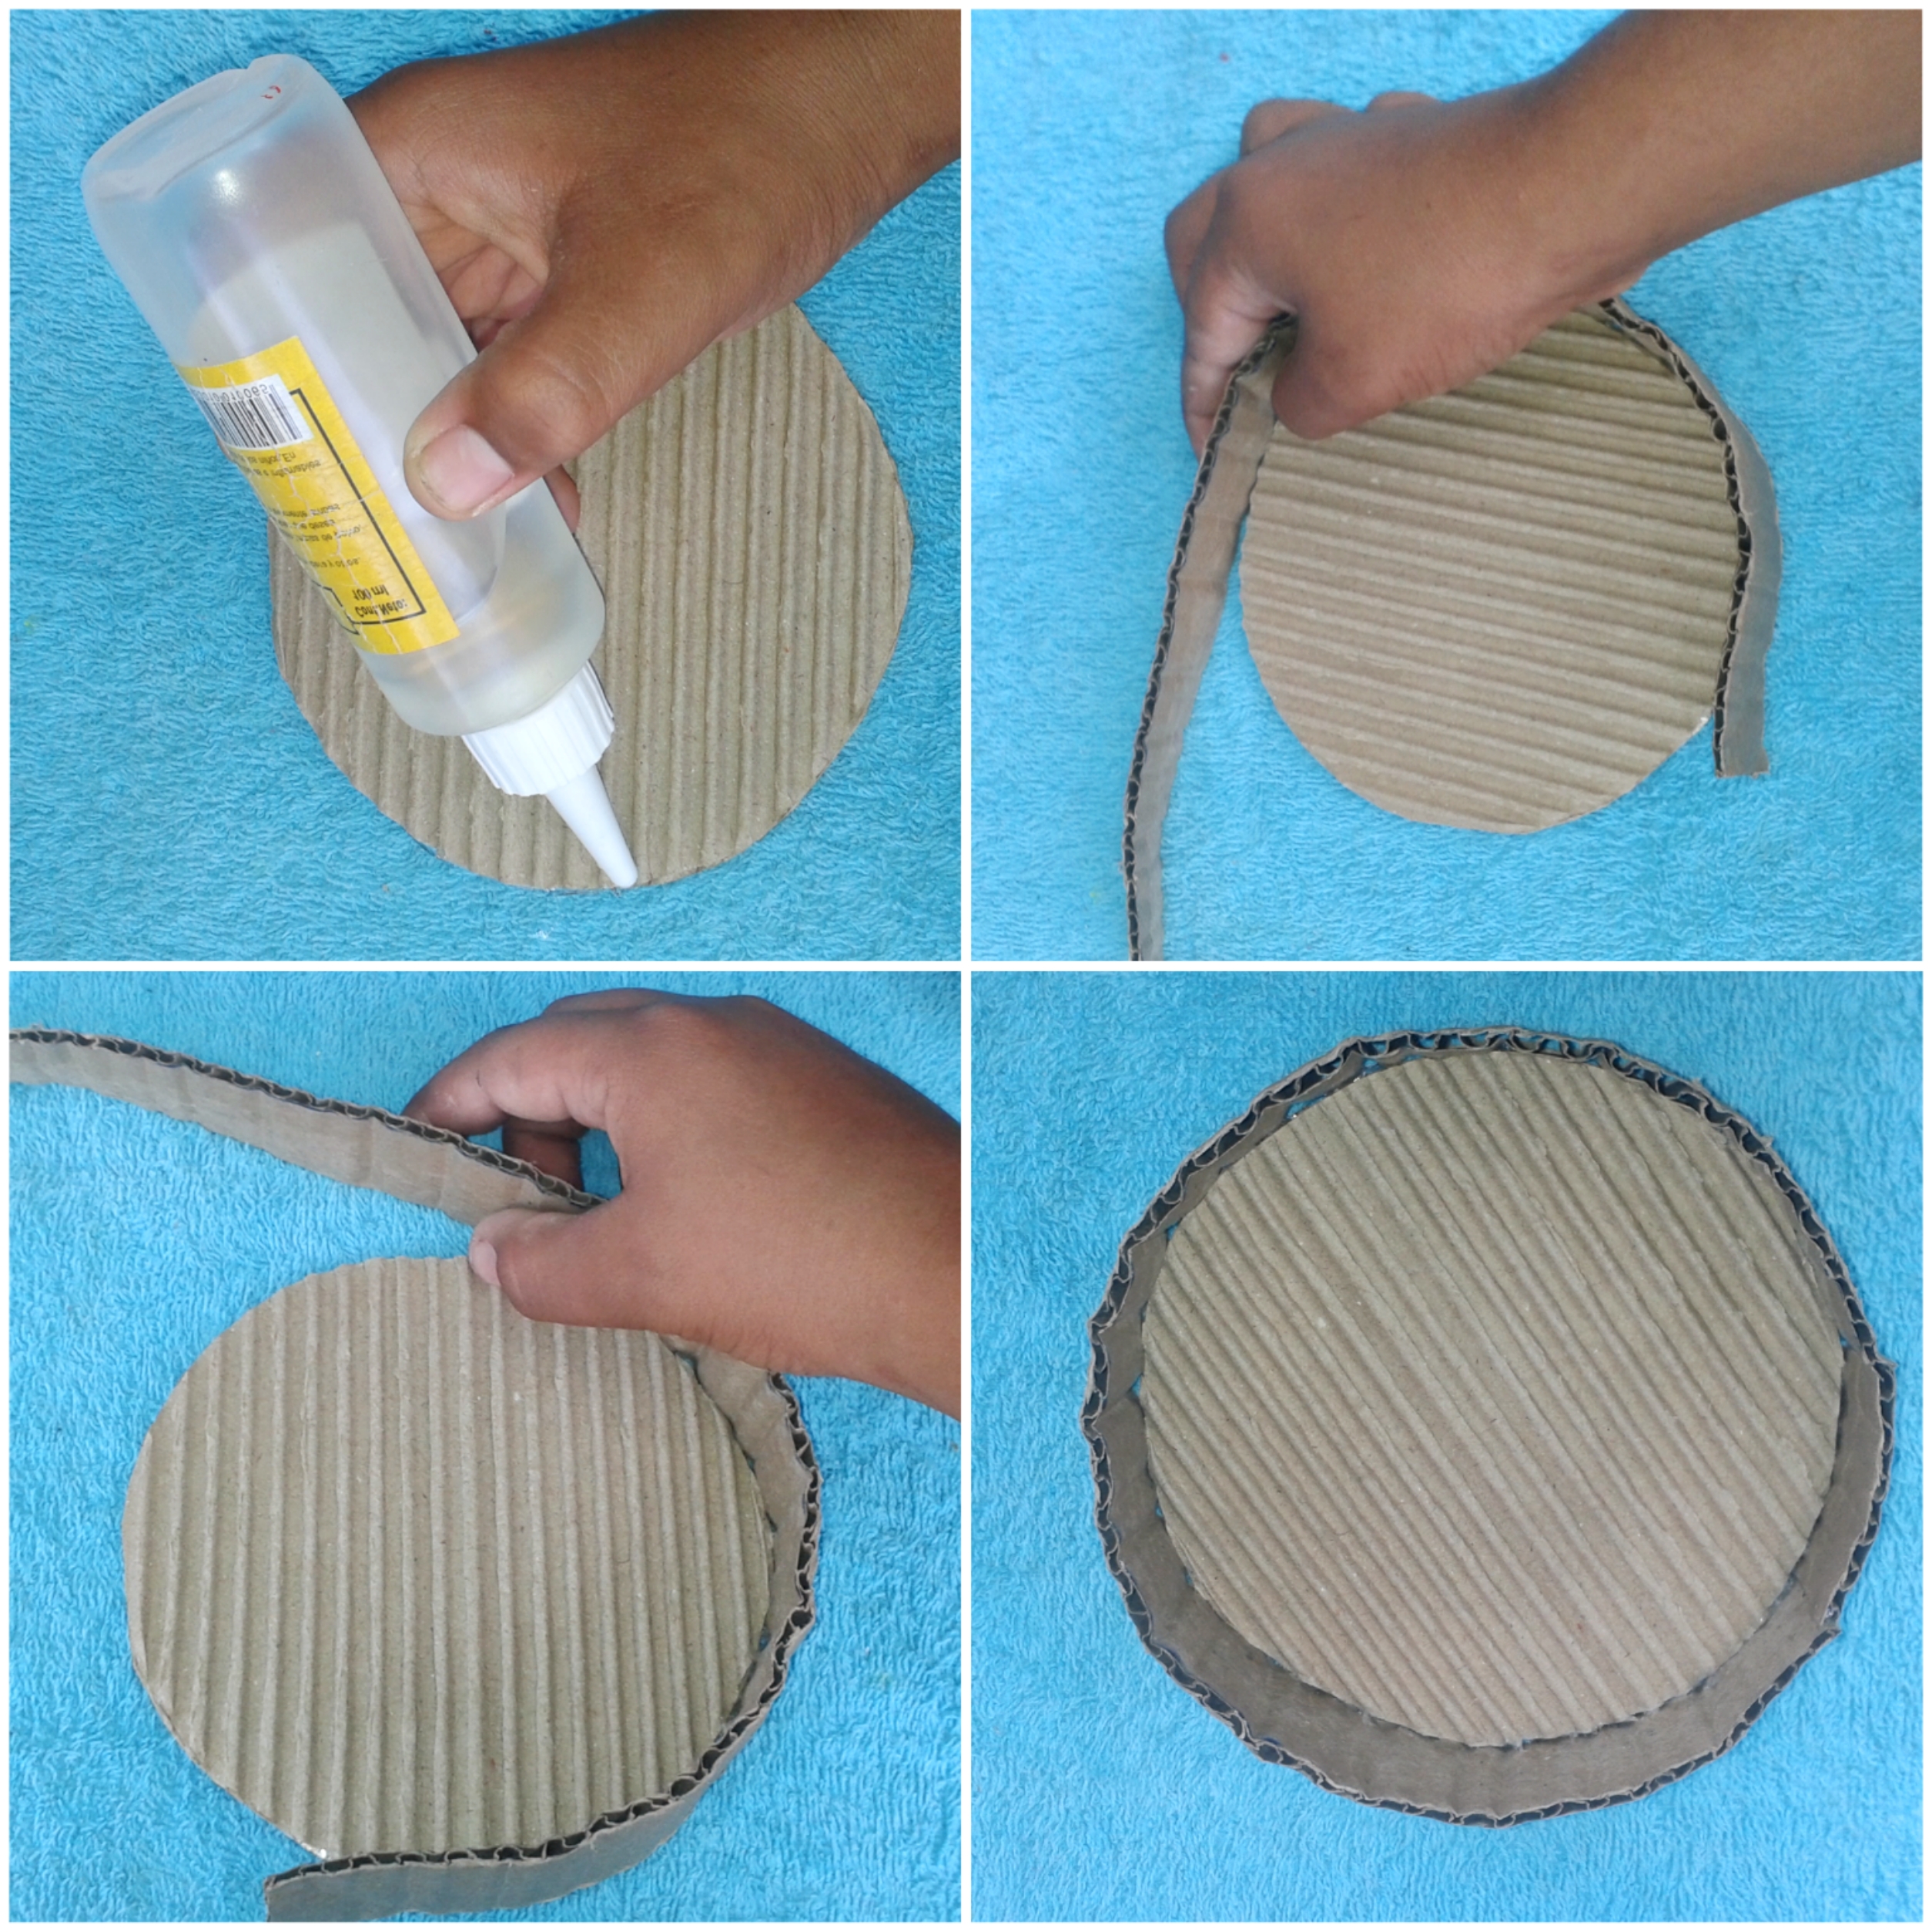
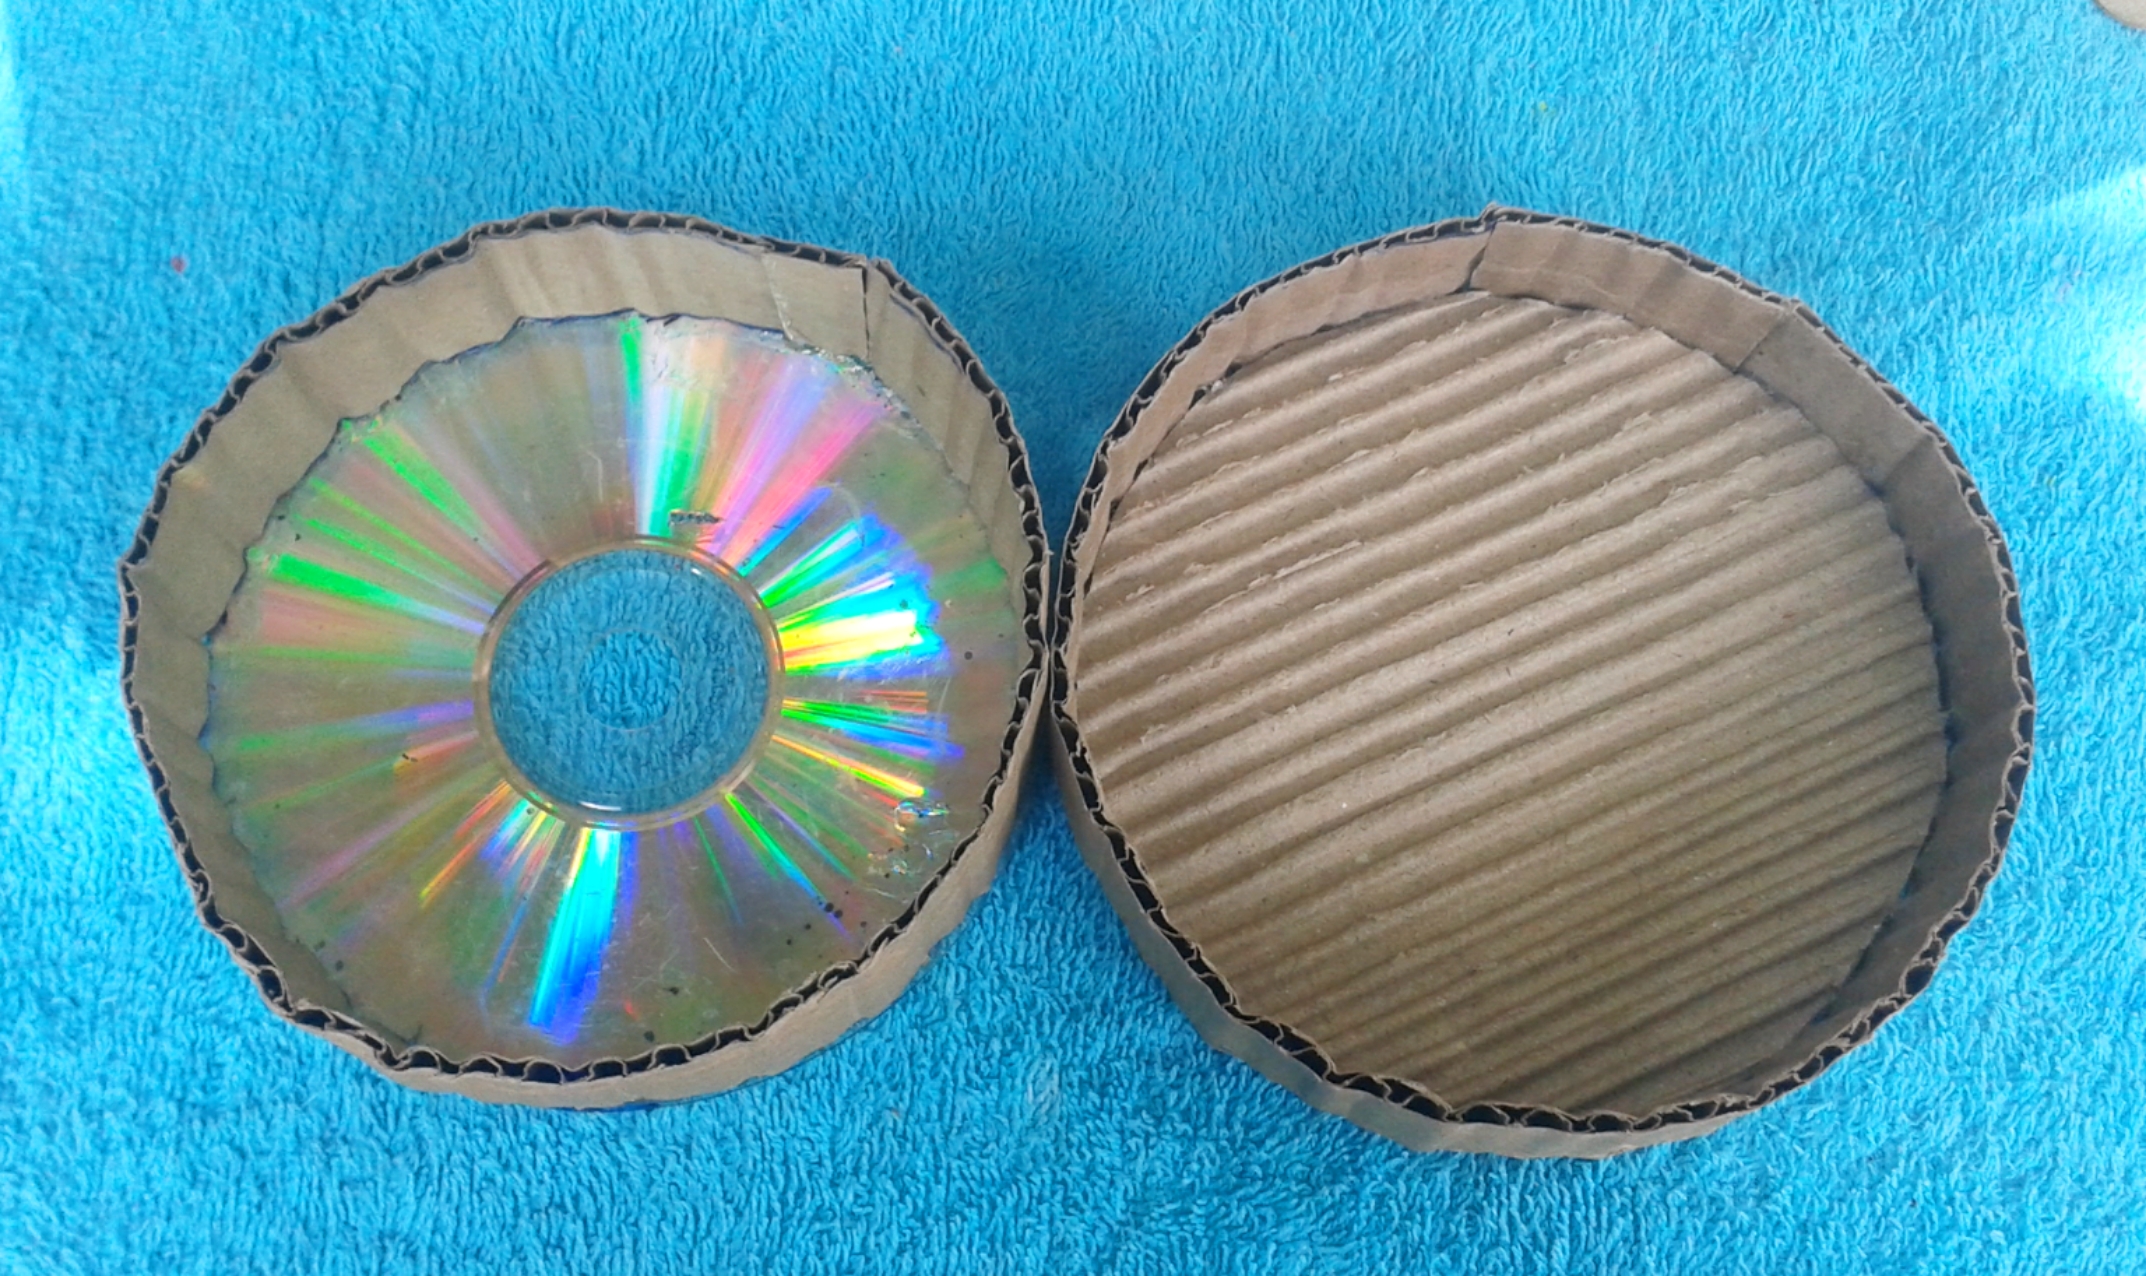
Paso dos: Tomamos los dos cartones, en uno echamos silicón y pegamos el otro, para que la base quede más fuerte. Luego empezarás a pegar una tira al borde del cartón. De igual manera pegarás la otra tira al borde del CD (disco).
Step two: We take the two cardboard, in one we put silicone and glue the other, so that the base is stronger. Then you will begin to glue a strip to the edge of the cardboard. In the same way, you will glue the other strip to the edge of the CD (disk).
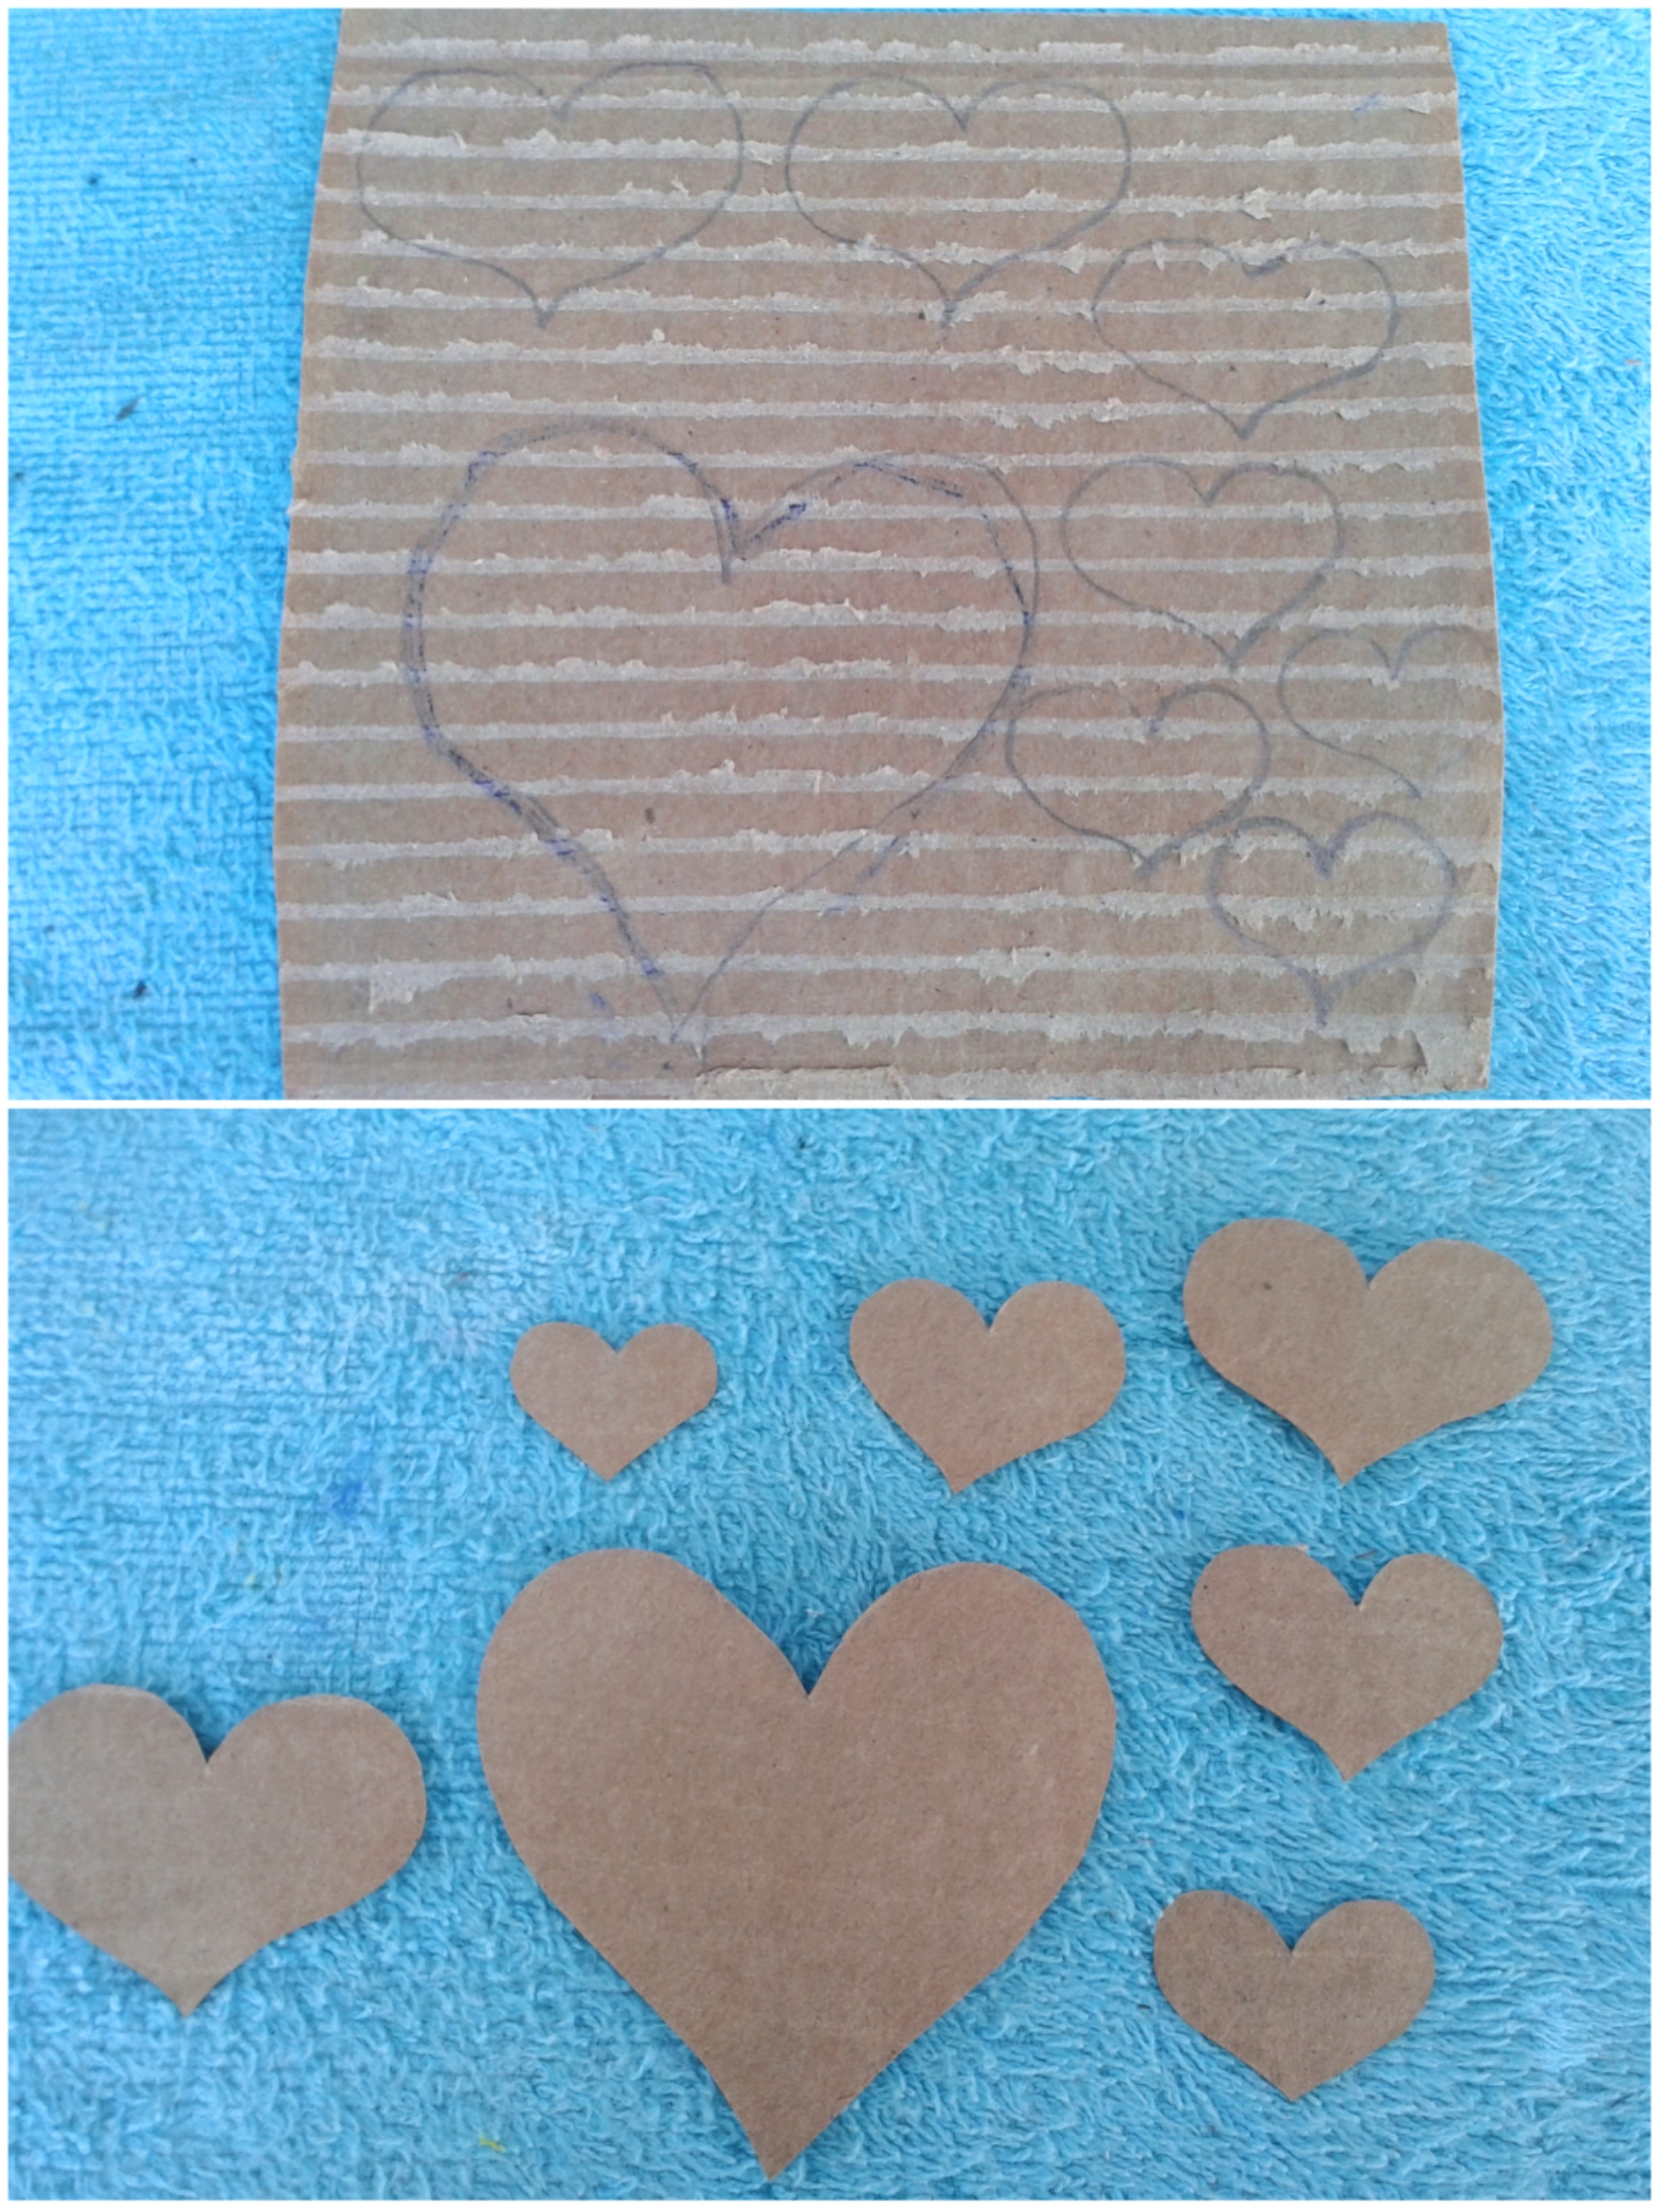
Paso tres: Trazamos unos corazones para decorar el joyero y luego recortas.
Step three: We trace some hearts to decorate the jewelry box and then cut out.
Paso cuatro: Comenzarás a pintar!
Step four: You will start painting!
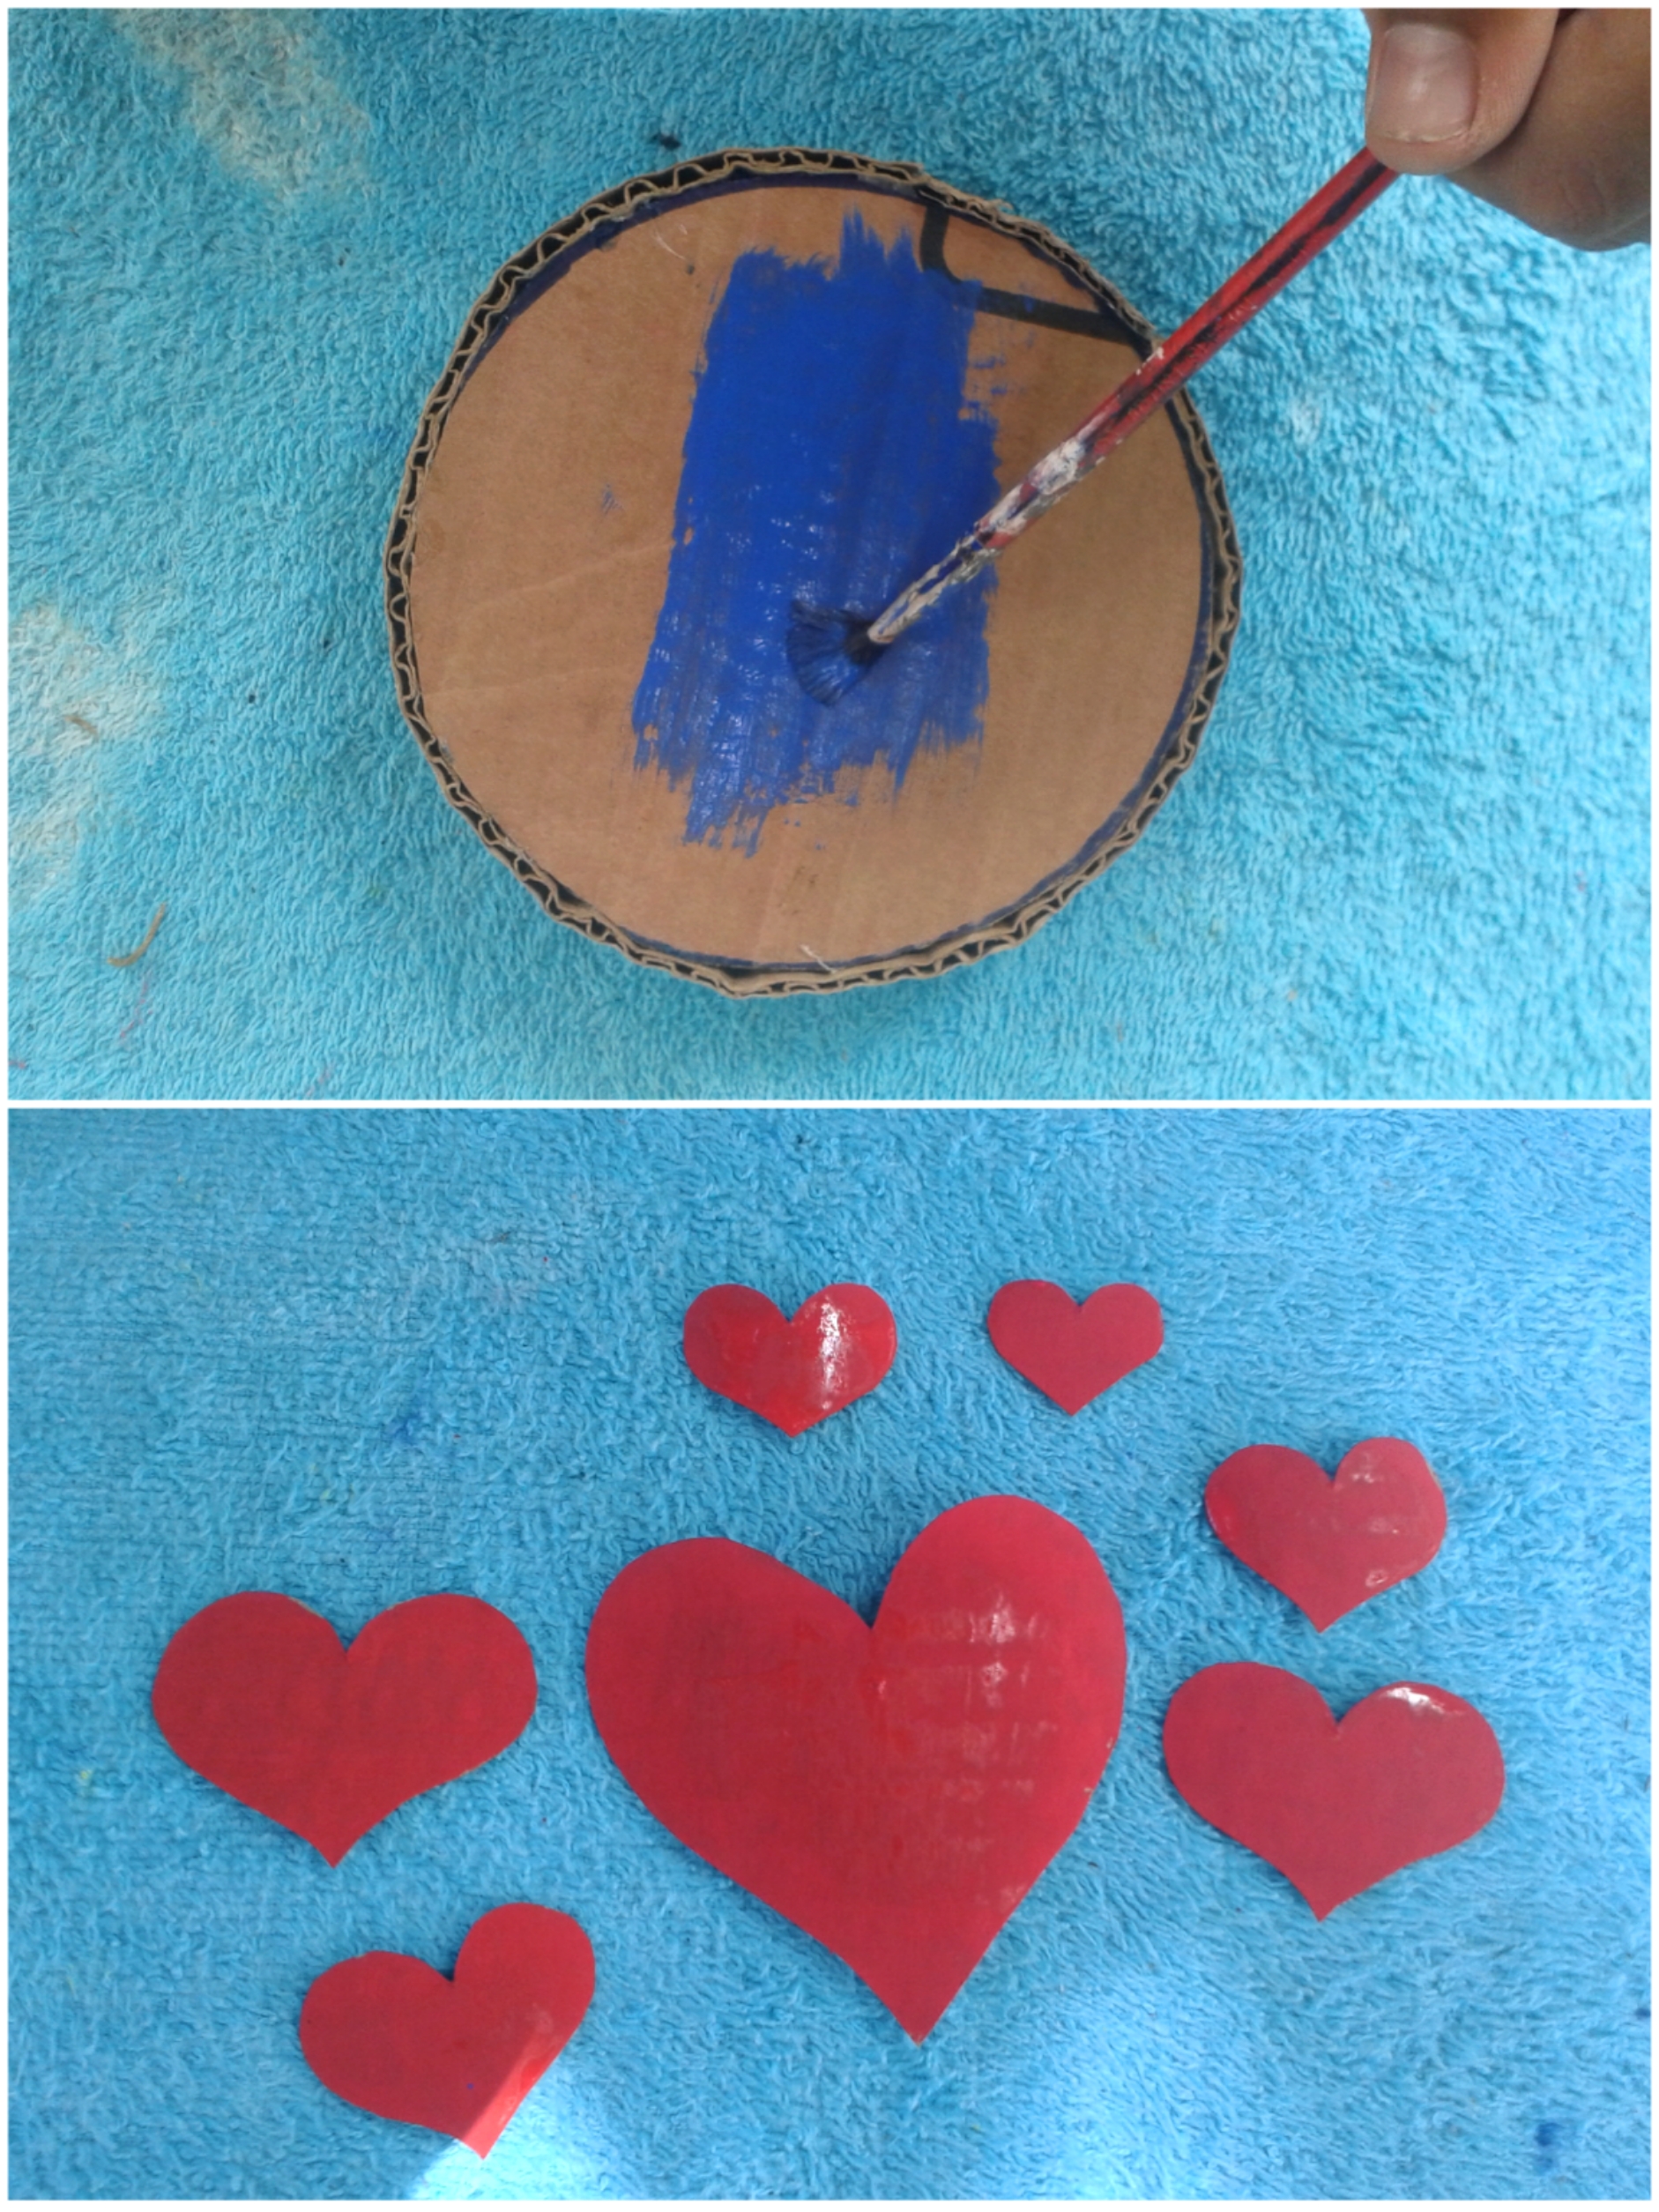
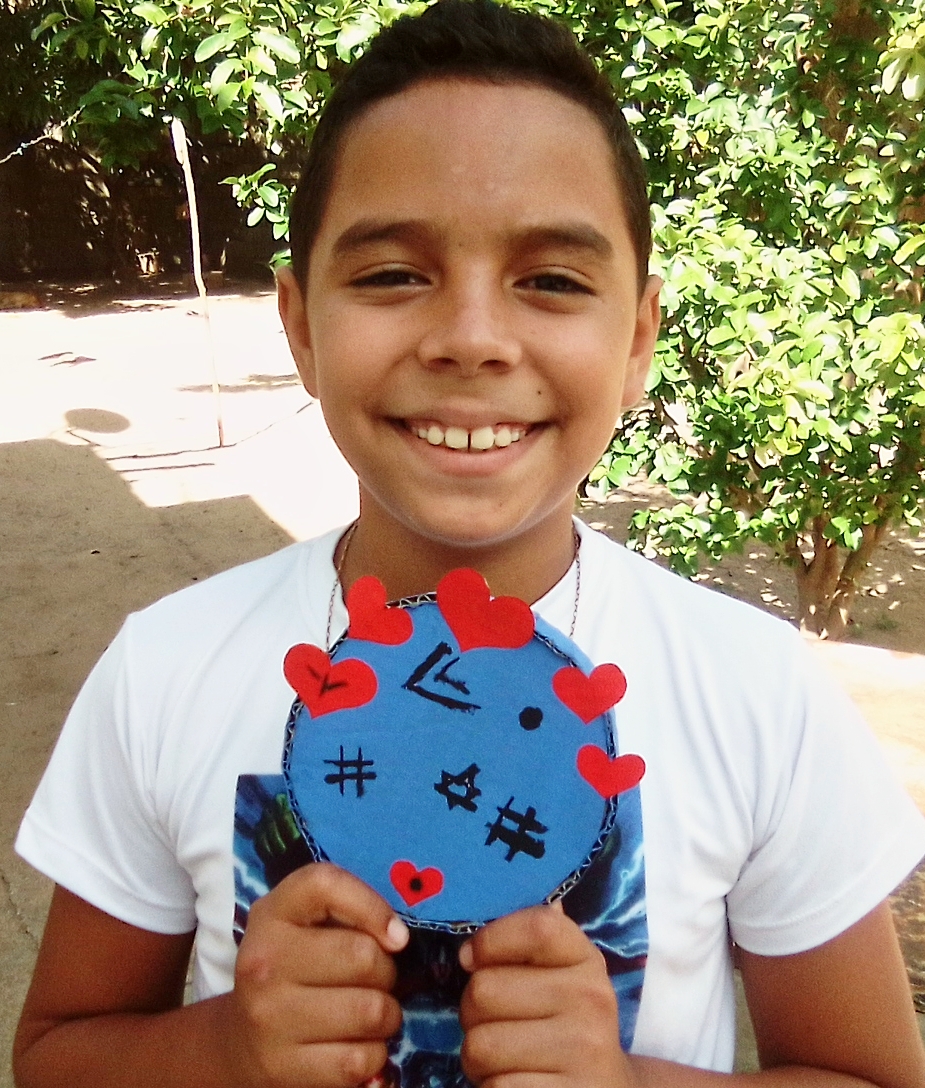
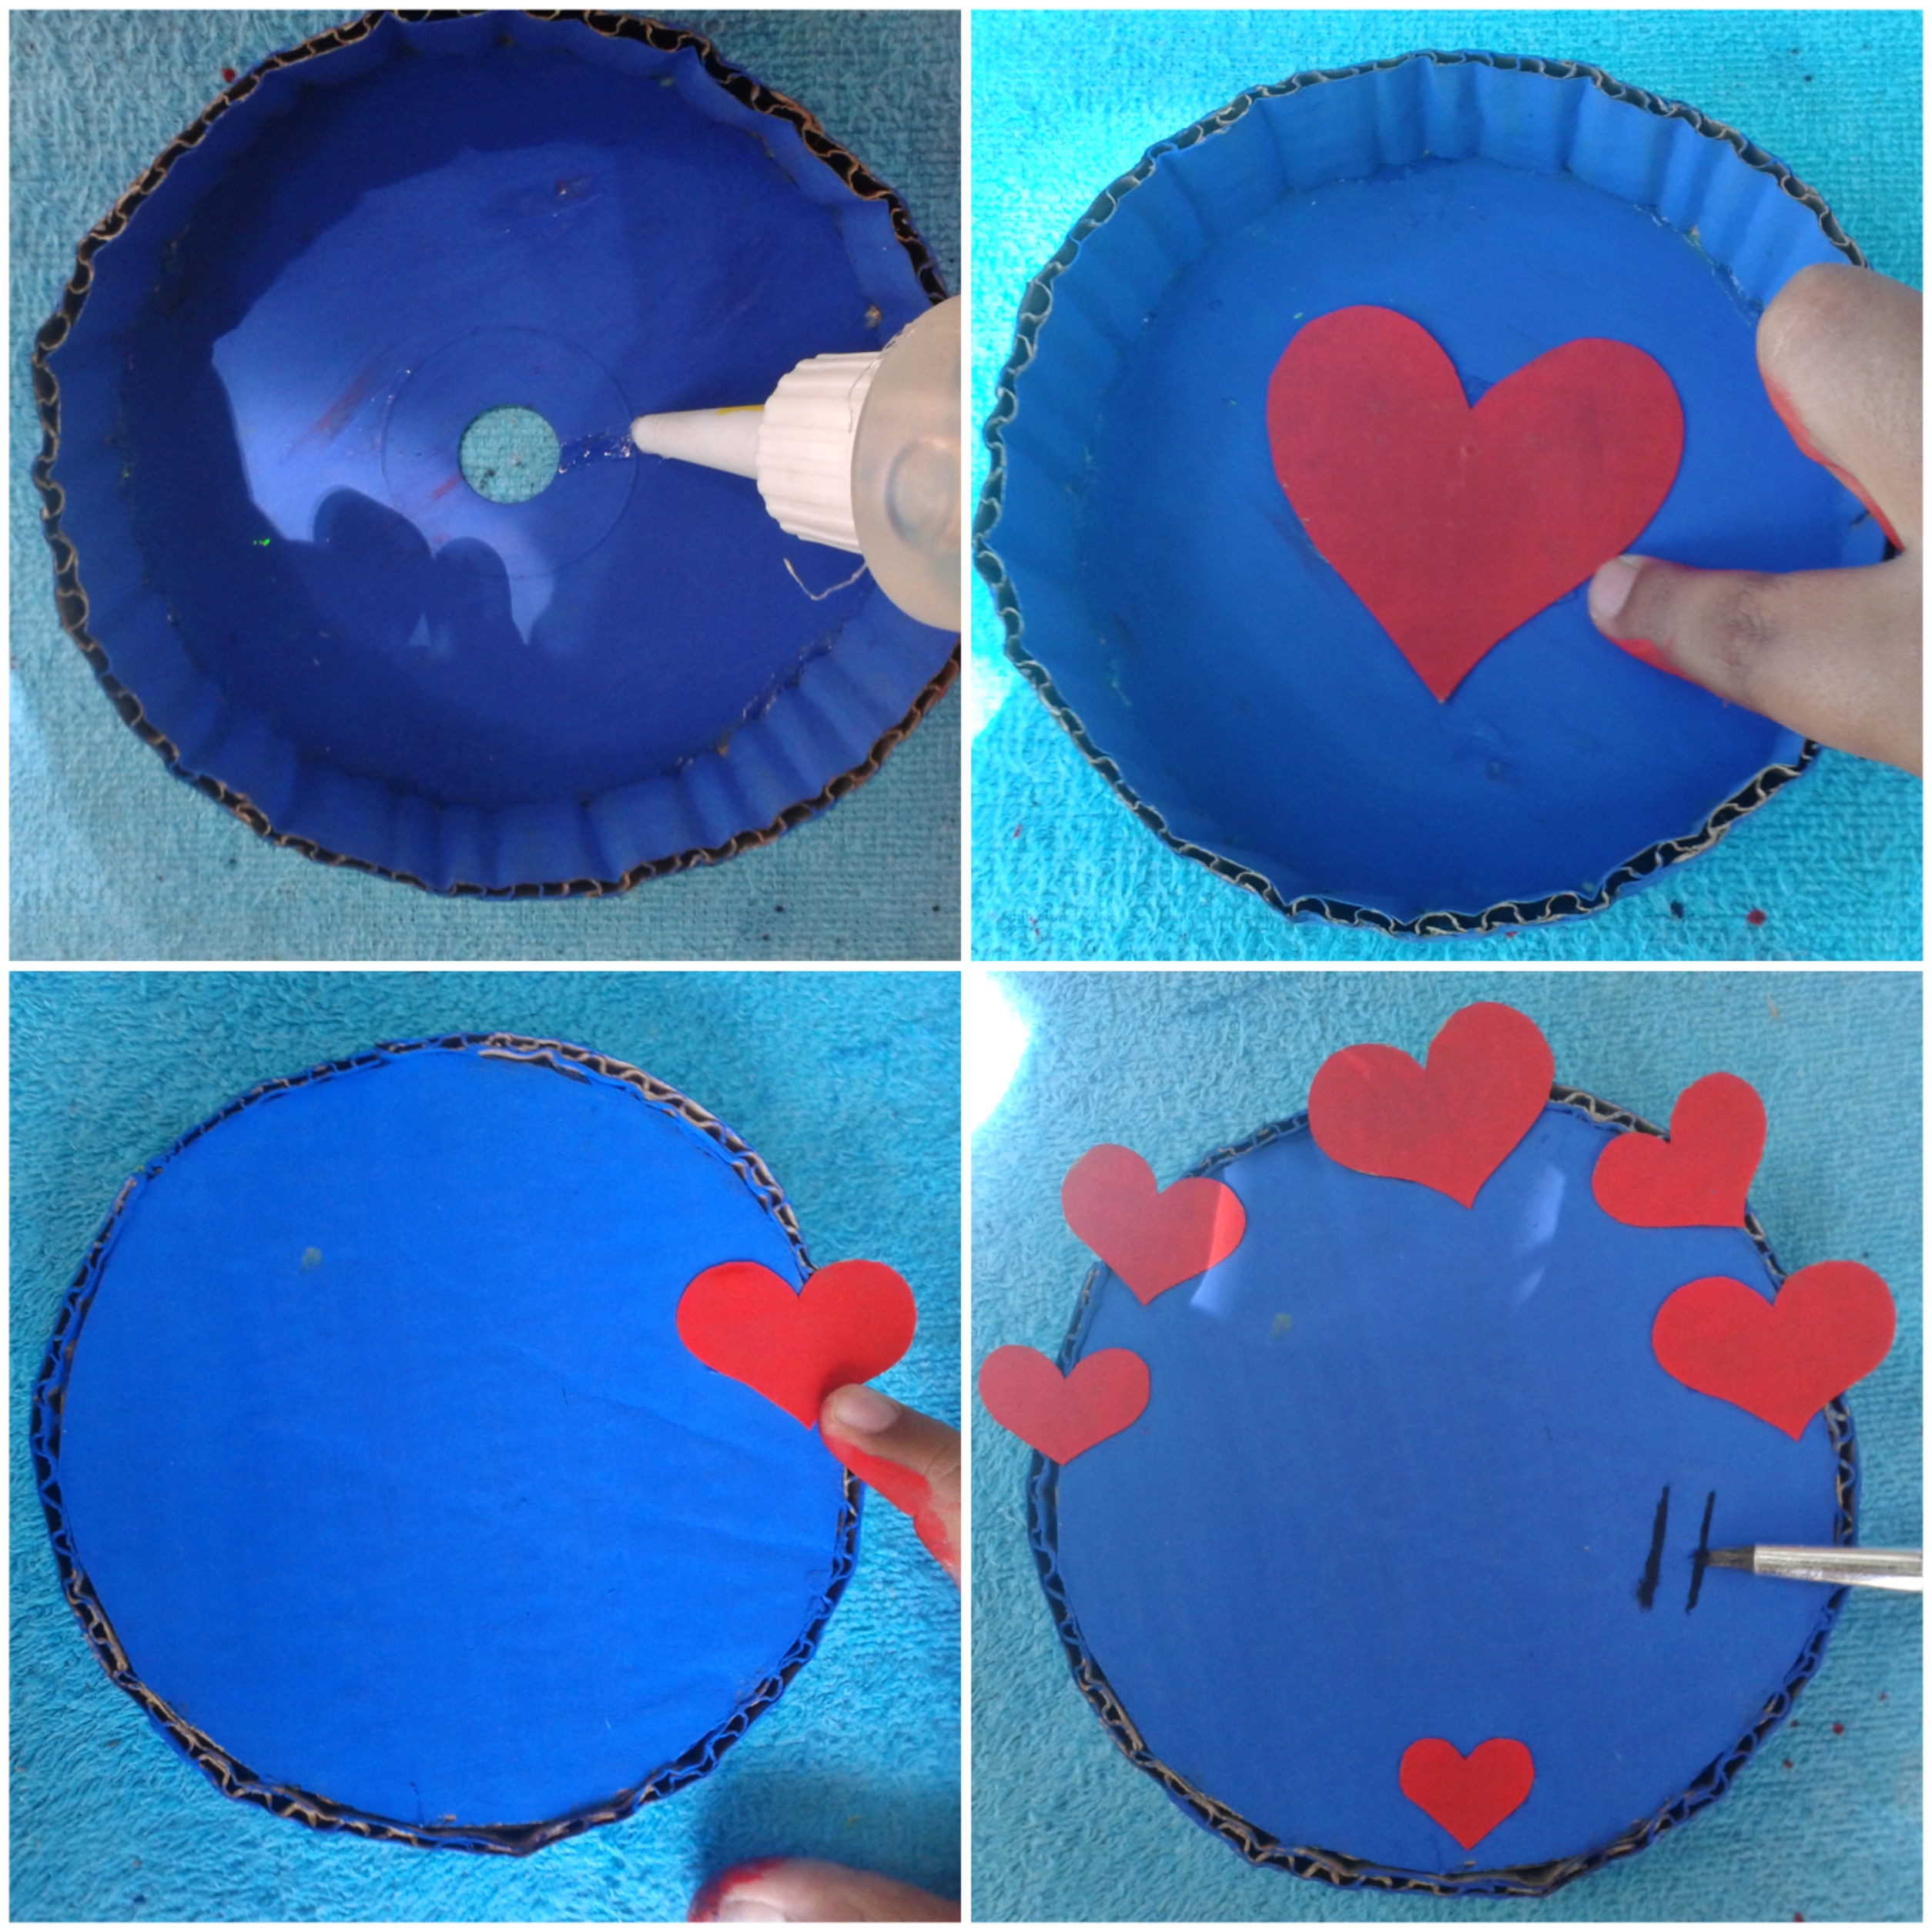
Paso cinco: Una vez pintados, echarás en el centro de la base un punto de silicón para pegar un corazón. En la tapa pegarás los corazones restantes. Te quedará de ésta manera:
Step five: Once painted, you will put a point of silicone in the center of the base to stick a heart. On the lid you will glue the remaining hearts. It will look like this:
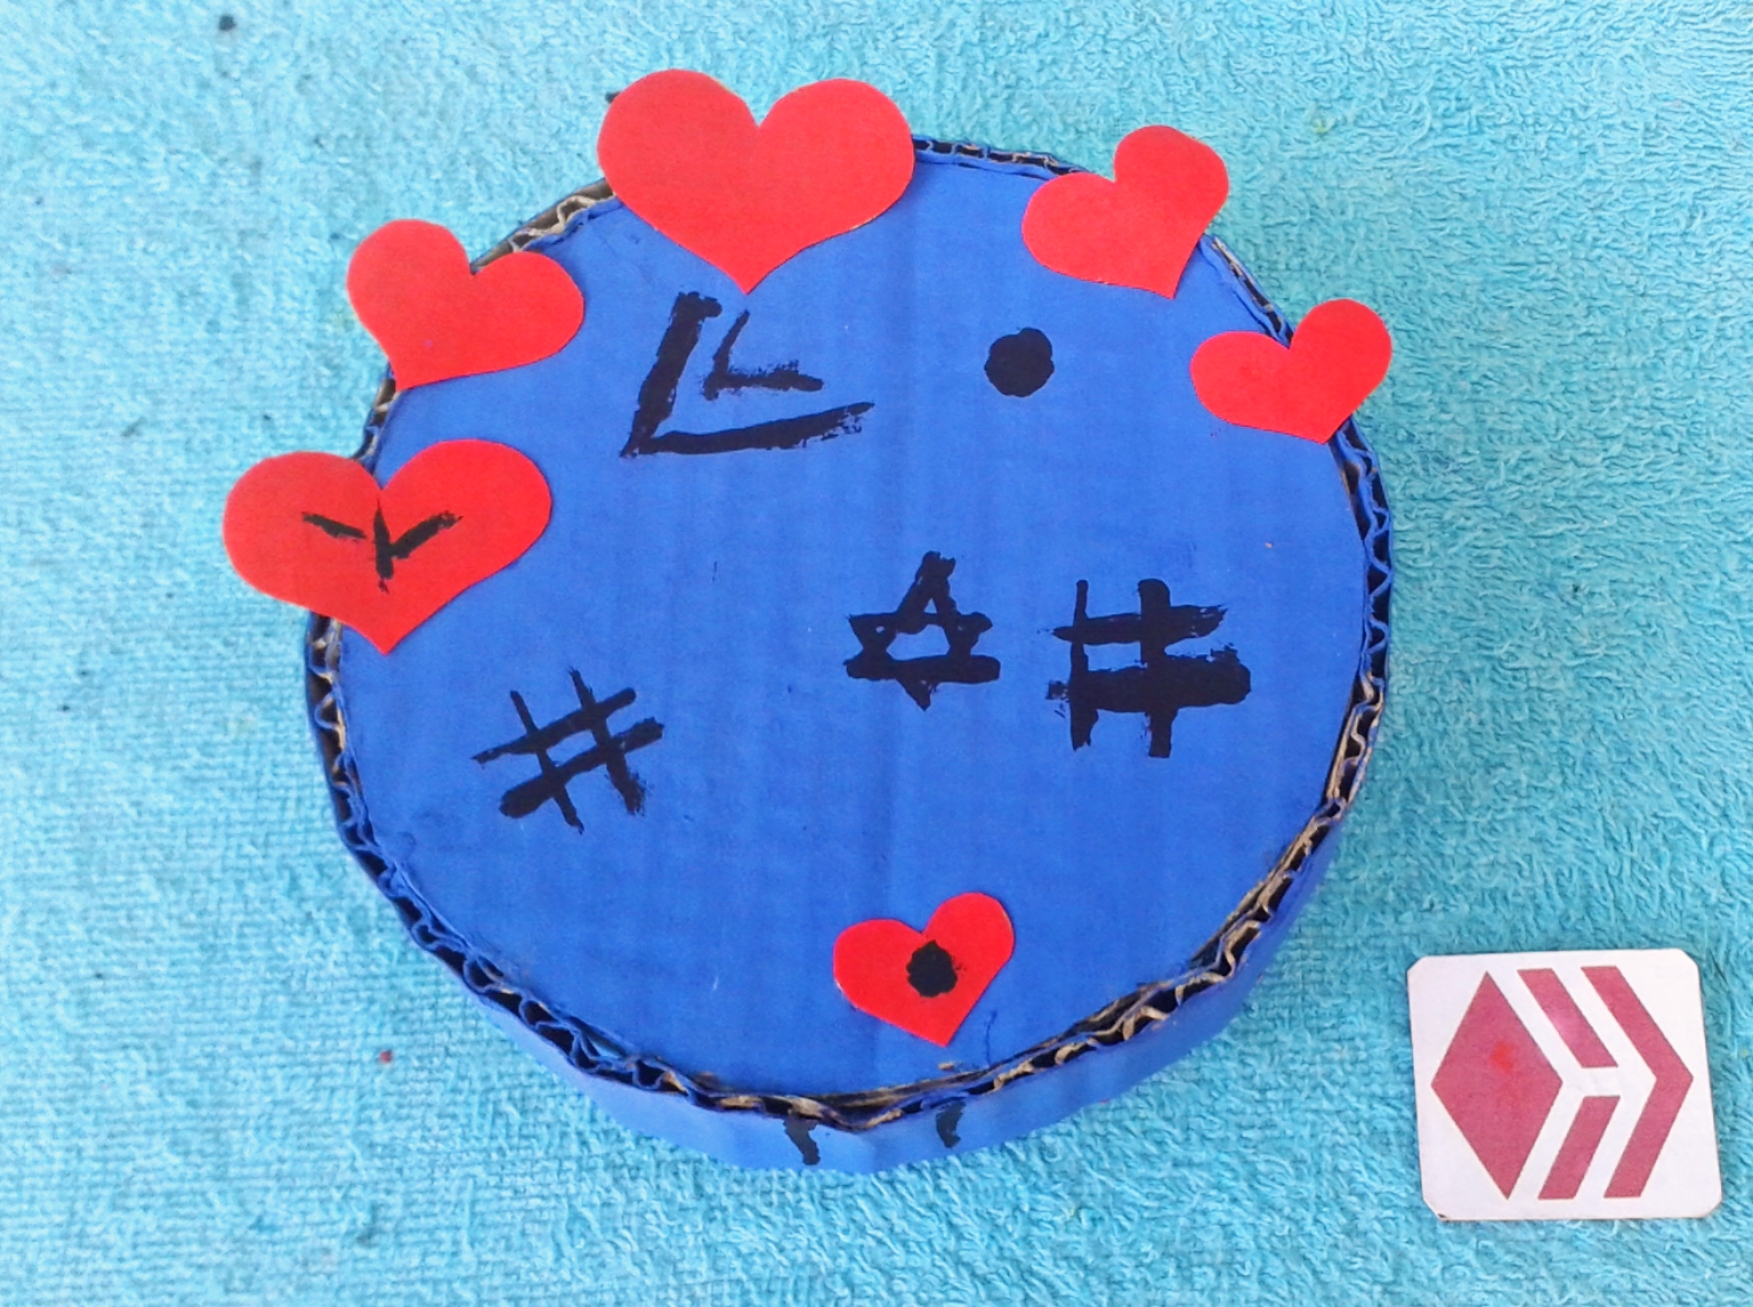
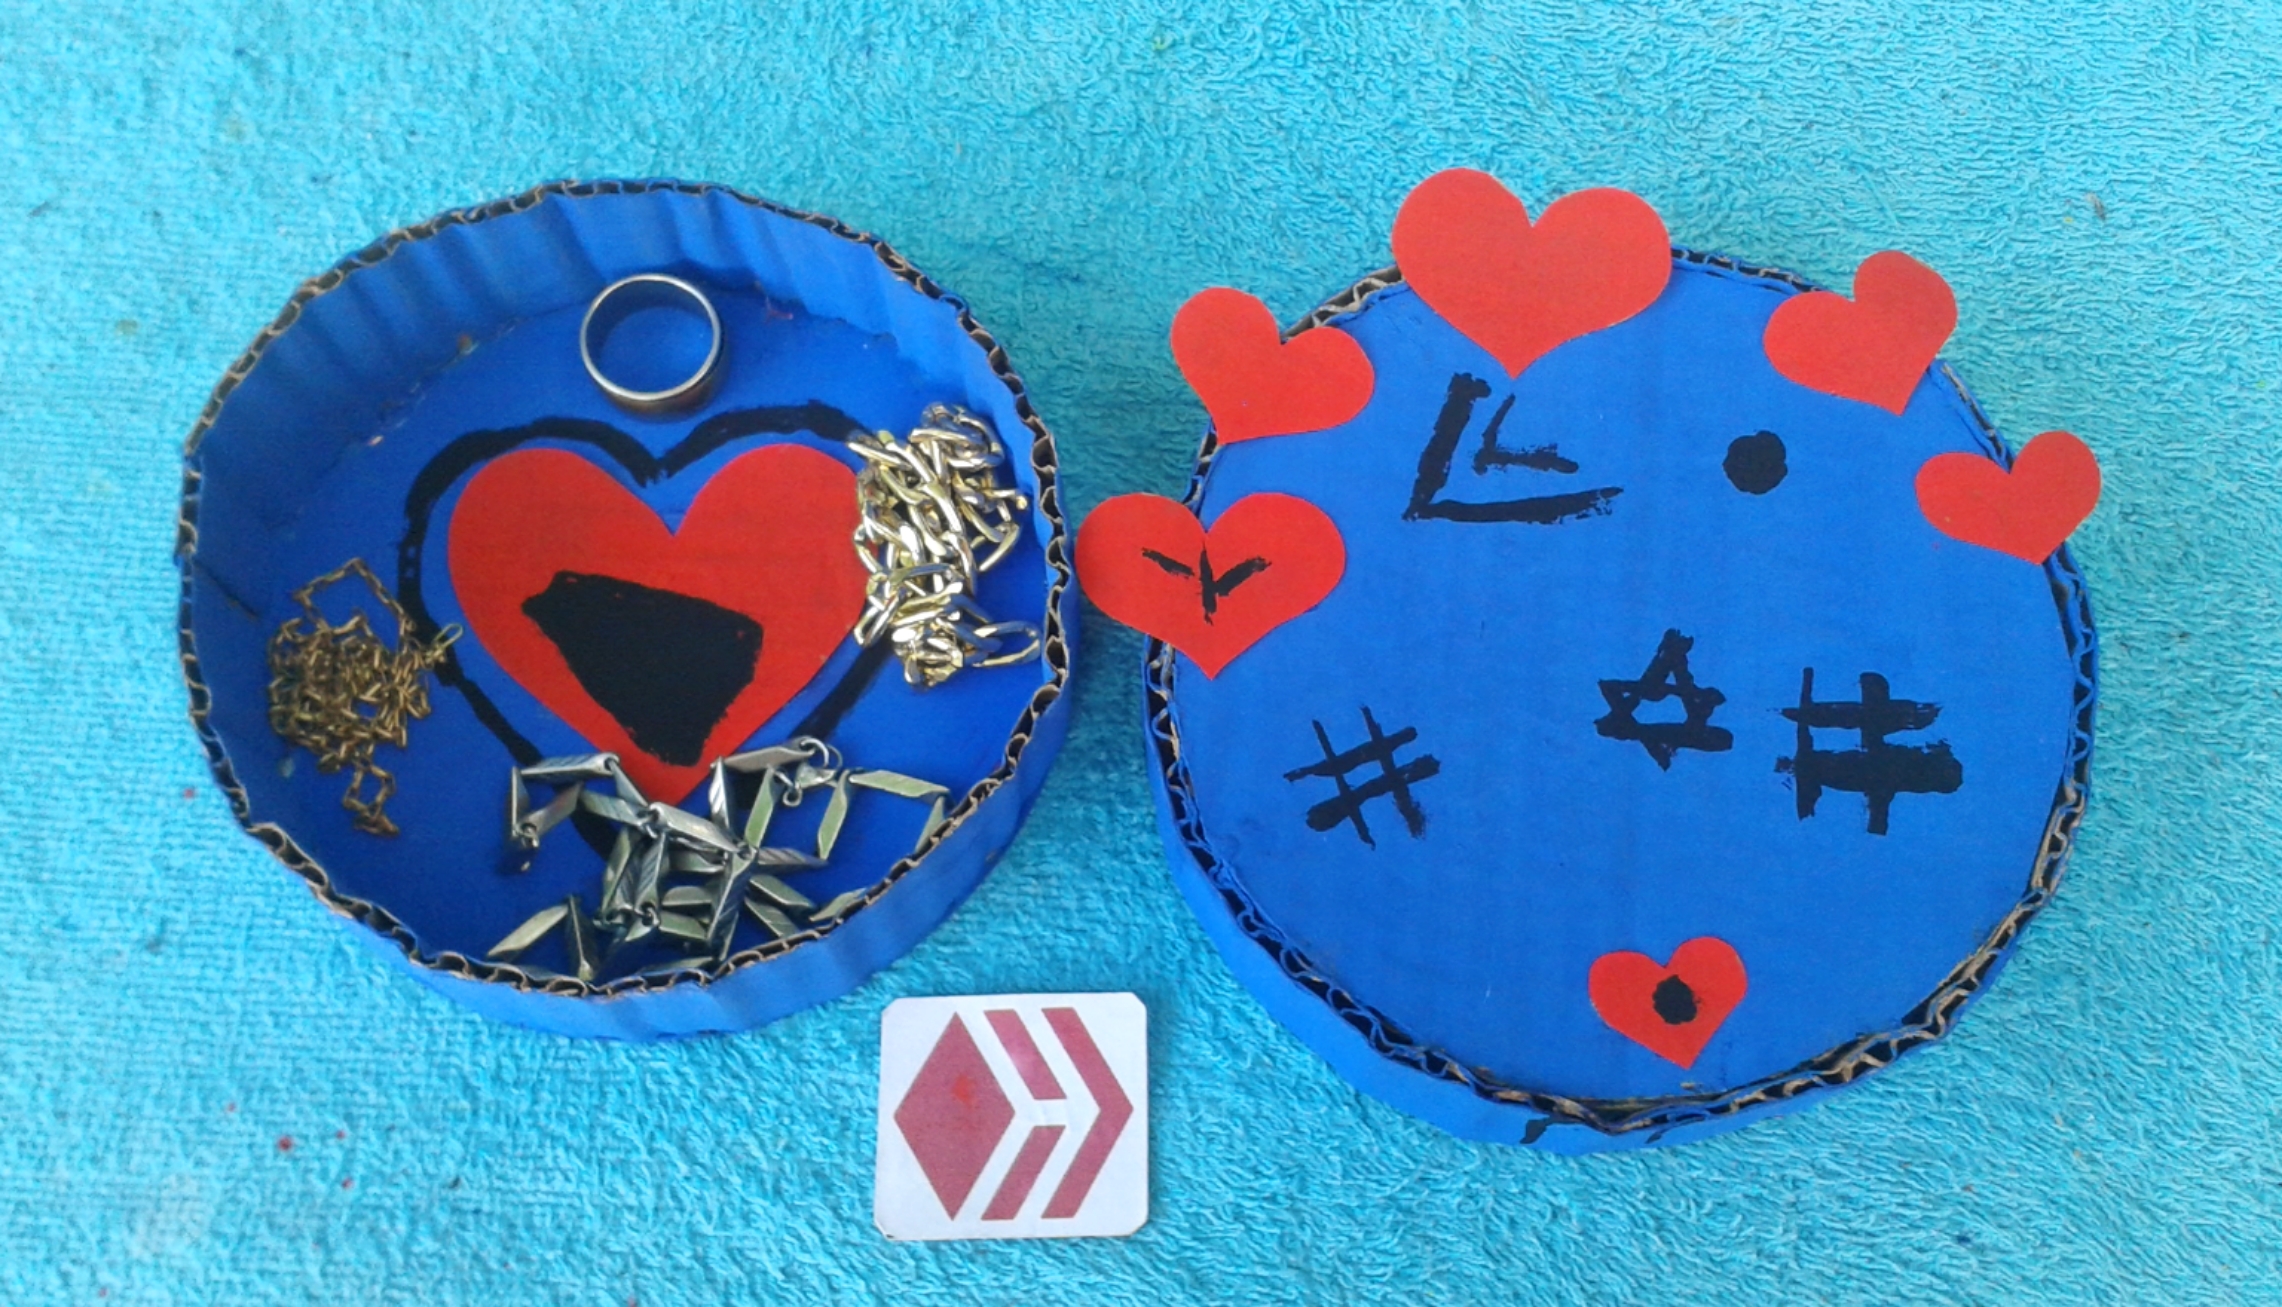
Listo, colmena! Aquí tenemos éste increíble joyero utilizando materiales prácticos. Espero te haya gustado!
Ready, hive! Here we have this amazing jewelry box using practical materials. I hope you liked it!
Gracias por visitar mi blog! Bendiciones! Hasta el próximo post! @josegregor
Thank you for visiting my blog! Blessings! Until the next post! @josegregor
