Hello my dear friends of Hive. Best regards to all of you.
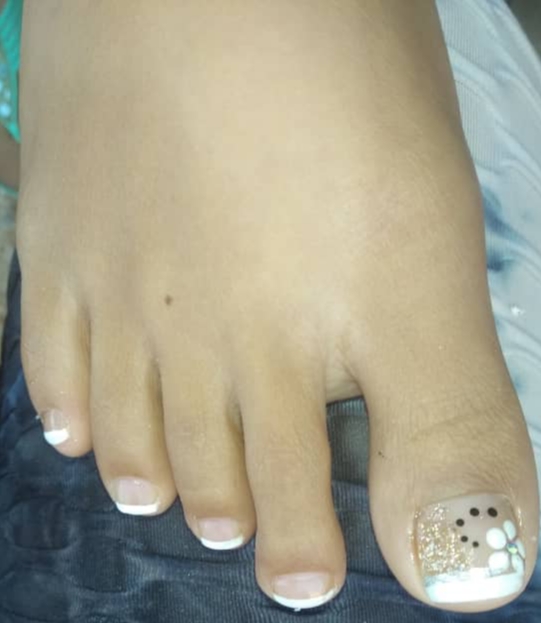
Today I bring you a toenail design. To have very pretty and delicate feet. For the Queens of the house. Remember that our beauty is seen in our feet.
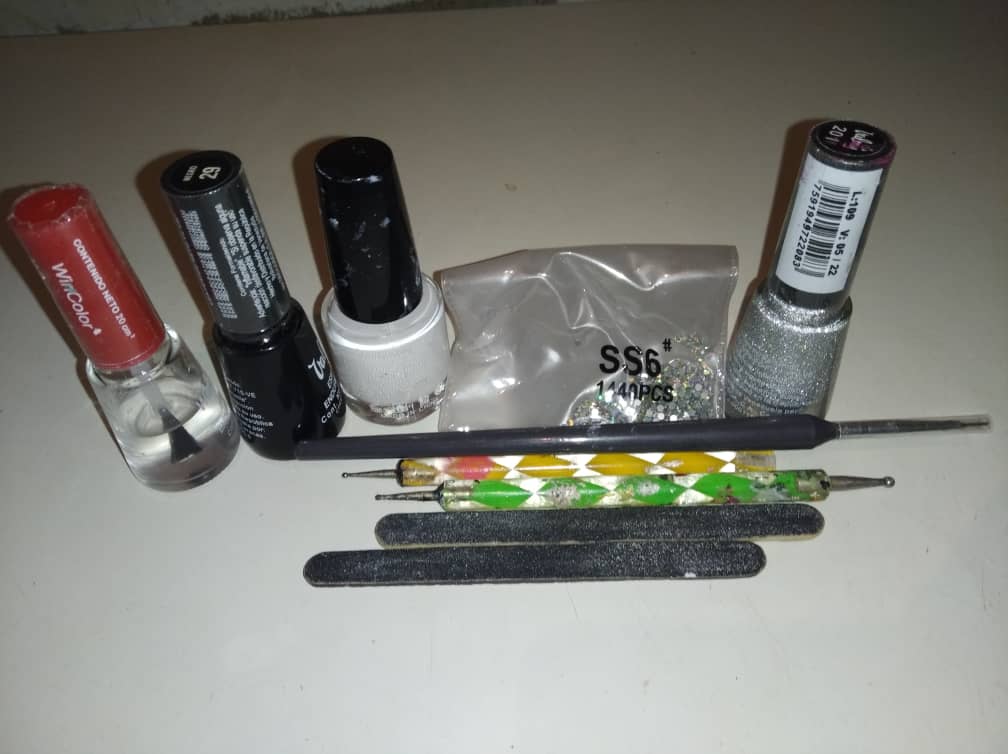
A continuación vamos con los materiales a utilizar:
Next, let's go to the materials to be used:
- 1 Pintura de color blanco.
- 1 Pintura de color negra.
- 1 Pintura de brillo o transparente.
- 1 Pintura plateada.
- Pedrería (Opcional).
- 1 pincel triple 0 ó muy celda fina.
- Lima.
- Punteros.
- 1 White paint.
- 1 Black color paint.
- 1 Gloss or transparent paint.
- 1 Silver paint.
- Rhinestones (Optional).
- 1 brush triple 0 or very fine cell.
- File.
- Pointers.
Paso 1:
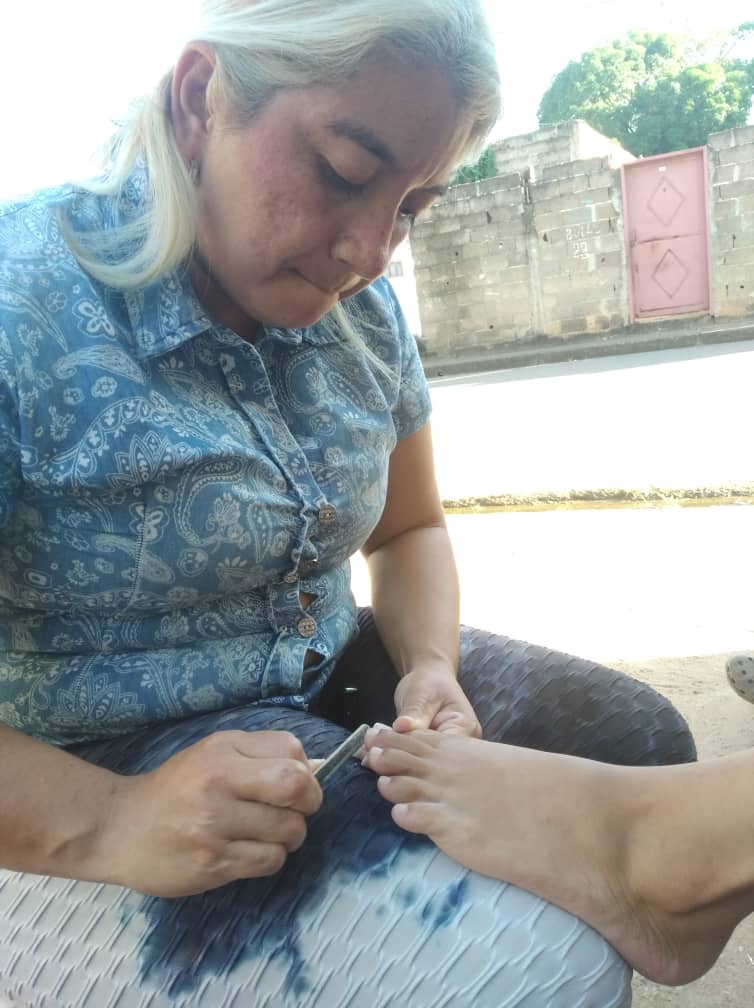
Se procede a limar las uñas para que estén bien cuadraditos y novedades.
Step 1:
File the nails so that they are well squared and new.
Paso 2:
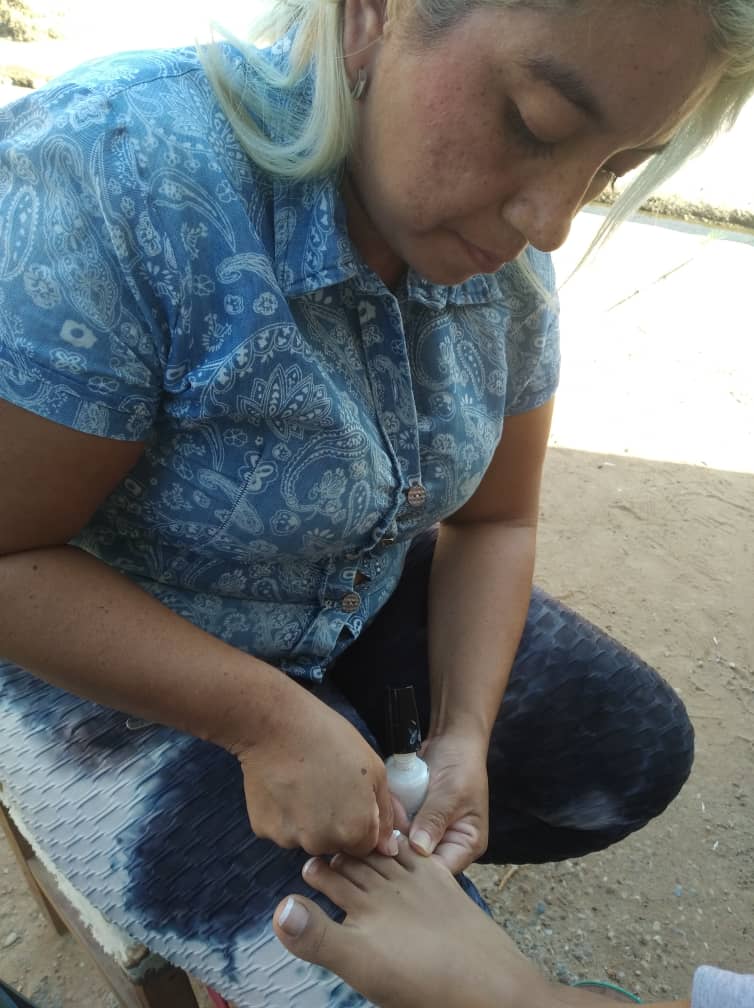
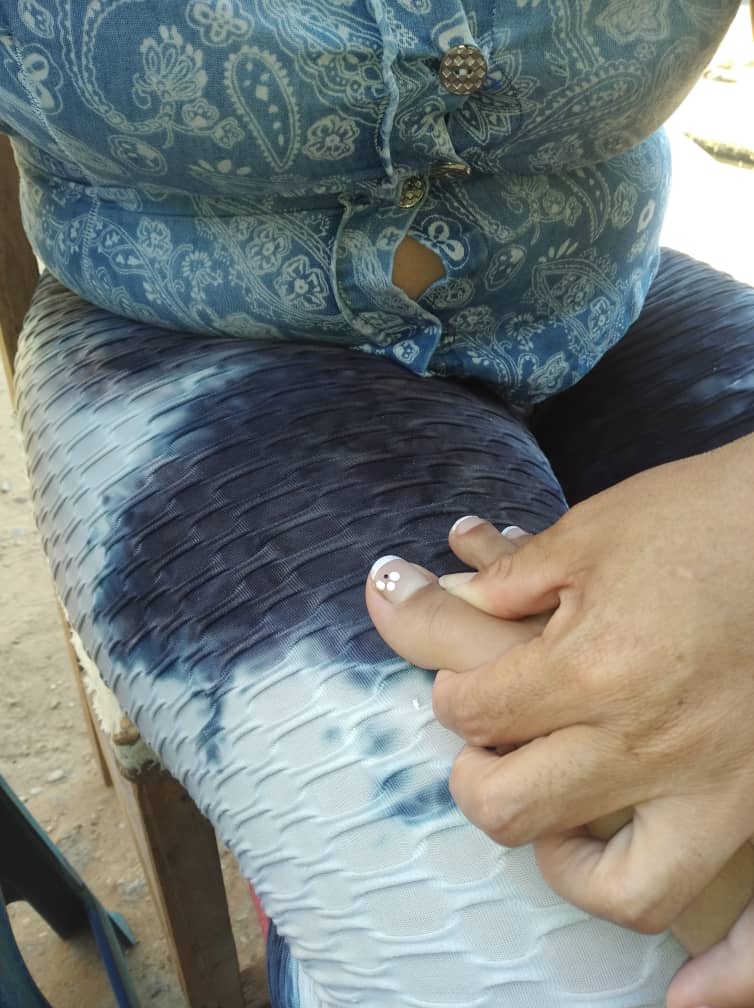
Se hace una francesa con la pintura blanca del tamaño de su preferencia. Así como se muestra en la imagen.
**Step 2
You make a French with the white paint of the size of your preference. As shown in the picture.
Paso 3:
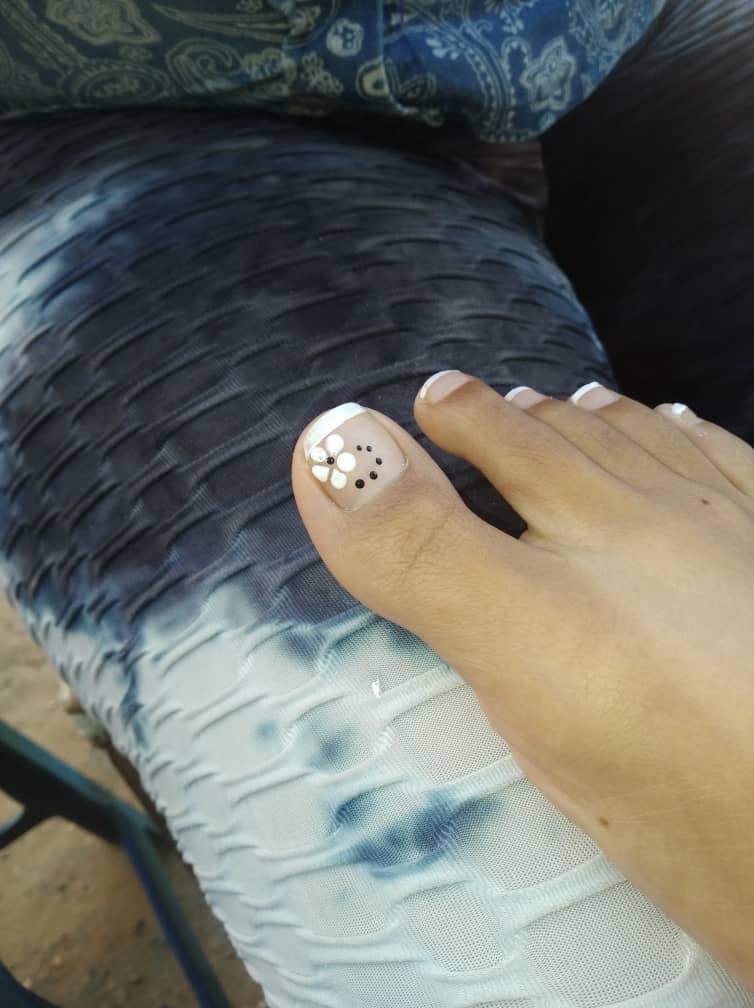
Con el puntero y la pintura blanca marcamos unos puntos, para formar una flor así como se muestra en la foto.
Step 3:
With the pointer and the white paint we mark some dots, to form a flower as shown in the photo.
Paso 4:
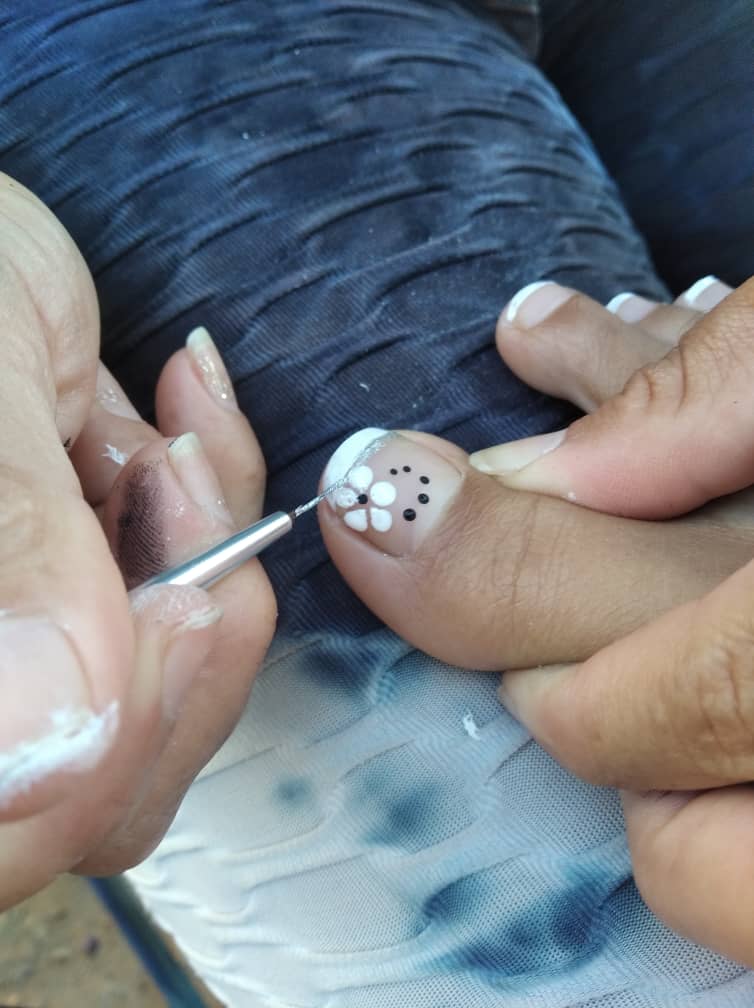
Con el puntero y la pintura negra hacemos puntitos negros para adornar el diseño. Así como se visualiza en la imagen.
**Step 4
With the pointer and the black paint we make black dots to decorate the design. As shown in the image.
Paso 5:
Con el pincel fino y la pintura plateada se hará una línea en el borde de la francesa, para darle más iluminación o vista a la uña.
Step 5:
With the fine brush and the silver paint a line will be made on the edge of the French, to give more illumination or view to the nail.
Paso 6:
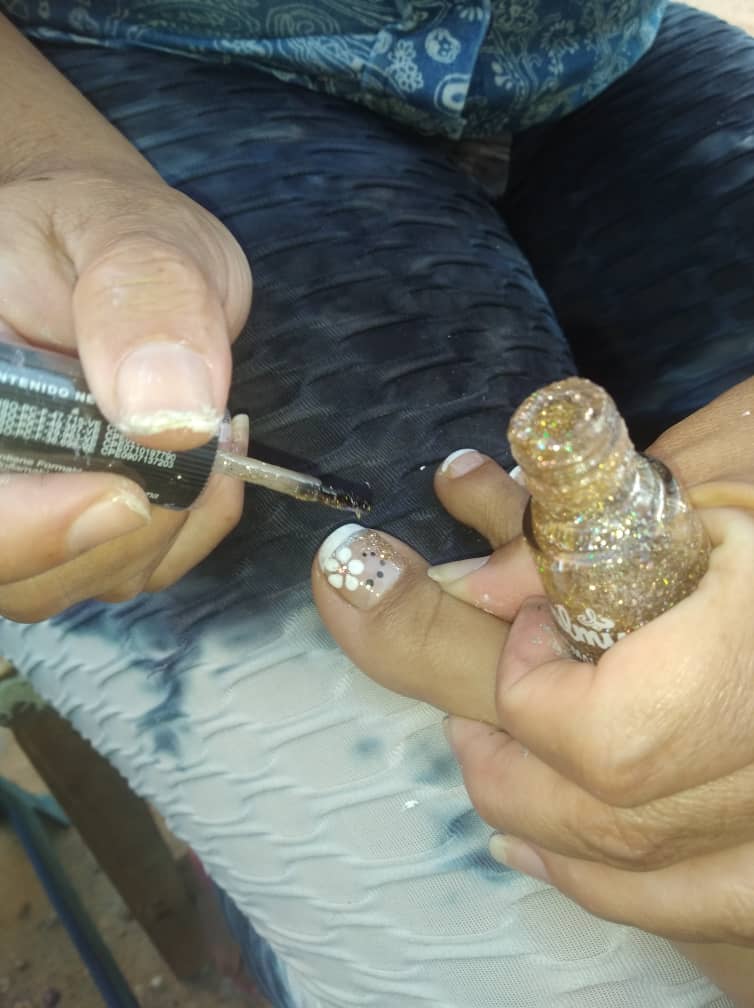
Con un brillo escarchado se le colocará a un lado de la uña para que tenga mejor vista o sea más llamativa y le colocamos una piedreria en el medio de la flor. Como se refleja en la imagen.
Step 6:
With a frosted glitter will be placed on one side of the nail to have a better view or be more striking and we place a stone in the middle of the flower. As shown in the picture.
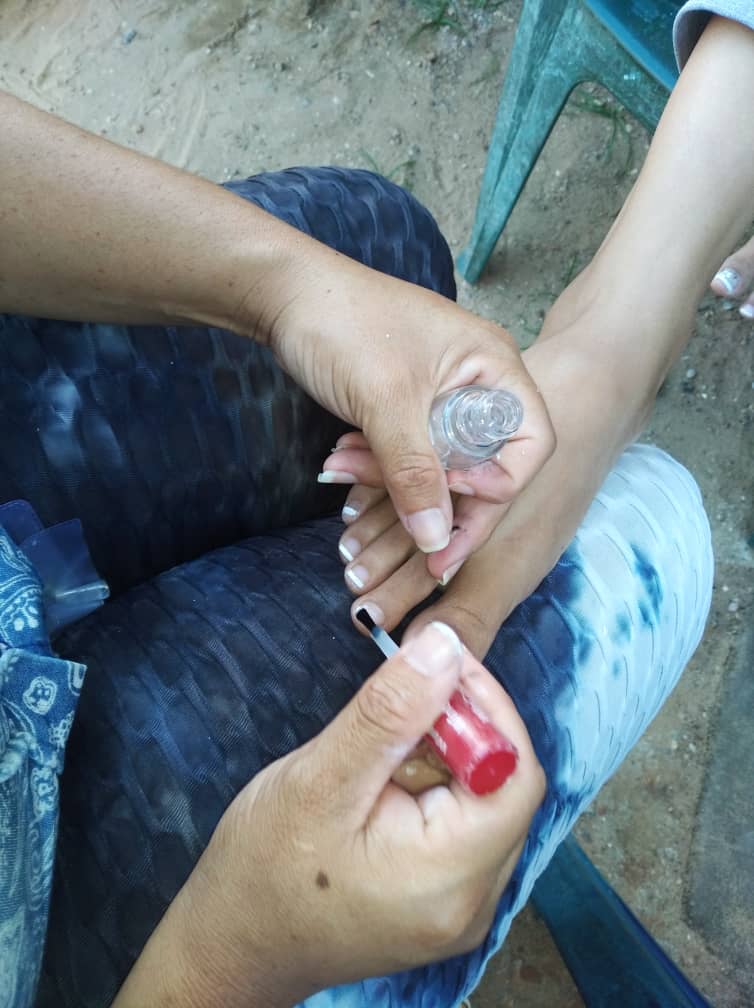
Paso 7:
Por último se procede a echar el brillo transparente. Para finalizar con el procedimiento. Quedado como resultado unos pies hermosos.
**Step 7
Finally, the transparent gloss is applied. To finish with the procedure. The result is beautiful feet.