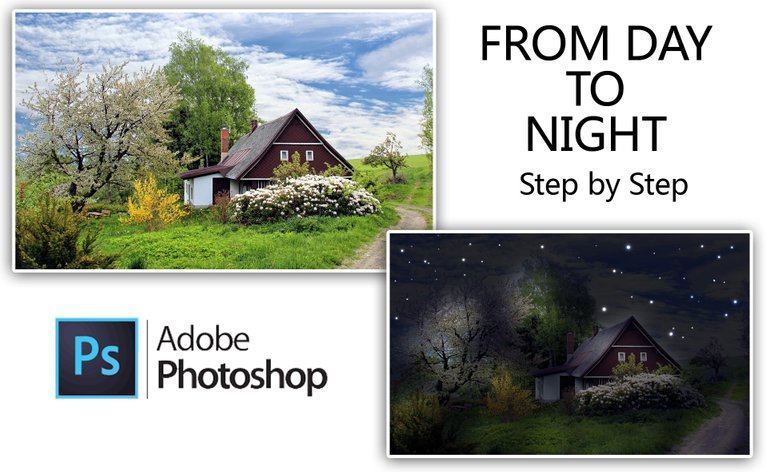
Hello everyone, I want to share this step by step to convert an image from day to night in Photoshop:
1- Duplicate the Image (Ctrl+J)
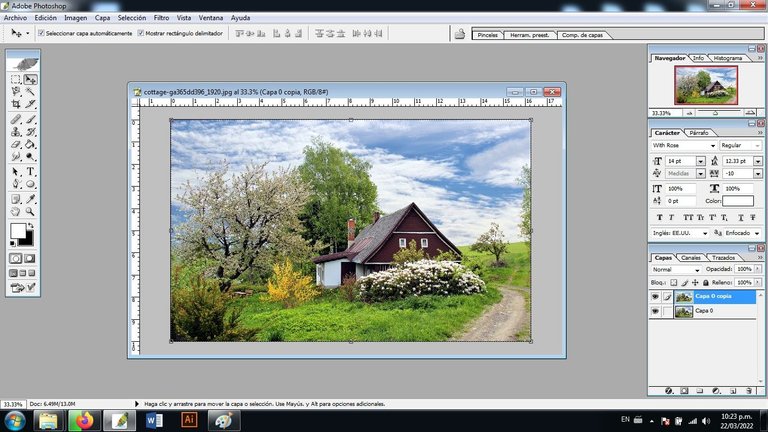
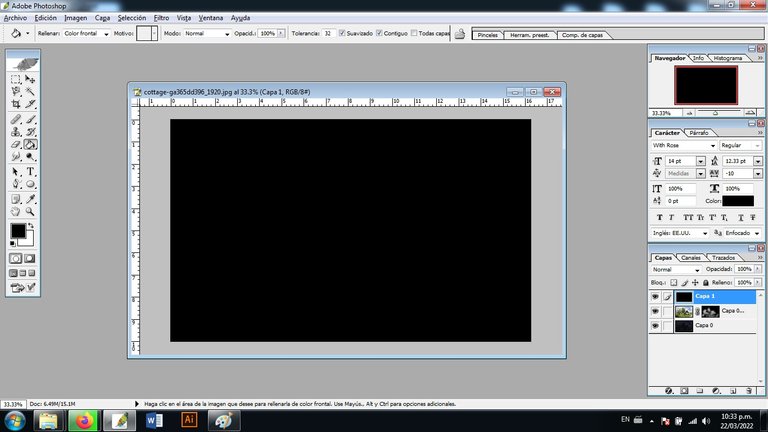
2- We hide the top layer.
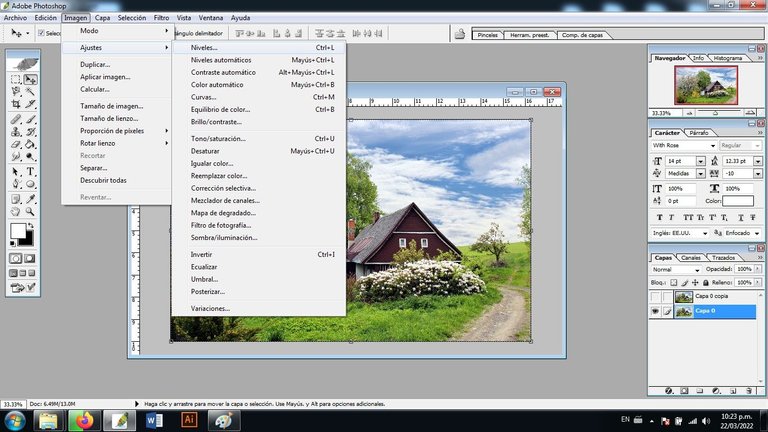
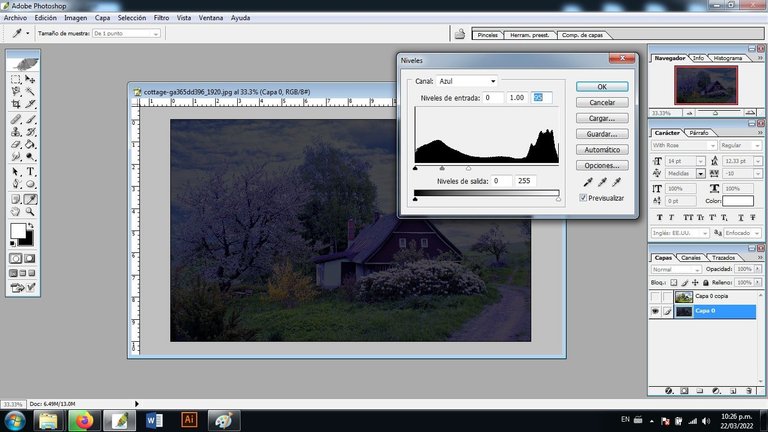
3- To the layer that we have visible we add a level adjustment layer (Ctrl+L)
4- We adjust the white output levels until dark enough
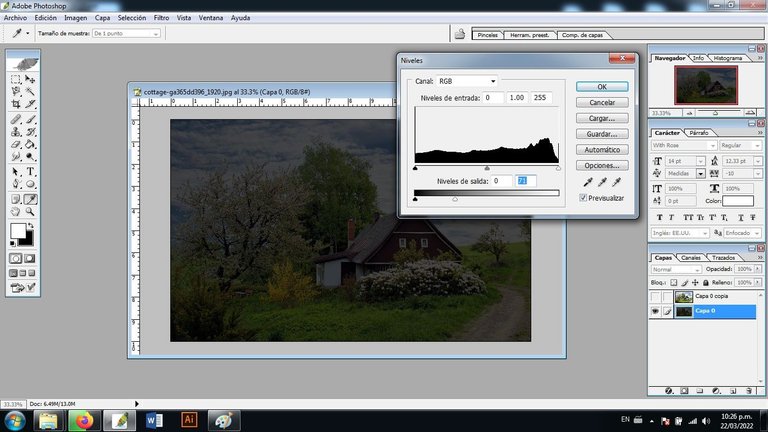
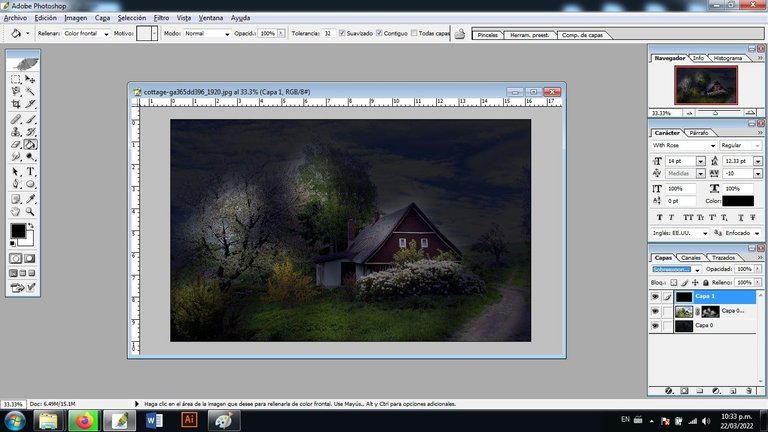
5- Then we change the channel to blue color and adjust the white and medium input levels until we obtain the desired color
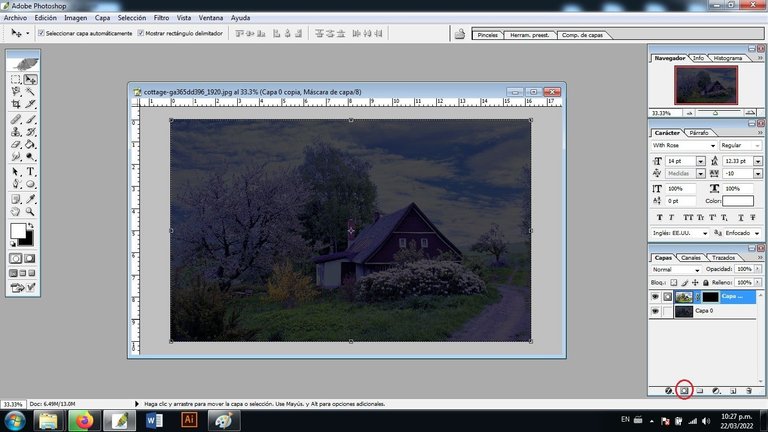
6- We make the hidden layer visible and create a layer mask (Alt+ Click on the layer mask icon)
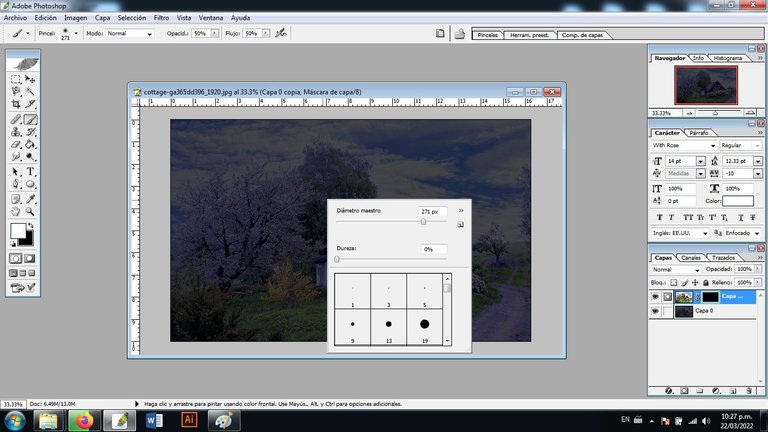
7- With the white brush, opacity and flow at 50% and hardness 0%, we are going to draw on the layer mask to illuminate the places to be highlighted in the image.
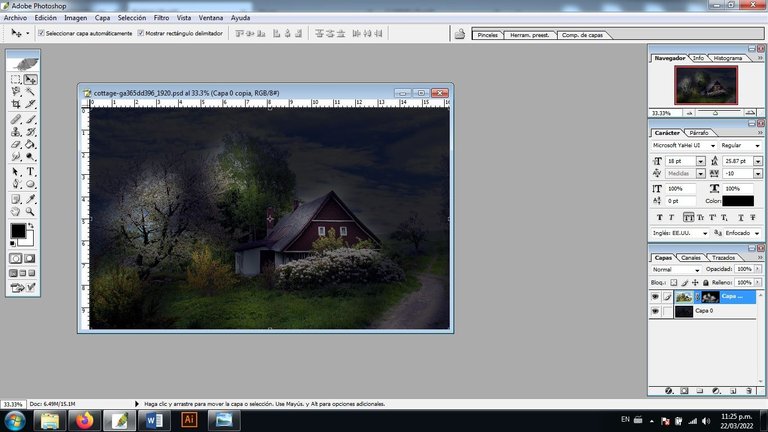
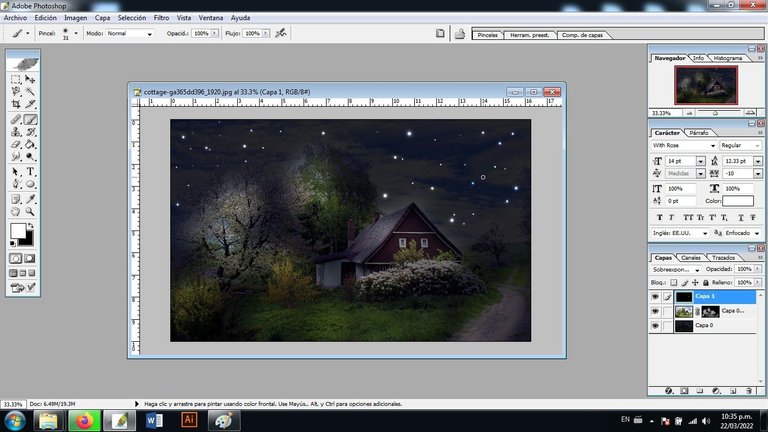
8- Finally to create the stars, we create a new layer and fill it with black. We change the blend type of the layer to Color Dodge and with a white brush, opacity and flow at 100% and hardness at 0%, we can draw these lights playing with different sizes of the brush to simulate the stars.
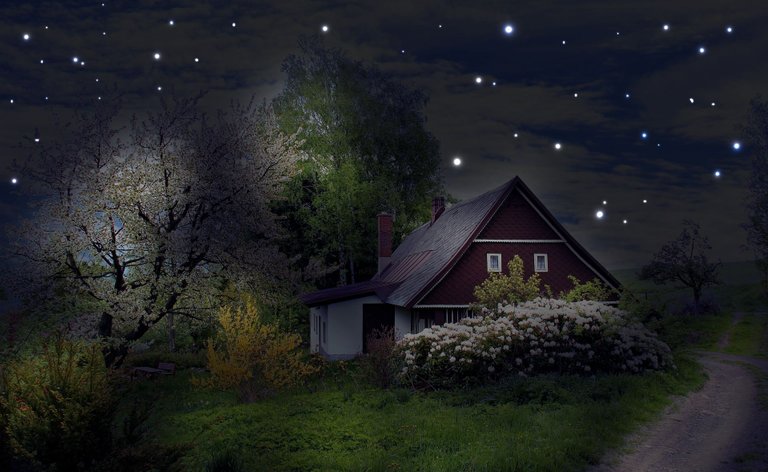
And this is the result
For this tutorial I started from this image taken from Pixabay
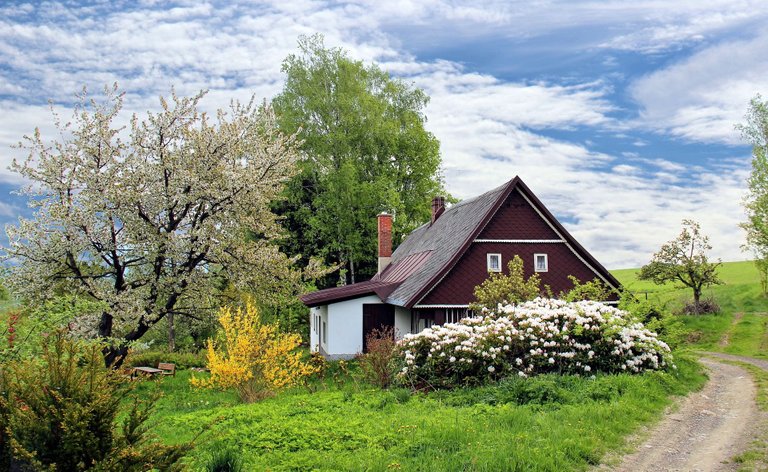
https://pixabay.com/es/photos/caba%c3%b1a-%c3%a1rboles-sendero-rastro-casa-2955582/
This is all.Thank you. Greetings
Congratulations @lice91! You have completed the following achievement on the Hive blockchain and have been rewarded with new badge(s):
Your next target is to reach 40 posts.
You can view your badges on your board and compare yourself to others in the Ranking
If you no longer want to receive notifications, reply to this comment with the word
STOPTo support your work, I also upvoted your post!
Check out the last post from @hivebuzz:
Support the HiveBuzz project. Vote for our proposal!