Español
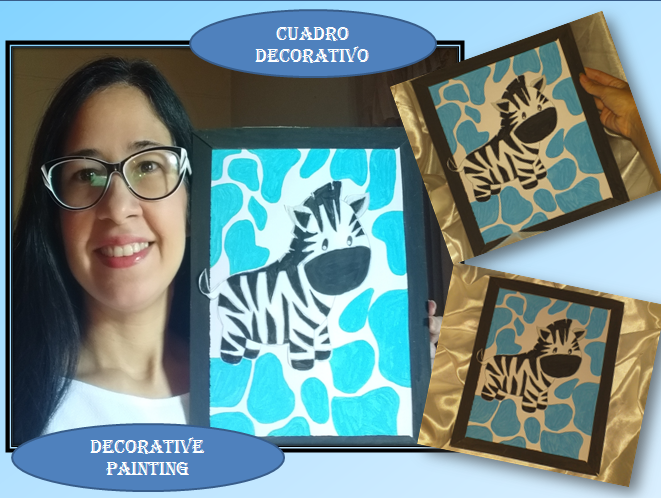
Un gran saludos amigos de hive,el día de hoy compartiré con ustedes el paso a paso de como realizar un cuadro decorativo de cebra.Espero les guste.
Spanish
A big hello friends of hive, today I will share with you the step by step of how to make a decorative zebra painting, I hope you like it.
Español
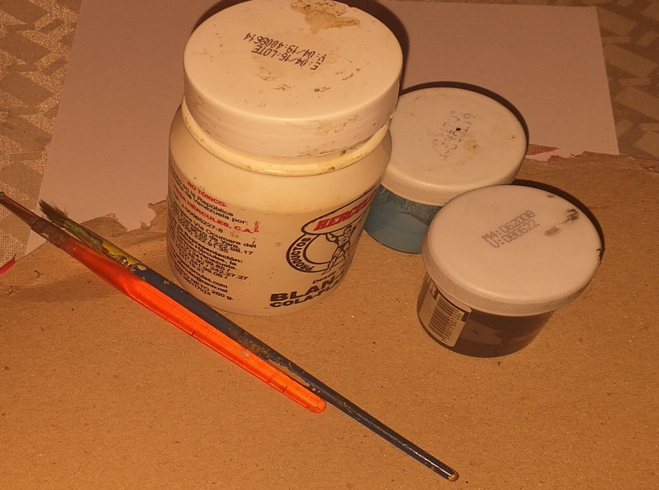
Materiales
*Cartulina blanca
*Cartón
*Pegamento
*Pinceles
*Pintura al frió negro y negra
Spanish
Materials
*White cardboard
*Cardboard
*Glue
*Brushes
*Cold paint black and black
Español
Paso a paso
Paso 1
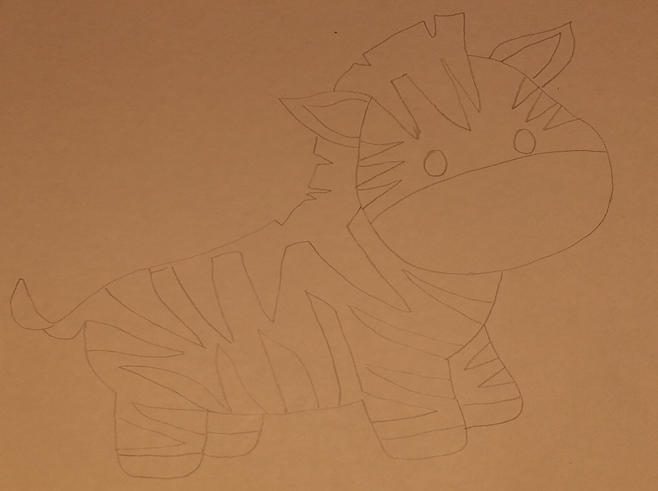
Lo primero que hacemos sera realizar el boceto de lo que sera el motivo de nuestro hermoso cuadro,en este caso sera una cebra.
Spanish
Step by step
Step 1
The first thing we do will be to make the sketch of what will be the motif of our beautiful painting, in this case will be a zebra.
Español
Paso 2
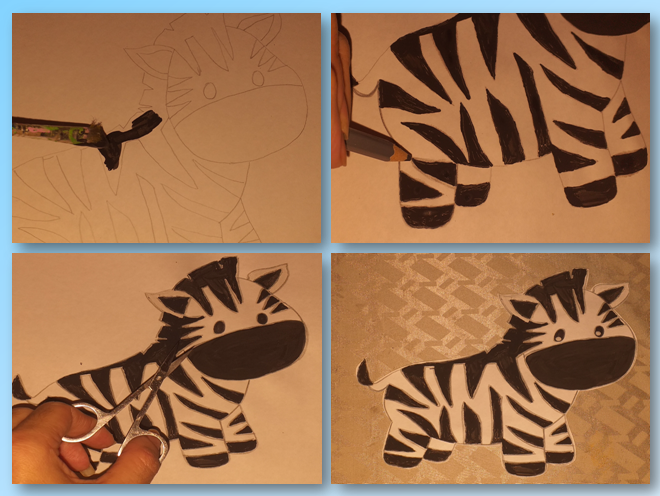
Empezamos rellenando con pintura negra las manchas de la cebra,luego que terminemos de rellenar con un color negro remarcamos toda nuestra cebra una ves remarcada procedemos a recortar.
Spanish
Step 2
We start filling with black paint the spots of the zebra, after we finish filling with a black color we highlight all our zebra once highlighted we proceed to cut.
Español
Paso 3
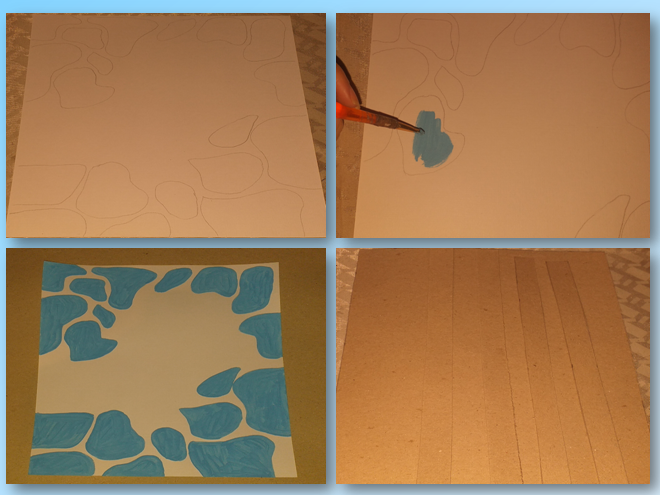
Continuamos realizando el boceto donde colocaremos la cebra,realizaremos una manchas y rellenaremos con pintura azul,esperamos que seque por unos minutos y realizaremos el marco de nuestro cuadro,marcaremos un cuadro en el cartón dos centímetros mas grande que nuestra cartulina y cuatro tiras que colocaremos en los lados,serán de dos cm de ancho cada una las horizontales medirá 25cm de largo y las verticales 29cm de largo.
Spanish
Step 3
We continue making the sketch where we will place the zebra, we will make a stain and fill it with blue paint, we wait for it to dry for a few minutes and we will make the frame of our picture, we will mark a square on the cardboard two centimeters bigger than our cardboard and four strips that we will place on the sides, they will be two cm wide each one, the horizontal ones will measure 25cm long and the vertical ones will measure 29cm long.
Español
Paso 4
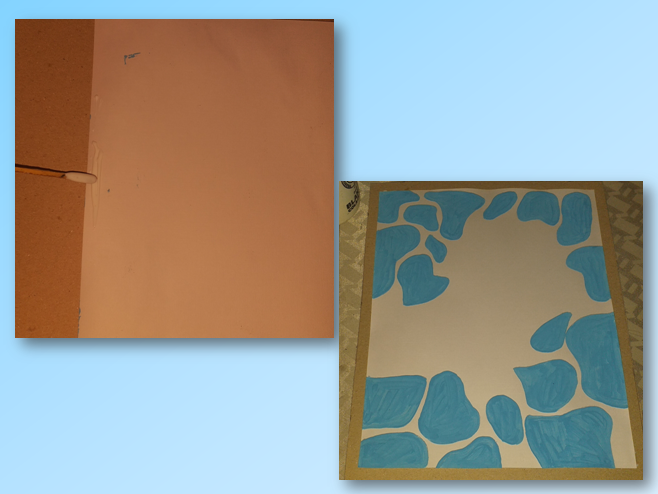
Luego colocamos pegamento en la cartulina y pegamos en la base de cartón que hemos realizado.
Spanish
Step 4
Then we put glue on the cardboard and glue it on the cardboard base we have made.
Español
Paso 5
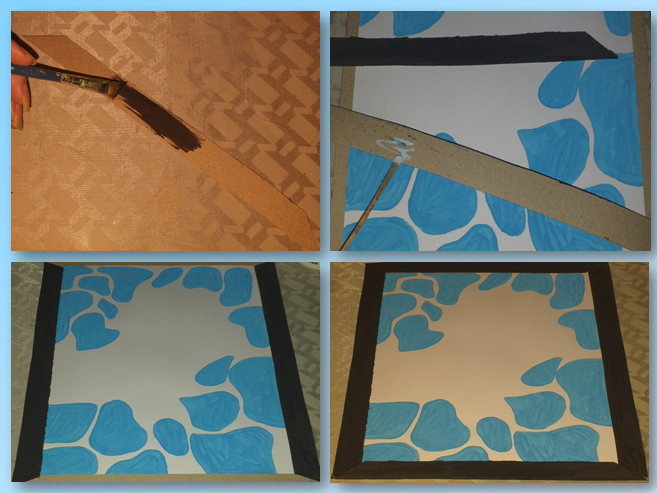
Pintamos con pintura negra las tiras que colocaremos en la parte horizontal y vertical de nuestro hermoso cuadro,una ves pintadas las tiras procedemos a pegar.
Spanish
Step 5
We paint with black paint the strips that we will place in the horizontal and vertical part of our beautiful picture, once the strips are painted we proceed to glue.
Español
Paso 6
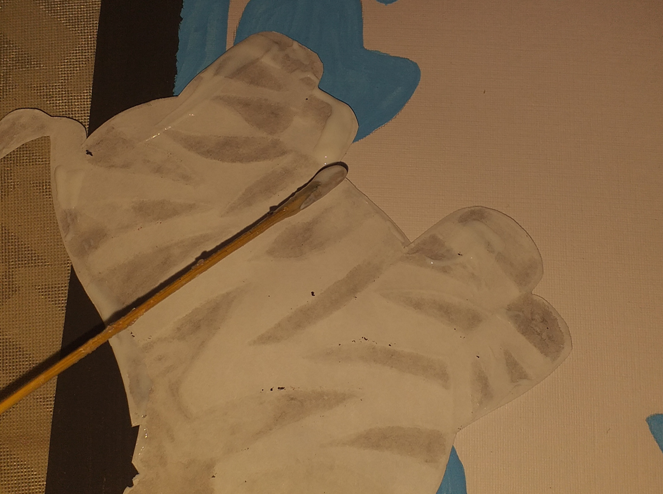
Para finalizar nuestro hermoso cuadro colocamos pegamento en la cebra y pegamos en la base.
Spanish
Step 6
To finish our beautiful picture we put glue on the zebra and glue on the base.
Asi de hermoso quedo mi cuadro decorativo
This is how beautiful my decorative painting turned out.
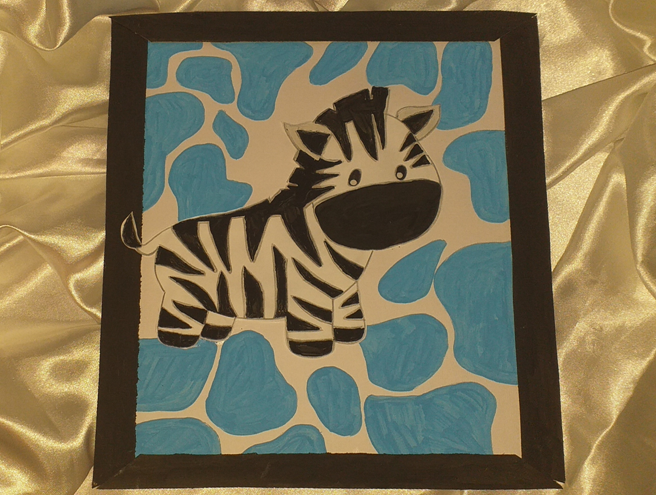
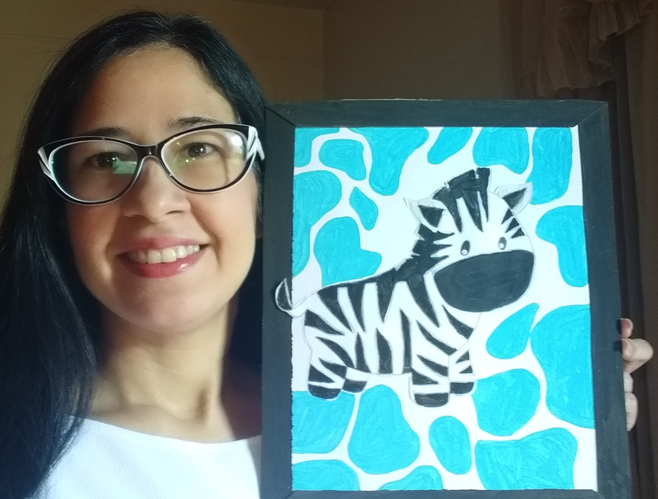
Fotografías de mi Autoria
Photographs of my Authorship
Tomadas de mi Samsung J6
Taken from my Samsung J6
Para la traducción utilice https://www.deepl.com/
For translation use https://www.deepl.com/
¡Gracias por su apoyo, por leerme y votar, GRACIAS!
Thank you for your support, for reading and voting, THANK YOU!
Excelente aporte, muchas felicidades...no soy muy hábil con las manos y sé que como yo hay muchos pero con tu contenido, todo el proceso se hace mucho más llevadero y sé también que lograrás inspirar a muchos a que se atrevan.