
Hola amigos de Hive,espero se encuentren bien, El día de hoy les traigo un pequeño tutorial de como elaborar un hablador, bien sea para cumpleaños o para regalar a: pareja, amistades o familiares. En este caso yo decidí hacer este pequeño hablador para regalar a una persona especial, no es su cumpleaños, pero el detalle es para recordarle que es importante en la vida de alguien de alguna manera. Este hablador lo podemos elaborar de diferentes maneras bien sea en foami ,cartulina o el material que deseen utilizar,como también lo podemos usar para colocar en el centro de una torta, o bien sea en un arreglo. Espero que les guste amigos
Hello friends of Hive, I hope you are well, Today I bring you a small tutorial on how to make a talker, either for birthdays or to give to: partner, friends and family. In this case I decided to make this little talker to give to a special person, it is not his birthday, but the detail is to remind him that he is important in someone's life in some way. We can make this talker in different ways, either in foam, cardboard or whatever material they want to use, as well as to place it in the center of a cake, or in an arrangement. I hope you like it friends
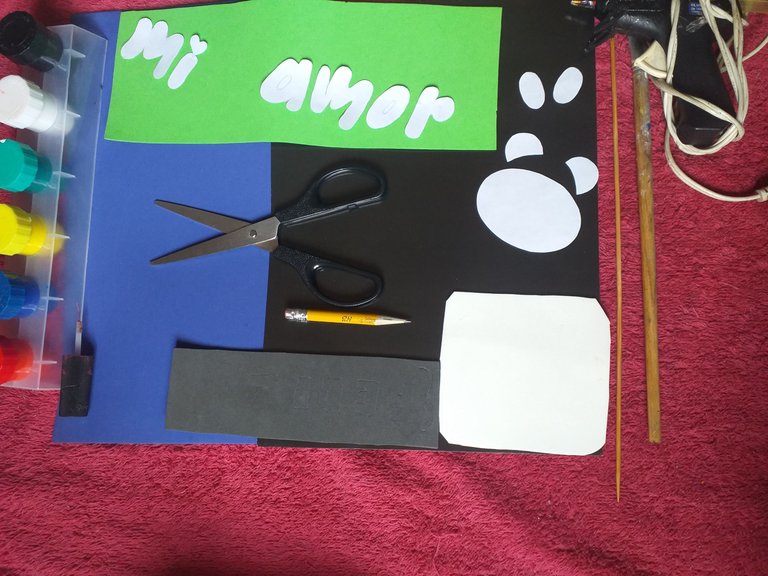
Materiale
Materials
Foami
Cuadro
Cortar con tijeras
Lápiz
Silicio
Cepillo
Palo alto
Molde de letras
Foami
Picture
Cutwith scissors
Pencil
Silicon
Brush
Palo Alto
Letter mold
Procedimiento
Process
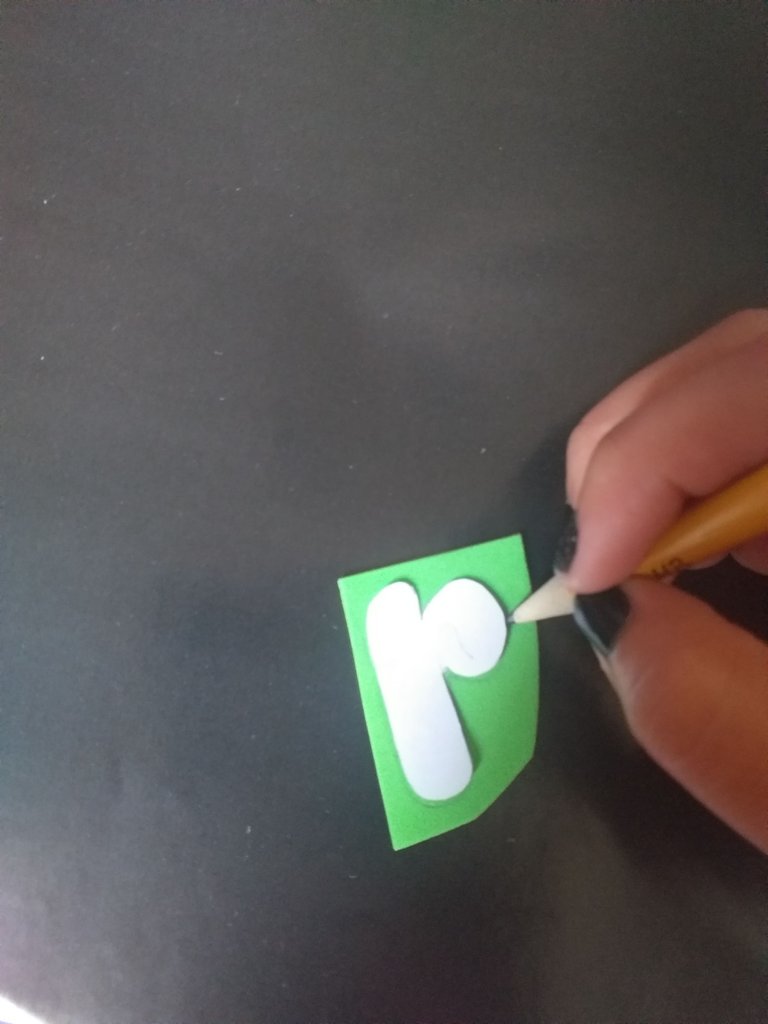
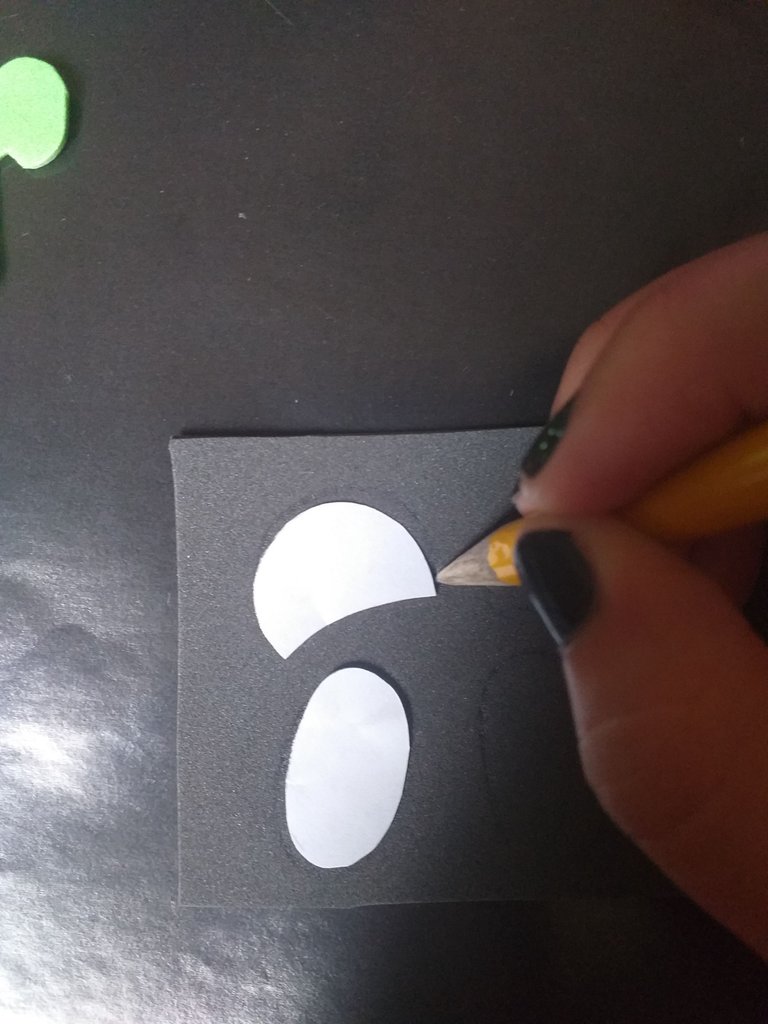
Primer paso, Marcamos las letras en el foami y recortamos
First step, We mark the letters on the foami and cut
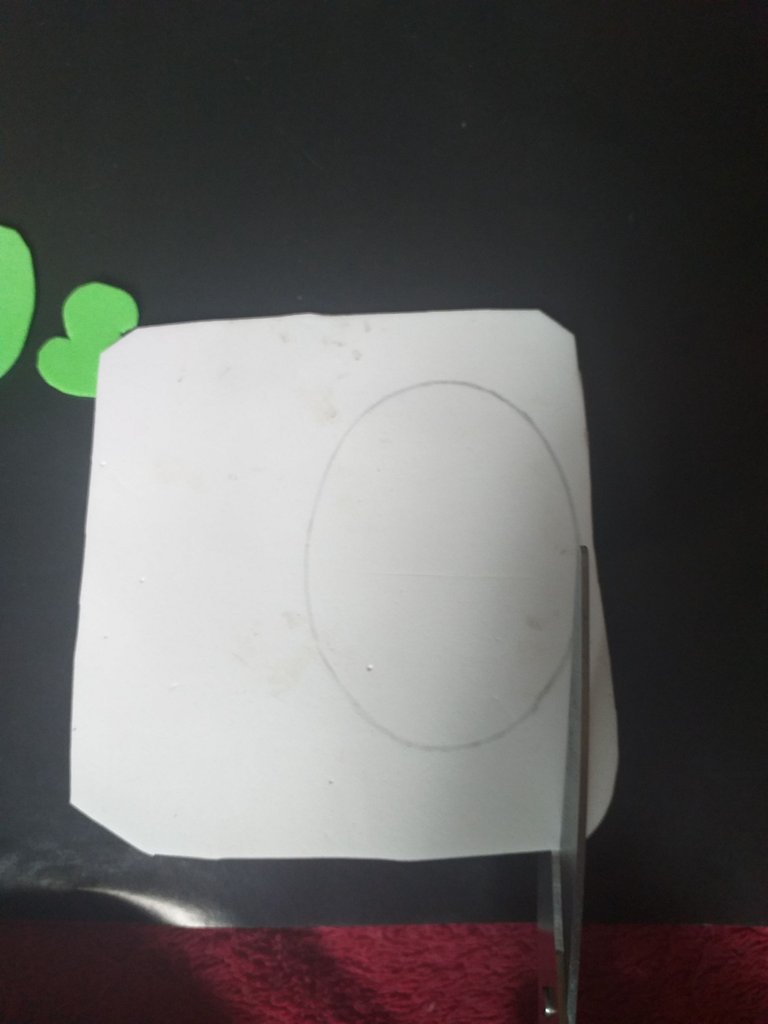
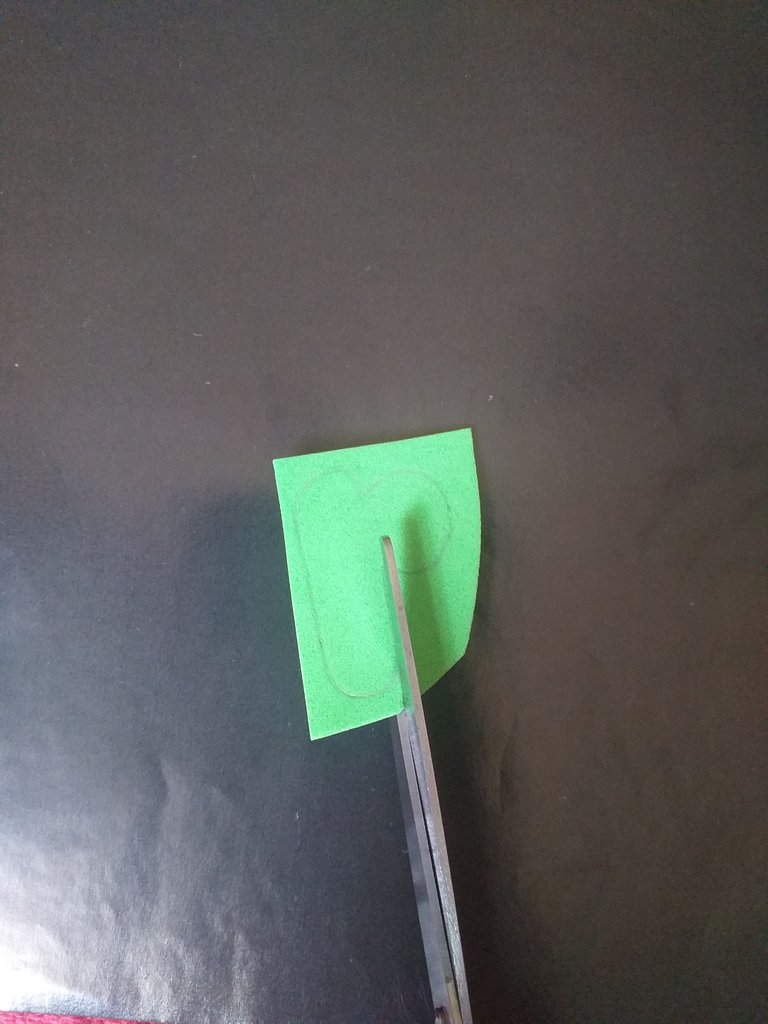
Segundo paso, Dibujamos la silueta del pandita y continuamos recortamos
Second step, We draw the silhouette of the gang and continue cutting

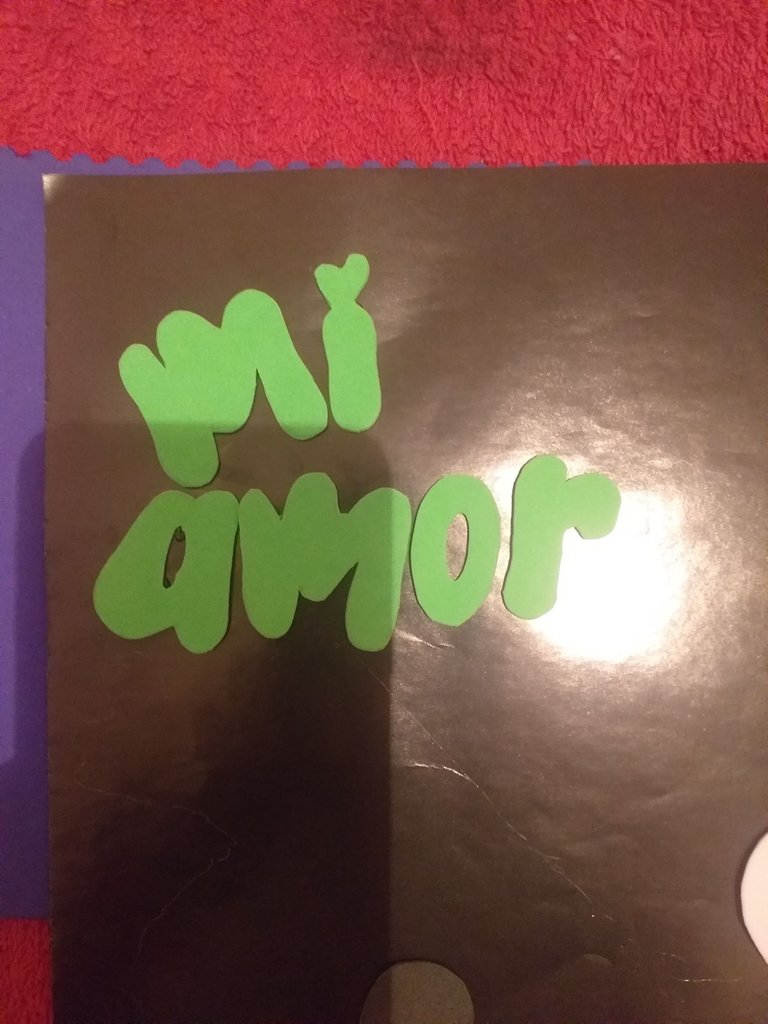

Tercer paso, Vamos formando y pegando el pandita y las letras
Third step, we are forming and gluing the gang and the letters

Cuarto paso, Continuamos recortando alrededor de las letras y dibujando nariz y boca del pandita
Fourth step, We continue cutting around the letters and drawing the nose and mouth of the gang
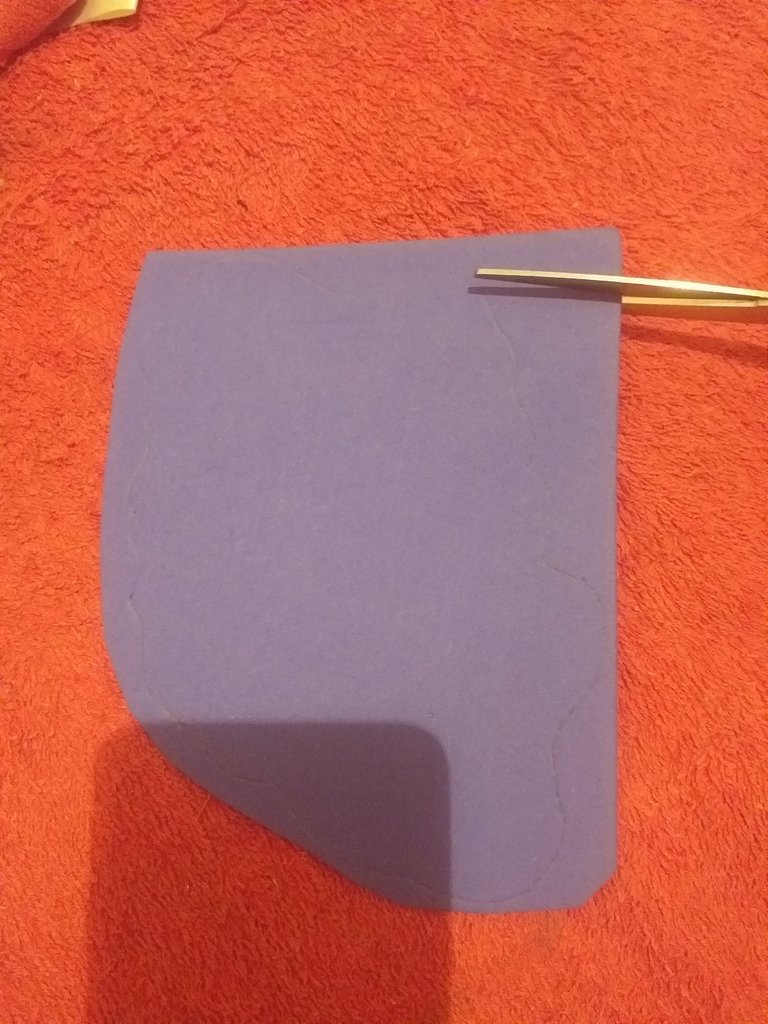
Quinto paso, Marcamos la silueta alrededor de las letras dejando aproximadamente medio centímetro y recortamos
Fifth step, We mark the silhouette around the letters leaving approximately half a centimeter and cut
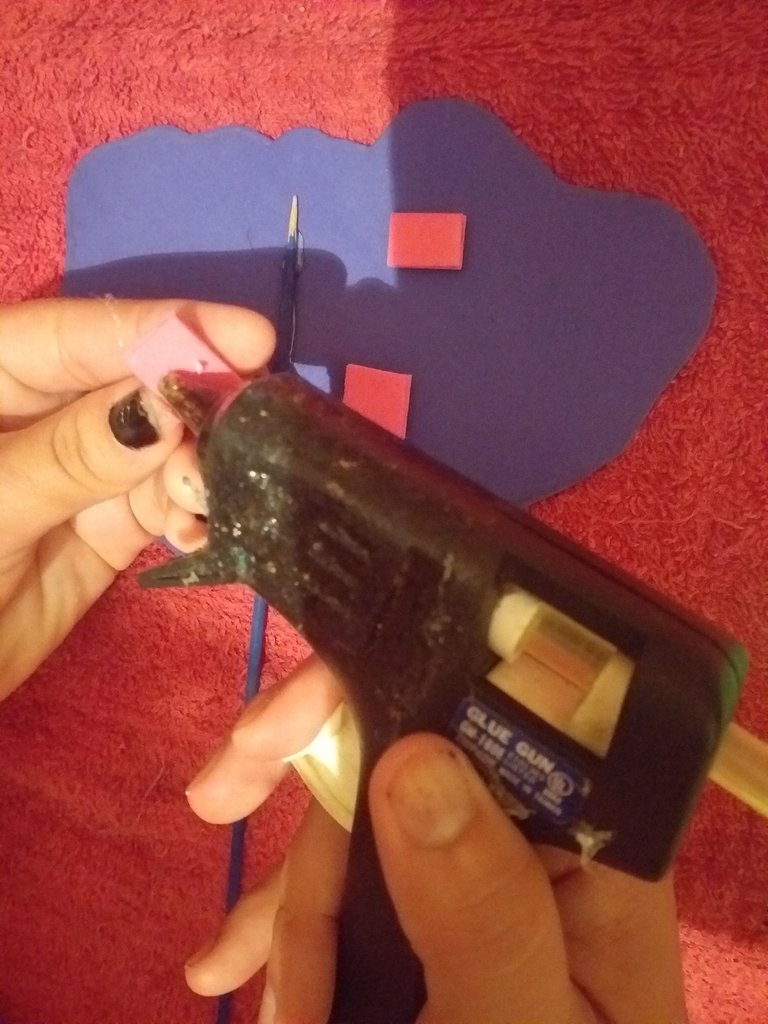
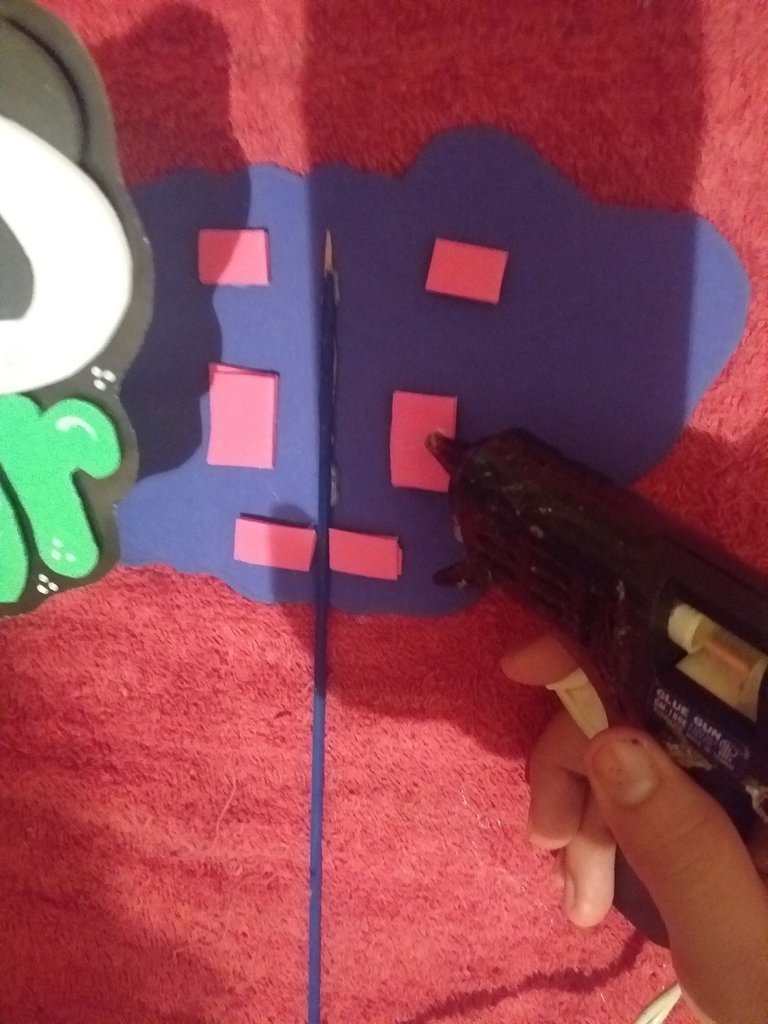
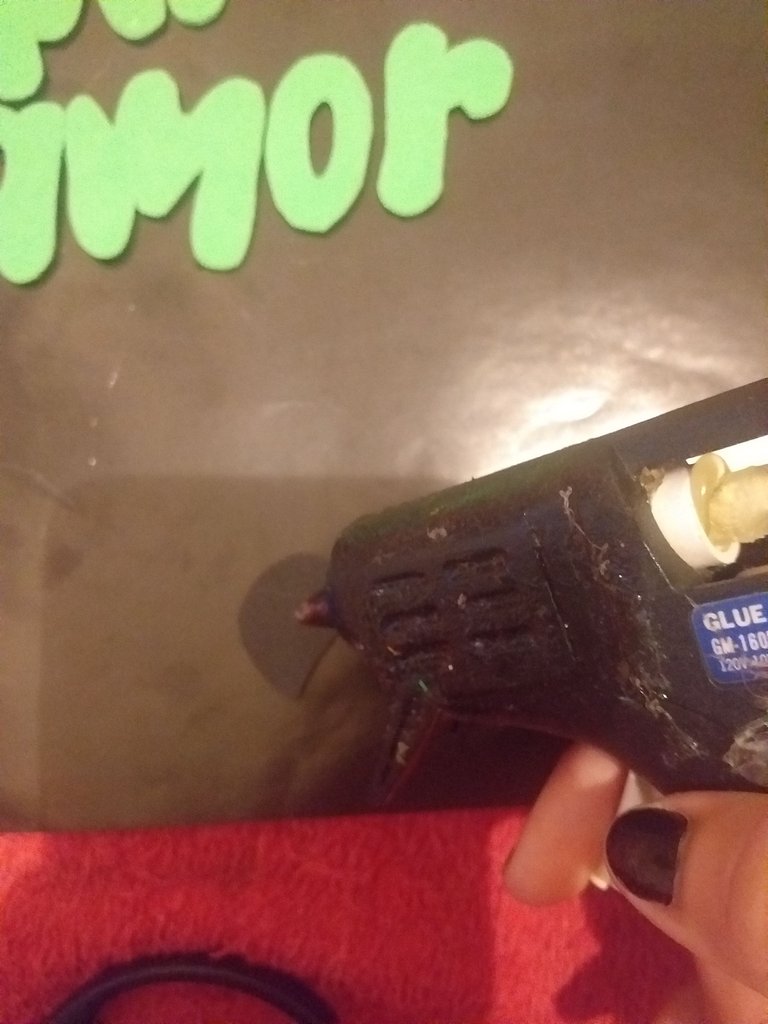
Sexto paso, Luego pegamos el palito de altura, y pegamos cuadritos de foami para fijar bien cuando le pegue las letras
Sixth step, Then we glue the height stick, and we glue foami squares to fix well when we glue the letters

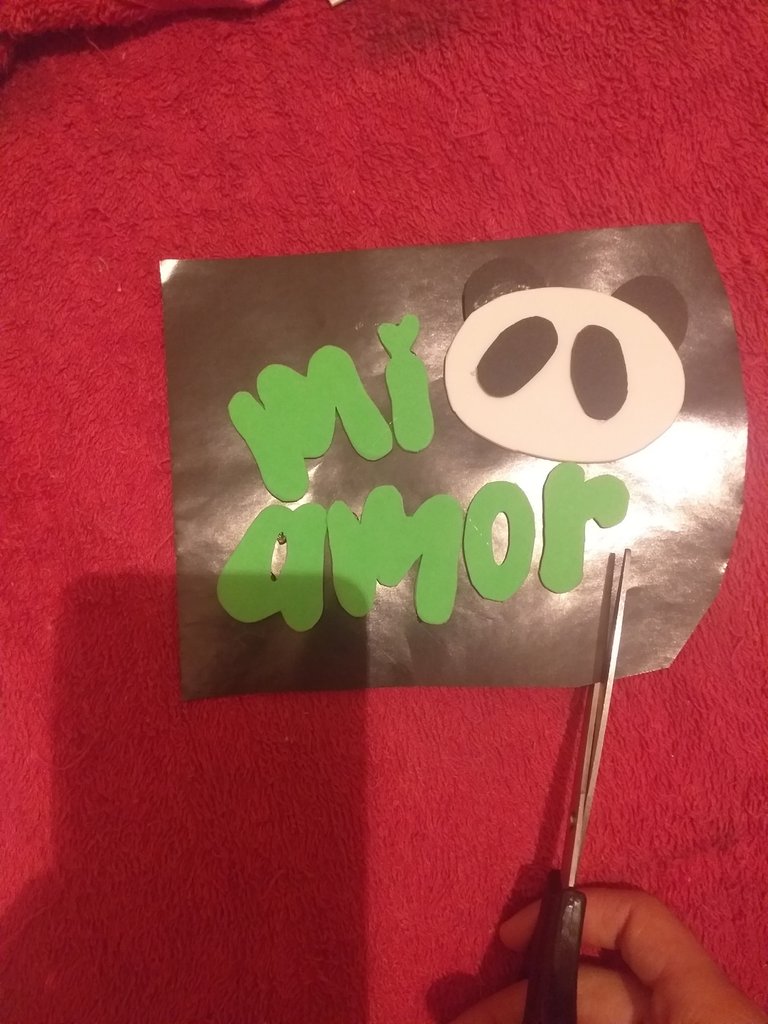
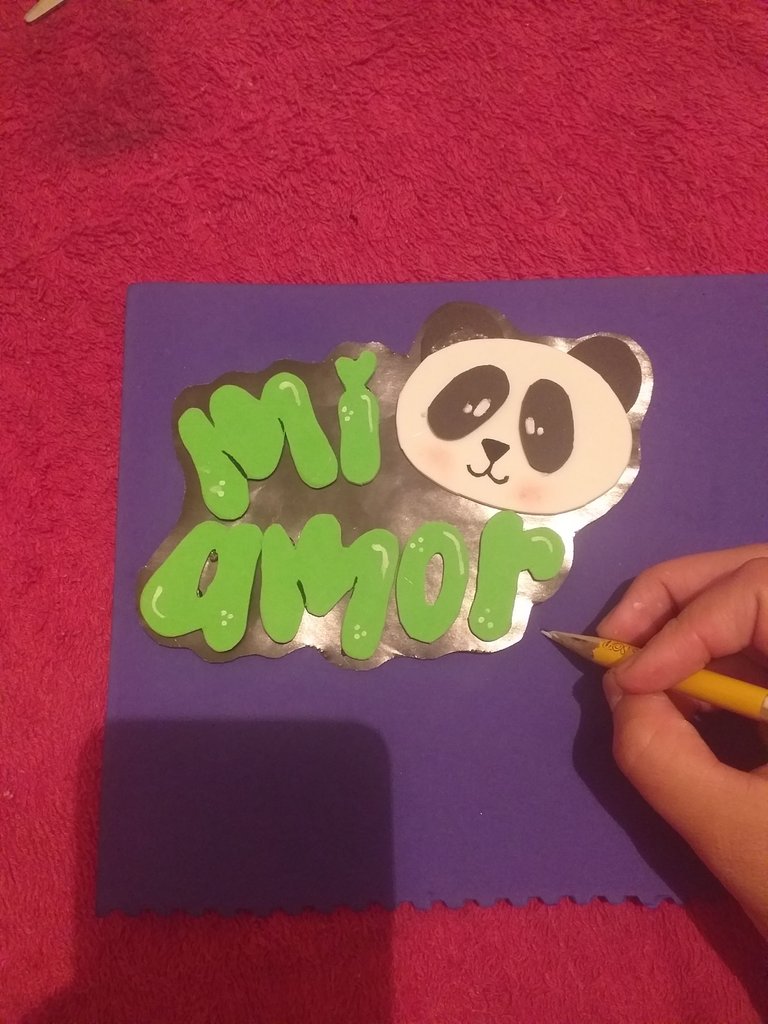
Culmine pegando las letras arriba del foami y asi finalice mi hablador espero que les guste
Finish by pasting the letters above the foami and so finish my talker I hope you like it
Muy lindo, quedaría perfecta esta idea para decorar un pastel.
De verdad que quedaron hermosos, yo no tengo paciencia para ese tipo de manualidades o eso creo, tal vez me animo y termino haciendo un montón, pero de verdad quedaron muy bonitos
Hello @luciannis A lovely craft item. It does the talking for you. It's always said that a picture is worth a thousand words. Well, this talker says it all.
Thanks for sharing your instructions and materials. Take care.