Hello friends I am back with a Step by step of a tiktok trend
Hola amigos estoy de regreso con un Paso a paso de un trend de tiktok
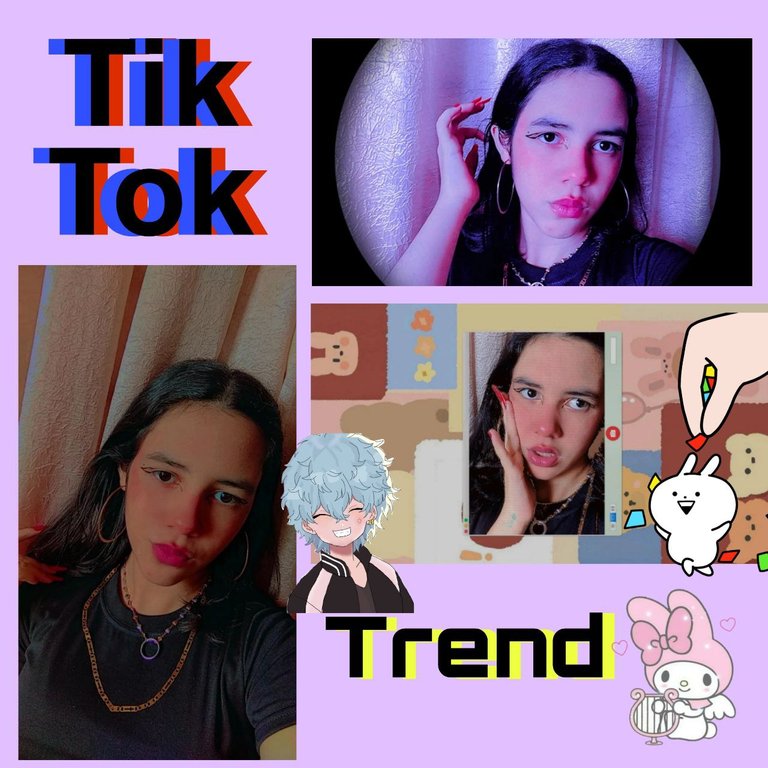
The train I'm inspired by is this:Link It appears a lot in me, for you page, so I decided to do it and I bring you the step by step of how I did it in case you want to try
El trend del cual estoy inspirada es este: Link me aparecio mucho en mi, para ti asi que decidi hacerlo y les traigo a ustedes el paso a paso de como lo hice por si lo quieren intentar
ºººººººººººººººººººººººººººººººººººººººººººººººººººººººººººº
Step 1|| Paso 1
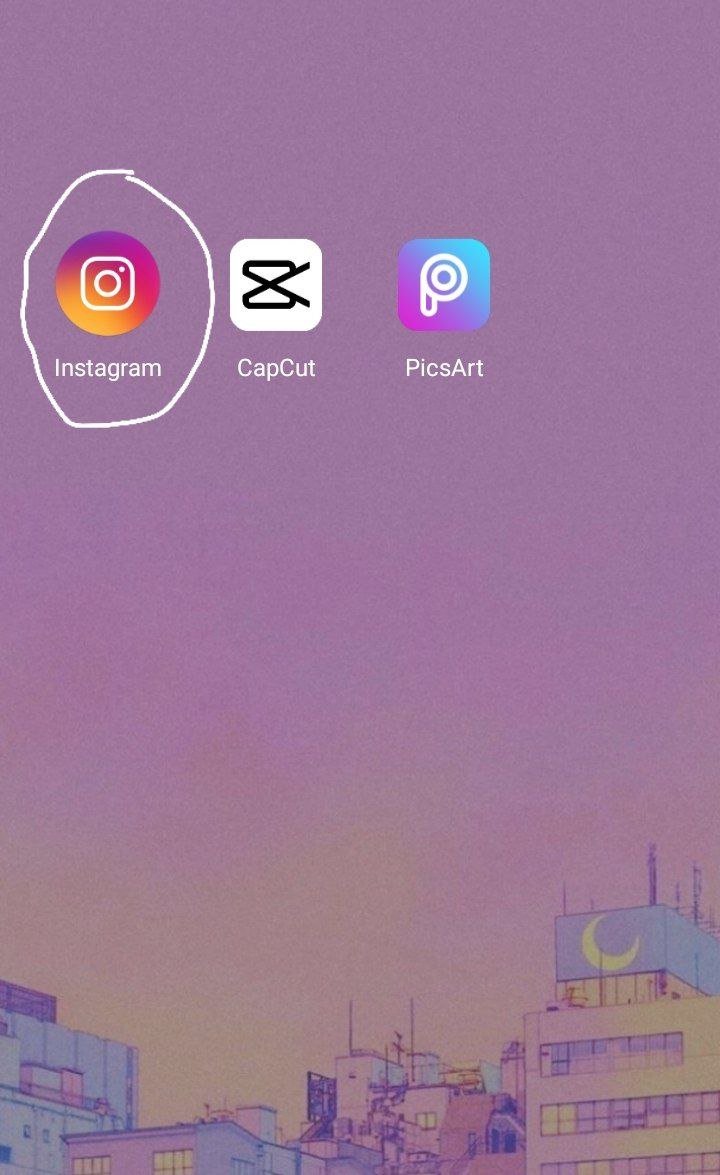
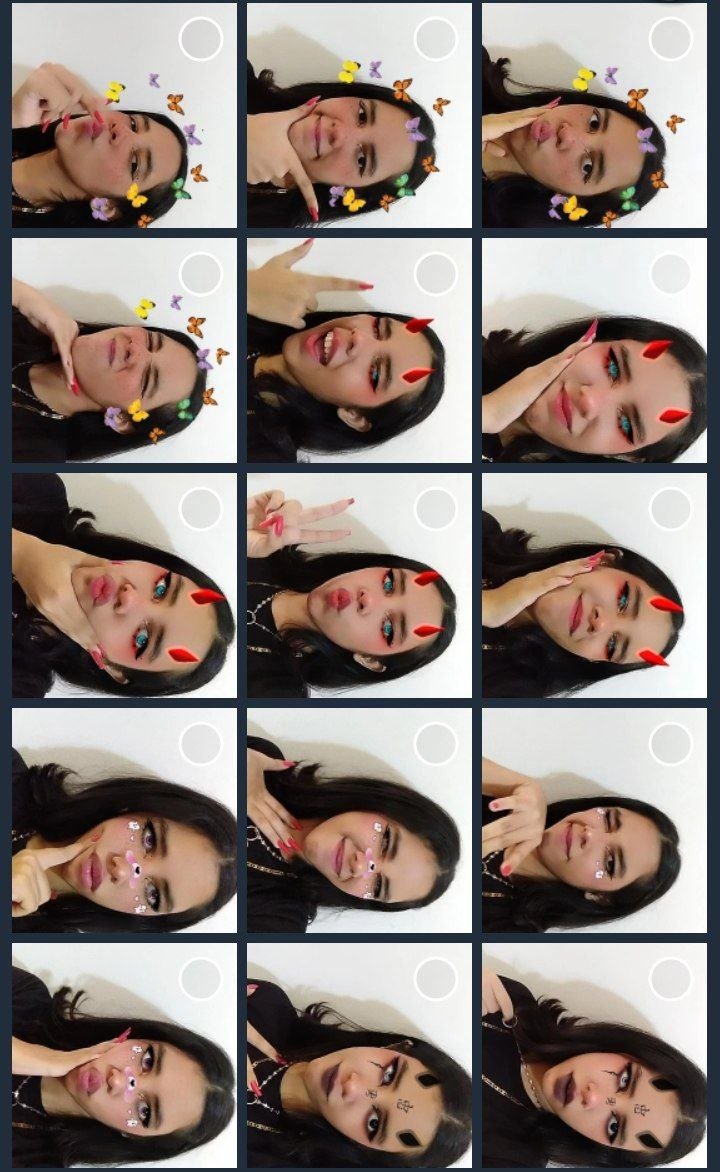
The first thing we have to do would be to take the photos, use intagram filters at the end I will leave the names of the filters and I will leave them in a featured story in my ig which is _ mariajosearaujo _ Link
Lo primero que tenemos que hacer seria tomarnos las fotos, utilice filtros de intagram al final les dejare los nombres de los filtros y los dejare en una historia destacada en mi ig el cual es _ mariajosearaujo _ Link
ººººººººººººººººººººººººººººººººººººººººººººººººººººººººººººº
Step 2 || Paso 2
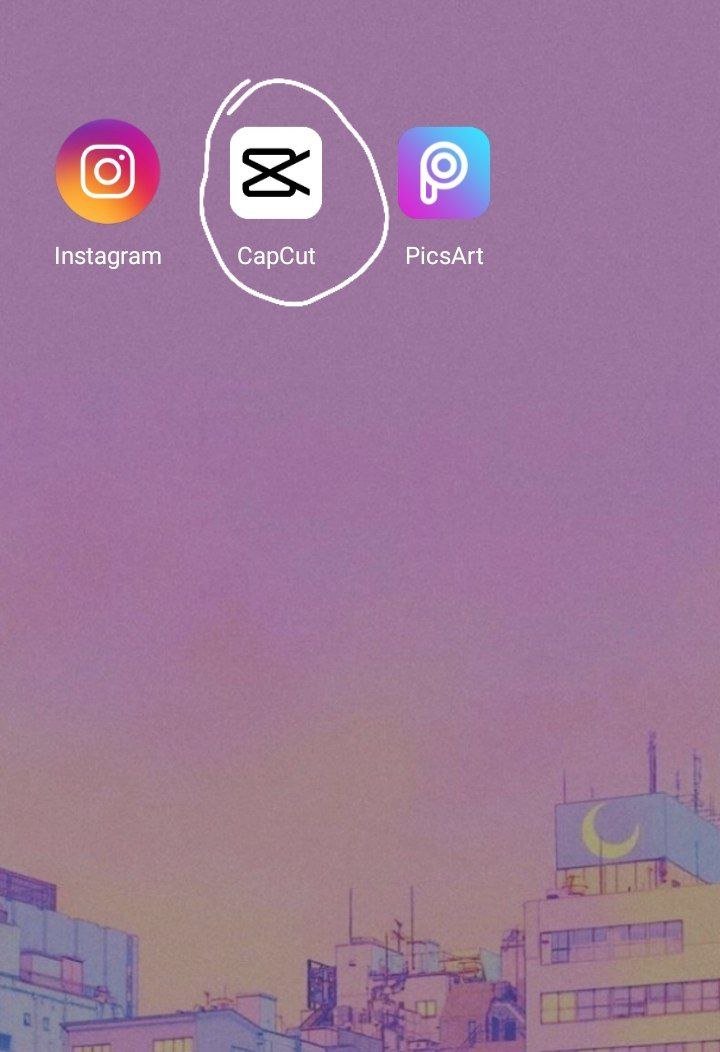
Then we get into the app called CapCut which will help us with all the editing of the video
Despues nos metemos en la app llamada CapCut la cual nos ayudara con toda la edicion del video
ºººººººººººººººººººººººººººººººººººººººººººººººººººººººººººº
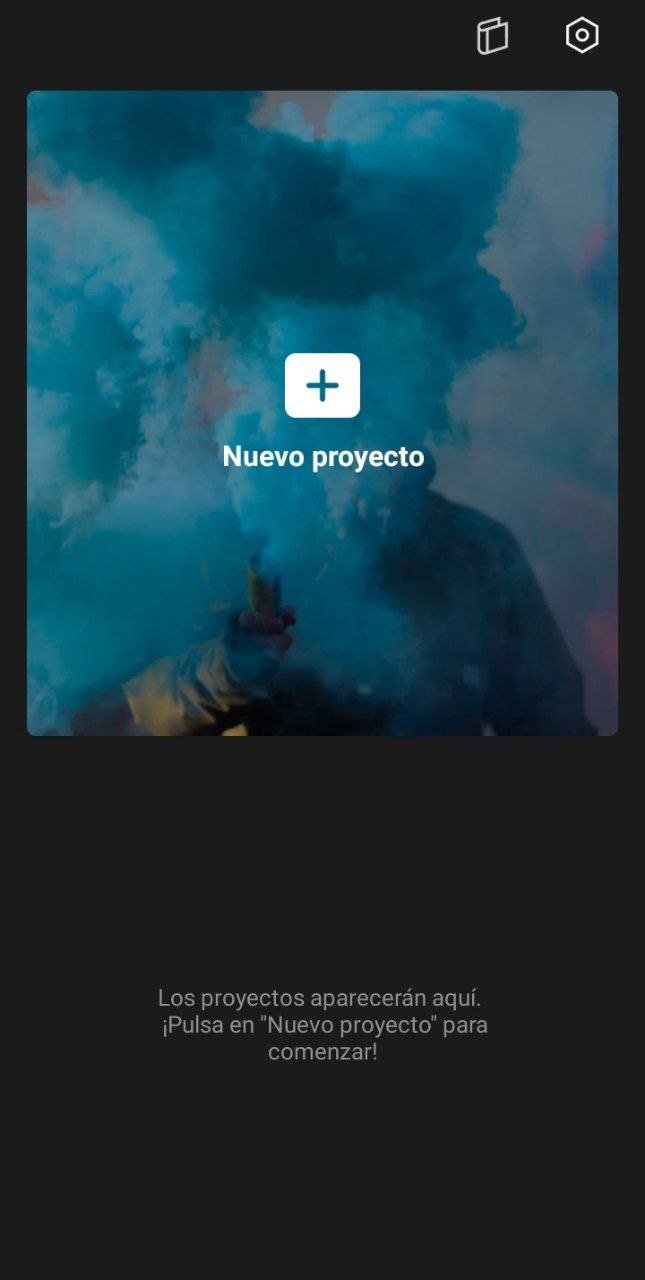
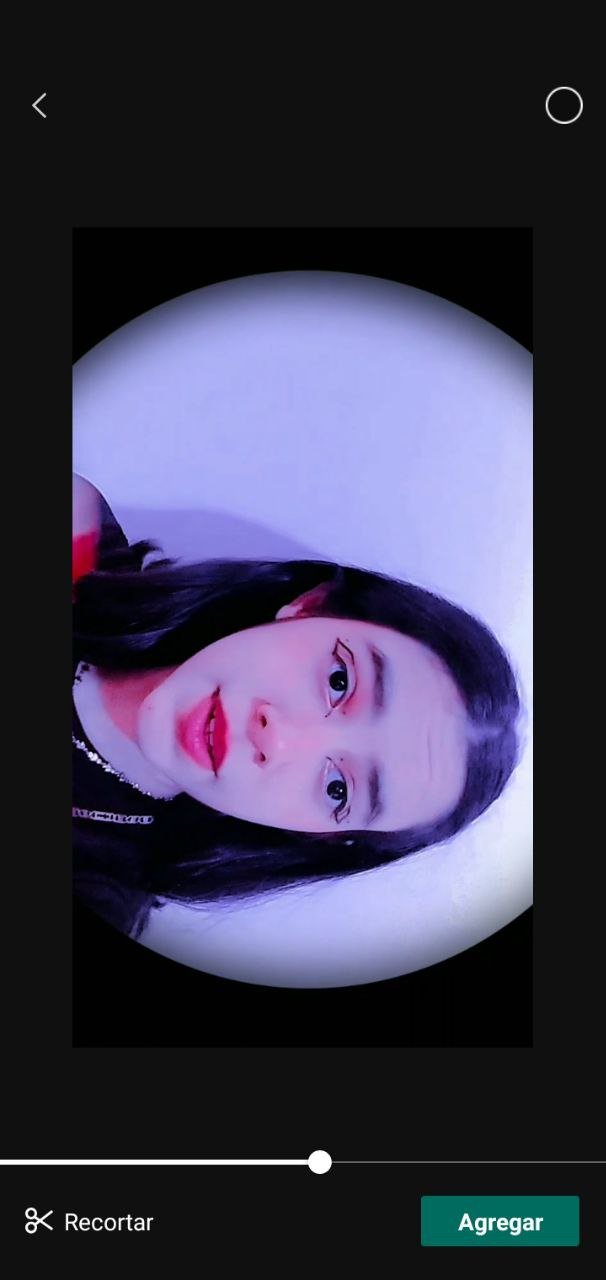
We give where it says New Project and we put a video of us singing the first 5 seconds
Le damos a donde dice Nuevo Proyecto y colocamos un video de nosotros cantando los primeros 5 segundos
Step 3 || Paso 3
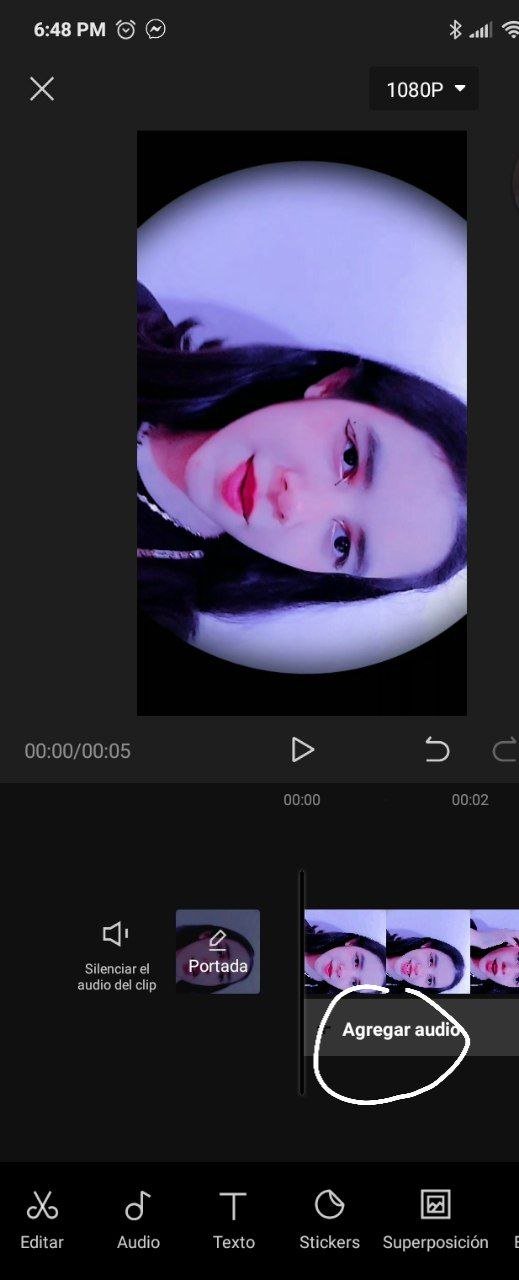
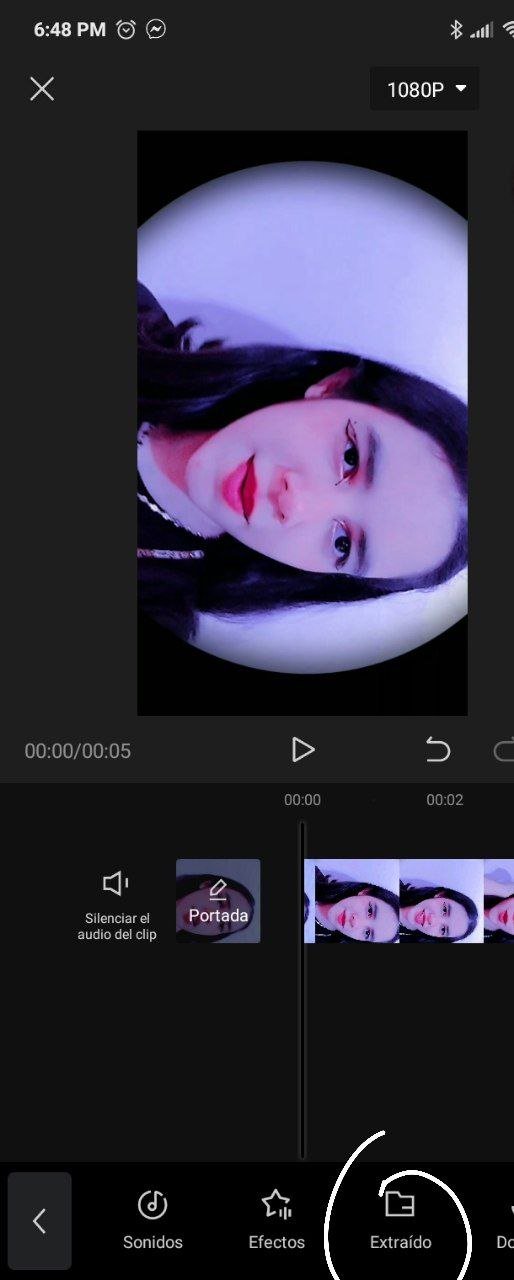
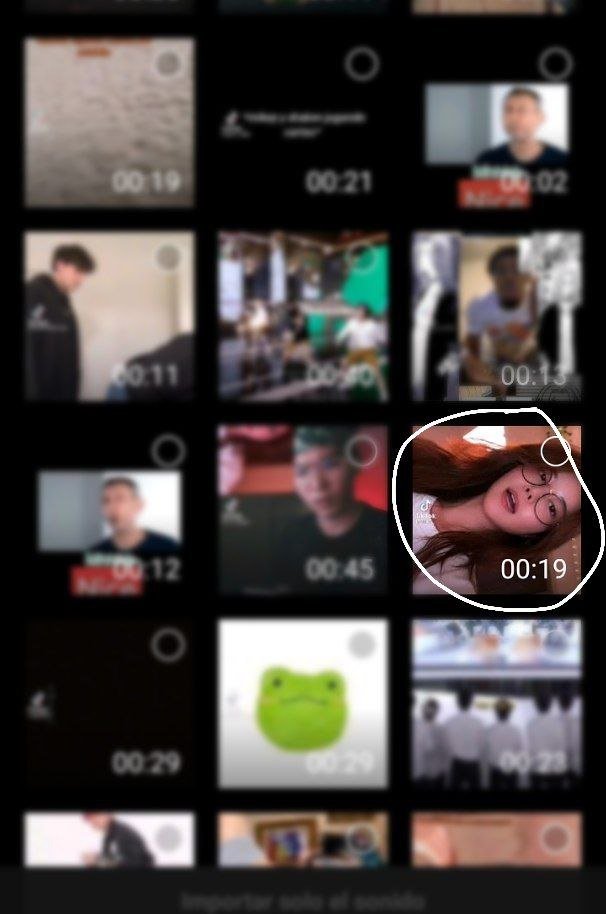
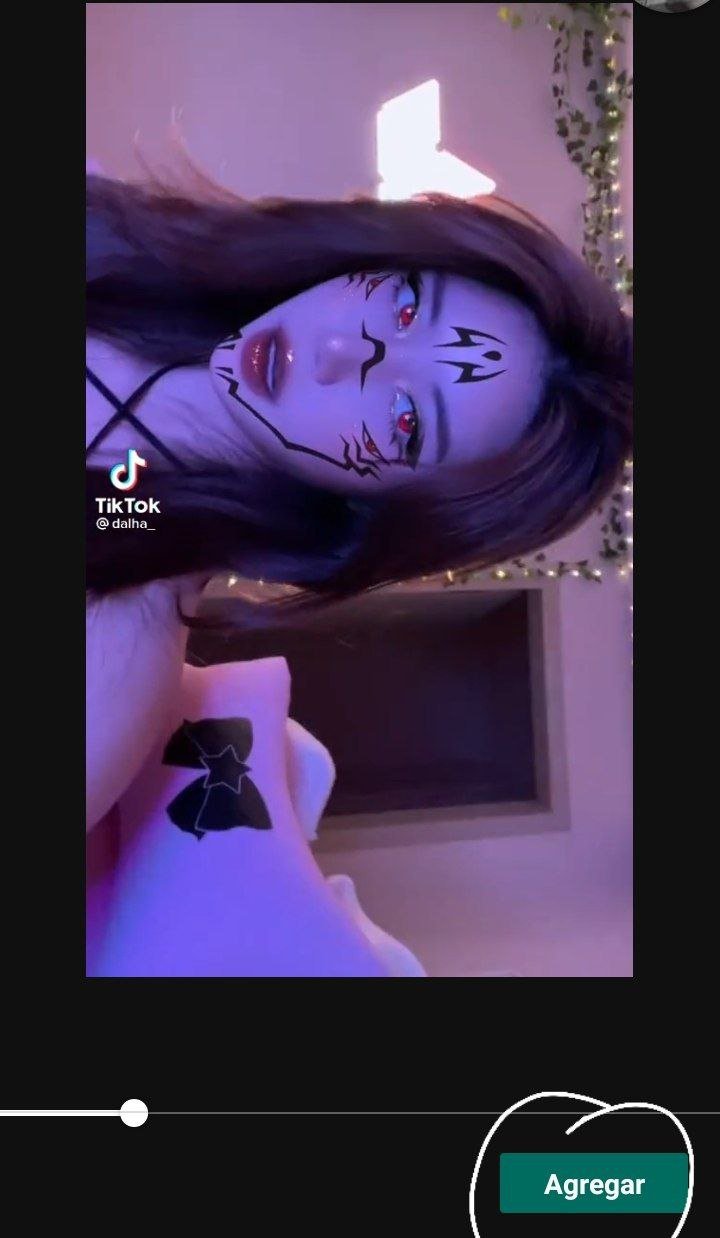
After we have that we have to mount the audio over our video and we will mount it like this
Despues que tenemos eso tenemos que montar el audio por ensima de nuestro video y lo montaremos asi
ºººººººººººººººººººººººººººººººººººººººººººººººººººººººººººº
Step 4 || Paso 4
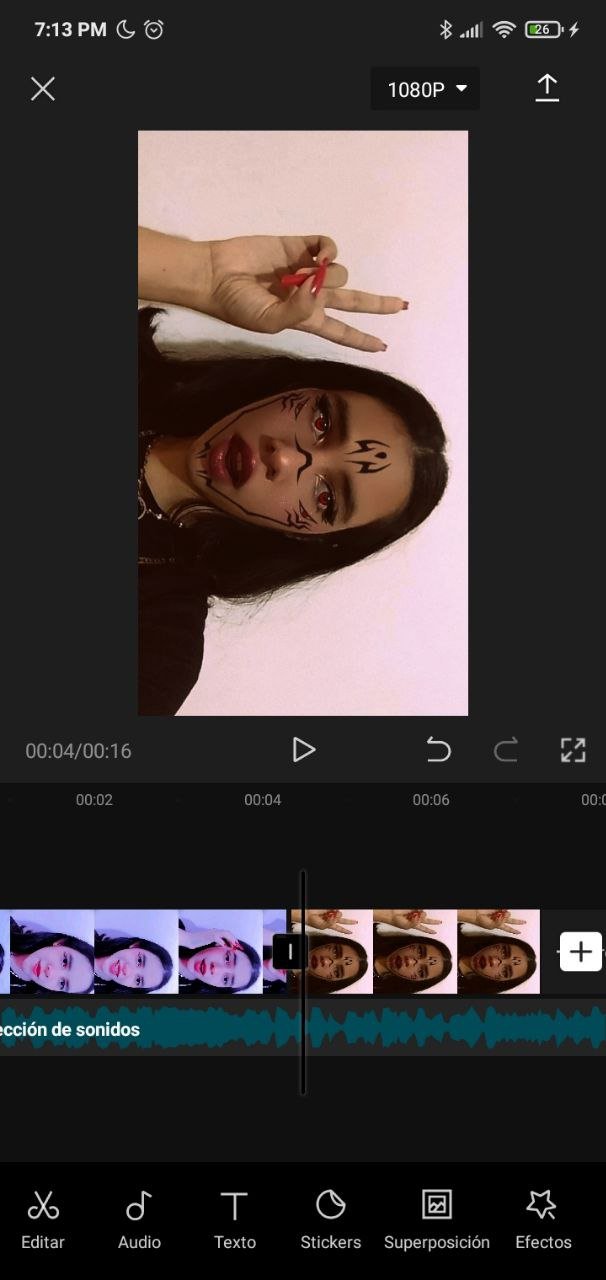
Since we have that we proceed to all the editing of the photos, we chose the photo that we like the most for the main photo which I chose is
Ya que tenemos eso procedemos a toda la edicion de las fotos, elejimos la foto que mas nos guste para la foto principal la cual escoji esta
ºººººººººººººººººººººººººººººººººººººººººººººººººººººººººººº
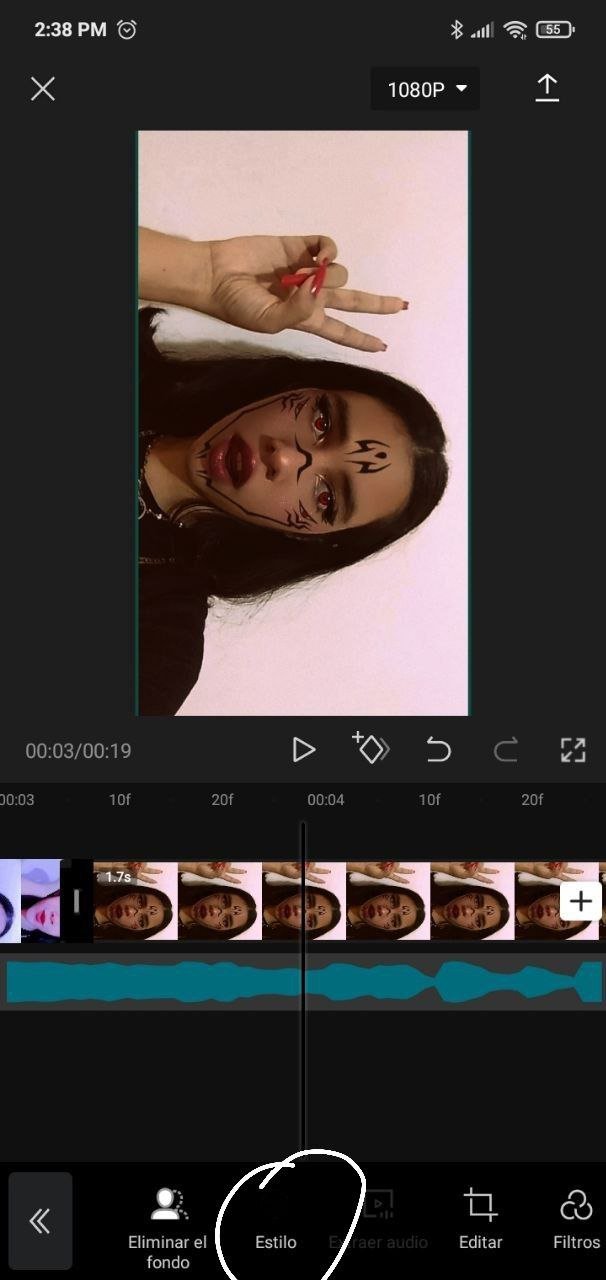
To give a small effect to the main photo we do this: We have to give it where it says style and within these styles we give it the one that says Zoom 3d
Para darle un pequeño efecto a la foto principal realizamos esto: Le tenemos que dar a donde dice estilo y dentro de estos estilos le damos el que dice Zoom 3d
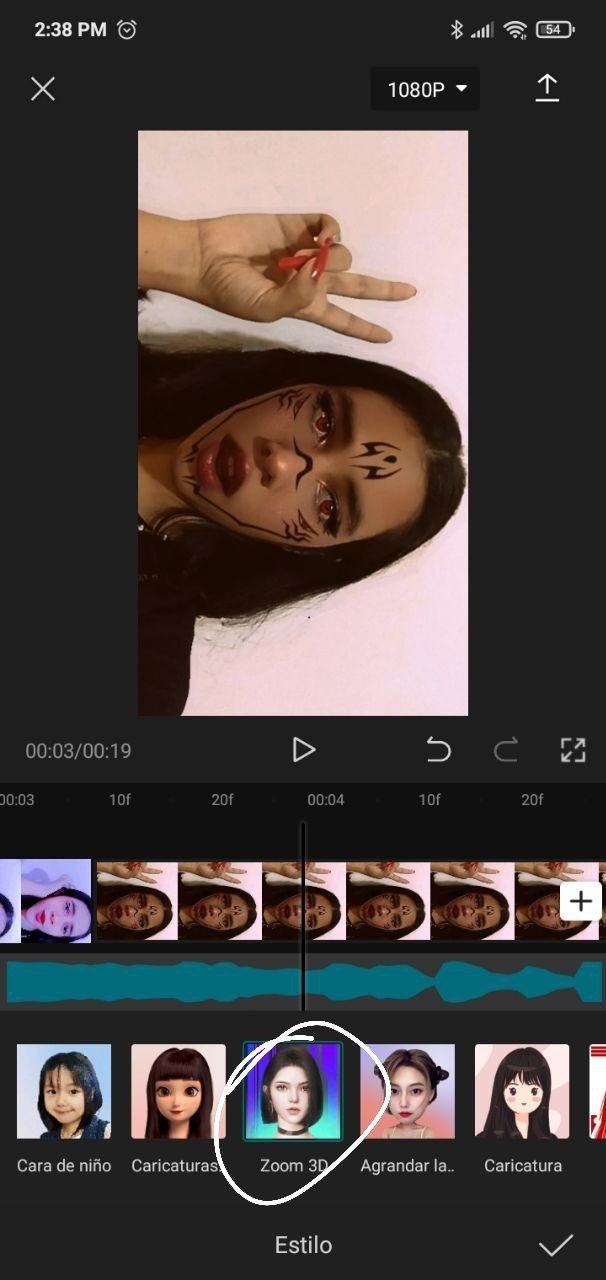
What this effect does is that the image has a small zoom and an effect as if it were moving
Este efecto lo que hace es que la imagen tenga un pequeño zoom y de un efecto como que si se estuviera moviendo
ºººººººººººººººººººººººººººººººººººººººººººººººººººººººººººº
Step 5 || paso 5
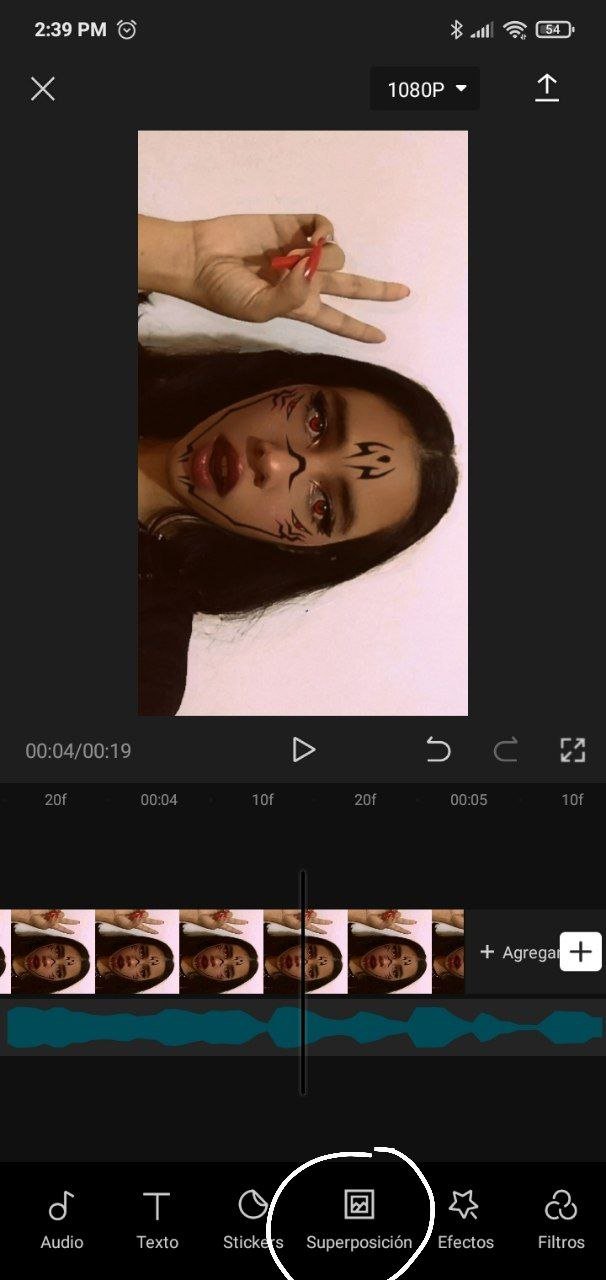
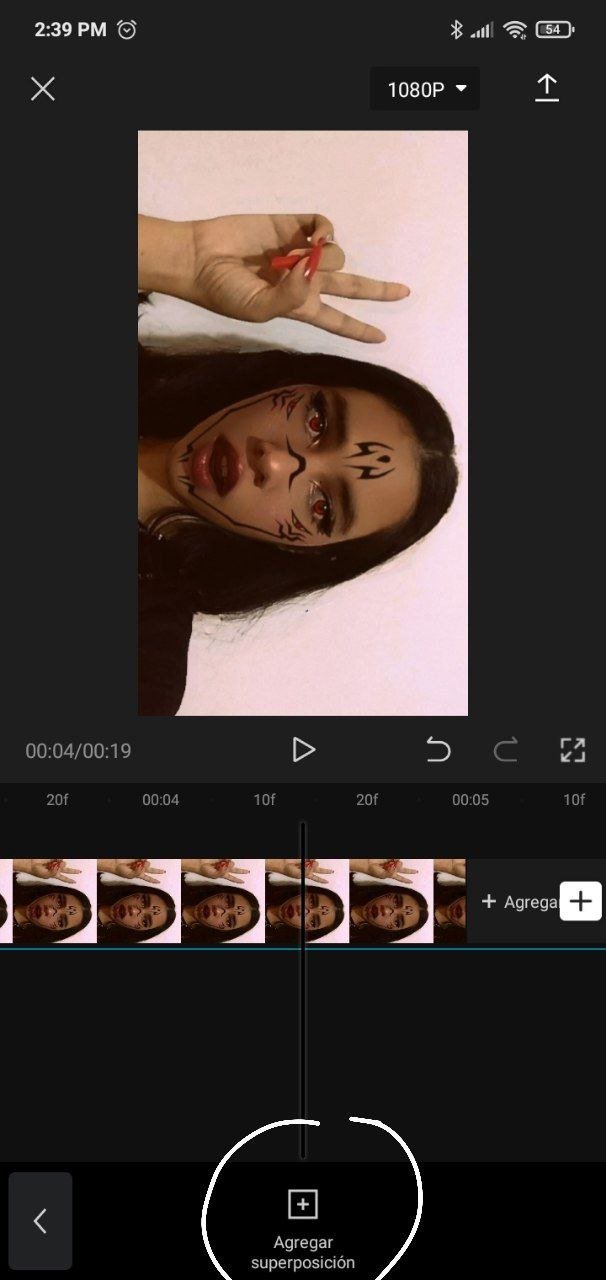
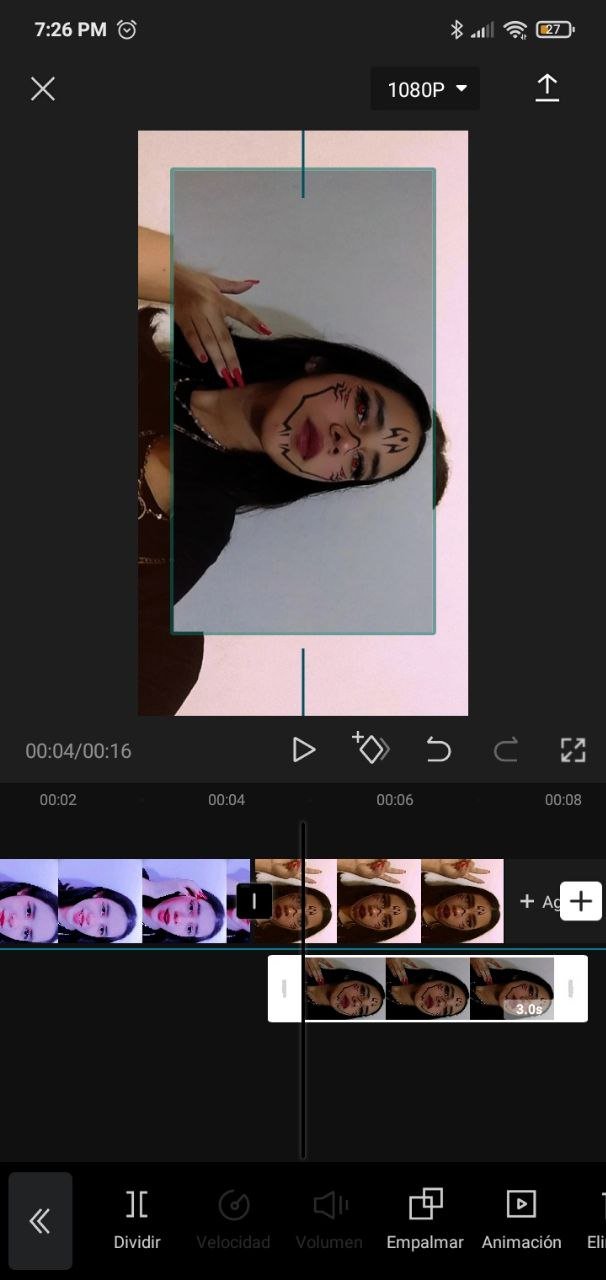
Here we proceed to put the photos that go on top of the main photo which is done like this
Aqui procedemos a poner las fotos que van encima de la foto principal lo cual se hace asi
ºººººººººººººººººººººººººººººººººººººººººººººººººººººººººº
And as you can see, it preserves the background of the image to be able to remove it, we have 2 options which are:
Y como pueden observar conserva el fondo de la imagen para poder quitarlo tenemos 2 opciones las cuales son:
·Option1 || Opcion 1
Option 1 is given to you by the same application and you simply have to give it where it says Remove background
La opcion 1 te la da la misma aplicacion y simplemente le tienes que dar donde dice Eliminar fondo
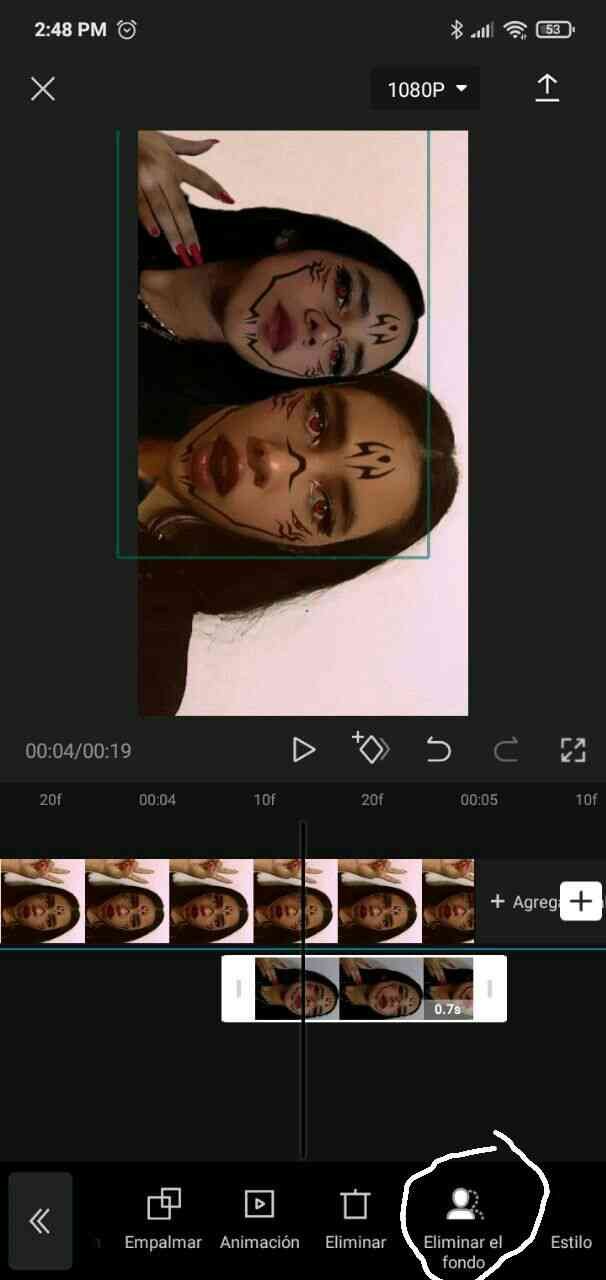
This can be seen easily but there are times when it does not eliminate the background well so I will show you the second option
Este se puede ver facil pero hay ocasiones en el que no elimina bien el fondo por eso les mostrare la segunda opcion
ºººººººººººººººººººººººººººººººººººººººººººººººººººººººººººº
·Option 2 || Opcion 2
This option although it has a little more work but in my opinion the finish is better and for that we have to use the PicsArt app and follow these steps
Esta opcion aunque tiene un poco mas de trabajo pero queda a mi parecer, mejor el acabado y para eso tenemos que utilizar la app de PicsArt y seguimos estos pasos
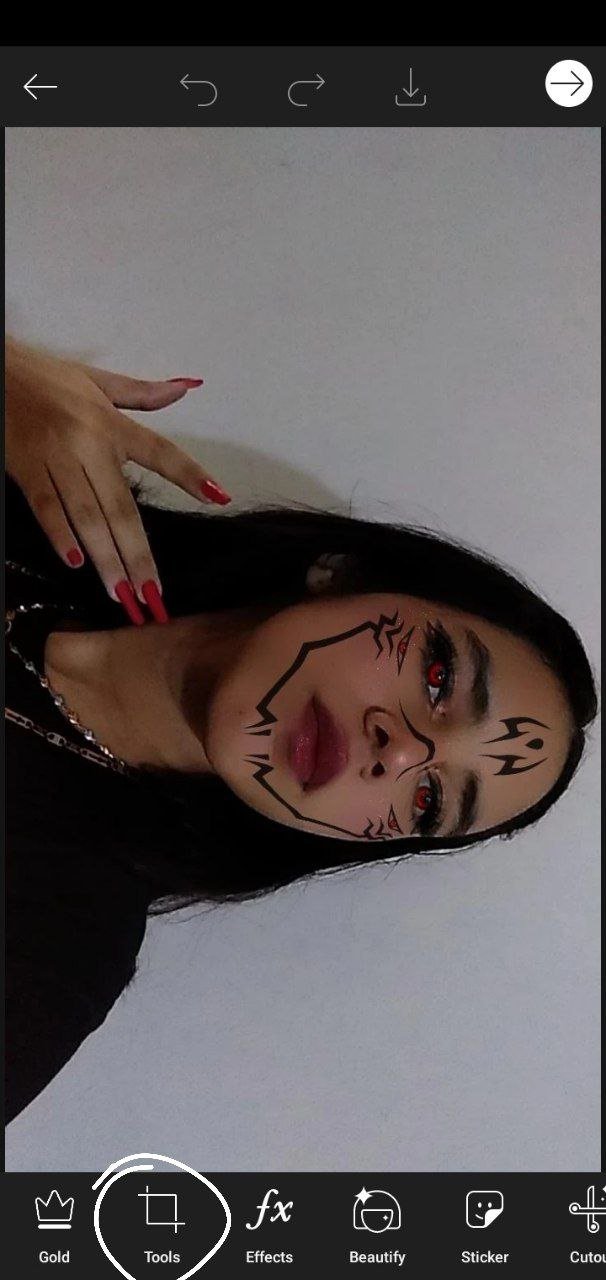
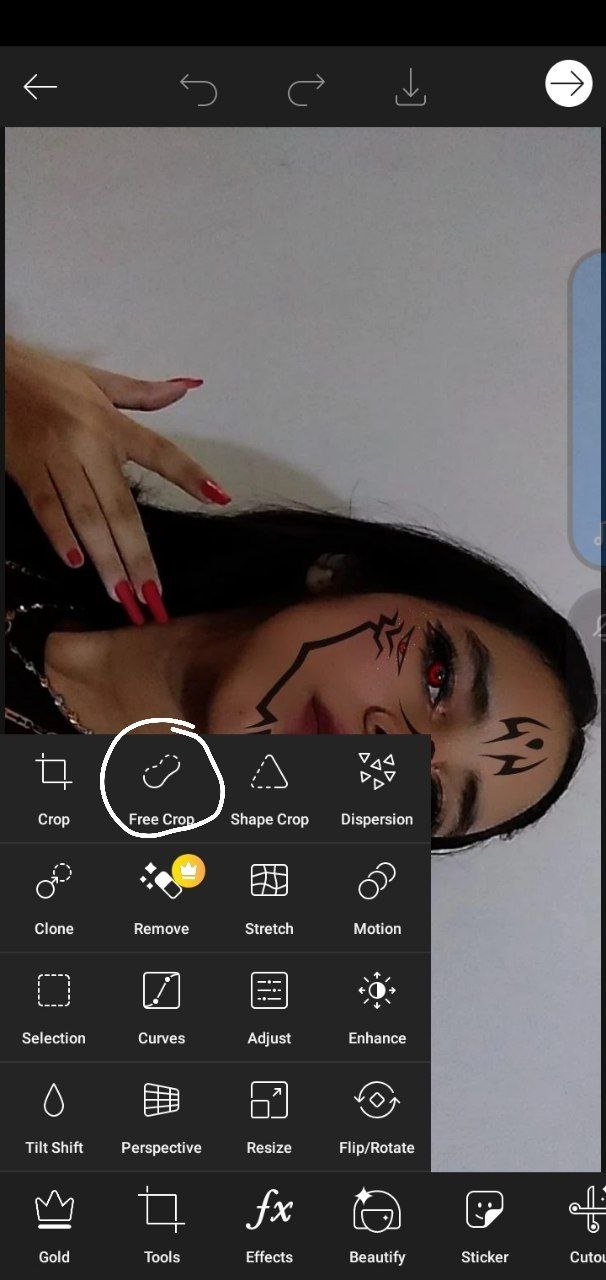
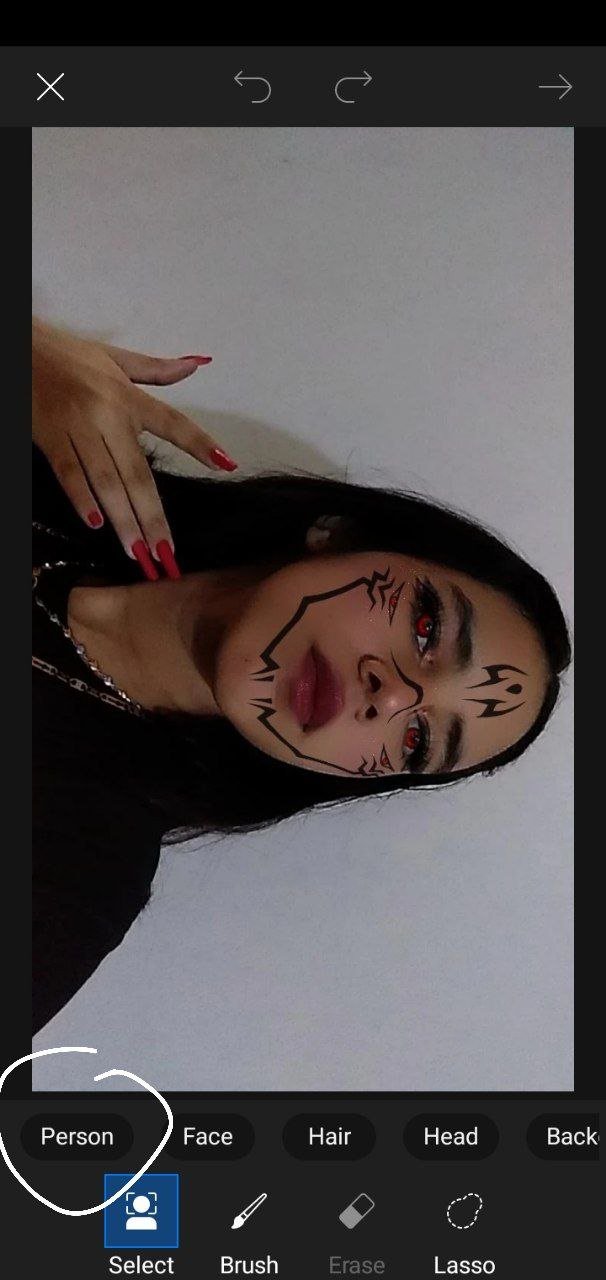
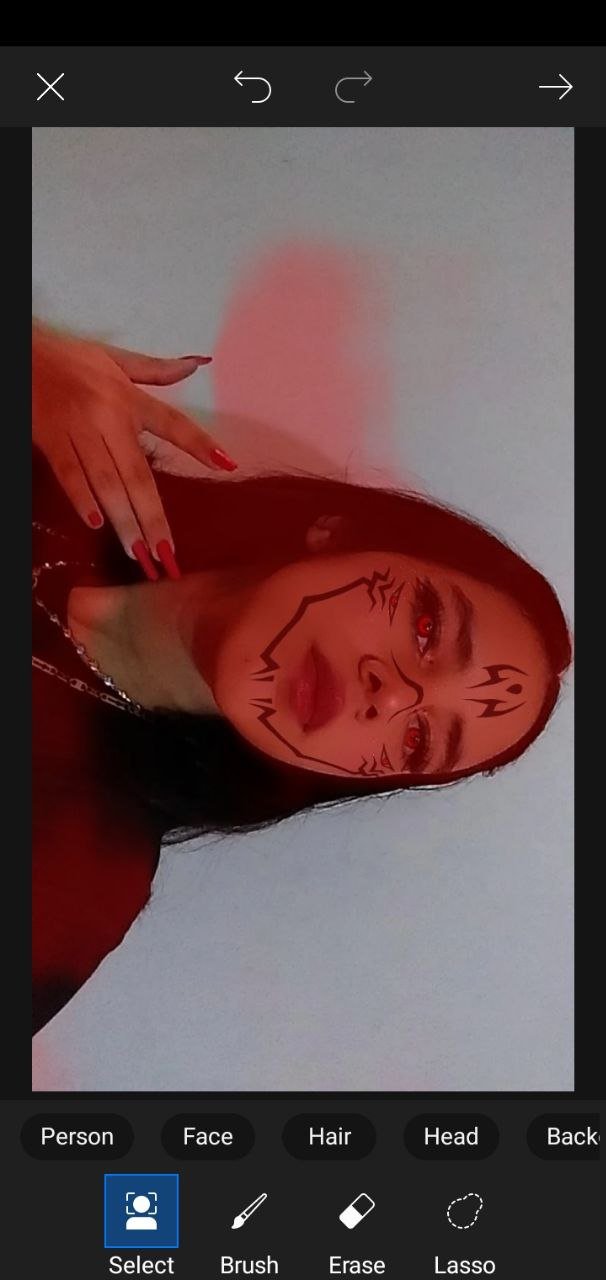
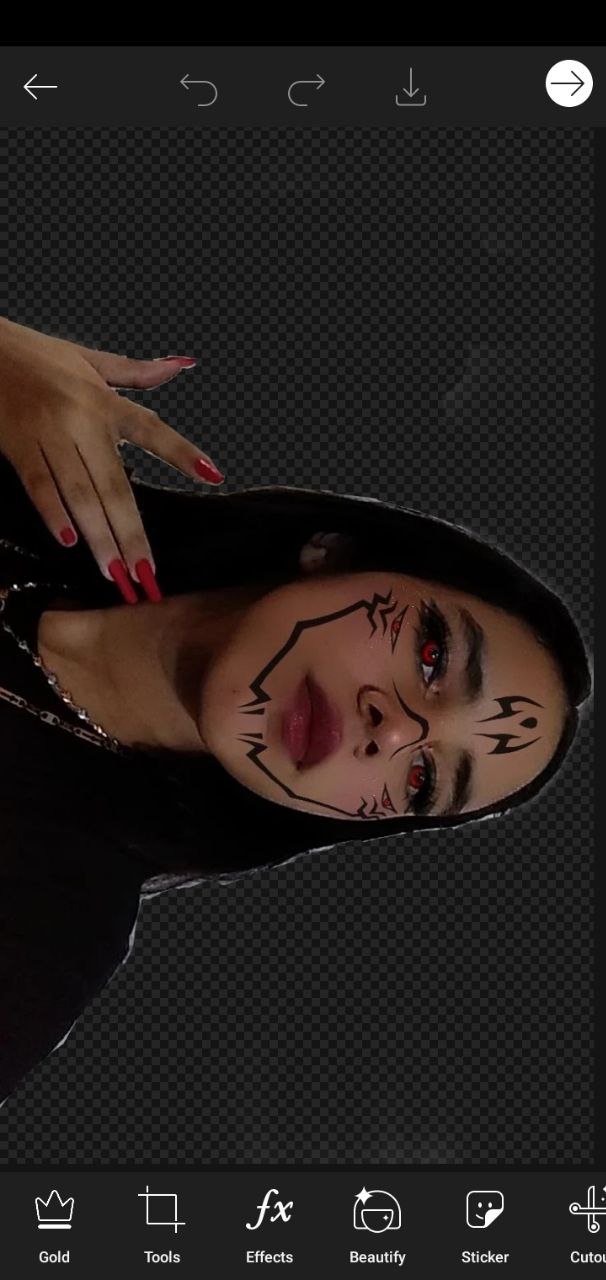
Here we have to fill in or delete what they want to come out or not and the result would be this
Aqui tenemos que ir rellenando o borrando lo que quieren que salga o no y el resultado seria este
ºººººººººººººººººººººººººººººººººººººººººººººººººººººººººººº
Step 6 || Paso 6
And finally the edition of the small photos, it is a fairly simple edition we just have to place an input animation and that's it.
Y por ultimo la edicion de las pequeñas fotos, es una edicion bastante sencilla solo tenemos que colocarle una animacion de entrada y ya
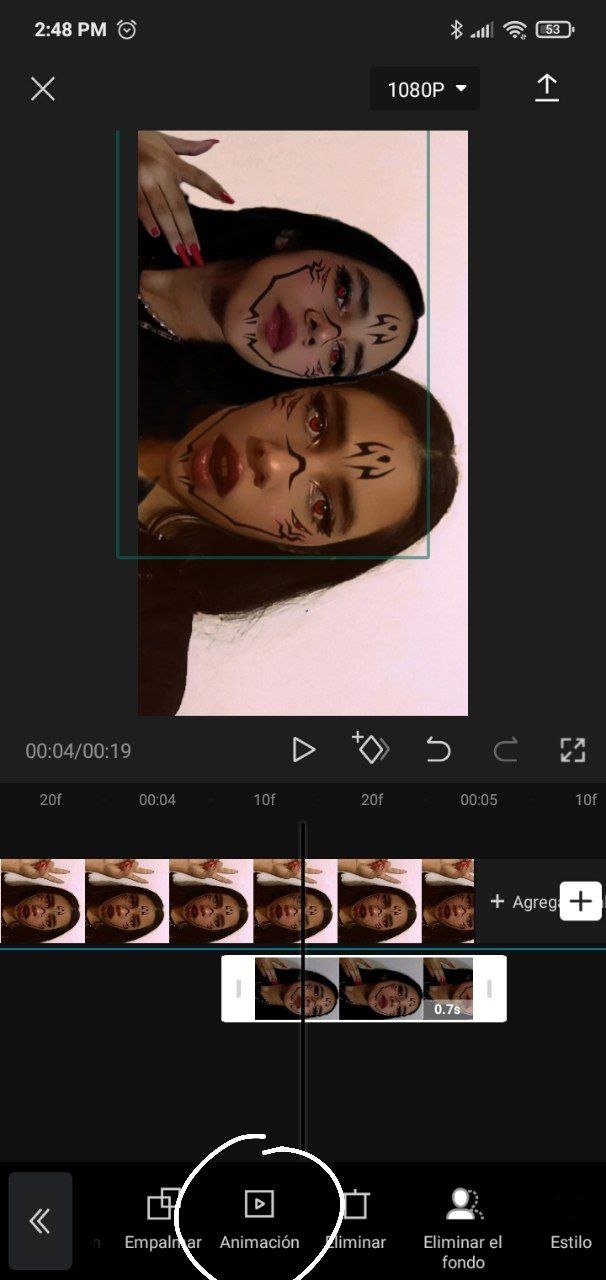
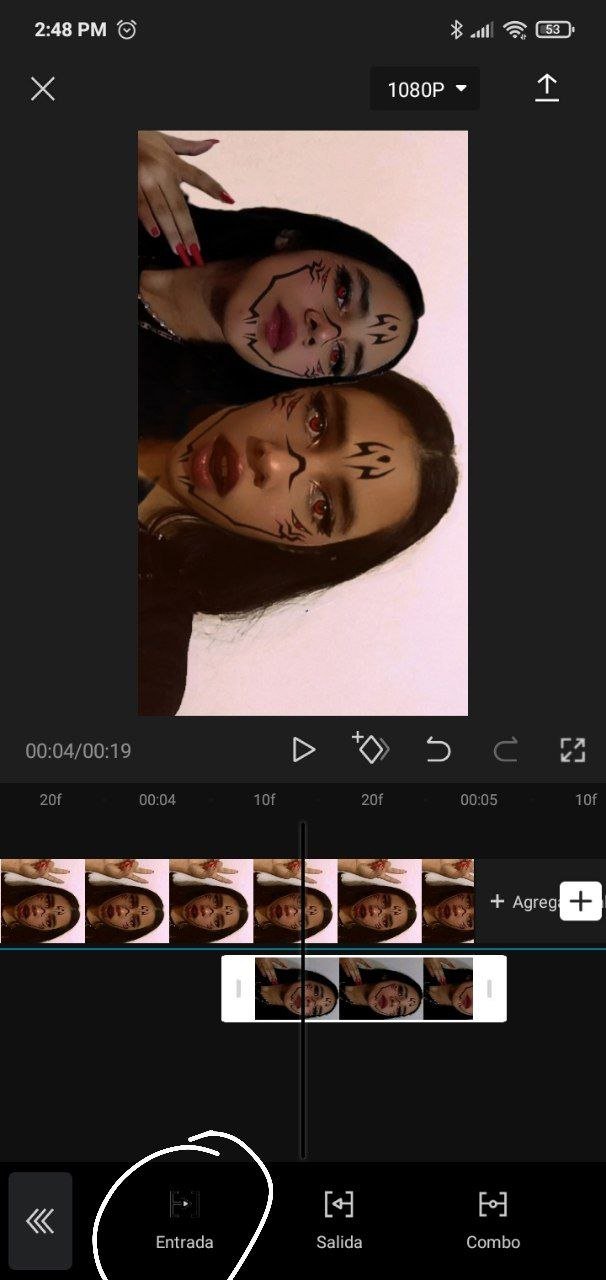
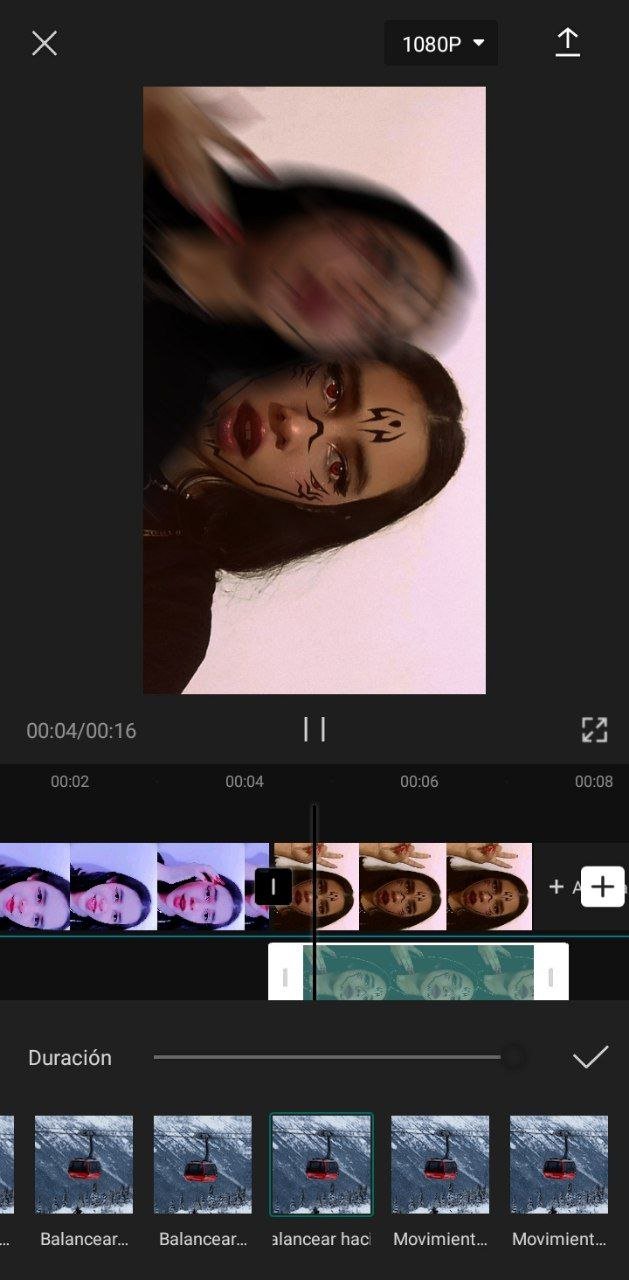
So it would be
Asi quedaria
We repeat the same steps until we have all the video ready and this is how the final result would be
Repetimos los mismos pasos hasta que tengamos todo el video listo y asi seria el resultado final
That was all friends, thanks for reading, I hope you liked it, see you in a next post
Eso fue todo amigos,gracias por leer, espero que les haya gustado, nos vemos en un proximo post
✨Filter names || Nombre de los filtros
-butterfly by ilovediany
-Zero Two by felvelial
-Powe | Chainsaw Man by felvelial
-halloween by felvelial
-Demon Oni by felvelial
-Sukuna by felvelial
-My Melody x Kuromi by roddanych
-Demon Horn by felvelial
✨Song || Cancion
Hellon Bitches by CLC
✨Do not forget to like me, follow me and leave your comments
I love💖
@majo3103
All photos are my property, taken with xiaomi smartphone.
Todas las fotos son de mi propiedad, tomadas con smartphone xiaomi
✨No olviden darle like, seguirme y dejar sus comentarios
Los quiero💖
@majo3103
