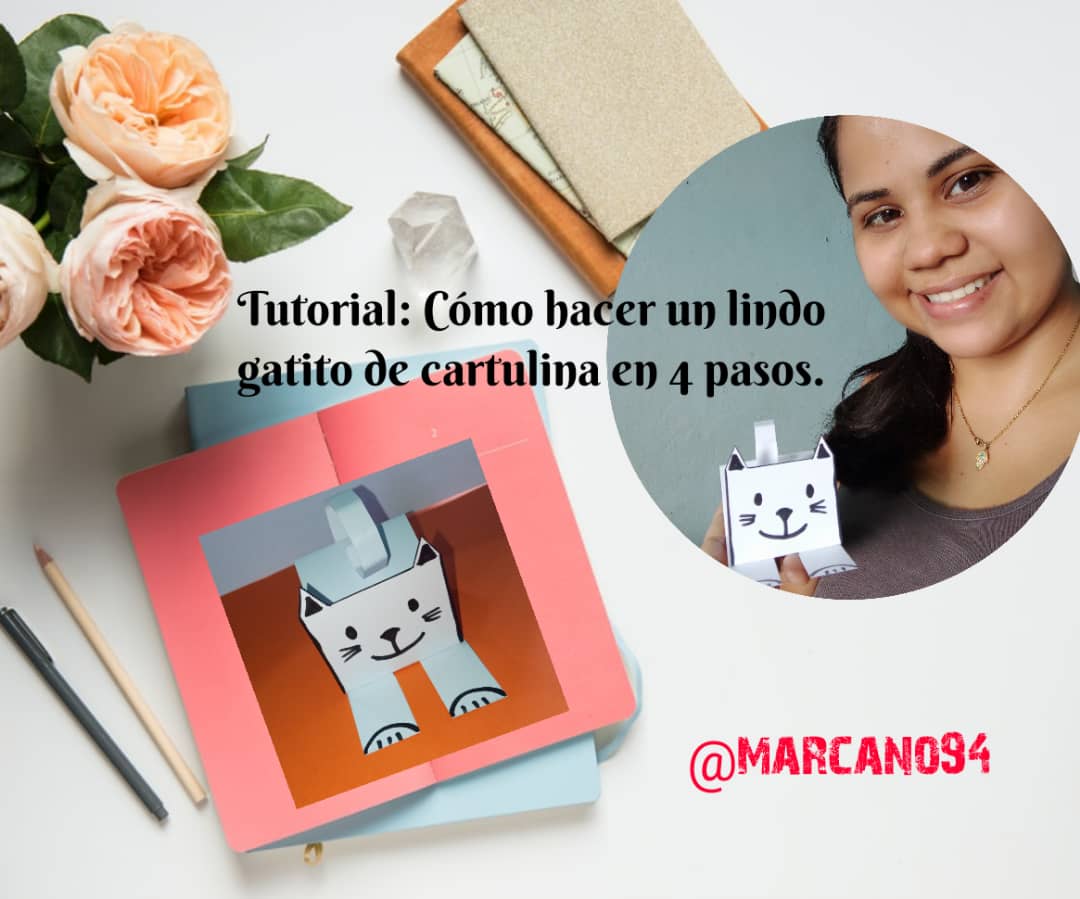
Hola a todos mis amigos de gems, espero que estén muy bien, por acá les mostraré un pequeño tutorial de como hacer un lindo gatito con cartulina en 4 pasos, espero que les guste.
😸😸😸😸😸😸😸
Gracias por Visitar mi Blog
Thanks for visiting my Blog
Hello to all my gems friends, I hope you are very well, here I will show you a small tutorial on how to make a cute kitty with cardboard in 4 steps, I hope you like it.
Materiales Necesarios
1 Cartulina
Tijera
Pega
Lápiz
Marcador
Regla o Escalimetro.
Materials Needed
1 poster board
Scissors
Glue
Pencil
Marker
Ruler or Scalimeter.
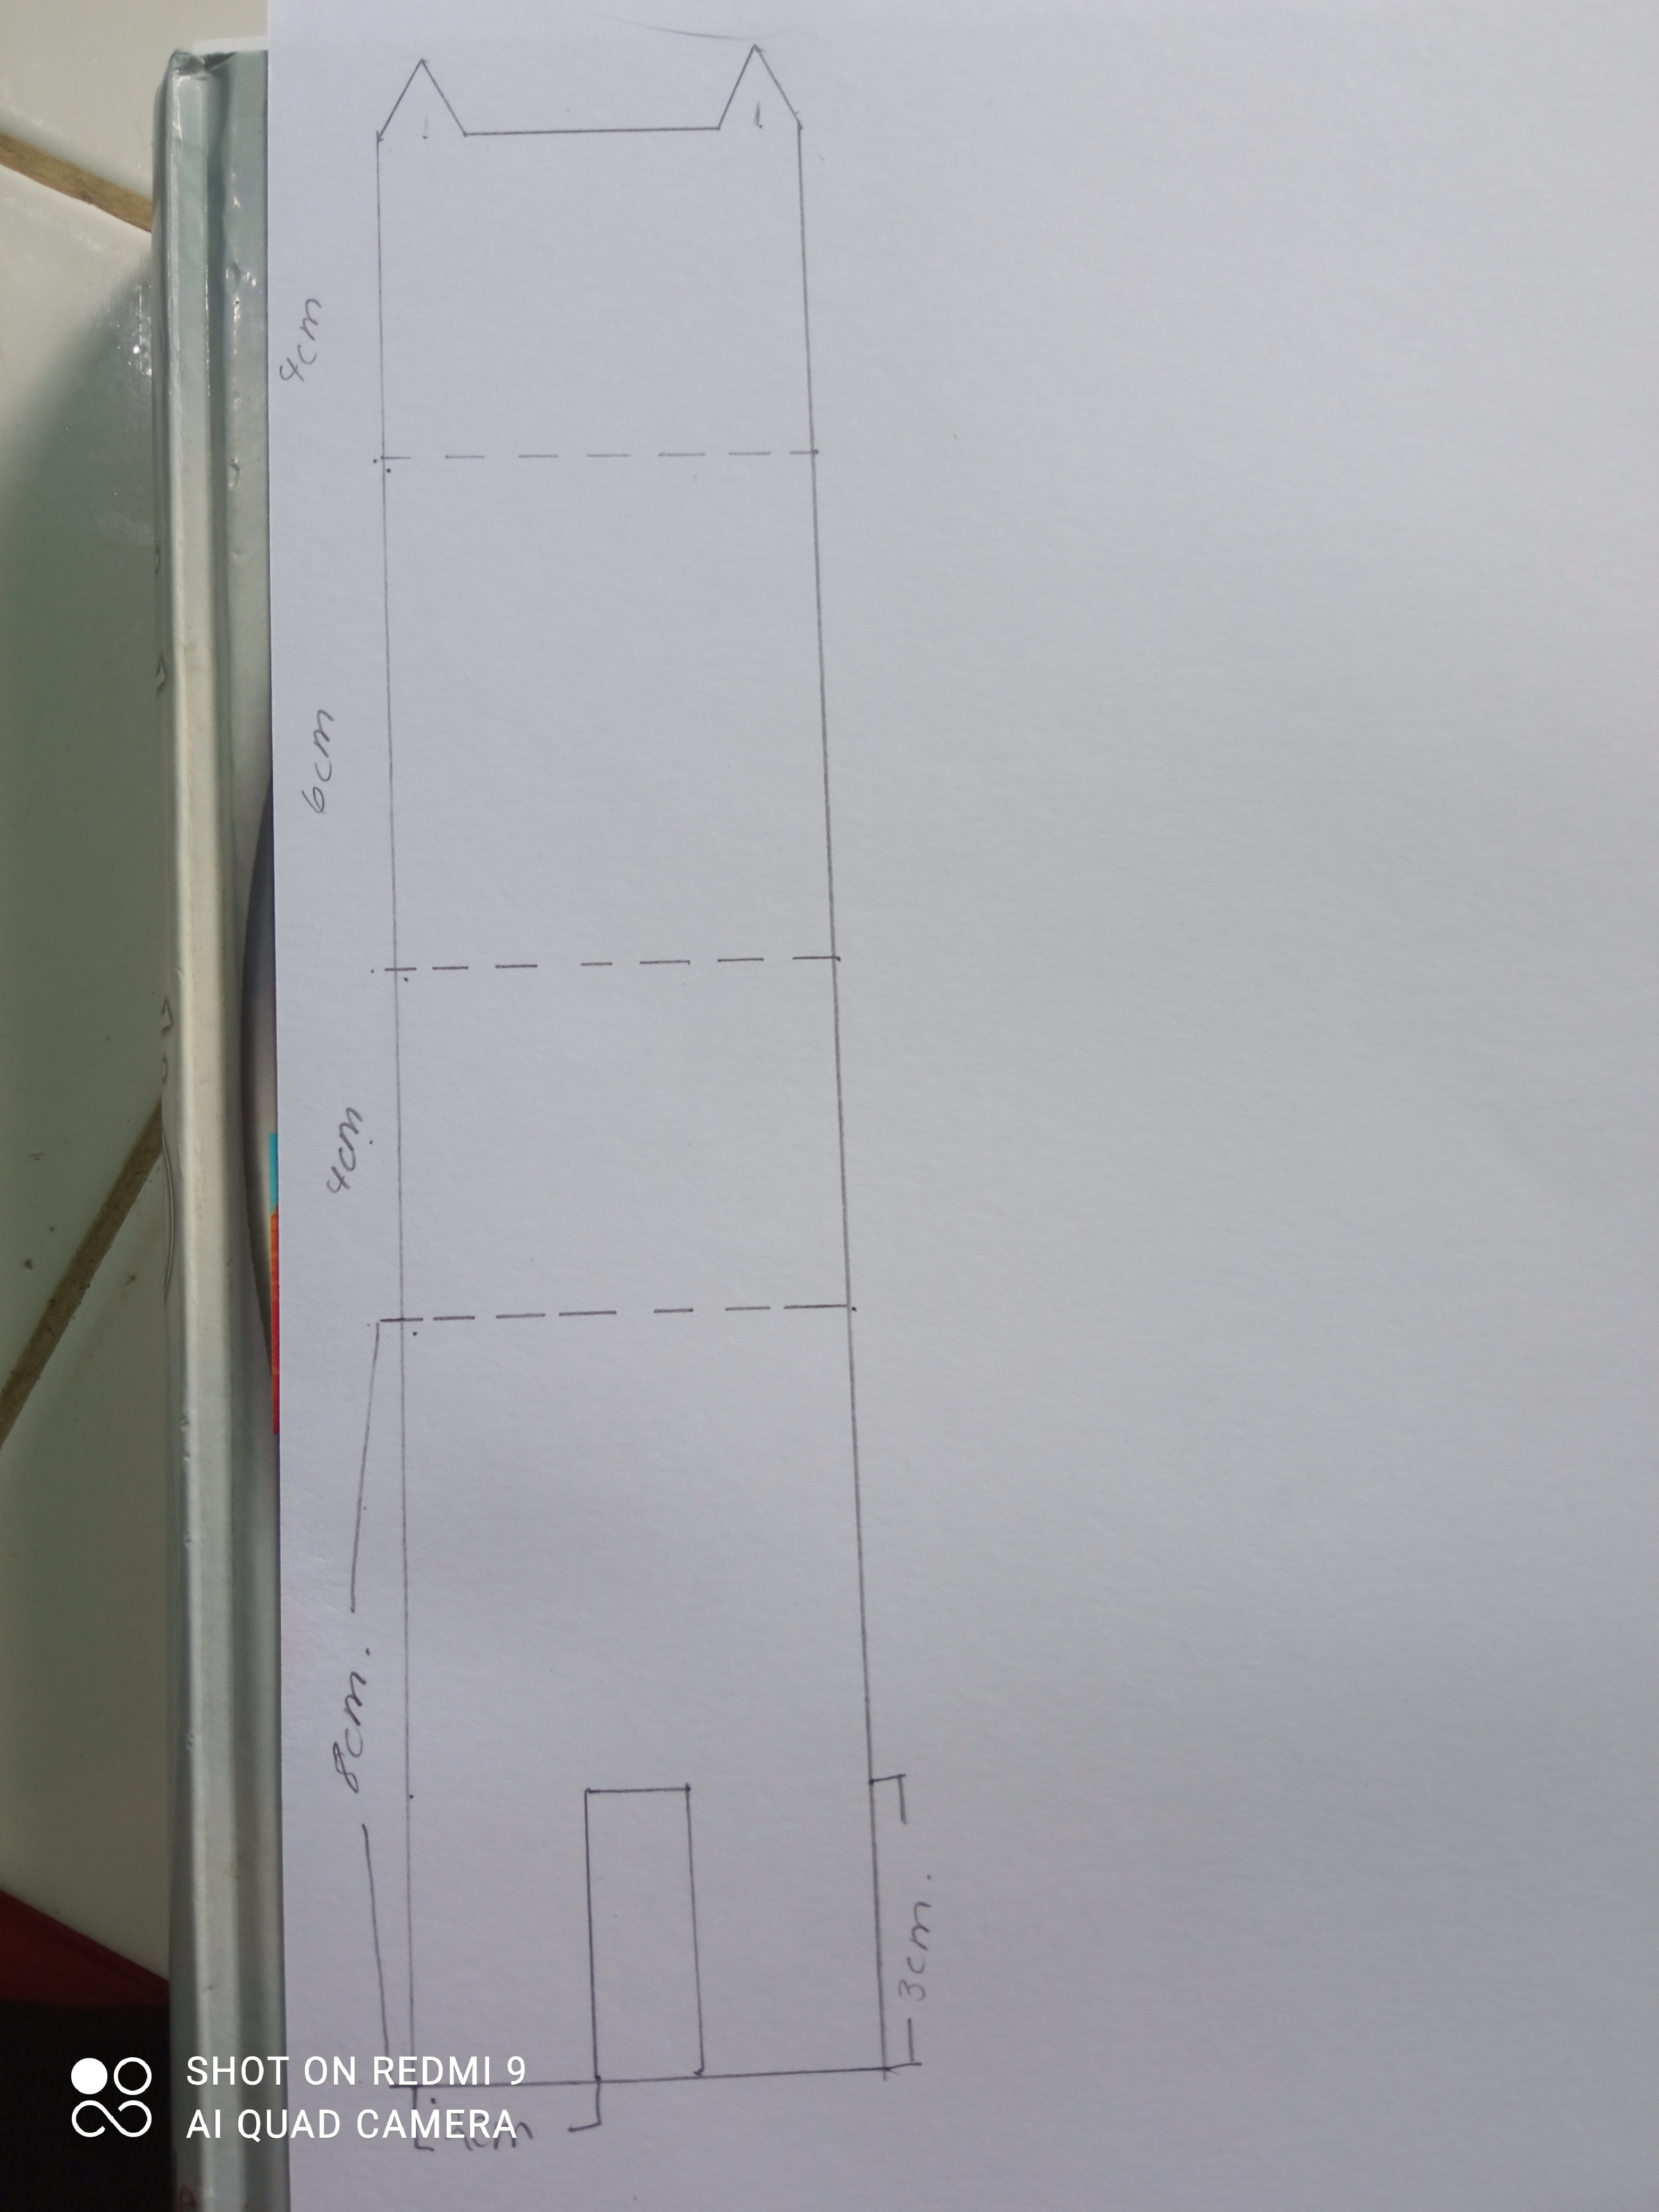
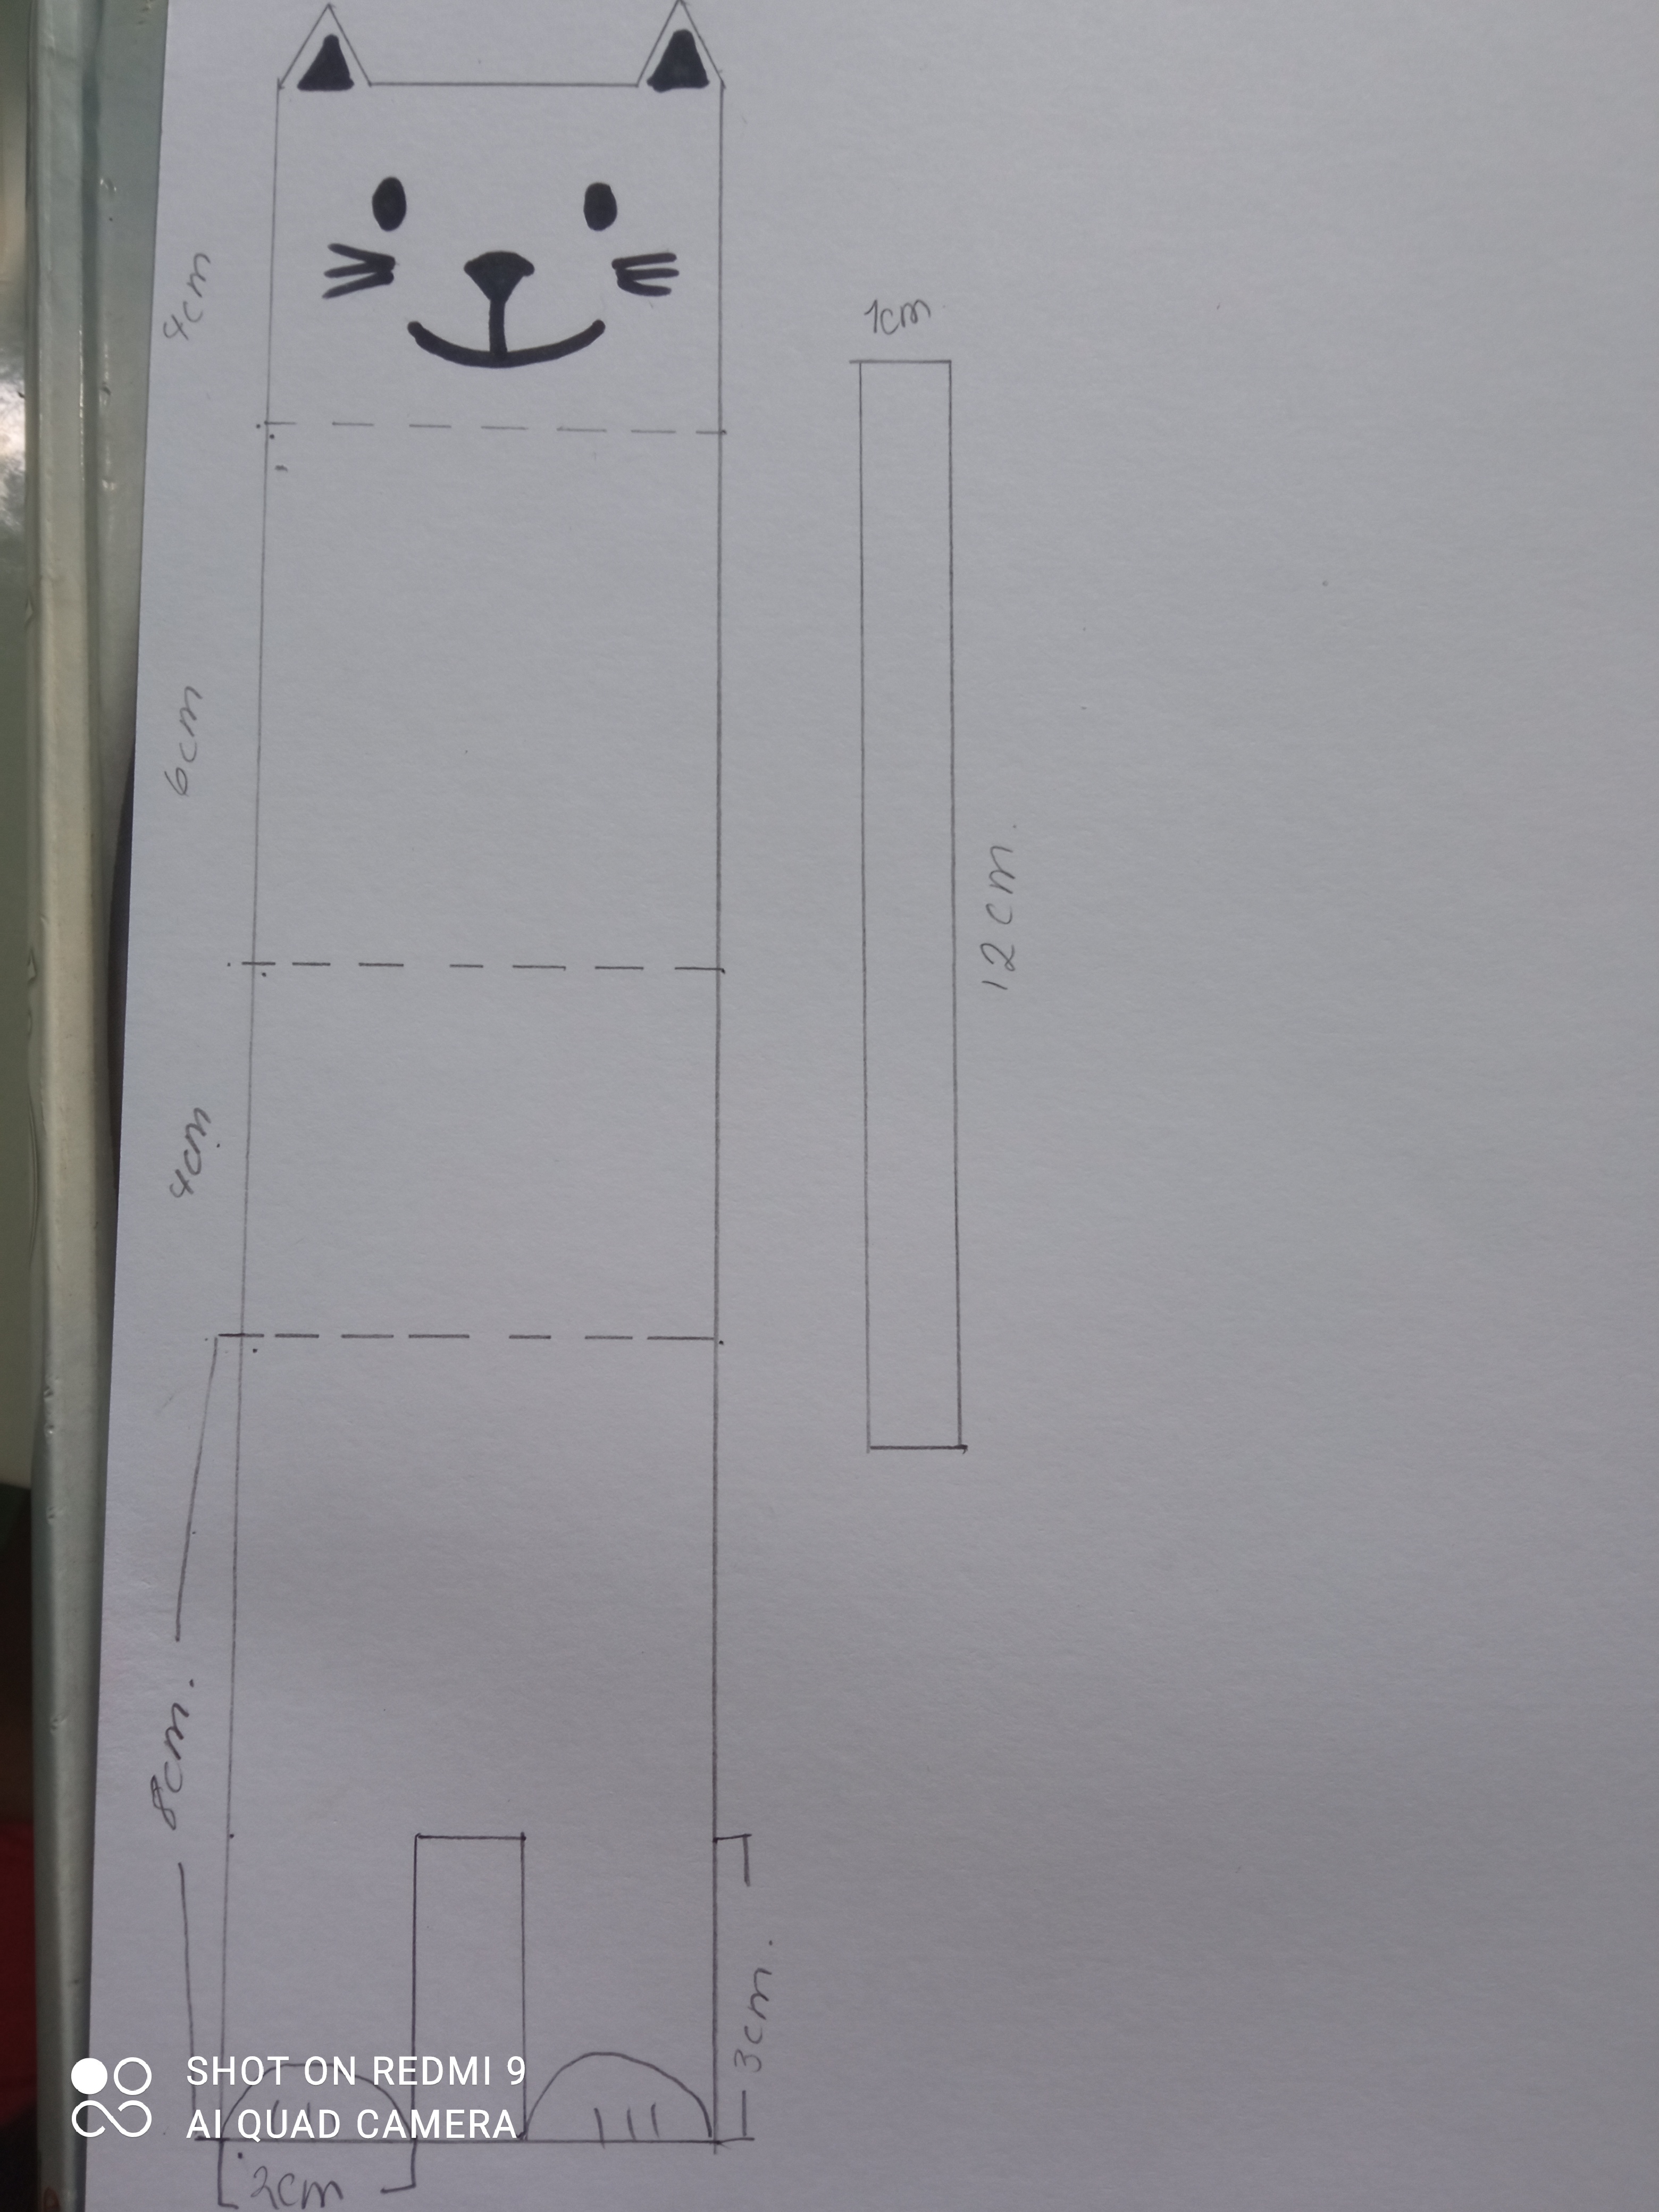
1- En la cartulina blanca se dibuja el gato con las medidas de 5cm de ancho por 22 cm de largo, el cual va a ser dividido en 4 cm para la cara, 6 cm para el cuerpo, 4 cm para la parte trasera del gato y 8 cm que incluyen (3cm de alto por 2 cm de ancho) que corresponderan a las patitas. Las orejas tienen 1 cm de alto por 1 cm de ancho.

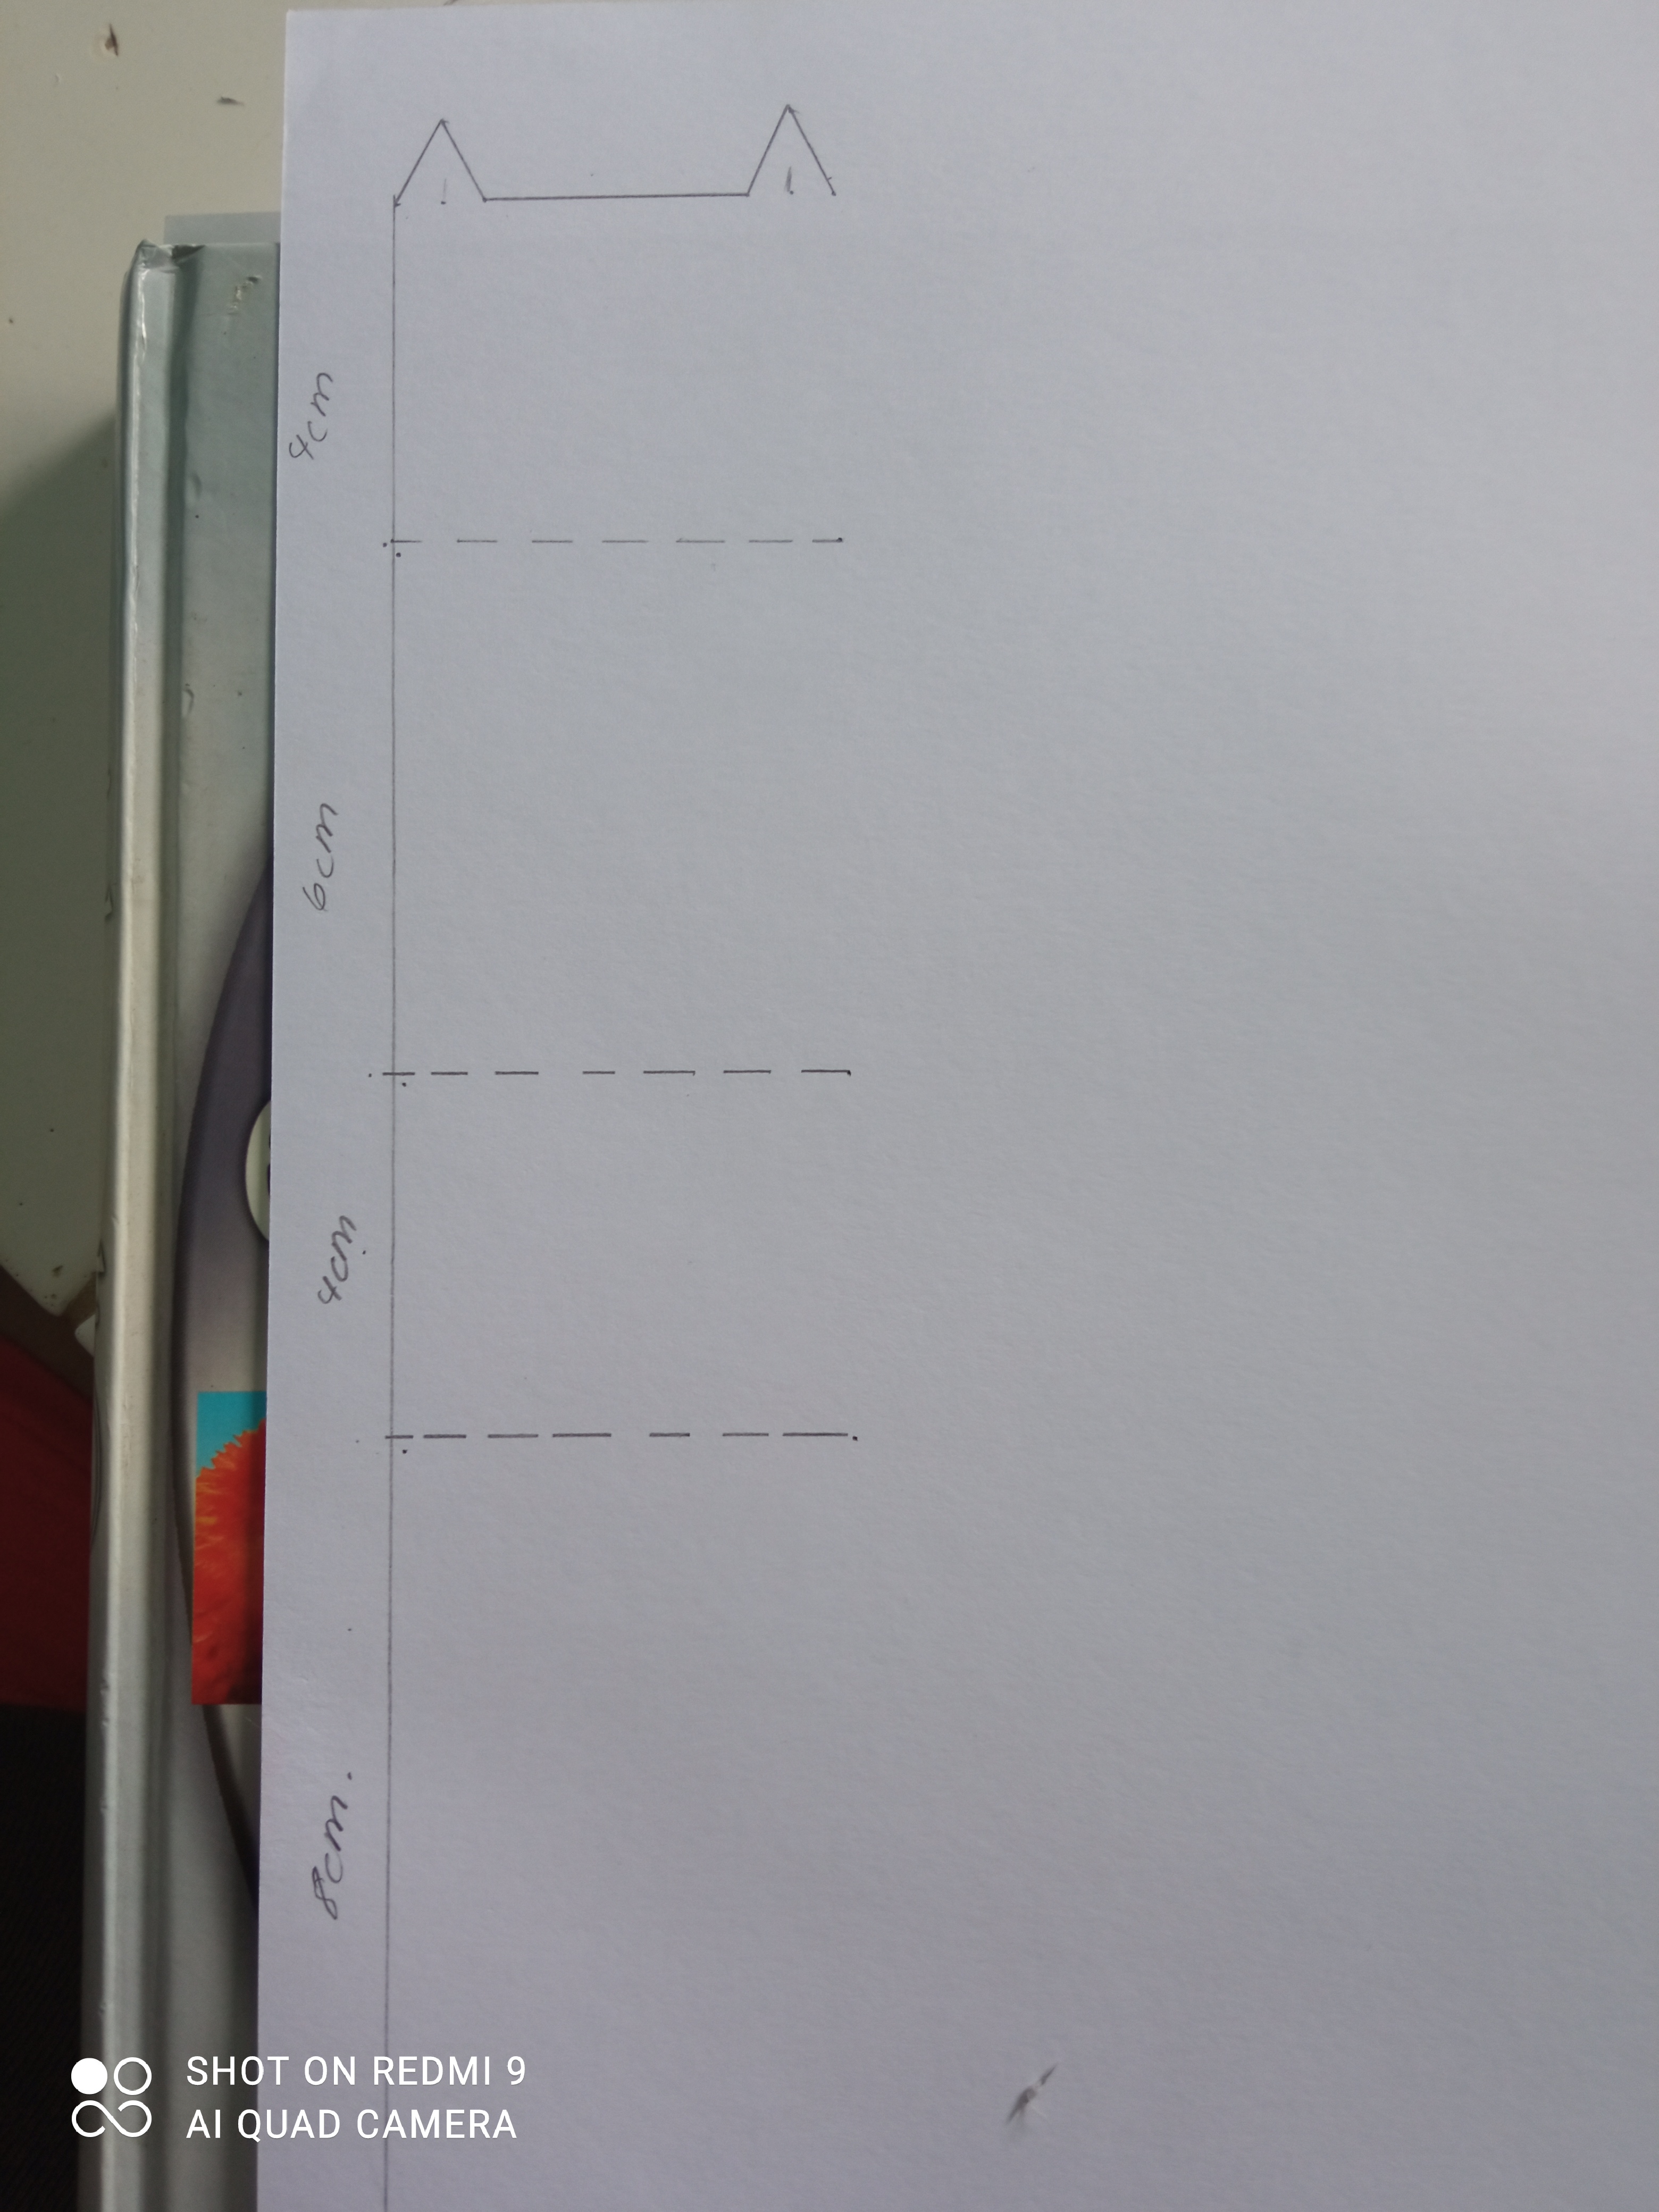
1- On the white cardboard draw the cat with the measures of 5 cm wide by 22 cm long, which will be divided into 4 cm for the face, 6 cm for the body, 4 cm for the back of the cat and 8 cm including (3 cm high by 2 cm wide) corresponding to the paws. The ears are 1 cm high by 1 cm wide.
2- Luego se le dibuja la cara al gato, y se retoca con el marcador. La cola del gatico se hace con las siguiente medidas, 1 cm de ancho por 10 o 12 cm de largo, todo va a depender del largo que prefieran la cola, yo lo hice con 12 cm de largo.
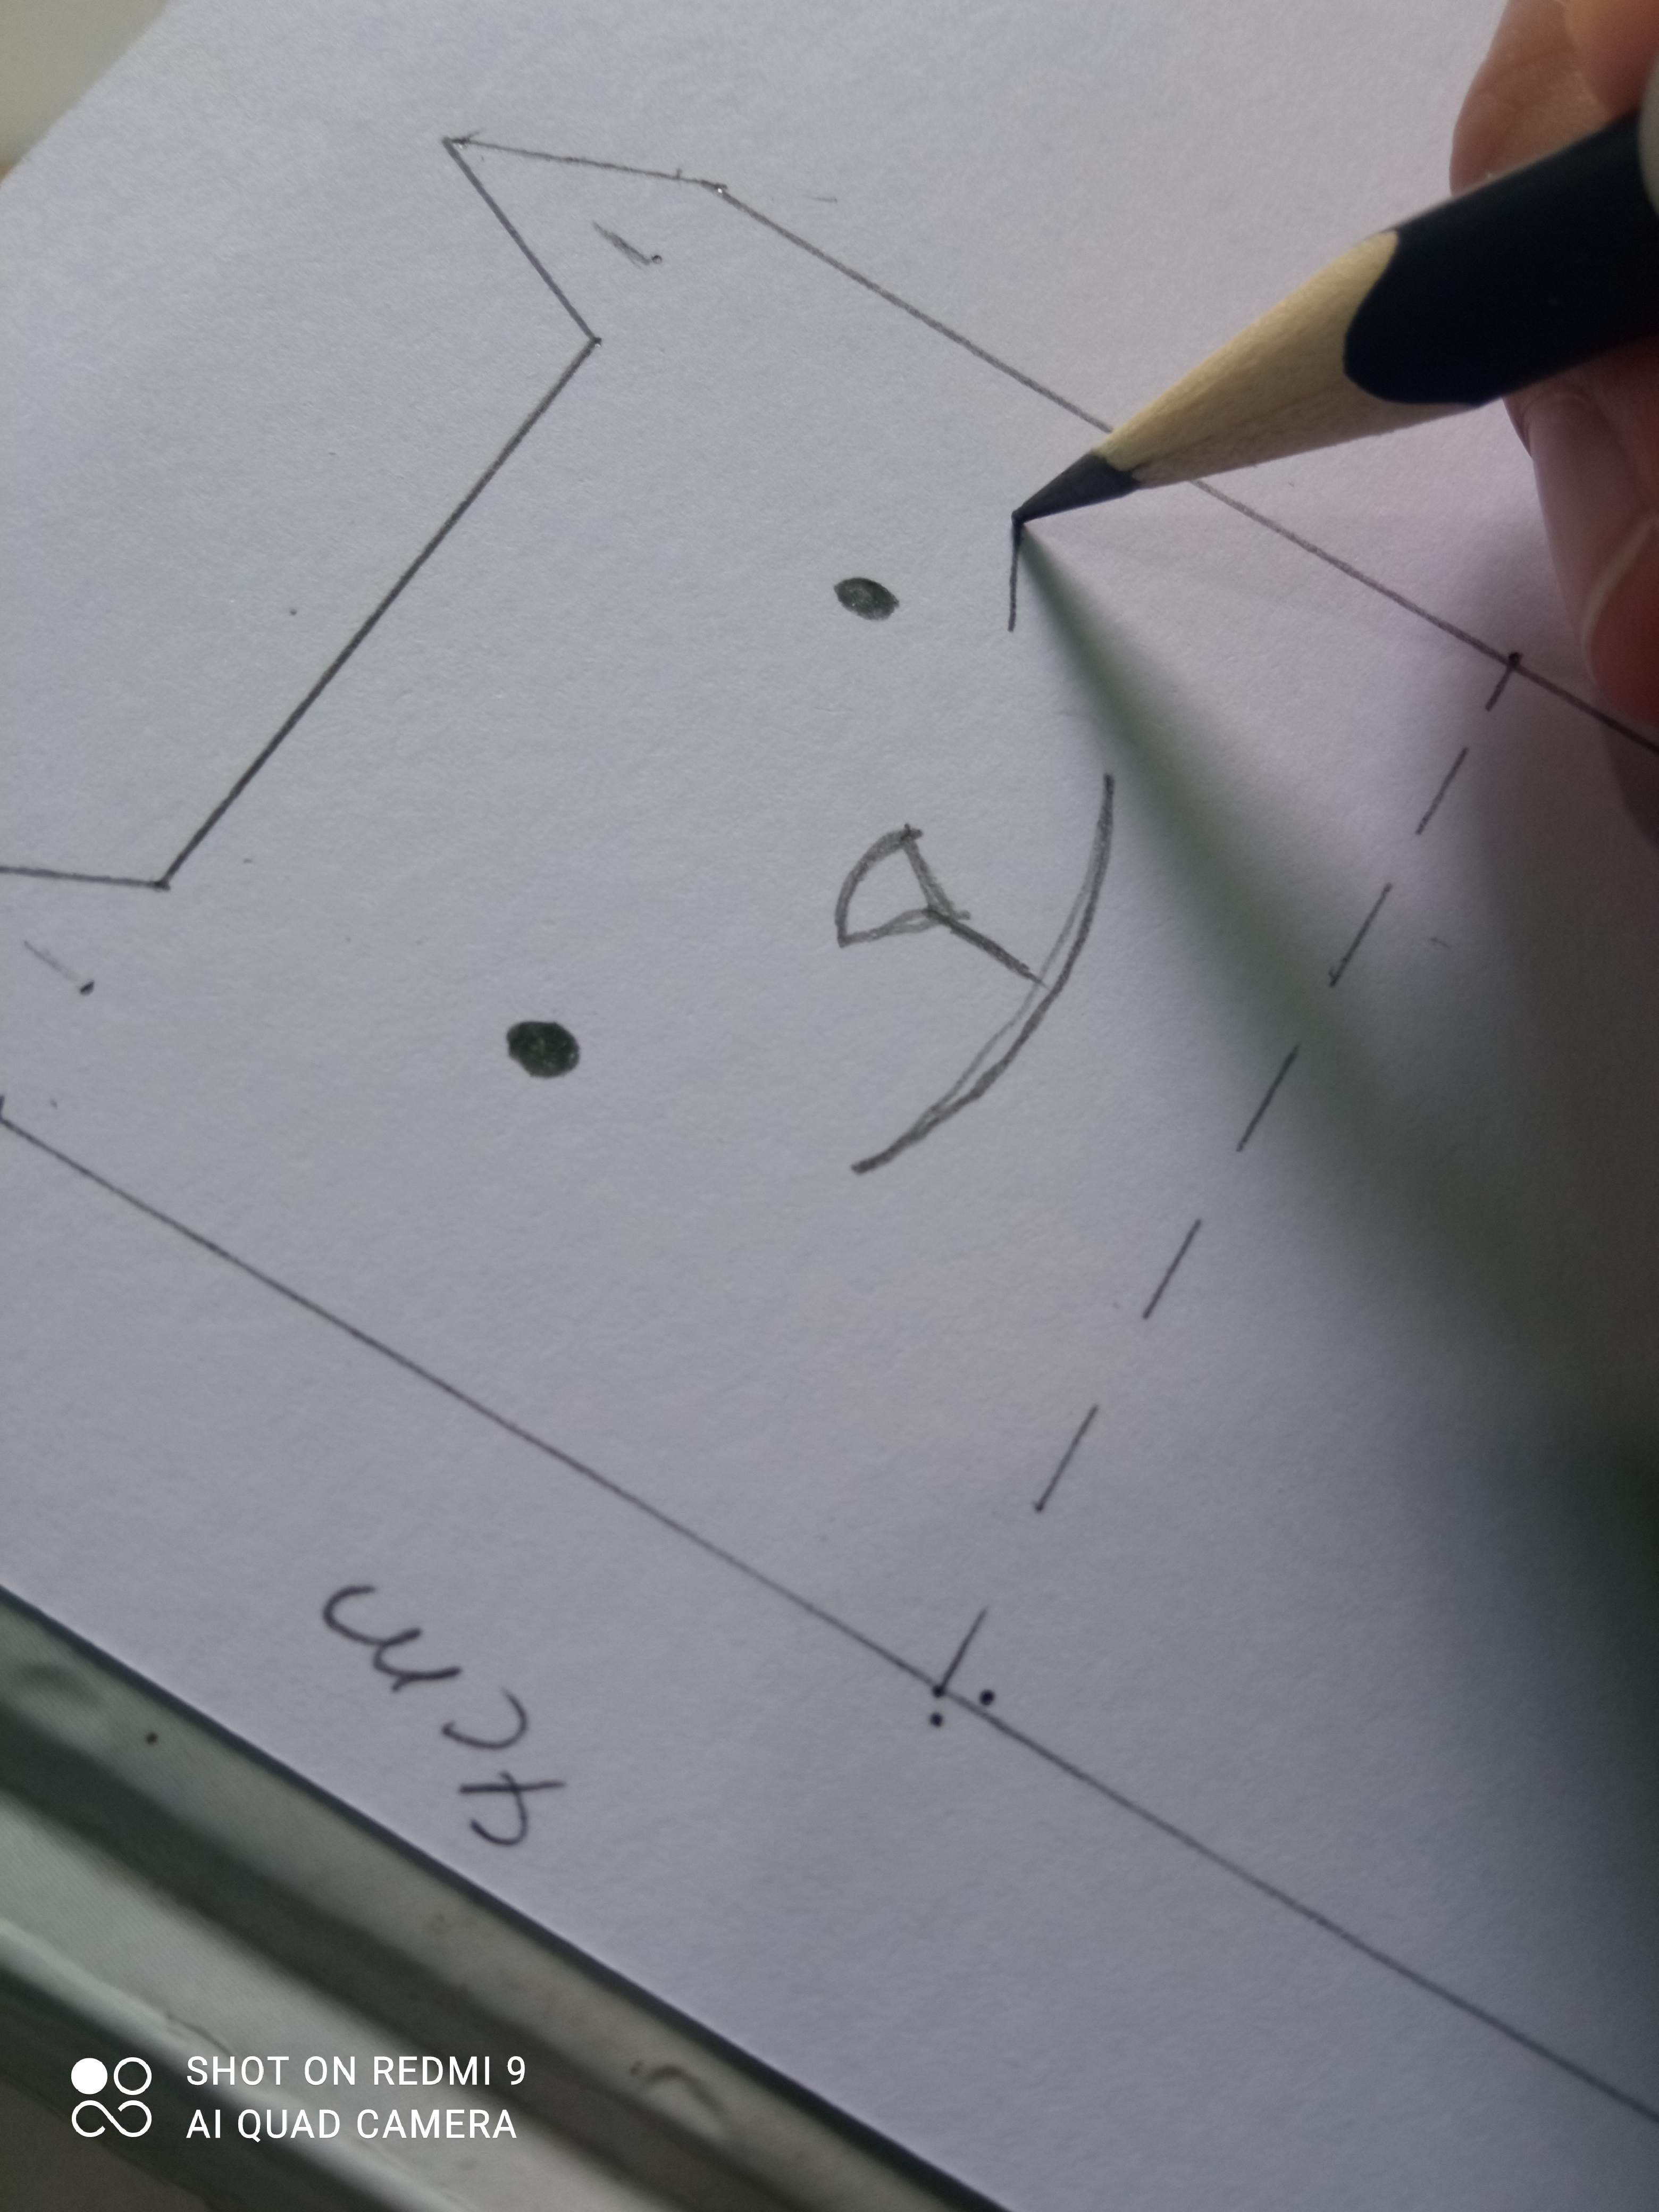
2- Then draw the face of the cat, and touch it up with the marker. The tail of the kitty is made with the following measures, 1 cm wide by 10 or 12 cm long, everything will depend on the length you prefer the tail, I did it with 12 cm long.
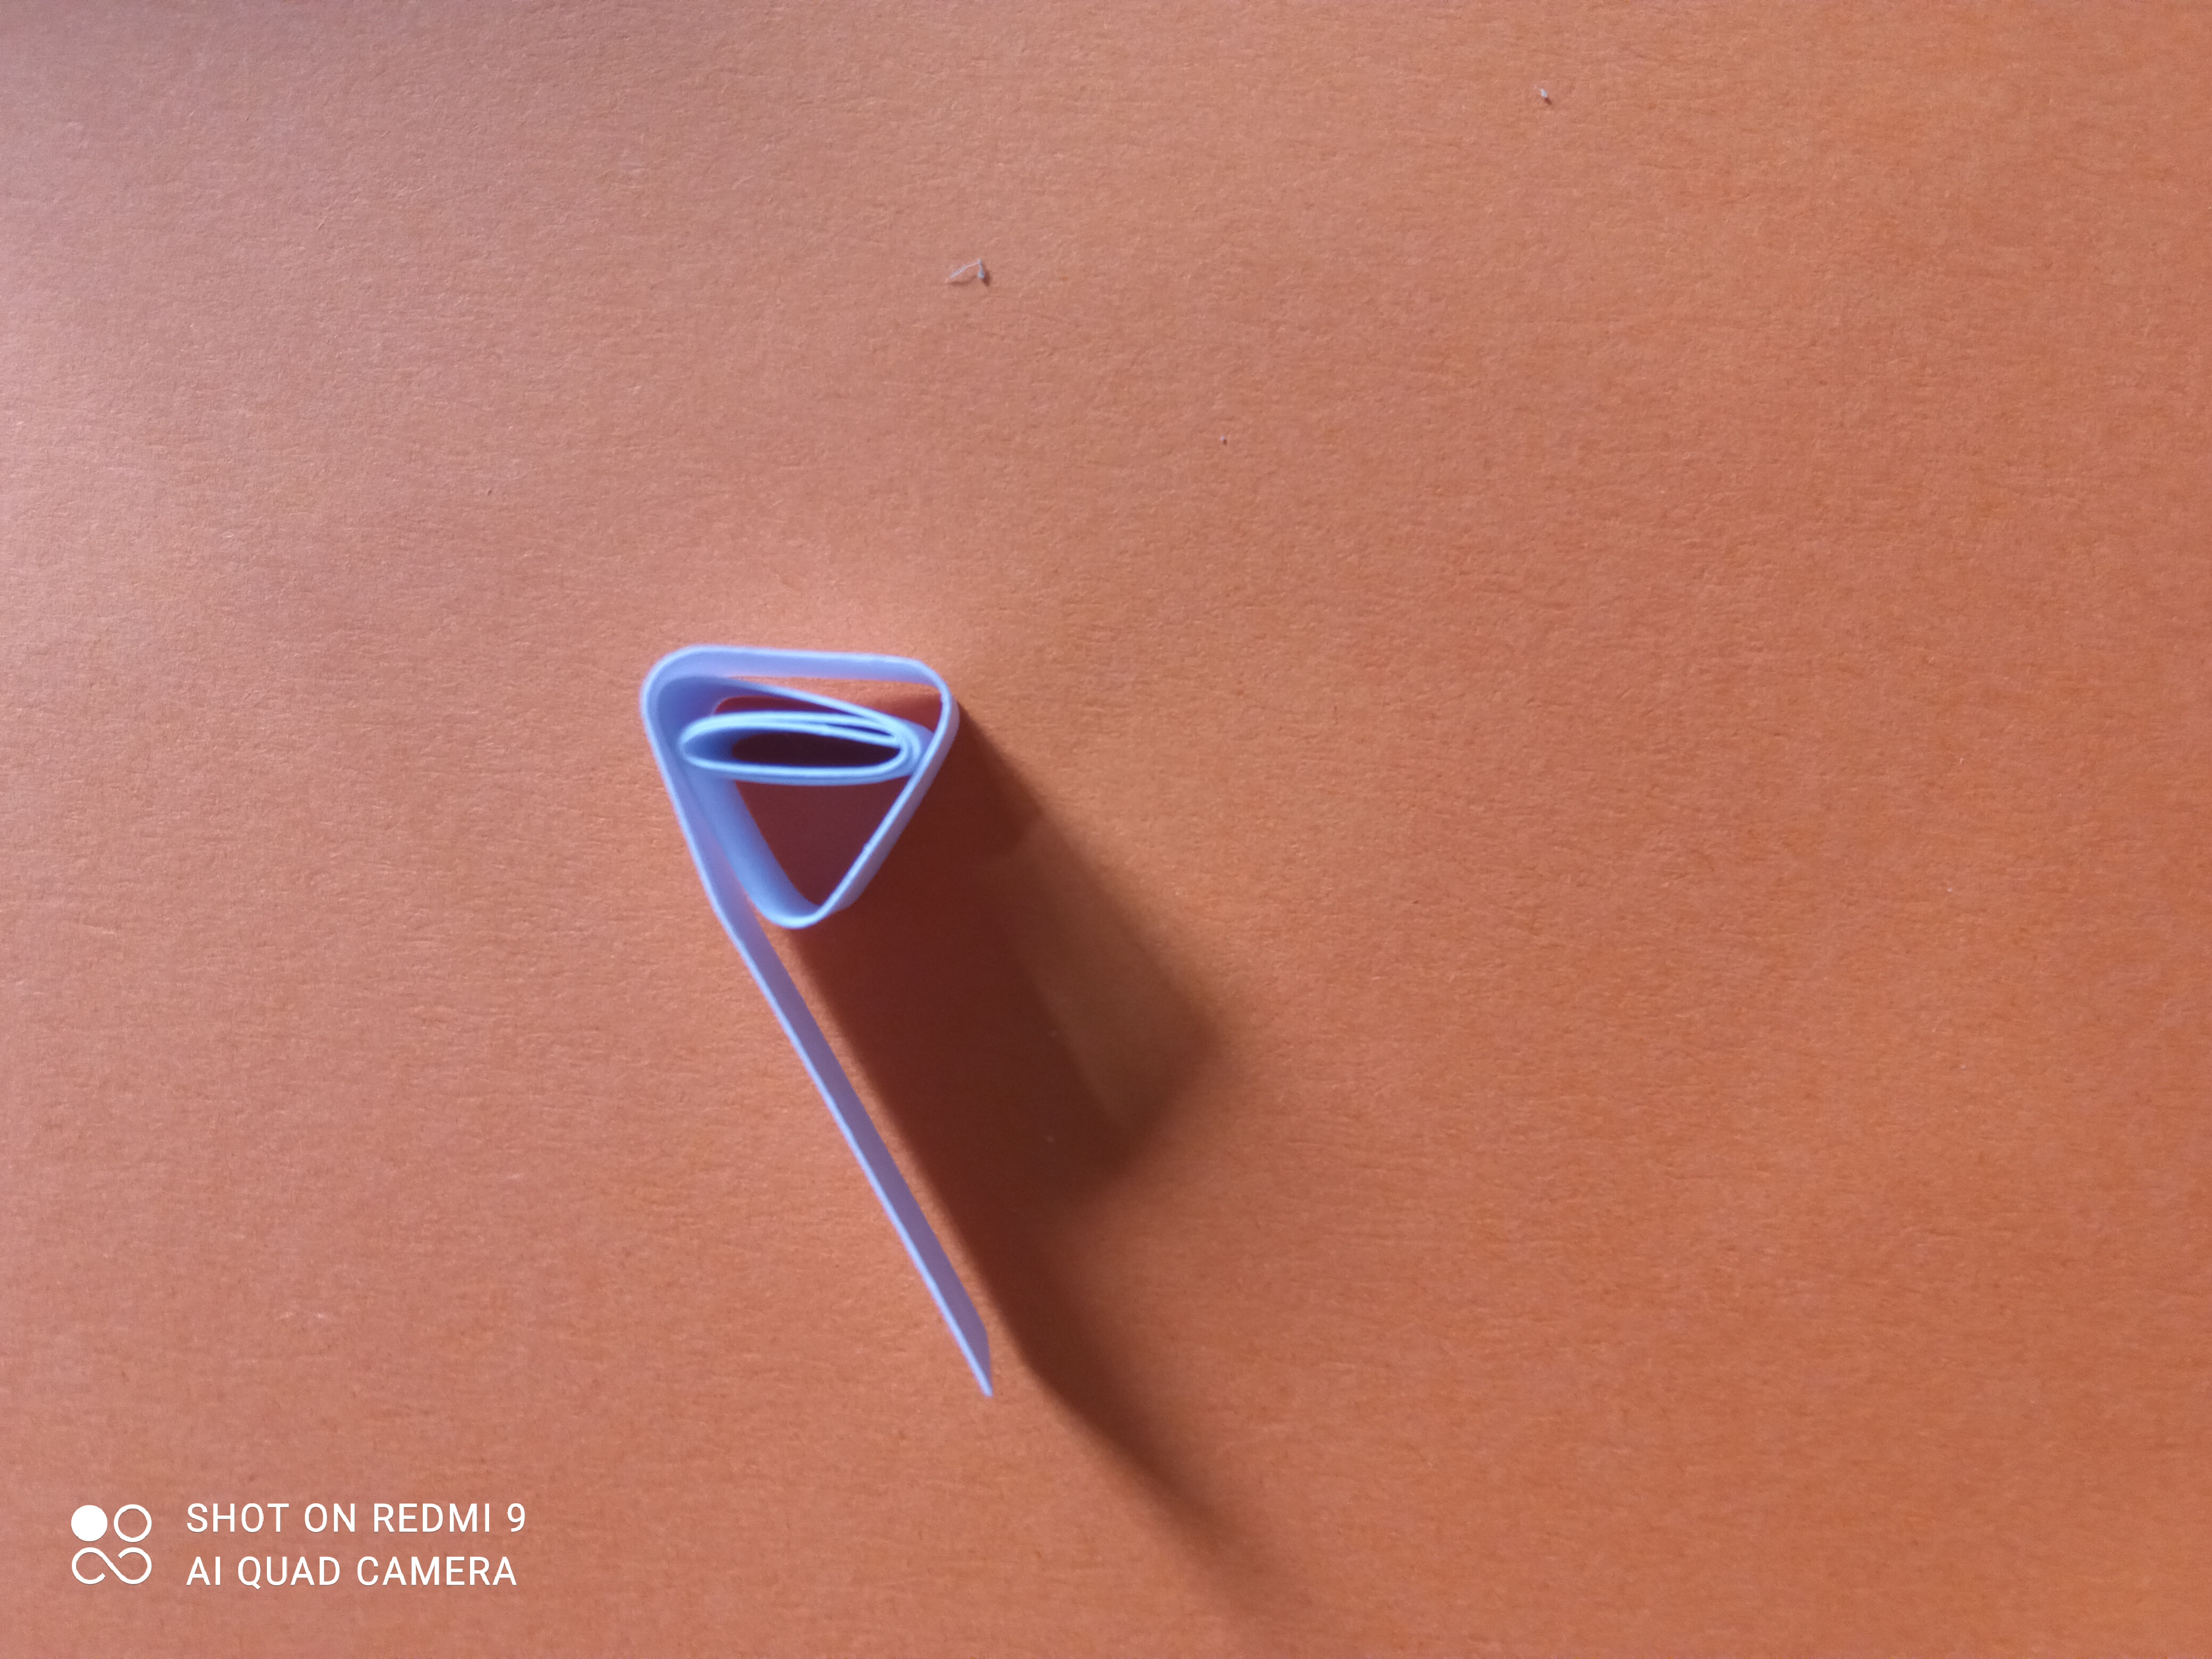
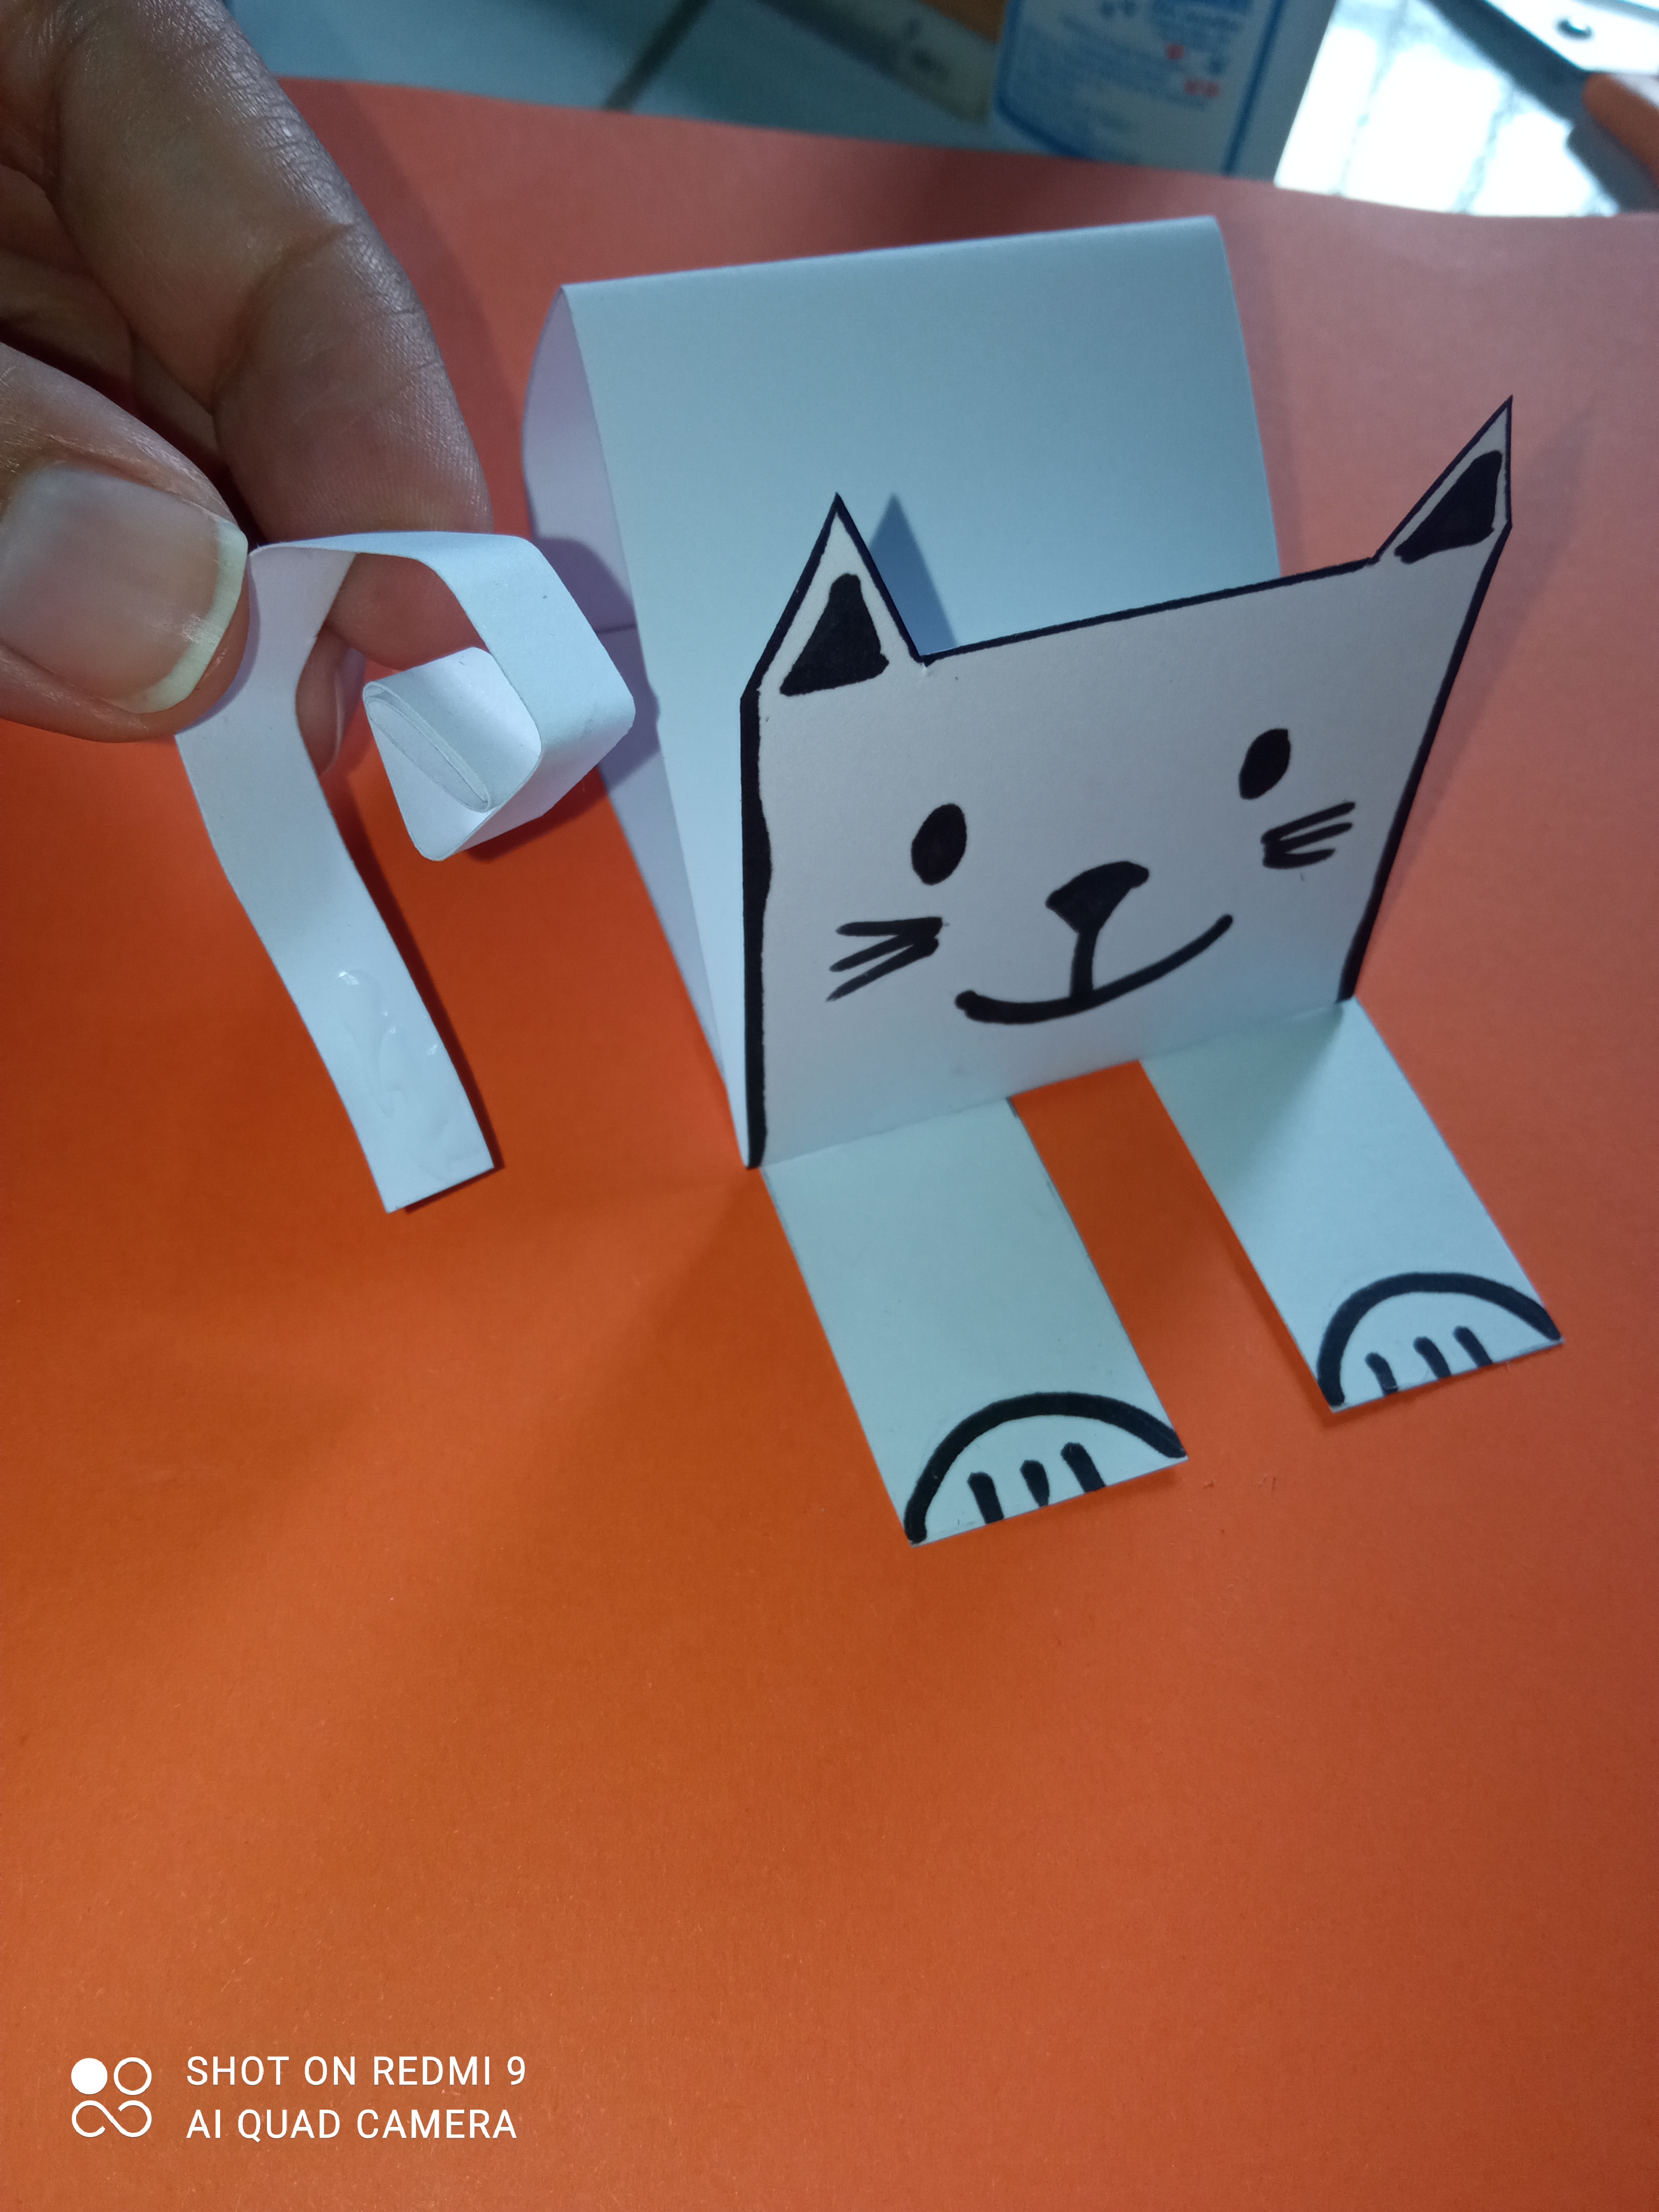
3- Una vez dibujado el gato se debe recortar, y doblar el cuerpo por las lineas punteadas ya que estas son las que le daran la forma. Lo que va a ser la cola del gato, se dobla en poco a poco y se deja un extremo liso.
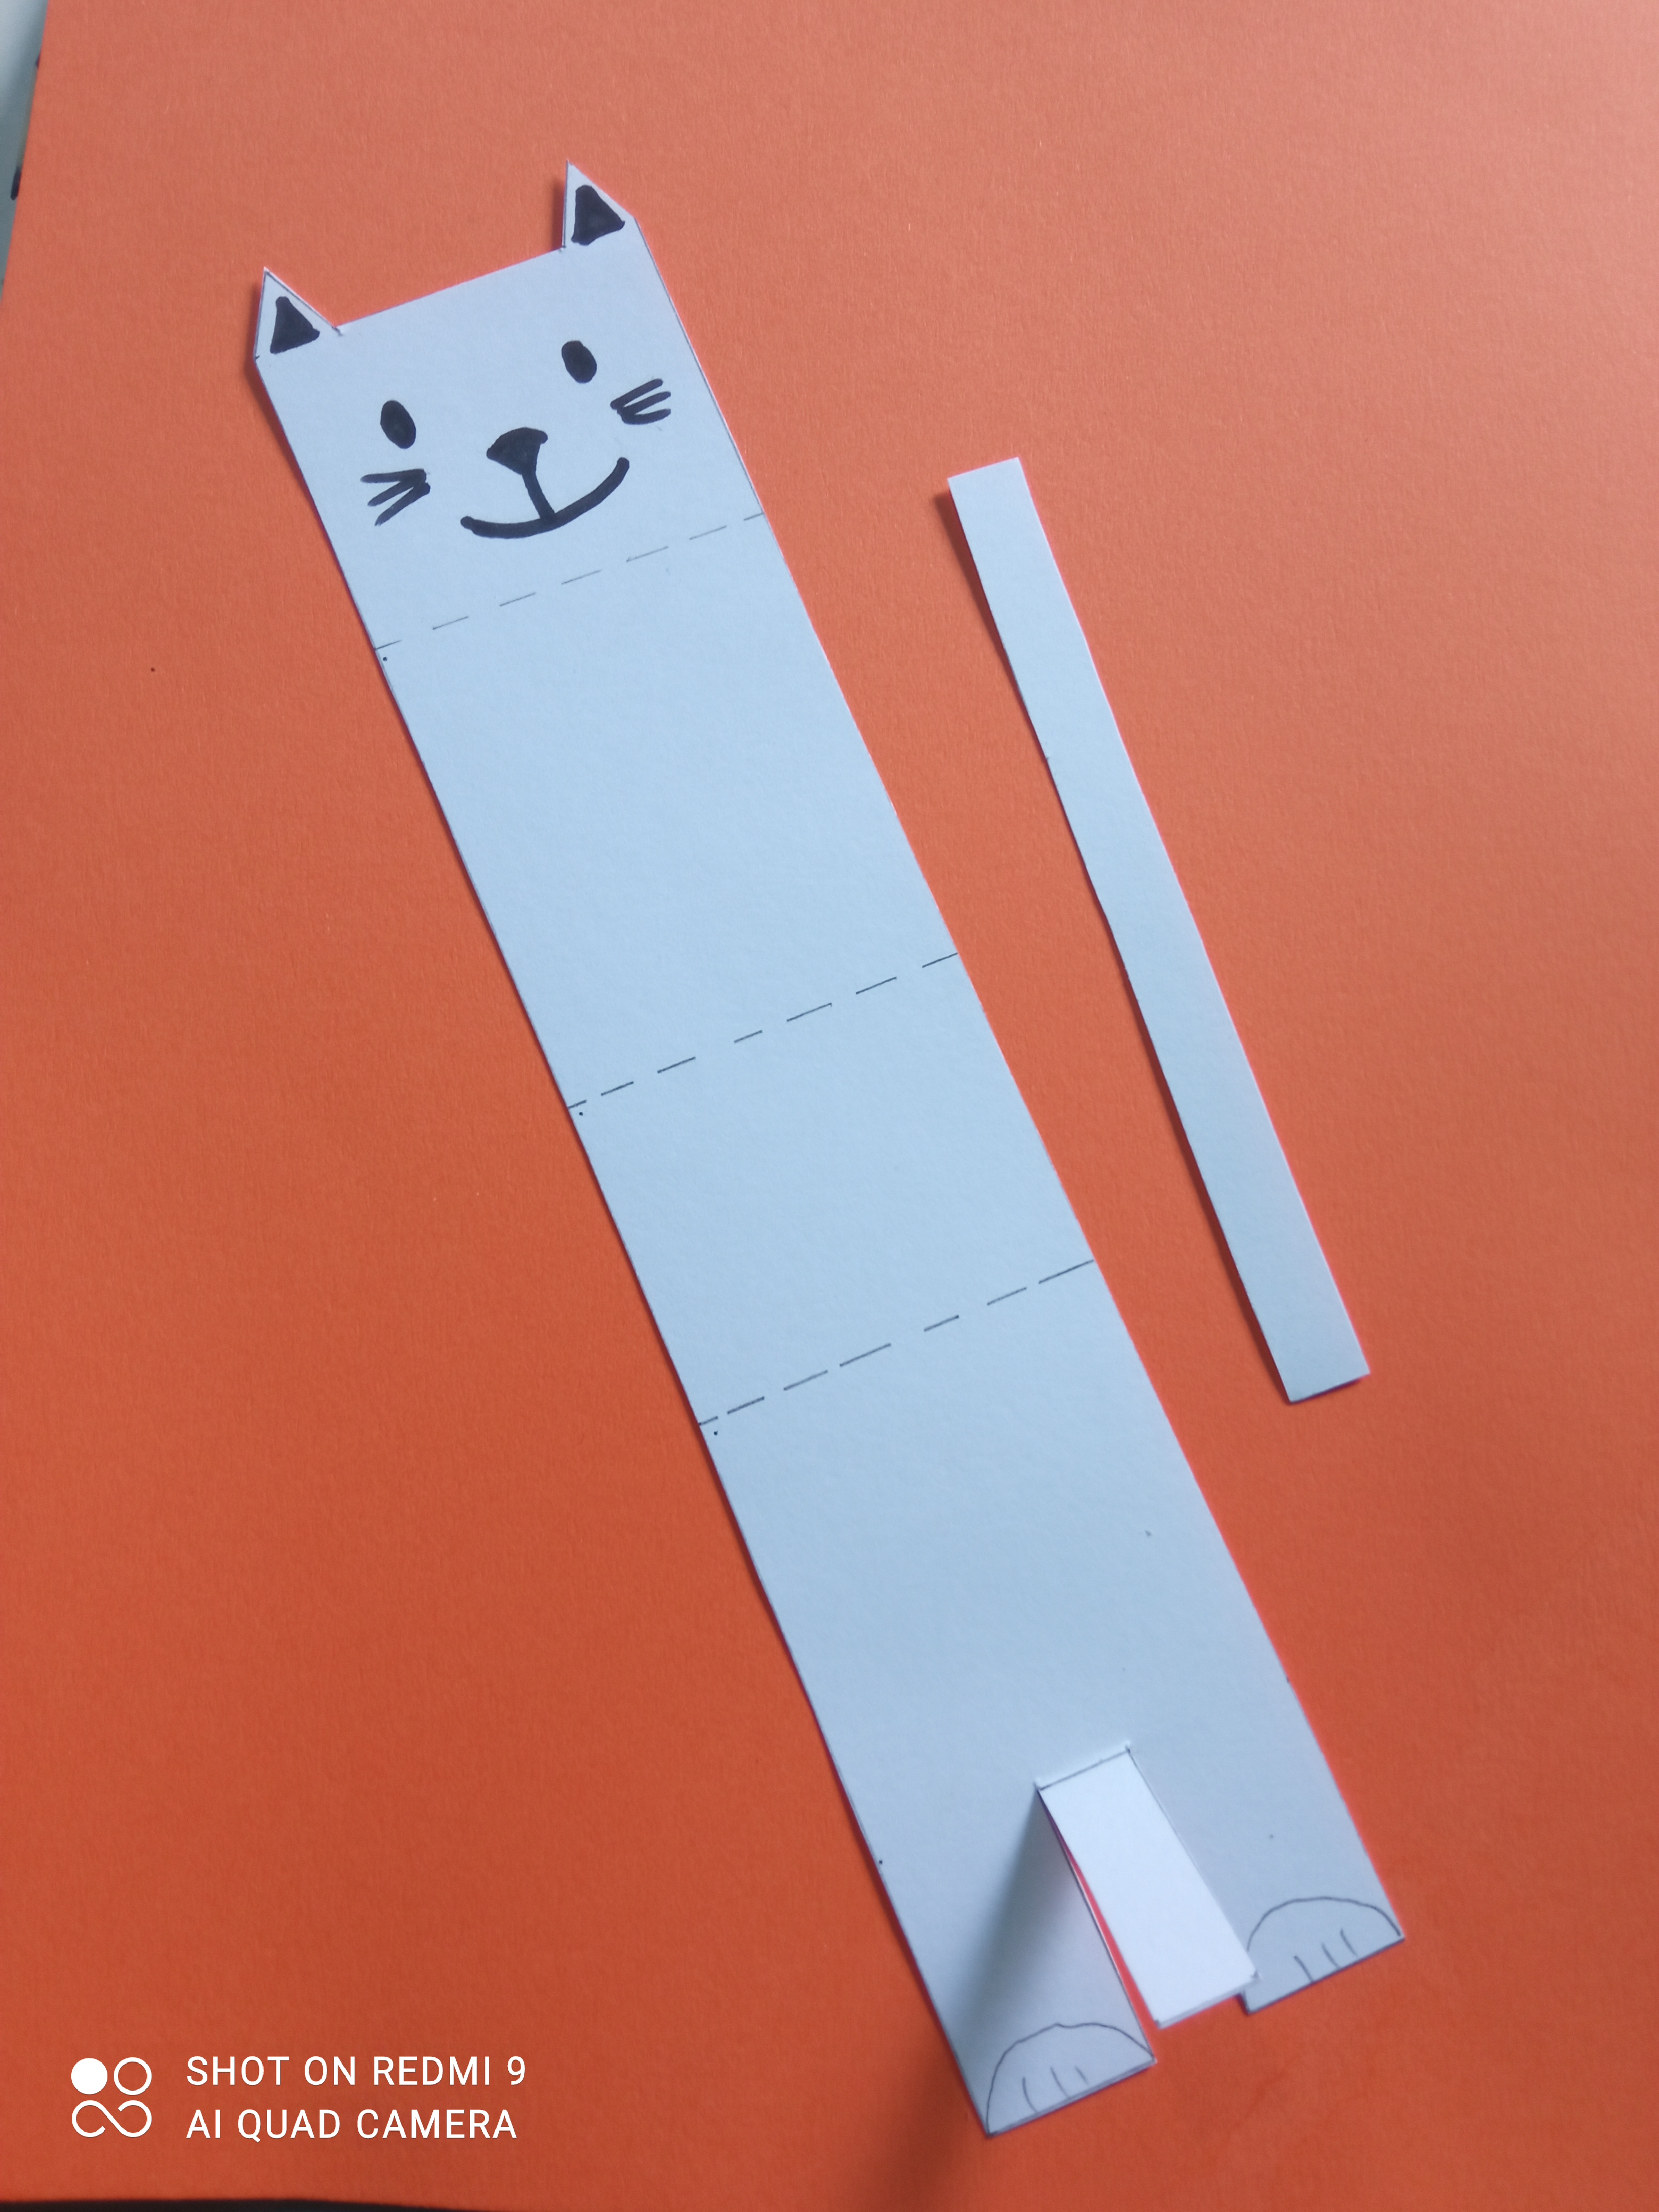
3- Once the cat is drawn, the body should be cut out and folded along the dotted lines, as these are the ones that will give it its shape. What is going to be the tail of the cat, fold it little by little and leave a smooth end.
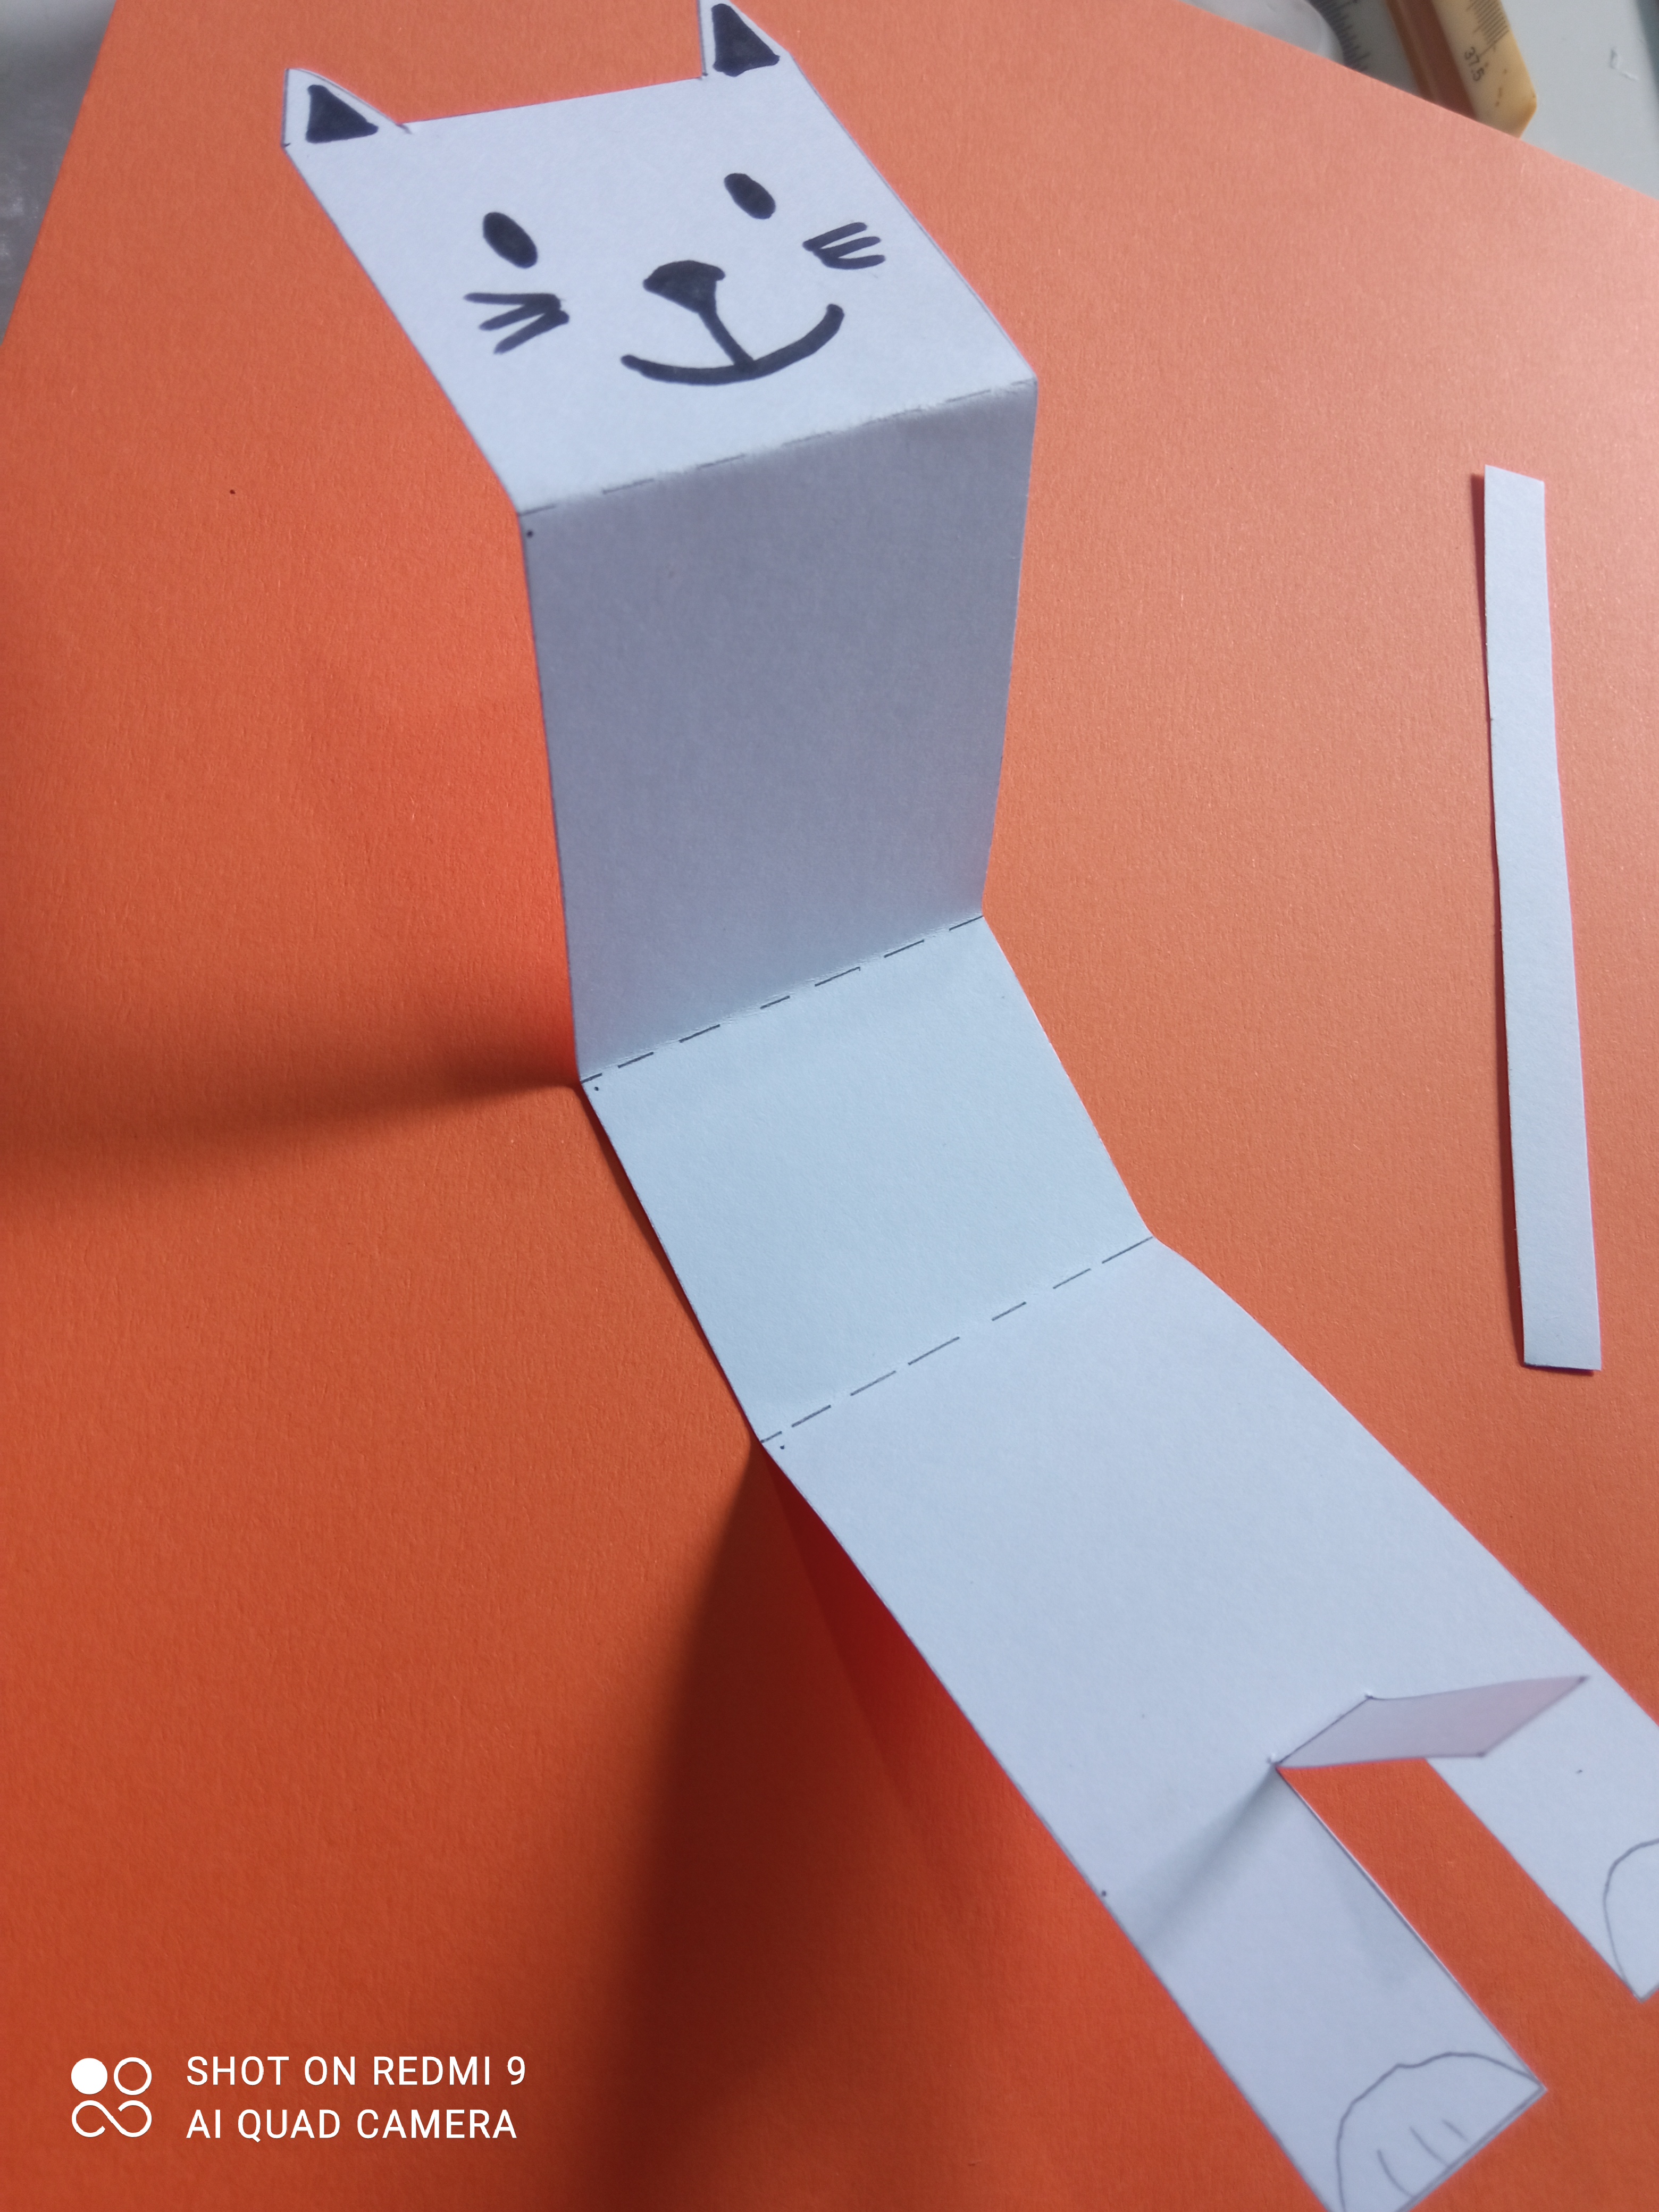
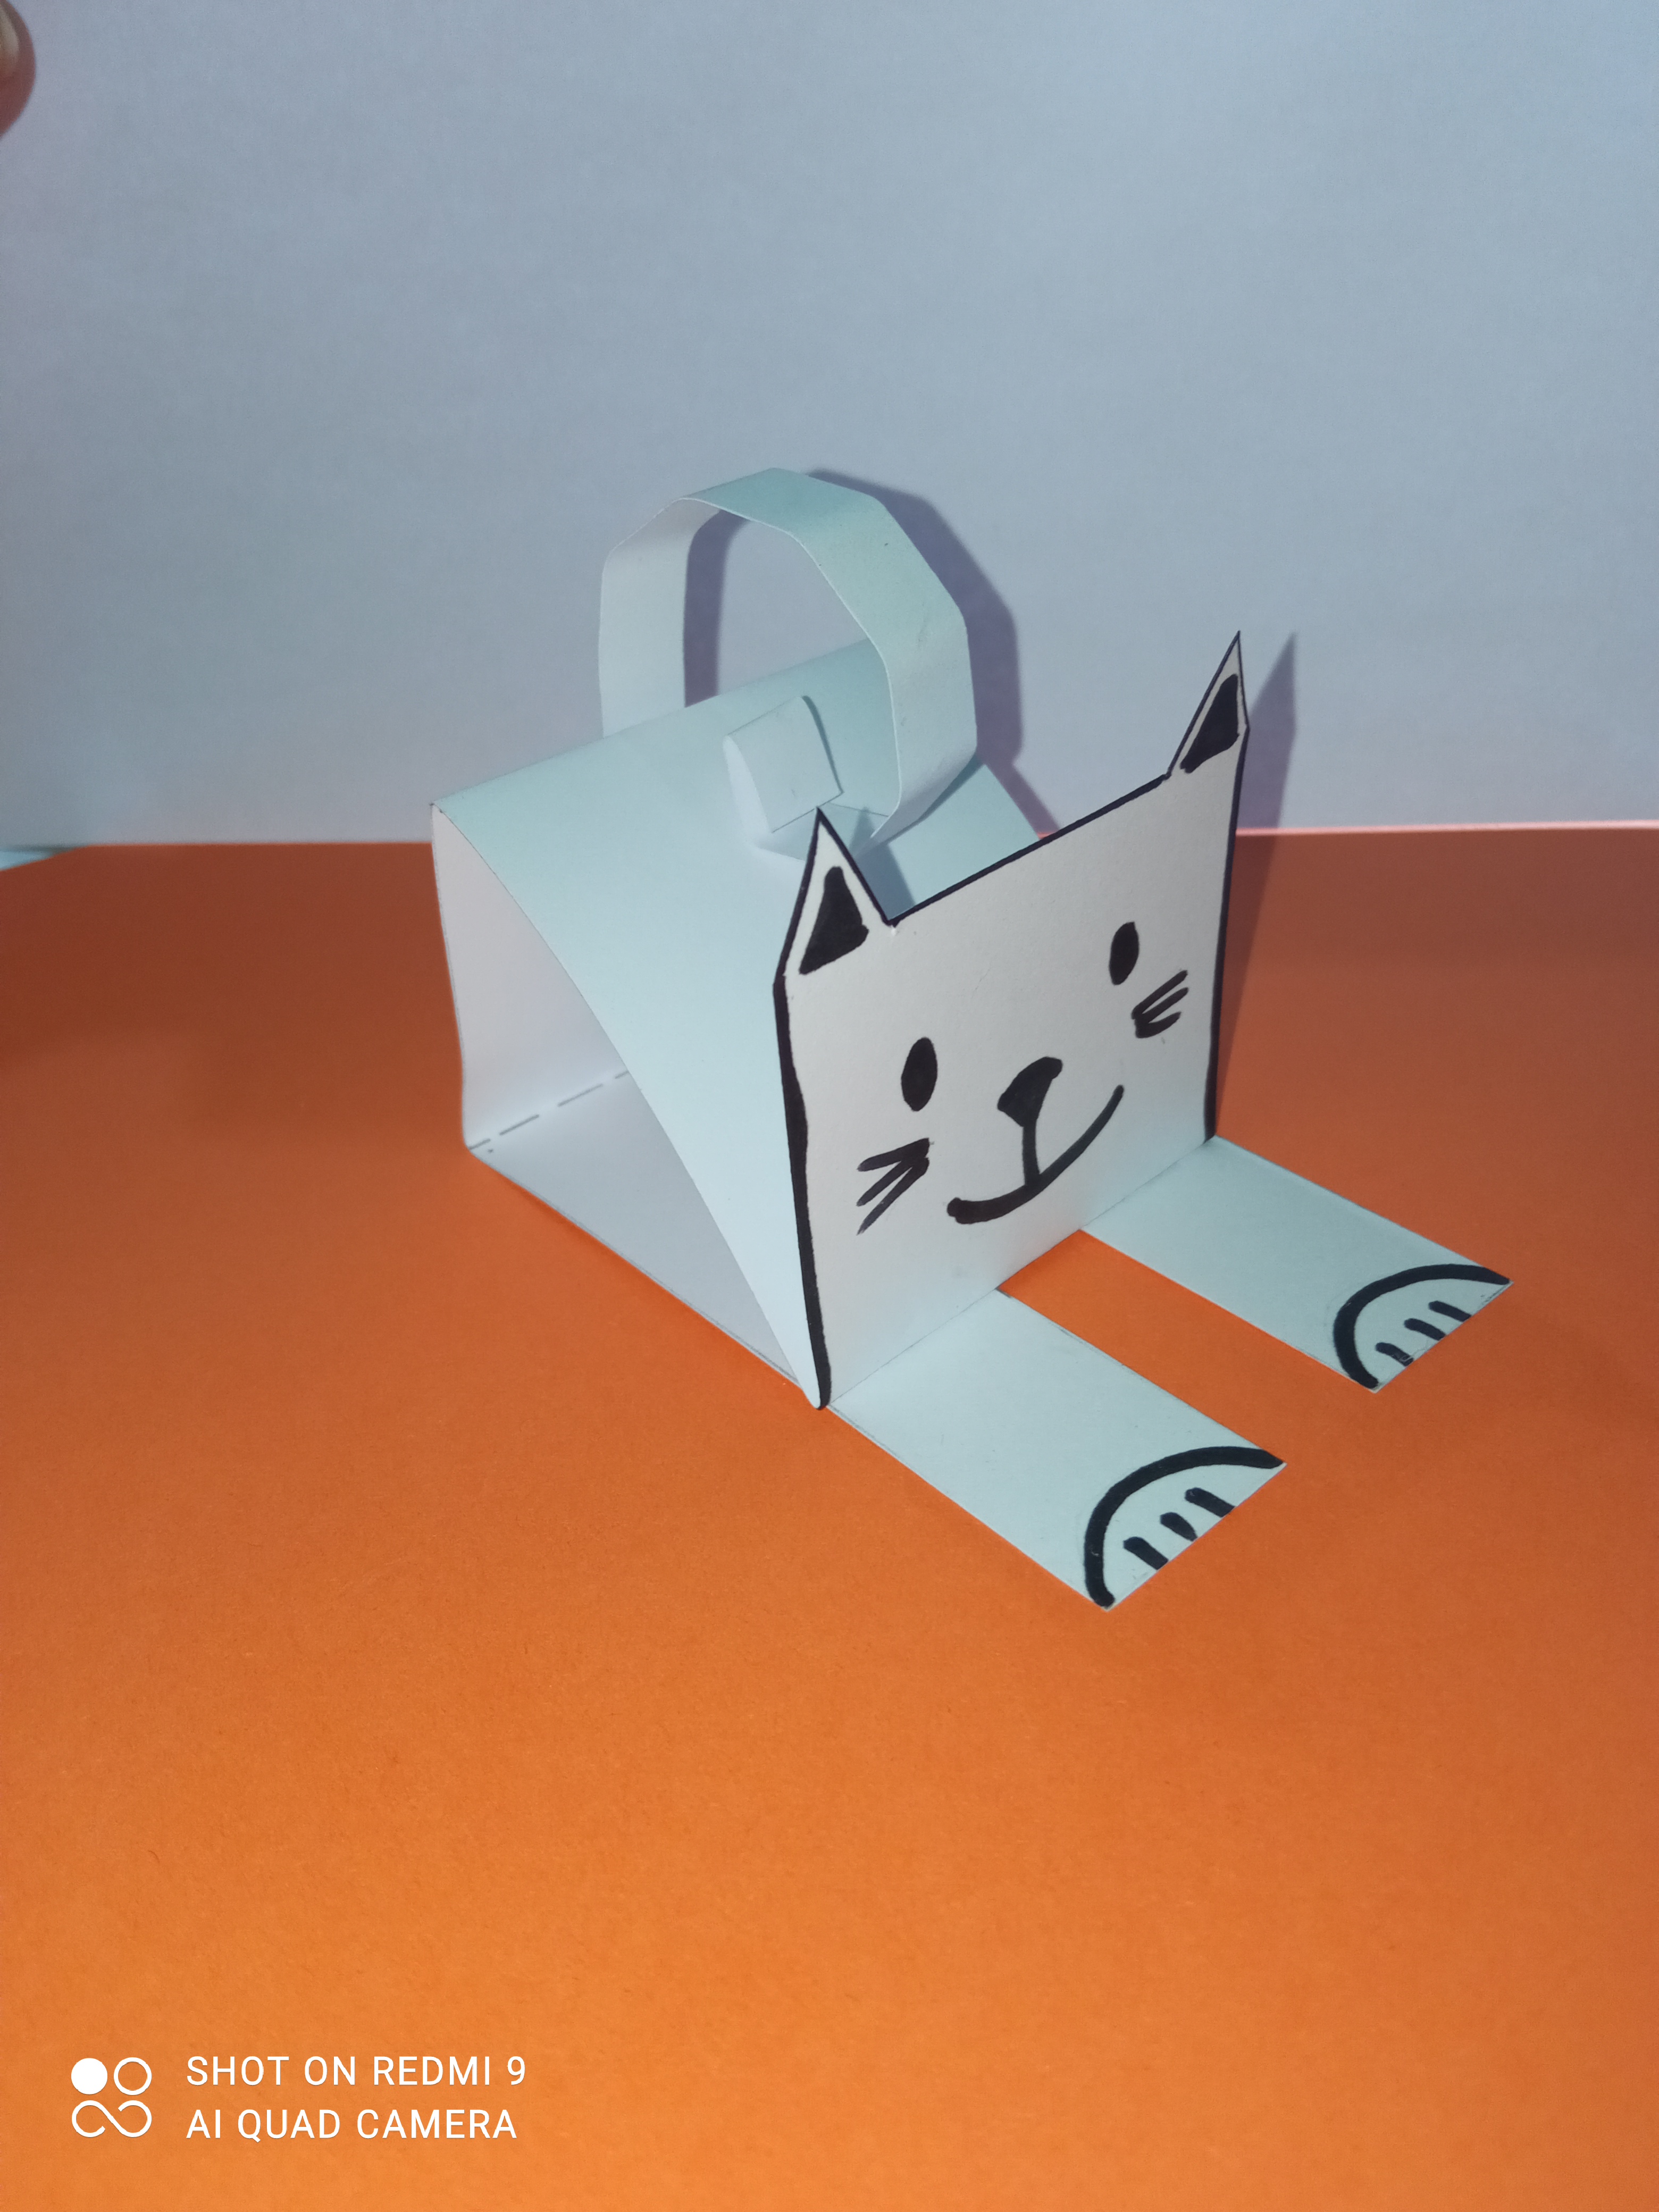
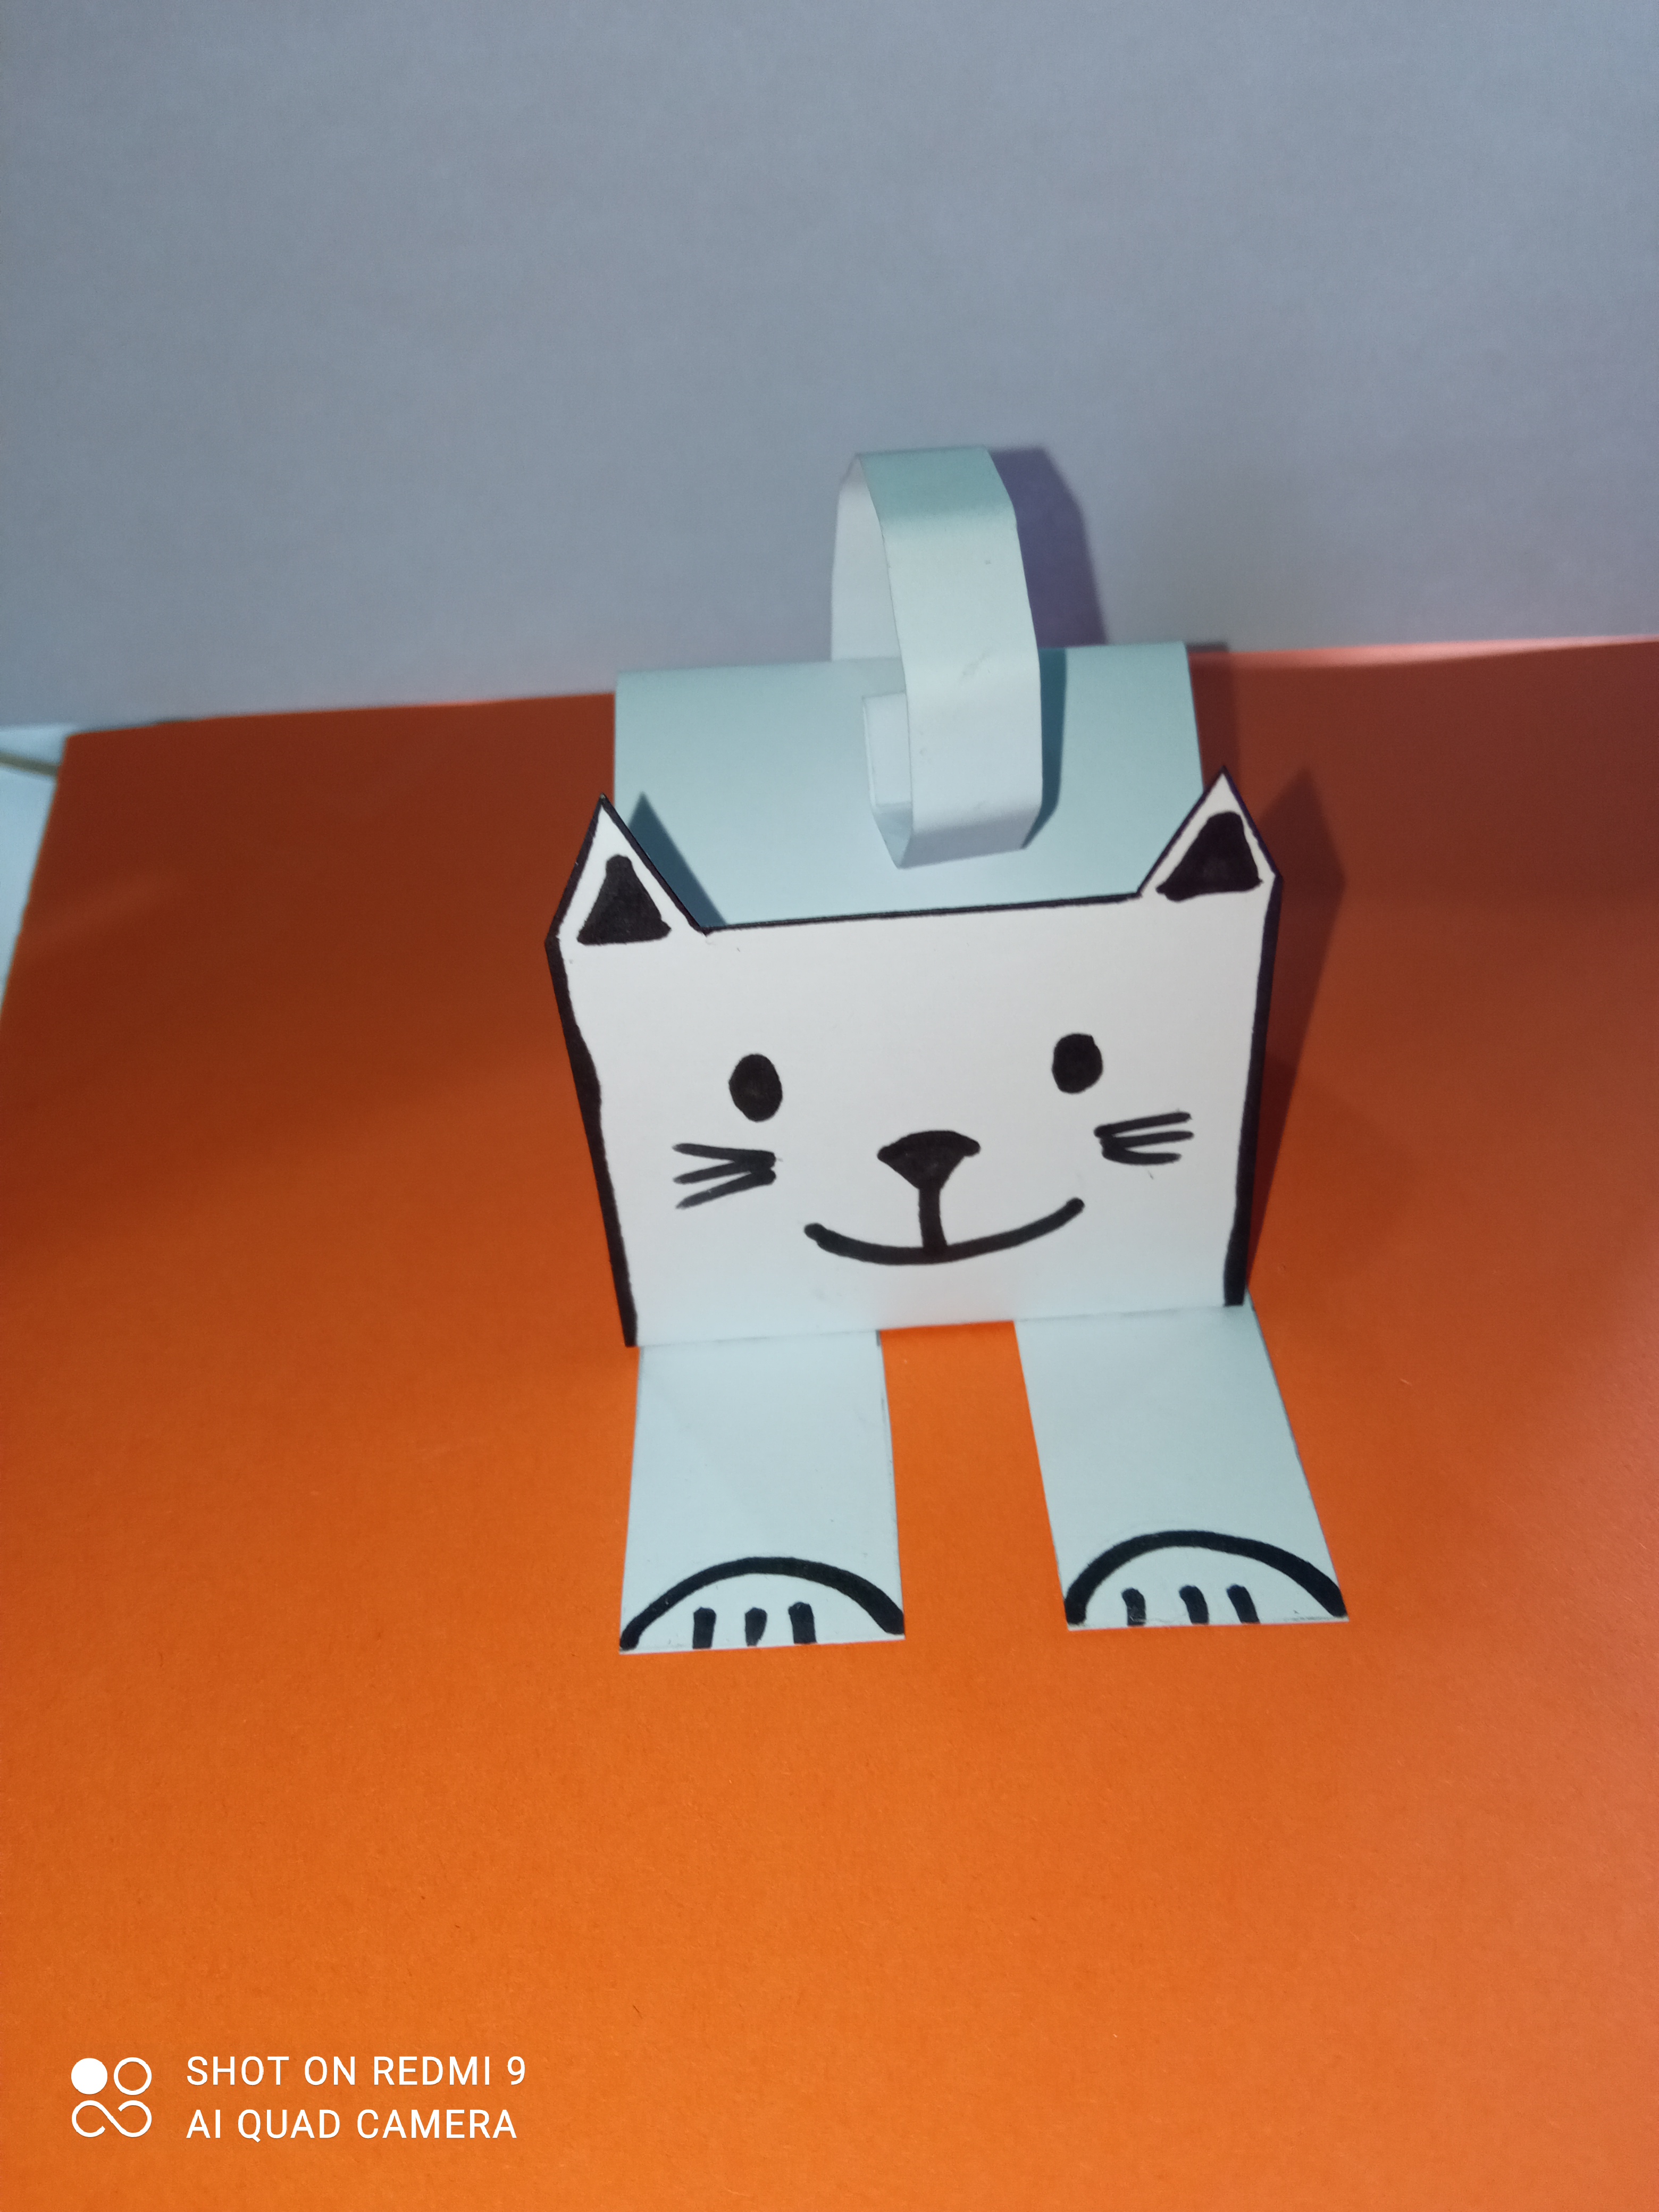
4- Por último, se unen los extremos del gato con la tira que esta cortada en medio de sus paticas. Y luego se le pega la cola.
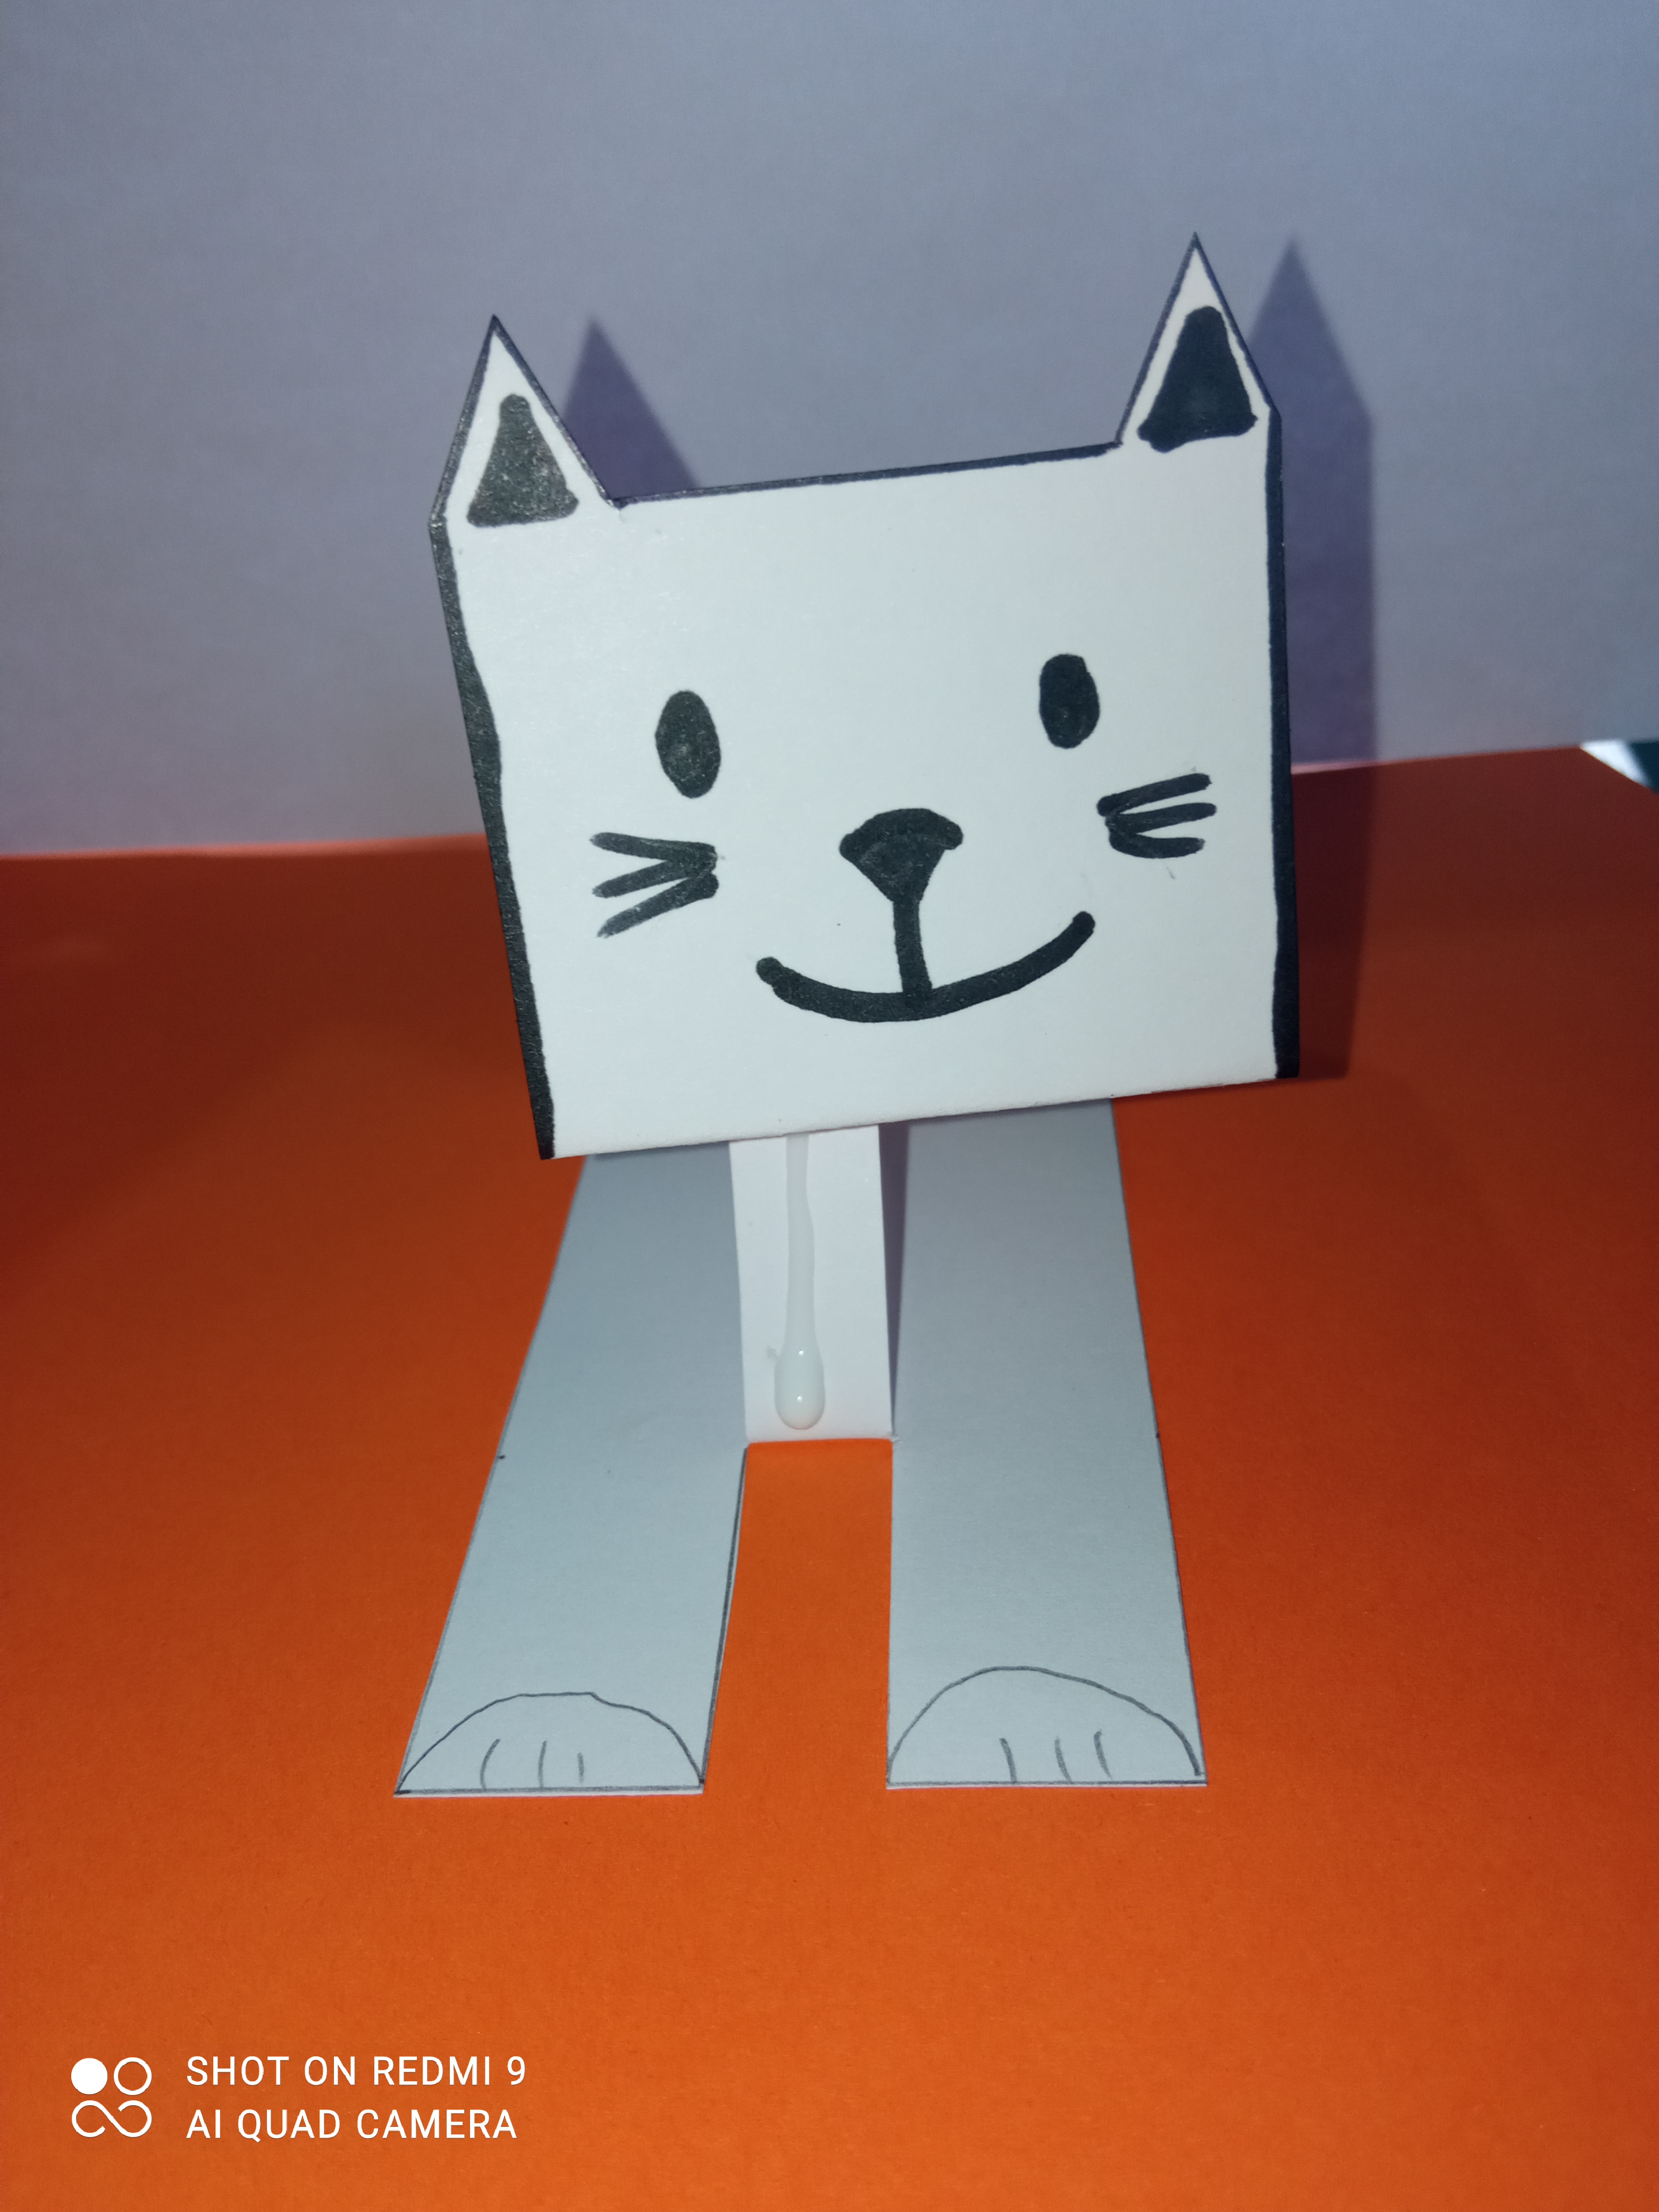
4- Finally, join the ends of the cat with the strip that is cut in the middle of his paws. And then glue the tail.
And so is this beautiful kitty, which we can place it on our work desk or on the children's desk. It can be made in several colors. I hope you liked it, see you in the next publication.
Gracias por Visitar mi Blog
Thanks for visiting my Blog
By: @marcano94
Las fotos fueron tomadas con mi teléfono Redmi 9 // The photos were taken with my Redmi 9 phone.