Aquí vamos nuevamente activando la creatividad para compartirla con todos ustedes mis HIVER amigos, espero se encuentren bien de salud y con la mejor buena vibra para seguir subiendo los escalones de la vida, y en ese orden de ideas de subir esos escalones es este tutorial de como realizar un arreglo con cartón para una cumpleañera, espero lo disfruten y tomen notas que esta muy sencillo de hacer y queda muy delicado para complacer a nuestra cumpleañera.
Here we are again activating creativity to share it with all of you my HIVER friends, I hope you are in good health and with the best good vibes to continue climbing the steps of life, and in that order of ideas to climb those steps is this tutorial of How to make an arrangement with cardboard for a birthday girl, I hope you enjoy it and take notes that it is very simple to do and is very delicate to please our birthday girl.
.jpeg)


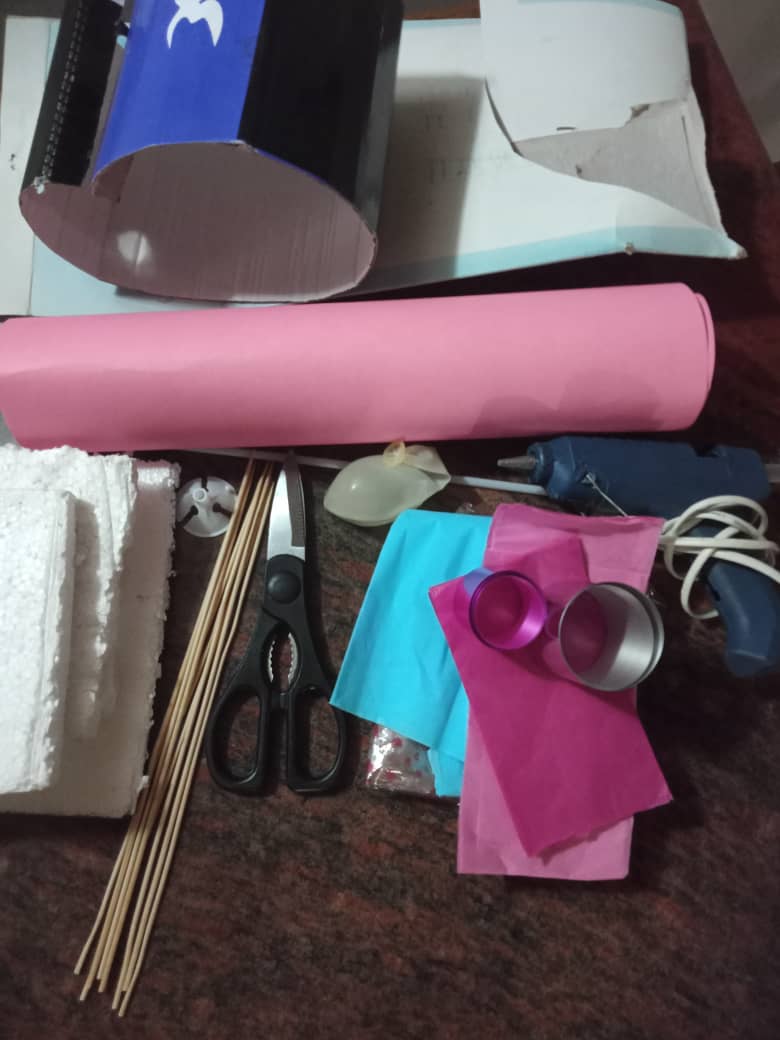
Caja de cartón
Silicón frio y caliente
Cinta metalizada
Cartulina lisa de su color favorito
papel de seda
palillos de altura
Globo con confeti
Base para globos
tijera
Recortes de anime
Topper (Opcional)
Carton box
Hot and cold silicone
Metallic tape
Plain card stock in your favorite color
silk paper
tall chopsticks
Balloon with confetti
Balloon base
scissors
Anime cutouts
Topper (Optional)


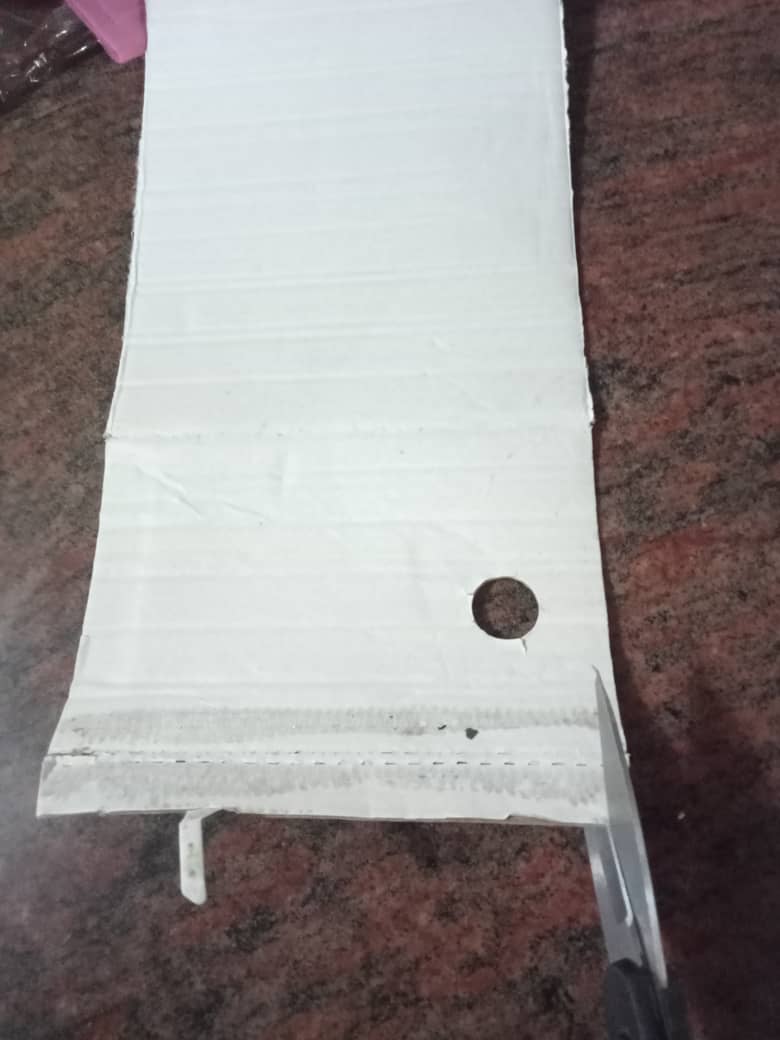
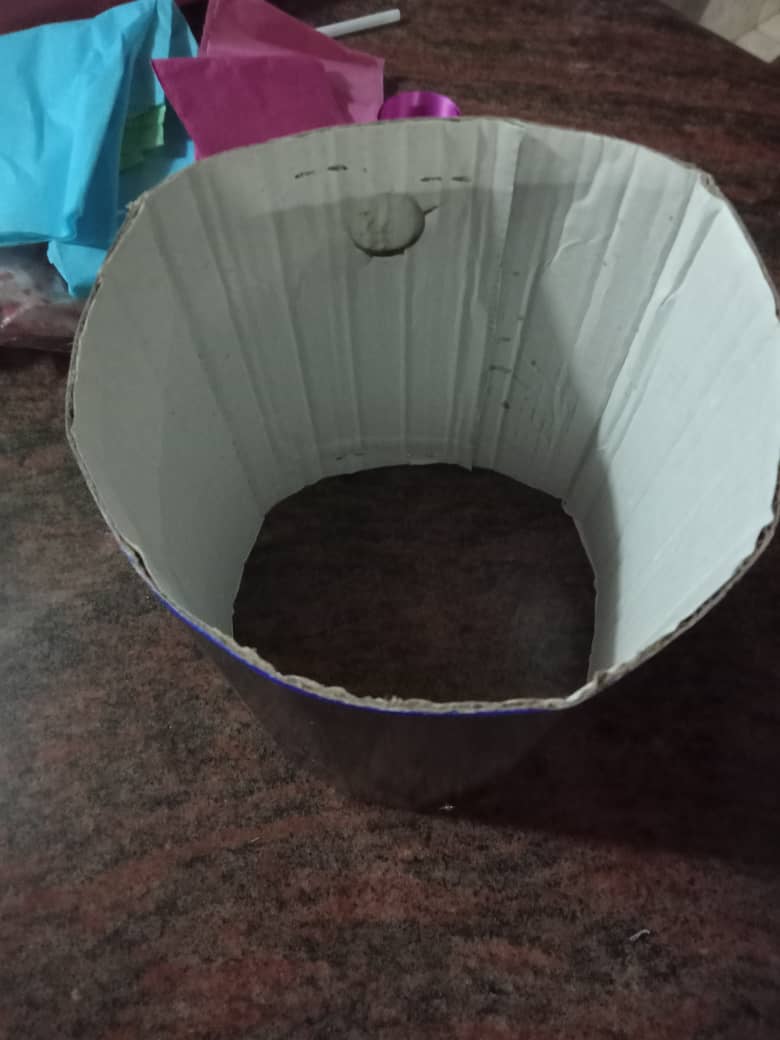
Cortamos el cartón aproximadamente de 25 cm de altura lo enrollamos para darle forma circular unimos los extremos con silicón caliente para darle mas seguridad y la hacemos la base al cilindro.
We cut the cardboard approximately 25 cm high, we roll it to give it a circular shape, we join the ends with hot silicone to give it more security and we make the base to the cylinder.
.jpeg)
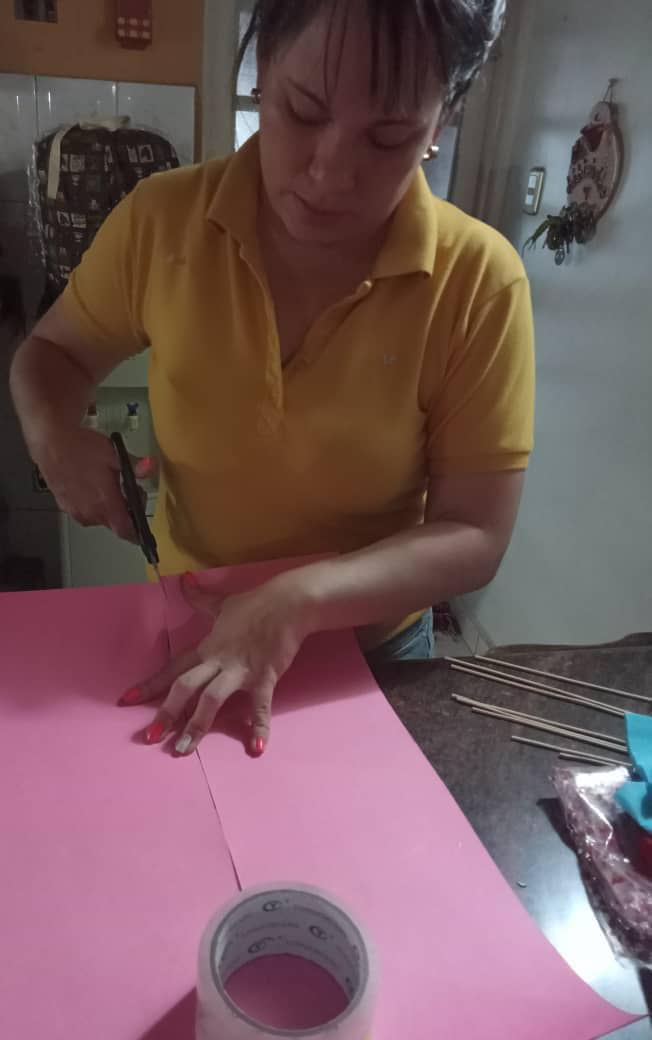
Cortamos la cartulina un poco mas alta que el cartón y con silicón frio lo forramos, colocamos la cinta metalizada y le hacemos un lazo sencillo y pegamos.
We cut the cardboard a little higher than the cardboard and with cold silicone we cover it, we place the metallic tape and we make a simple loop and glue.
.jpeg)
.jpeg)
Cortamos el papel de seda en cuadrado, doblamos y pegamos al palillo de altura para colocarlo dentro del cilindro en dos tonalidades de rosado.
We cut the tissue paper into a square, fold and glue the height stick to place it inside the cylinder in two shades of pink.
.jpeg)
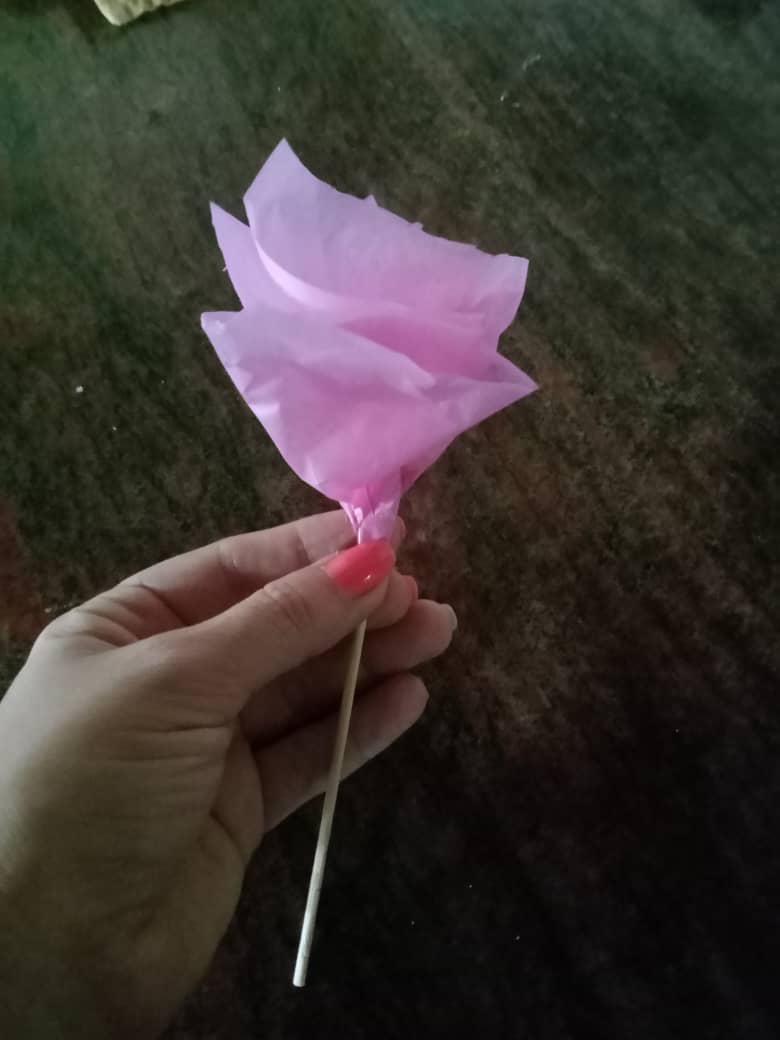
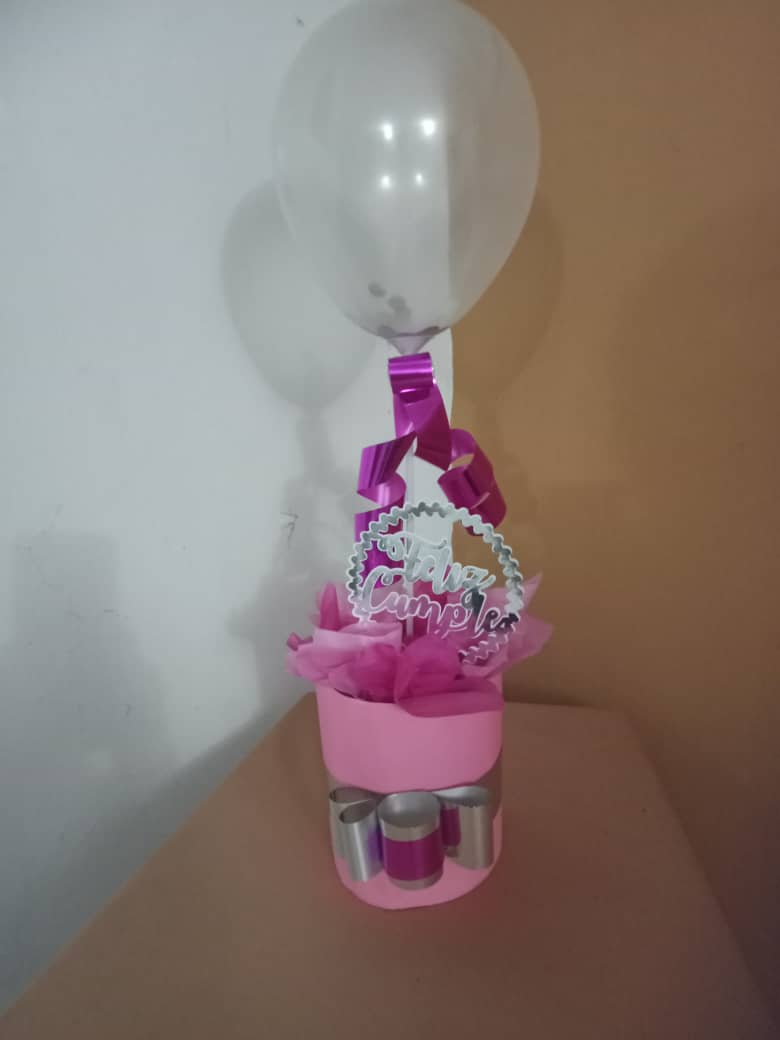
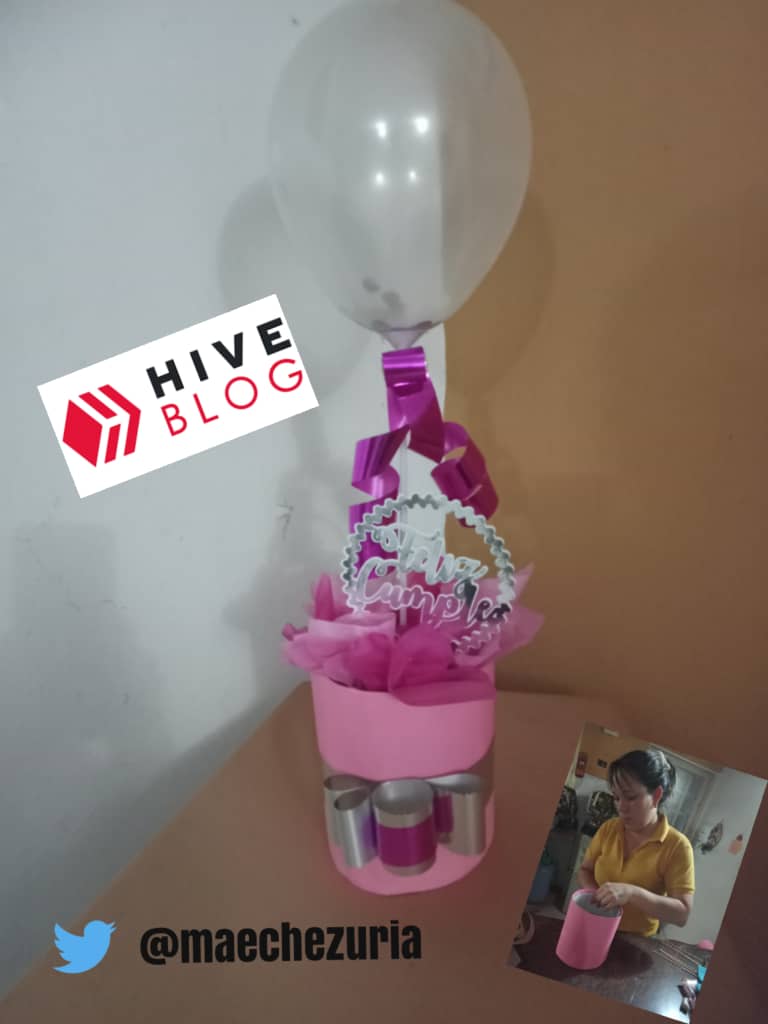
En el fondo le colocamos el amine que darán soporte al papel de seda y al globo, el cual Inflamos lo colocamos en la base y se ubica en todo el centro del cilindro y en la base le pegamos una cinta fucsia metalizada, el topper que es opcional lo ubicamos de un lado y así nos quedo nuestro arreglo final, esperando el gran día para entregar este lindo detalle a la futura cumpleañera.
At the bottom we place the amine that will support the tissue paper and the balloon, which we inflate, we place it in the base and it is located in the entire center of the cylinder and in the base we stick a metallic fuchsia ribbon, the topper that is Optional we place it on one side and so we have our final arrangement, waiting for the big day to deliver this beautiful detail to the future birthday girl.

PD: Las fotos son originales tomadas desde mi celular y editada en PicMonkey
PS: The photos are original taken from my cell phone and edited in PicMonkey
~~~ embed:1422106963094085635 twitter metadata:QWphaEtlbHZpbjR8fGh0dHBzOi8vdHdpdHRlci5jb20vQWphaEtlbHZpbjQvc3RhdHVzLzE0MjIxMDY5NjMwOTQwODU2MzV8 ~~~
The rewards earned on this comment will go directly to the person sharing the post on Twitter as long as they are registered with @poshtoken. Sign up at https://hiveposh.com.
Muy lindo arreglo 😉
gracias por tu delicado comentario.. Saludos
Muy lindo arreglo 😉