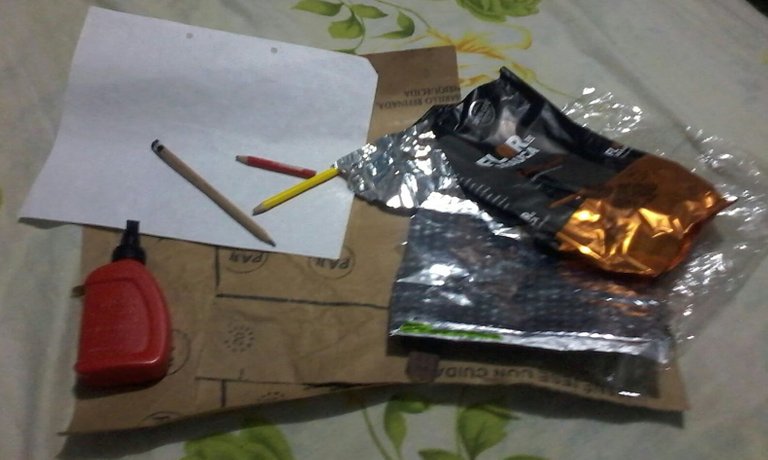
Hello again, friends of hive, I hope you are well, today I come to share with you how to make an easy gift bag that can be used to give a gift to a loved one or in my case as a souvenir (party favors) on my birthday. nephew. Like all the things that I have been sharing with you, these were made with useful material, among which we have a paper bag where the bread flour, transparent wrappers and coffee, cookies, pepitos and used leaves come; also colors, glue, scissors and everything you need to draw and color.
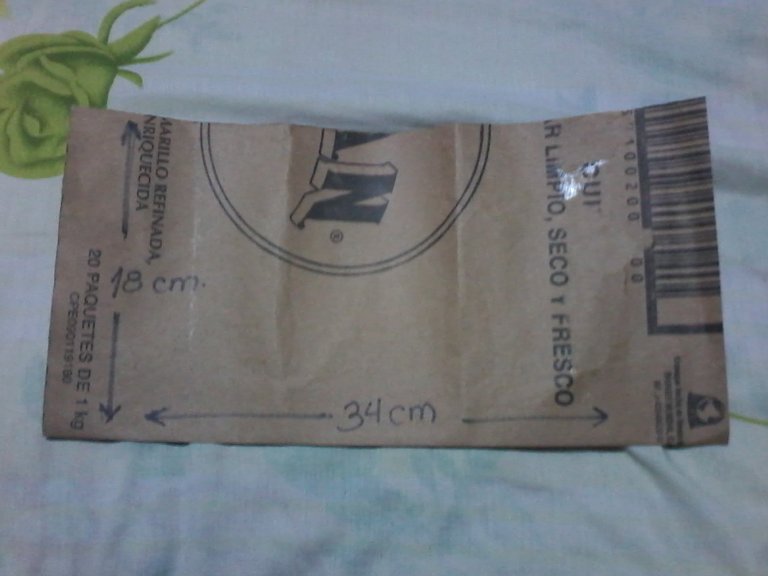
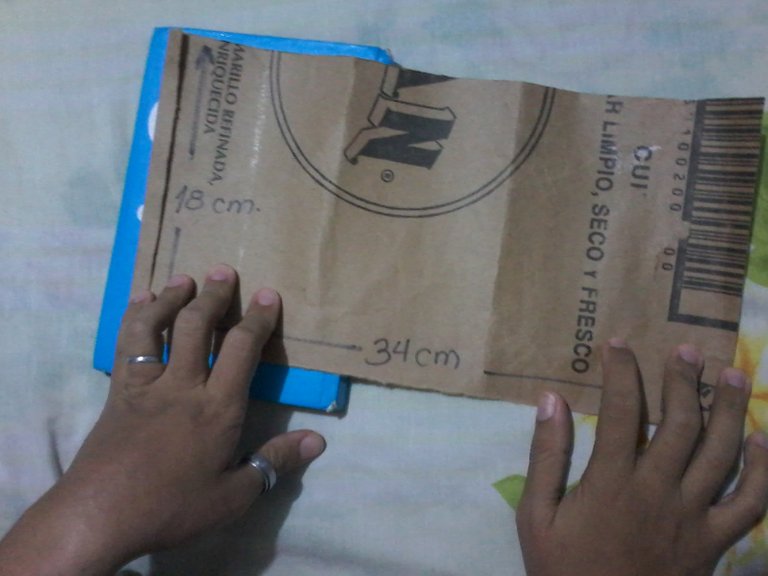
Paso 1: Cortar un rectángulo de 34 cm X 18 cm de la bolsa de papel
Step 1: Cut a 34cm X 18cm rectangle from the paper bag
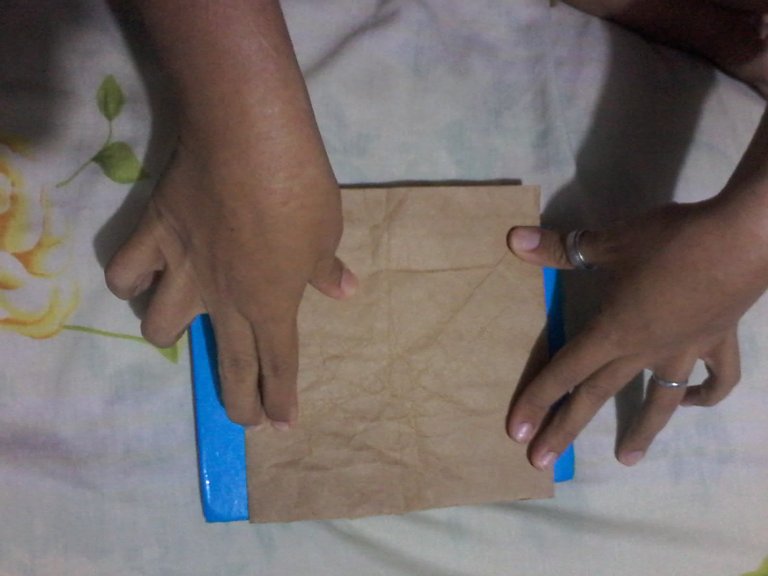
Paso 2: Doblar una pestaña de 1 cm y seguidamente pegamos el otro extremo del papel en esta y aplanándola obtendremos las marcas de dos bordes de los laterales
Step 2: Fold a 1 cm tab and then stick the other end of the paper on it and flatten it we will obtain the marks of two edges of the sides
Paso 3: A continuación medimos 6,5 cm a partir de cualquiera de los bordes que acabamos de marcar y volvemos a doblar para obtener los otros dos bordes de los laterales.
Step 3: Next we measure 6.5 cm from any of the edges that we have just marked and we fold again to obtain the two edges of the sides.

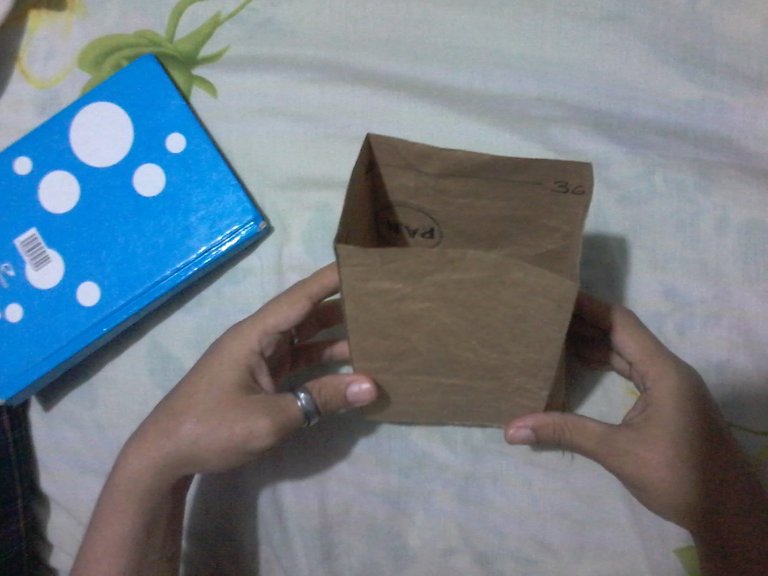
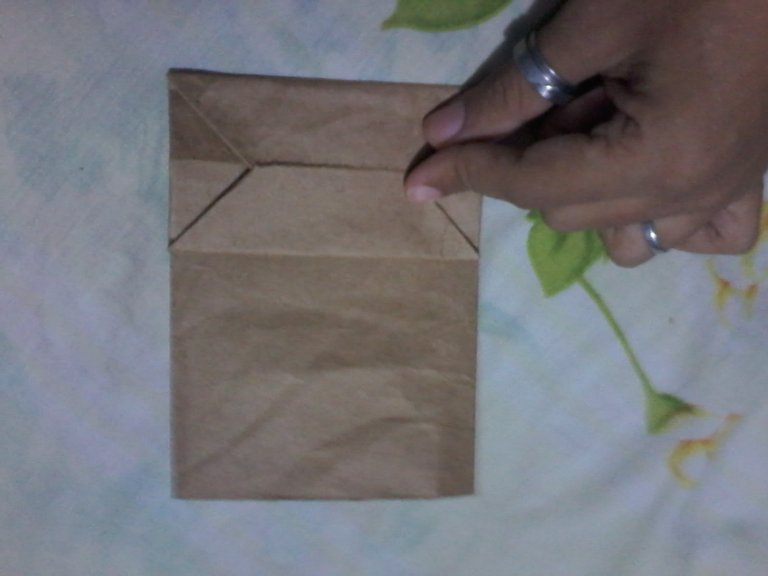
Paso 4: Con los 4 bordes marcados solo debemos juntarlos de dos en dos y doblar hacia el centro para formar los pliegues de los laterales.
Step 4: With the 4 edges marked, we just have to join them two by two and fold towards the center to form the folds on the sides.
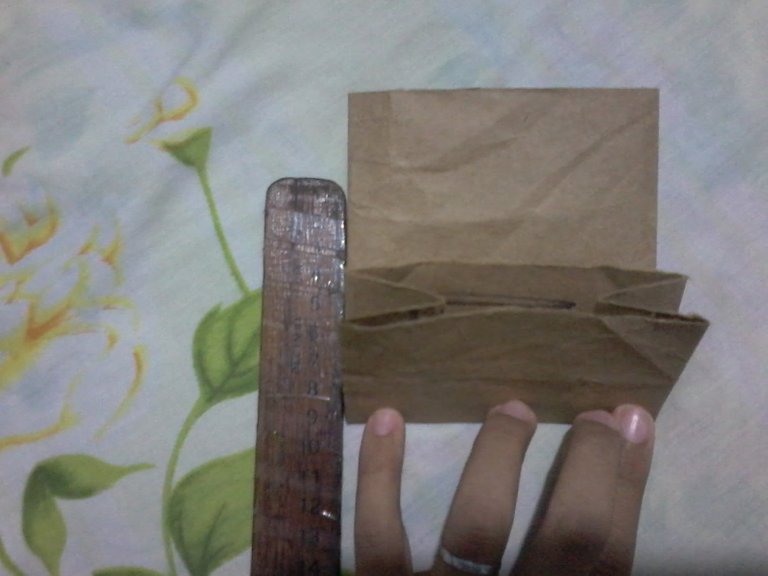
Paso 5: Una vez formados los pliegues de los laterales de la bolsa solo falta el fondo, para lo que debemos doblar la bolsa por uno de los extremos abiertos, a 6,5cm.
Step 5: Once the folds of the sides of the bag are formed, only the bottom is missing, for which we must fold the bag at one of the open ends, at 6.5cm.
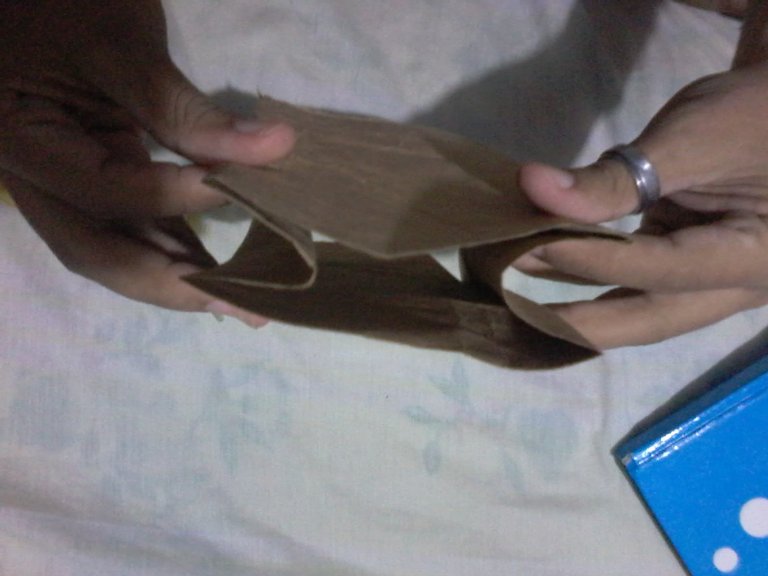
Paso 6: Luego abrimos el fondo para formar una especie de cuadro, esto lo conseguimos presionando la marca central de los laterales hacia afuera generando una especie de triángulos con estos en el fondo.
Step 6: Then we open the bottom to form a kind of box, this is achieved by pressing the central mark of the sides outwards, generating a kind of triangles with these in the background.
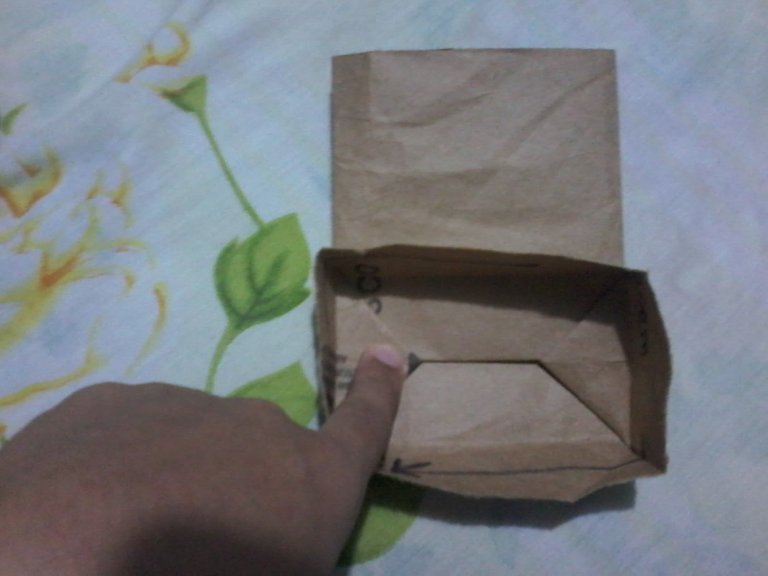
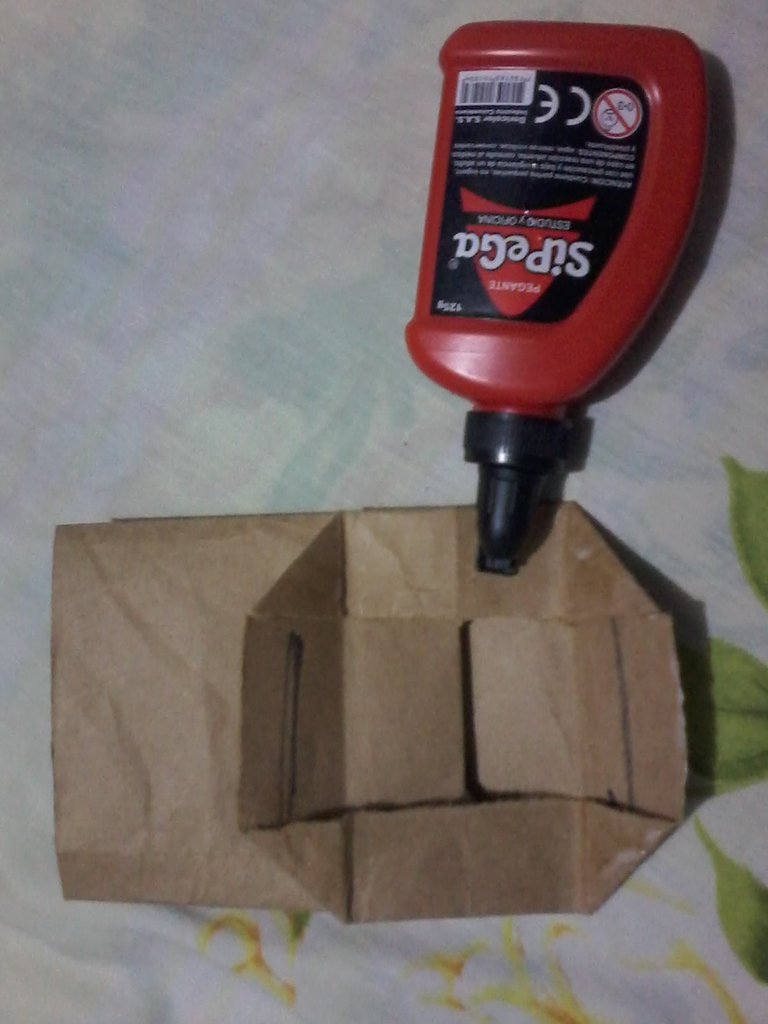
Paso 7: Después de realizar el paso anterior doblamos los extremos hacia adentro observando que formamos un hexágono. Doblamos la parte superior e inferior del hexágono hacia el centro para así pegar y cerrar el fondo de la bolsa.
Step 7: After performing the previous step, we fold the ends inward, observing that we form a hexagon. We fold the upper and lower part of the hexagon towards the center to glue and close the bottom of the bag.
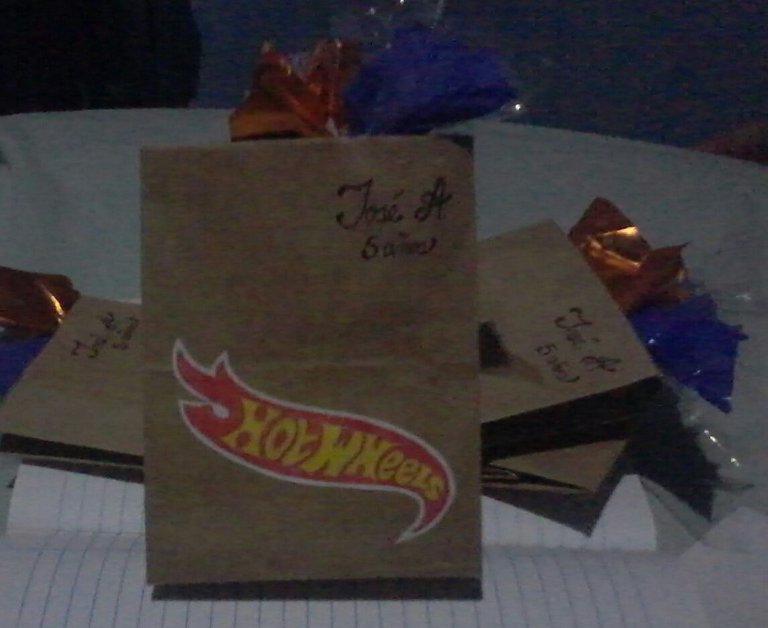
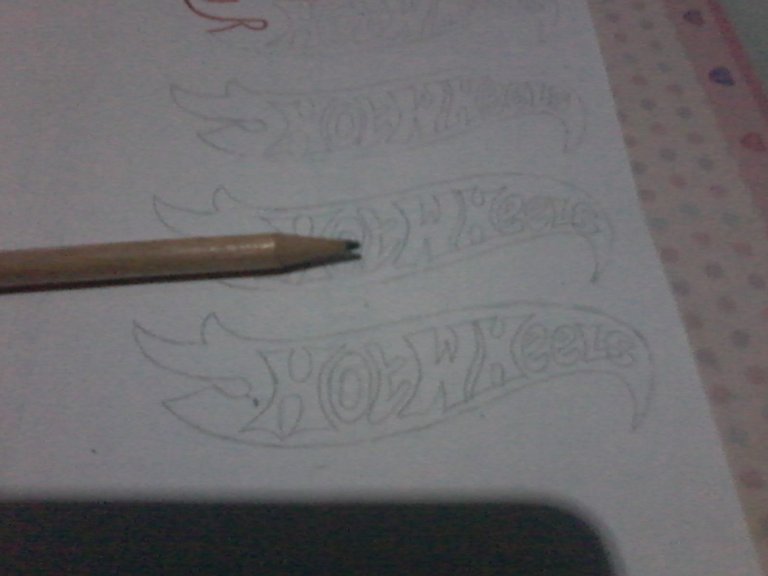
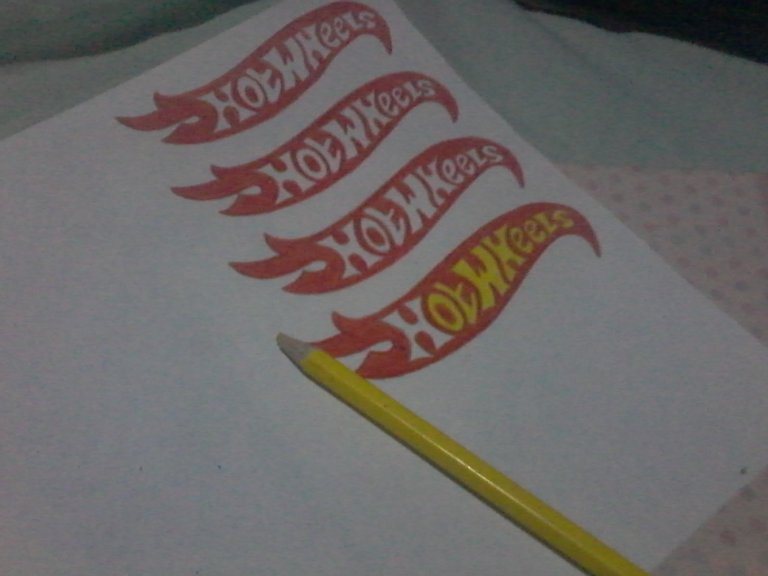
Una vez terminada nuestra bolsa podemos decorarla a nuestra preferencia, en mi caso utilice los envoltorios transparentes, de café y de galletas para la parte superior y coloqué unos dibujos con el logo de Hot Wheels obteniendo este hermoso resultado y de forma económica.
Once our bag is finished we can decorate it to our preference, in my case I used the transparent wrappers, coffee and cookies for the upper part and I placed some drawings with the Hot Wheels logo obtaining this beautiful result and economically.

Espero les haya gustado, hasta una próxima oportunidad y gracias por leerme...!!!!
I hope you liked it, until the next opportunity and thanks for reading ... !!!!
Todas las traducciones fueron realizadas con google translate
All translations were done with google translate
Congratulations @mayerbdv! You have completed the following achievement on the Hive blockchain and have been rewarded with new badge(s) :
Your next target is to reach 200 upvotes.
You can view your badges on your board and compare yourself to others in the Ranking
If you no longer want to receive notifications, reply to this comment with the word
STOPYour post has been curated by us! Received 20.00% upvote from @opb. Do consider delegate to us to help support our project.
Do join our discord channel to give us feedback, https://discord.gg/bwb2ENt
* This bot is upvoting based on the criteria : 1. Not plagiarised, 2. Persistent previous quality posts, 3. Active engagement with other usersDo upvote this commment if you 💚 our service :)