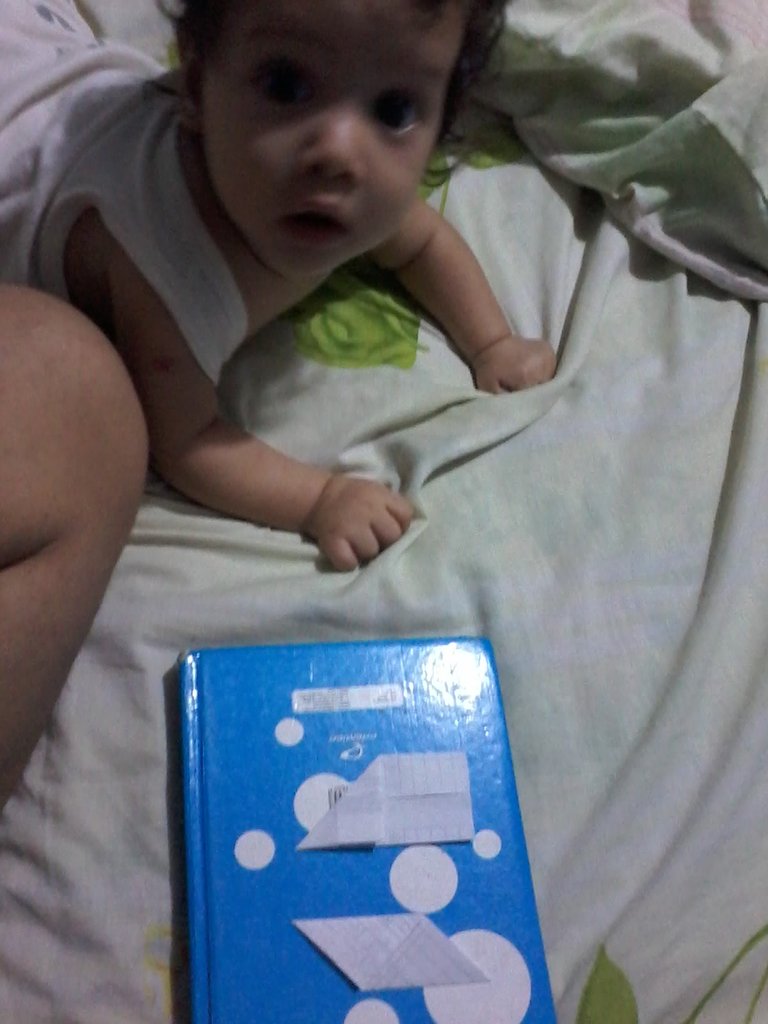
Hola amigos una vez más espero estén bien. Hoy quiero compartir con ustedes algo que realice hace dos días en una de mis tantas noches de desvelo ya que mi pequeño bebe no tenía ganas de dormir, de hecho estaba feliz de sabotear a mama. Es un poco del arte del origami, son unas prácticas y versátiles fichas que nos permiten crear diversas figuras en 3d.
Hello friends once again I hope you are well. Today I want to share with you something that he did two days ago in one of my sleepless nights since my little baby didn't feel like sleeping, in fact he was happy to sabotage mom. It is a bit of the art of origami, they are practical and versatile tiles that allow us to create various figures in 3d.

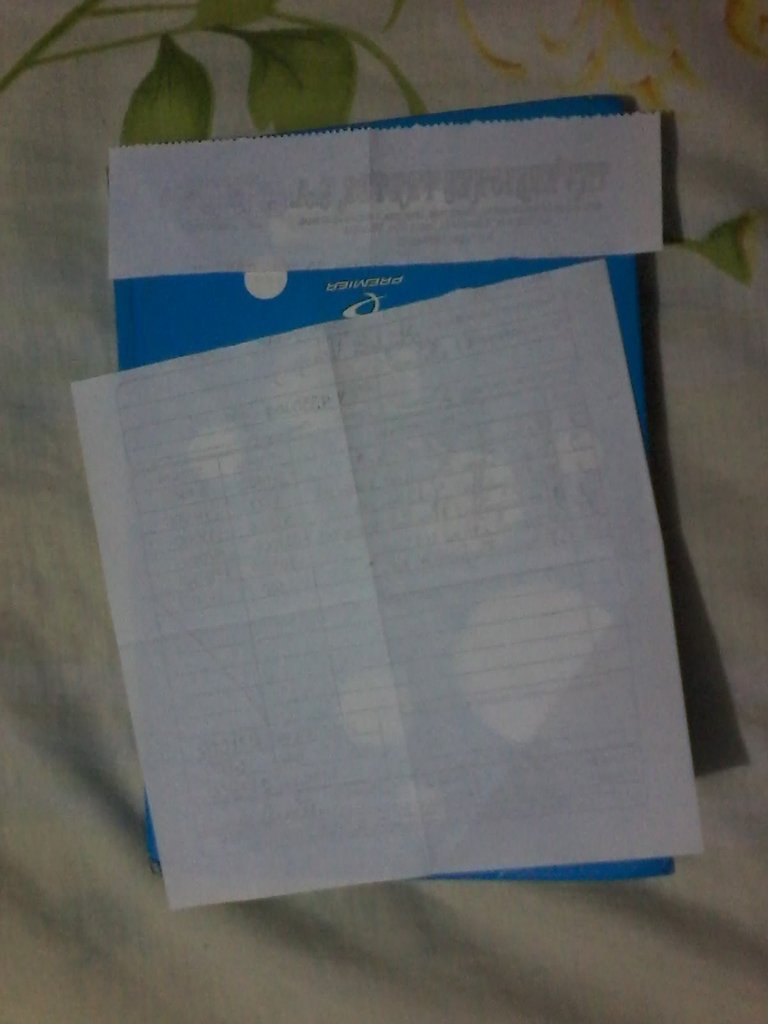
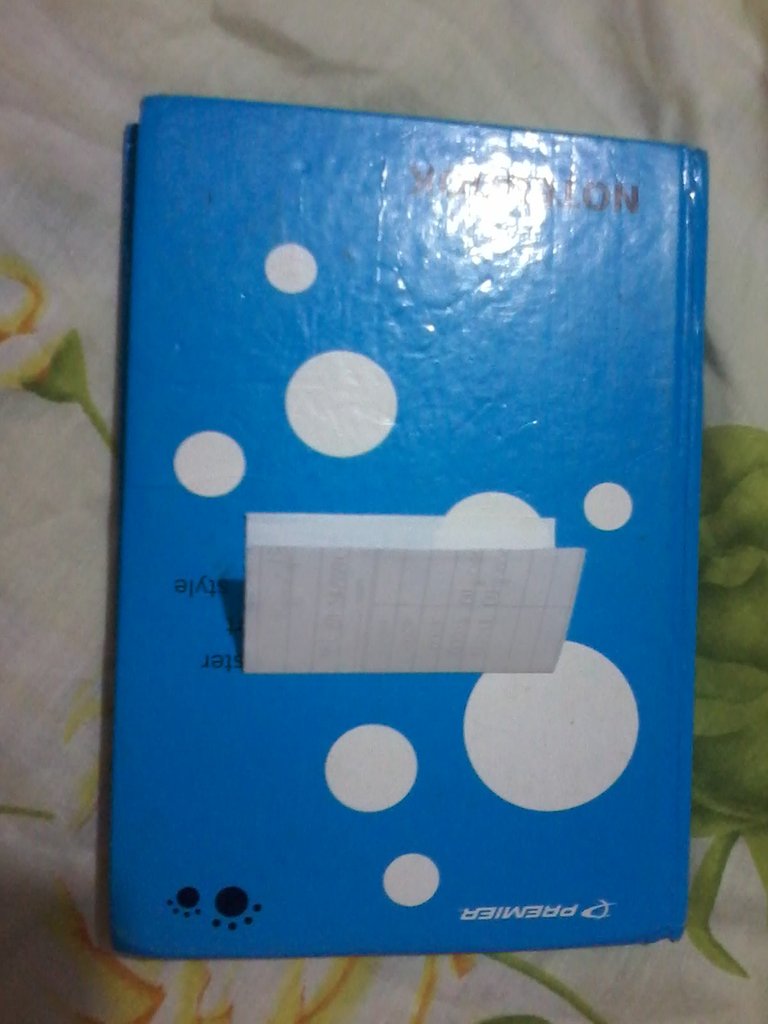
Los materiales y herramientas que utilice son: Hojas ya usadas, lápiz, regla y tijera.
The materials and tools you use are: used sheets, pencil, ruler and scissors.
Paso 1: Medir y marcar cuadros de 6cm X 6cm en las hojas y recortar.
Step 1: Measure and mark 6cm X 6cm squares on the sheets and cut out.
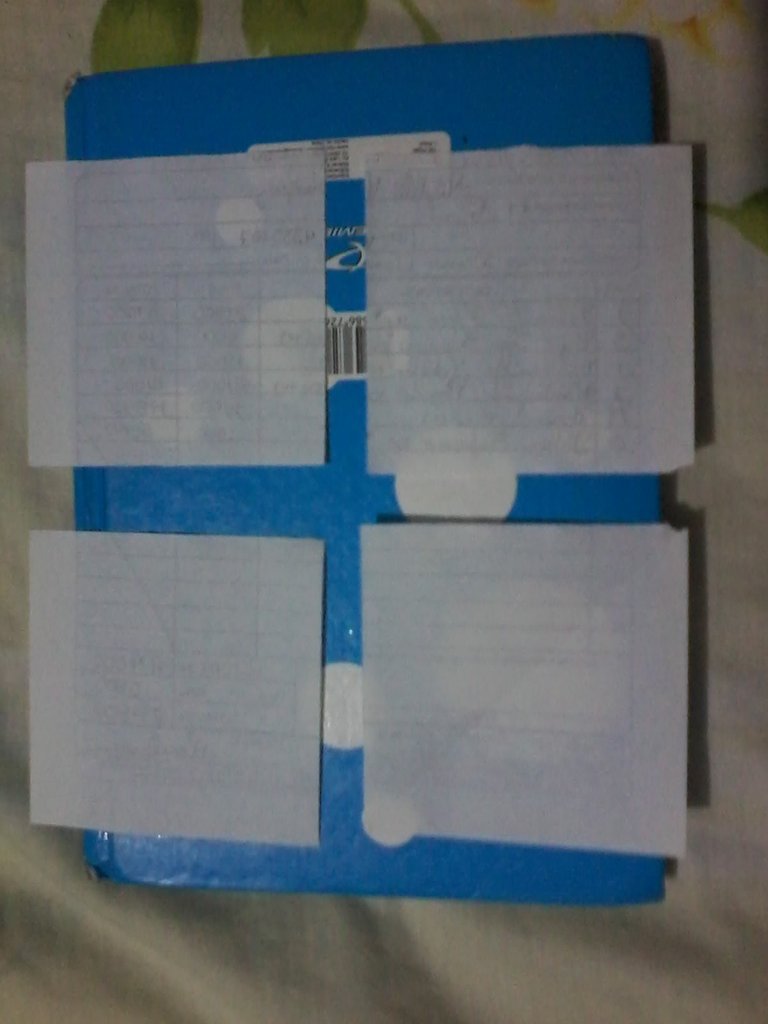
Paso 2: Una vez tengamos nuestros cuadrados de papel, procedemos a doblar por la mitad para marcar el centro y empezar a formar la pieza.
Step 2: Once we have our squares of paper, we proceed to fold
in half to mark the center and begin to form the piece.
Paso 3: Desdoblamos y llevamos ambos extremos al centro del cuadro el cual marcamos en el paso anterior, obteniendo un rectángulo.
Step 3: Unfold and bring both ends to the center of the square which we marked in the previous step, obtaining a rectangle.
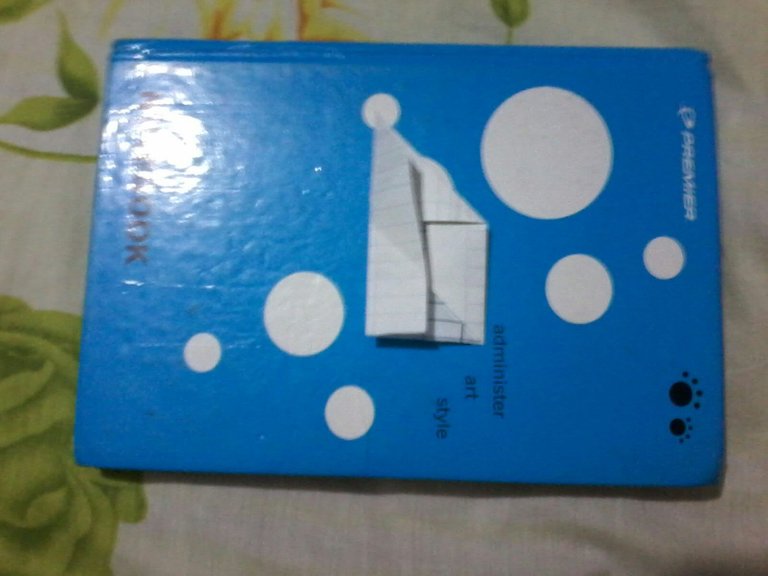
Paso 4: Ya tenemos las marcas para los siguientes dobleces así que abrimos nuevamente el papel y colocando las marcas de forma vertical, doblamos la esquina superior izquierda y la inferior derechas hasta las marcas más próximas obteniendo 2 triángulos pequeños.
Step 4: We already have the marks for the following folds so we open the paper again and placing the marks vertically, we fold the upper left corner and the lower right corner to the nearest marks obtaining 2 small triangles.
Paso 5: Después de tener ambos triángulos volvemos a doblar hacia el centro para luego así doblar la esquina superior derecha e inferior izquierda hasta el borde contrario obteniendo triángulos más grandes.
Step 5: After having both triangles we fold again towards the center and then fold the upper right and lower left corner to the opposite edge, obtaining larger triangles.
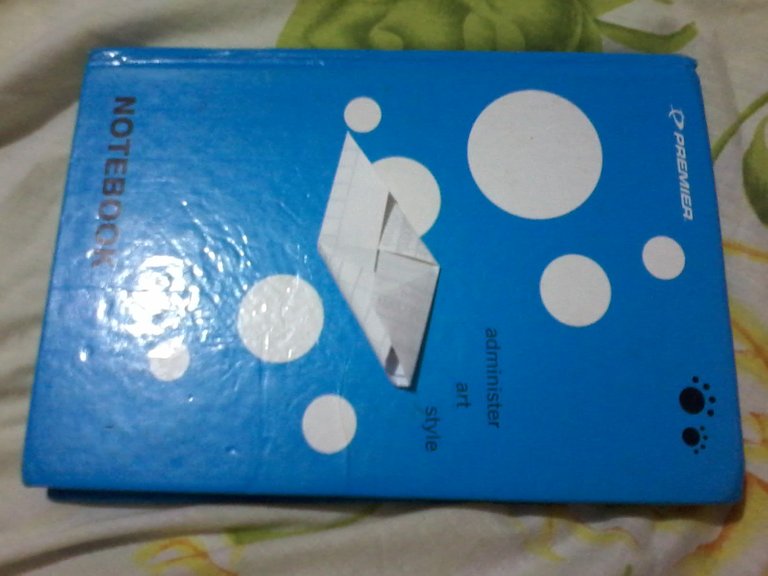
Paso 6: Desdoblamos los triángulos grandes para levantar la pestaña izquierda y debajo colocar el triángulo grande derecho.
Step 6: Unfold the large triangles to lift the left tab and place the large right triangle underneath.
Paso 7: Por ultimo levantamos un poco la pestaña del lado derecho sin dejar que se desarme lo que ya hemos hecho y coloca debajo la punta inferior derecha para así completar nuestra ficha.
Step 7: Finally, we lift the tab on the right side a little without letting what we have already done fall apart and place the lower right point underneath to complete our file.
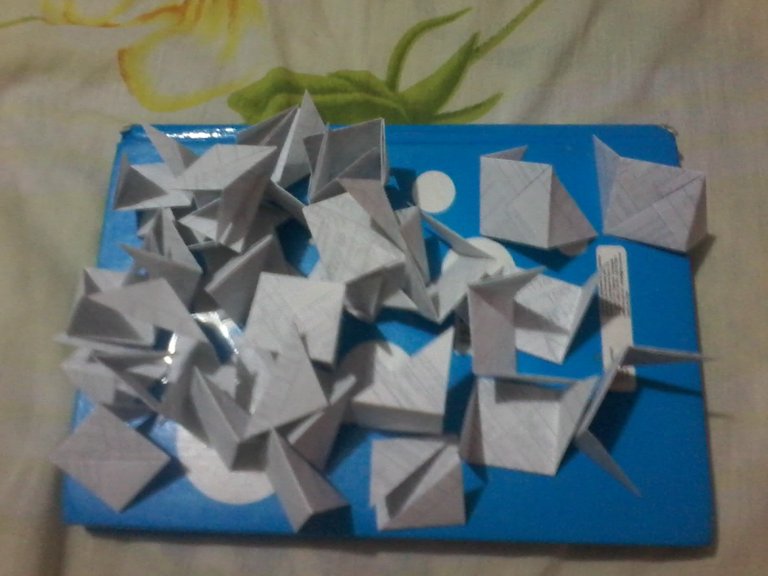
Sé que parece complicado pero la verdad una vez que haces la primera, es muy sencillo, lo mejor es que estas piezas son muy versátiles, te permiten construir cualquier tipo de forma siempre y cuando partan de ángulos de 90 grados.
I know it seems complicated but the truth is once you do the first one, it is very simple, the best thing is that these pieces are very versatile, they allow you to build any type of shape as long as they start from 90 degree angles.
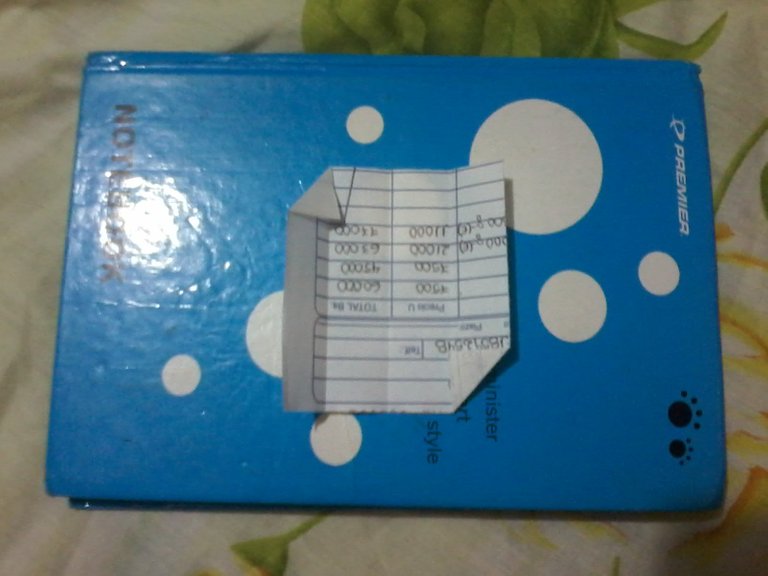
A continuación les mostrare la forma más básica de usarlas realizando un cubo, si nos damos cuenta la ficha consta de un centro cuadrado en este caso de 3cm x 3 cm, donde quedaron especies de pliegues que junto a los dos picos nos permitirán encajarlas una a otra, además de darle los giros que deseemos a nuestras figuras.
Next I will show you the most basic way to use them by making a cube, if we realize the card consists of a square center in this case of 3cm x 3 cm, where there were species of folds that together with the two peaks will allow us to fit them one by another, in addition to giving the twists we want to our figures.
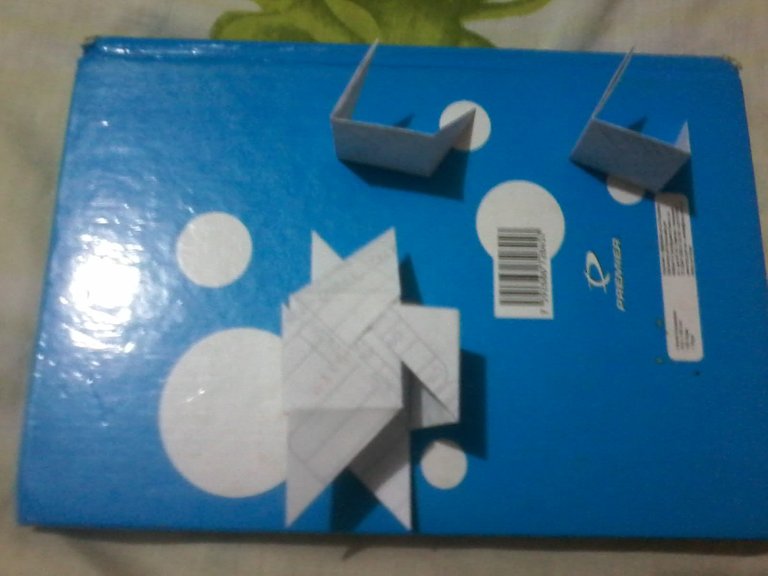
Paso 1: Debemos encajar 4 fichas de forma lineal para hacer el contorno del cubo. Yo doble previamente todos los picos hacia adentro debido a la figura que voy a realizar.
Step 1: We must fit 4 tiles in a linear way to make the outline of the cube. I previously bend all the peaks inwards due to the figure that I am going to make.
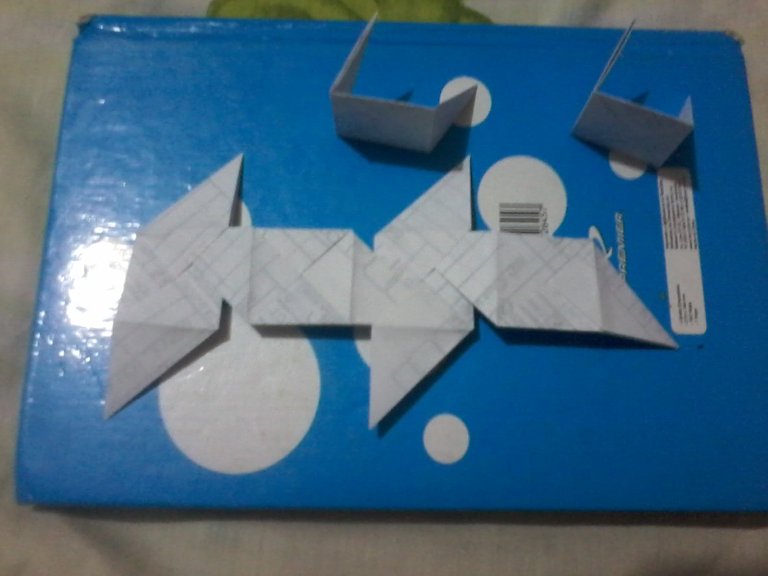
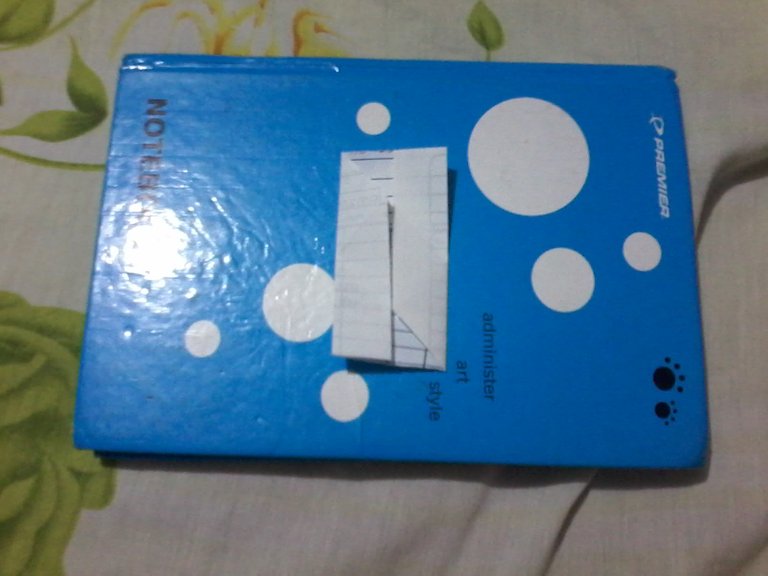
Paso 2: El pico que nos queda en el extremo derecho lo vamos a encajar en la ficha del extremo izquierdo y ya tendríamos el contorno.
Step 2: We are going to fit the peak that we have on the far right into the tab on the far left and we would have the outline.
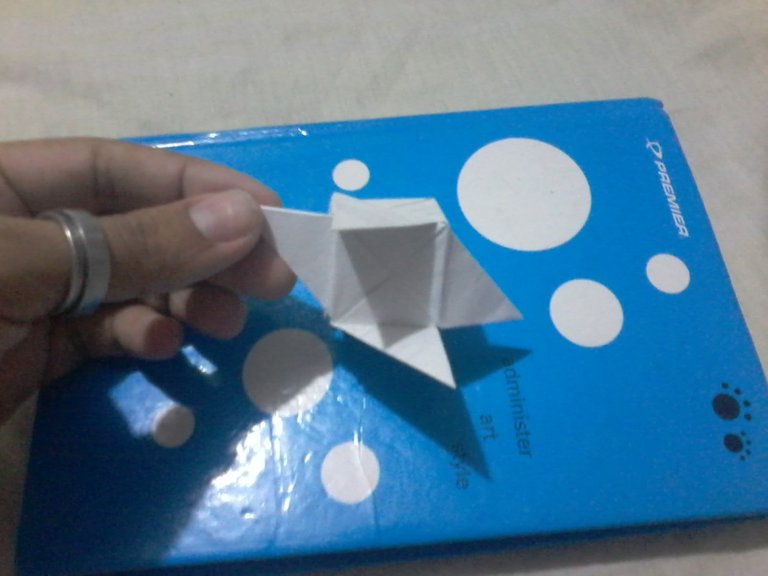
Paso 3: Para el fondo del cubo contamos con dos picos que salen del contorno que deben encajar en la nueva ficha, y dos picos de esta que deben encajar en el contorno. Yo recomiendo encajar primero los dos picos del contorno del cubo a la nueva ficha.
Step 3: For the bottom of the cube we have two peaks that come out of the contour that must fit into the new tab, and two peaks of this that must fit into the contour. I recommend fitting the two peaks of the cube outline to the new tab first.
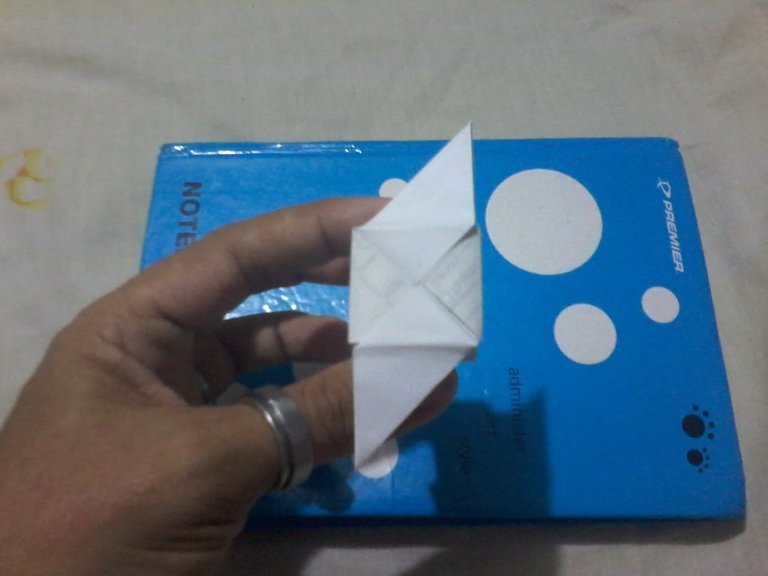
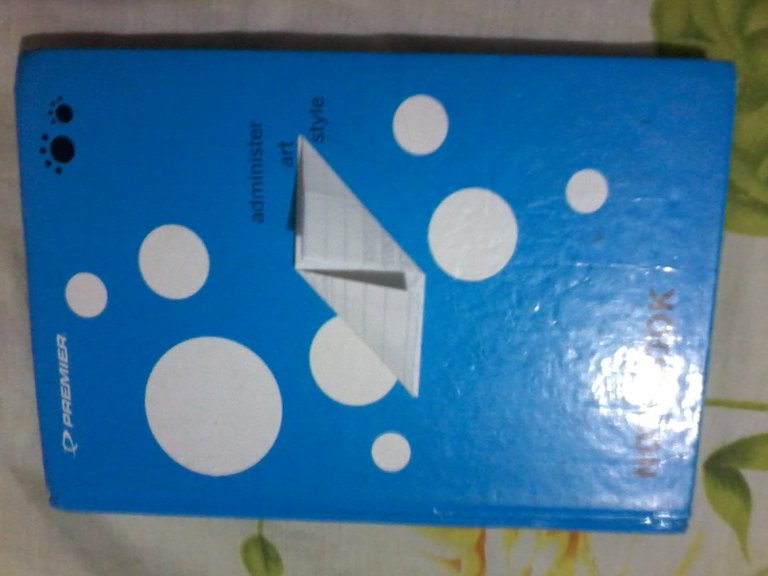
Paso 4: La parte superior del cubo se encaja de la misma forma que el fondo por lo que procedemos a repetir el paso anterior.
Step 4: The upper part of the cube fits in the same way as the bottom, so we proceed to repeat the previous step.
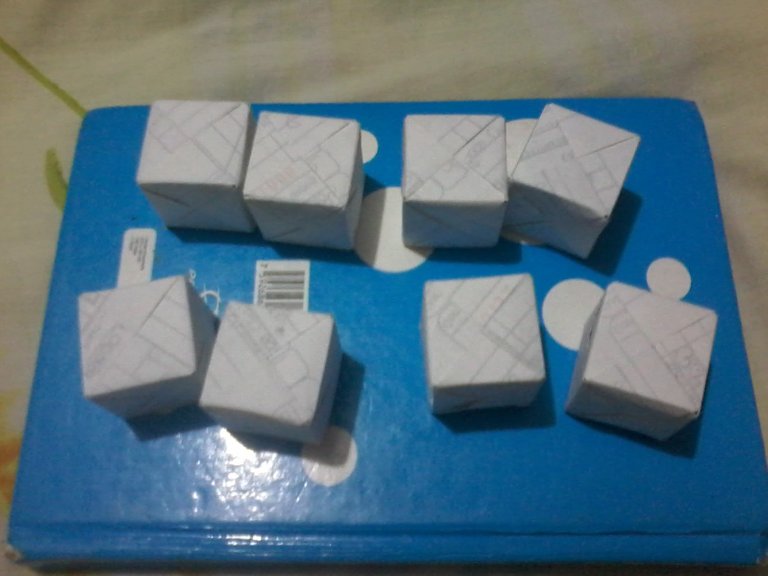
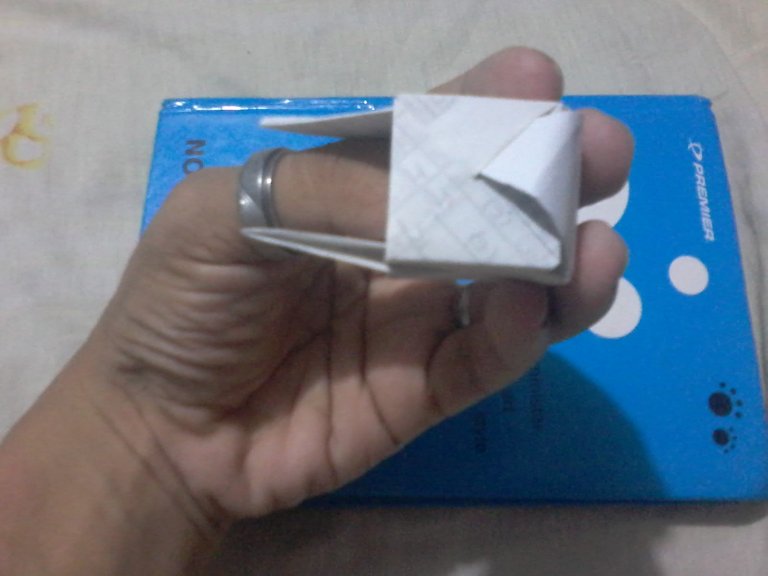
Listo ya tenemos nuestro cubo el cual nos puede servir de dado o como base para cualquier otro tipo de manualidad.
Ready we have our cube which can serve as a dice or as a basis for any other type of craft.
Espero les haya gustado y que así como yo he podido aprovechar al máximo estas fichas ustedes también puedan hacerlo. Hasta una nueva oportunidad amigos y gracias por leerme, se les quiere....!!!
I hope you liked it and that just as I have been able to make the most of these files, you can also do it. Until a new opportunity friends and thanks for reading me, you are loved .... !!!
Todas las traducciones fueron realizadas con google translate.
All translations were done with google translate.
Congratulations @mayerbdv! You have completed the following achievement on the Hive blockchain and have been rewarded with new badge(s) :
Your next target is to reach 50 replies.
You can view your badges on your board and compare yourself to others in the Ranking
If you no longer want to receive notifications, reply to this comment with the word
STOP