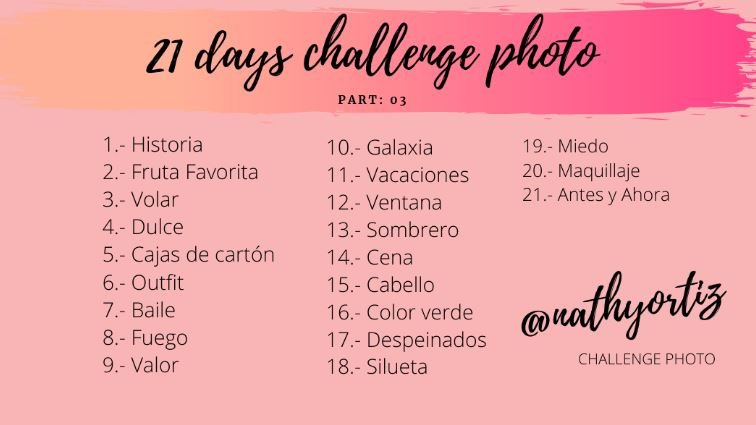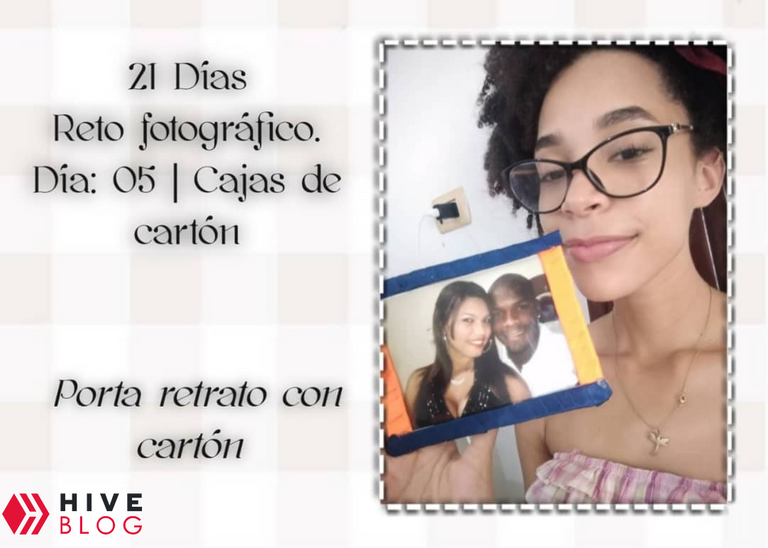
Buenas buenas, hivers, espero estén bien. Seguimos con el reto fotográfico de 21 días de @nathyortiz y el día de hoy toca: cajas de cartón.
Quiere decir cualquier cosa que sea cartón puede ir aquí, por lo tanto decidí hace un porta retrato sólo con cartón que tenía en casa y otra Materiales que disponía, espero sea de su agrado.
I mean anything that is cardboard can go here, so I decided to make a portrait holder only with cardboard that I had at home and other materials that I had, I hope you like it.Good morning, hivers, I hope you are well. We continue with the photo challenge of 21 days of @nathyortiz and today touches: cardboard boxes.

 ´
´
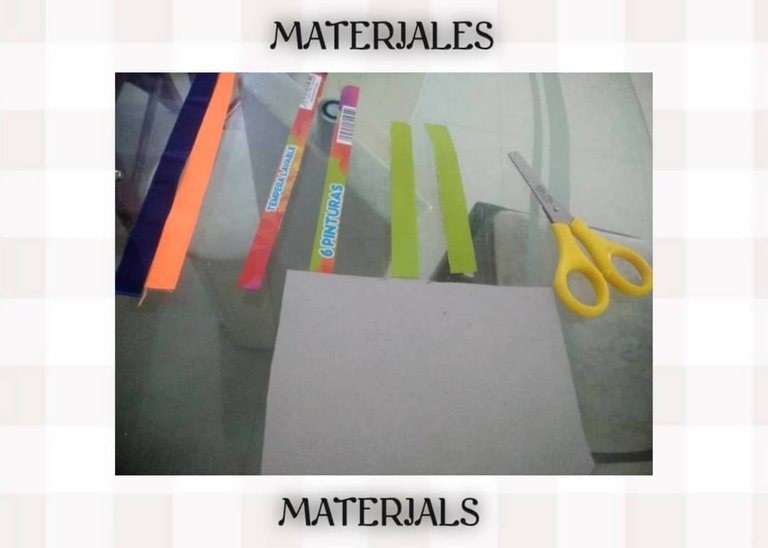
Materiales:
❥┊ 4 tiras de cartón, dos del tamaño de el ancho de su foto y dos de el largo de su foto.
❥┊ Un cuadro de cartón del tamaño de su foto pero que tenga 1 centímetro más en todos los bordes.
❥┊ Cinta rasso naranja y azul.
❥┊Silicon
❥┊Tijeras.
Materials:
❥┊4 strips of cardboard, two the size of the width of your photo and two the length of your photo.
❥┊ A cardboard square the size of your photo but have 1 centimeter more on all edges.
❥┊ Orange and blue rasso tape.
❥┊Silicon.
❥┊Scissors.

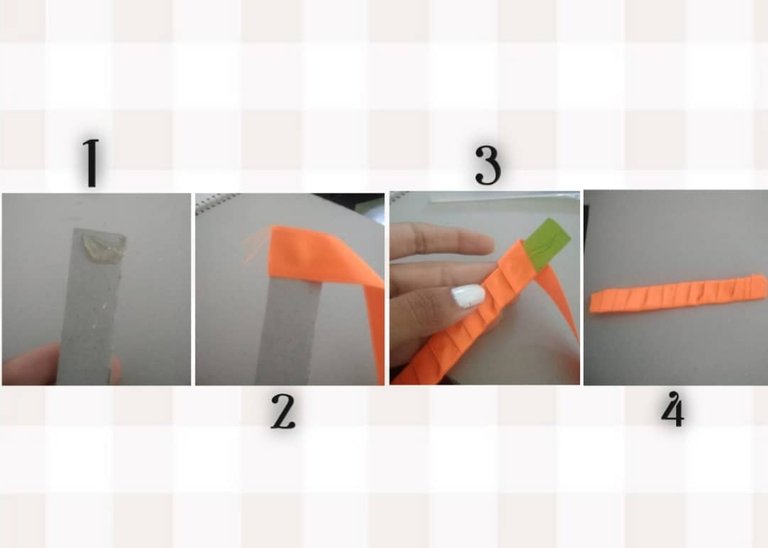

Para empezar, con la cinta color naranja y el silicon, forre las tiras de cartón que van a los lados de el porta retrato.
Siguiente a esto, hice lo mismo con las tiras que van en la parte superior e inferior del porta retrato pero con cinta azul.
To start, with the orange colored tape and silicone, I lined the cardboard strips that go on the sides of the portrait holder.
Next, I did the same with the strips that go on the top and bottom of the portrait holder but with blue tape.

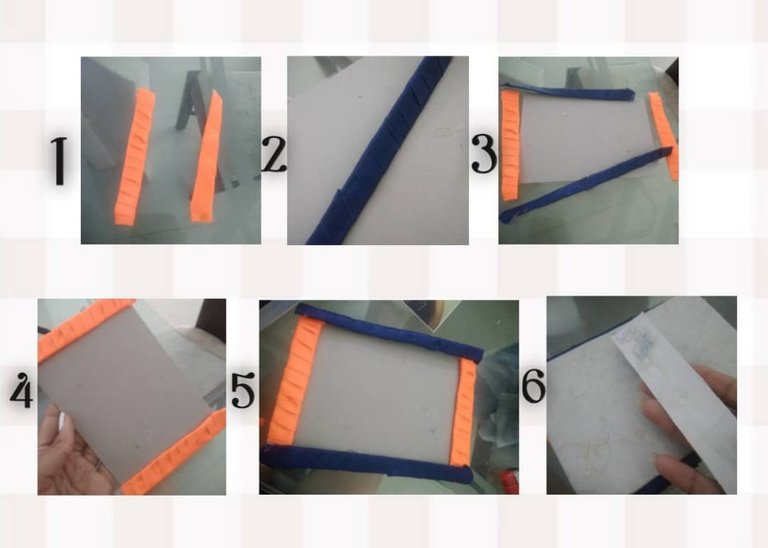

Después sólo use un poco de silicona en cada esquina del cuadrado que tenía ya posteriormente listo y sería la base donde pondría la foto. Ojo, sólo debe ser en la esquina pues debemos dejar un espacio para meter la foto.
Then I just used a little silicone on each corner of the square that I had ready and that would be the base where I would put the photo. Be careful, it should only be in the corner because we must leave a space to put the photo.


Pegué todo muy bien y listo eso es todo. Es super fácil y sencillo de realizar, se puede hacer con más cosas pero lo hice con lo que tenía a la mano.
Muchas gracias por leer, ¡hasta pronto!
I glued everything very well and that's all. It is super easy and simple to make, it can be done with more things but I did it with what I had on hand. Thank you very much for reading, see you soon.

Imagen de cortesía de @nathyortiz

Todas las imágenes son de mi autoría.
Editor → PicsArt
Traductor → Deepl.com

