Hey guys!
Since we recently moved to our own place, we had to face a series of duties we previously took for granted. Keeping a house is a lot of work and we’ve been raised with high cleaning standards, so we had to learn it all. In today’s article I’d like to share a few very basic tips for ironing, I’ll show you how I learned to iron t-shirts, shirts and shorts without burning the house to the ground. Let’s get started!
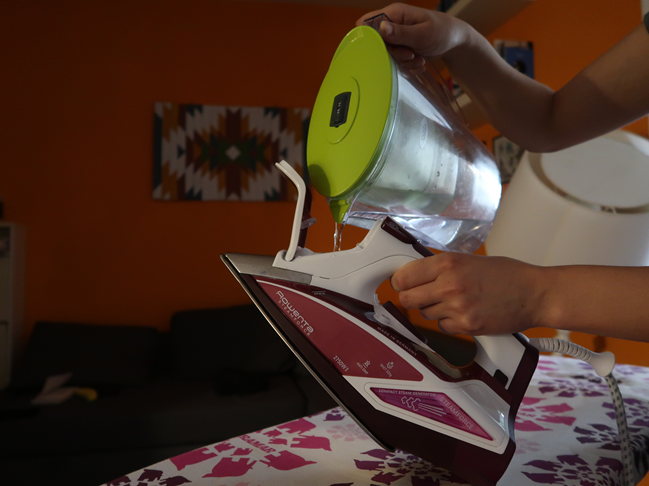
About the iron: every iron is different, so you’d better just follow the instruction of your own. The only key factor they all have in common is that they make steam, so be sure there’s always water inside. Mine has a hole on top for water refills.
Without further delay, let’s start!
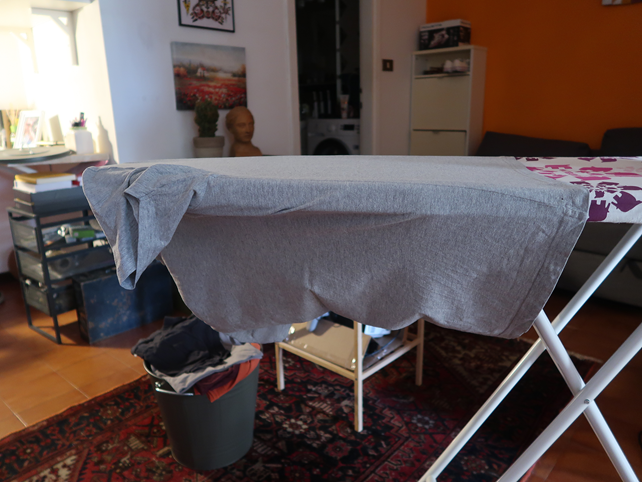
First up are t-shirts.
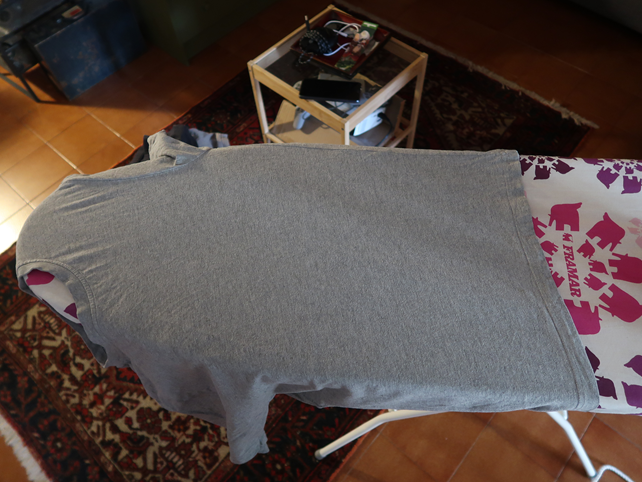
I put them around the ironing board and take advantage of its shape to smooth every wrinkle.
I start with a side and smooth it around the board, especially in the collar and sleeve area.
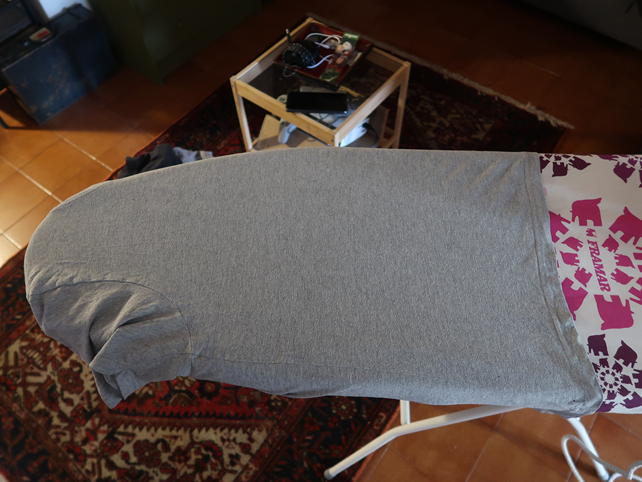
After ironing it I move to the other side, using the same method. Be sure everything is perfectly smoothed before you use the iron, otherwise you’ll just iron the wrinkles in place.
Now just flip it and iron the back using the same technique. Finally smooth the sleeves and iron them.

One last tip: if the t-shirt you’re dealing with has a print on it, iron it inside out, so you won’t ruin the design. You can now fold it, and be sure to do it carefully so you don’t undo what you’ve just accomplished!
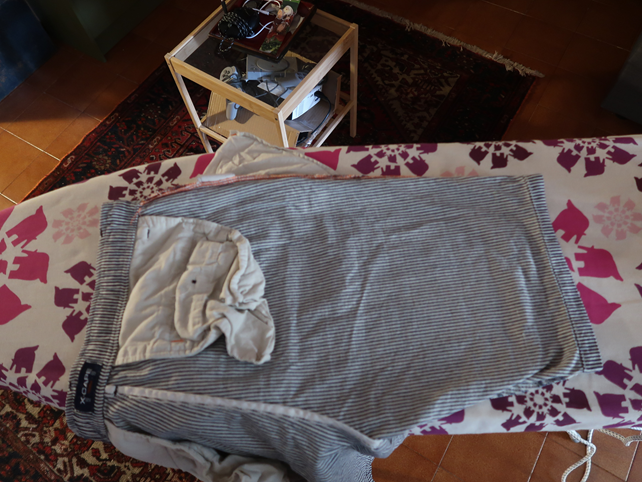
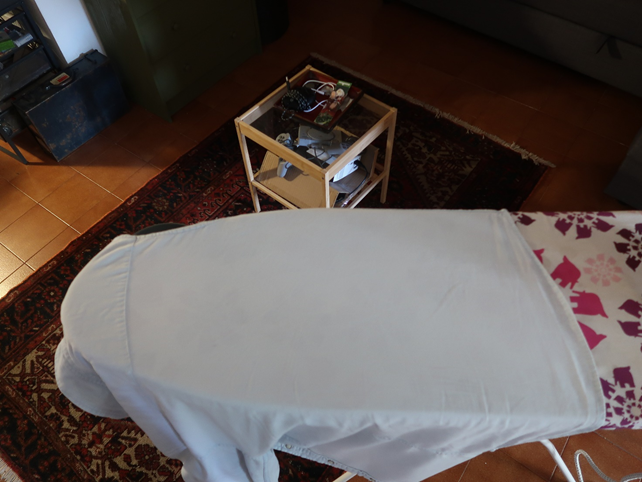
Let’s now move to shorts.
I’ve decided to pick shorts instead of pants since summer is getting closer and I know we all like a little tan. I’ll deal with men shorts (they’re my boyfriend’s) rather than woman’s, cause they can be a real pain in the neck sometimes.
First of all turn them inside out, you’ll see the pockets are all crumpled and if you try and iron on top of it you won’t get the result you wish for. Let’s start from the back.
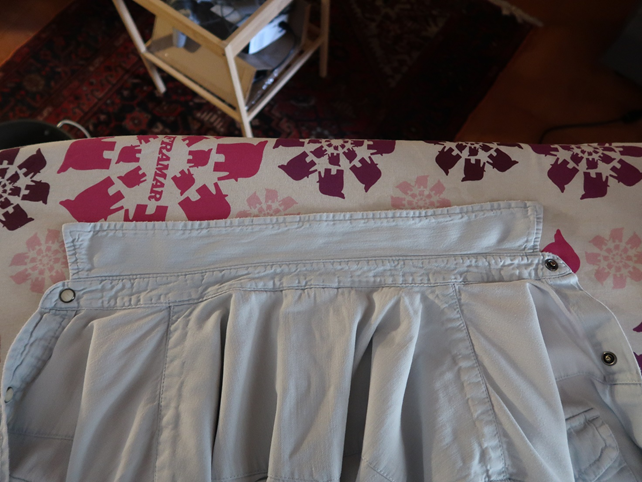
Jesus, it looks like a dried plum. Look how big they are! I want pockets that big for girls too! Ok, back to business. Before starting to iron, be sure to get the front pocket – and all its wrinkles – out of the way. Smooth and iron the pocket first and then the leg of the pants.
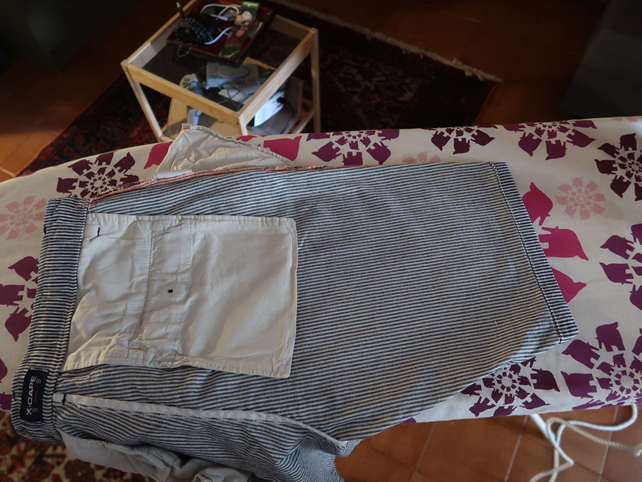
Now flip it and do the same with the front (no need to move anything aside this time, since the back pocket will be perfectly smooth by now).
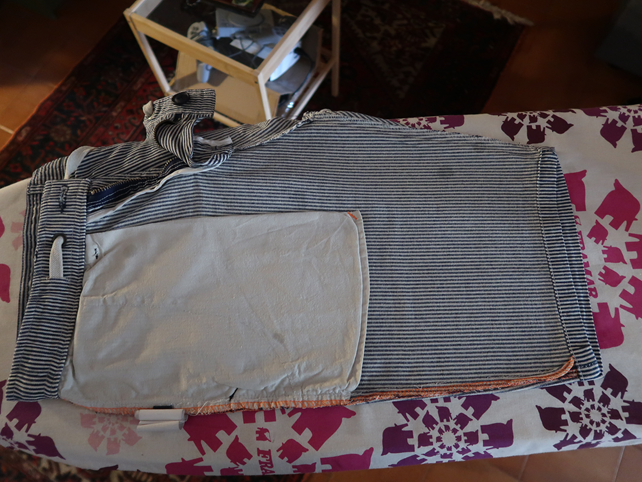
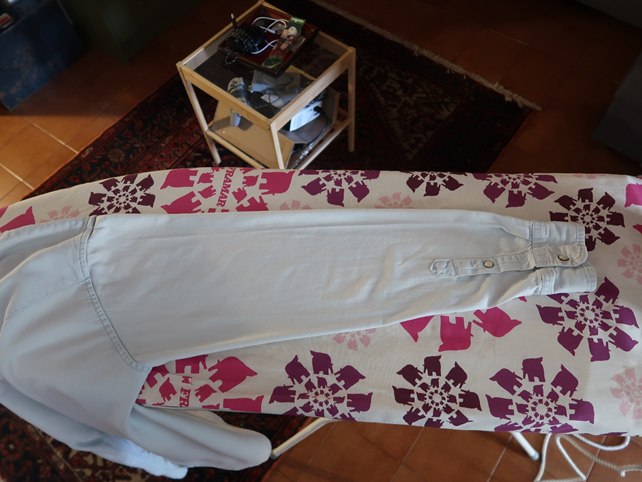
Repeat on the other leg and fold.
Up to this moment we have been dealing with pretty bad guys, so we’re now ready for the final boss:
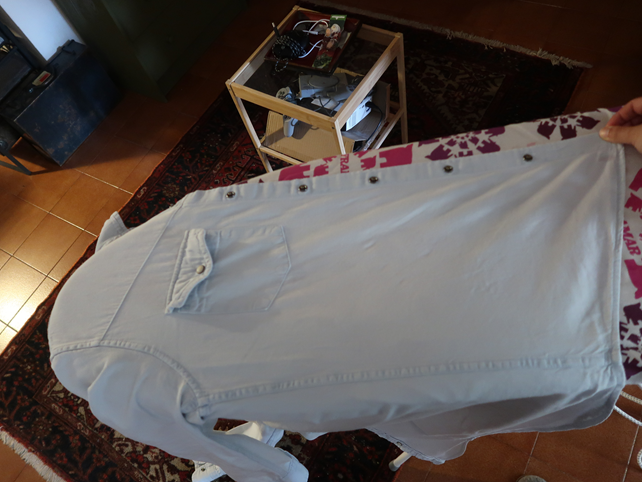
Shirts.
Shirts are the longest and most obnoxious, but no one likes a crumpled shirt, so we’ll have to do it.
We’ll start again from one of the sides, like we did with t-shirts. We place it around the board and fit it around it. Be sure to hold it in place while ironing, in order to keep it nice and smooth. (Also don’t forget to iron between buttons! Just move back and forth with the tip of the iron).
When both sides are ironed, we can move to the back. We treat it pretty much like a t-shirt, we fit it around the board, first on one side and then on the other, in order to get every centimeter of it.
Don’t forget the collar .
Finally the sleeves. Be sure it’s all perfectly smoothed (sometimes it looks smooth on the surface and you too-late find out the other layer was all crumpled).
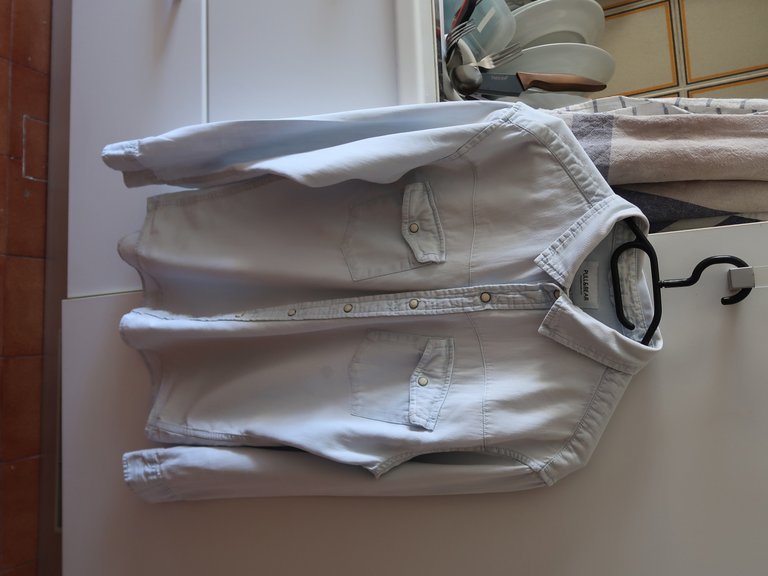
You are now ready to hang it (better not to fold it or it will get back its wrinkles in a few seconds).
Congratulations @mrcoolguides! You have completed the following achievement on the Hive blockchain and have been rewarded with new badge(s) :
You can view your badges on your board And compare to others on the Ranking
If you no longer want to receive notifications, reply to this comment with the word
STOPDo not miss the last post from @hivebuzz:
Support the HiveBuzz project. Vote for our proposal!