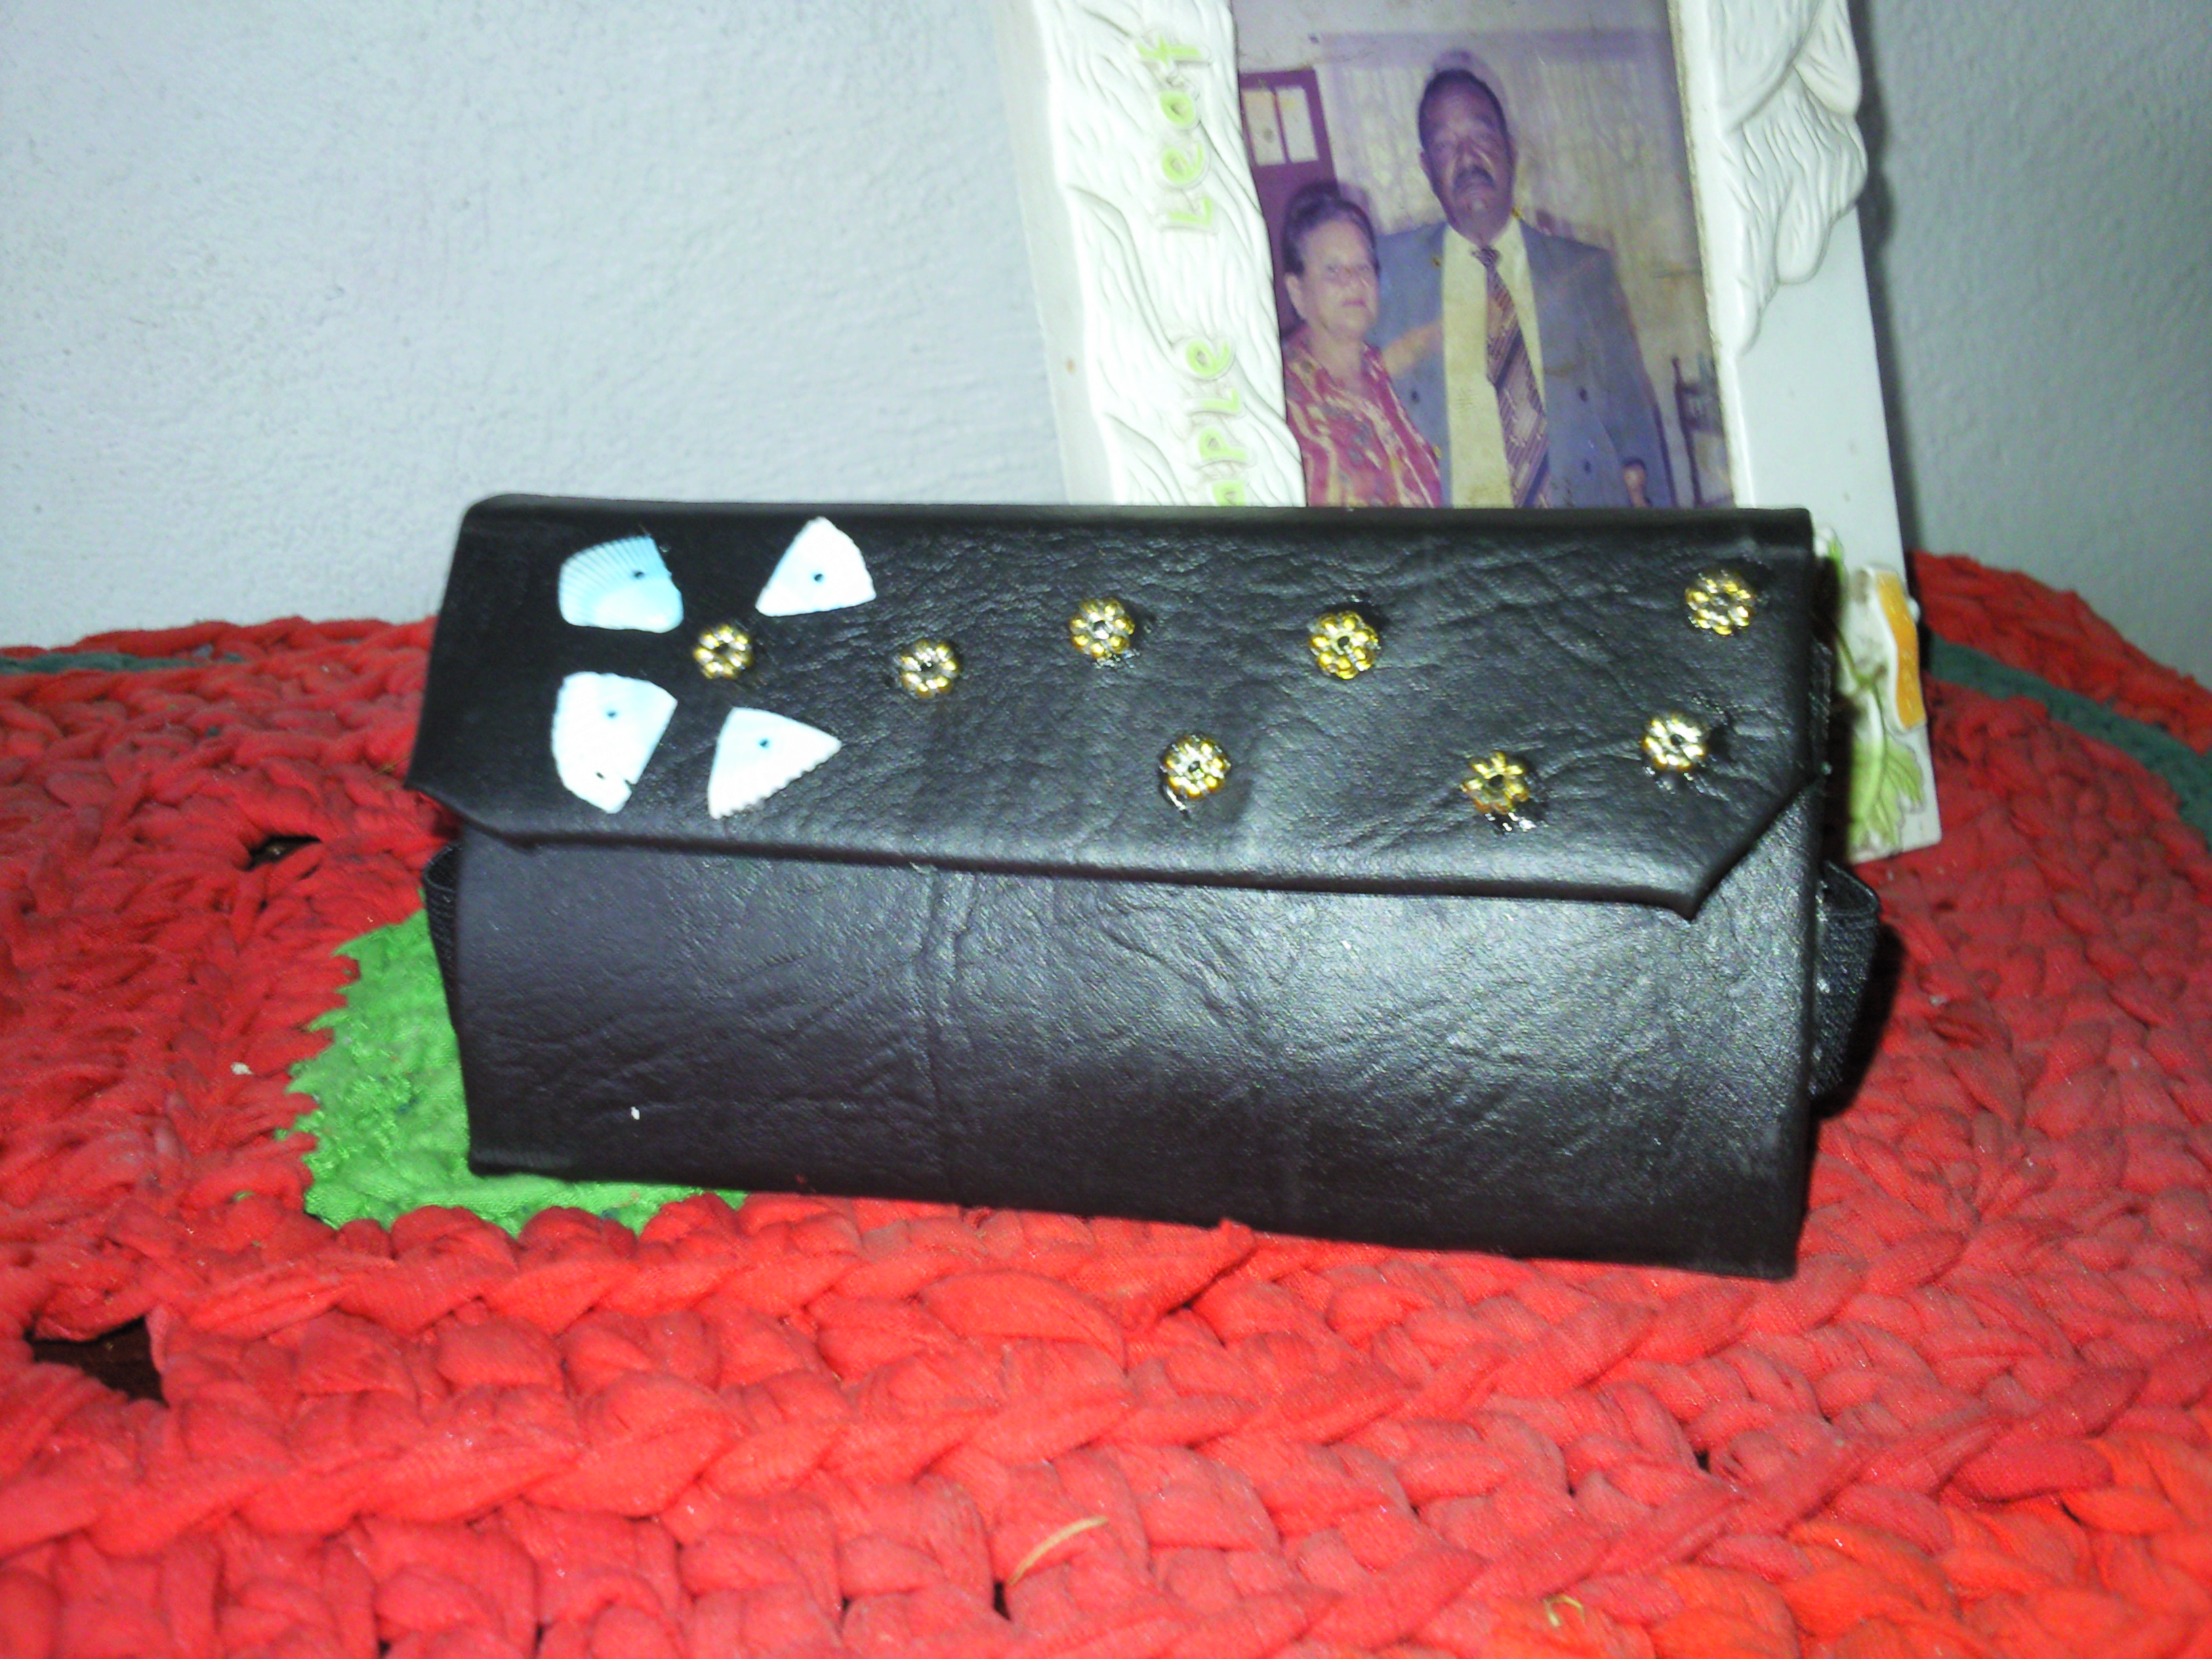
Hola de nuevo amigos!
Hi again, friends!

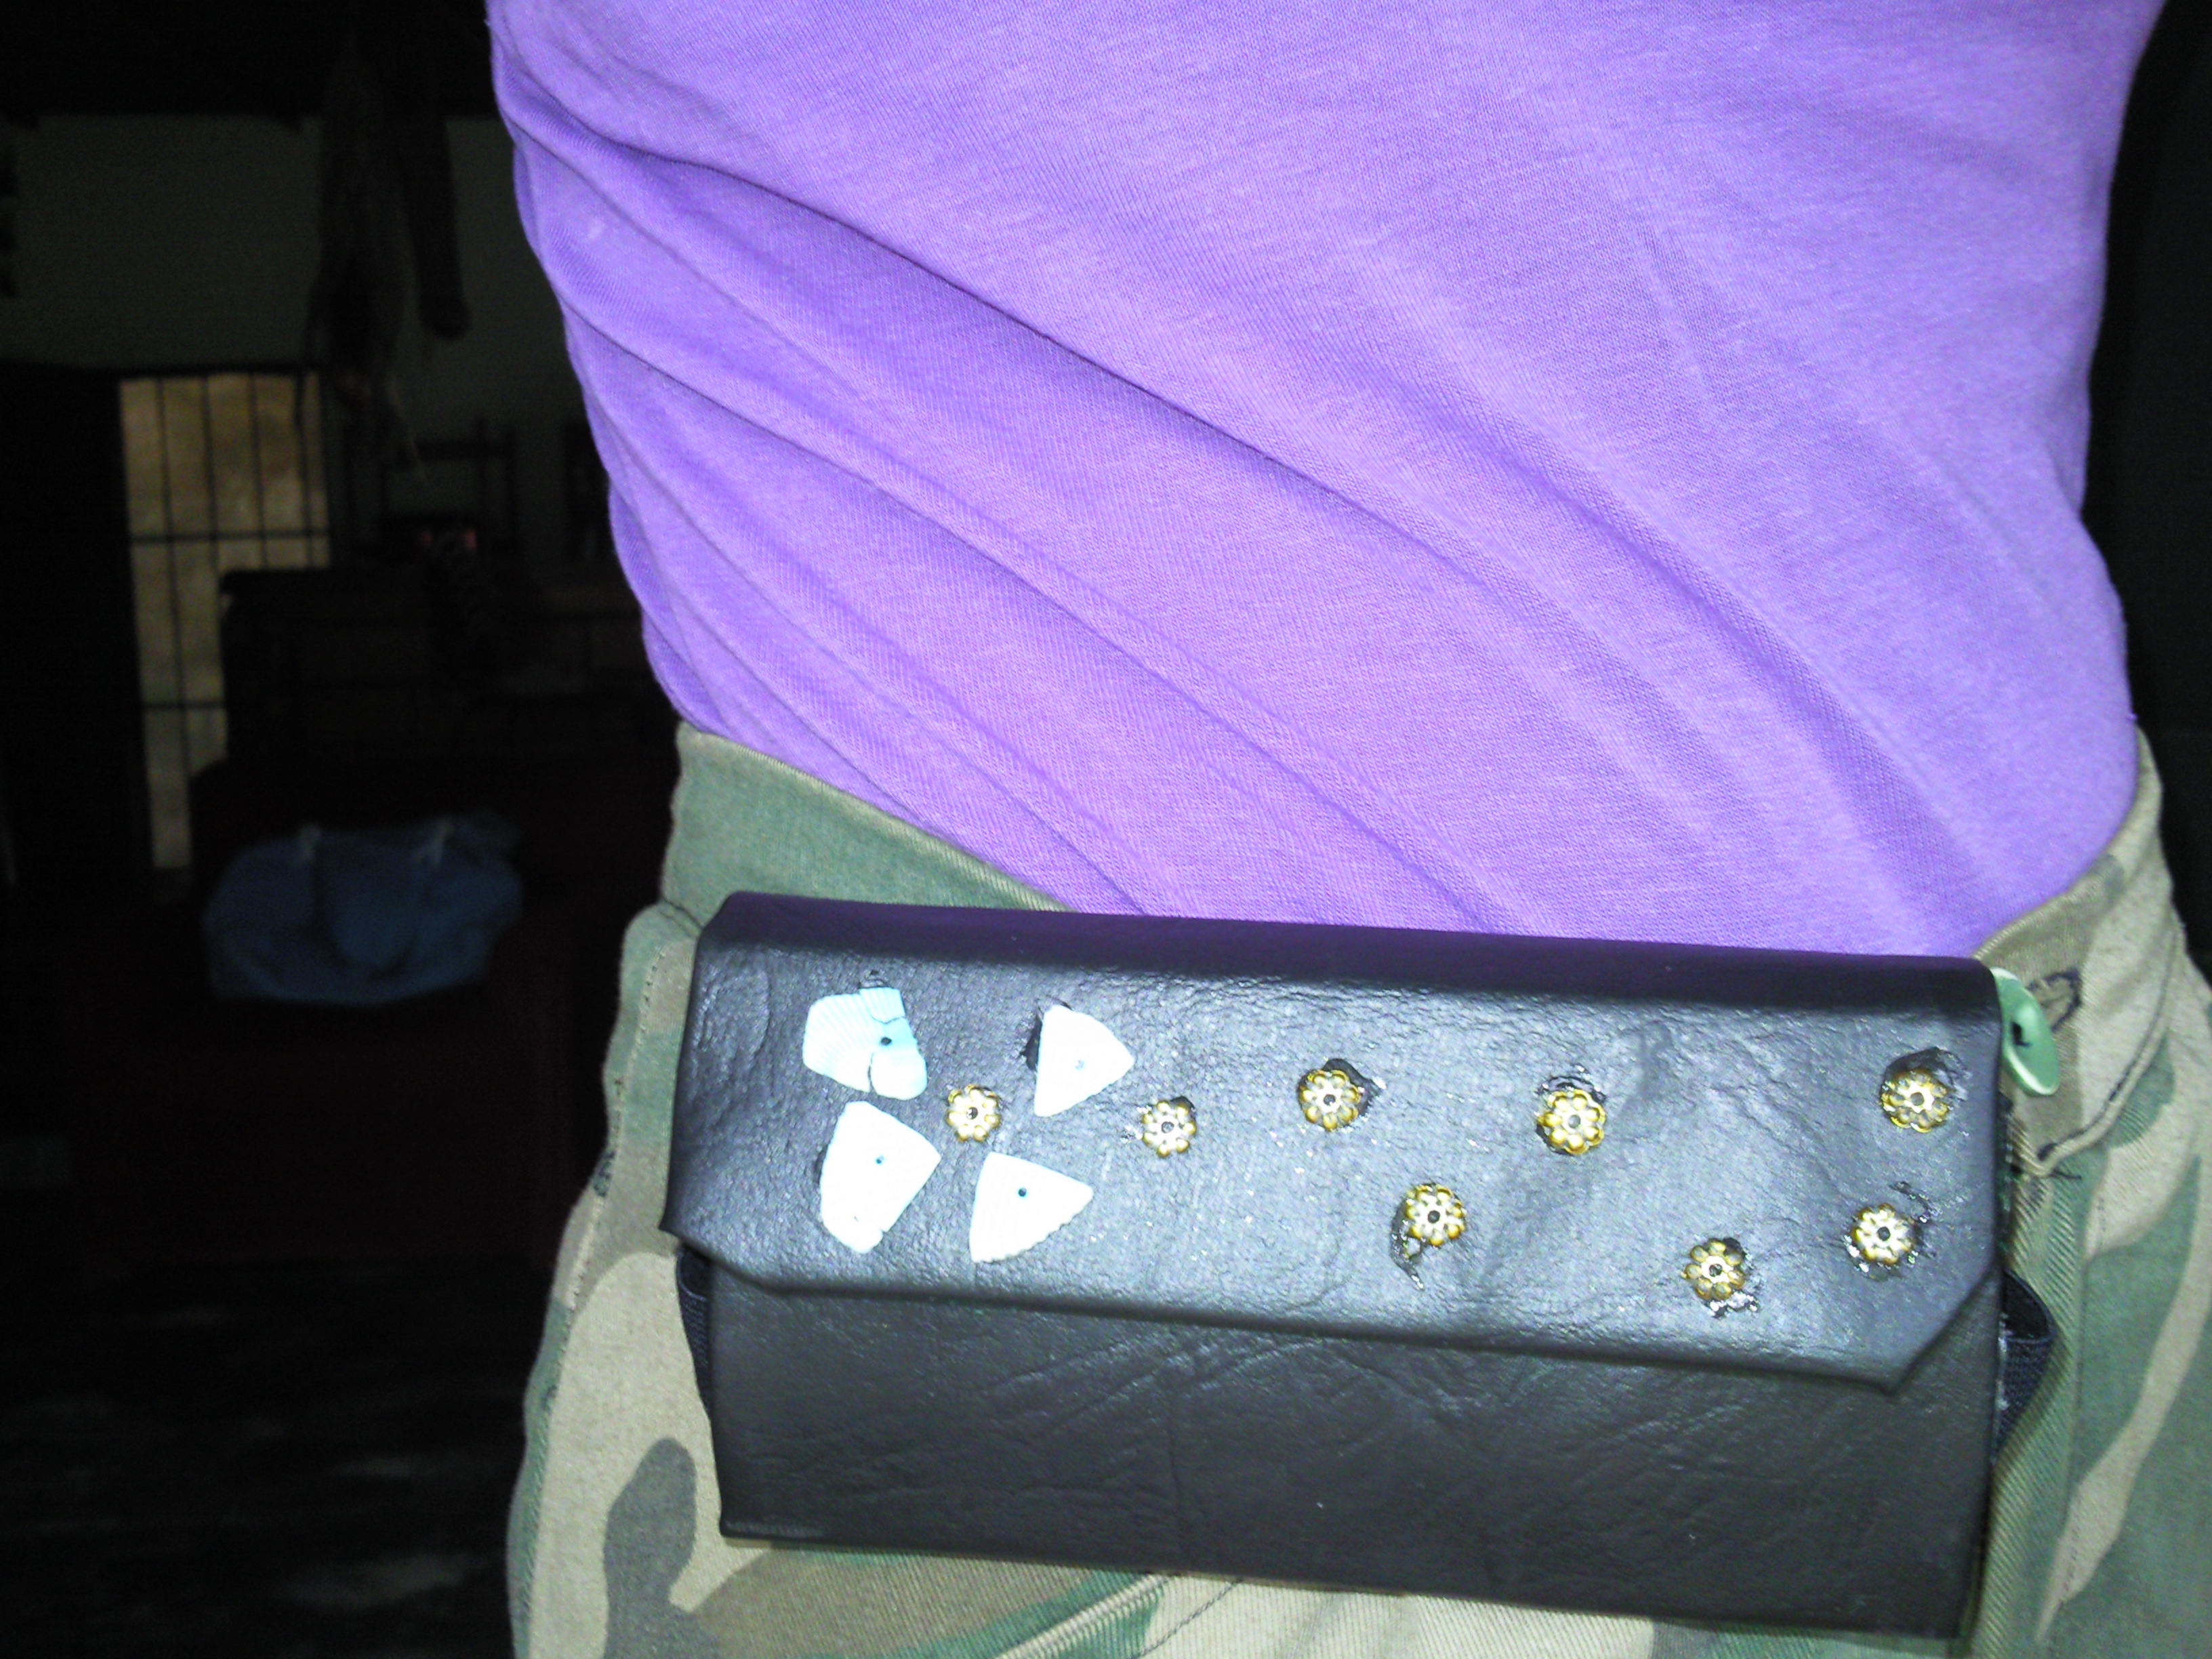
No soy una persona de llevar cosas en mis manos y cuello, cero anillos, pulseras, relojes, celulares, collares; sólo en ocasiones especiales es que los uso. Le digo a mis hermanas que debí haber sido esclava en mi vida pasada, jejeje! En fin... En esta oportunidad vengo a mostrarles y enseñarles paso a paso este lindo estuche para el celular que hice para llevar consigo y tener las manos libres.
I am not a person to wear things on my hands and neck, zero rings, bracelets, watches, cell phones, necklaces; only on special occasions is I wear them. I tell my sisters I should have been a slave in my past life, hehe! Anyway... This time I come to show you and teach you step by step this beautiful case for your cellphone that I made to take with you and have your hands free.
MATERIALES:
Los materiales que usé son todos reciclados y tenía guardados desde hace un buen tiempo. Para ello necesitaremos:
_ tela de tapicería o semicuero o la tela que dispongan (2 recortes: una para el exterior y otra para el interior. En mi caso usé semicuero para la externa y fieltro para la interna. Es recomendable usar una tela suave en el interior para que el teléfono no se raye).
_4 ó 6 imanes pequeños.
_Cartón semiduro (yo conseguí uno de un almanaque viejo).
_Pegamento (cola plástica, silicón líquido o de pistola. La que tengan)
_cuchillas, tijeras, regla, lápiz o marcador.
_ Una pinza o sujetador
_ 5 ó 6 centímetros de goma elástica (cortada a la mitad, color que desee)
MATERIALS:
The materials I used are all recycled and had been in storage for quite some time. For this we will need:
_ upholstery fabric or semicircular or the fabric that you have (2 cuttings: one for the outside and one for the inside. In my case I used semicircular for the outside and felt for the inside. It is advisable to use a soft fabric on the inside so that the phone is not scratched).
_4 or 6 small magnets.
_Semi-hard cardboard (I got one from an old almanac).
_Glue (plastic glue, or liquid silicone or pistol silicone, whatever you have)
_knives or cutter, scissors, ruler, pencil or marker.
_A hook to hold
_5 or 6 cm elastic rubber (cut in the half, colour desired)
¡Comencemos! / Let's beggin!

Colocamos nuestro teléfono sobre el cartón y medimos la mitad del ancho, más cinco (5) milímetros ( mi móvil tiene 7 cm, osea 3,5 +0,5 mm= 4 cm). Marcamos igualmente el largo. Dibujamos unas líneas separadas a lo largo. Esa va ser la tapa del estuche. Medimos el espesor o el grueso del teléfono (mi móvil tiene un (1) centímetro) y se le agregan cinco (5) milímetros más, es decir 1,5 cm. Marcamos otras líneas separadas. Igualmente se mide el ancho del teléfono y se añade 0,5 mm o 1 cm., es decir 7,5 cm. Repetimos la medida del grosor (1,5 cm) y la del ancho (7,5 cm), estas dos últimas medidas vendrían a formar la parte delantera. (Esta medida va a depender del tamaño de tu celular). Quedó un recuadro de 15 cm x 22 cm.
We place our phone on the cardboard and measure half the width, plus five (5) millimeters ( my mobile has 7 cm, or 3.5 +0.5 mm= 4 cm). We also mark the length. We draw separate lines along the length. That’s going to be the lid of the case. We measure the thickness or thickness of the phone (my mobile has one (1) centimeter) and add five (5) millimeters more, that is 1.5 cm. We mark other separate lines. Also measure the width of the phone and add 0.5 mm or 1 cm., that is 7.5 cm. We repeat the measure of thickness (1.5 cm) and width (7.5 cm), these last two measures would come to form the front. (This measure will depend on the size of your cell phone). There was a box of 15 cm x 22 cm.

Ahora se procede a cortar el patrón y doblar por las áreas punteadas
Now proceed to cut the pattern and fold through the dotted areas

Colocamos el patrón sobre la tela que será la parte externa, dibujamos el patrón y cortamos con 1 cm de más, tal como se muestra en la foto.
Place the pattern on the fabric that will be the outside, draw the pattern and cut with 1 cm more, as shown in the photo.
Igualmente se coloca el patrón sobre el fieltro o tela interna, marcar y cortar por dentro de la línea. (Yo la corté un poco más adentro porque el fieltro suele estirarse un poco)
También redondeé las esquinas del patrón y de las telas, pero es por cuestión de gusto.
Also place the pattern on the felt or inner fabric, mark and cut inside the line. (I cut it a little more inside because the felt usually stretches a little) I also rounded the corners of the pattern and fabrics, but it’s as you like.

Marcamos los puntos donde se pegarán los imanes, tanto de la tapa (en el lado interno) como de la delantera (del lado exterior) (Yo utilicé unos imanes de un estuche viejo). Posteriormente se procede a pegar los imanes del lado de afuera. Esperar que sequen bien.
Para saber donde van los imanes, sólo dobla el patrón de nuevo y calcula. en mi caso fue de un (1) cm en la parte interna de la tapa y, tres (3) cm en la parte externa.
We mark the spots where the magnets will stick, both on the lid (on the inner side) and on the front (on the outer side) (I used magnets from an old case). The magnets on the outside are then glued together. Wait for them to dry well.
To know where the magnets go, just fold the pattern again and calculate. in my case it was one (1) cm on the inside of the lid and three (3) cm on the outside.

Se pega el patrón de cartón sobre el semicuero al revés (o la tela que estén usando) incluyendo la orilla de la tela. Esperar secar.
Una vez totalmente seco, cortamos los sobrantes en los extremos y, con ayuda de una regla o tira de madera, volvemos a doblar el patrón en conjunto.
Stick the cardboard pattern over the semicircle upside down (or the fabric you are using) including the edge of the fabric. Wait to dry. Once completely dry, we cut the leftovers at the ends and, with the help of a ruler or strip of wood, we fold the pattern back together.

Abrimos de nuevo, pegamos los imanes restantes (de la tapa). Colocamos el teléfono y doblamos de nuevo el patrón para medir donde pegaremos las cintas elásticas (que quité a un pantalón que no me servía) sólo de un lado y del otro, cuidando de no cubrir la entrada de los audífonos. Una vez hecho ésto, pegamos la tela interna o fieltro, dejando libre las aberturas donde se pegarán los otros extremos de la cinta elástica. Esperamos que todo seque.
Open again, glue the remaining magnets (from the lid). We placed the phone and folded the pattern again to measure where we glue the elastic bands (which I removed to a trousers that did not serve me) only on one side and on the other, taking care not to cover the entrance of the headphones. Once this is done, we glue the inner fabric or felt, leaving free the openings where the other ends of the elastic band will stick. We’re waiting for it to dry out.

Doblamos de nuevo, introducimos los extremos del elástico y, pegamos. ¡Ya casi estamos!
Fold again, insert the ends of the elastic and, paste. We are almost there!

Se toma el sujetador (que saqué del estuche viejo) y se marcan con un creyón dos puntos para luego hacer una raya.
You take the hook to hold (which I took out of the old case) and mark it with a crayon two points to then make a stripe.

Abrimos con la cuchilla, insertamos el gancho y pegamos. Limpiamos las zonas sobrantes antes de dejar secar. Pueden adornarlo con lo que deseen.
Open with the blade, insert the hook and paste. Clean the leftover areas before leaving to dry. You can decorate it with whatever you want.

¡Y LISTO!
AND VOILA!

Espero les haya gustado y se animen a inventar y reinventar con cosas sencillas que pueden reutilizar en casa, seguro les quedará mejor que el mío... ! A mí me va de maravillaasss!!
¡Gracias por acercarte hasta aquí!
I hope you liked it and are encouraged to invent and reinvent with simple things that can be reused at home, I'm sure you will do it better ! I am going to marvel!! !
Thank you for coming all this way!
todas las fotos de mi autoría
I took all the pictures
Nota:La última foto me la tomó mi hermana 😄
Excelente amiga! Quedó hermoso y práctico.
Genial me gustó mucho bendiciones infinitas
Gracias yeraisha 🙏 Amén
Super cool! Me gusta bastante es muy funcional!
Saludos y bendiciones querida nani!
Gracias mi querida desireeart ❤️
Que ingenioso! muy bonito!
Gracias!
Wonderful.
Thanks!
Excelente tutorial, esa técnica es buenísima, las creaciones quedan muy resistentes.
Gracias,jennyzer, y es una manera muy cómoda para tener nuestro teléfono a la mano. Saludos ❤️