Caja Ideal Para Esas Ocasiones Especiales
Ideal Box For Those Special Occasions
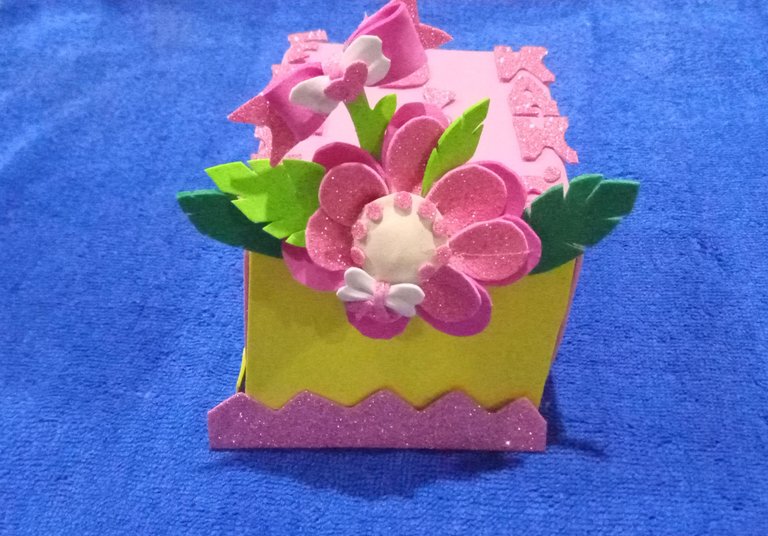
Hola amigos en esta ocasión, les presento una caja forrada en Foami que podemos utilizar de diferentes maneras: cotillones, como caja sorpresa, como organizador.
Hello friends, this time I present a box lined with Foami that can be used in different ways: as a cotillion box, as a surprise box, as an organiser.
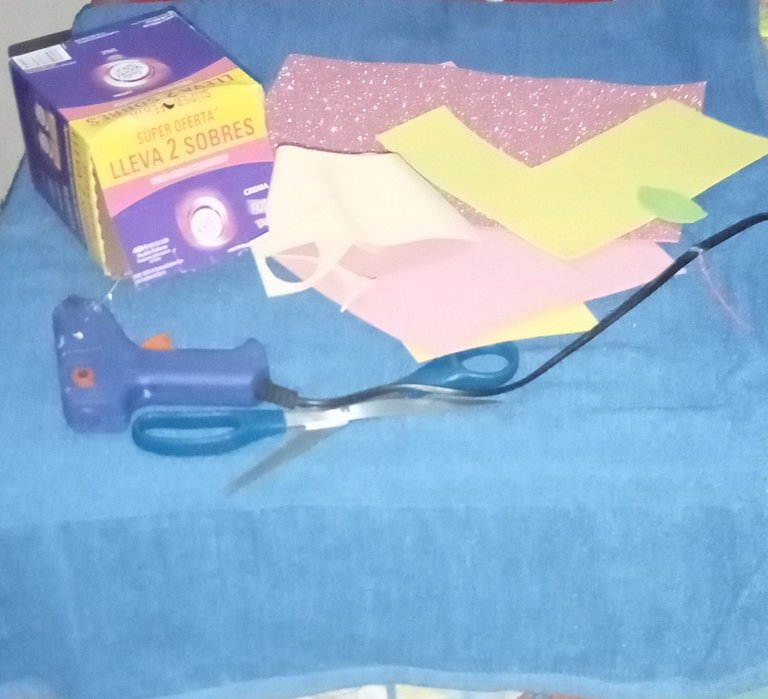
Para la realización de la misma requerimos:
In order to carry it out, we require:
- Un Foami color rosado Tipo Carta.
- A pink coloured Foamie Type Letter.
- Un Foami color Amarillo Tipo Carta.
- One Yellow Foami Letter Foam.
- Un Foami Verde Tipo Carta.
- A Green Foami Card.
- Un Foami Escarchado Rosado.
- One Pink Frosted Foami.
- Tijera.
- Scissors.
- Pistola Silicón.
- Silicone Gun.
- Una caja pequeña de cartón.
- A Small Cardboard Box.
Paso N°1.
Step 1.
Para la realización de la misma debemos recortar las 5 tapas de i caja y pegar.
To make it, we must cut out the 5 lids of the box and glue them together.
Paso N° 2.
Step 2.
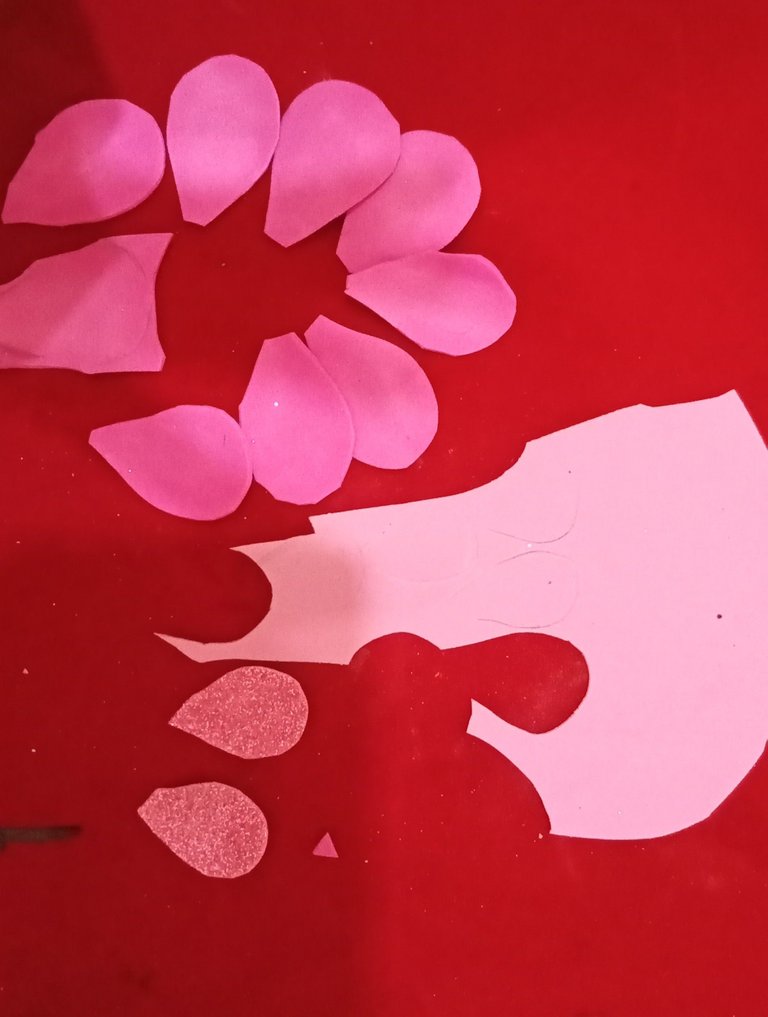
Una vez forrada mi caja selecciono el motivo, En este caso tome como diseño una flor, Marque mis pétalos grandes en el Foami rosado, y los pequeños en el Foami rosado escarchado, luego marque el centro de mi flor con una moneda grande. Lazos
Once I have lined my box I select the motif, in this case I took a flower design, I marked my large petals on the pink Foami, and the small ones on the pink frosted Foami, then I marked the centre of my flower with a large coin. Bows
Paso N° 3.
Step 3.
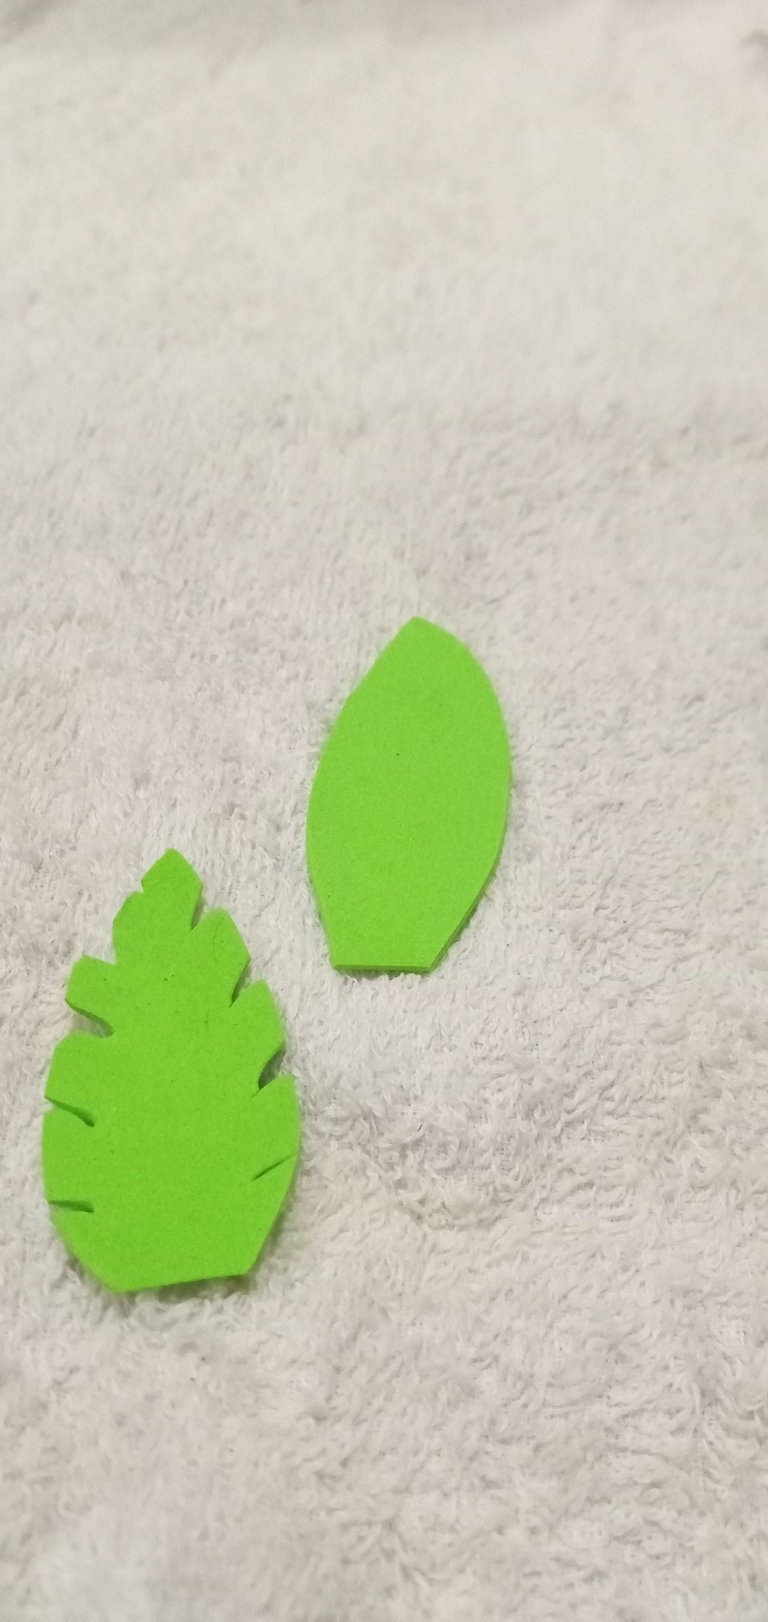
Ahora marque. Corté y pegue las hojas.
Now mark, cut and glue the sheets.
Paso N° 4.
Step 4.
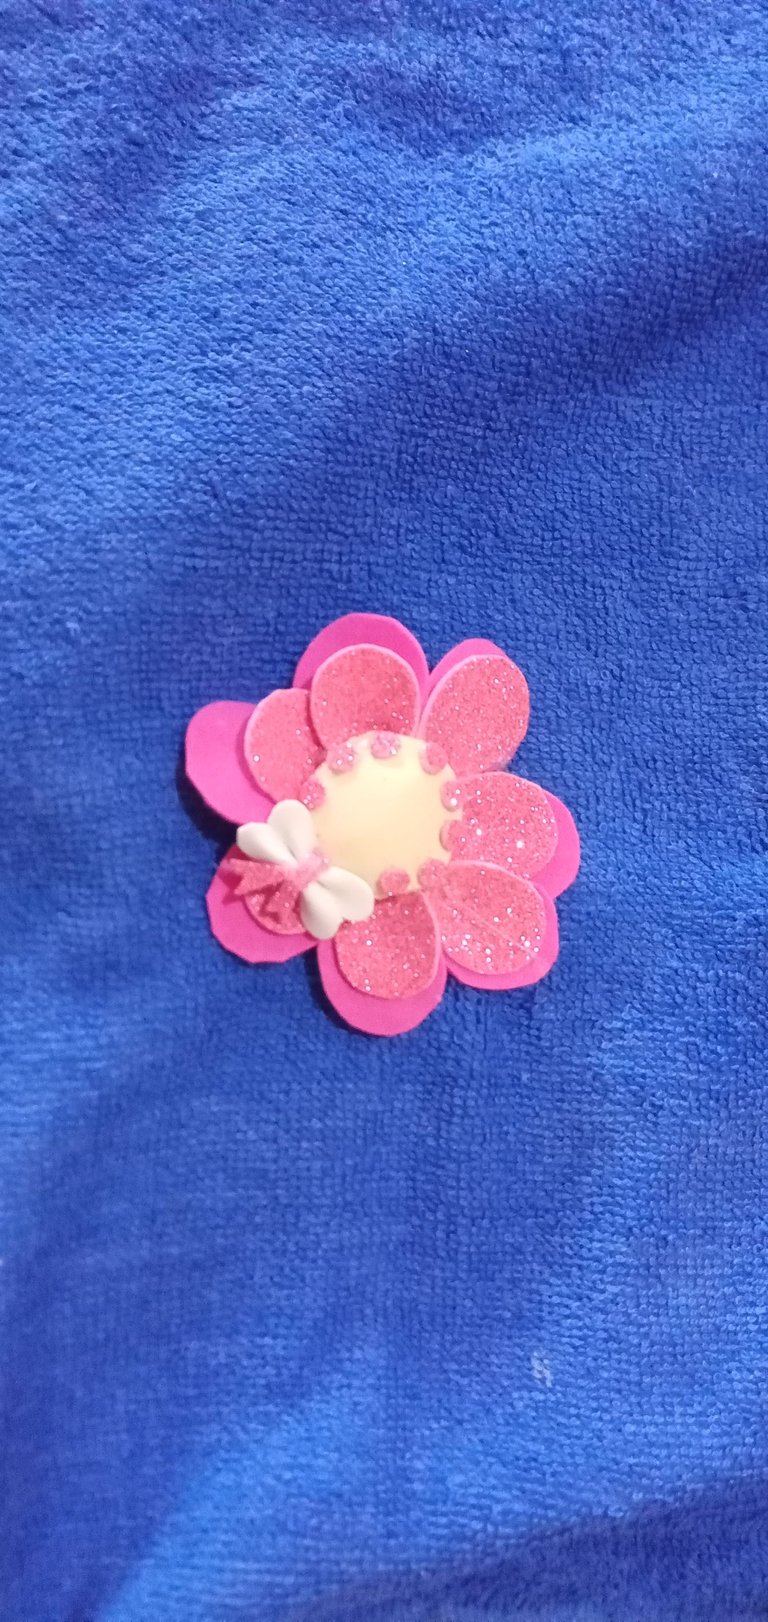
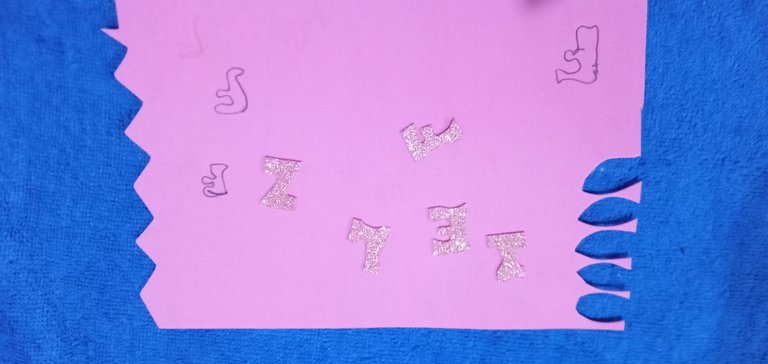
Una vez terminada mi flor y pegada. Pase a marcar y recortar mis letras, para pegar en la parte superior de mi caja.
Once my flower was finished and glued. I went on to mark and cut out my letters, to glue on the top of my box.
Paso N°5.
Step 5.
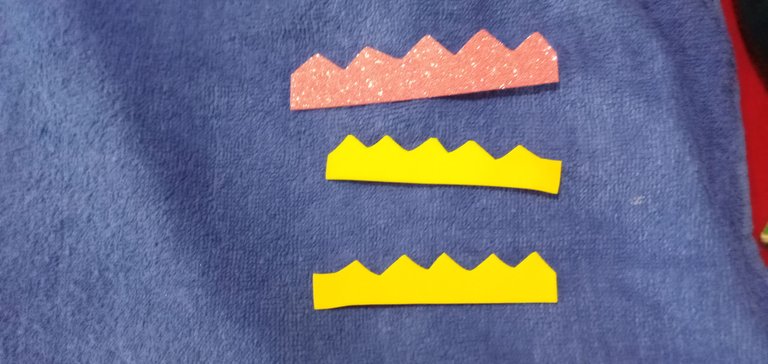
Por ultimo trace 3 tiras dos amarillas y una rosada escarchada para así sacar vistosidad a los lados y en la parte frontal.
Finally, trace 3 strips, two yellow and one frosted pink, to make the sides and the front more eye-catching.
Una vez mas espero que puedan poner en practica ahora para el día de las madres y no poner escusas que no tenemos que darte a ese ser tan especia, como lo es la madre.
Once again I hope that you can put into practice now for Mother's Day and not make excuses that we don't have to give to that special being, the mother.
Recuerda que hacemos calidad para regalar coquetería y detalles prácticos. No olvides revisar mi próximo post y votar, de ante mano les agradezco su valioso tiempo en detener en mis publicaciones, Dios les pague.
Remember that we do quality to give coquetry and practical details. Don't forget to check my next post and vote, I thank you in advance for your valuable time to stop in my publications, God bless you.
Thank you for sharing this amazing post on HIVE!
non-profit curation initiative!Your content got selected by our fellow curator @rezoanulvibes & you just received a little thank you via an upvote from our
You will be featured in one of our recurring curation compilations and on our pinterest boards! Both are aiming to offer you a stage to widen your audience within and outside of the DIY scene of hive.
Join the official DIYHub community on HIVE and show us more of your amazing work and feel free to connect with us and other DIYers via our discord server: https://discord.gg/mY5uCfQ !
If you want to support our goal to motivate other DIY/art/music/homesteading/... creators just delegate to us and earn 100% of your curation rewards!
Stay creative & hive on!