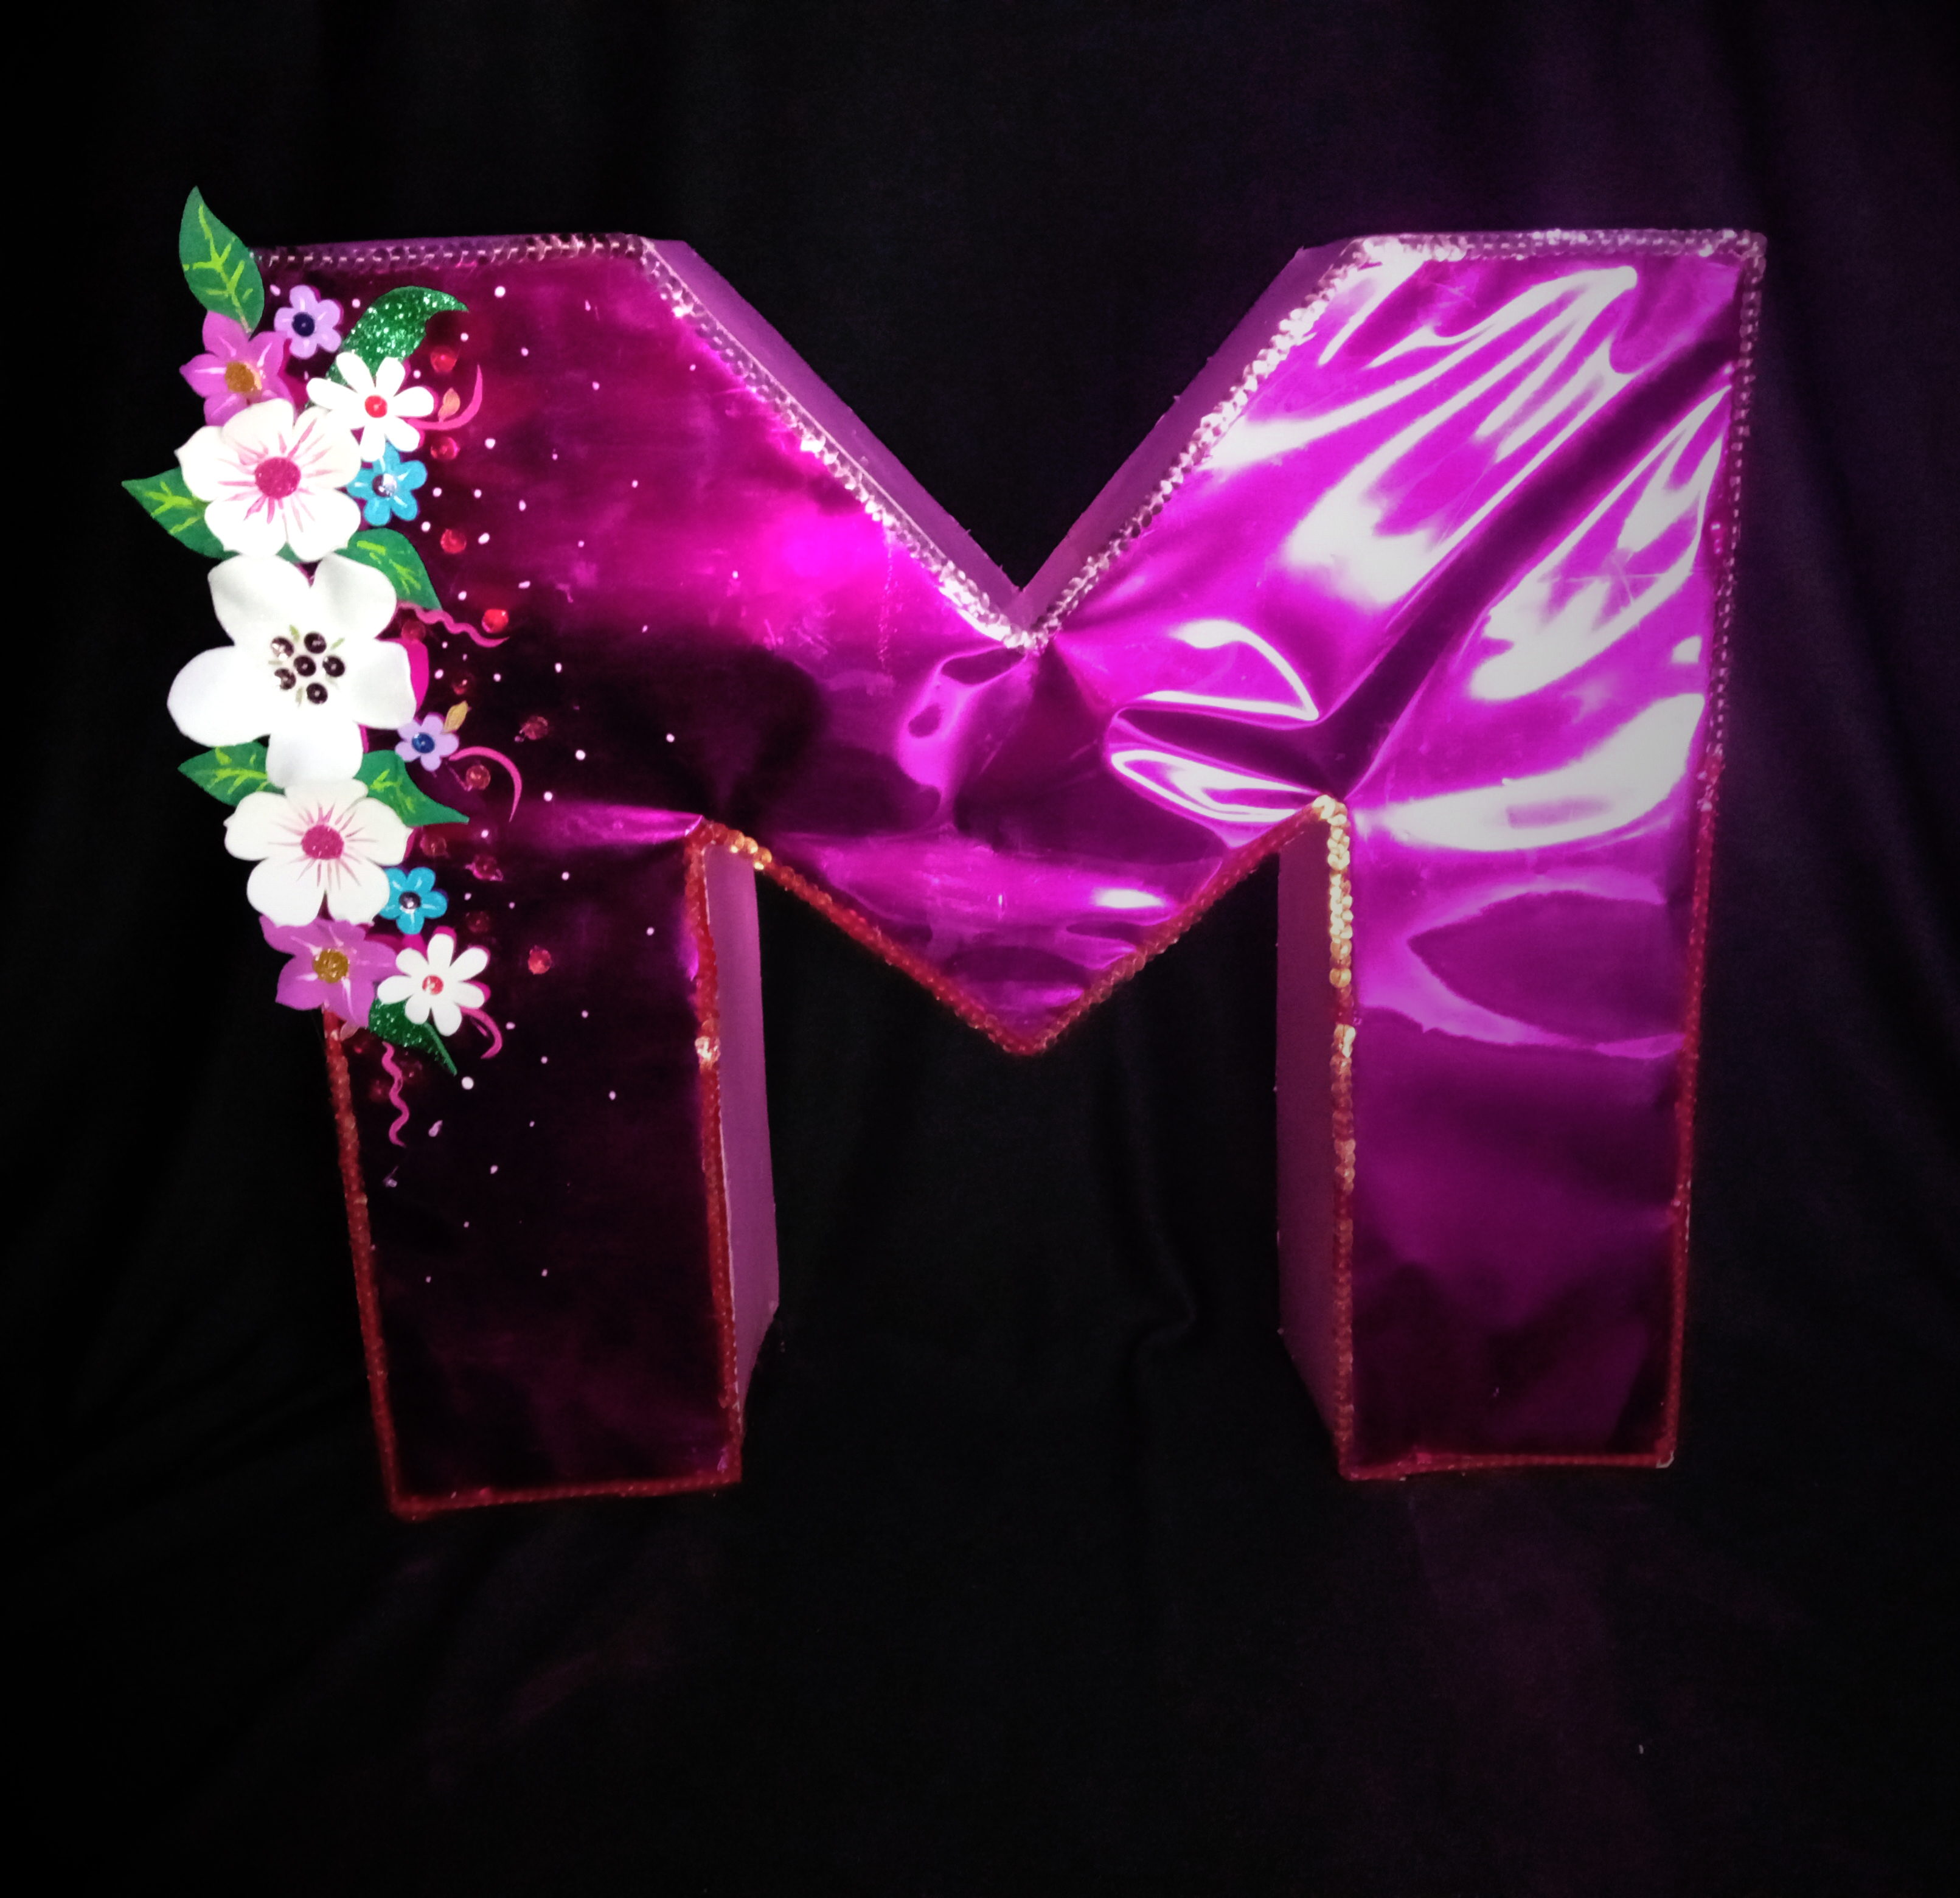
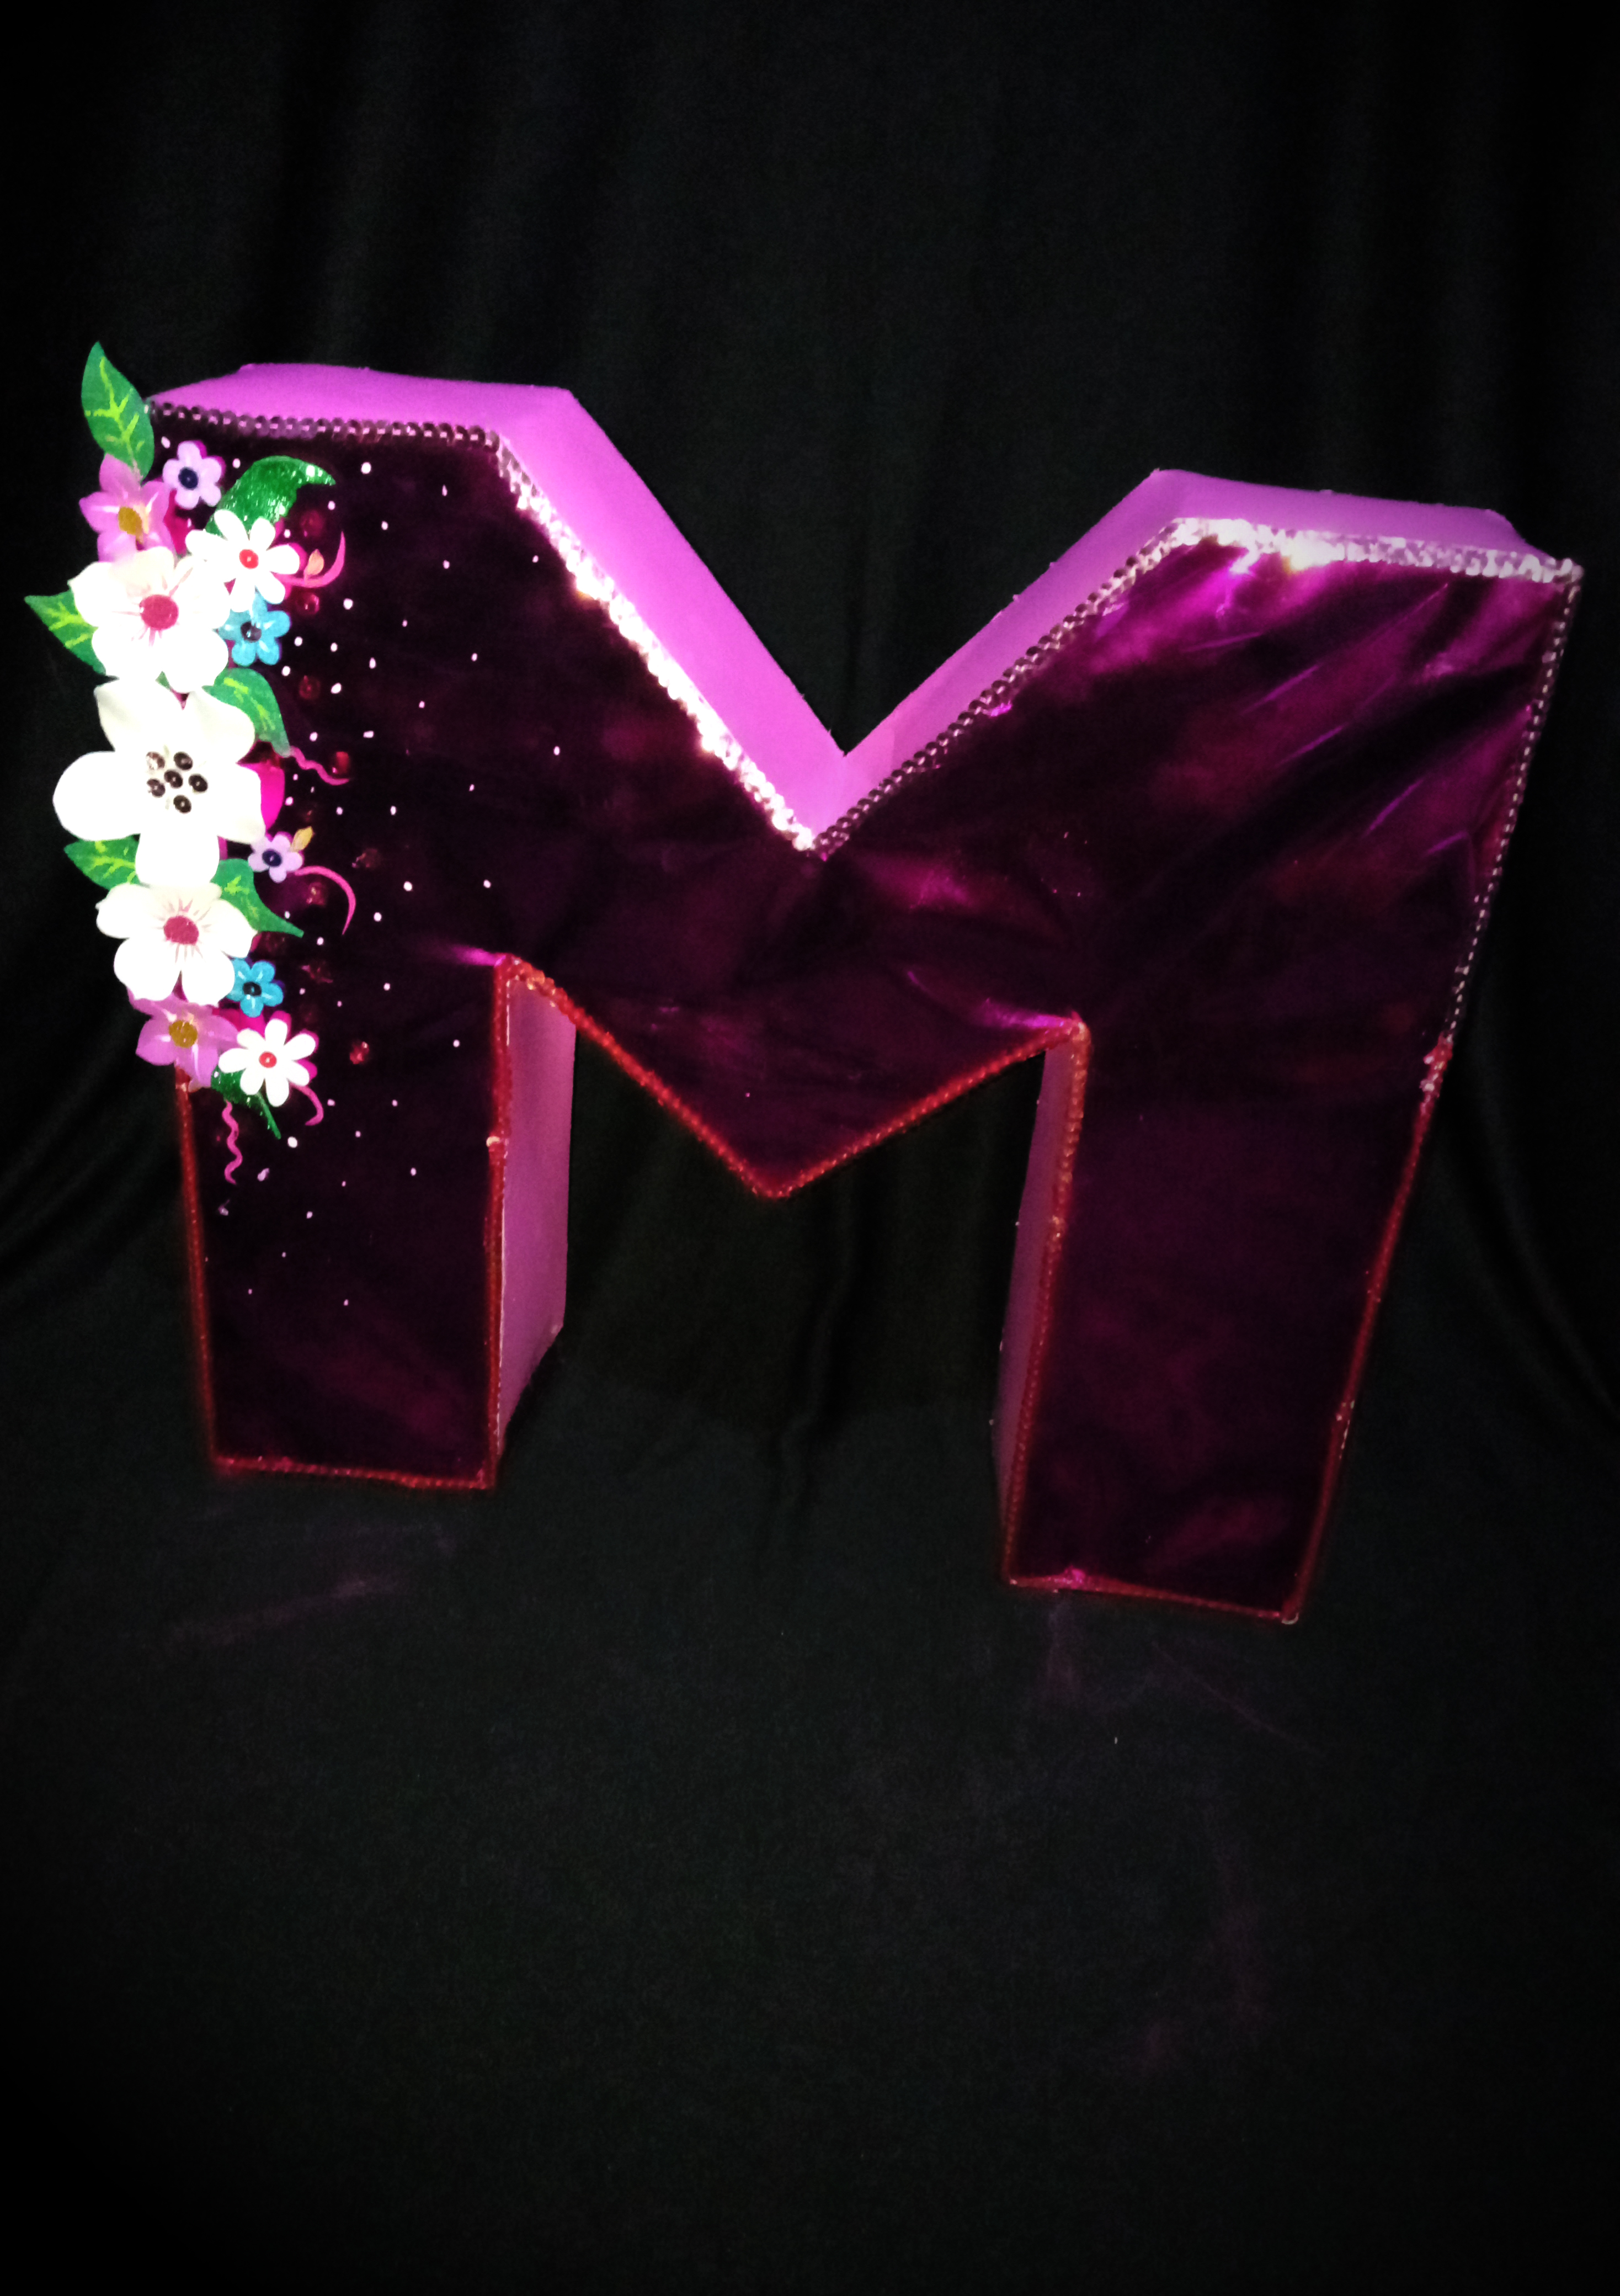
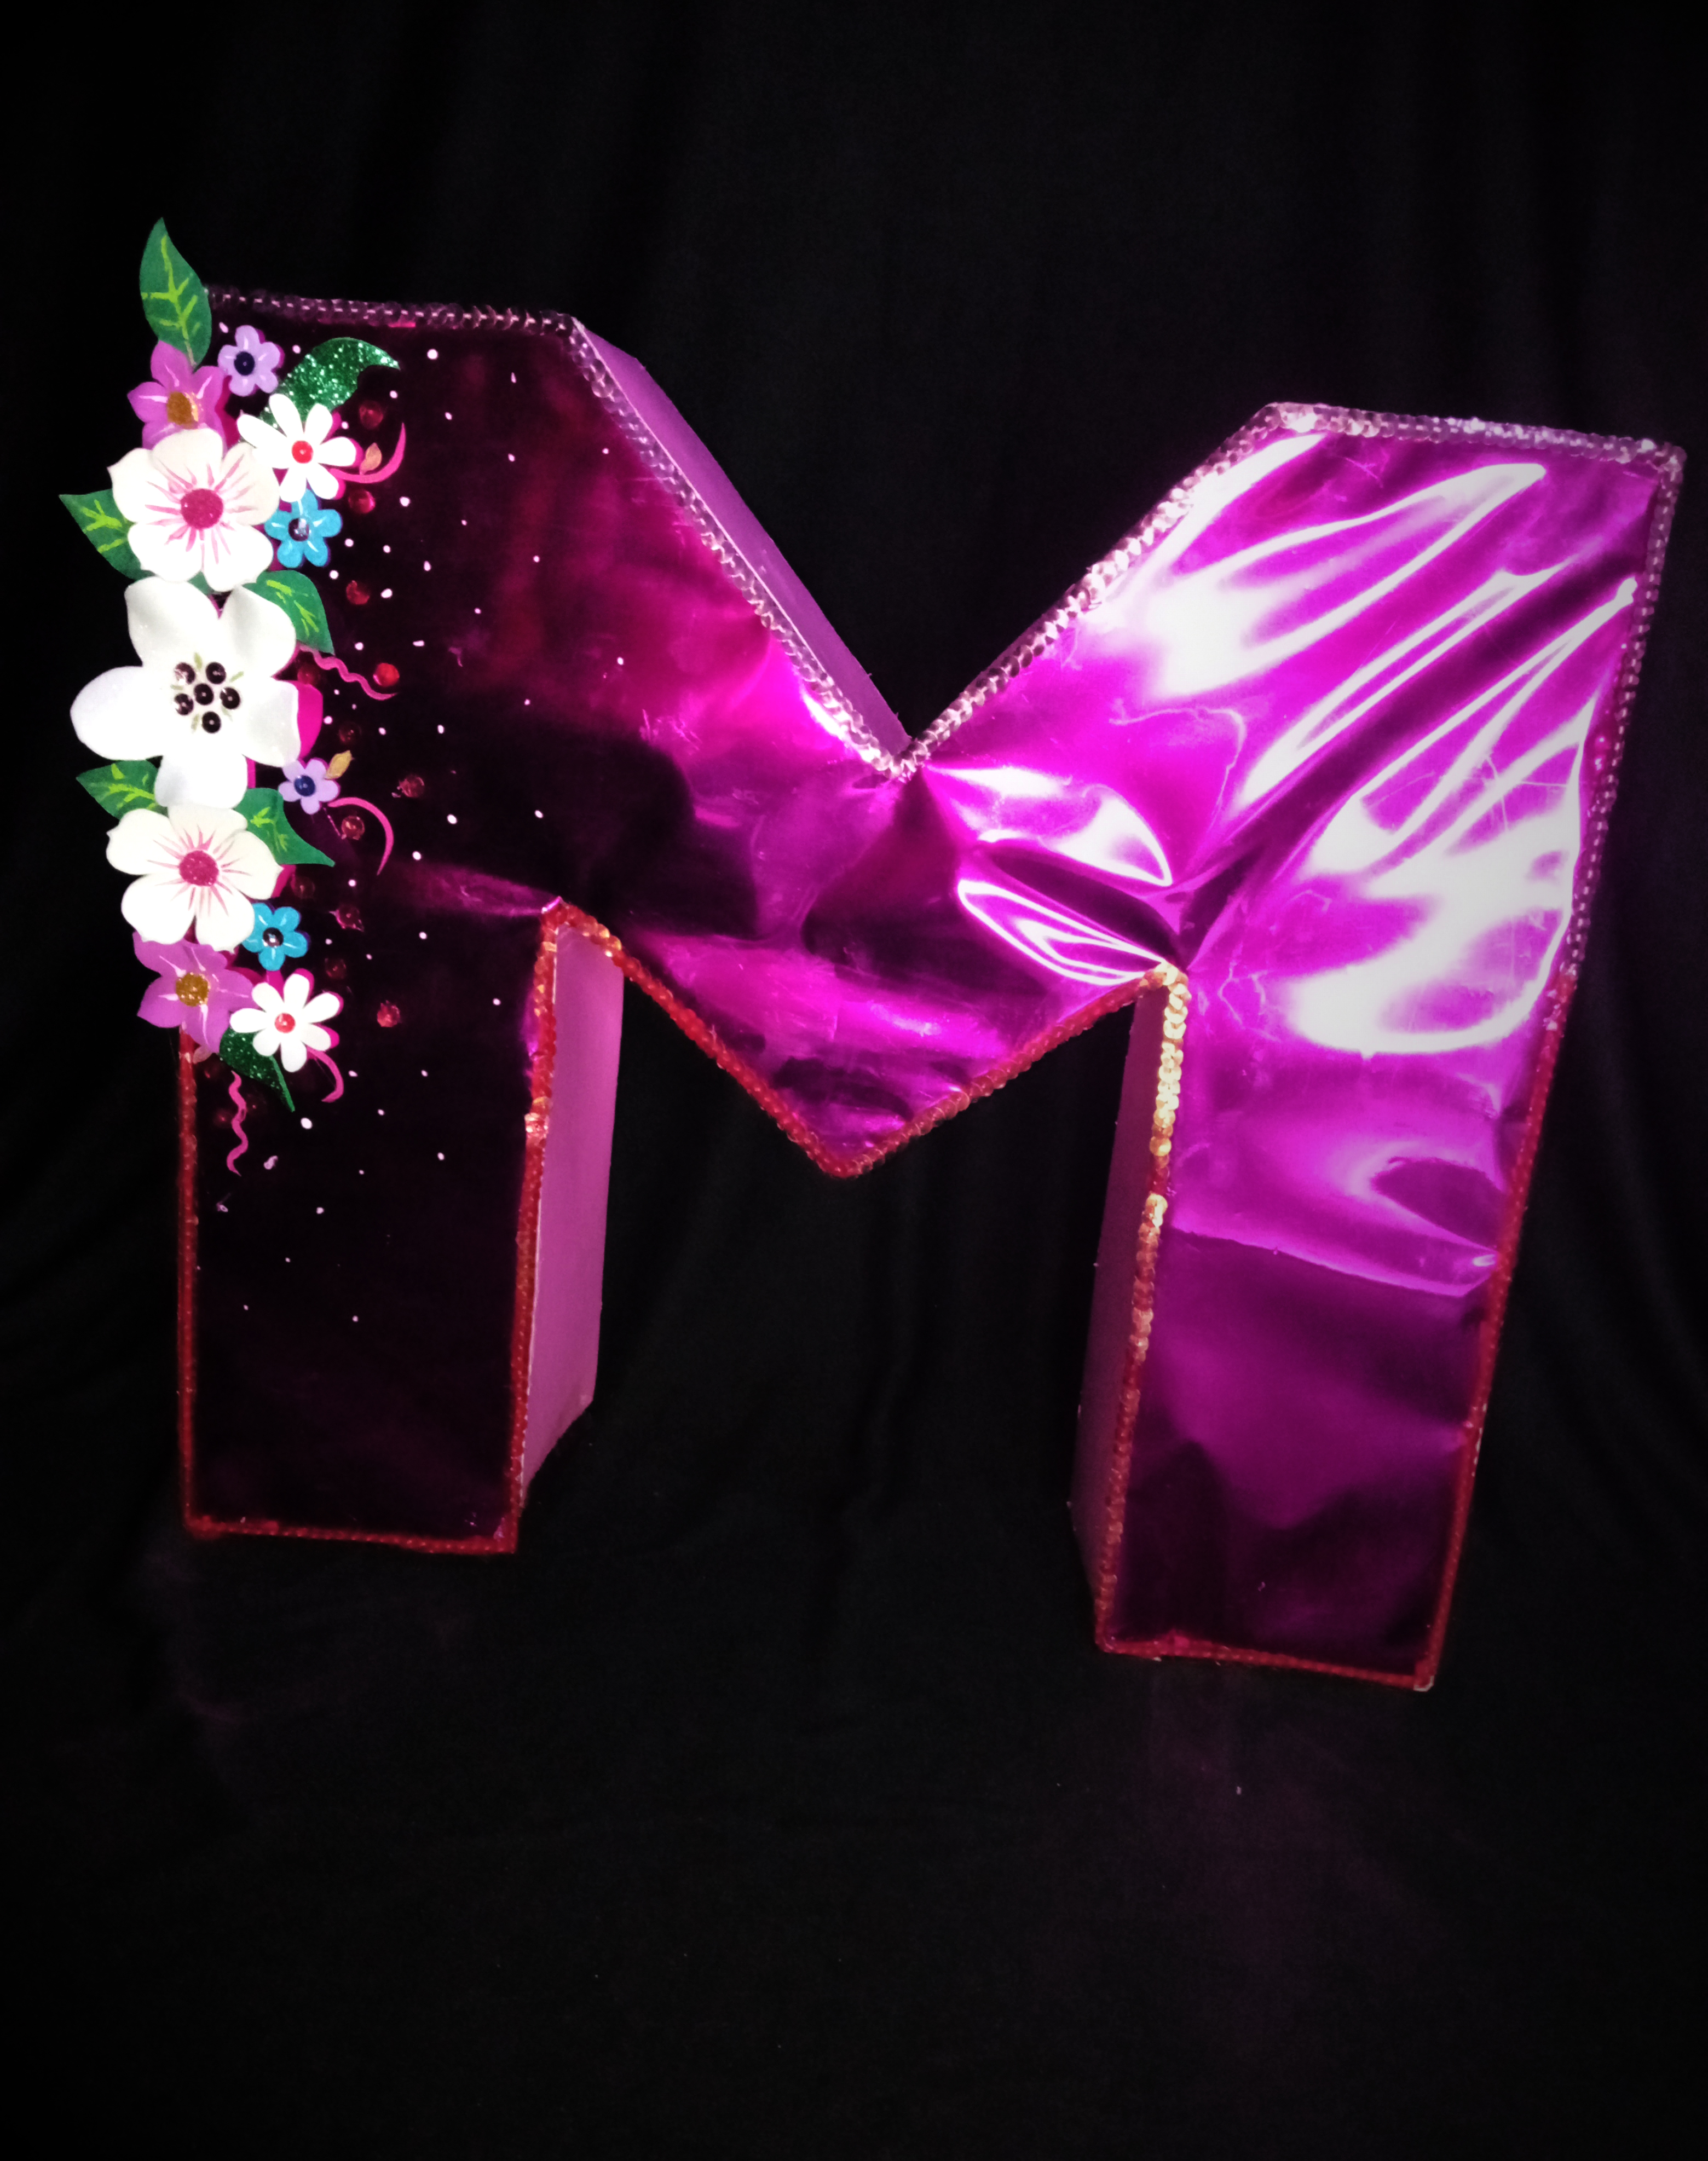
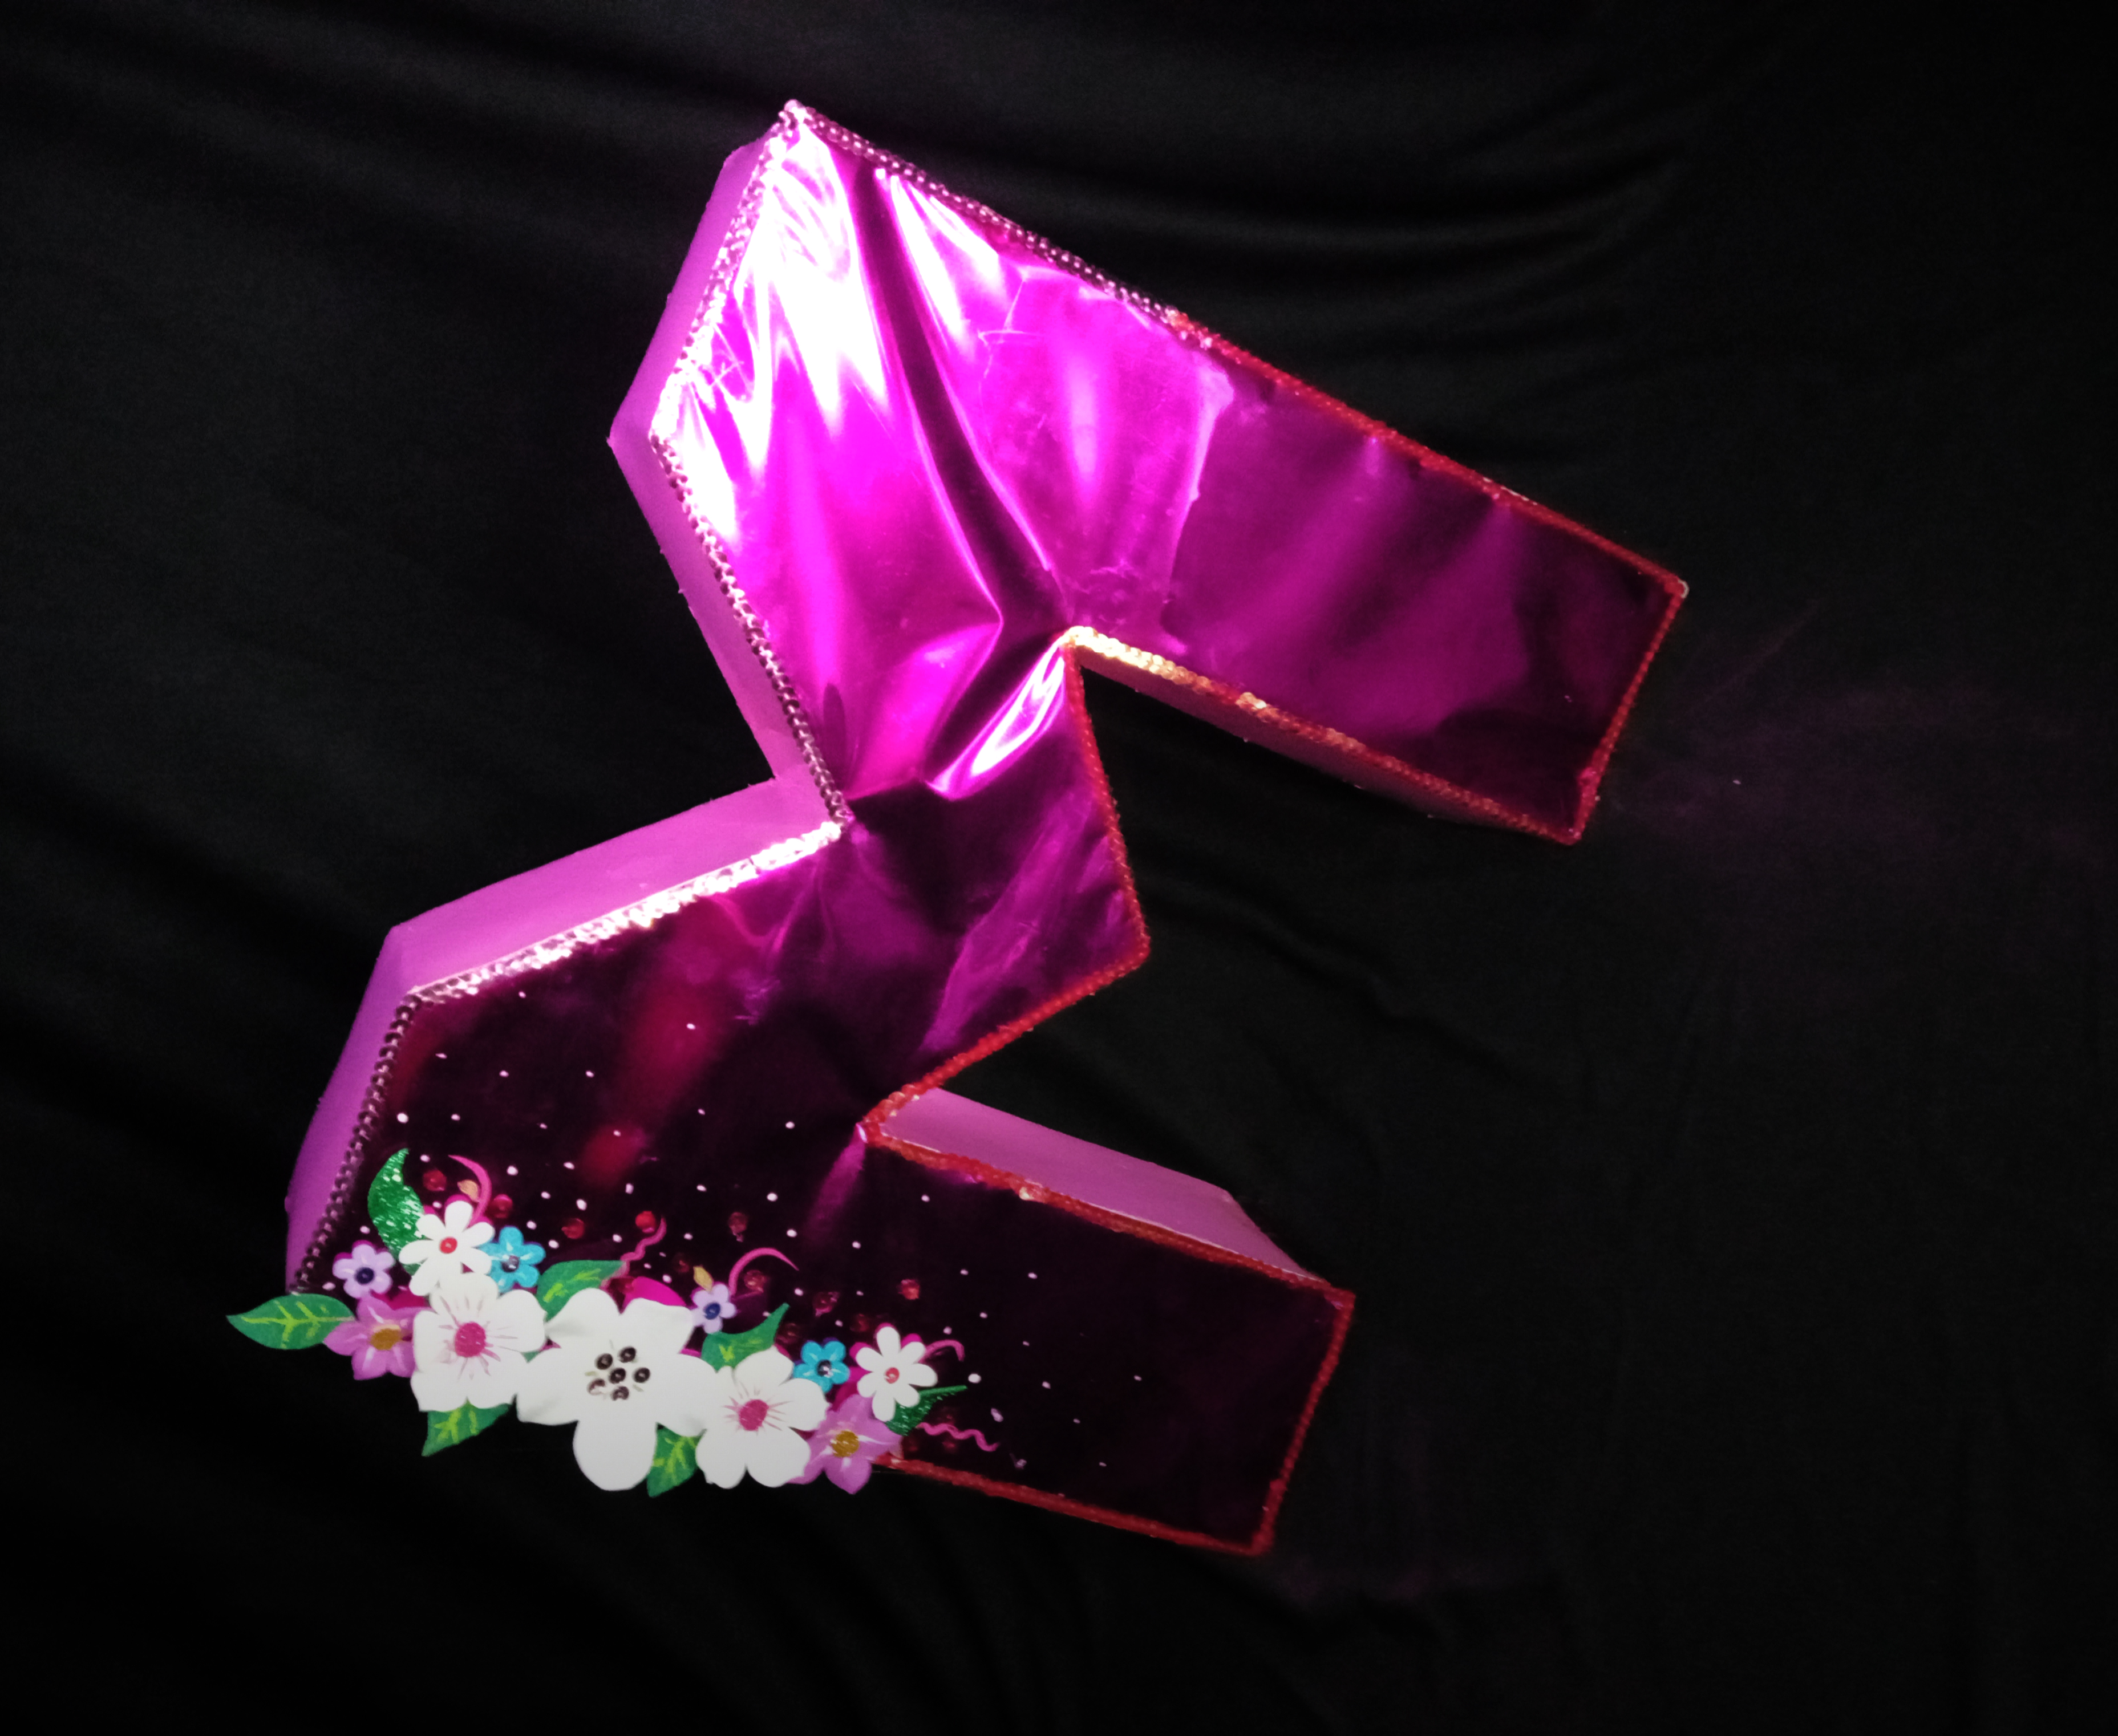
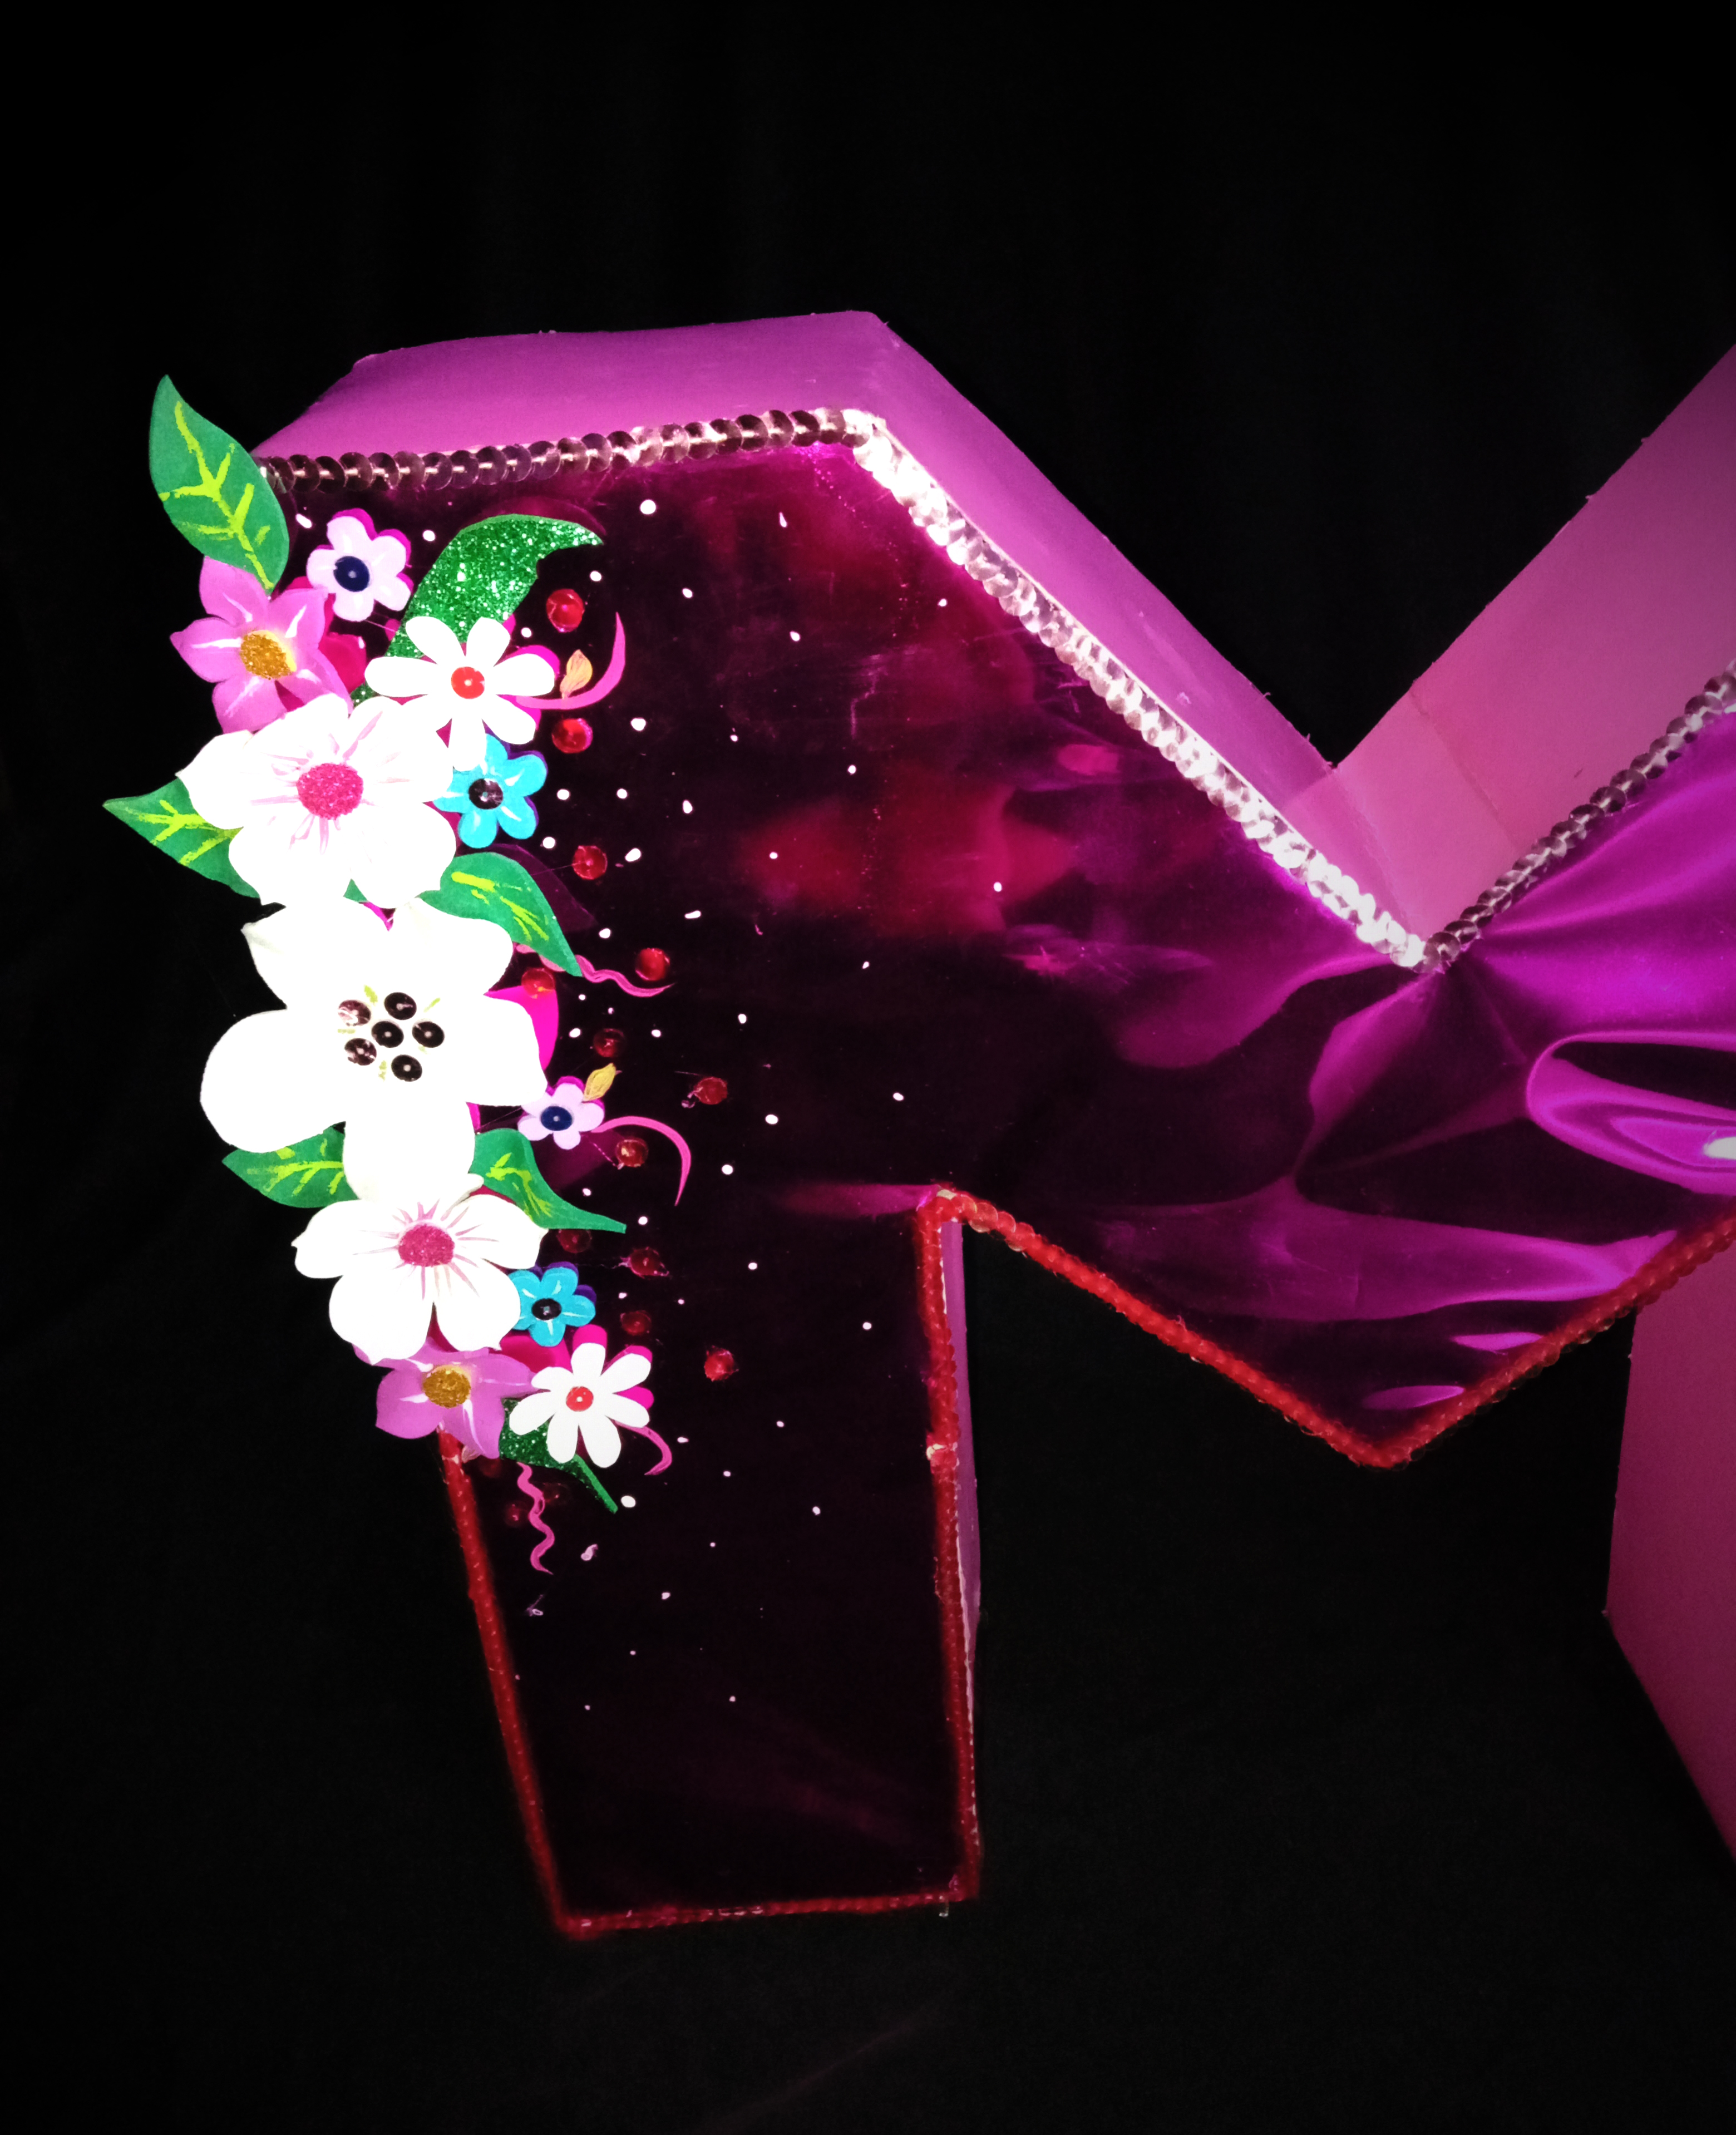
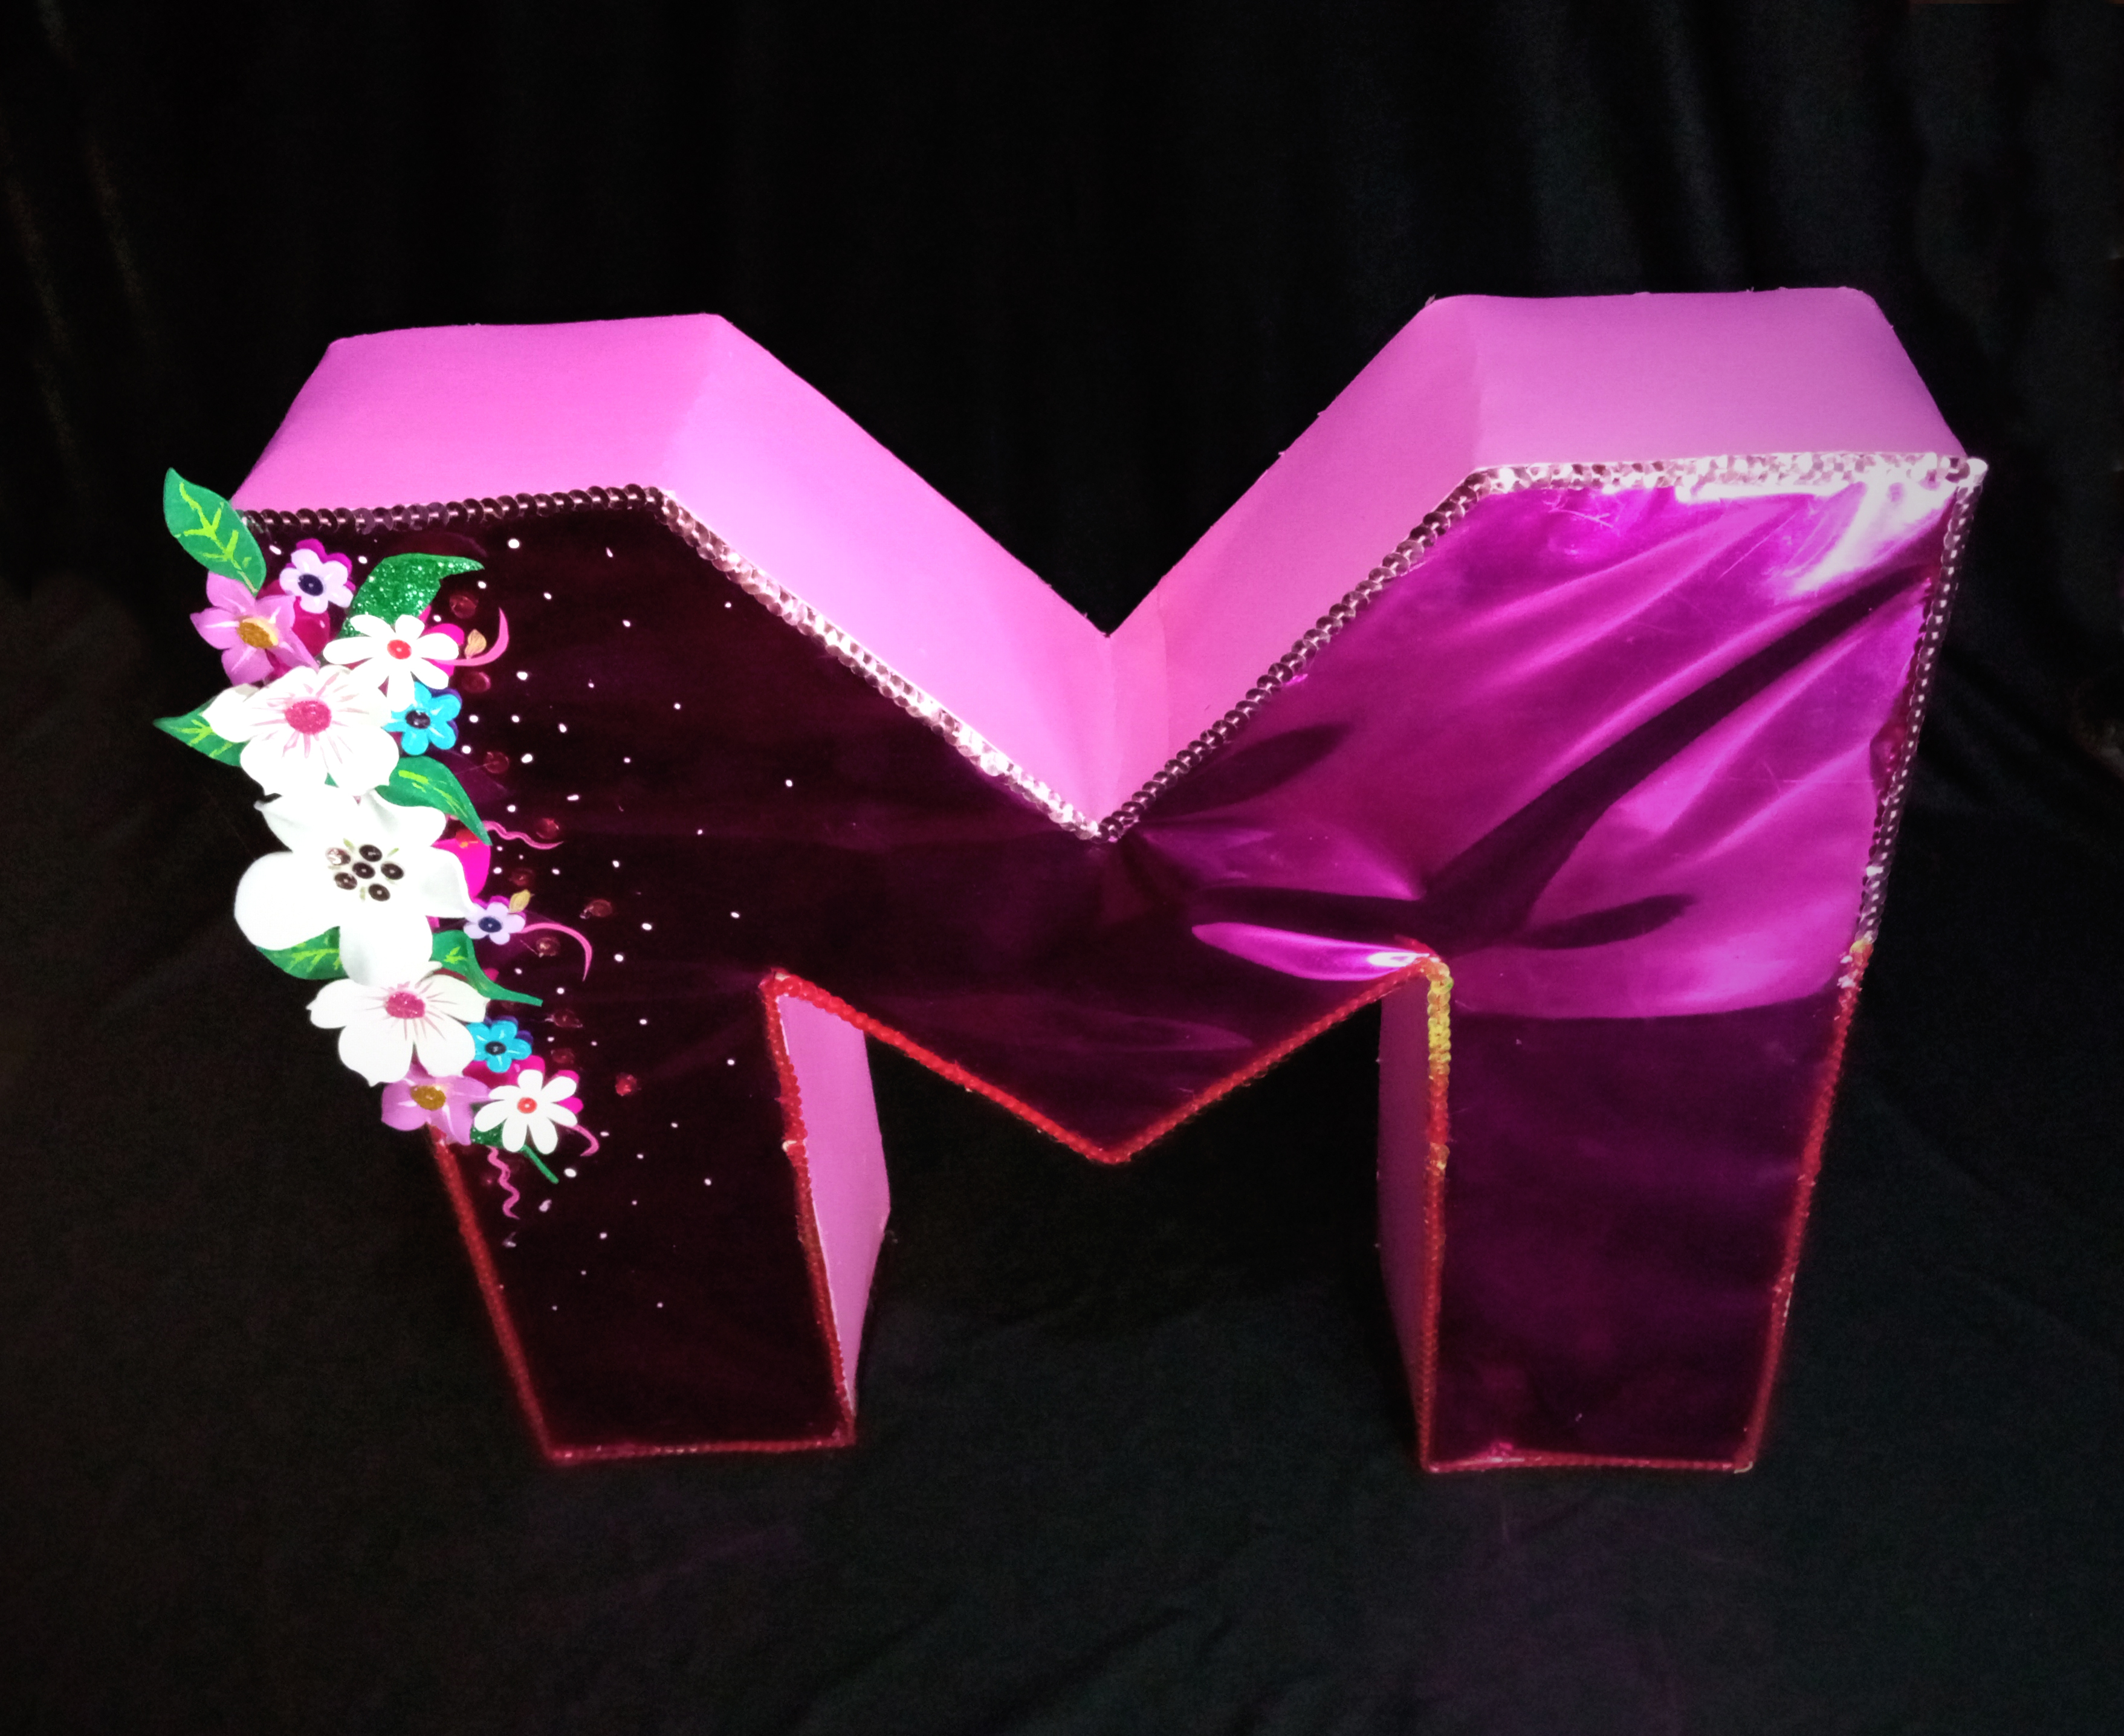
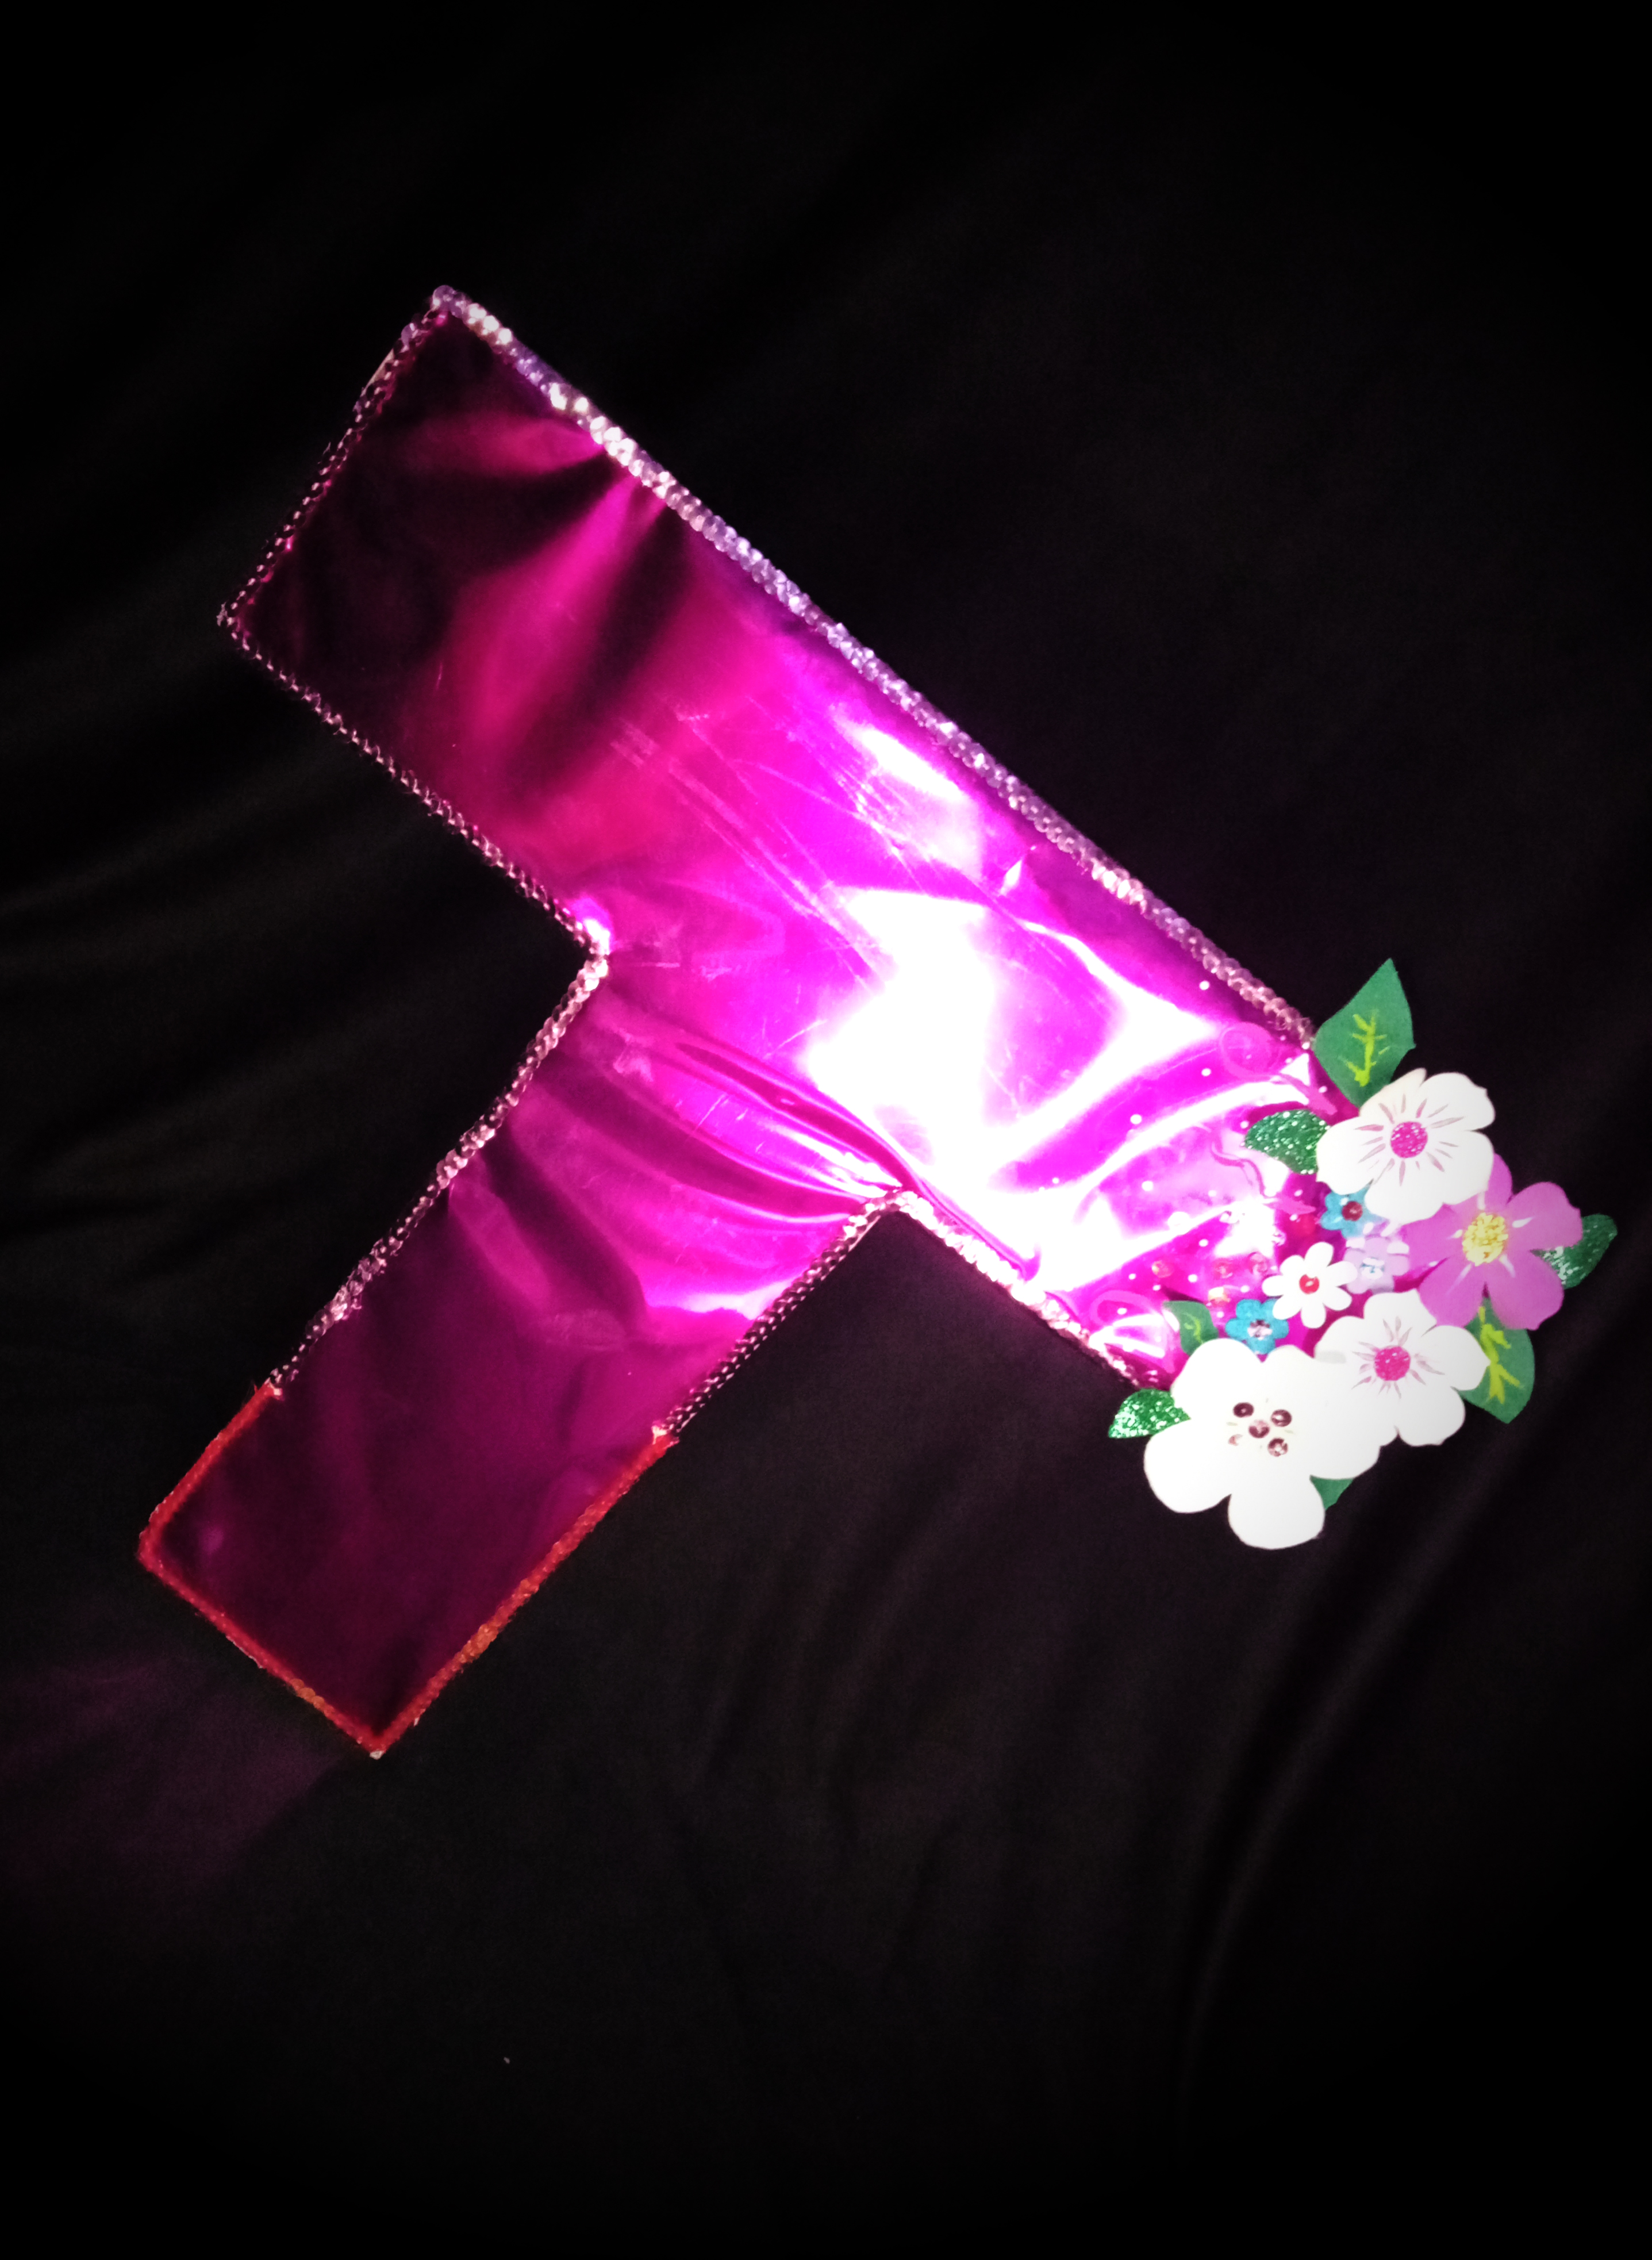
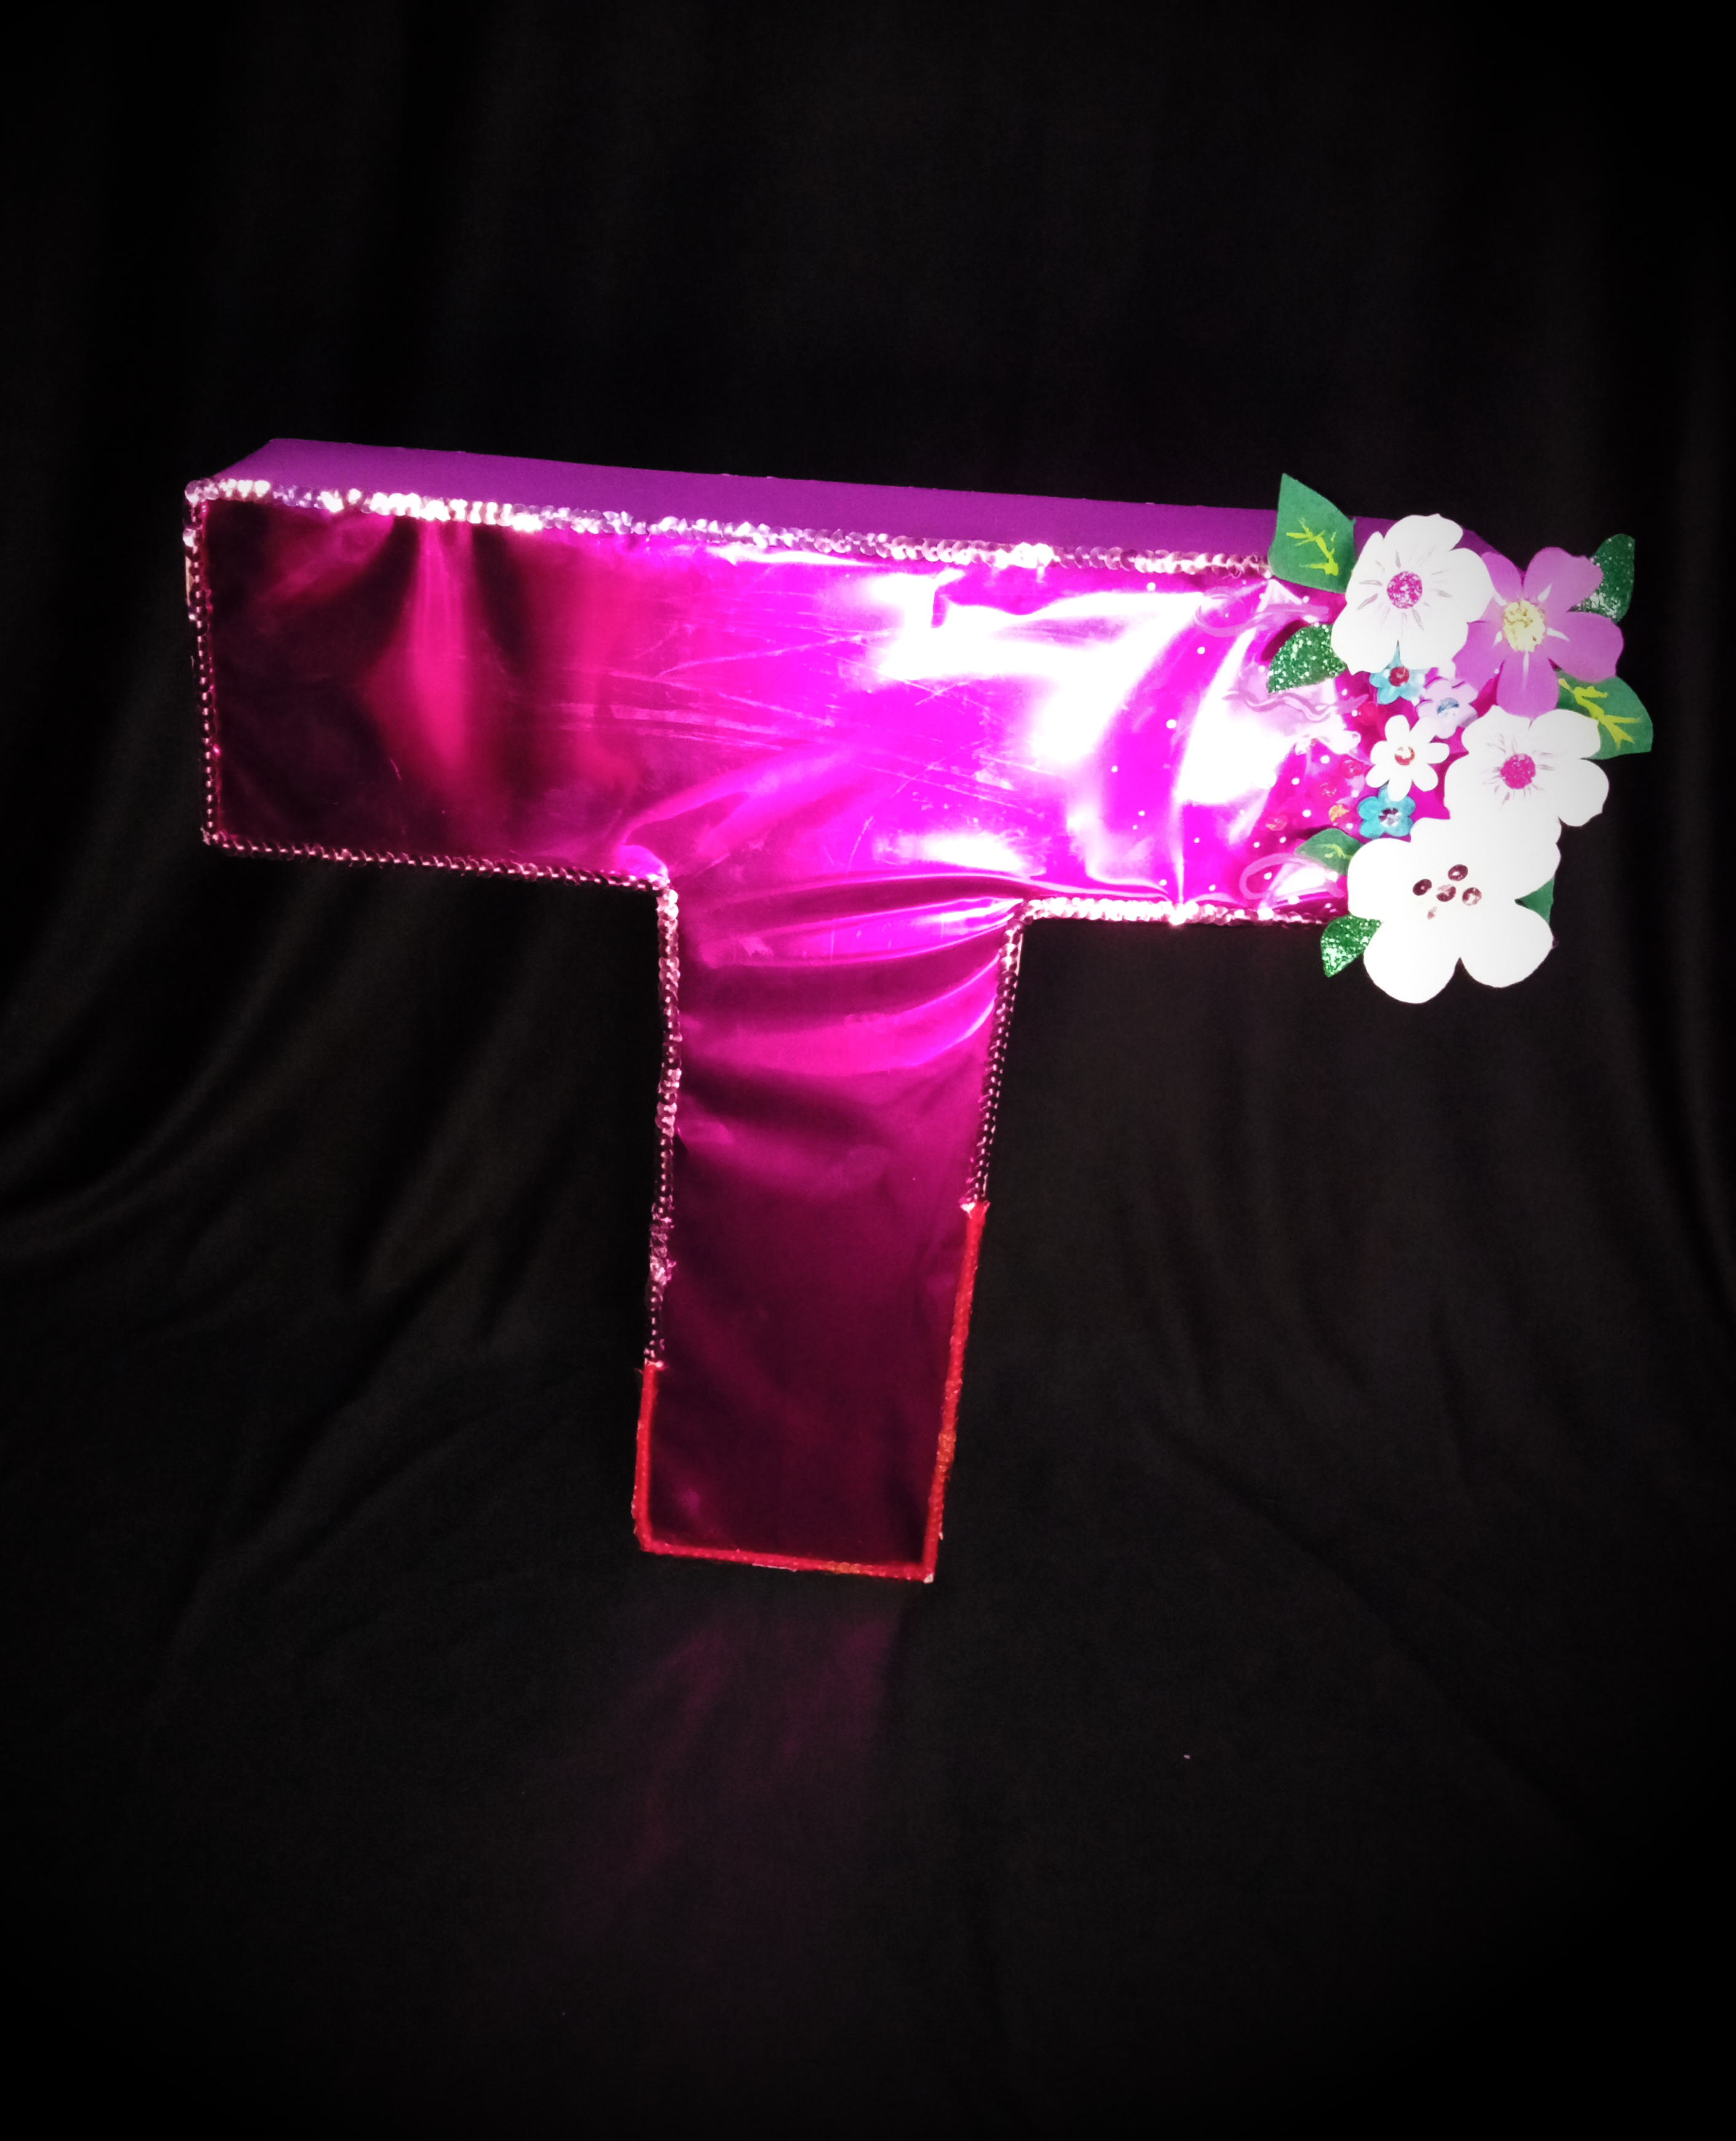
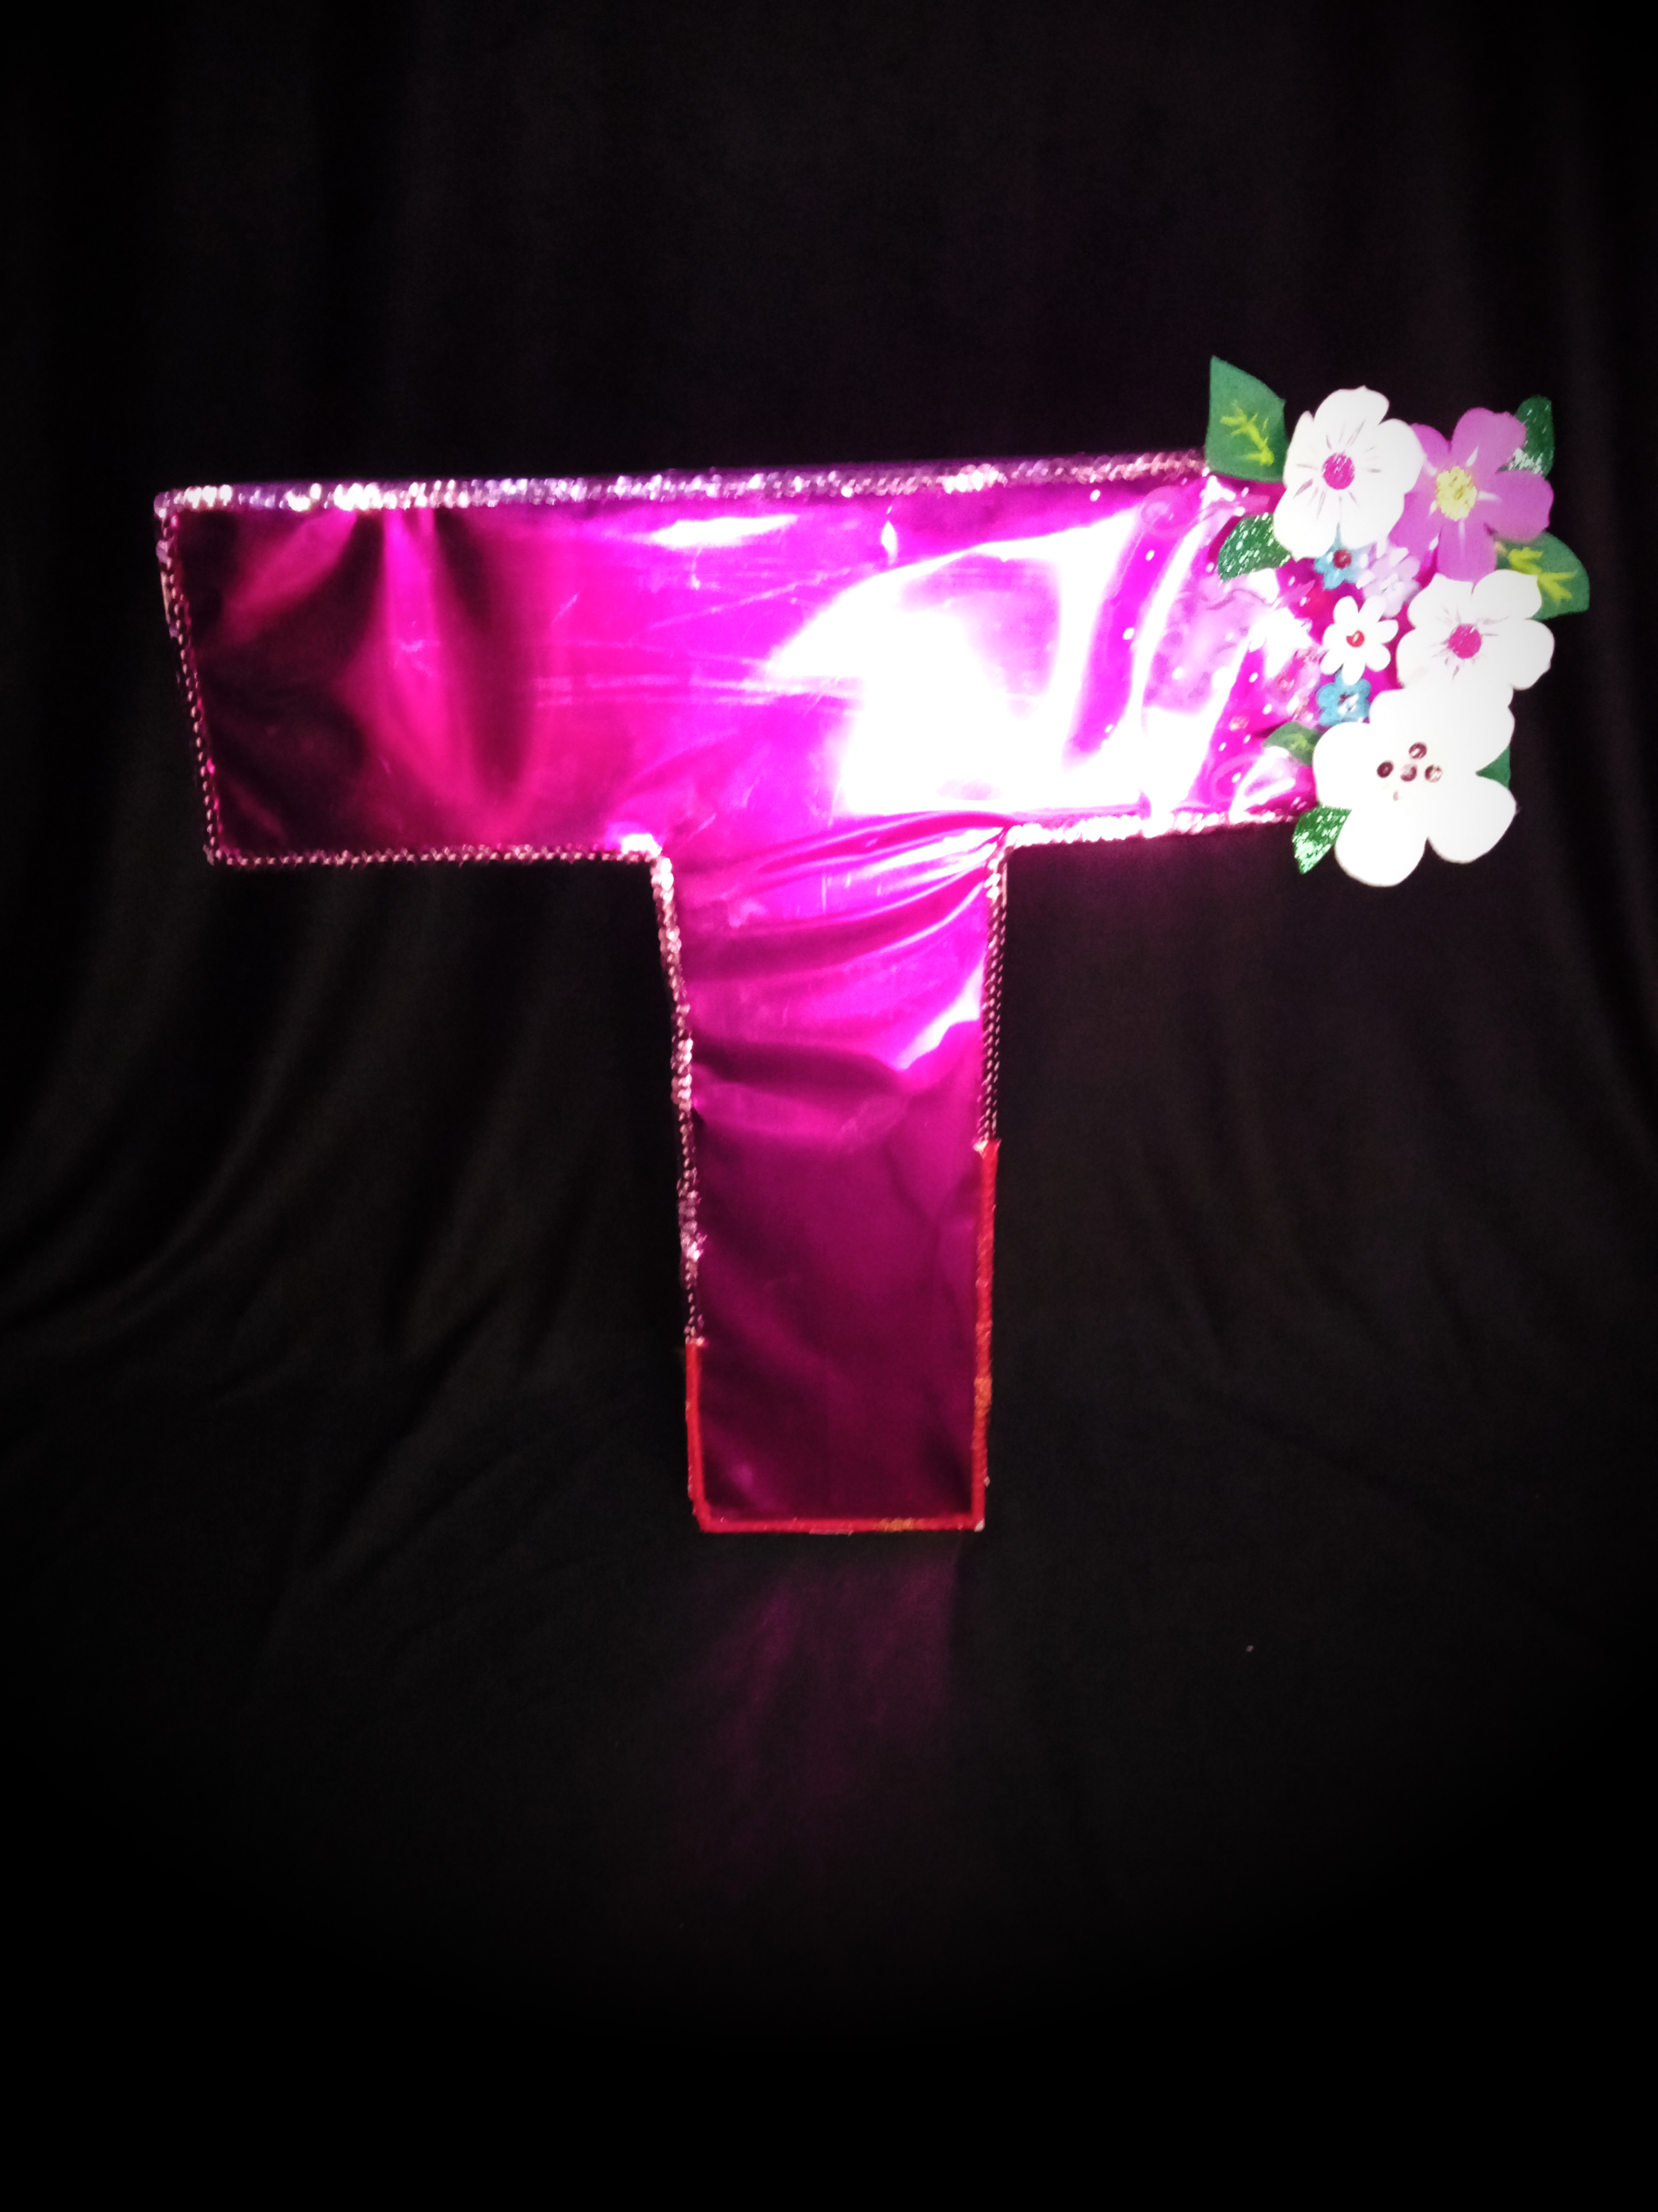
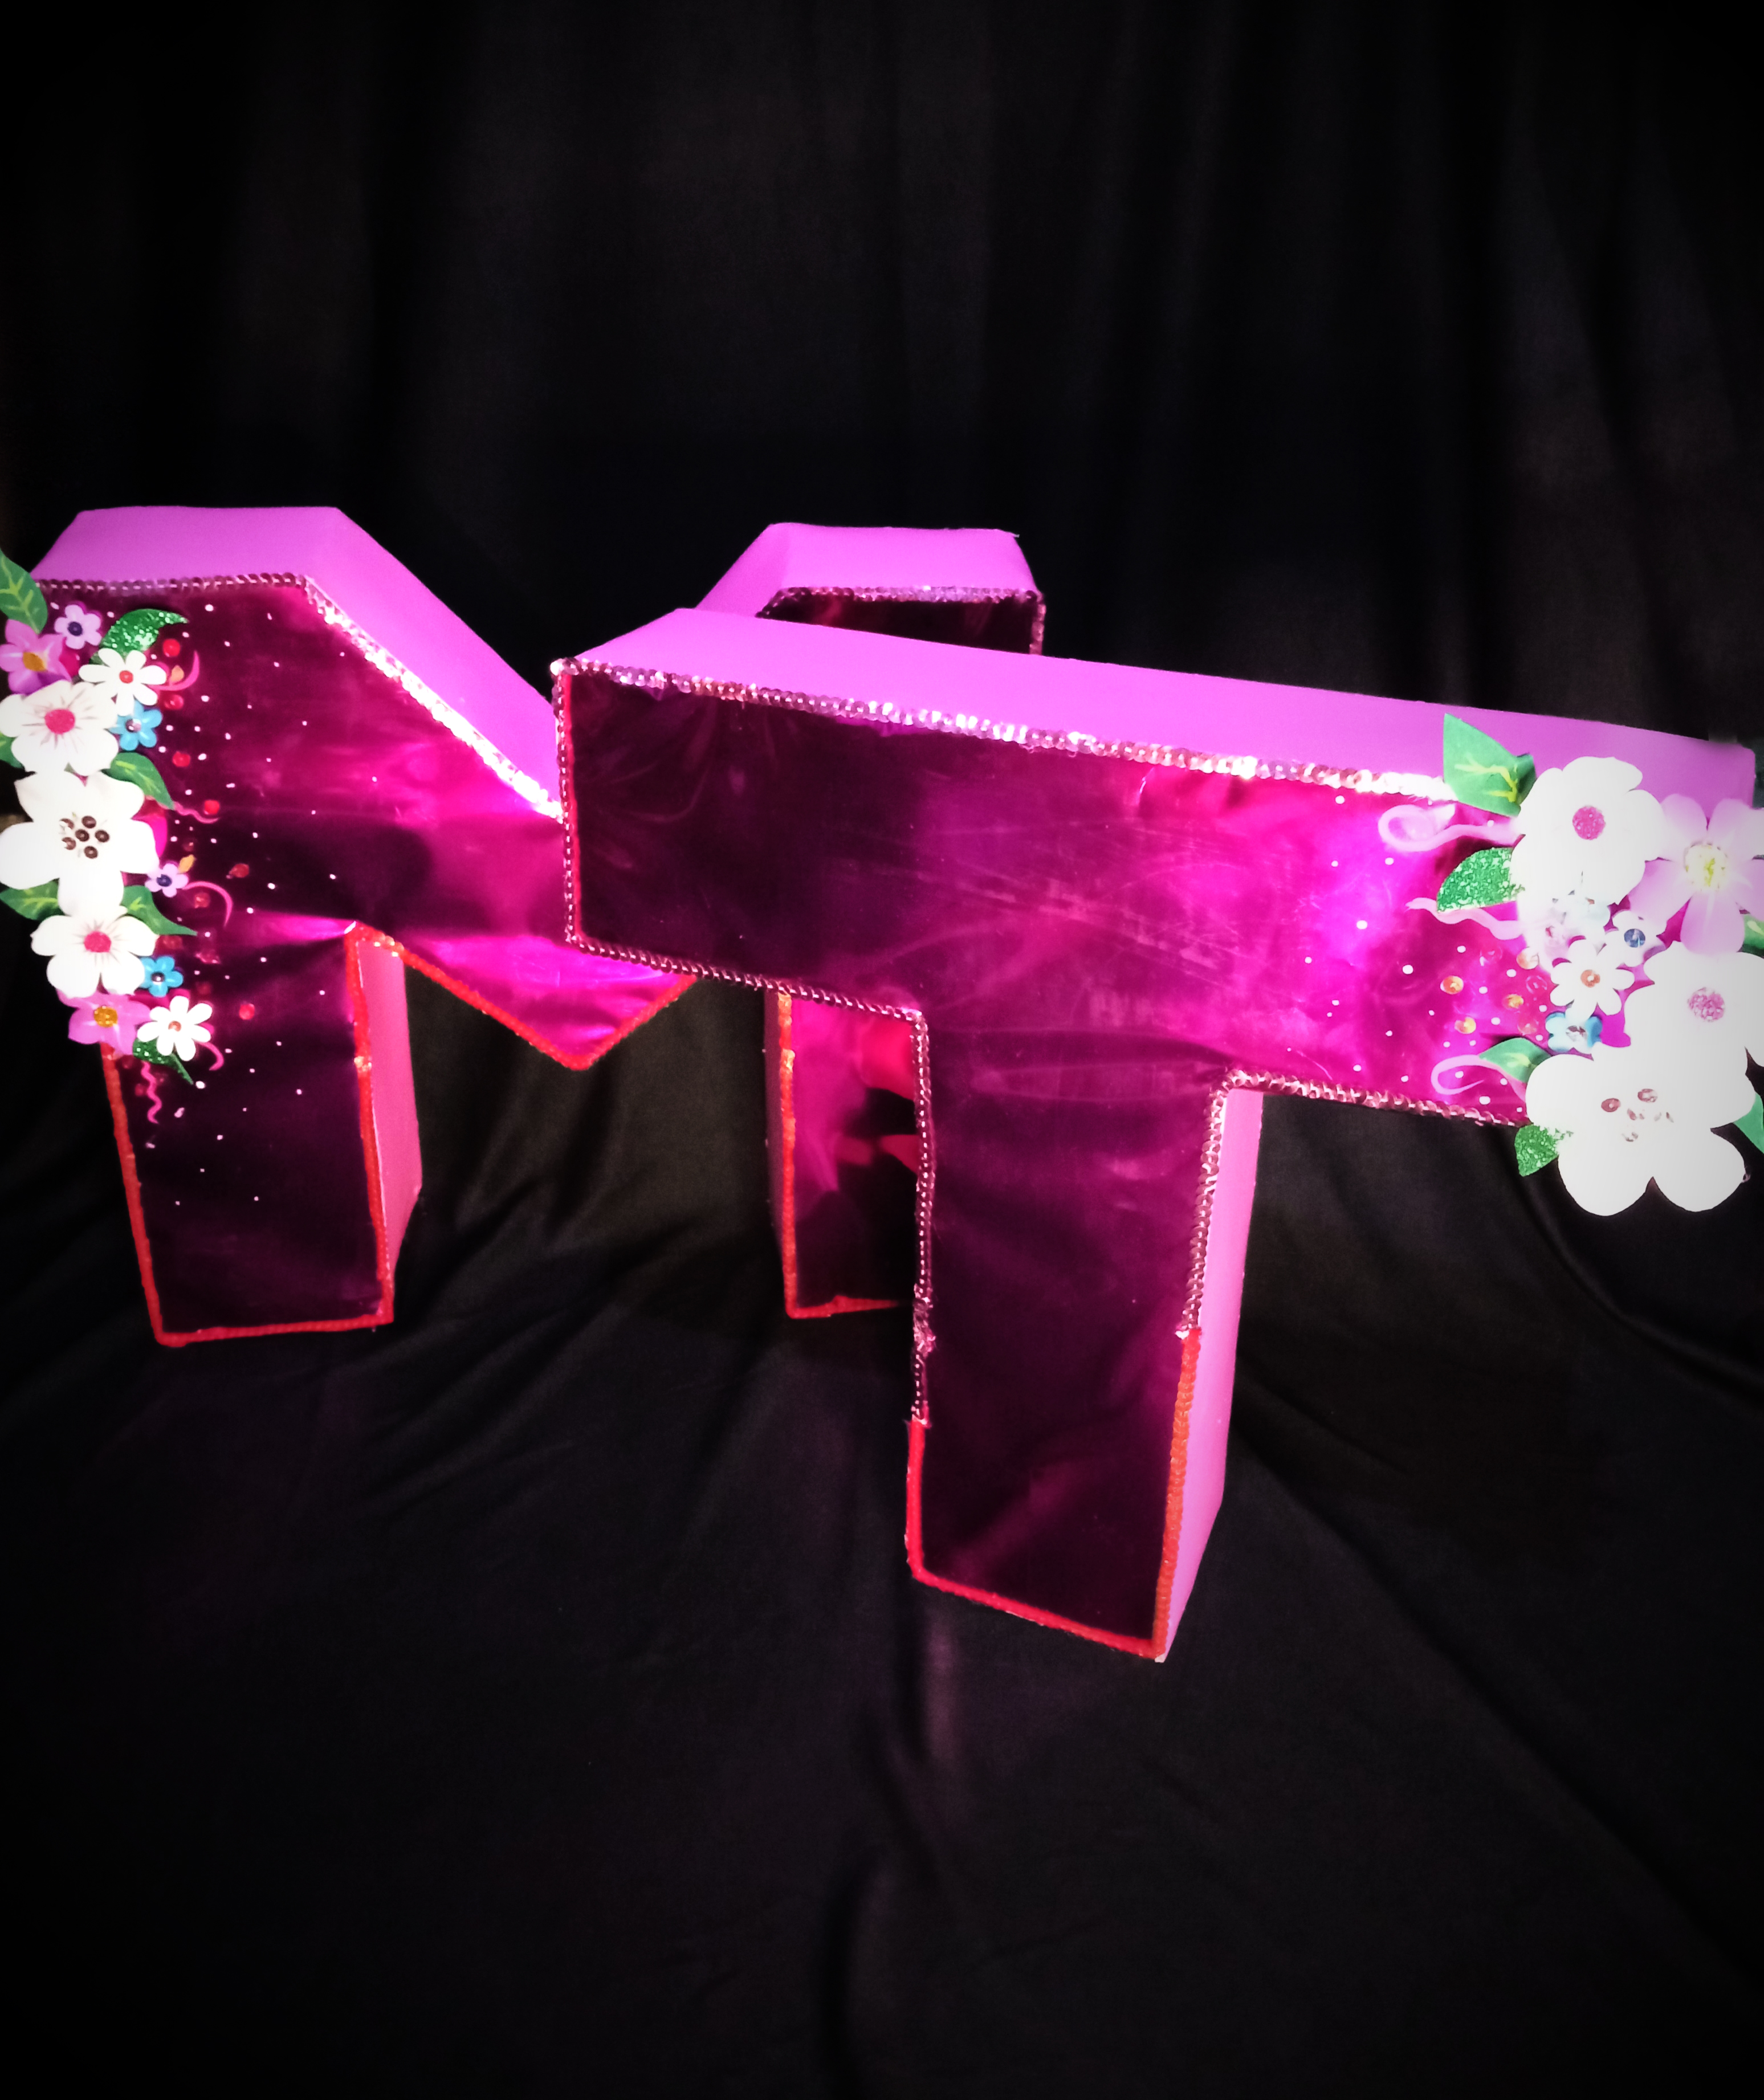
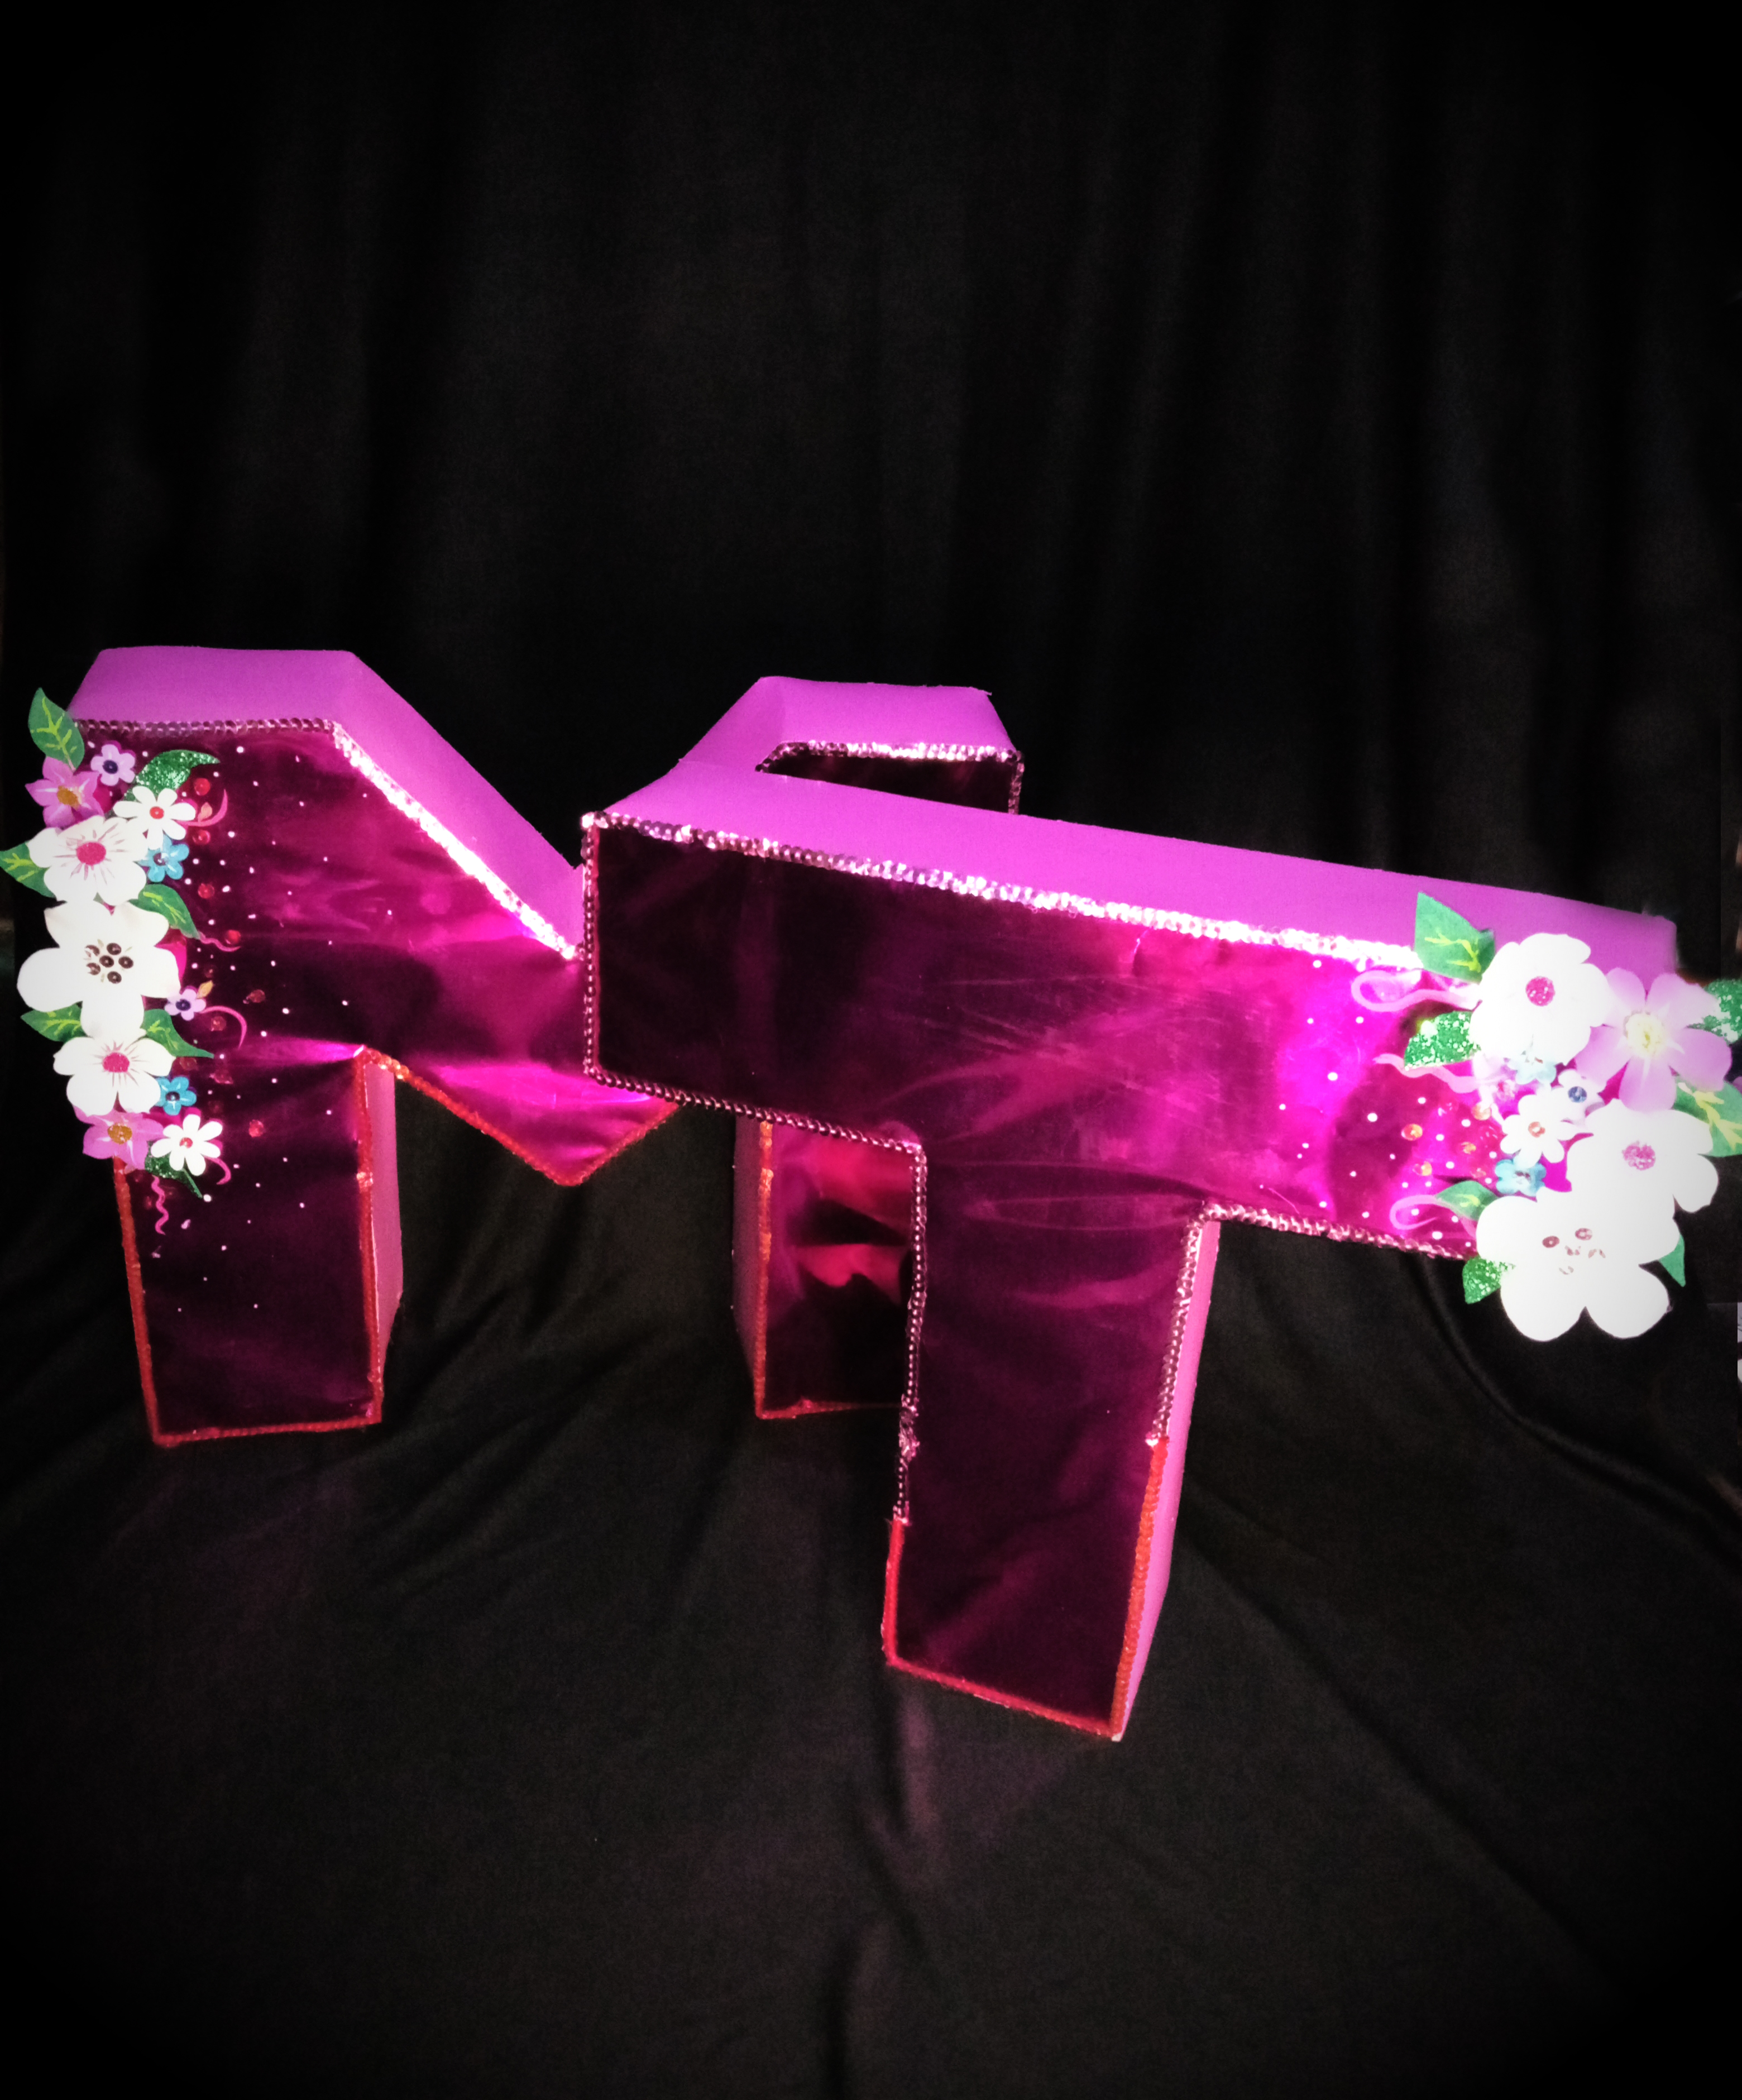
🔴 Hola amigos de hive espero estén muy bien, hoy les traigo un nuevo tutorial, se trata de unas letras 3D grandes. Los que leen constantemente mis post sabrán que no es el primer tutorial de letras 3D es el tercero ya, pero esta vez tuve un poco más de experiencia en el tema y no será una sino dos letras 3D con una decoración diferente y así puedas tener más opciones e ideas a la hora de decorar una de estas con pocos materiales. A continuación, te mostraré detalladamente los pasos y el resultado final.
🔘Hello friends of hive I hope you are very well, today I bring you a new tutorial, this is a large 3D letters. Those who constantly read my posts will know that this is not the first tutorial of 3D letters is the third already, but this time I had a little more experience in the subject and will not be one but two 3D letters with a different decoration and so you can have more options and ideas when decorating one of these with few materials. Next, I will show you in detail the steps and the final result.
.gif)

🔴 Primer paso: comenzamos dibujando la letra que haremos en un cartón ya sea con un molde o una regla o si tienes habilidades para dibujo a mano alzada, este paso se repite hasta tener dos piezas iguales, es muy importante que sean exactamente iguales. | 🔘 First step: we start drawing the letter that we will make on a cardboard either with a mold or a ruler or if you have freehand drawing skills, this step is repeated until we have two equal pieces, it is very important that they are exactly the same.

🔴 Segundo paso: ahora colocamos la pieza de cartón encima del papel que usaremos para forrar, en este caso yo elegí papel hojilla, ahora cortamos por toda la orilla dejando un par de centímetros extras para doblar hacia dentro y empezar a pegar el papel al cartón. Este papel puede ser un poco complicado de utilizar, pero con paciencia se logra. Este paso lo repetimos con todas las piezas de cartón. | 🔘 Second step: Now we place the piece of cardboard on top of the paper that we will use to cover the cardboard, in this case I chose the paper sheet, now we cut all around the edge leaving a couple of extra centimeters to fold inwards and start gluing the paper to the cardboard. This paper can be a little complicated to use, but with patience it can be done. We repeat this step with all the cardboard pieces.

🔴 Tercer paso: ahora recortamos unos listones gruesos de cartulina doble faz, esto lo emplearemos para crear los laterales y el grosor de la letra. Los iremos pegando poco a poco por el borde de una de las piezas de cartón previamente forradas y una vez esté completamente bordeada de esta cartulina, encajamos la segunda pieza en el lado contrario e iremos pegándola con cuidado de hundirla. Una vez lista nuestra letra podemos decorar, en este caso elegí colocarles flores en una de las esquinas. | 🔘 Third step: Now we cut some thick strips of double-sided cardboard, this will be used to create the sides and the thickness of the letter. We will glue them little by little along the edge of one of the pieces of cardboard previously lined and once it is completely lined with this cardboard, we fit the second piece on the opposite side and we will glue it carefully to sink it. Once our letter is ready we can decorate it, in this case I chose to place flowers in one of the corners.
.gif)
🔴 Los materiales que utilice fueron: Cartón, regla, lápiz, borrador, marcador, cúter, tijeras, silicona caliente, papel hojilla, flores de foami y lentejuelas para decorar.
🔘 The materials I used were: cardboard, ruler, pencil, eraser, marker, cutter, scissors, hot silicone, foil paper, foami flowers and sequins to decorate.















| |
| |
| |
|

.gif)


.gif)


The rewards earned on this comment will go directly to the person sharing the post on Twitter as long as they are registered with @poshtoken. Sign up at https://hiveposh.com.