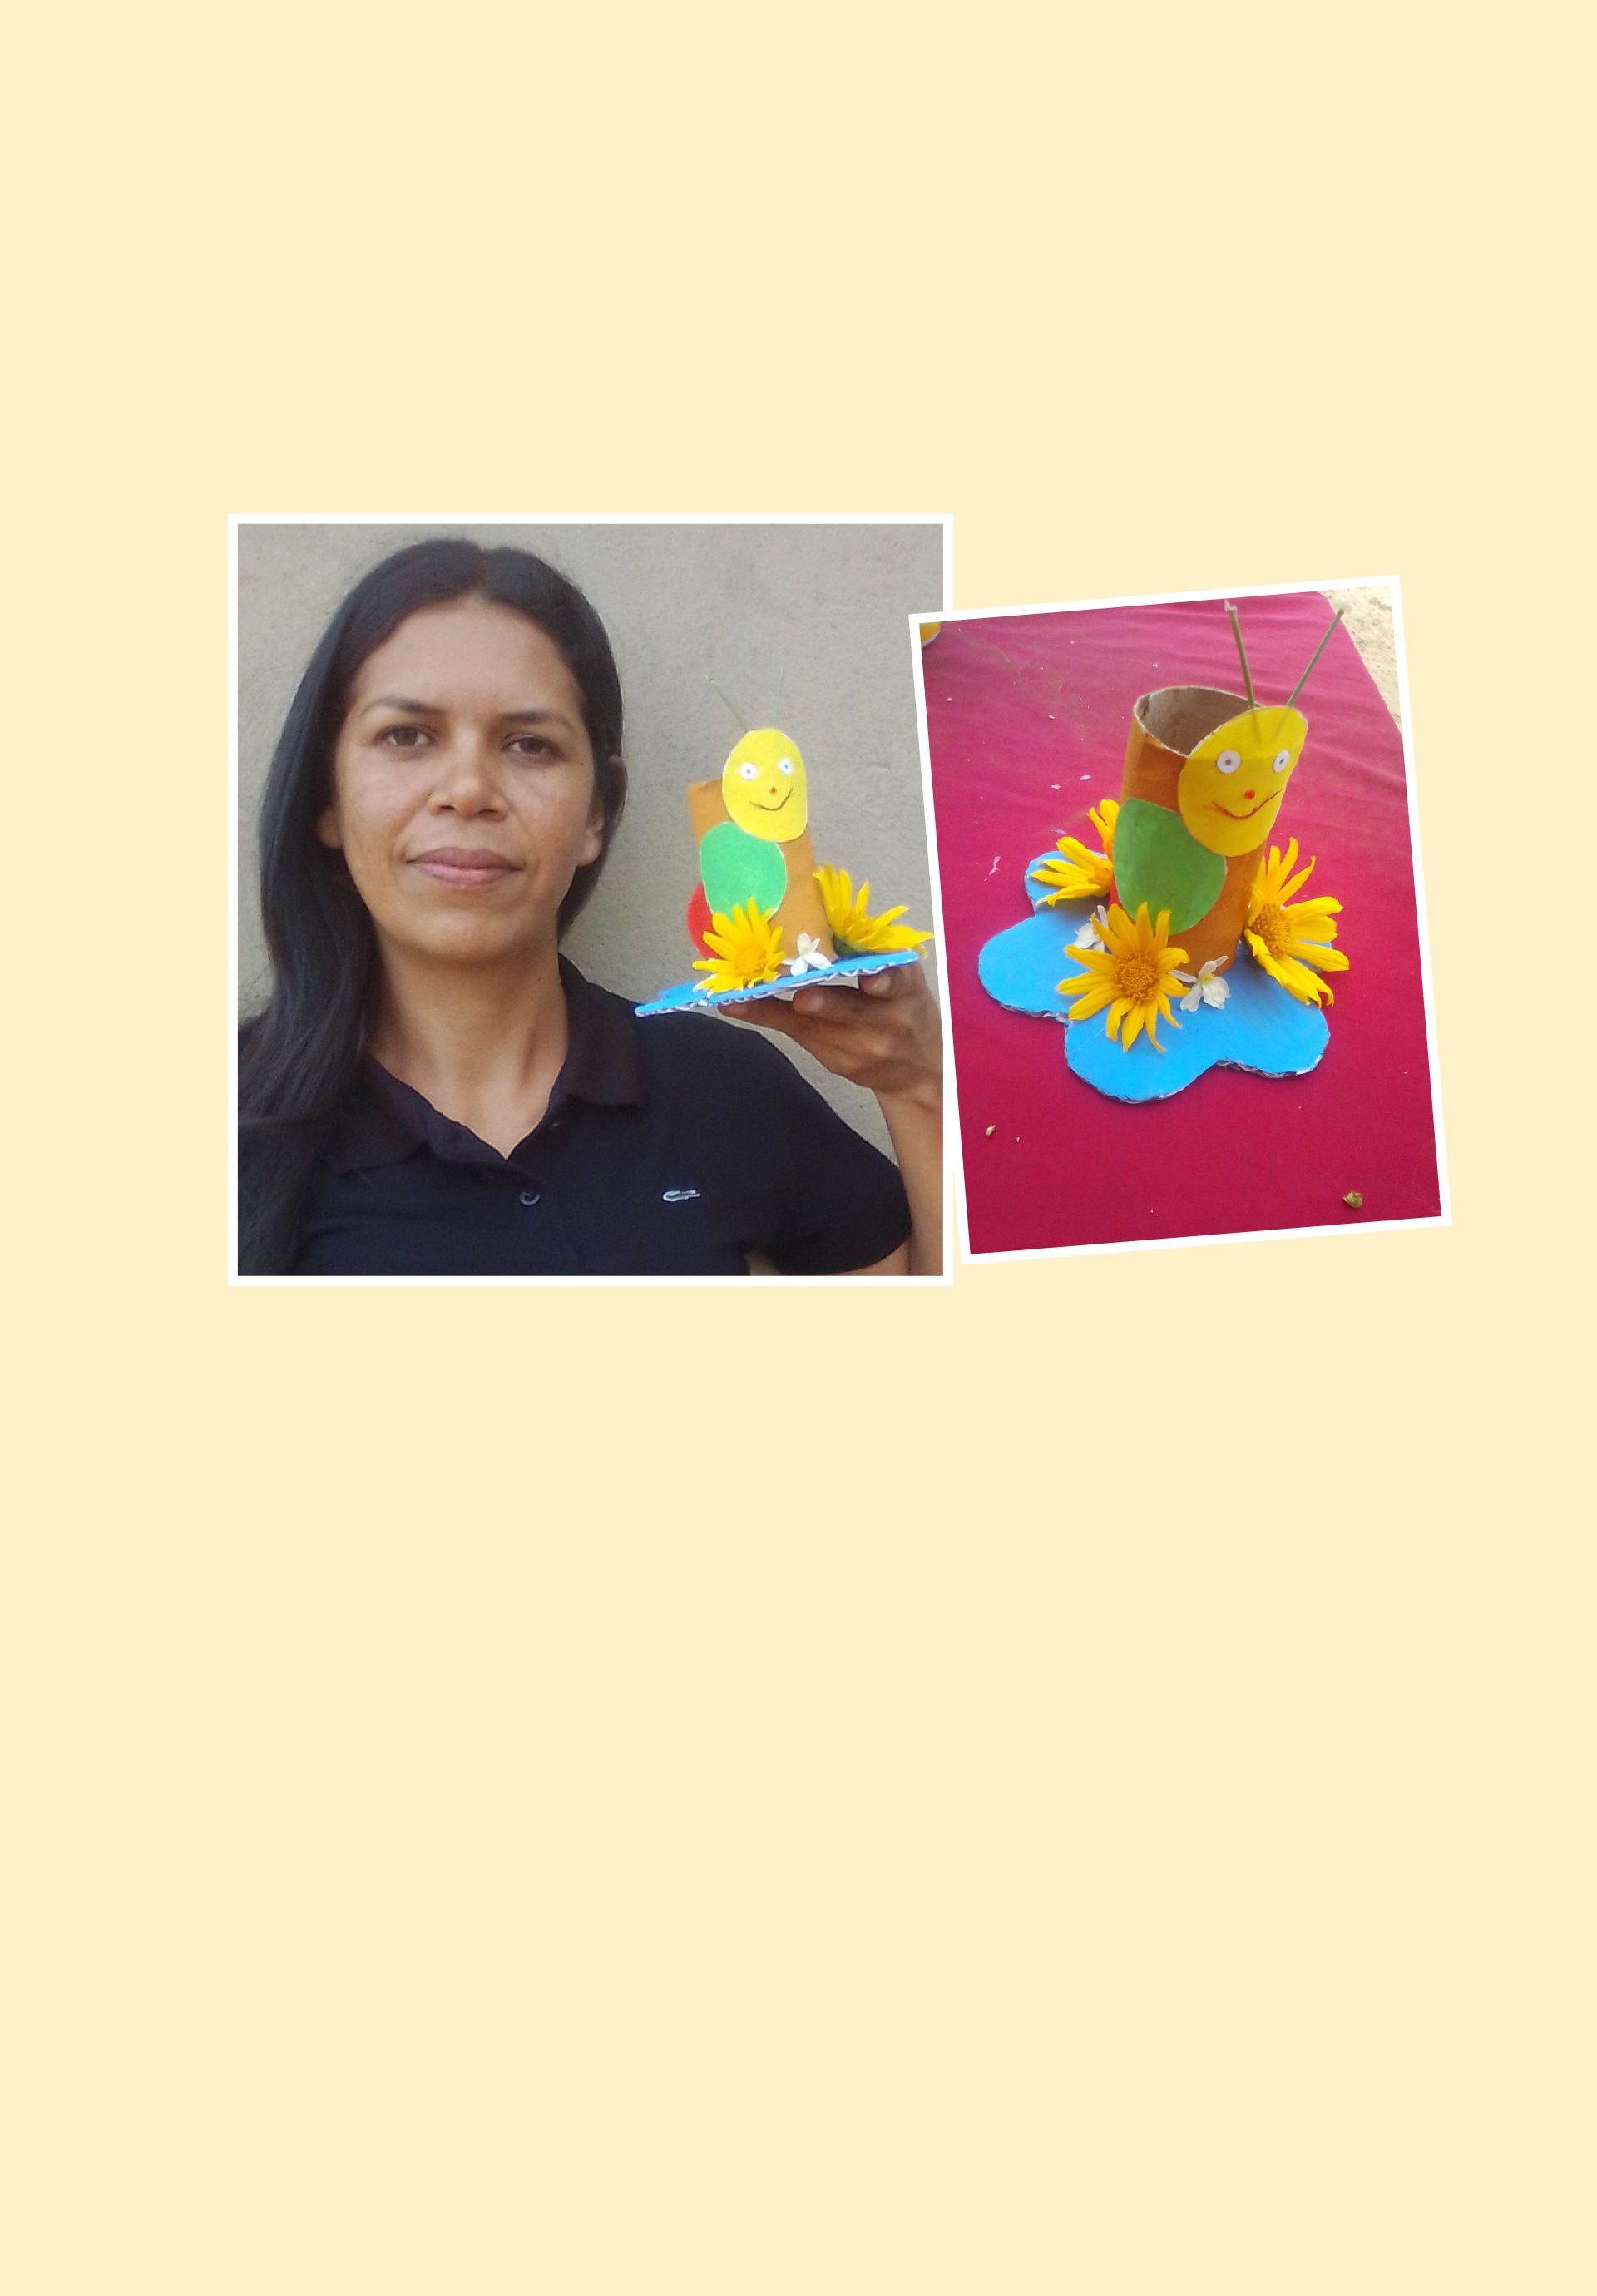
Muy buenos días tengan todos amigos de Hive en esta hermosa mañana les muestro como podemos hacer un portalápices con Materiales de provecho, esperando les agrade
Good morning, have all Hive friends, this beautiful morning I show you how we can make a pencil holder with useful materials, hoping you like it
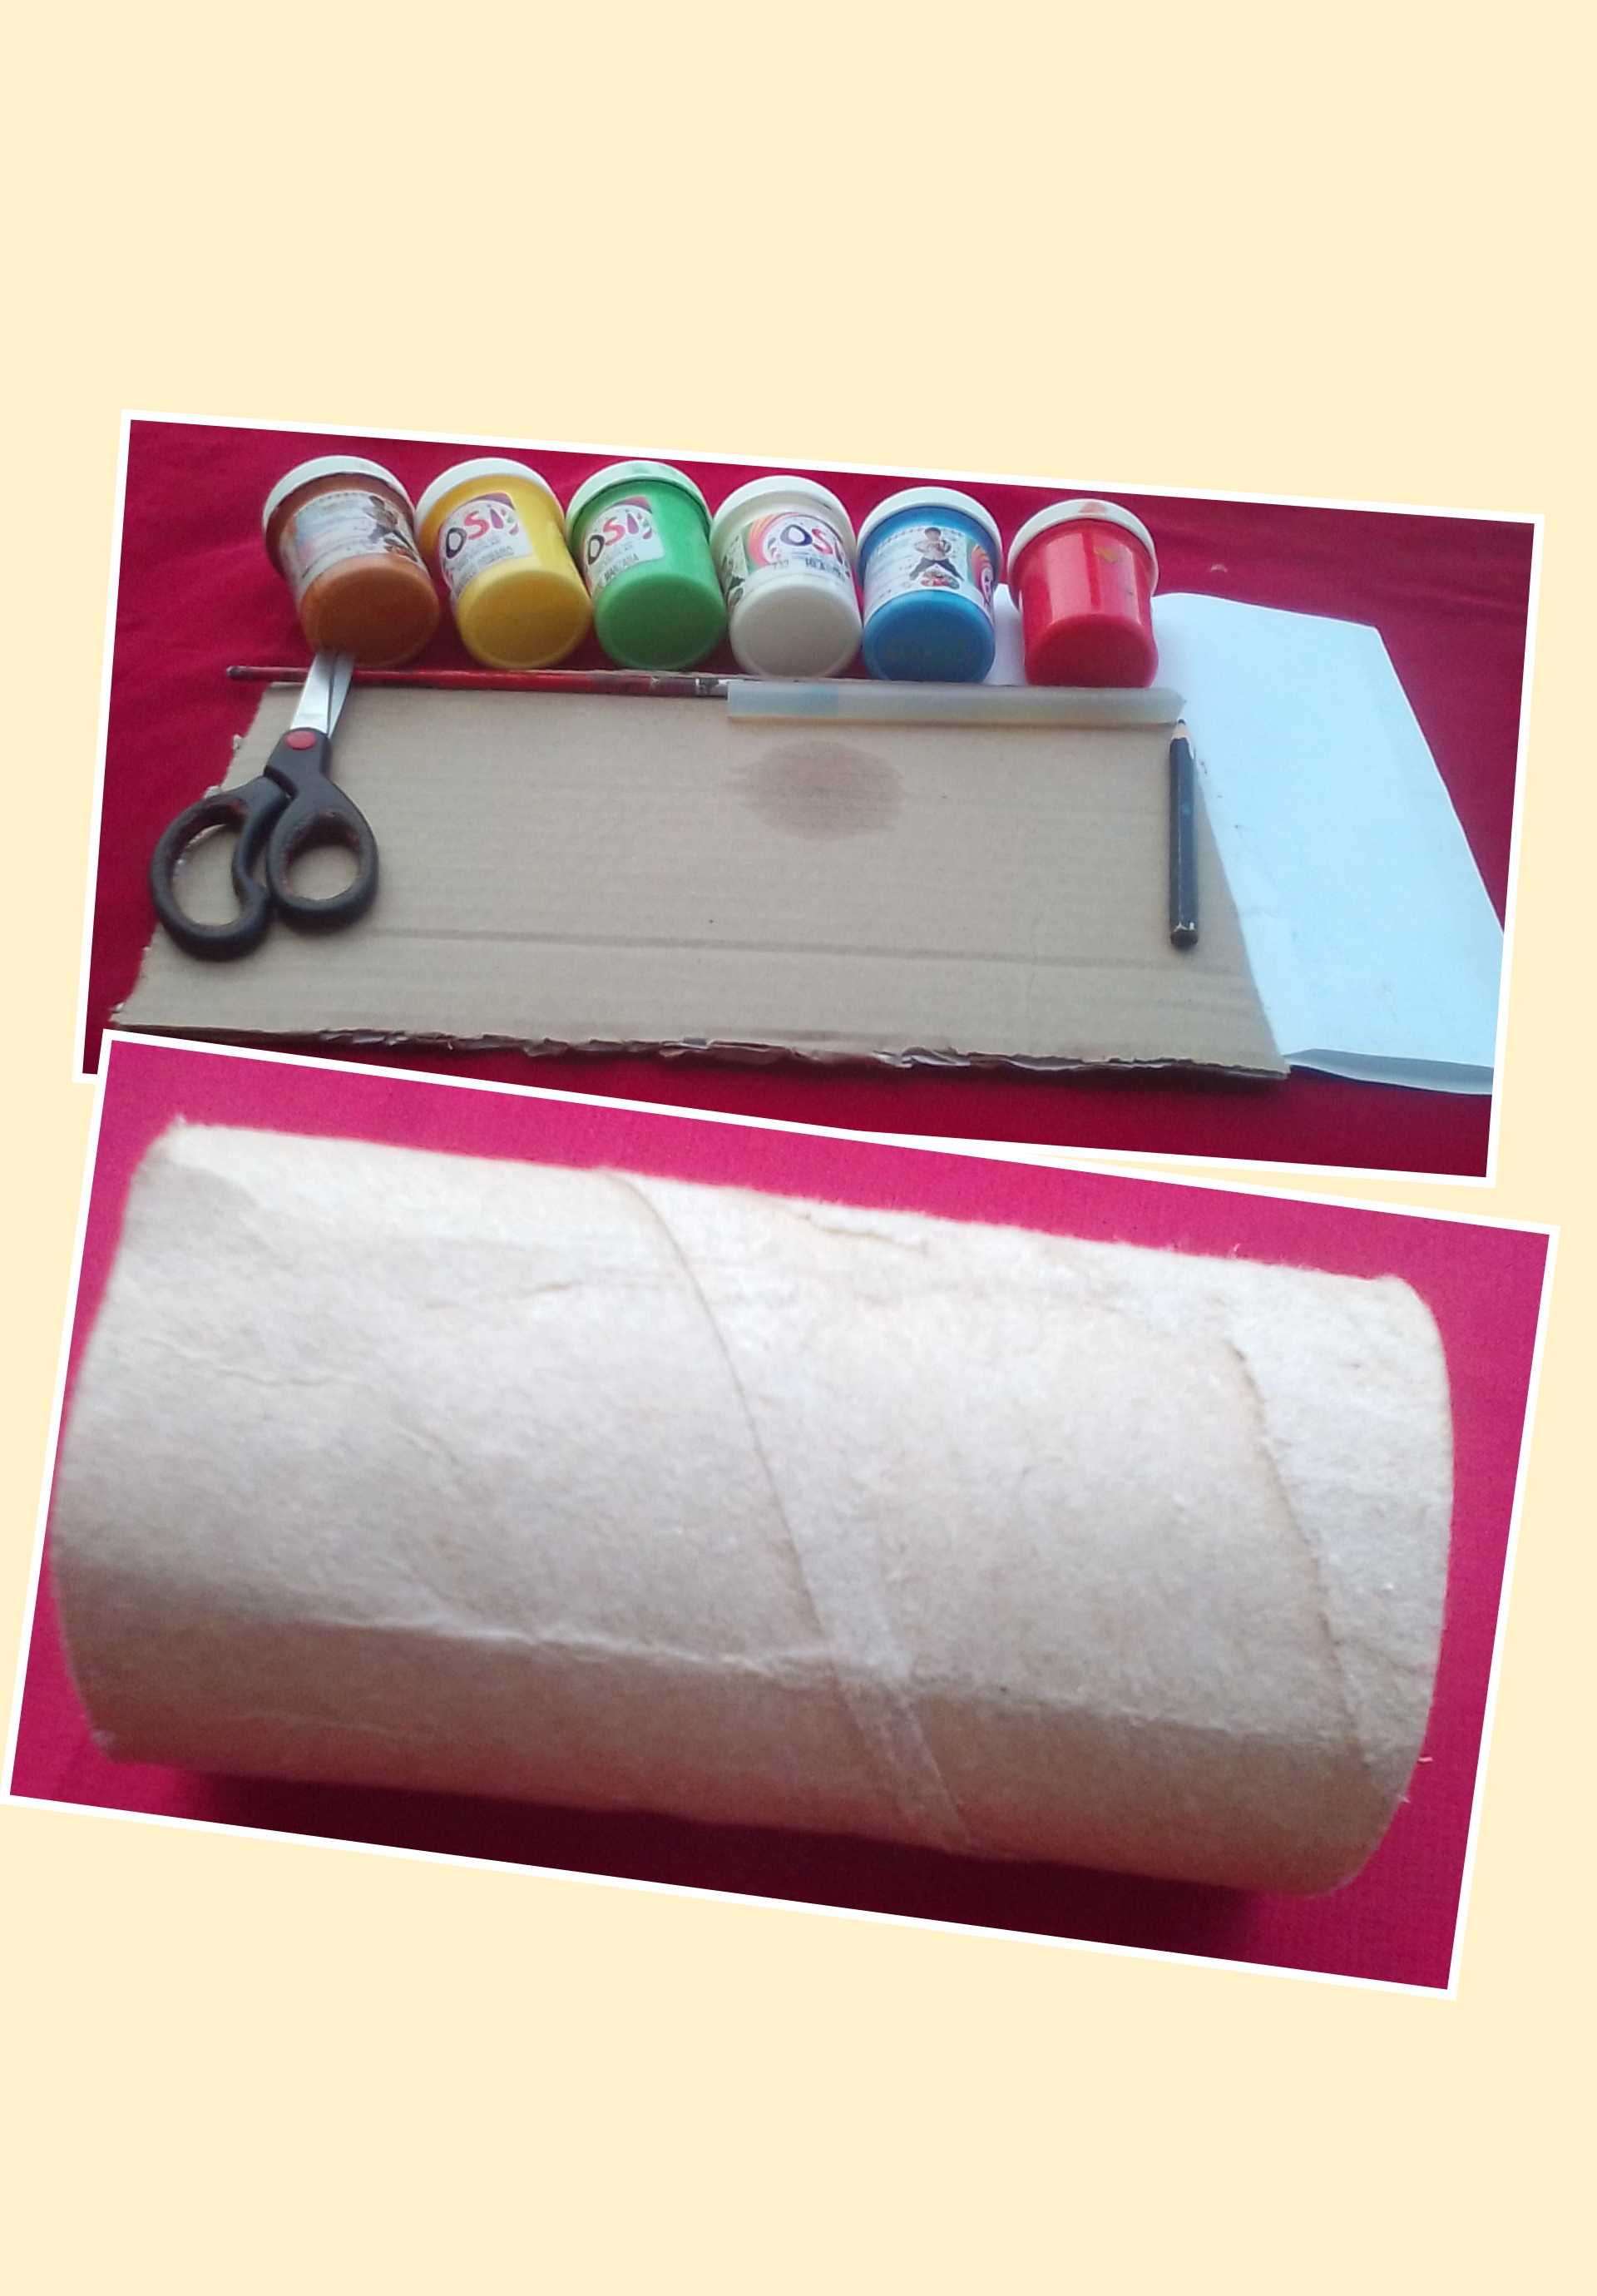
- Un tubo de papel higiénico
- Cartón
- Hojas blancas
- Pinturas al frío de diferentes colores
- Tijera
- Pincel
- Silicón caliente.
- A tube of toilet paper
- Cardboard
- White sheets
- Cold paints of different colors
- Scissors
- Brush
- Hot silicone.
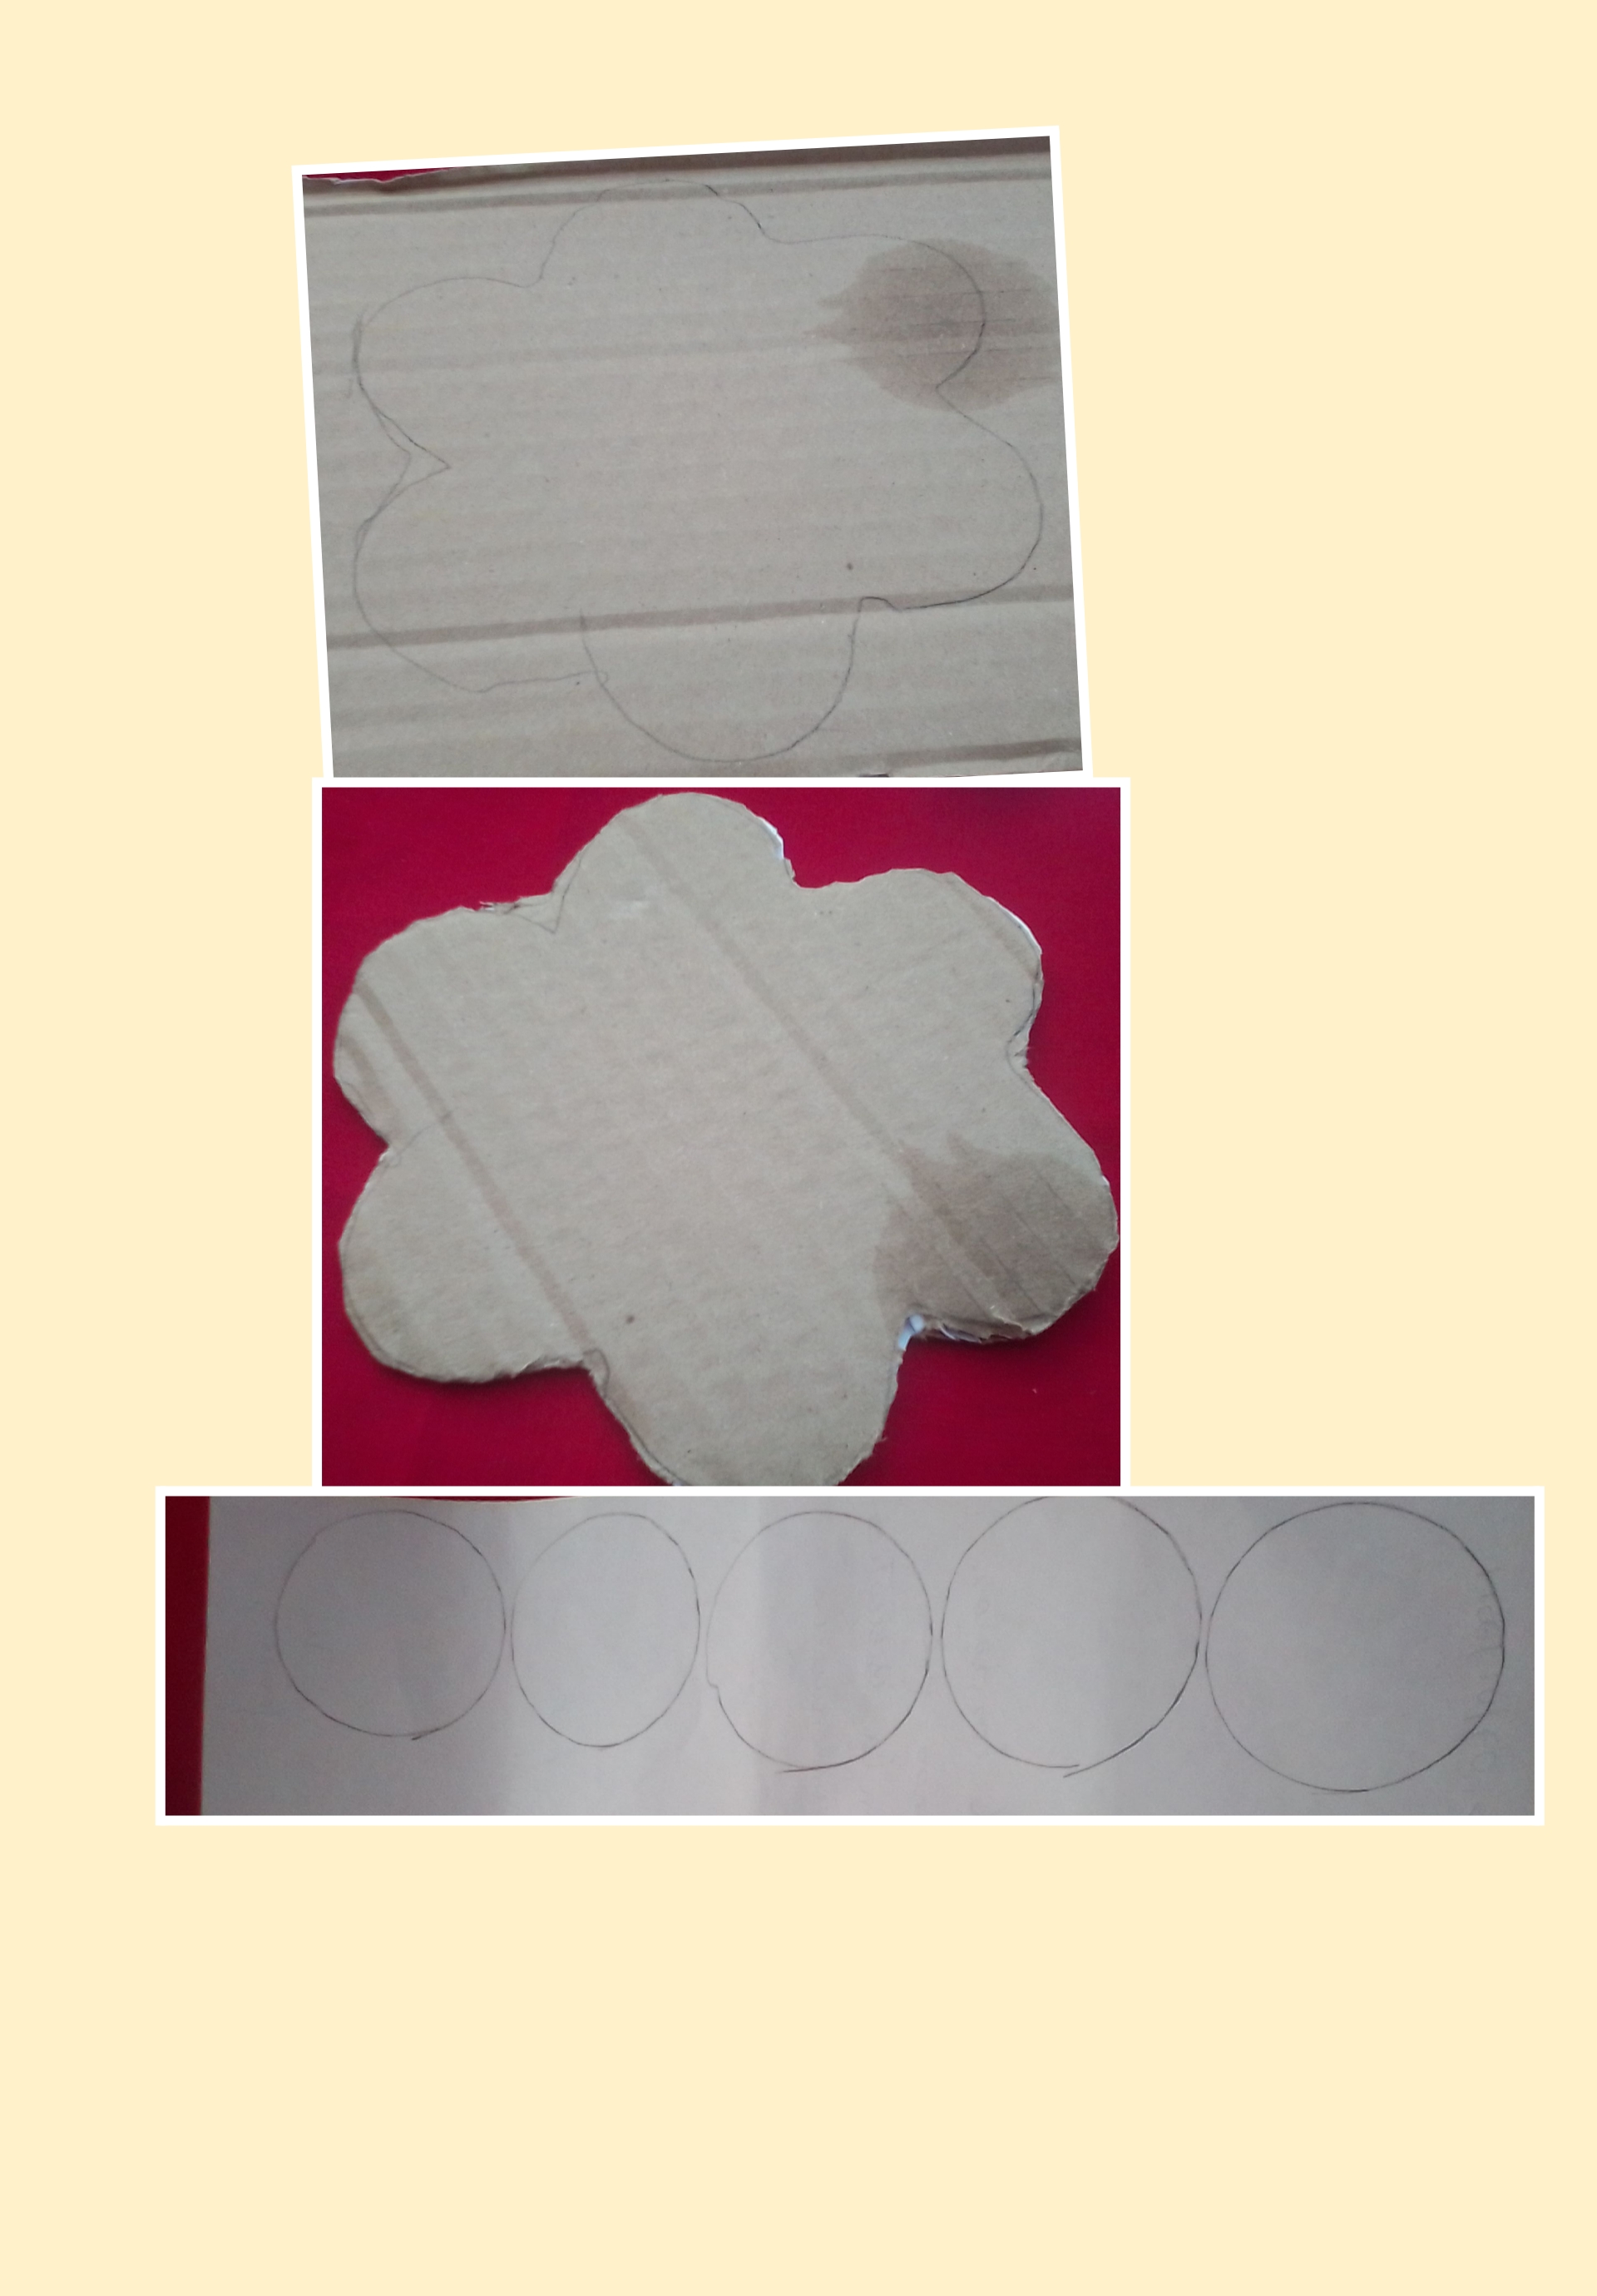
1- En el carton dibujamos la forma de una flor y recortamos, y en las hojas blancas varios círculos pequeños y recortamos
1-On the cardboard we draw the shape of a flower and cut out, and on the white sheets several small circles and cut
2- Luego procedemos a pintar la base en forma de flor de color azul, el tubo de color canela y los círculos de colores verdes, amarillo y rojo
2-We proceed to paint the base in the shape of a flower in blue, the tube in cinnamon and the circles in green, yellow and red.
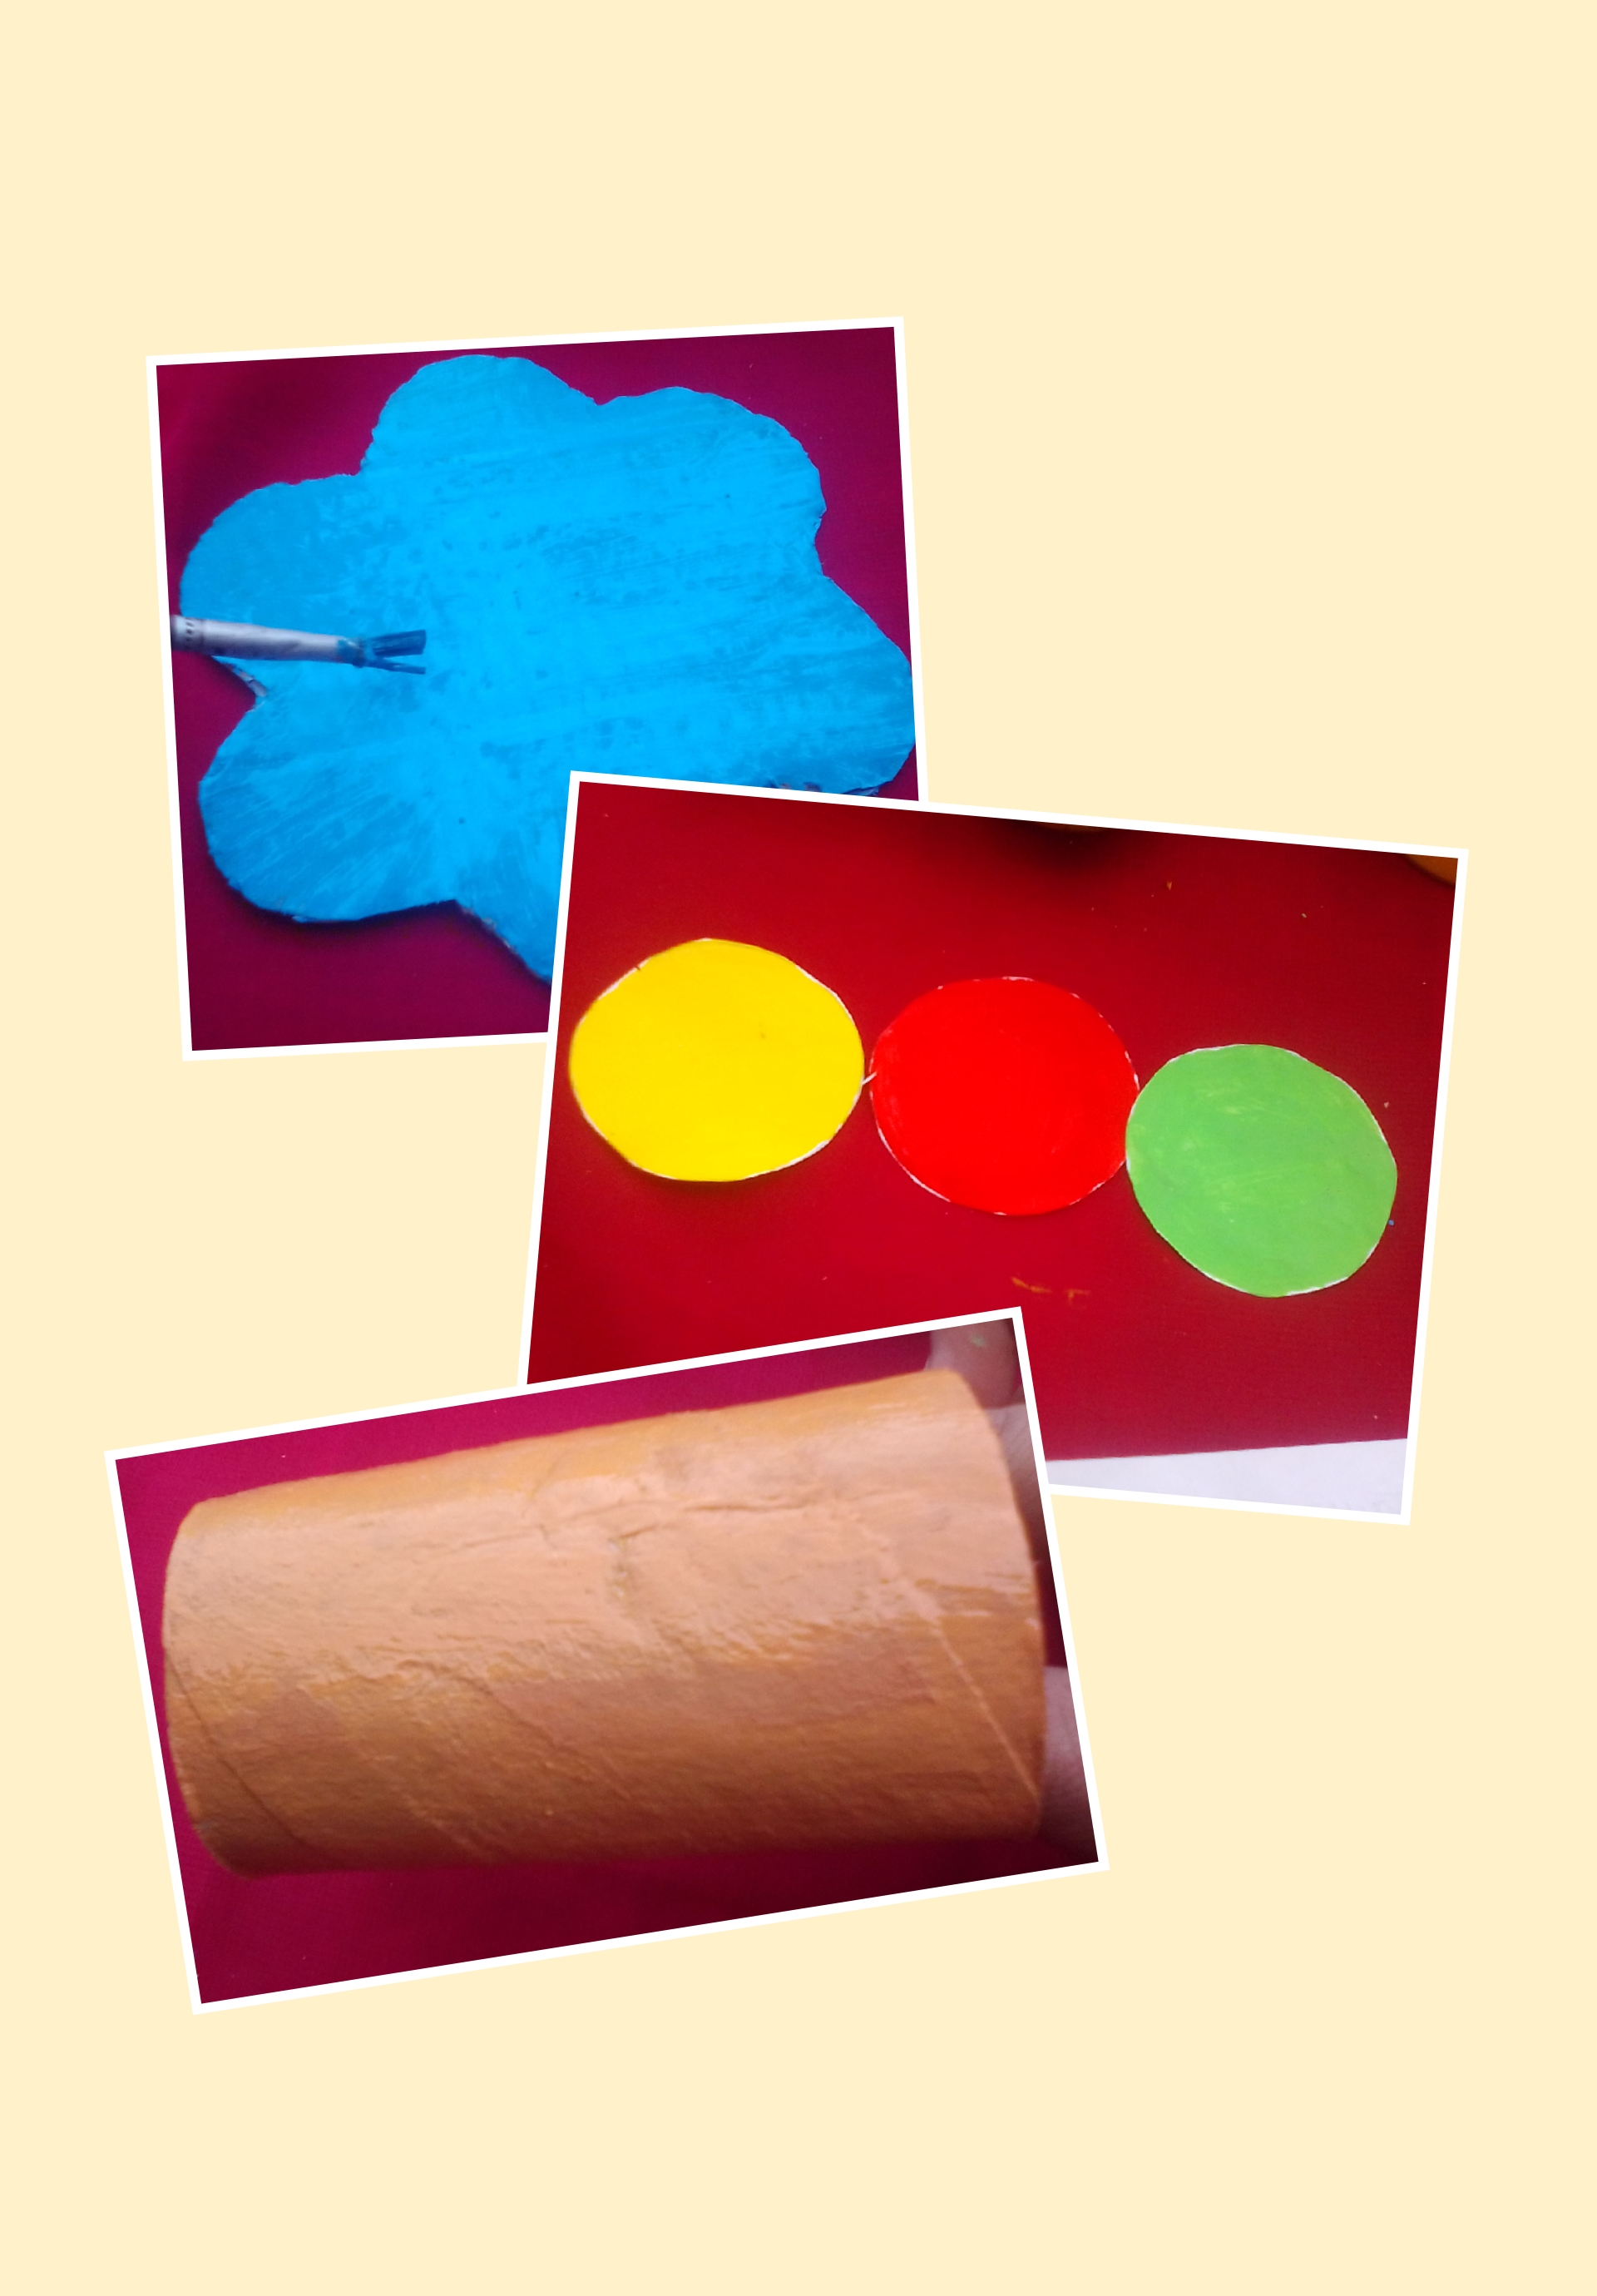
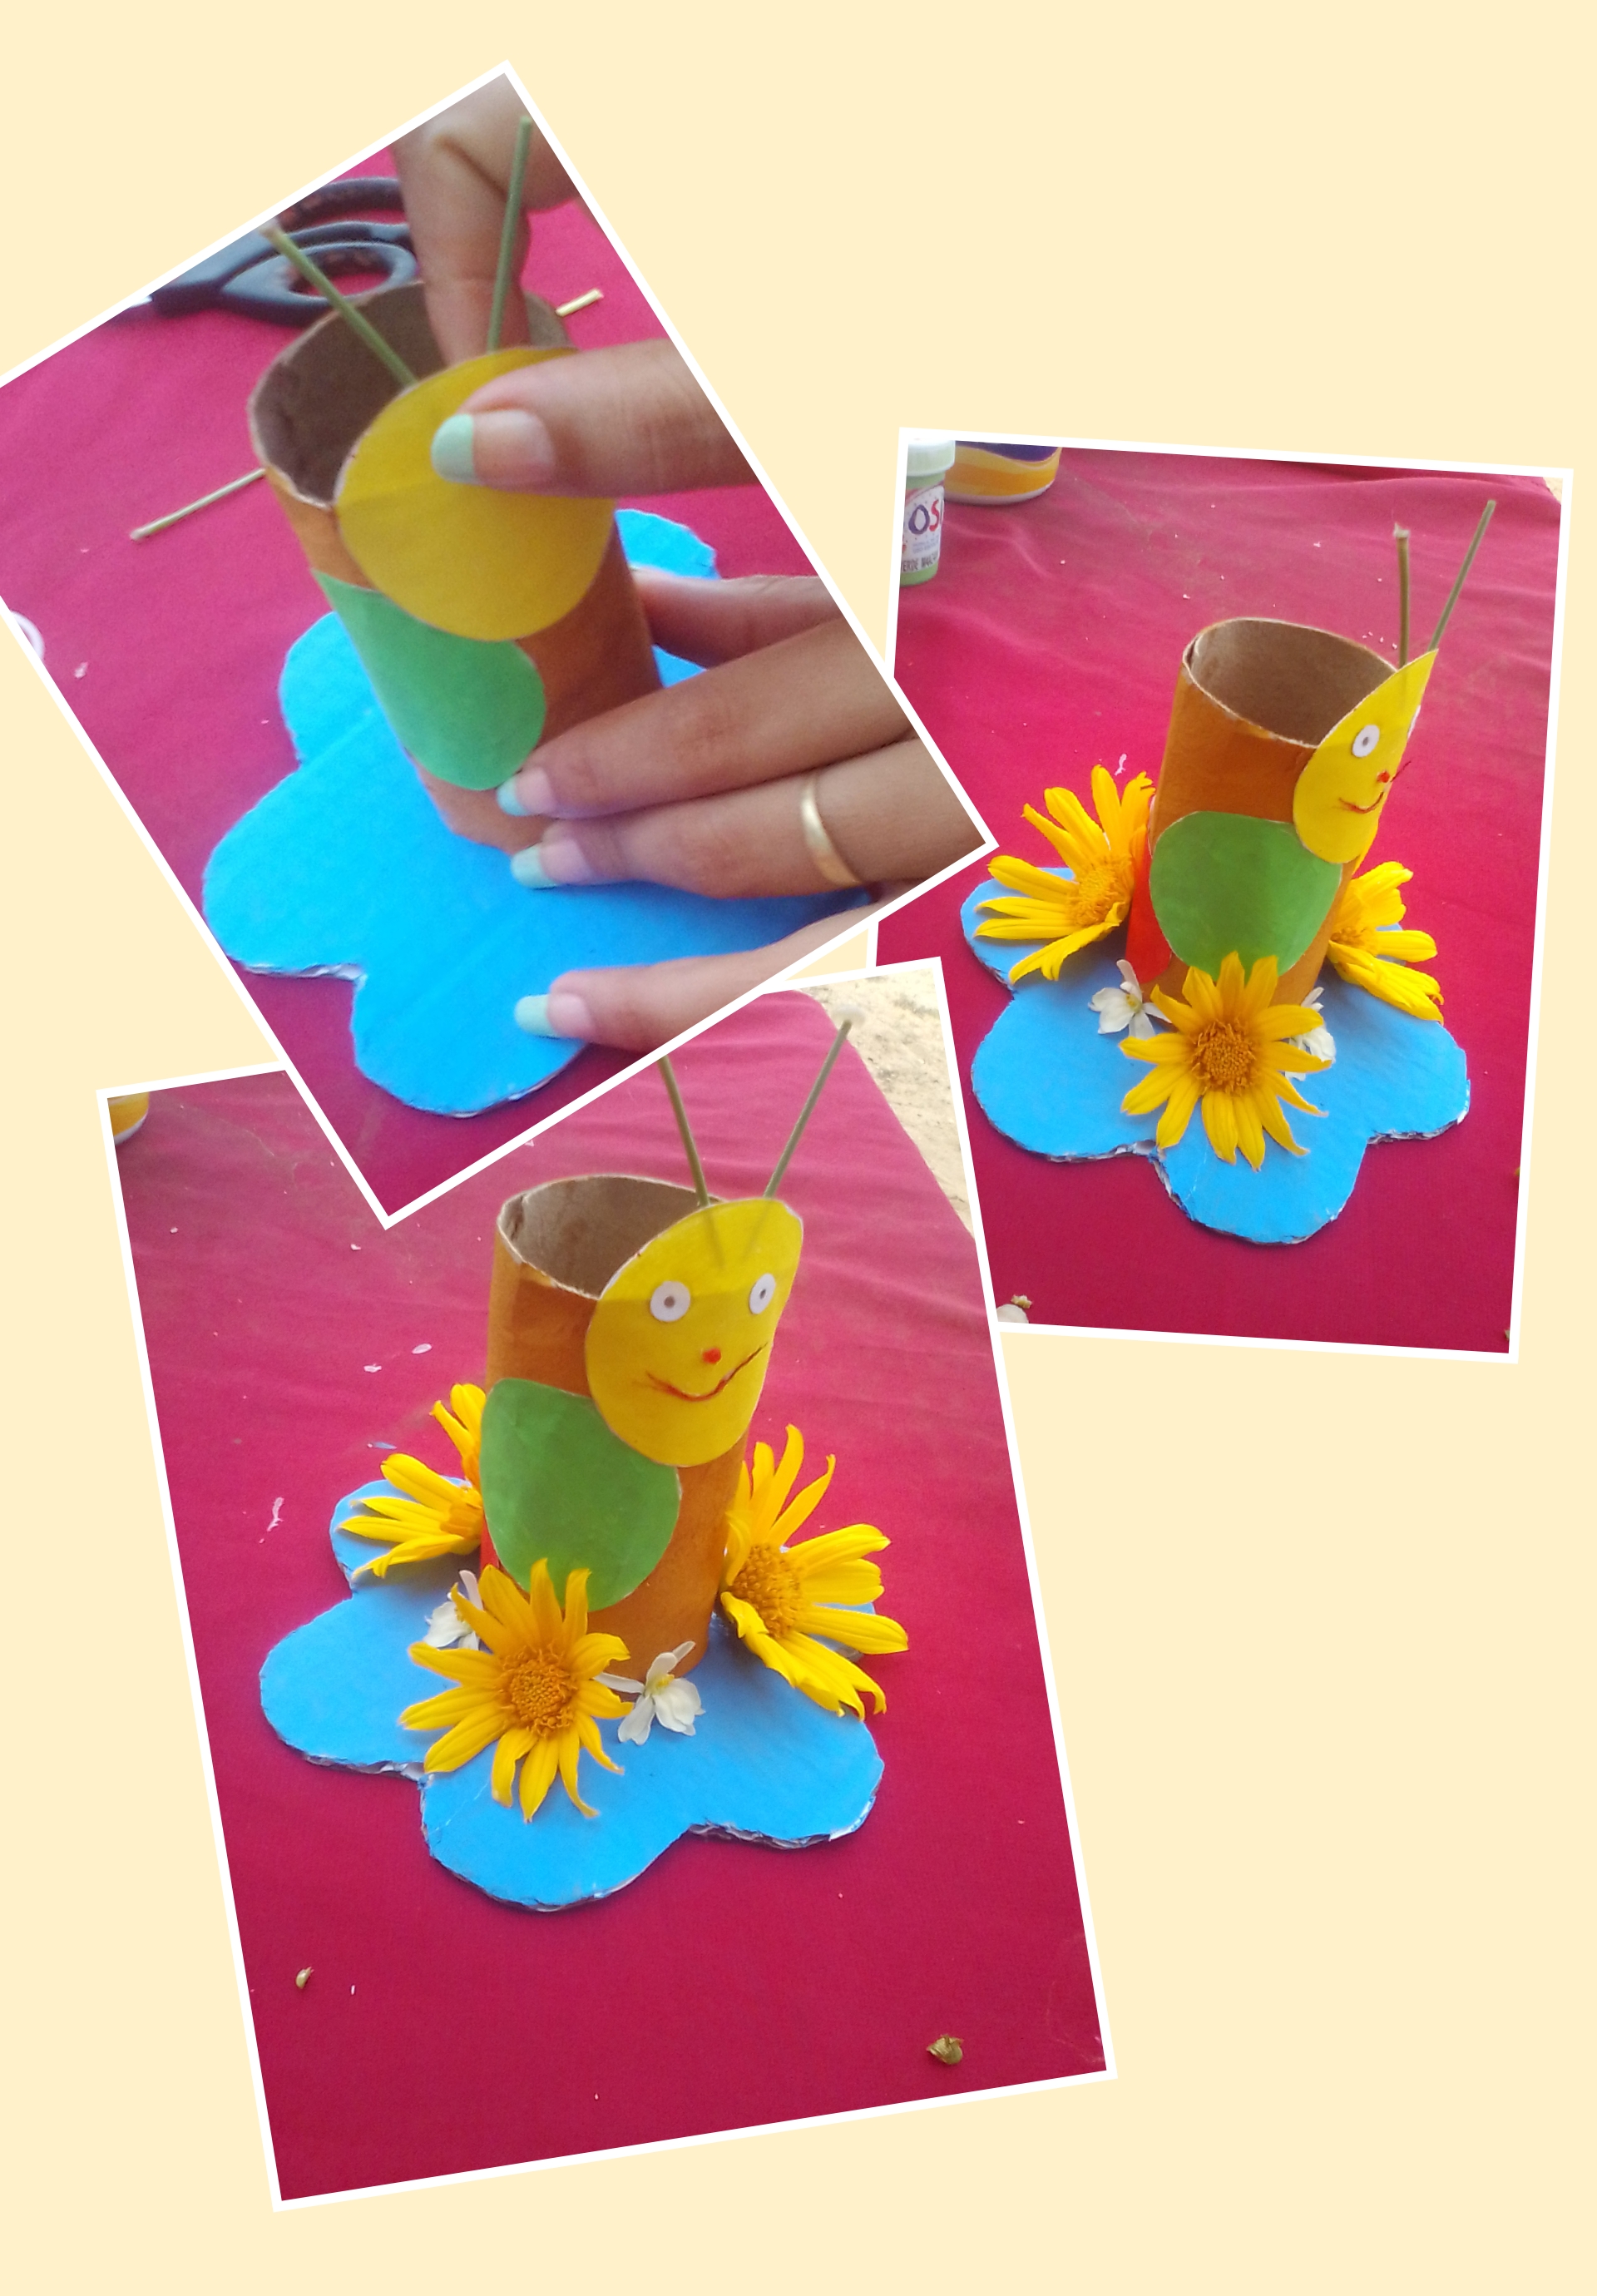
3- Después empezamos a pegar el tubo de la base, luego los círculos de colores en forma de gusano
3- Then we start to glue the base tube, then the colored circles in the shape of a worm
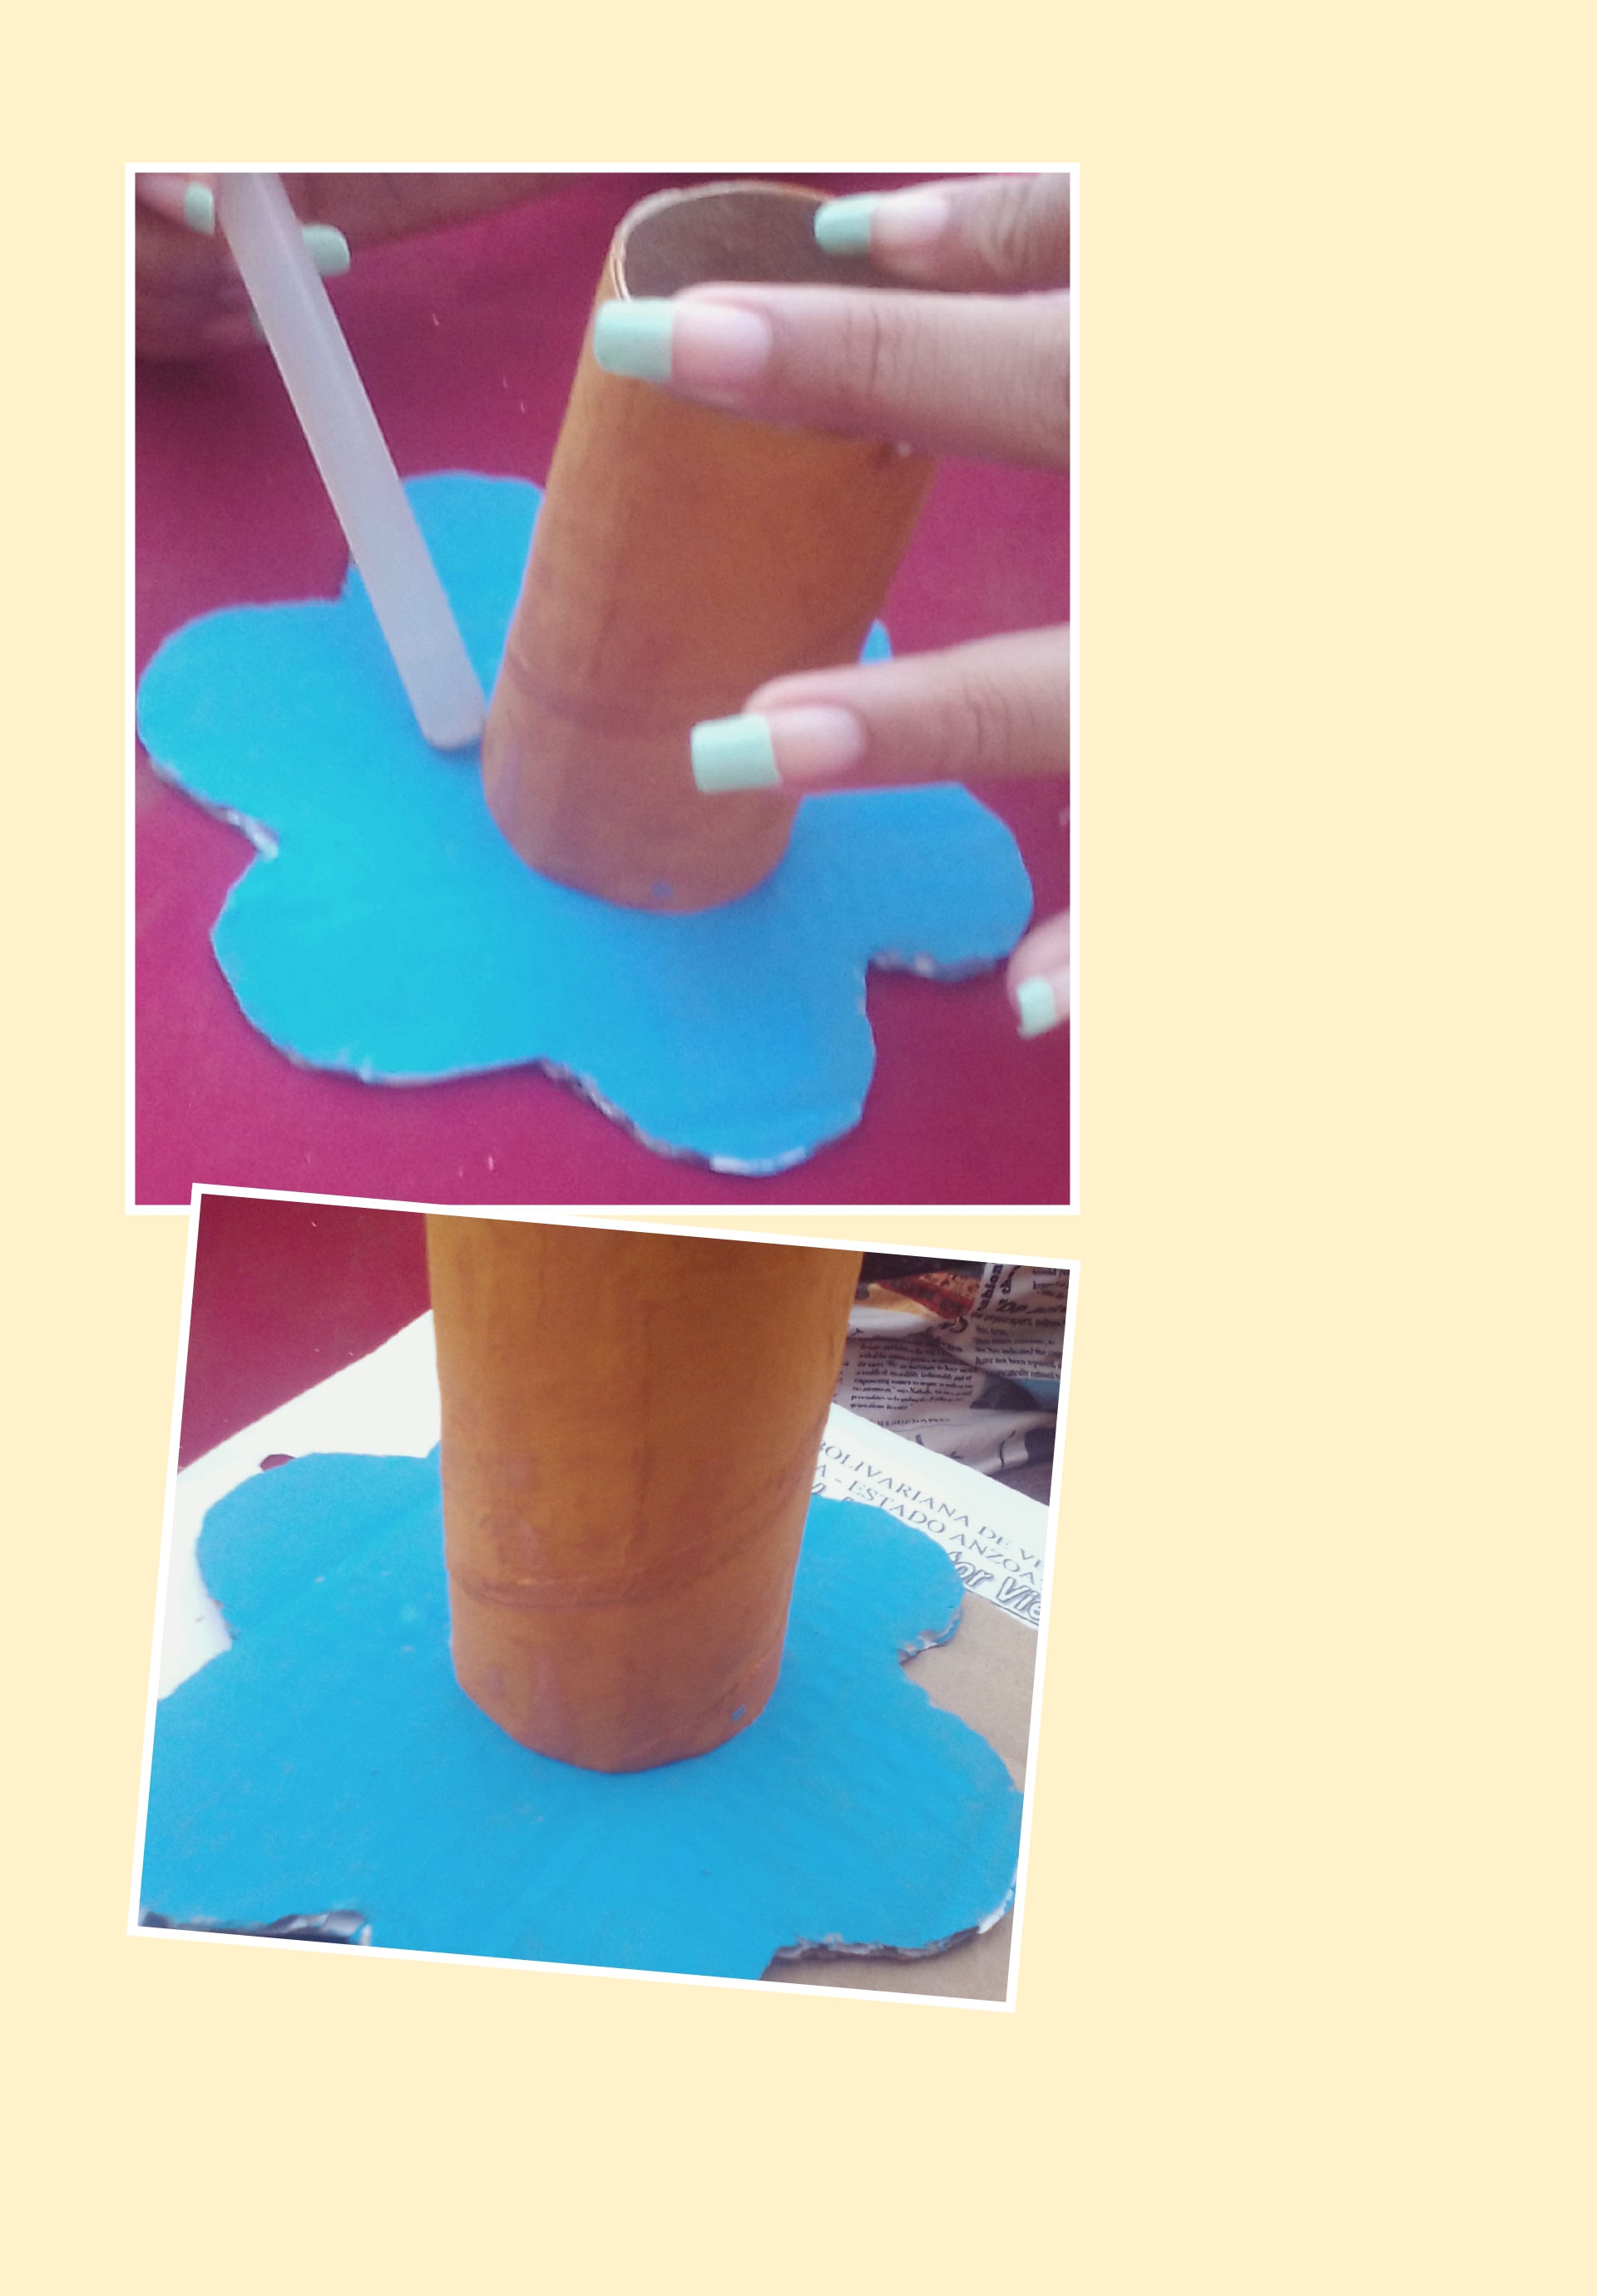
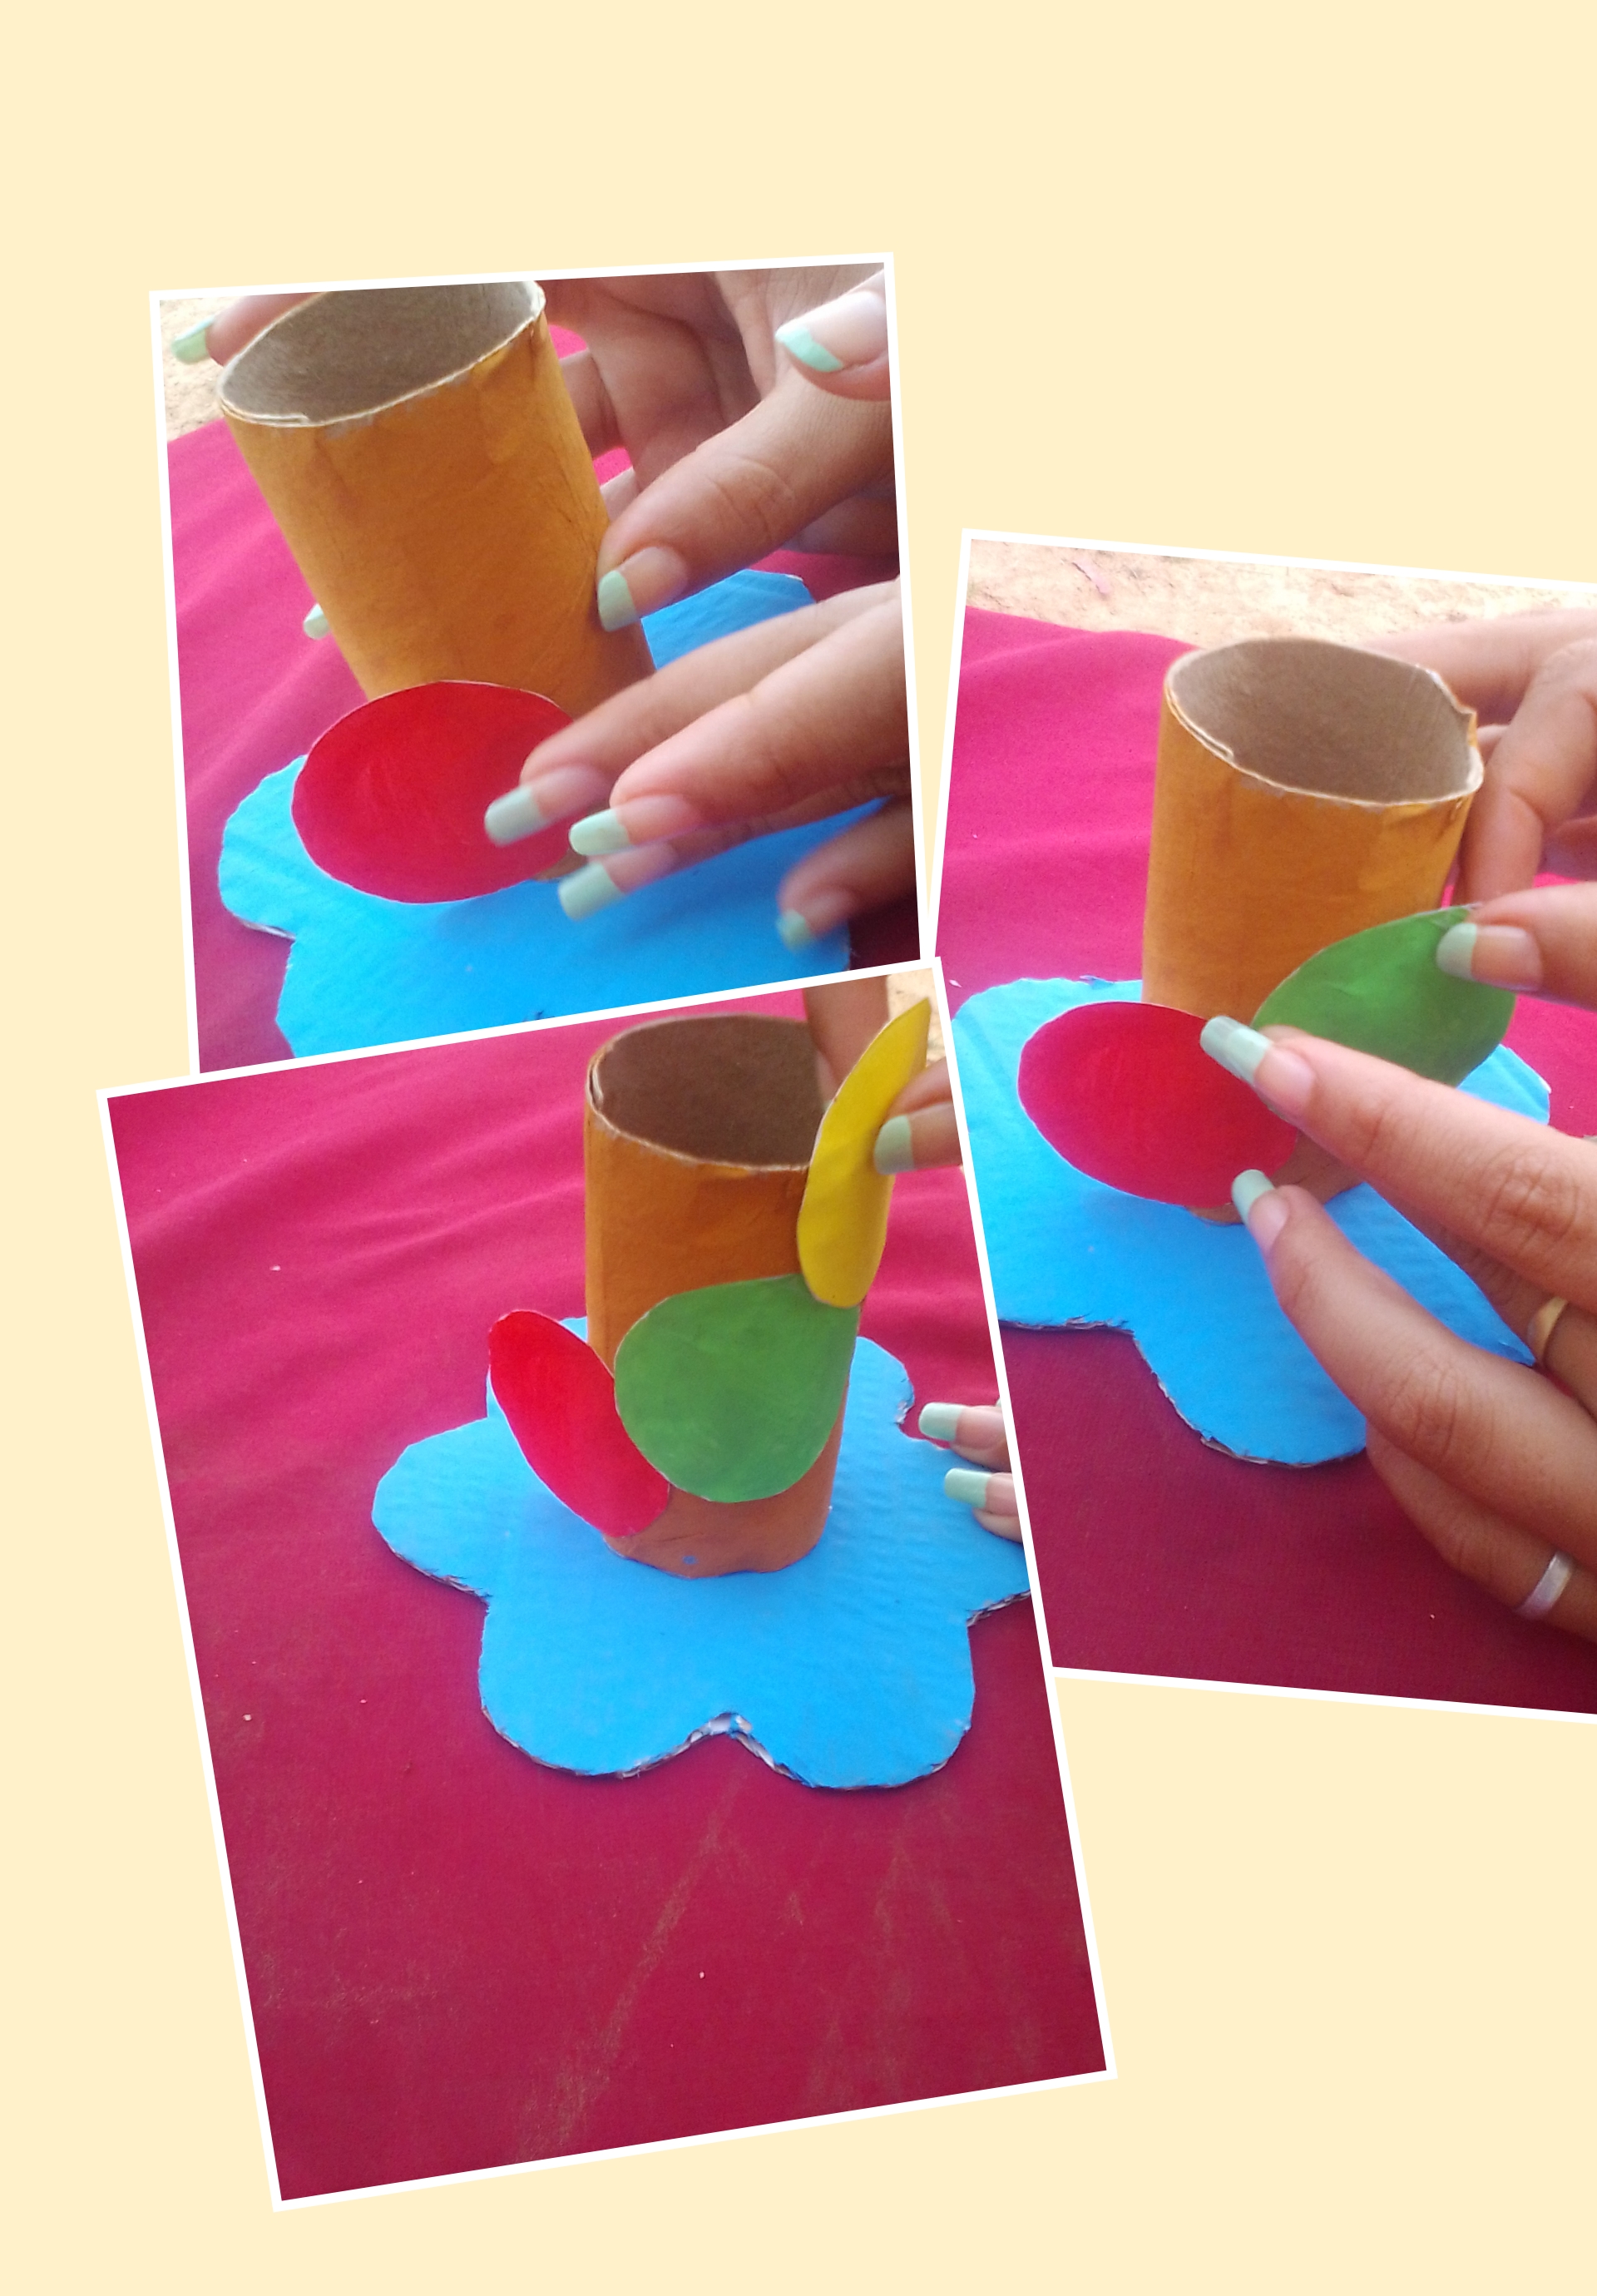
4- Luego pegamos las antenitas, hacemos los ojos, nariz y boca y decoramos con flores naturales y está lindo un lindo portalápices
4- Then we glue the antennas, make the eyes, nose and mouth and decorate with natural flowers and a cute pencil holder is cute
