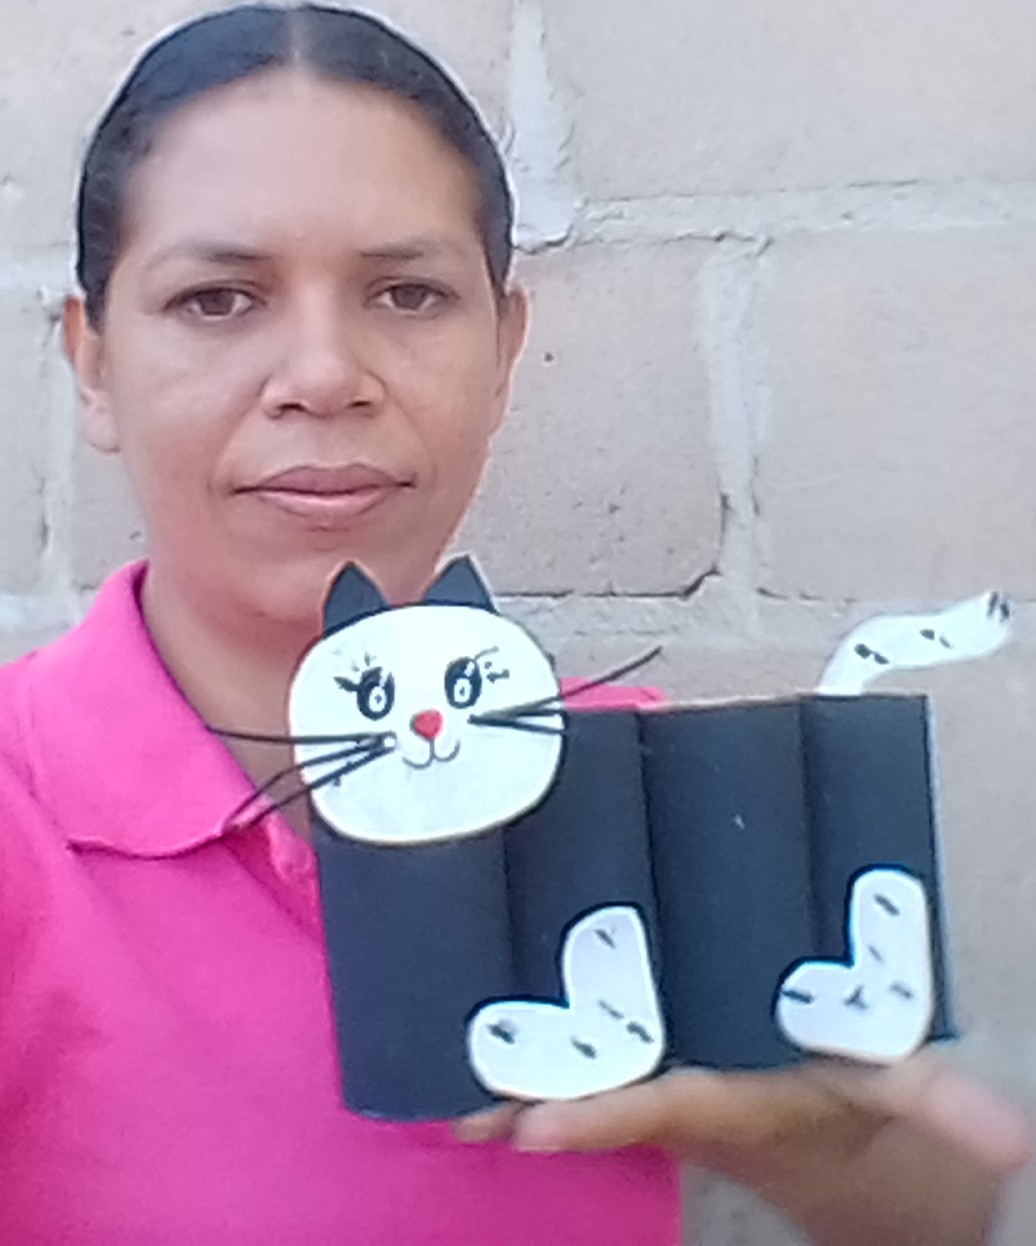
Buenos días tengan todos los amigos de Hive les saludo cordialmente deseándoles un día lleno de Bendiciones en el Nombre de Jesús. En esta hermosa mañana quiero presentarles como hacer un sencillo portalápices en diseño de gato con Materiales de provecho, esperando les guste.
Good morning to all the friends of Hive I cordially greet you wishing you a day full of Blessings in the Name of Jesus. On this beautiful morning I want to introduce you how to make a simple pencil holder in cat design with useful materials, hoping you like it
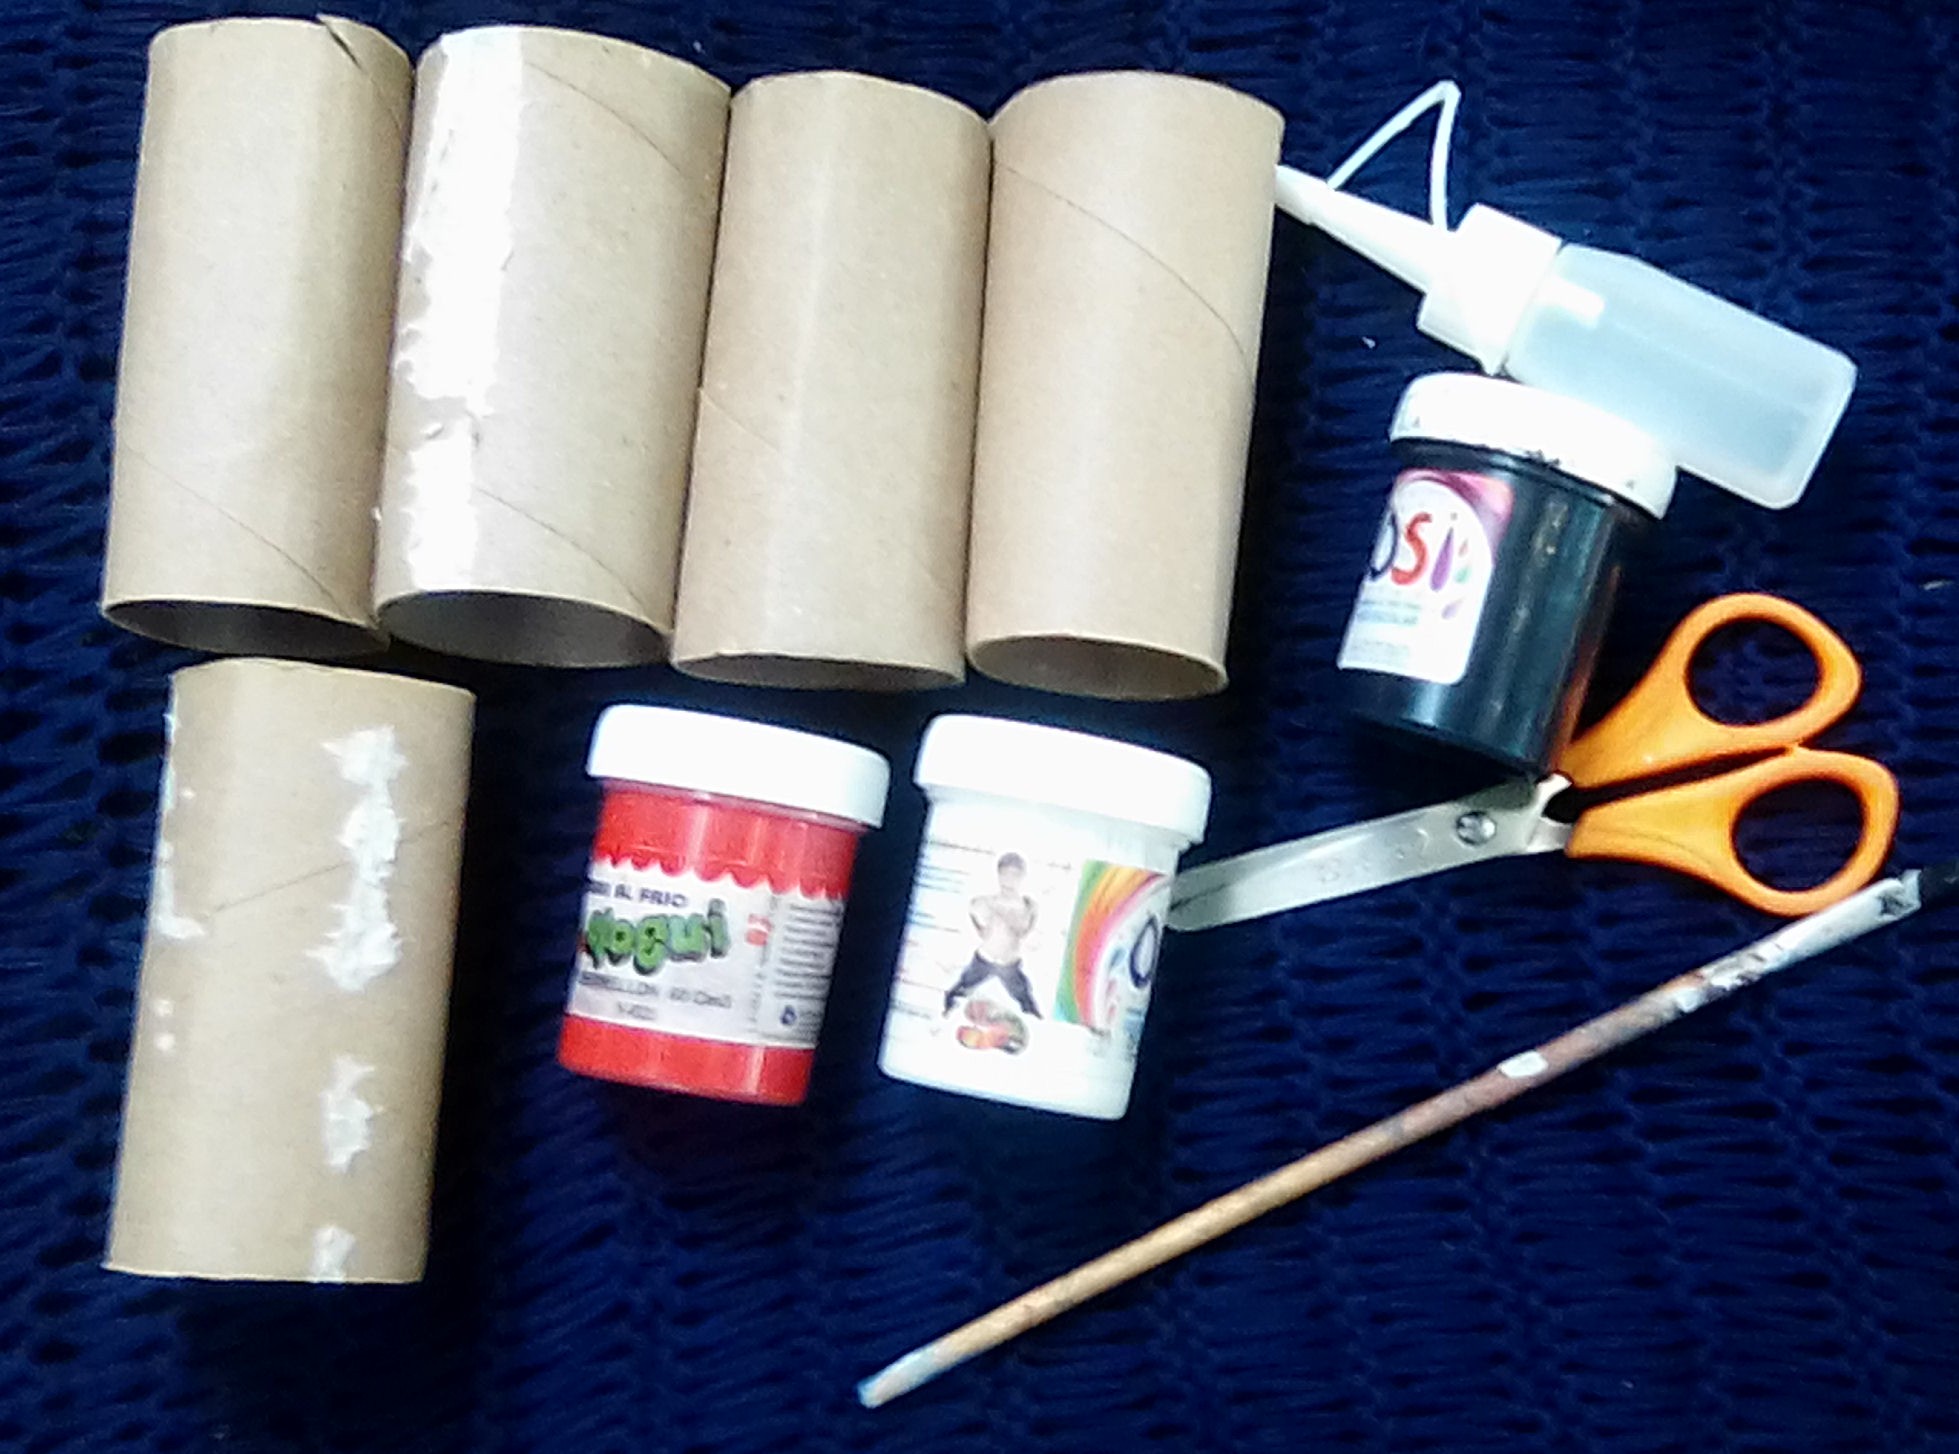
- Varios tubos de papel higiénico
- Pinturas al frío de color negro, blanco y rojo
- Pincel
- Tijera
- Silicón
- Several tubes of toilet paper
- Cold paints in black, white and red
- Brush
- Scissors
- Silicone
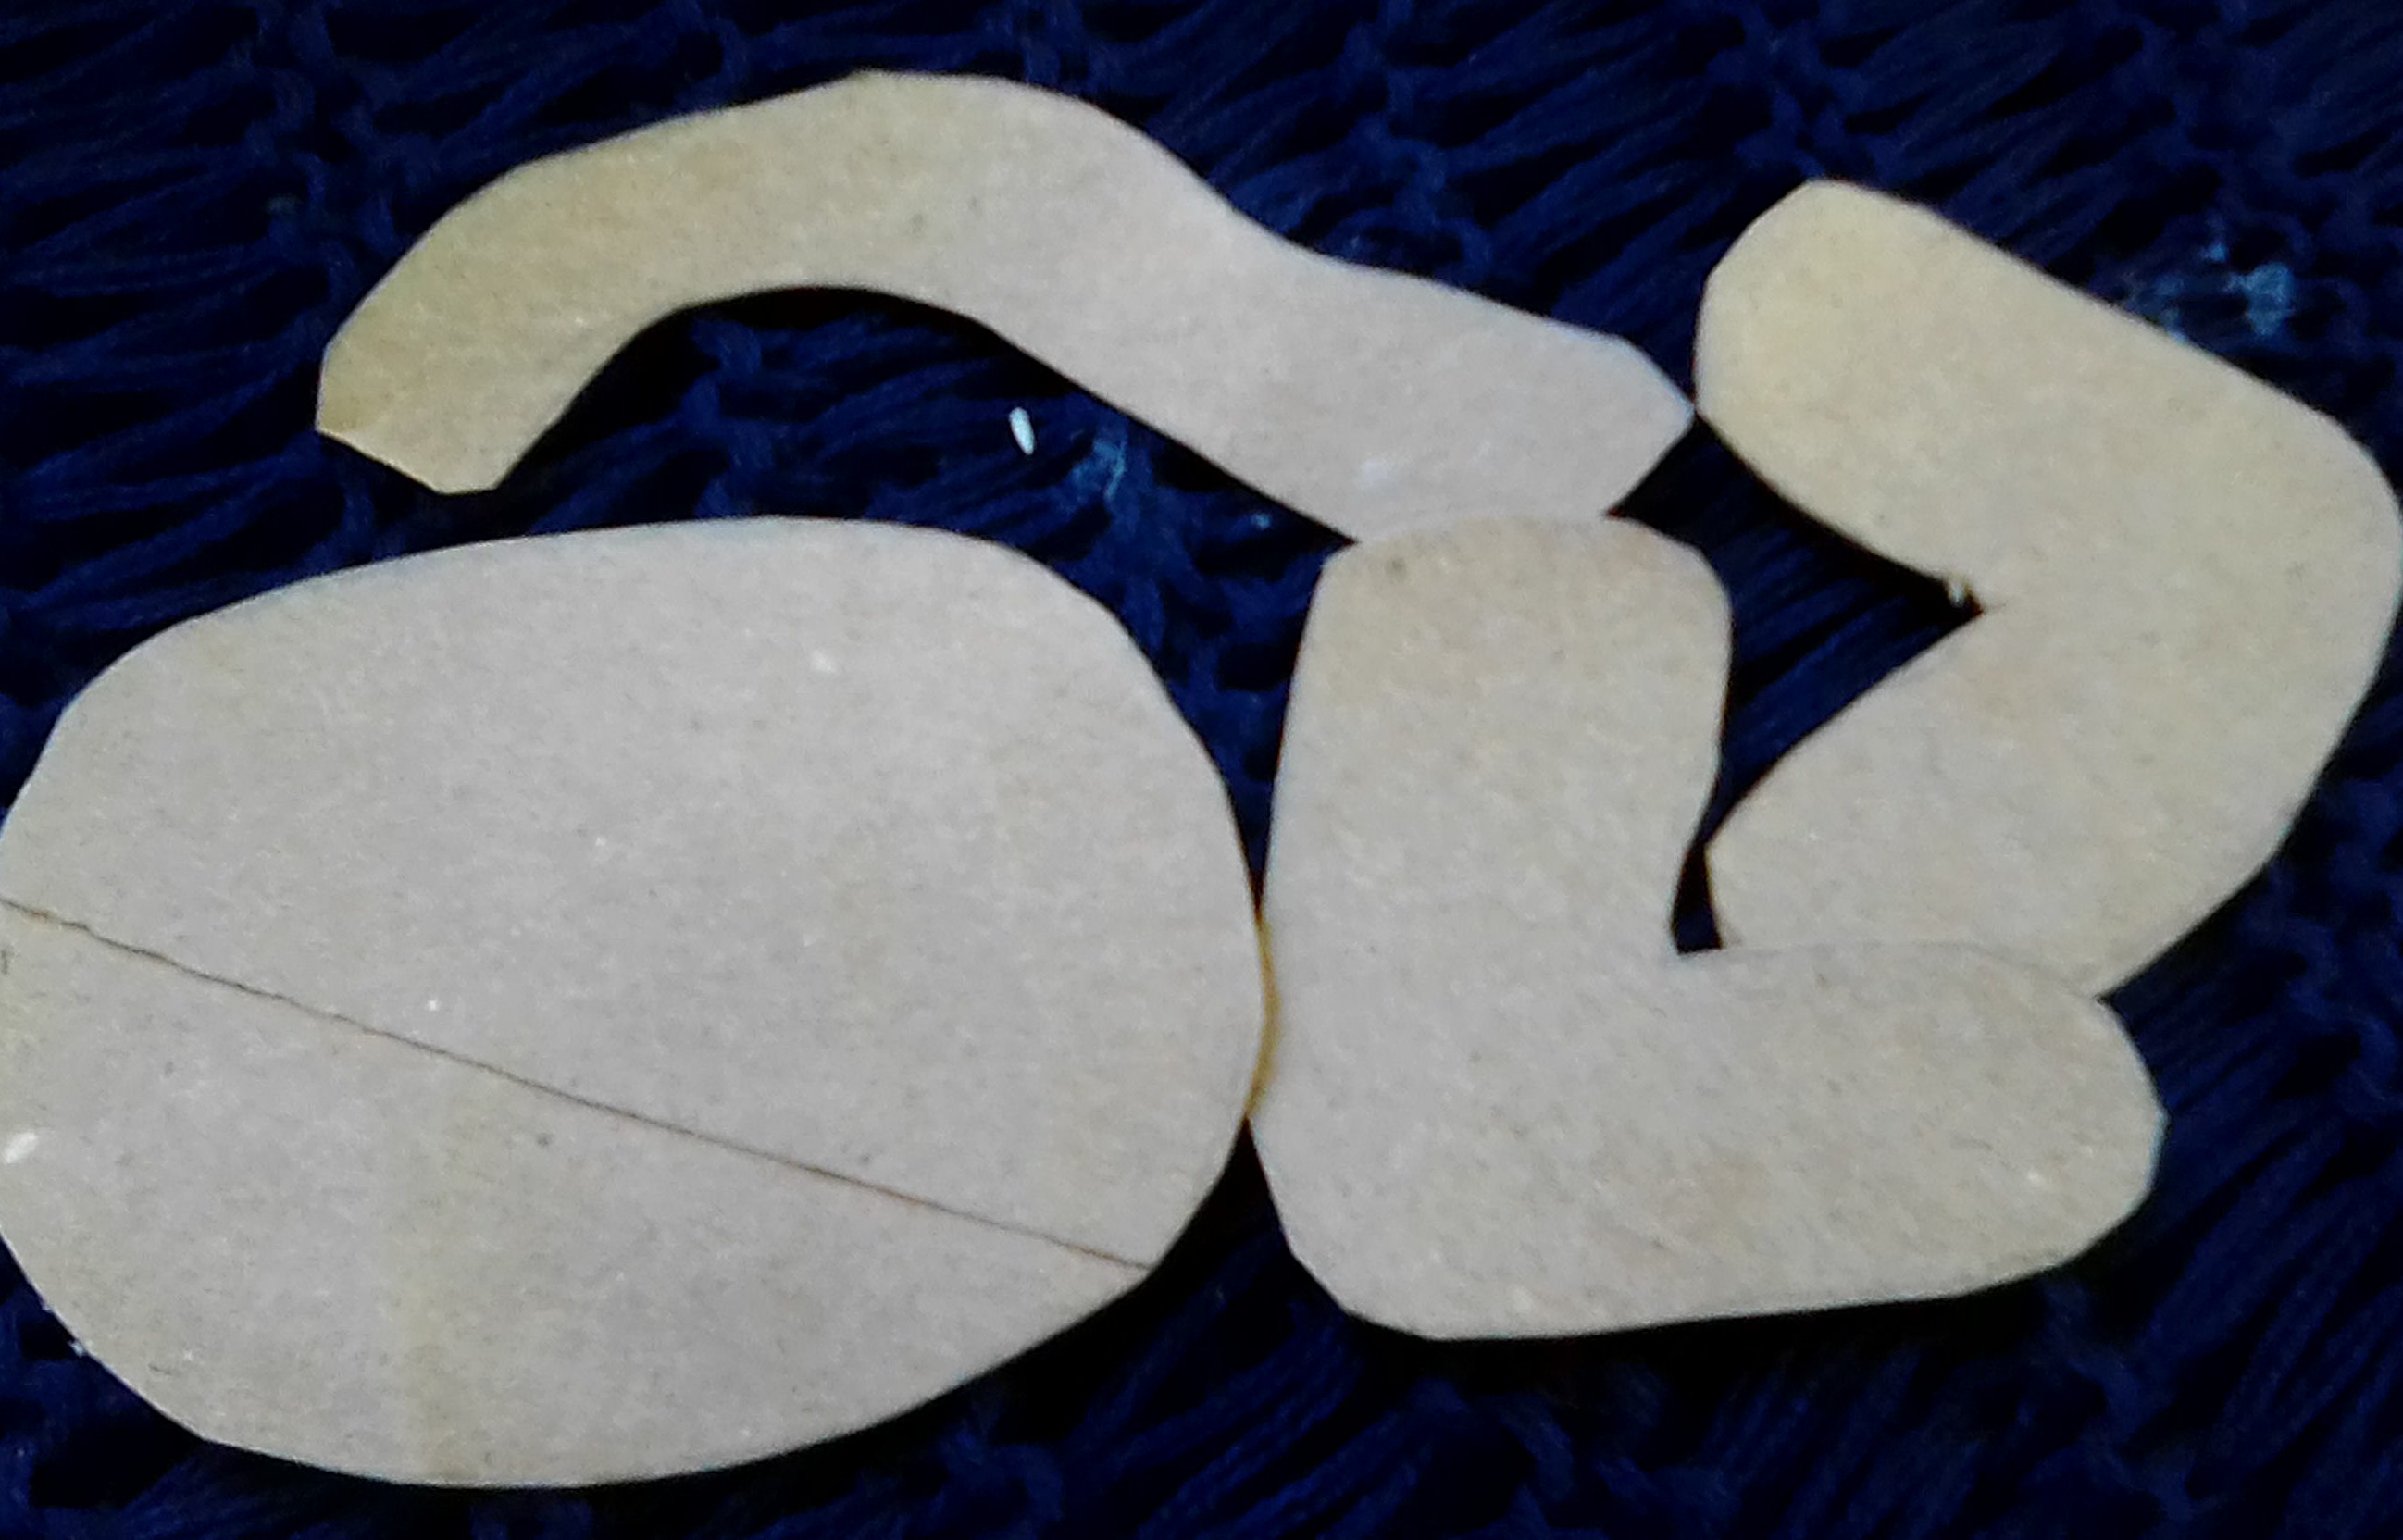
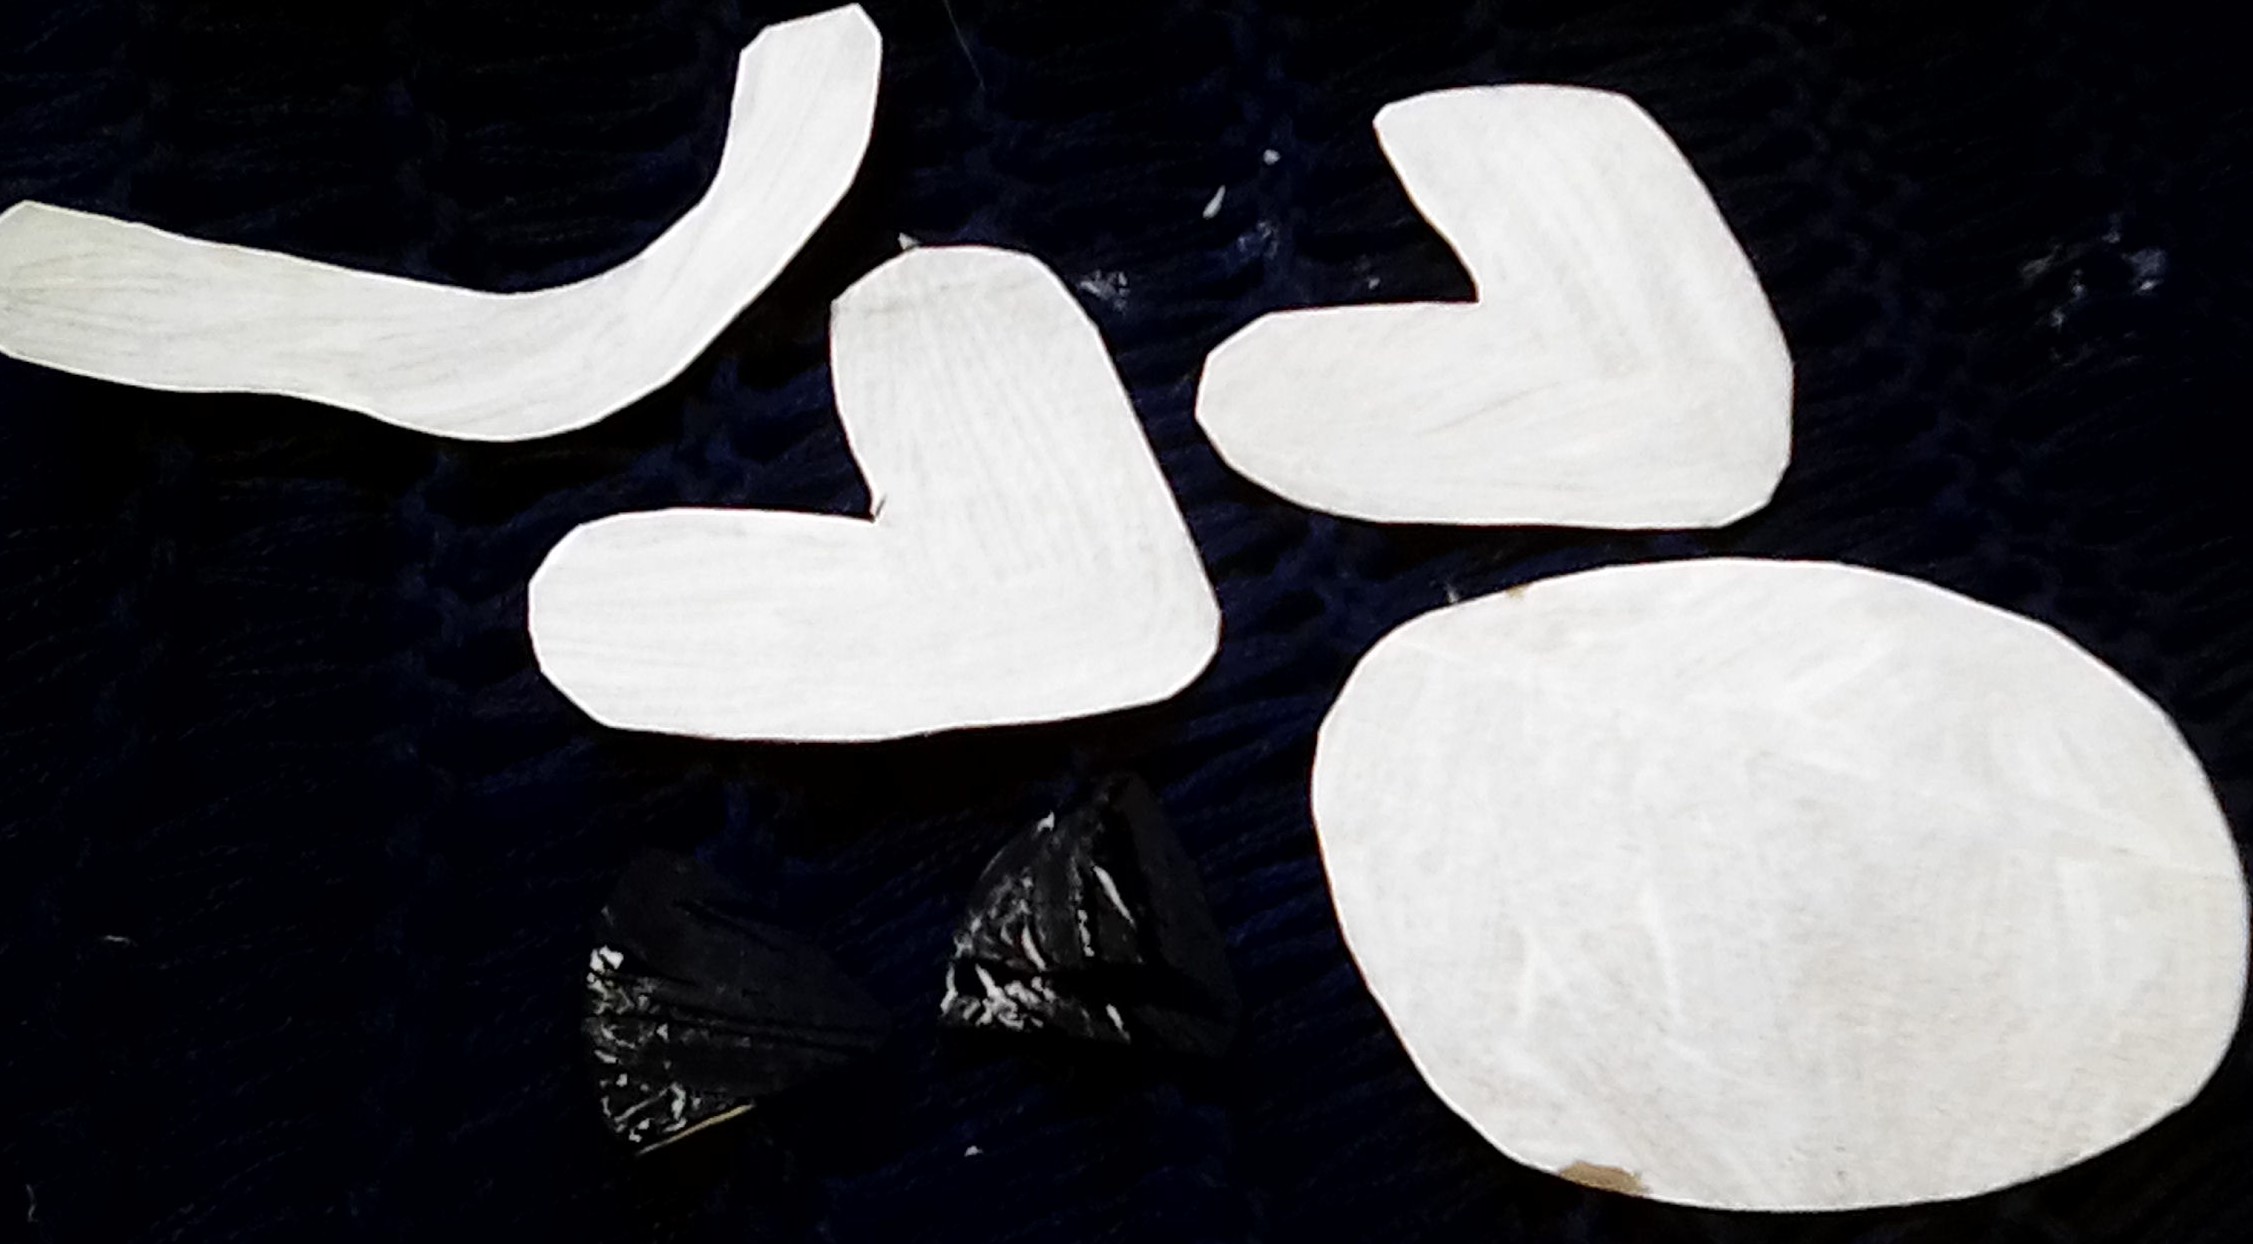
1- abrimos un tubo y trazamos las patas, el rabo, las orejas y la cabeza y recortamos
1- we open a tube and trace the legs, the tail, the ears and the head and cut
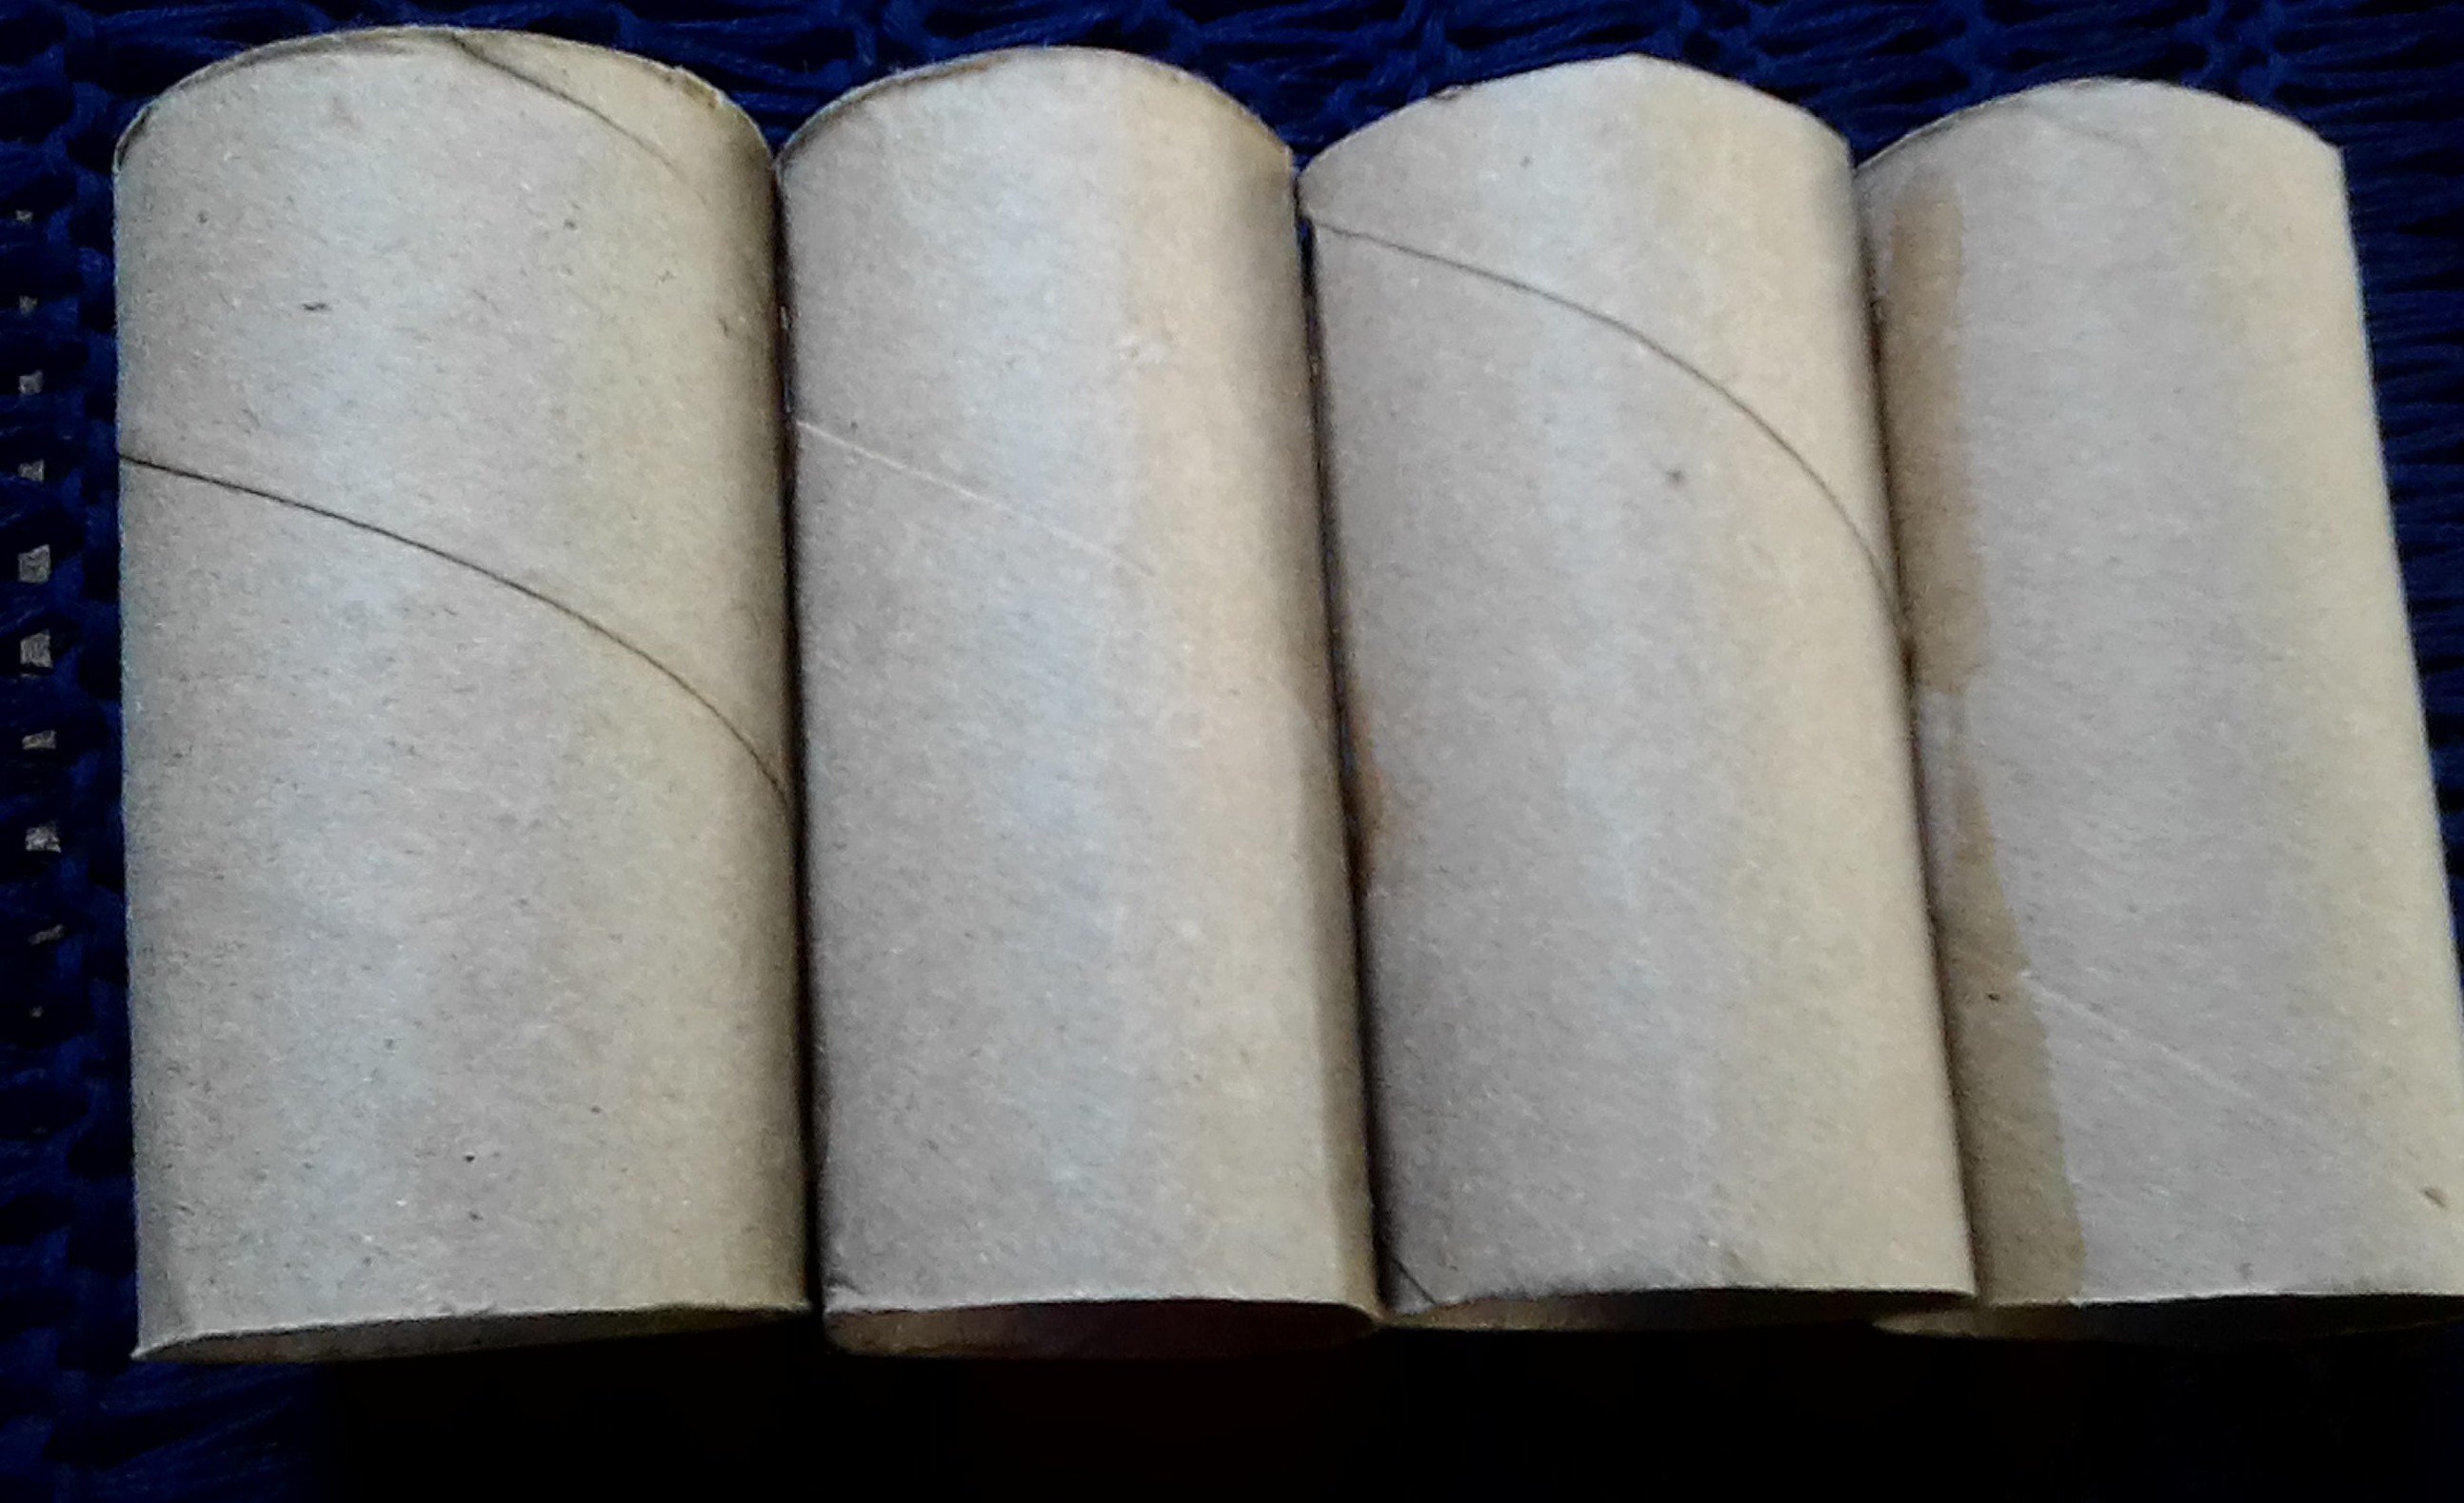
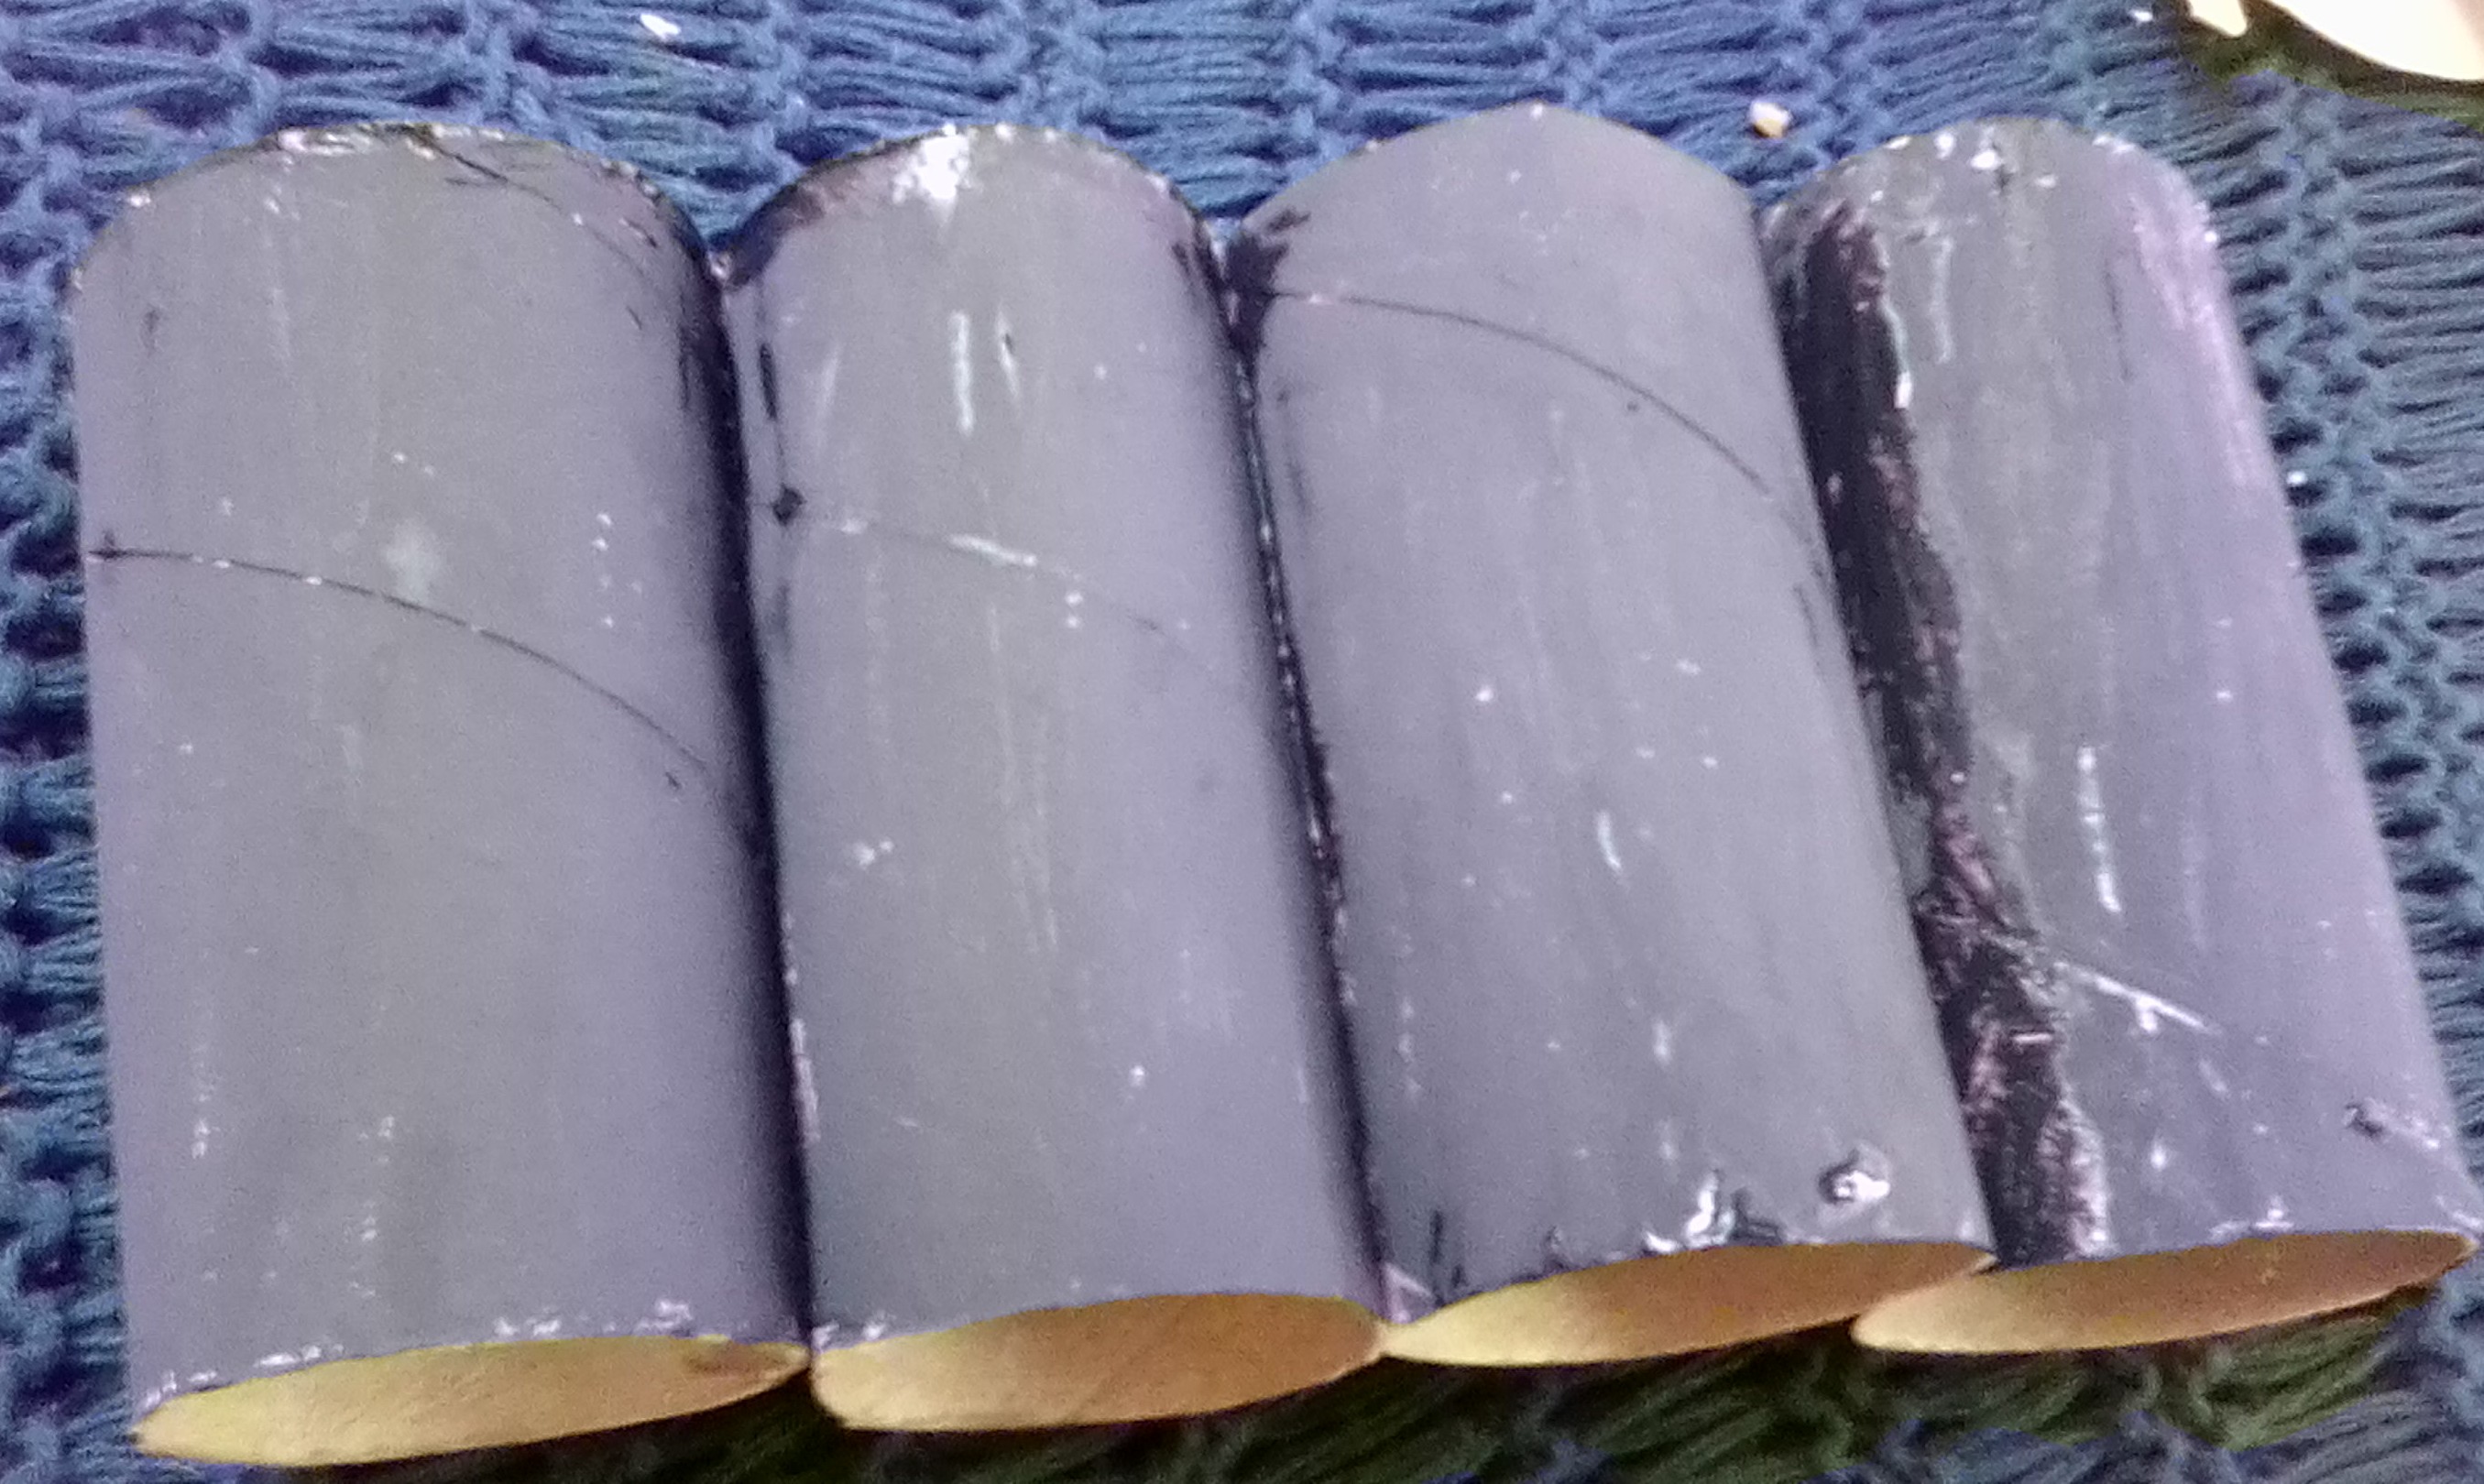
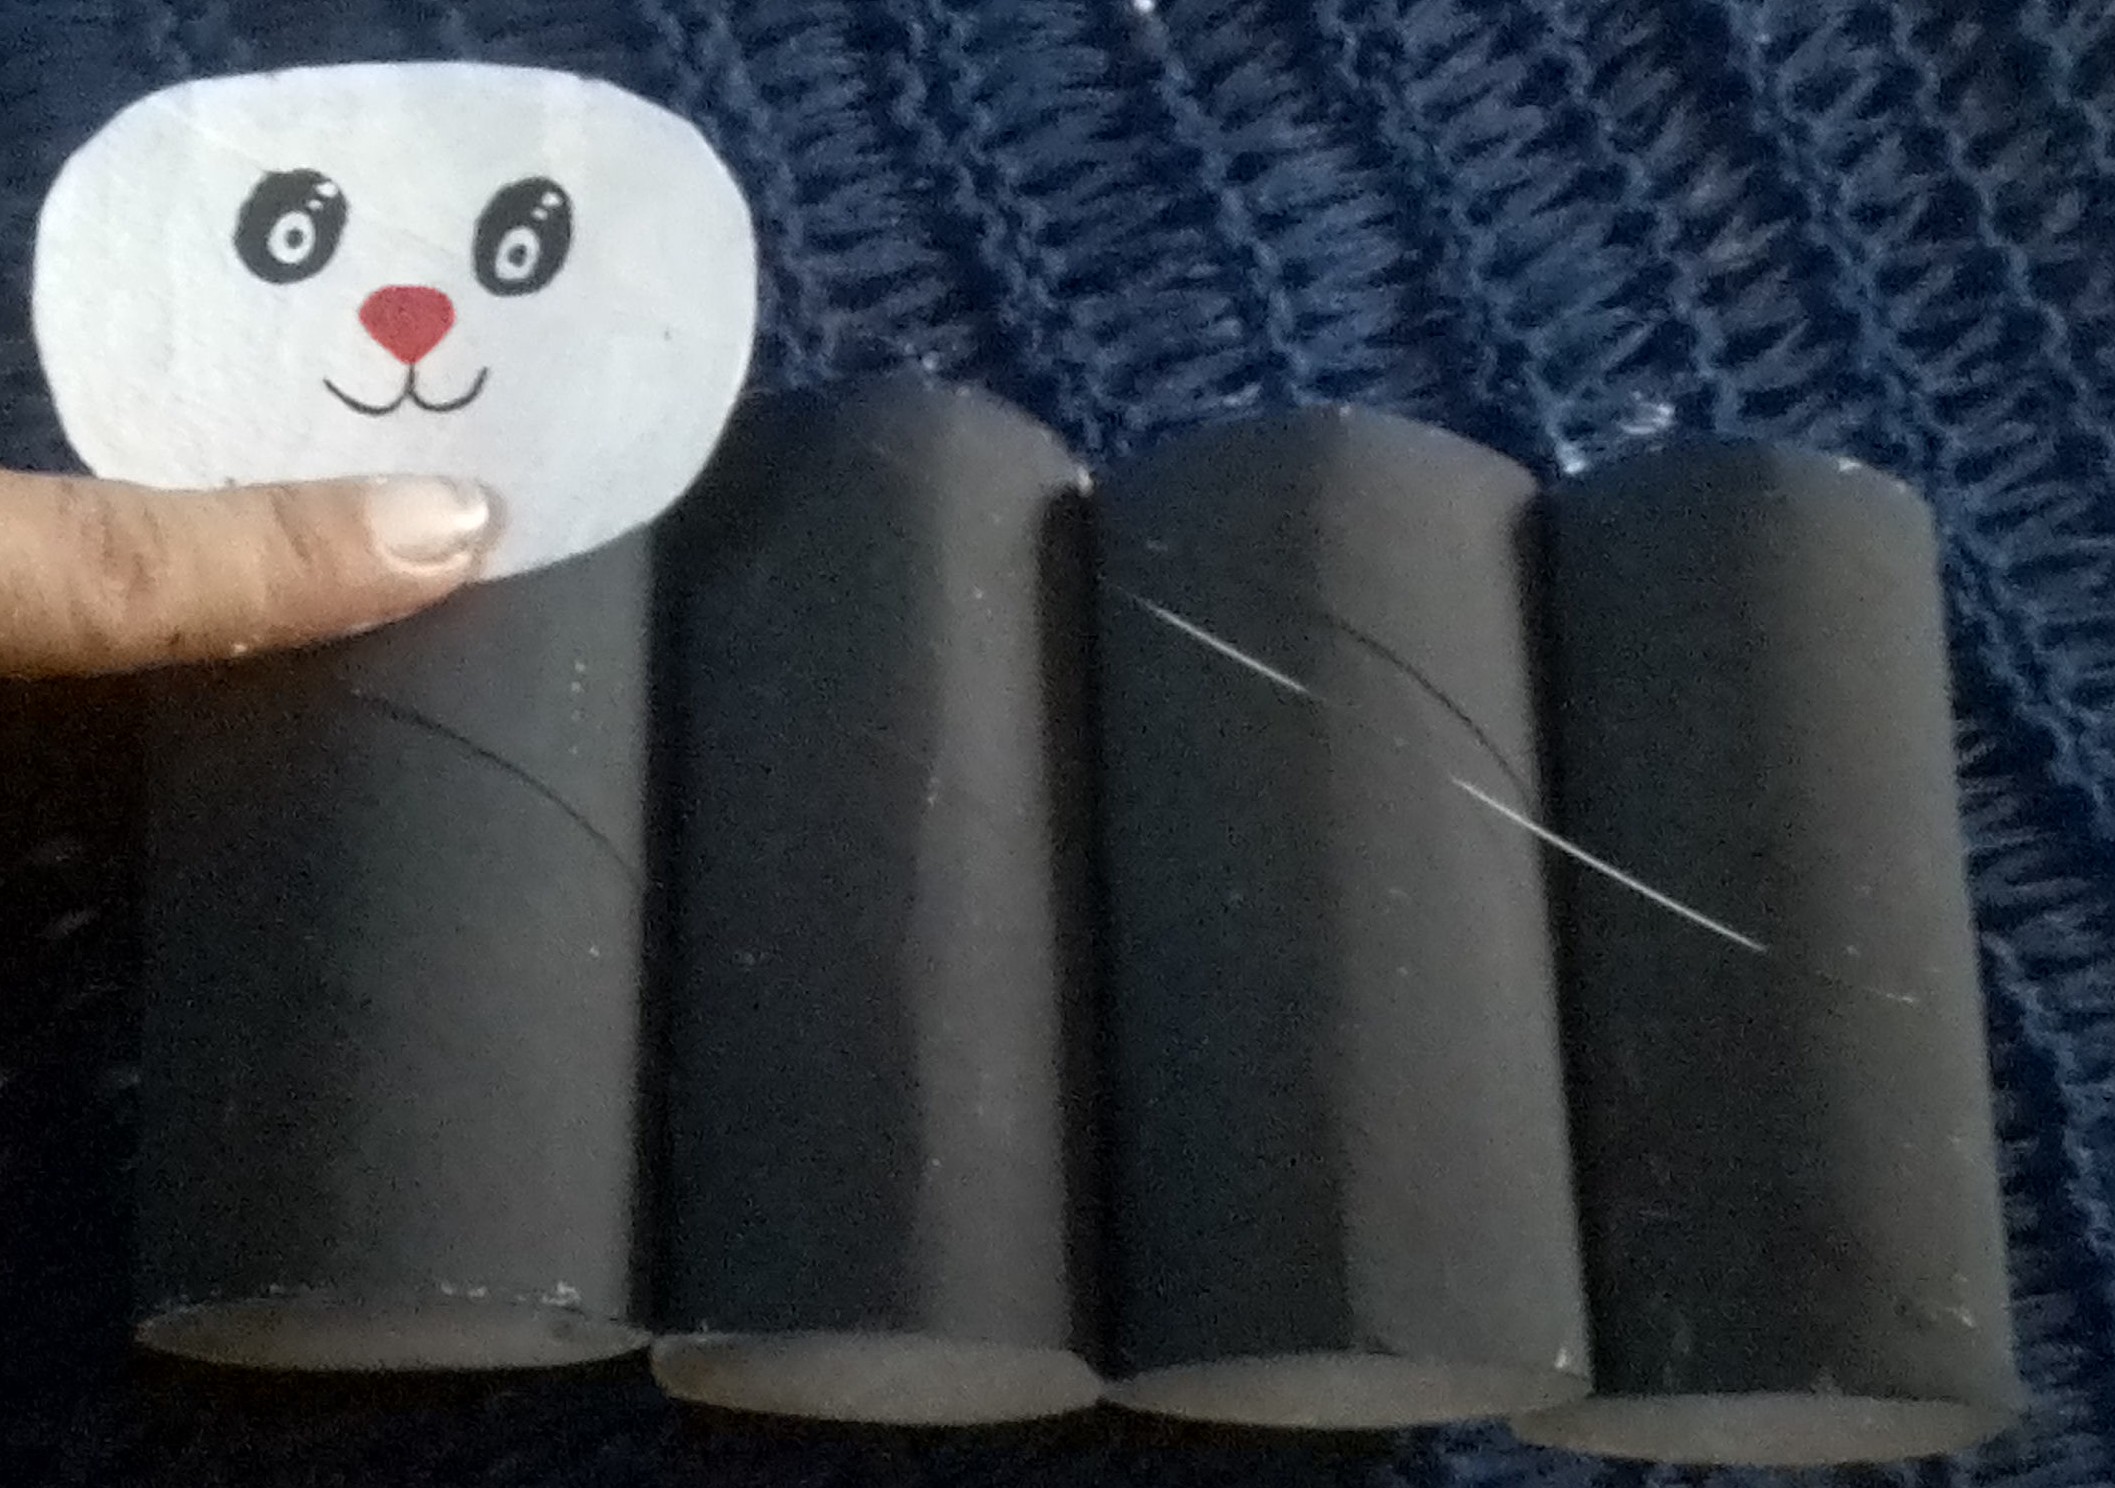
2- Luego pegamos los tubos
2- Then we glue the tubes
3- Una vez pegados los tubos empezamos a pintar
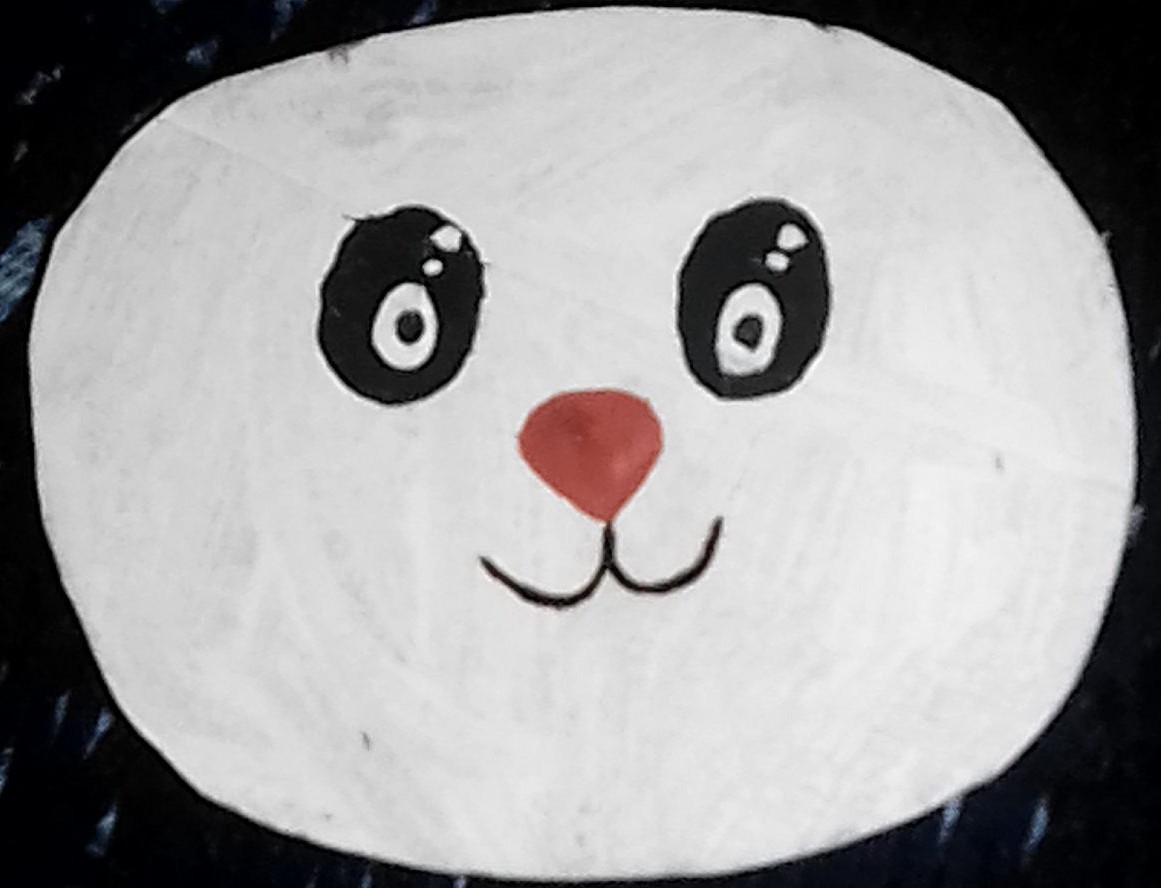
4- Hacemos los ojos, nariz y boca del gato
4-We make the eyes, nose and mouth of the cat
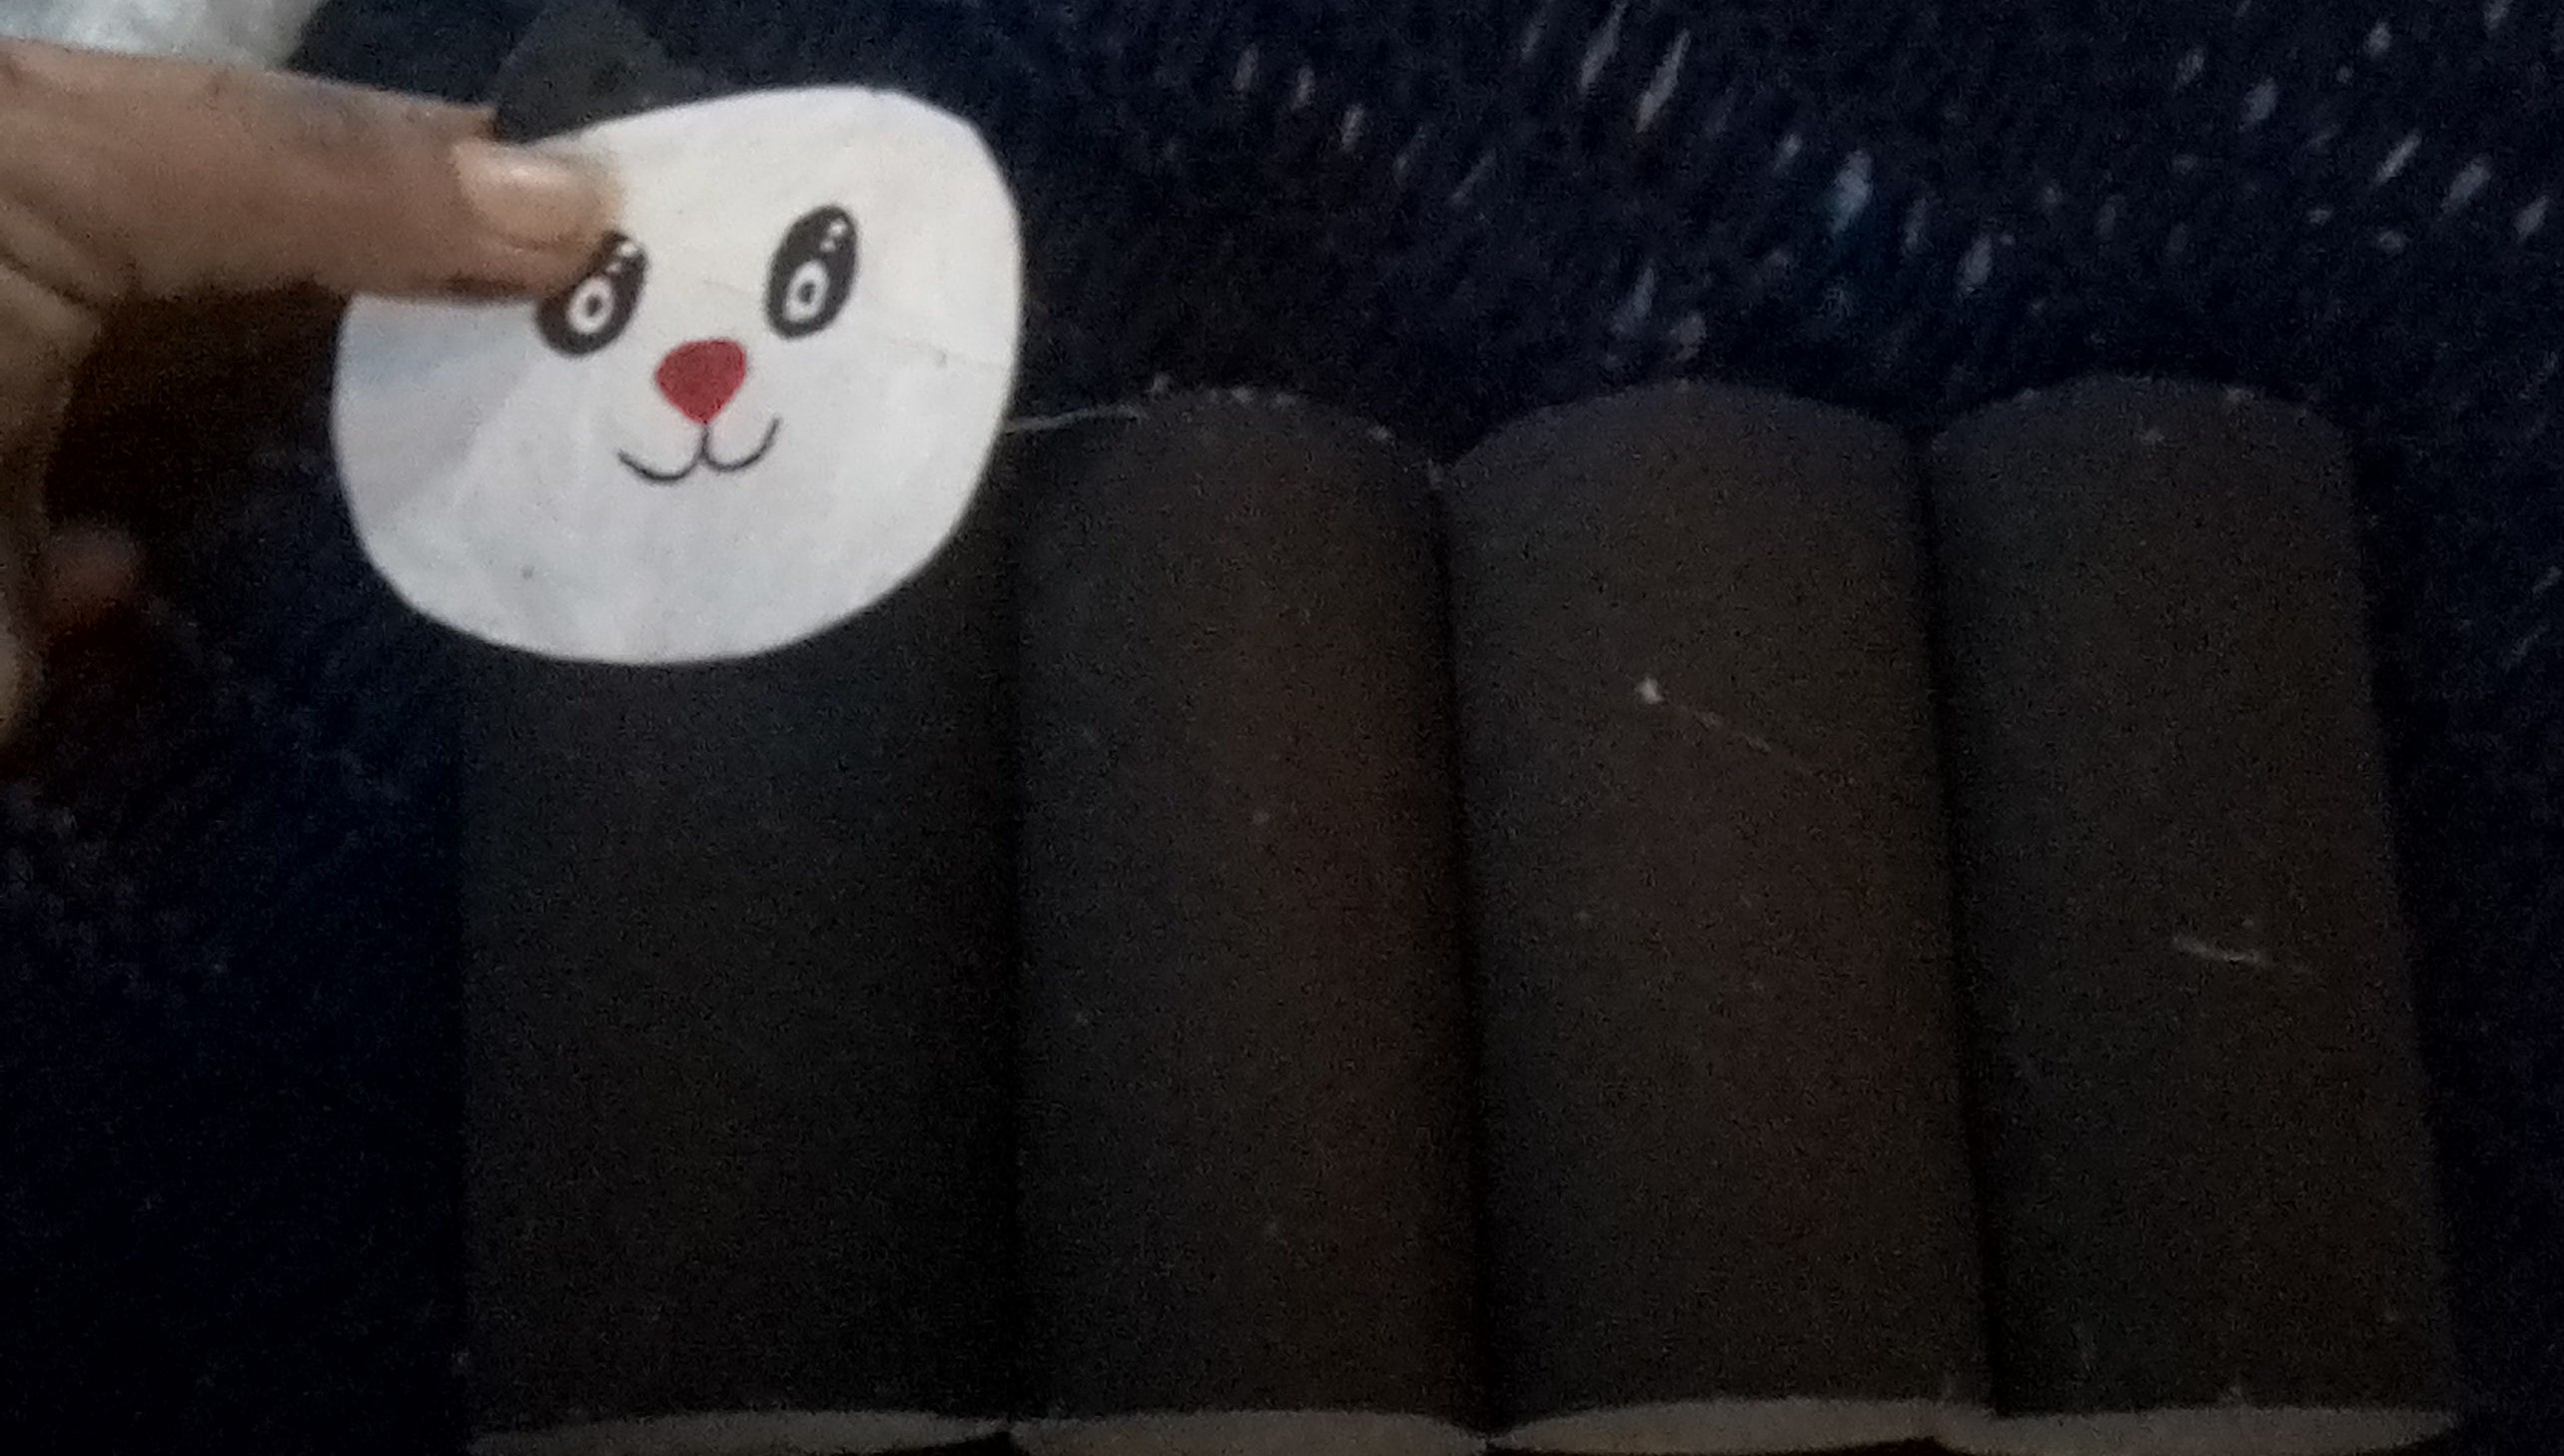
4-Luego empezamos a armar pegando las piezas
5-Then we start to assemble by gluing the pieces
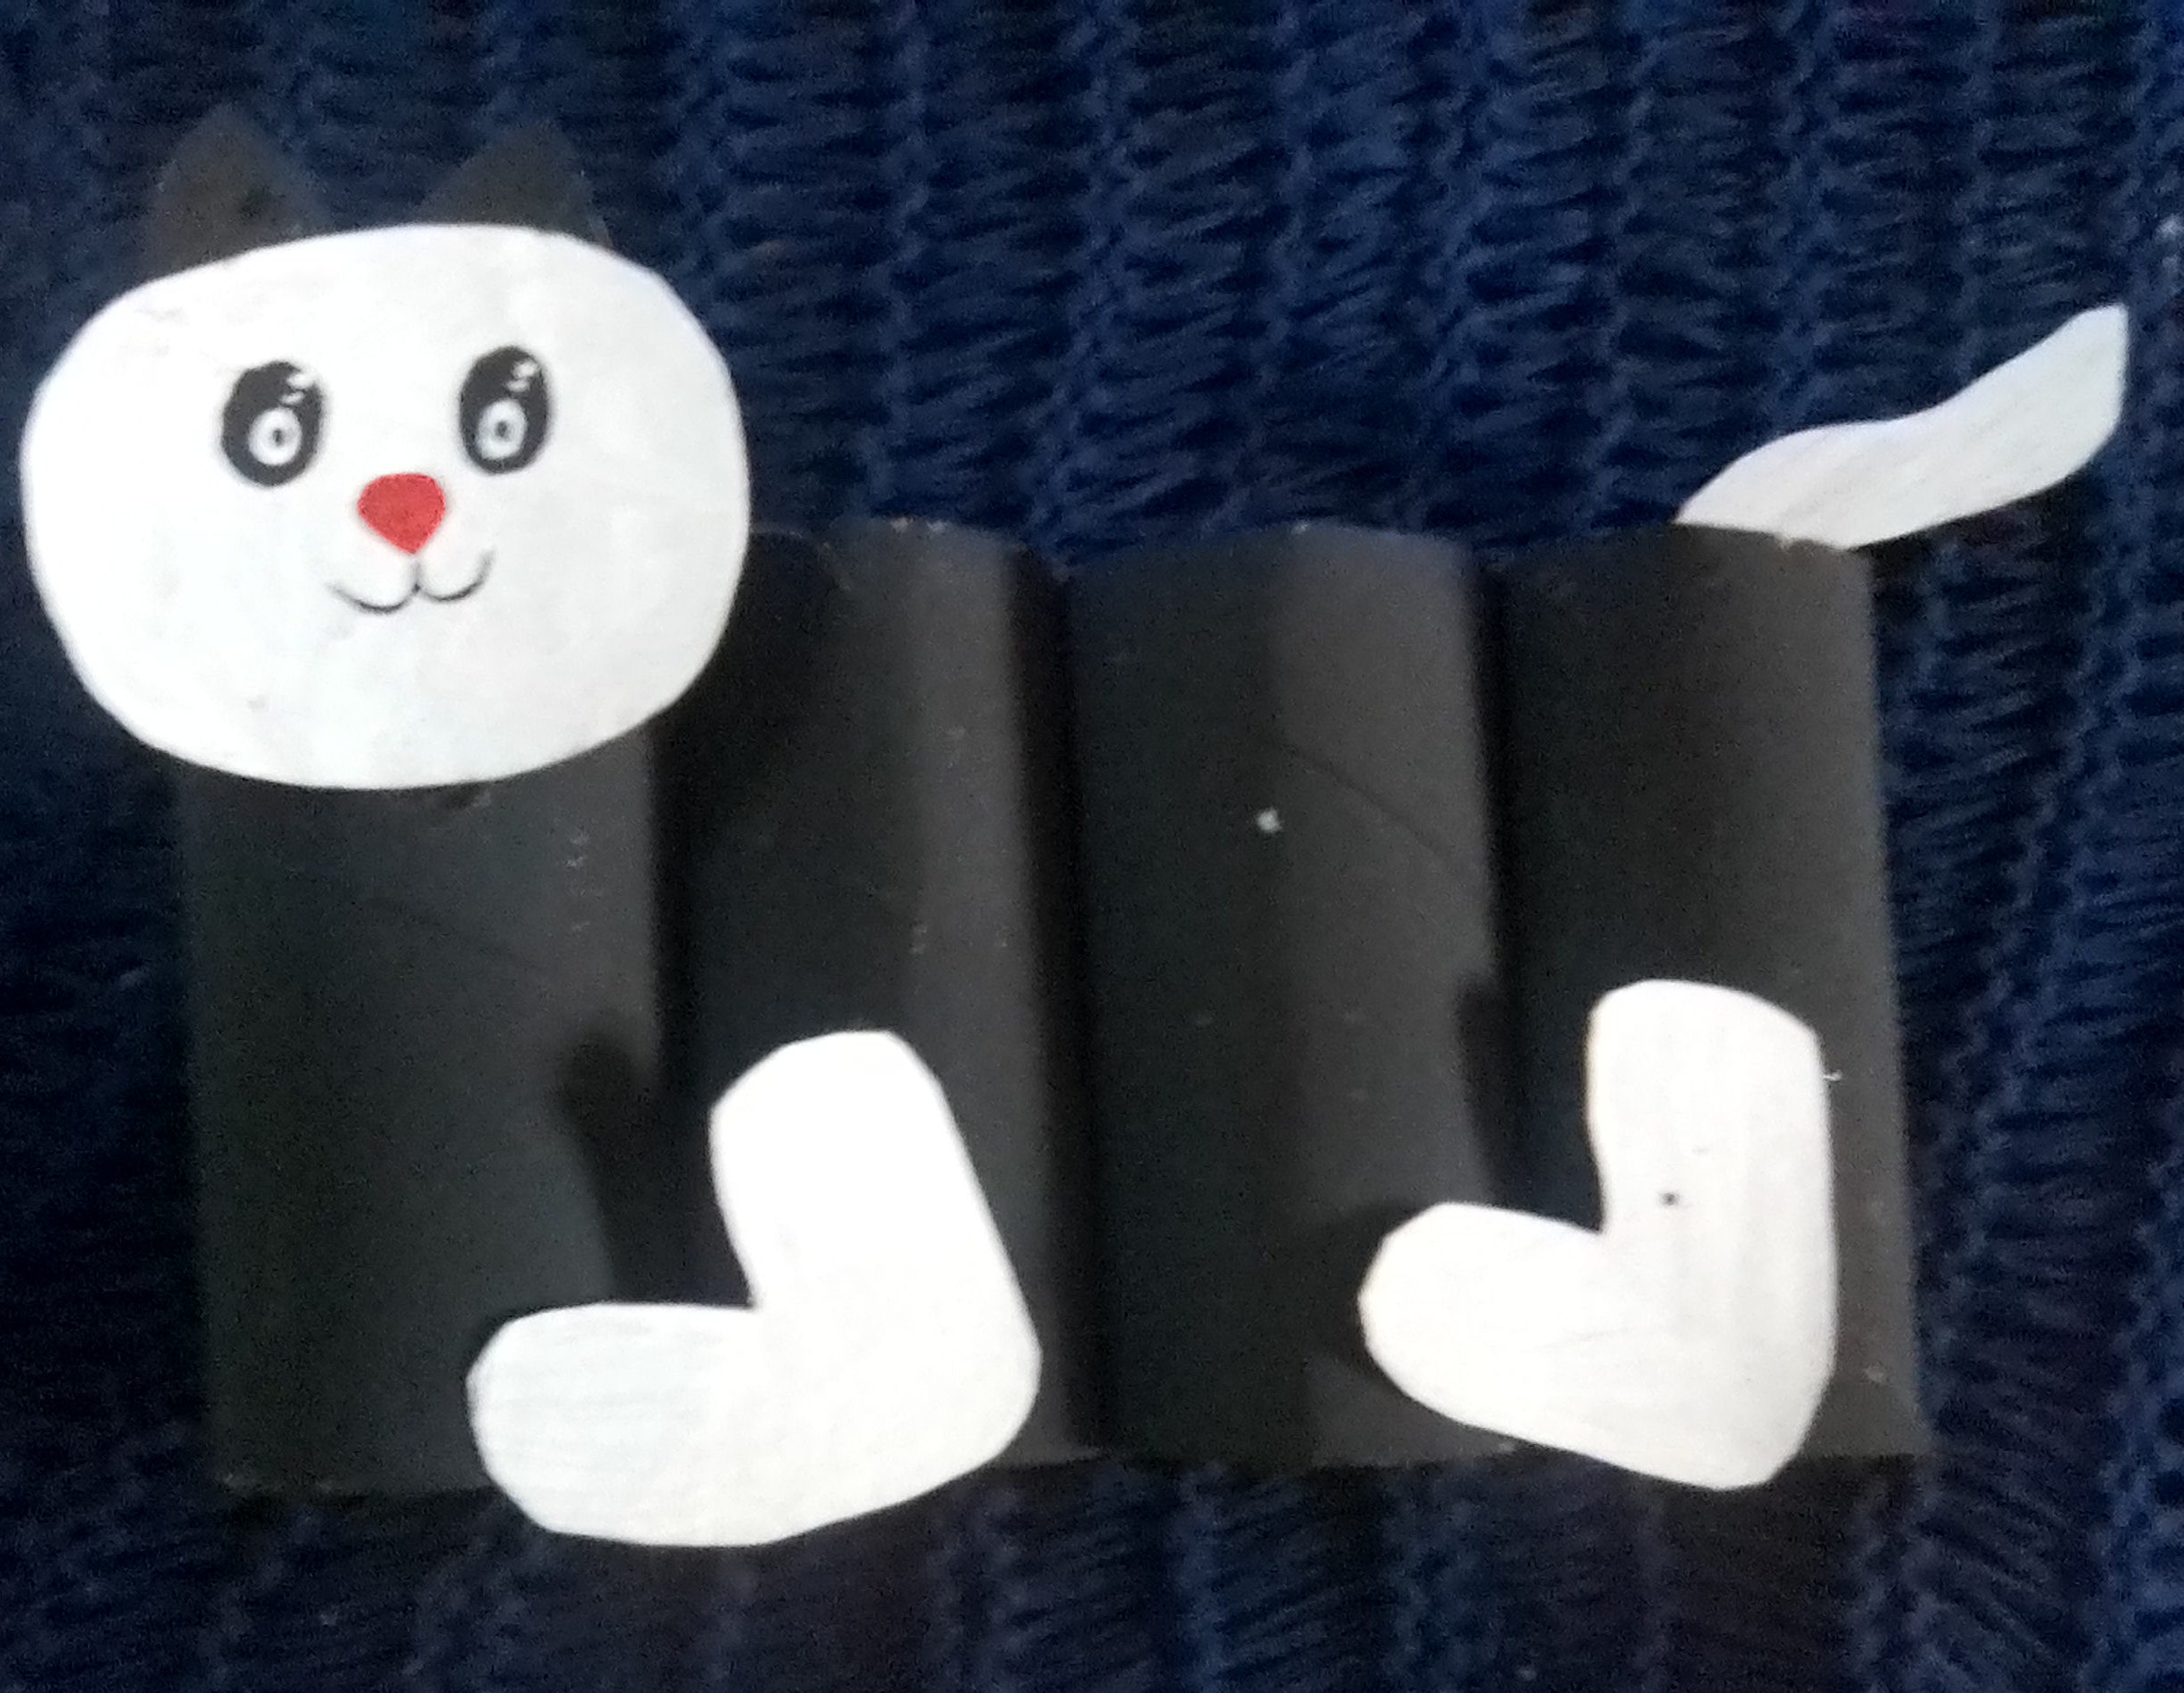
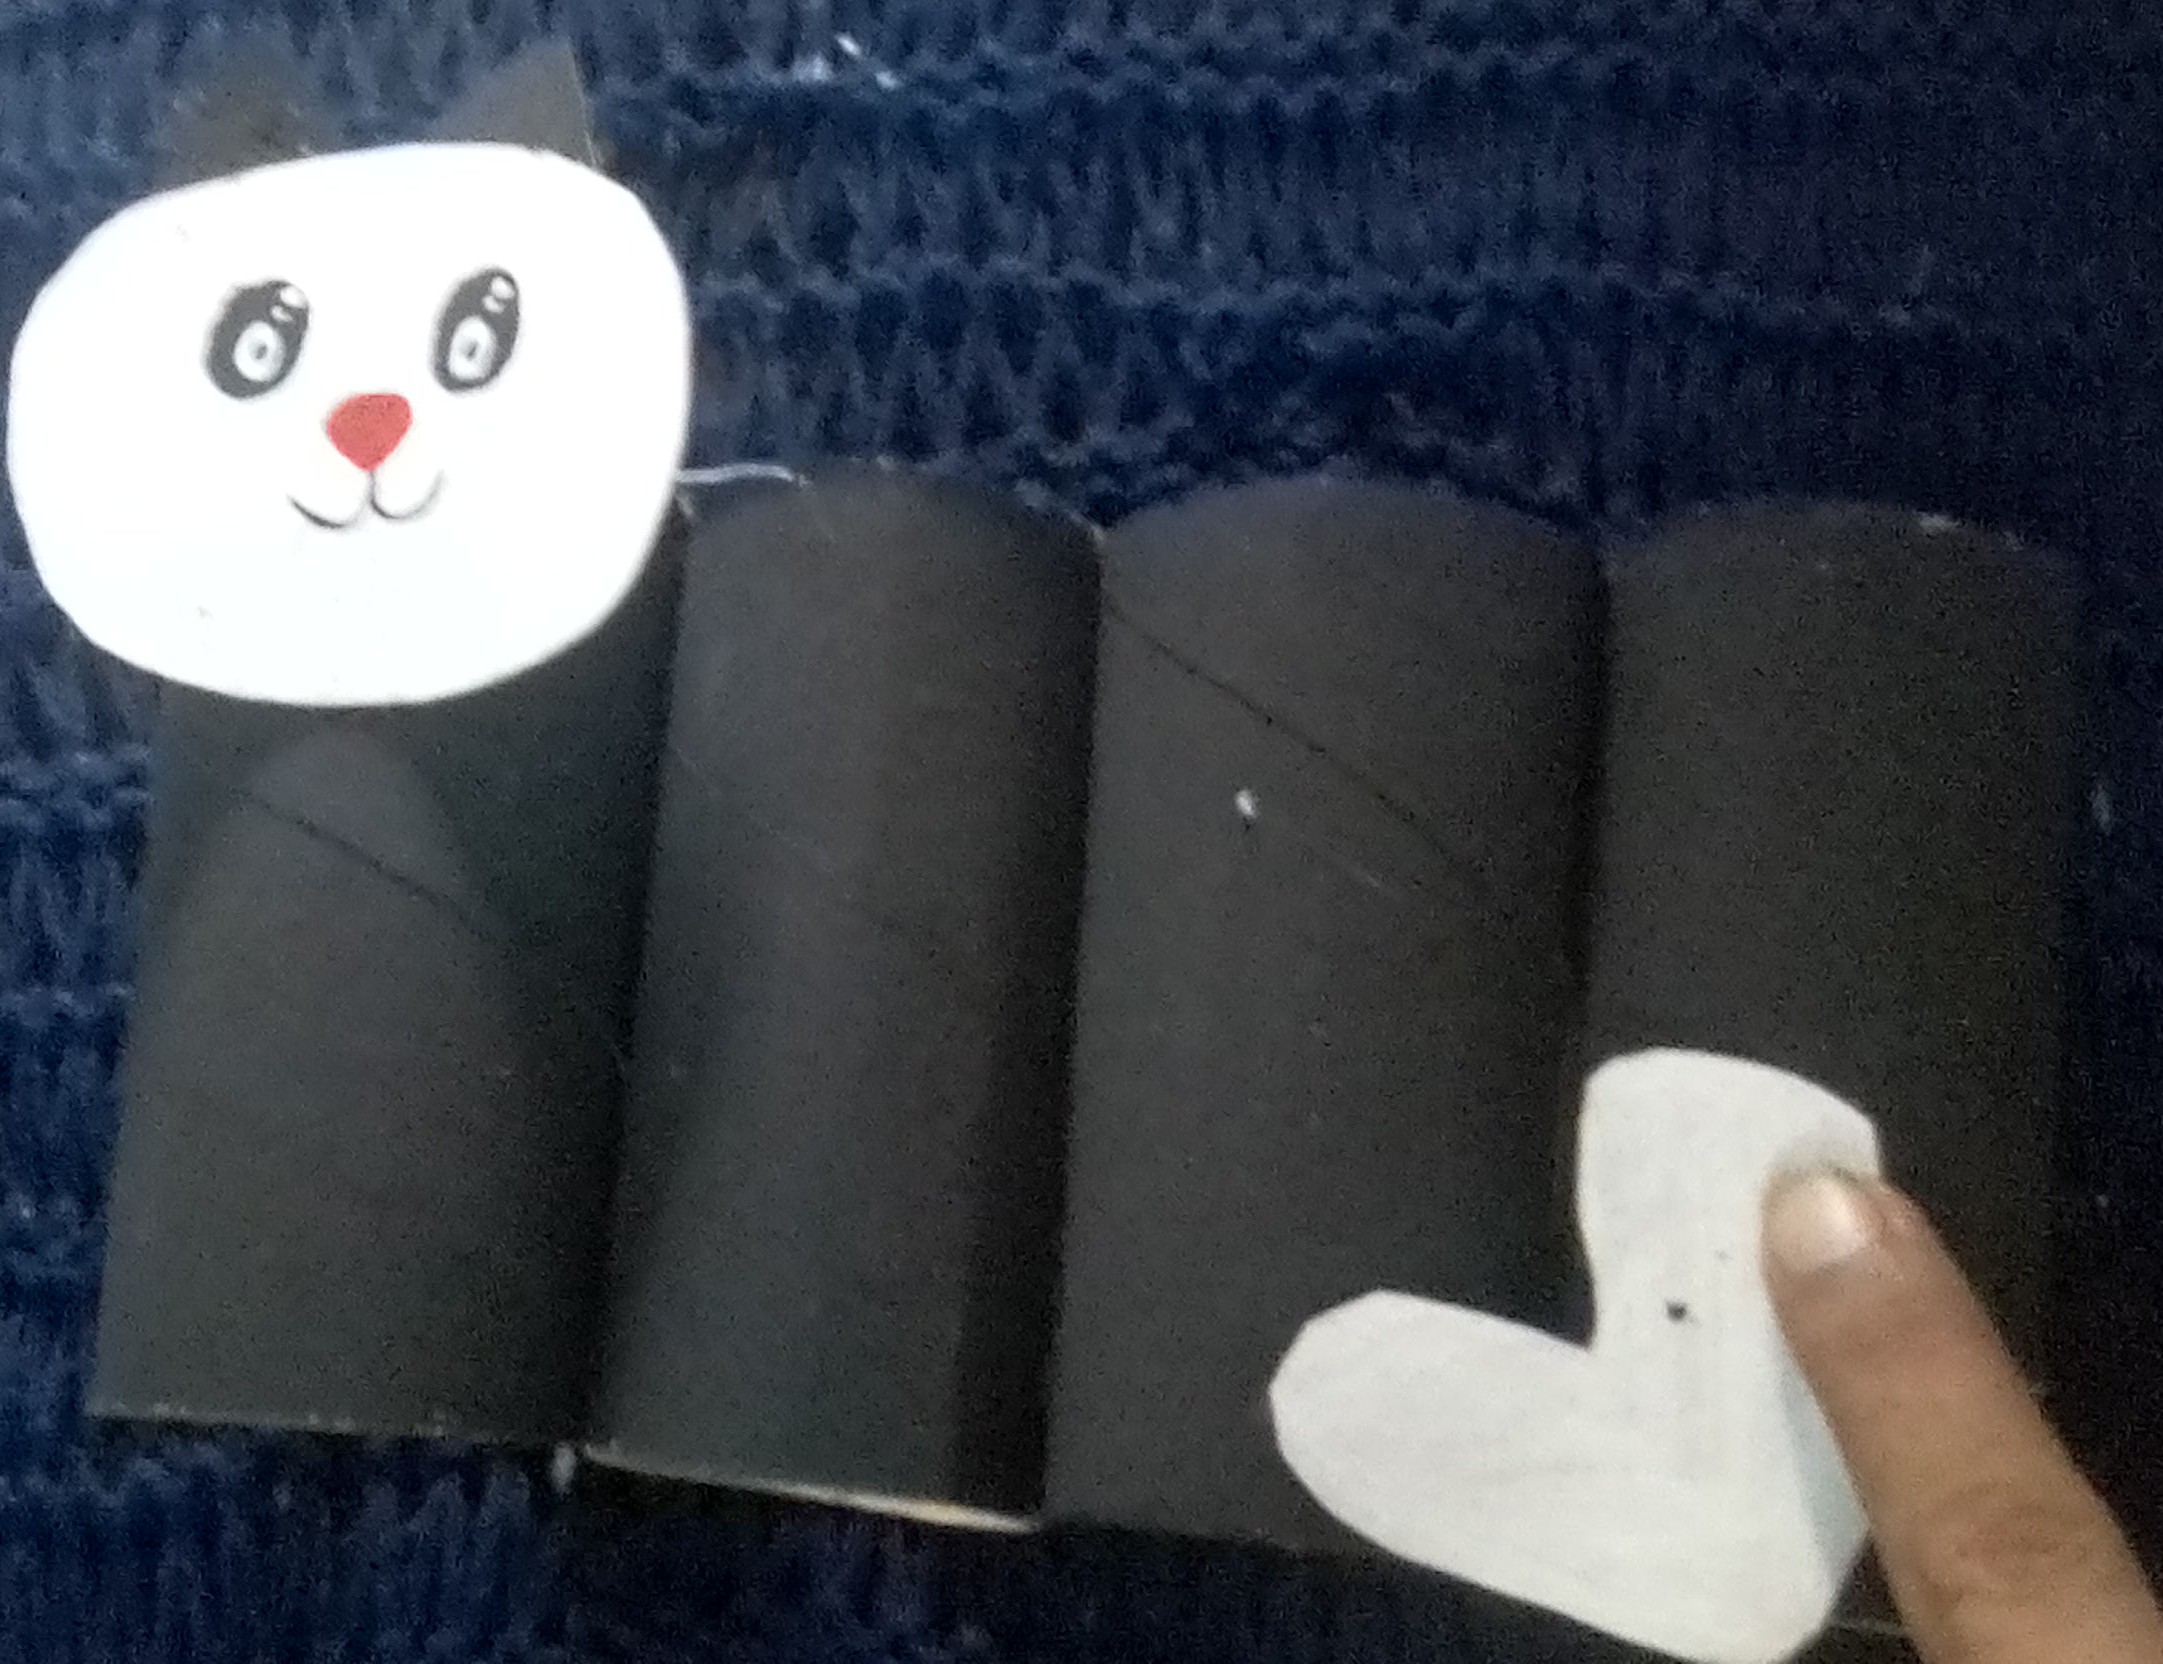
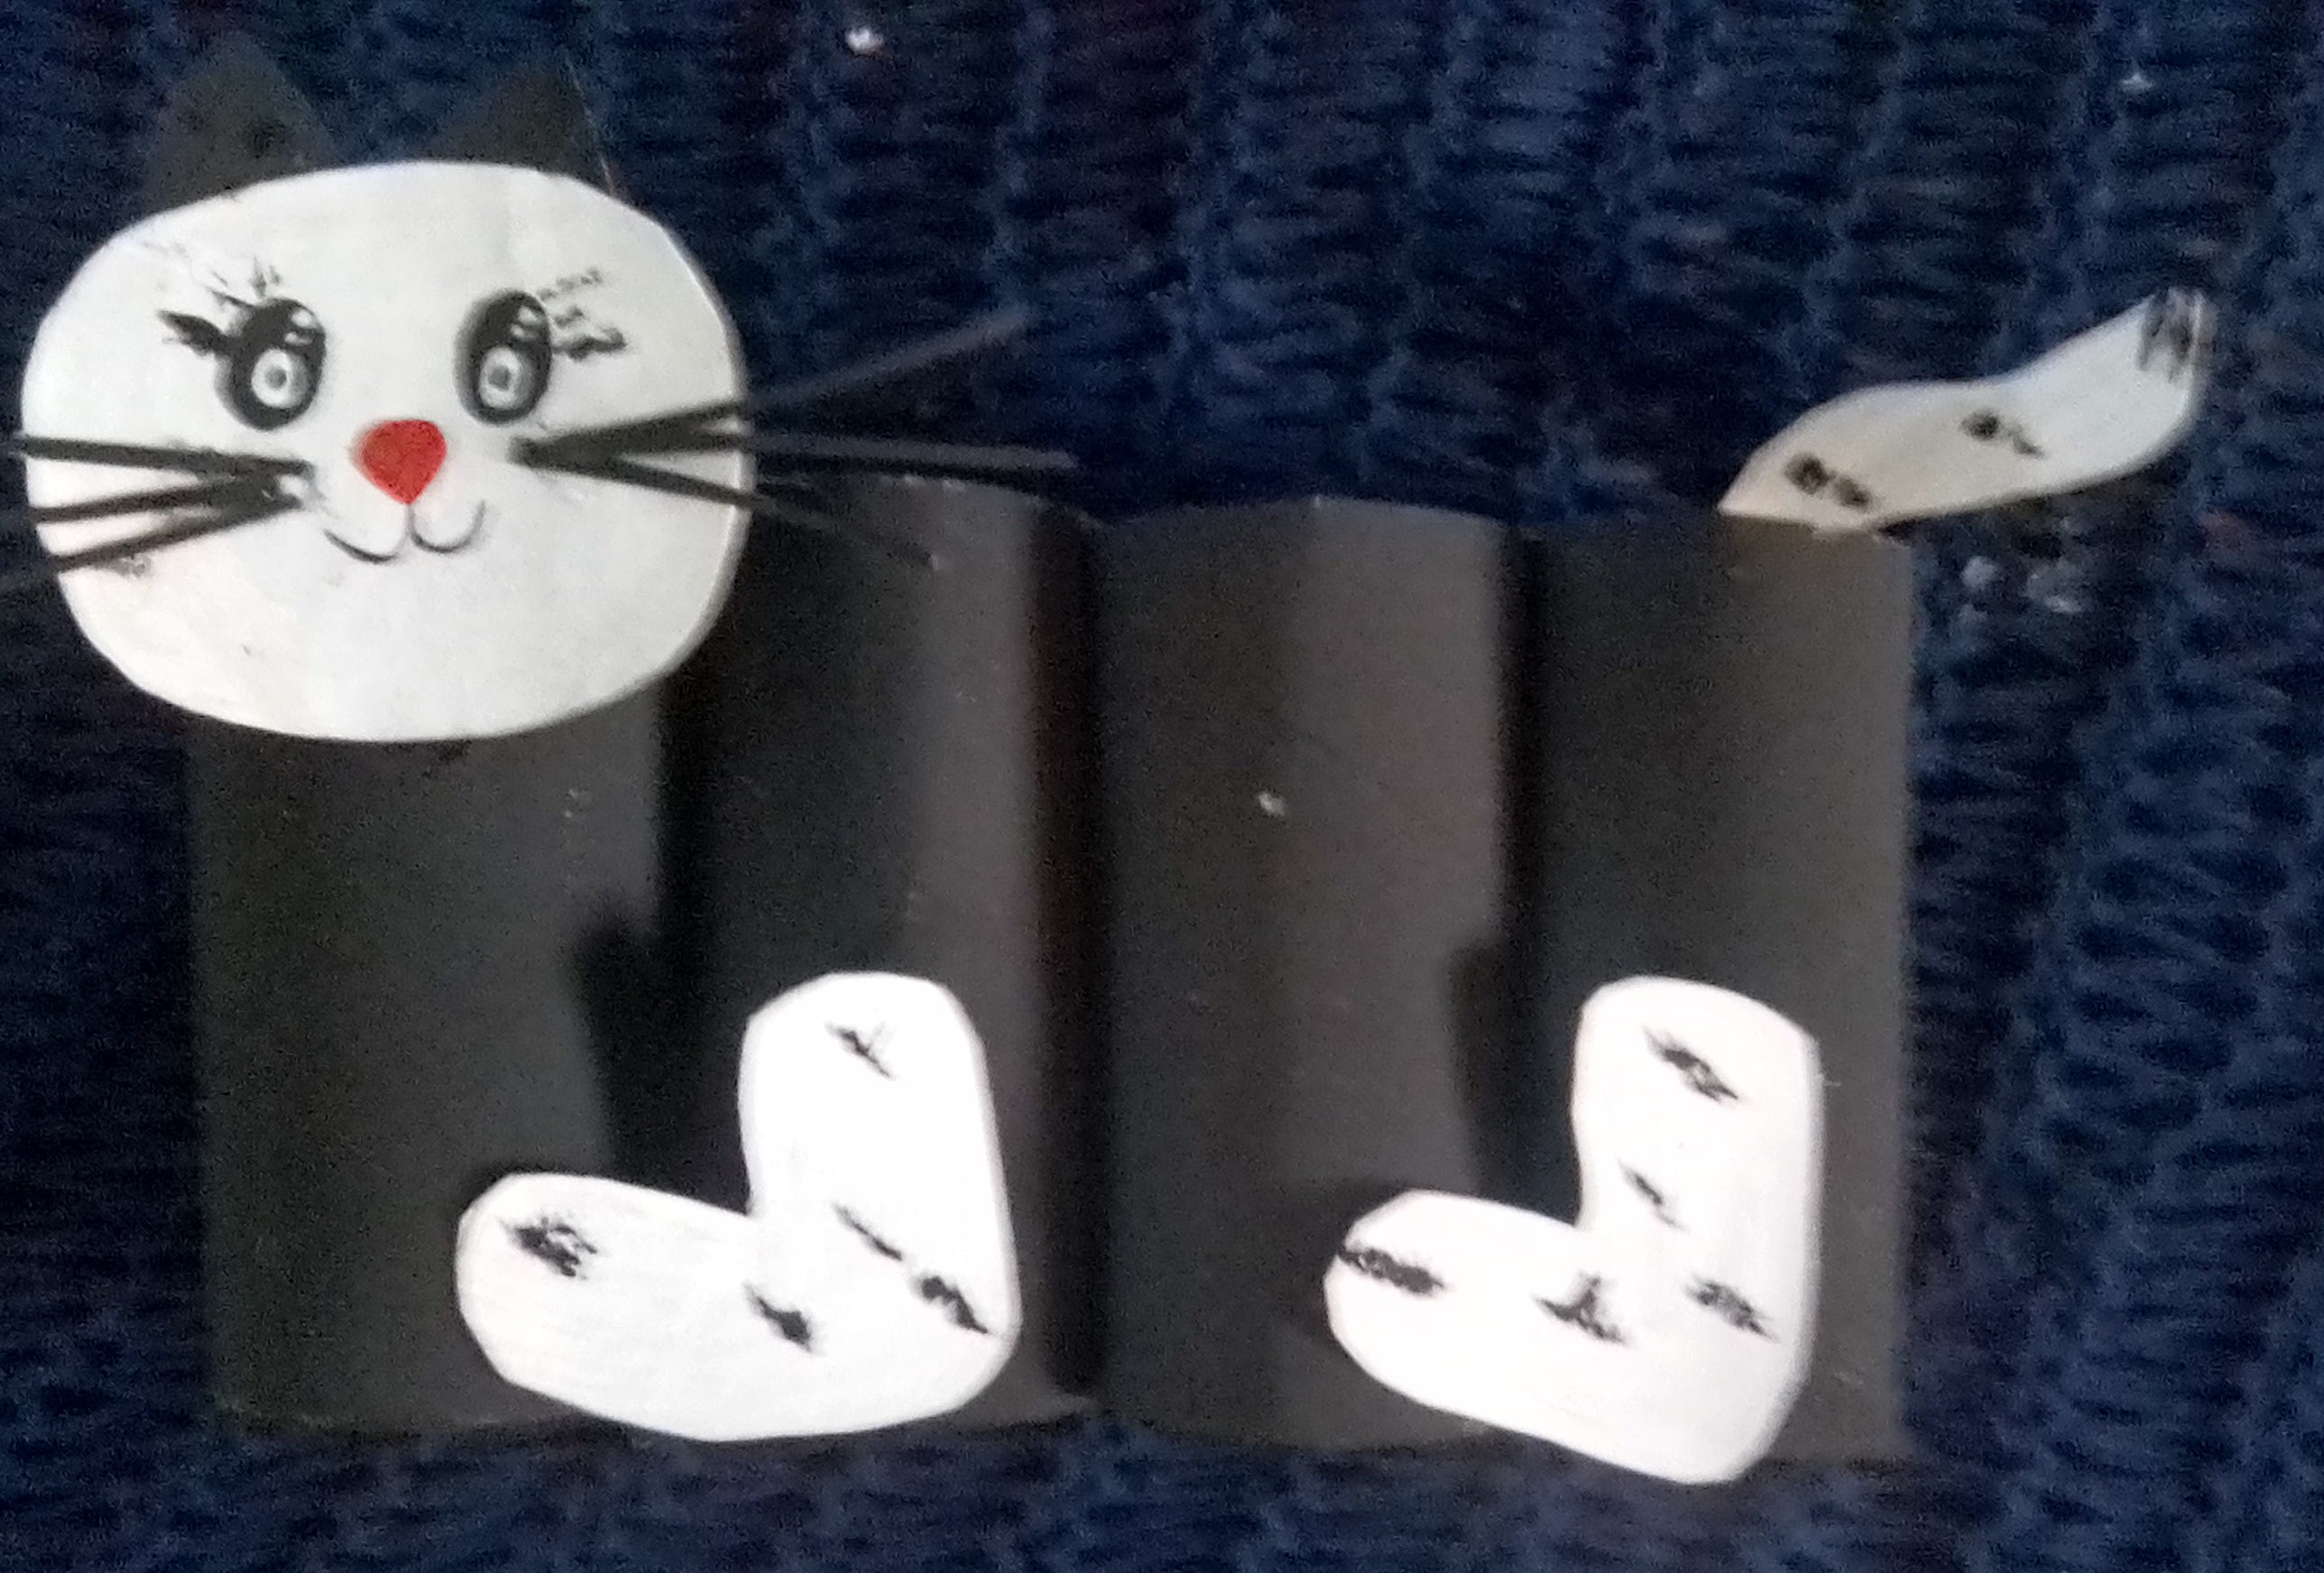
6-Luego hacemos unos detalles en las patas y el rabo pegamos el bigote y tenemos listo un sencillo portalápices con diseñó de gato

Gracias por visitar mi blog!!!
6-Then we make some details on the legs and the tail, we glue the mustache and we have ready a simple pencil holder with a cat design

