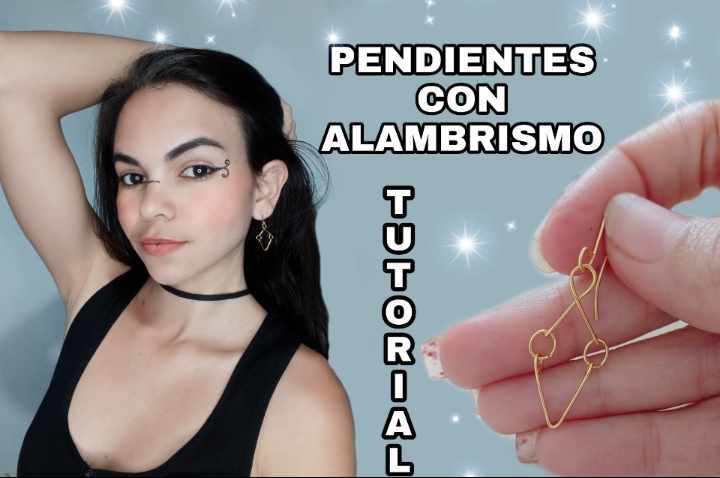
Hello creative friends from #gems, I am happy to greet you, I stopped by today to share with you a tutorial where I explain step by step how to make these earrings! I did it with the wire technique, here I will explain how much wire we will use and the tweezers we must have.
I hope you like this small step by step since I really liked creating it and mainly sharing it with you, you will see how easy it is to make them and I will try to be as explicit as possible in this tutorial, without further ado, here are the steps to follow, this time we will use the following materials:
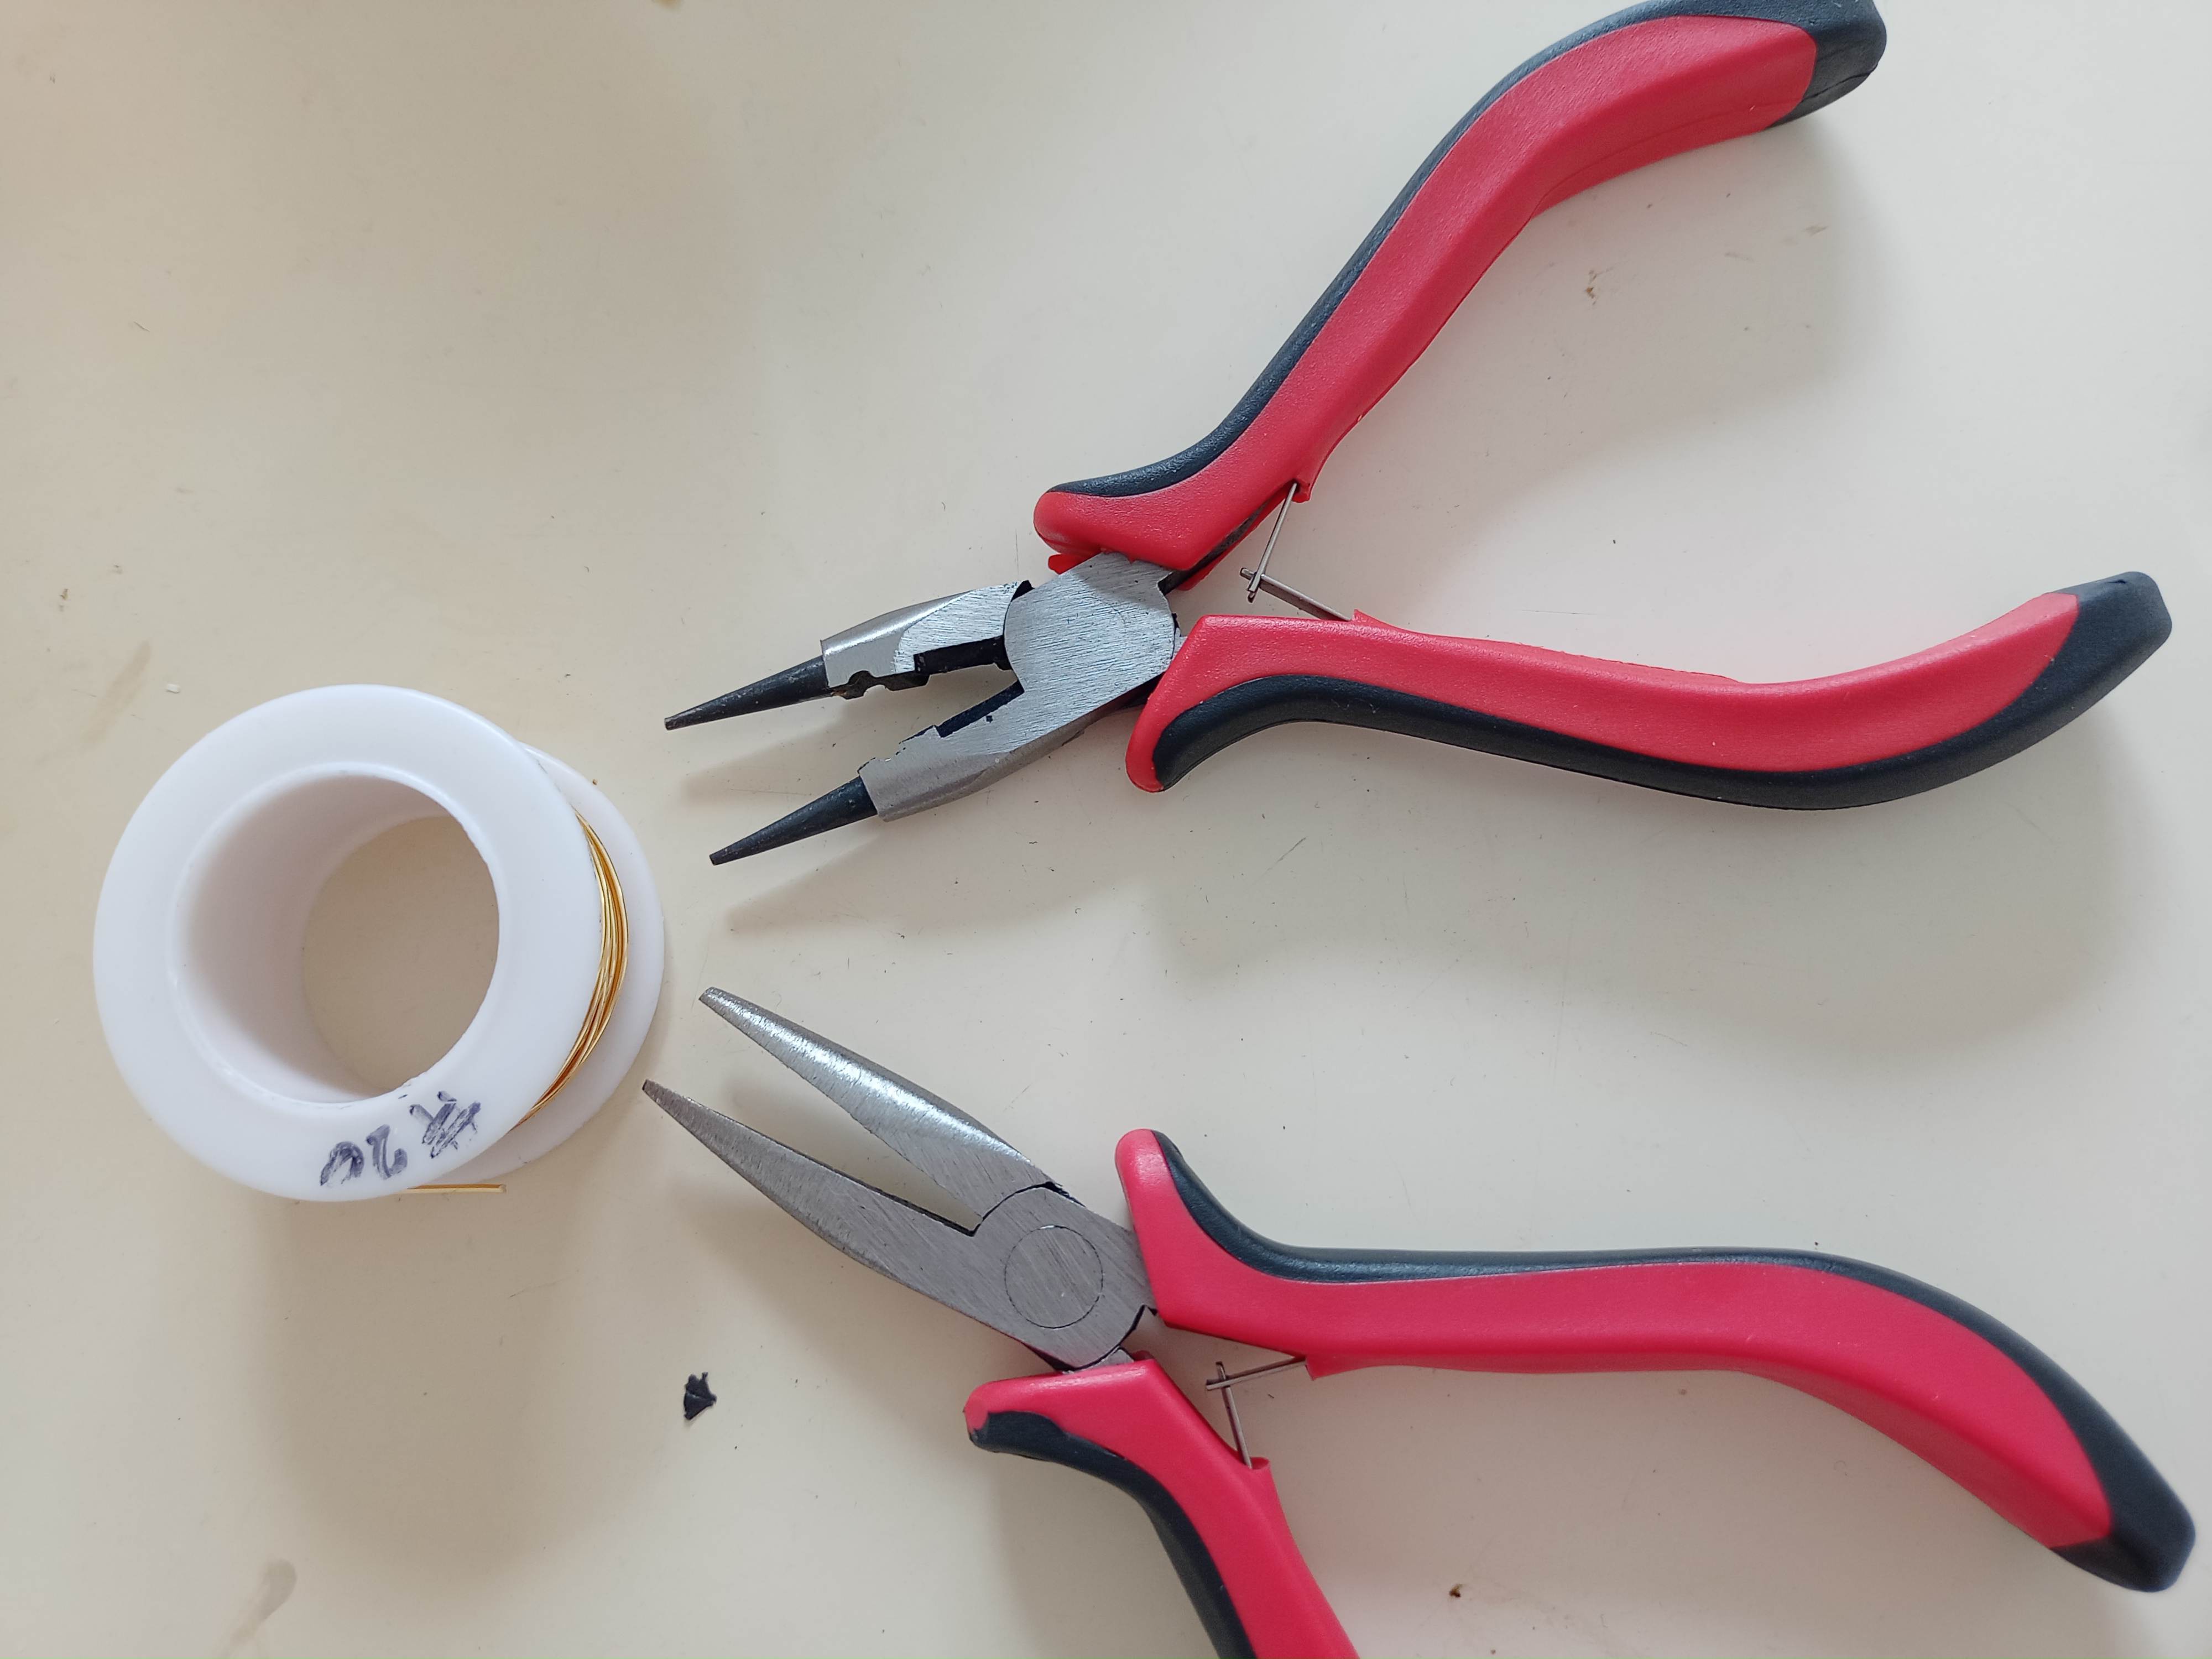
MATERIALES
- alambre calibre 20.
- Pinza plana.
- pinza punta redonda.
MATERIALS
- 20 gauge wire.
- Flat clamp.
- Round nose pliers.
PASO A PASO
STEP BY STEP
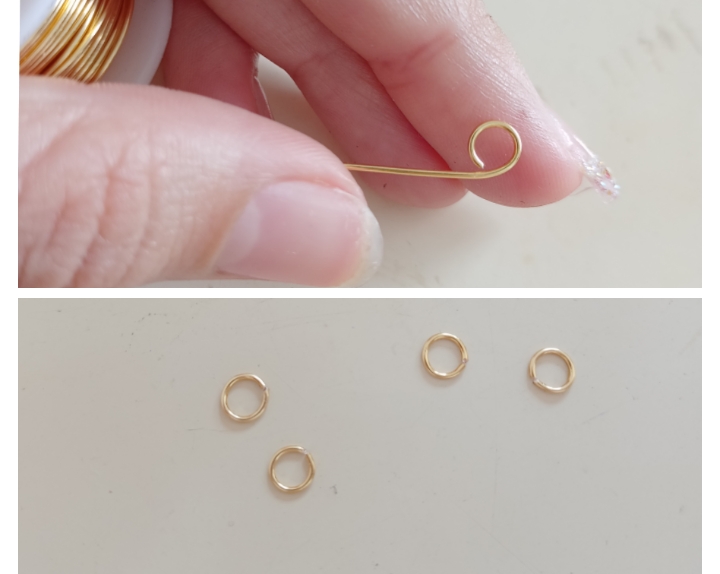
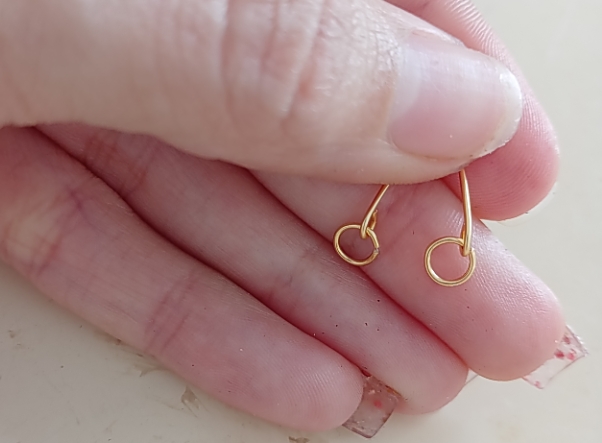
1 . The first thing I did were the rings, for this I took the round tip pliers and using the lower part of the tip, that is, the thickest area, I made 4 rings.
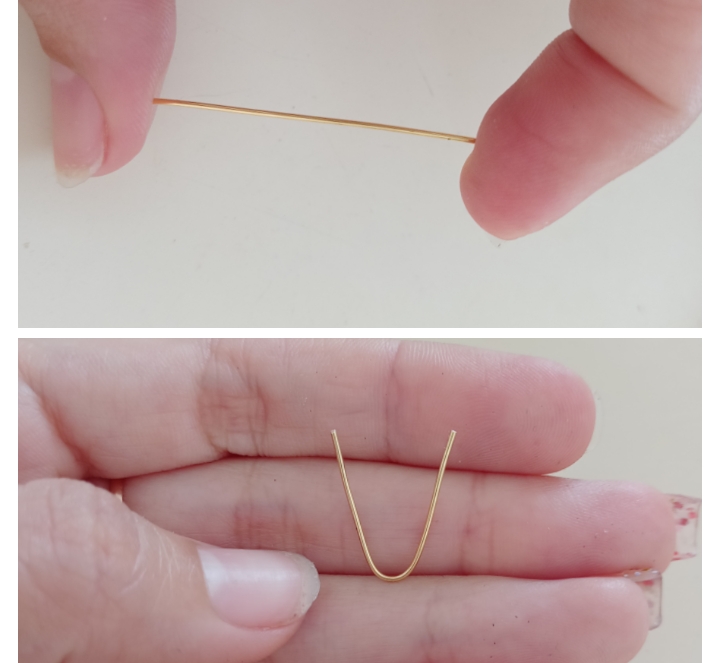
2 . Next, cut a piece of wire about 3 cm, clamp right in the middle and make a V.
3 . Take the round tip pliers again and make a ring at each end, before continuing I introduced a ring on each side and then sealed by pressing.

4 . Cut another piece of the same dimension, and think just in the middle, only in this case, cross the ends, remaining as follows.
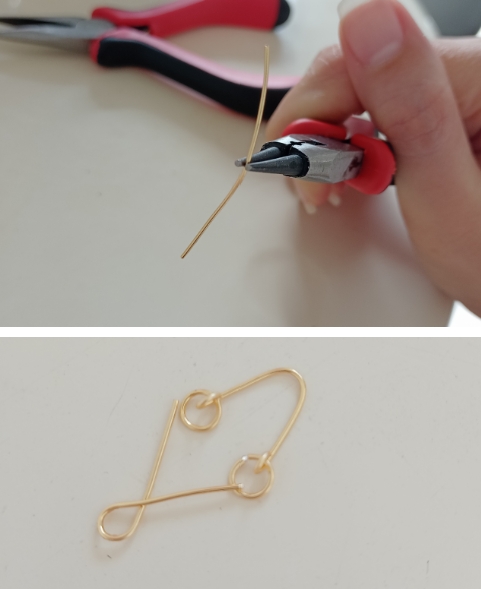
5 . I made a ring at each end and joined it to the piece that we had previously formed.
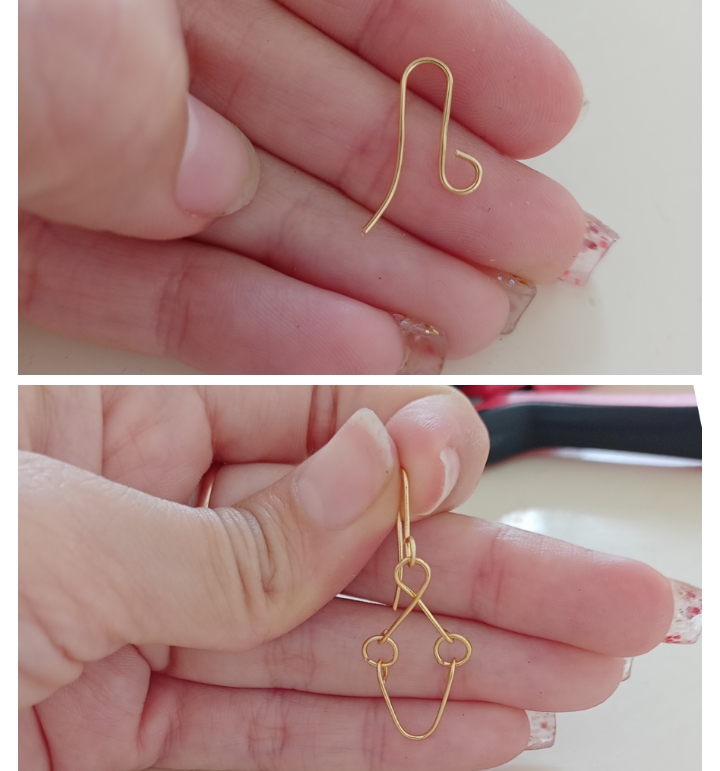
6 . Finally, make the piece in the shape of a hook. For this, simply make a ring at the end of the wire and then use the round nose pliers to make the hook.
Did you imagine that you could create it this way? Pretty interesting right? I hope you liked it, and you are encouraged to try it, because it is easy to do and they will look great on you.
RESULTADO FINAL
FINAL SCORE
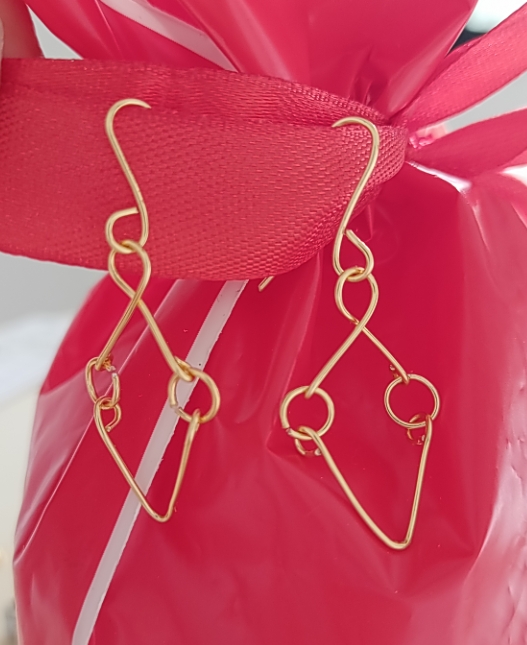
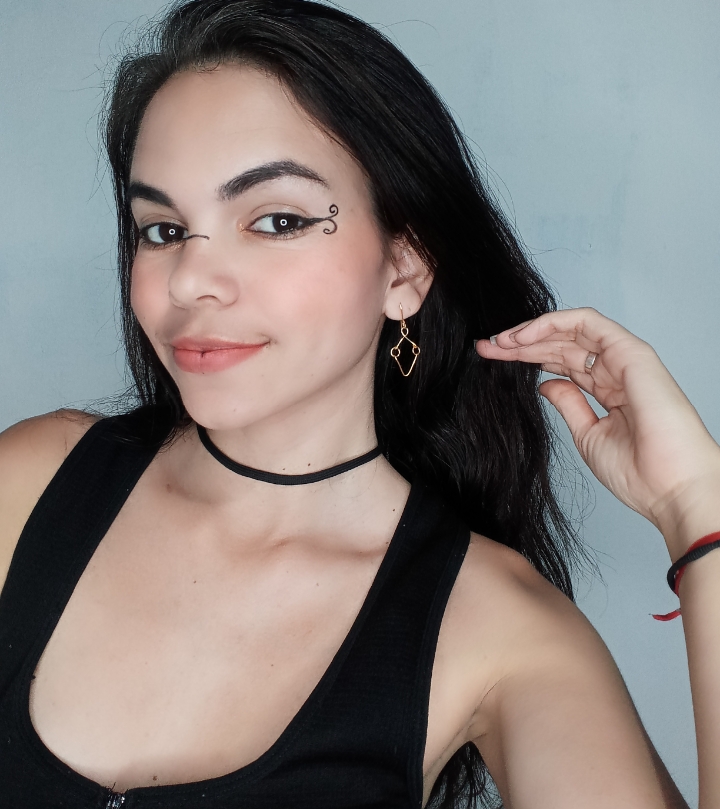
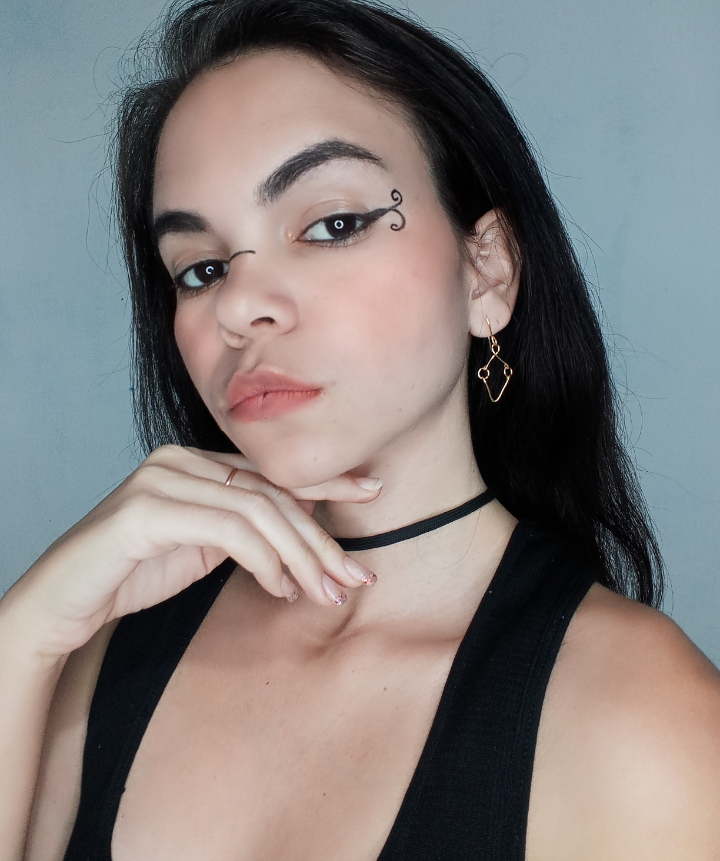
REMEMBER THAT YOU CAN GIVE IT YOUR PERSONAL TOUCH!
You can find more tutorials like this on my blog, it will be until a next opportunity!Happy to share with you friends of #gems one more of my projects, I hope you liked it! It was made with love and dedication😊
Fotografías propias tomadas con mi REALME 7i
Contenido 100% exclusivo
Own photos taken with my REALME 7i
100% exclusive content
Feliz de compartir con ustedes amigos de #gems uno más de mis proyectos, espero haya sido de su agrado! Fue hecho con amor y dedicación😊 Pueden encontrar más tutoriales cómo este en mi blog, será hasta una próxima oportunidad!
Thank you for sharing this post on HIVE!
Your content got selected by our fellow curator stevenson7 & you just received a little thank you upvote from us for your great work! Your post will be featured in one of our recurring compilations which are aiming to offer you a stage to widen your audience within the DIY scene of Hive. Stay creative & HIVE ON!
Please vote for our hive witness <3
Great photos, great tutorial, you will go far!
Amén, muchas gracias por sus palabras!☺️