Hola amigos🙋♀️
Hello friends 🙋♀️
Espero se encuentren genial, hoy realice un divisor de texto para mi contenido de maquillaje
I hope you are great, today I made a text divider for my makeup content
Hace algunos días viendo la manera en la que armo mis post, me dije "A esto le falta algo" ,. Así que aprovechando una Nuevo app de la que les voy a contar decidí realizar un divisor de texto
A few days ago, seeing the way in which I put together my post, I said to myself "This is missing something",. So taking advantage of a new app that I am going to tell you about, I decided to make a text divider
Así que si quieres saber cómo lo hice? Este es tu post indicado
So if you want to know how I did it? This is your post indicated
Para realizar esto, utilice 2 aplicaciones
CANVA Y PHOTOROOM
To do this, use 2 applicationsCANVA AND PHOTOROOM

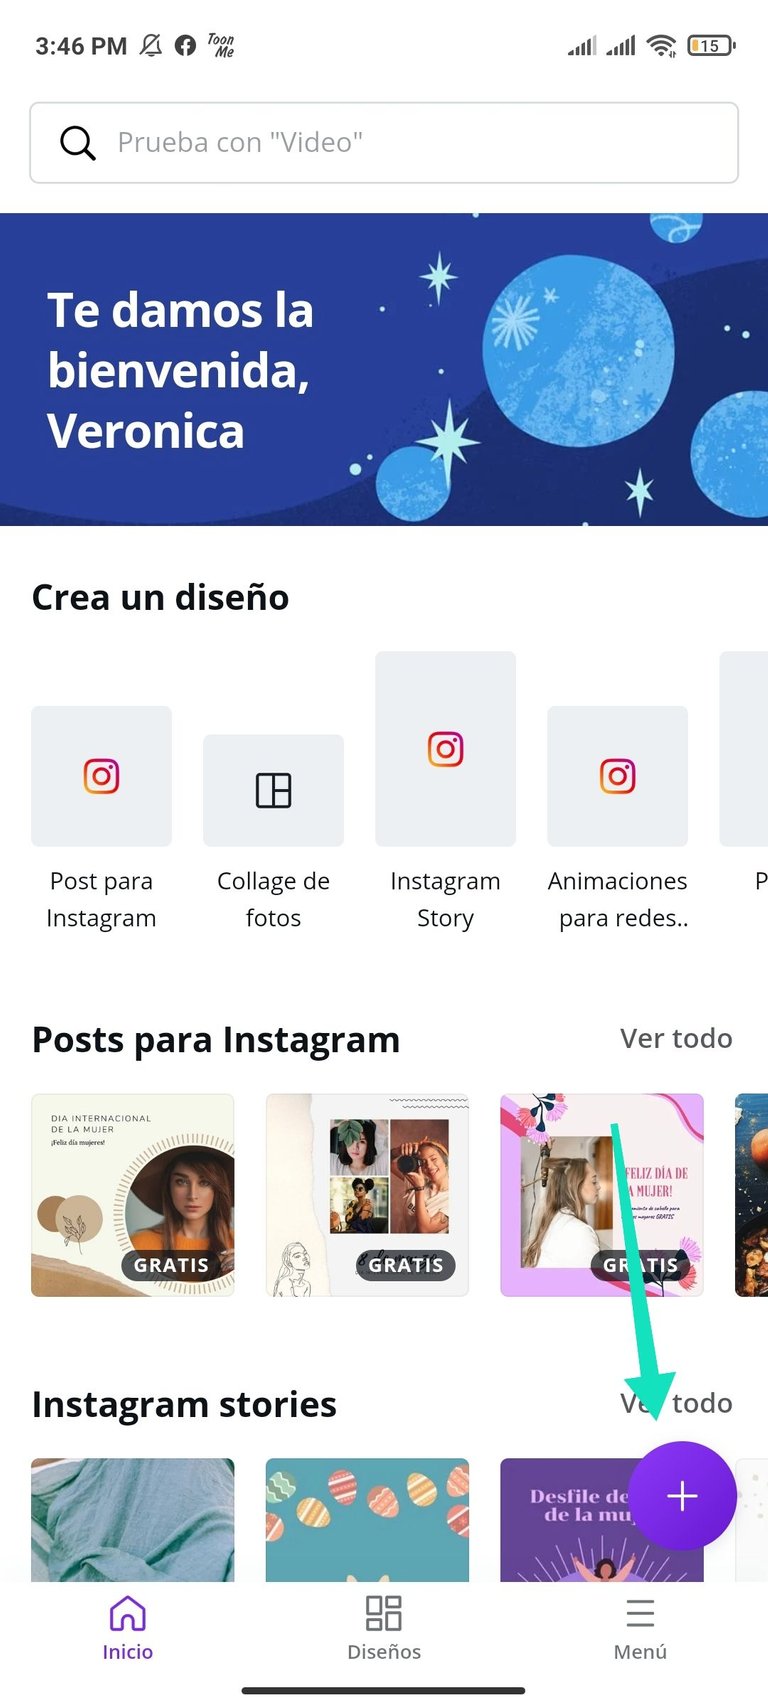
Pasos
- Entre a la aplicación de canva y pulse el botón morado para hacer una nueva imagen en blanco
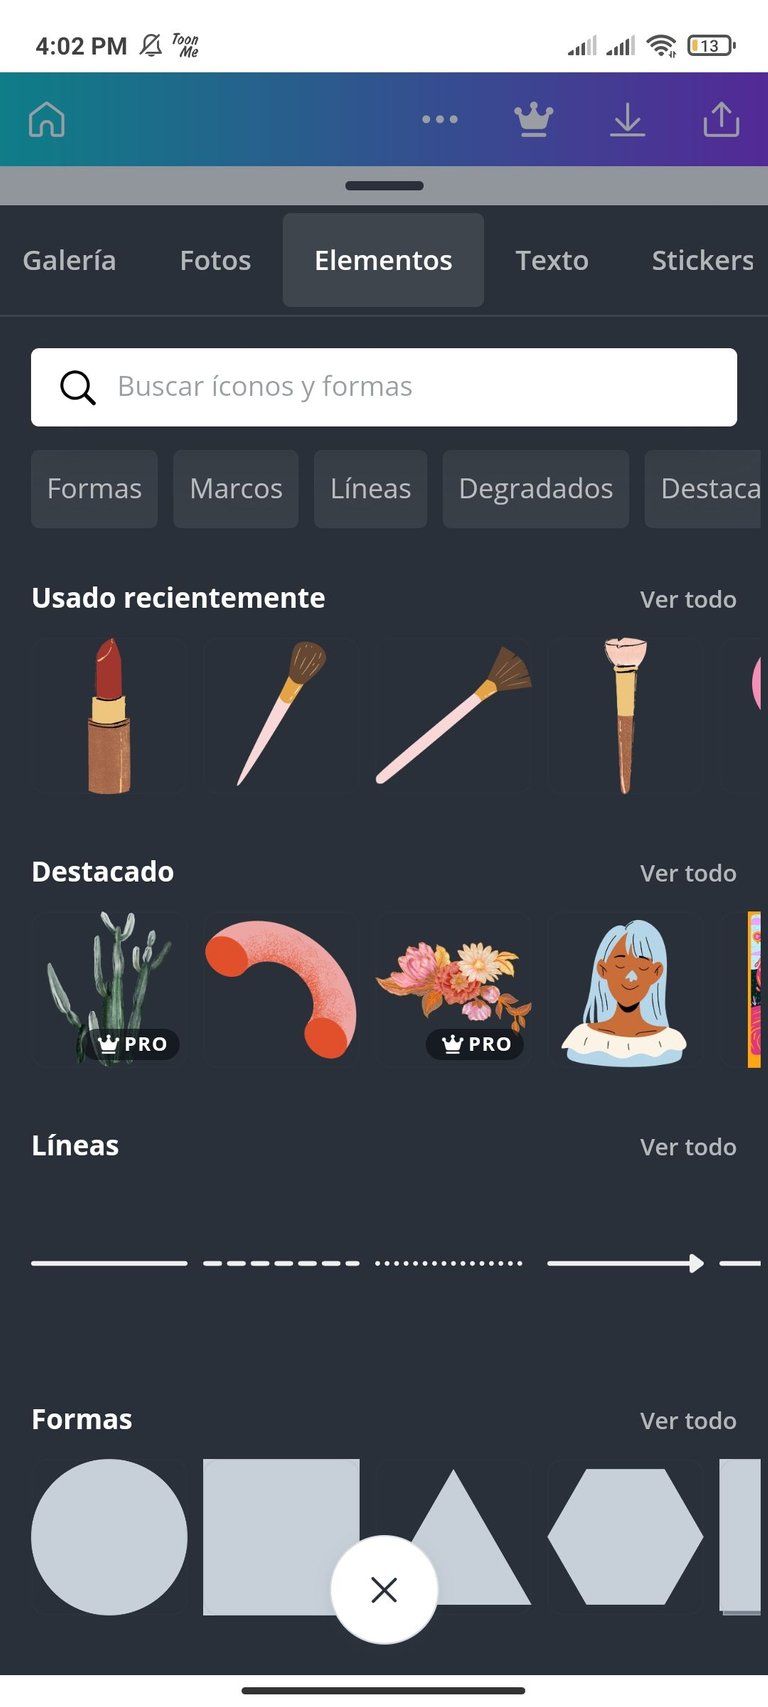
- teniendo la plantilla en blanco, pulsan en elementos y allí escriben en mi caso quería de maquillaje
- al colocar salió como un barrido de un color bien lindo y lo coloque en el medio
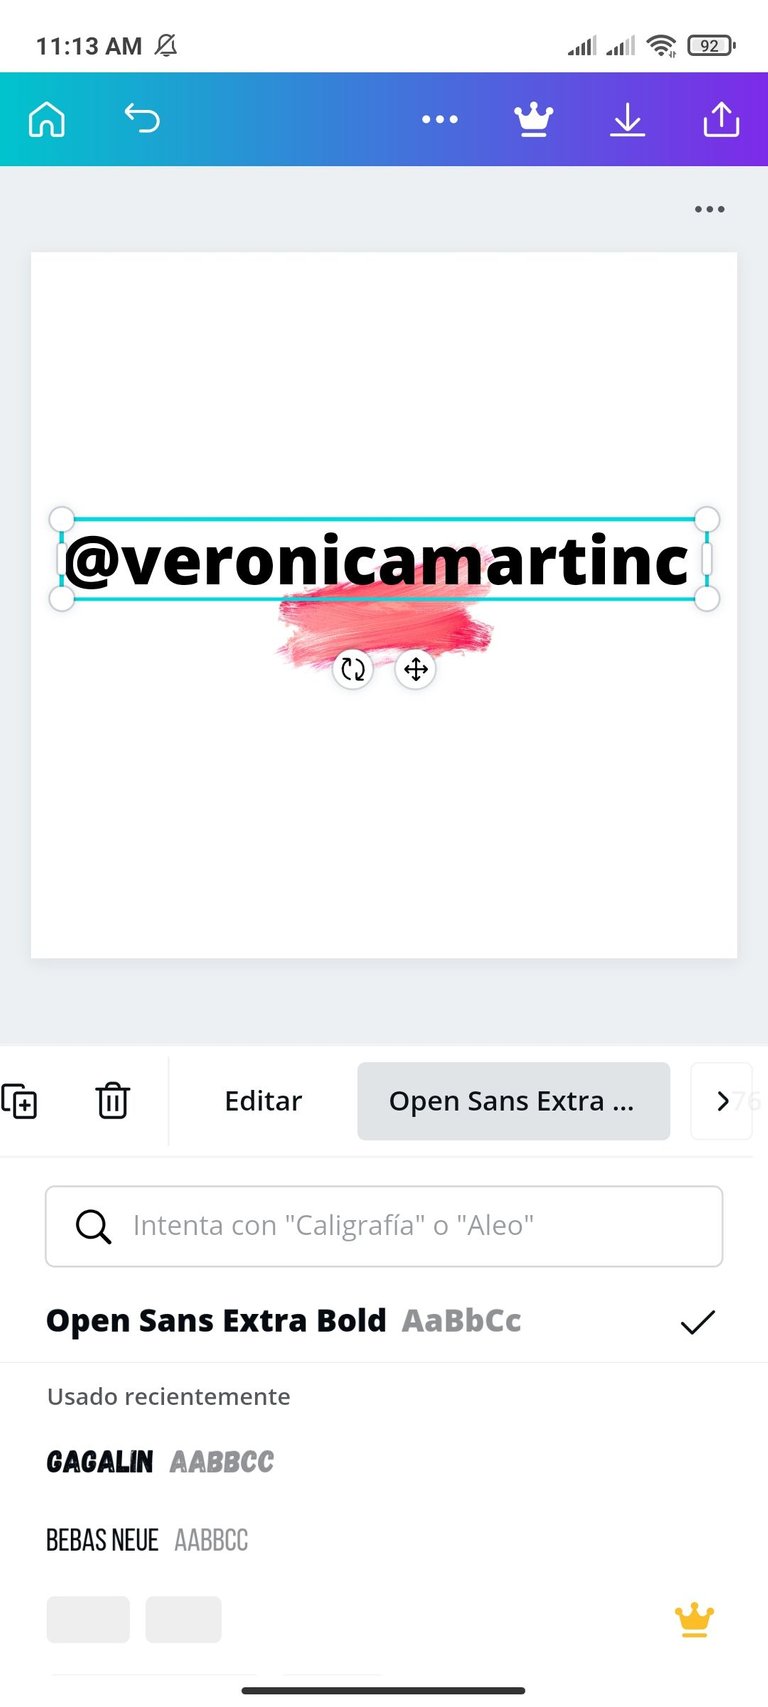
- a esto le agregue mi nombre de usuario
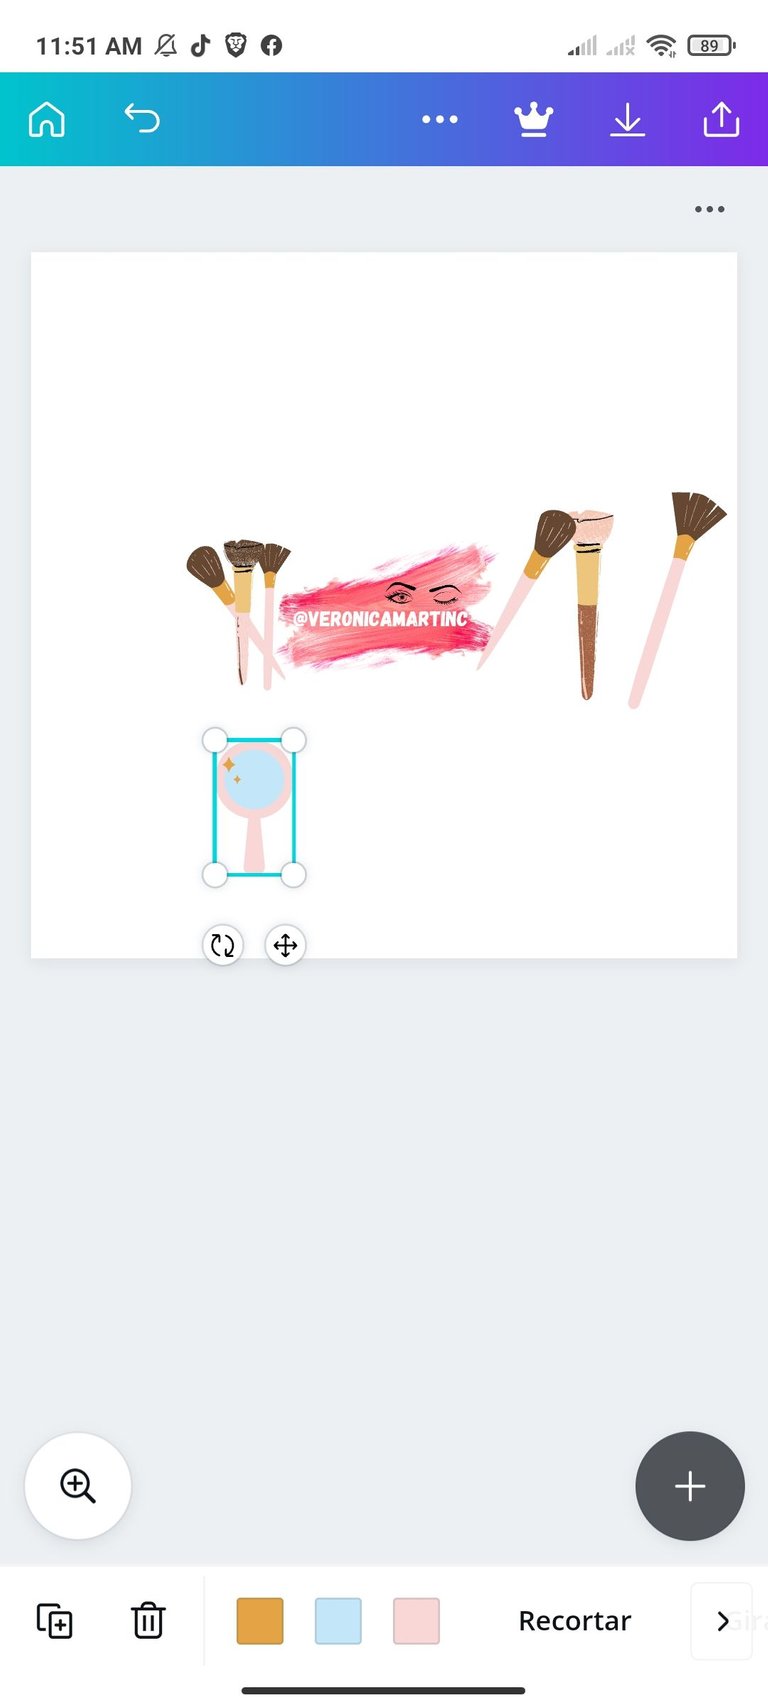
- luego fui posicionando unas brochas que me gustaron y un labial
- luego de tener todo ubicado, tarde guarde la imagen
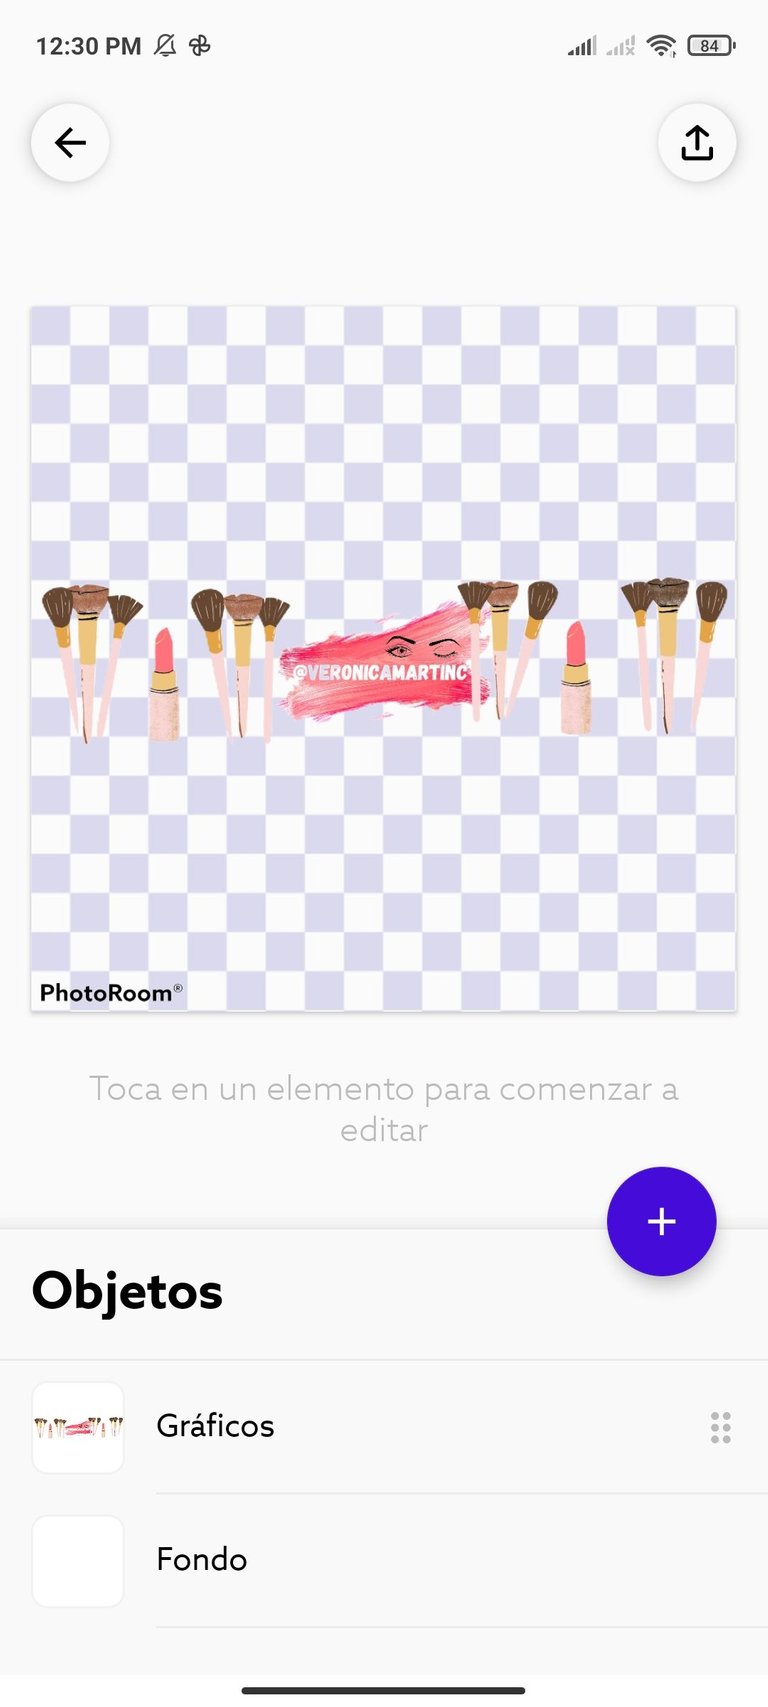
- Me fui a la 2da aplicación y seleccione la imagen
- en la opción de fondo selecciono borrar y le quita el fondo a la imagen
- para terminar me voy a la imagen sin fondo y la recortó de acuerdo a el tamaño de los elementos
Steps
- Enter the canva application and press the purple button to make a new blank image
- having the template blank, click on elements and write there in my case I wanted makeup
- when placing it came out as a sweep of a very nice color and I placed it in the middle
- to this add my username
- then I was positioning some brushes that I liked and a lipstick
- after having everything located, save the image later
- I went to the 2nd application and select the image
- in the background option I select delete and remove the background from the image
- to finish I go to the image without a background and cut it according to the size of the elements
Y este es el resultado
And this is the result

Y de esta manera ya tengo un divisor de texto personalizado para mis maquillajes. Muchas gracias por visitar mi blog!
Nos vemos muy pronto
And this way I already have a custom text divider for my makeups. Thanks so much for visiting my blog!
See you very soon
