
DIY Table Restoration Using Scrap Wood and Coffee Stain
Some people might think that this old worn-out, beaten, old table is hopeless. You might also think that we are better off throwing it away and just buy a new one. I decided to give our old dinner table a new life because I believe in life there is always hope.
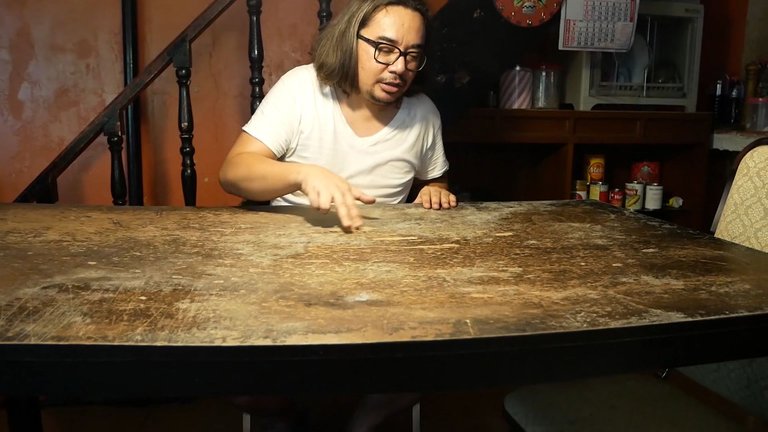
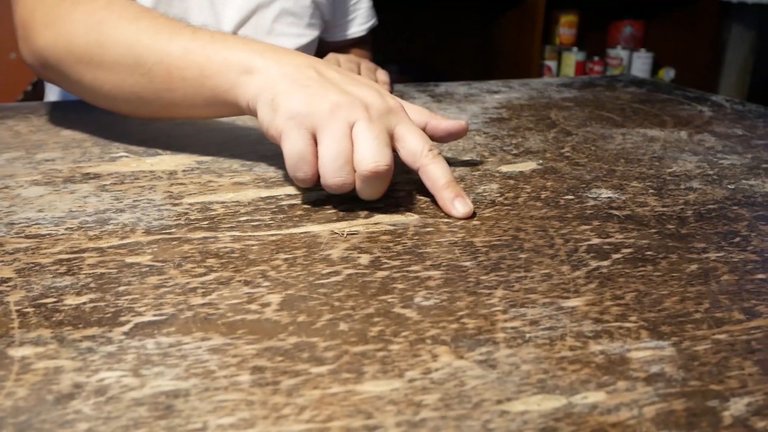
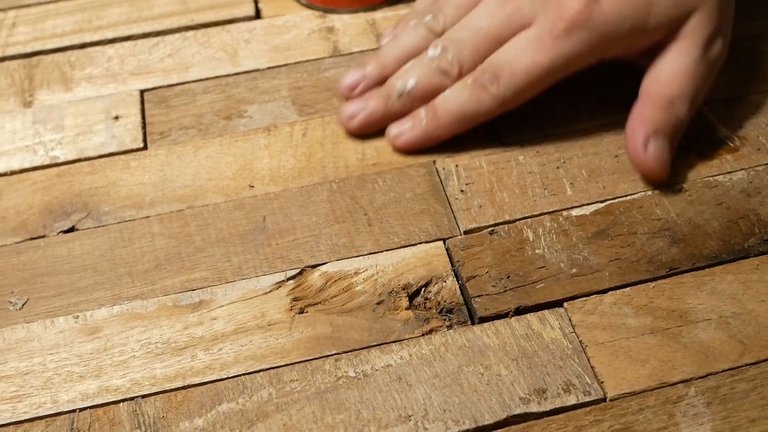
Thru the years our old dinner table has sustained a lot of scratches and damage. There are also deep scratches that are very visible. I cannot recall how this table ended up with so much damage.
My project for this table is to give it a rustic look by using scrap wood lying around our house.
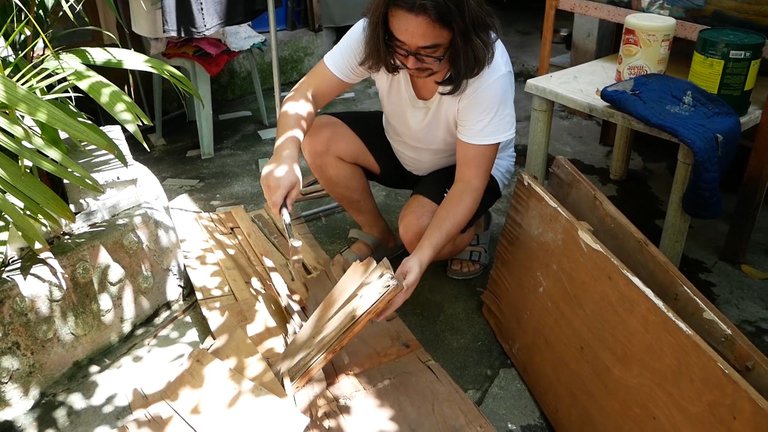
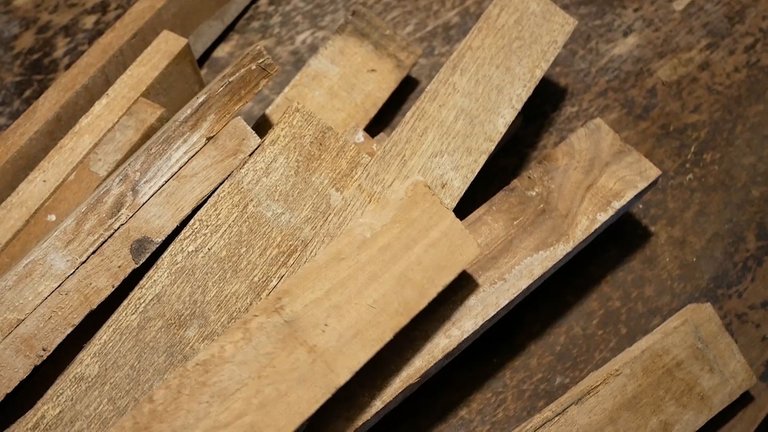
Here I found pieces of old marine plywood. I broke it open and discovered different planks of wood inside. This gave me an idea that is perfect for my project.

I dismantled all the marine plywood I could find and finally got enough to cover the entire table.
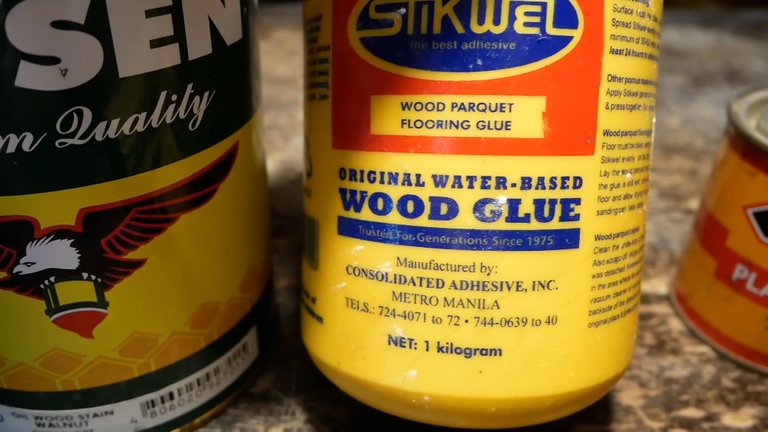
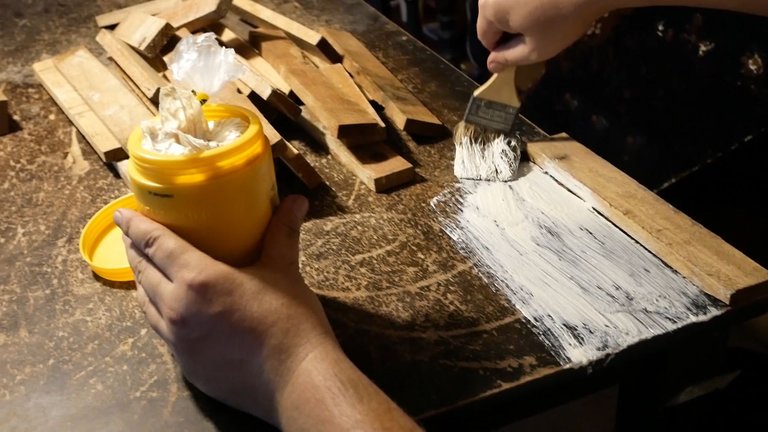
I used water-based wood glue to stick the planks of wood on the table.
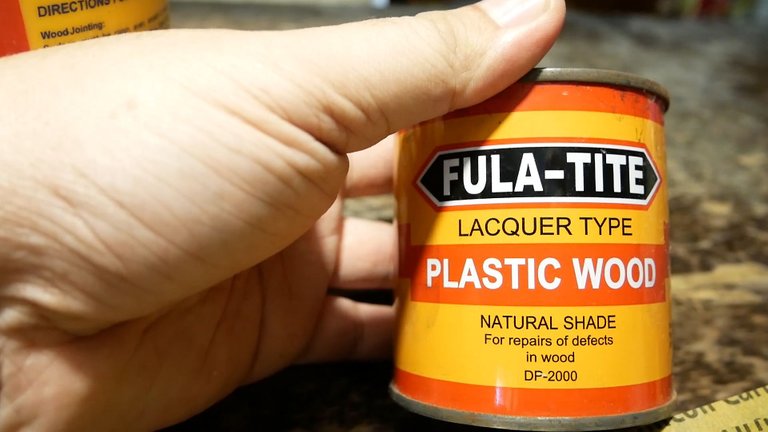
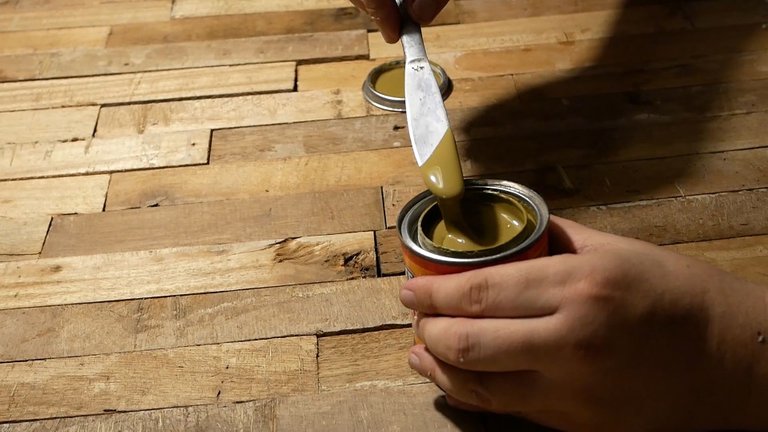
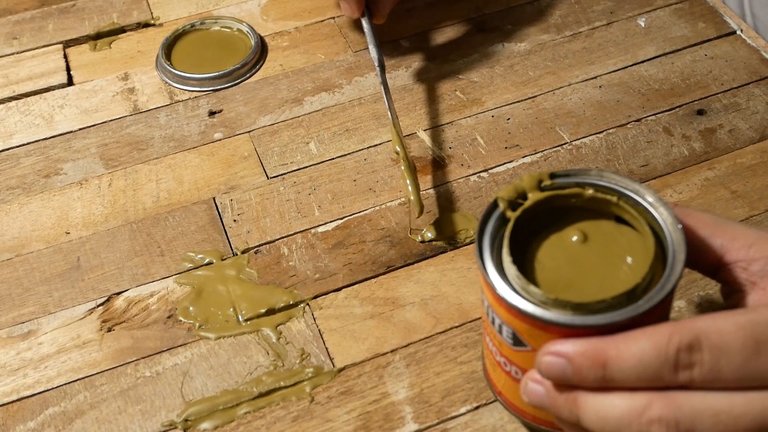
For the deep scratches and cracks. I bought this wood filler from our local hardware store.
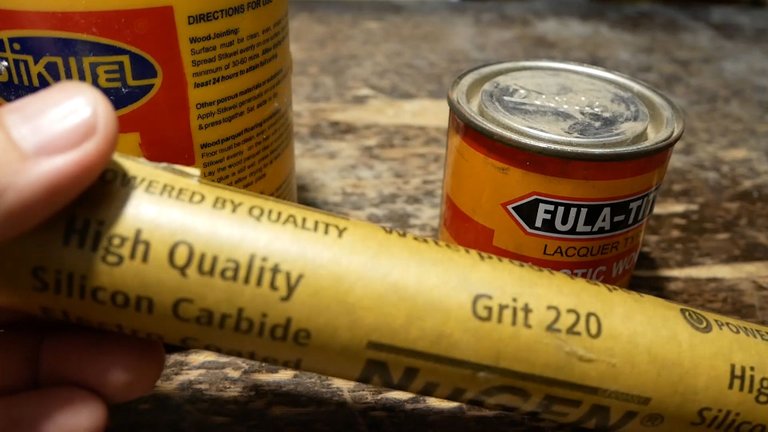
I also bought a couple of 220 grit sandpaper to smoothen the surface once all the planks have been attached.
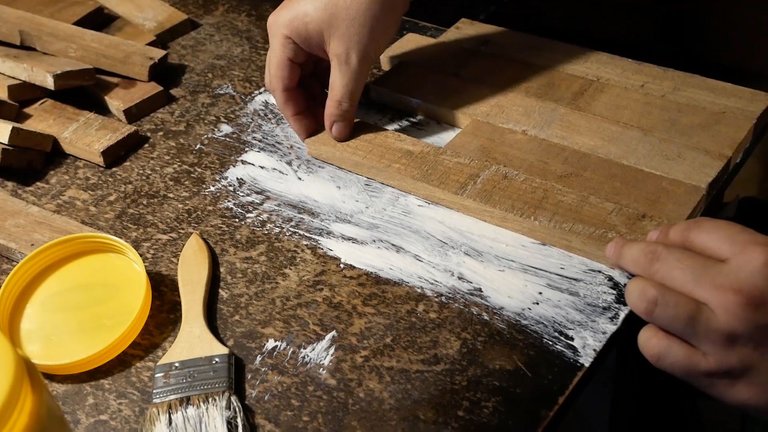
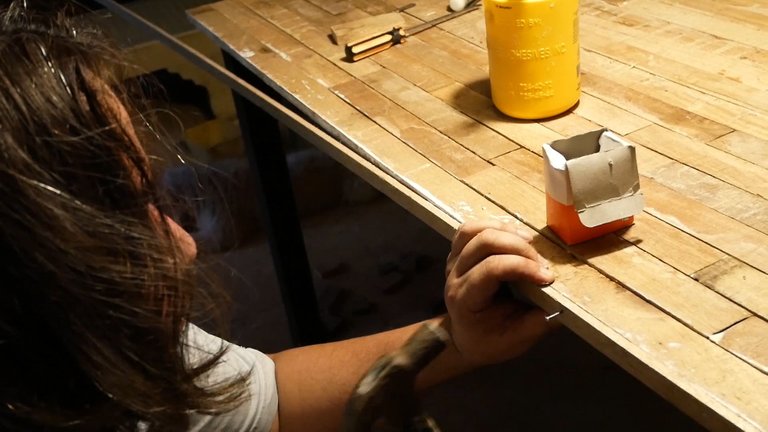
Attaching the planks of the table was quite easy. I just used an old paintbrush to paint the glue on the surface of the table.
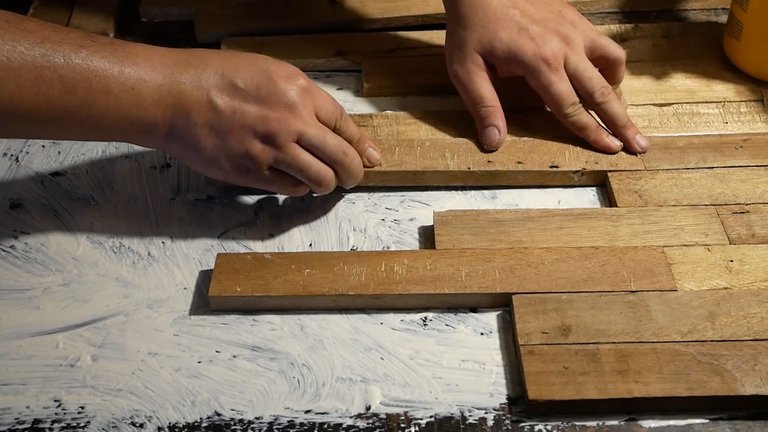
After that attaching the planks of wood was a breeze. It was like doing a puzzle, fitting all the planks, and making a design while selecting each piece of wood.
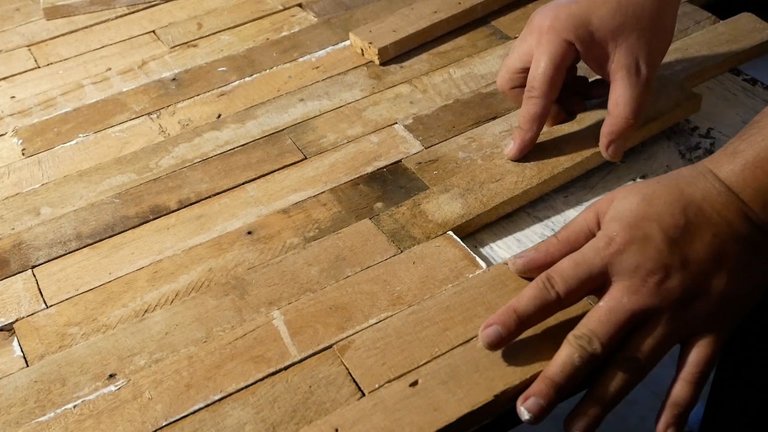
Almost all of the planks had a perfect fit and this was the easiest part of the project.
Once the table has been covered, I attached wood strips on the edges of the table. These were leftover wood strips from my previous project.
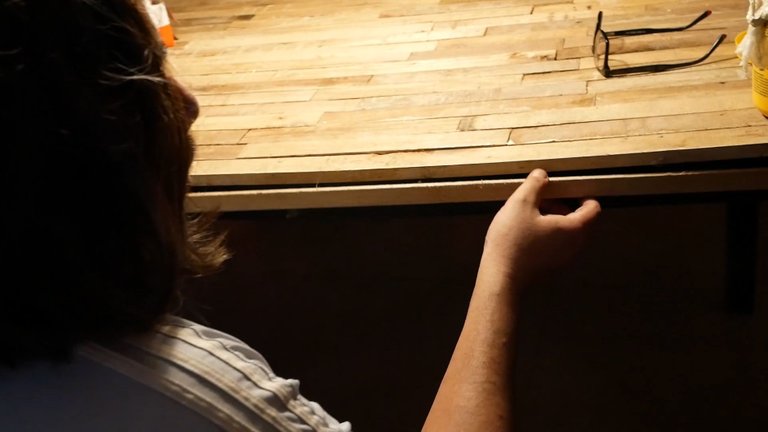
The glue would not be enough to hold it so you need to hammer in a couple of nails on the side.
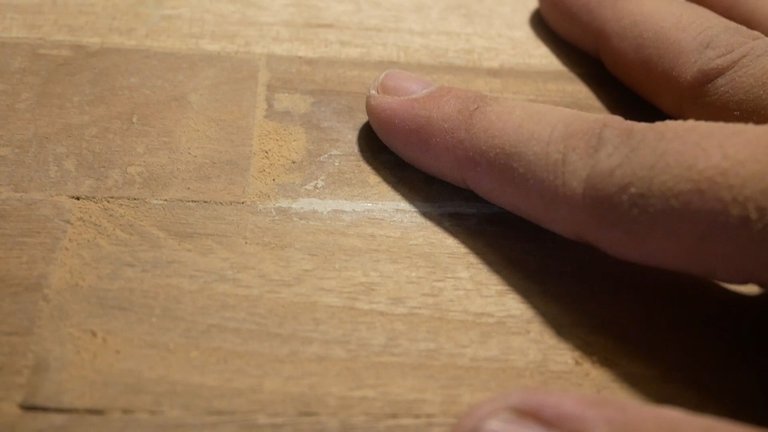
For the imperfections on the wood, I used the wood filler to fill in the gaps and holes.
Another option for this is to mix sawdust and wood glue. I discovered this later along with the project and is the perfect alternative. I would say this option is much better.
I could have saved money if I just discovered it earlier.
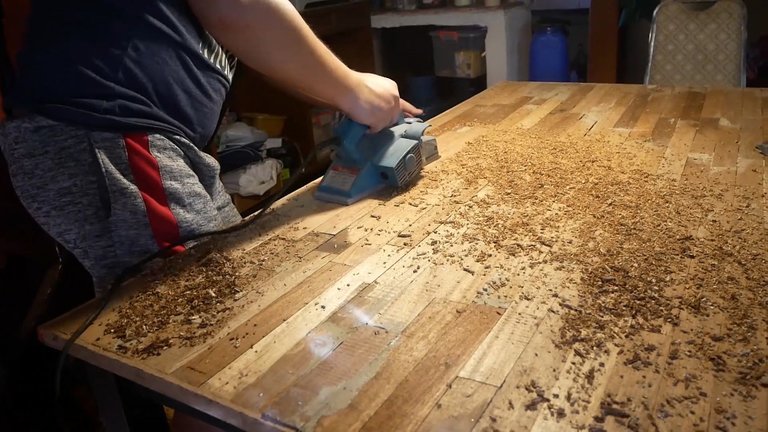
Once the filler is dry use a wood planer machine to even out the thickness of the wood. This will give the table an even surface.
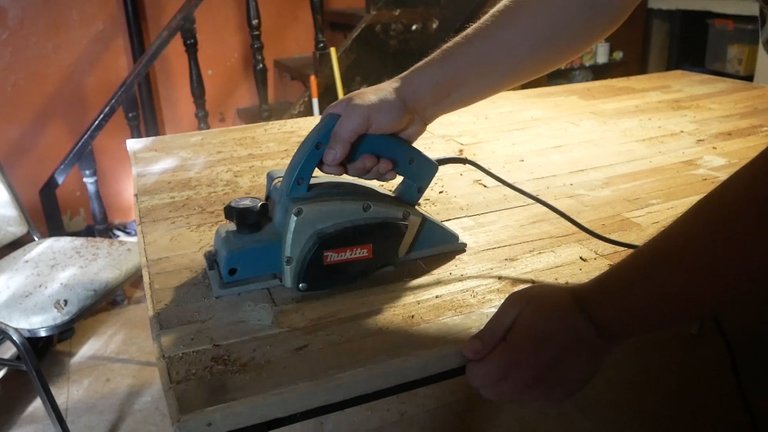
This will make a lot of mess and a lot of sawdust. You can use the sawdust to make the wood filler mixture I mentioned earlier.
After the surface of the table is evened out with the planer machine. Use the sandpaper to give it a smoother texture. This part is a bit tedious and a sander machine would be very useful. Since we do not have a sander I just used a wood plank and wrapped the sandpaper on it for easier use.
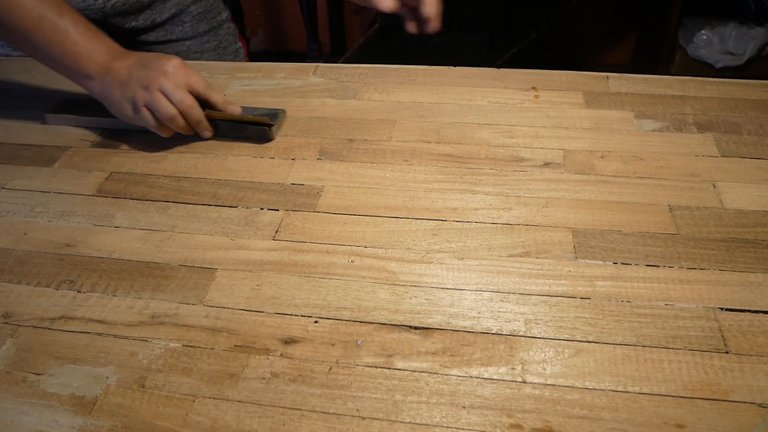
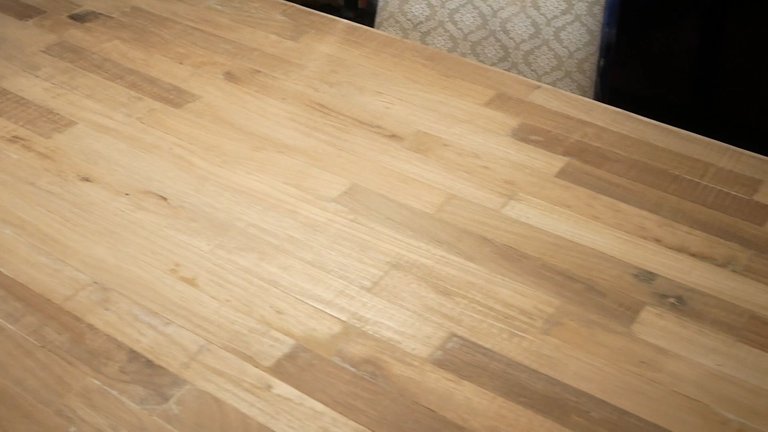
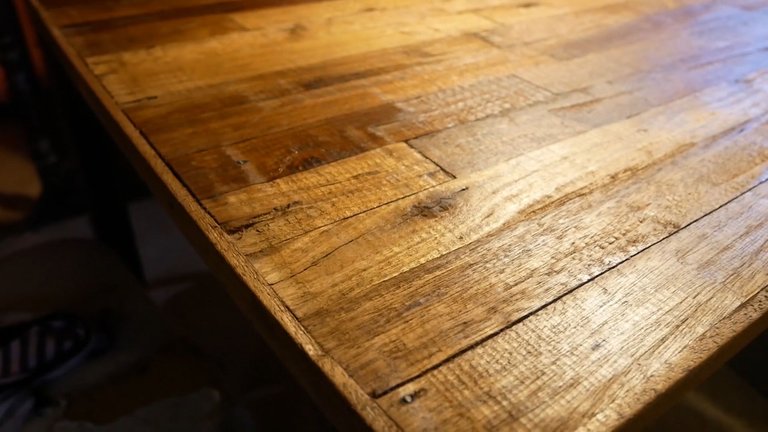
Now, this looks smooth enough for me and looks good already.
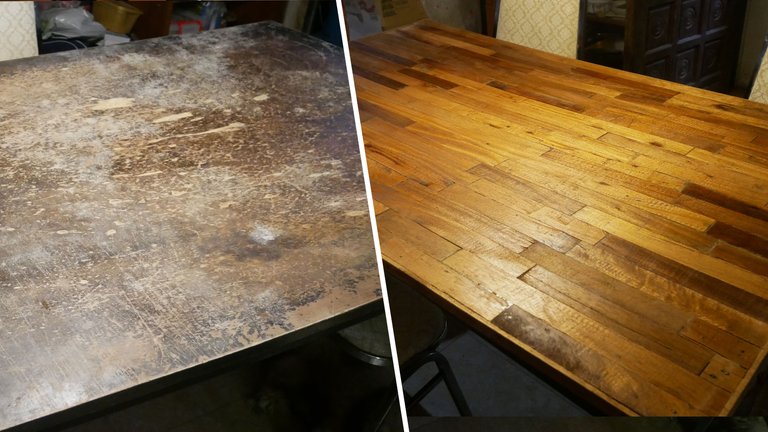
We haven't done the finishing yet but the table looks so much better now by 100%. Thinking that this used to be an old scratched-out table. I didn't imagine that our old table would turn out like this.
The original plan was to use an oil stain to give the table some color. When I opened the can of oil stain, it had a very strong chemical smell to it. If I used it our house would smell for days and would be very bad for everyone. Then I found and an old bag of expired coffee with french vanilla flavor. I did a little research and found out that coffee can be used as a wood stain.

It was perfect, from the fact that our house would smell like coffee and not smell bad with chemicals. This was the perfect approach.
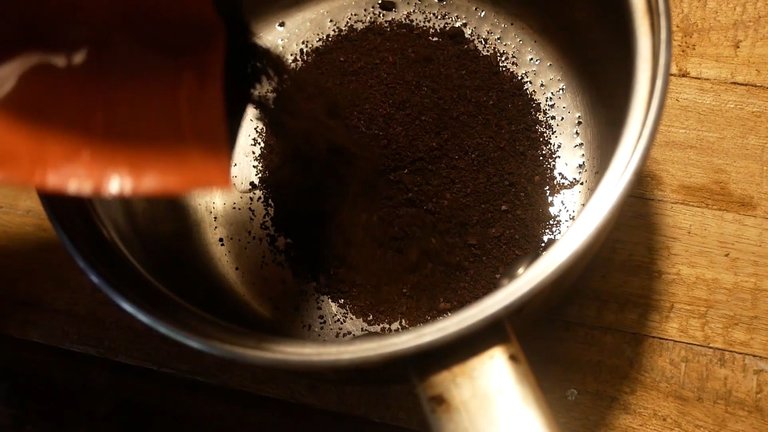
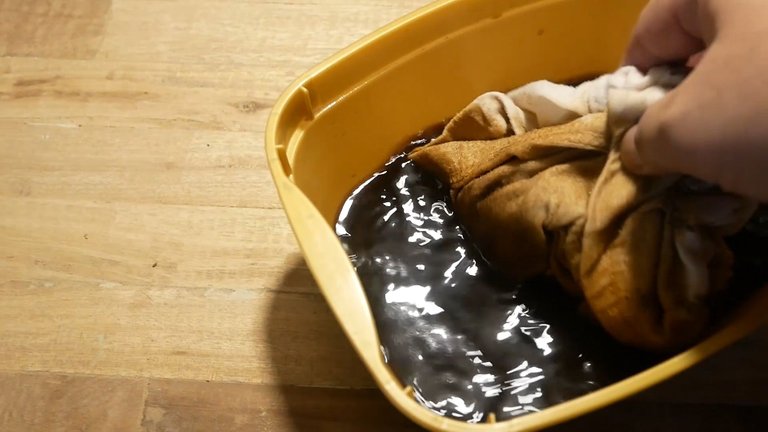
I boiled the coffee until it got the deep dark color that I wanted. Then I used an old t-shirt to strain the ground coffee. The scent of the coffee was amazing and can't wait to have a table with a coffee scent.
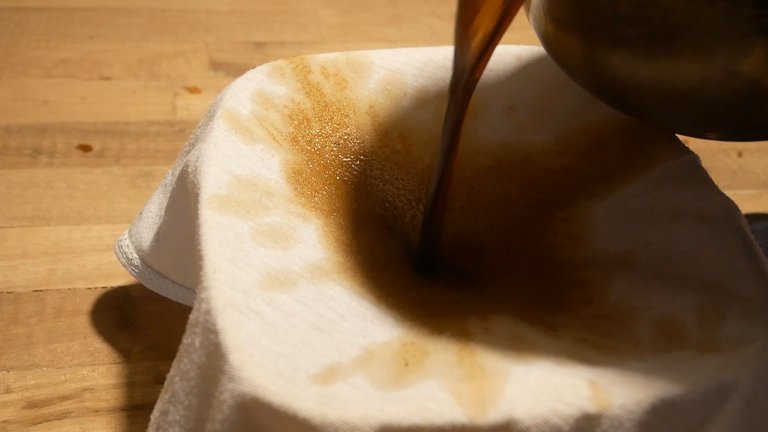
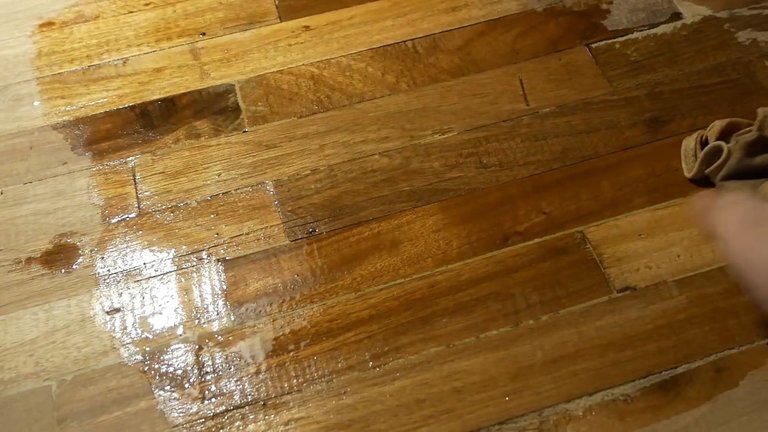
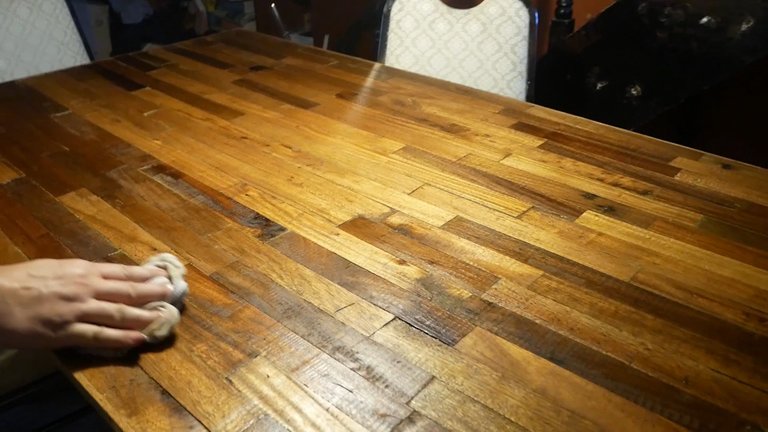
I used the old t-shirt to stain the table with the mixture.
To get a darker color you would need to repeat the process at least five times. Allowing it to dry in between the repetition. The more layers the better.
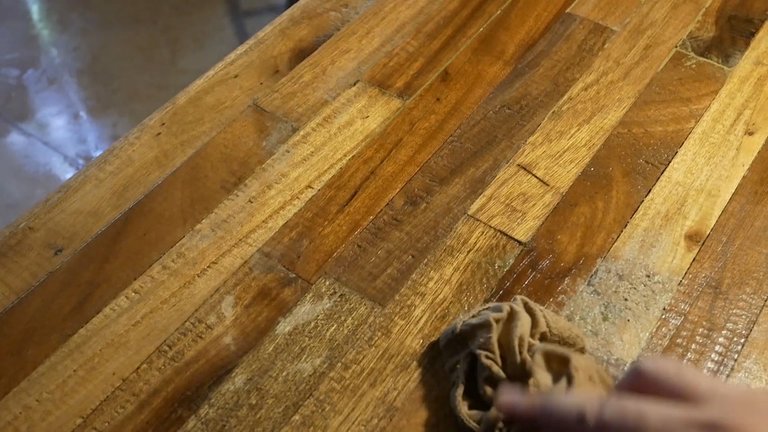
Once I got the color that I wanted, I waited for it to dry. If you want a darker color just keep on repeating the process but for me, this is the perfect shade.
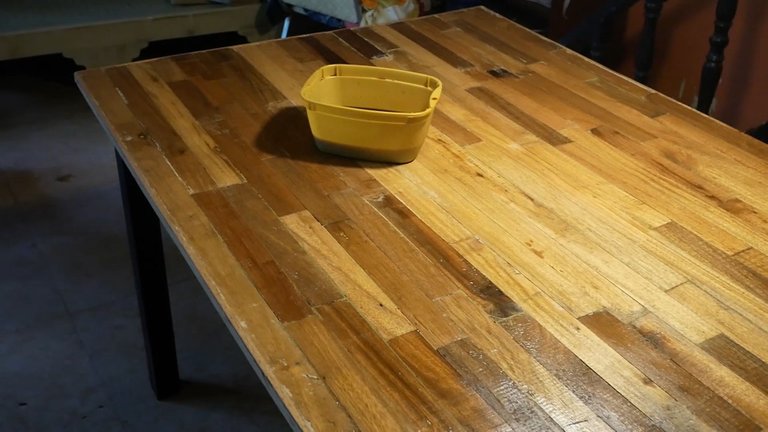
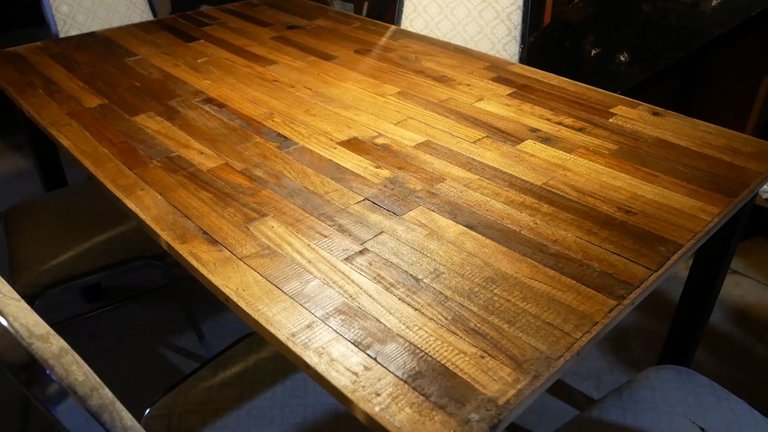
It was better than what I expected. I love the rustic look of the table and my wife also loved it. She could not believe how I turned the table into something like this. I am not a professional woodworker and didn't expect my project to work.

Now for the final touches. I used coconut oil to seal in the coffee stain on the wood. This would also give it a shiny look.
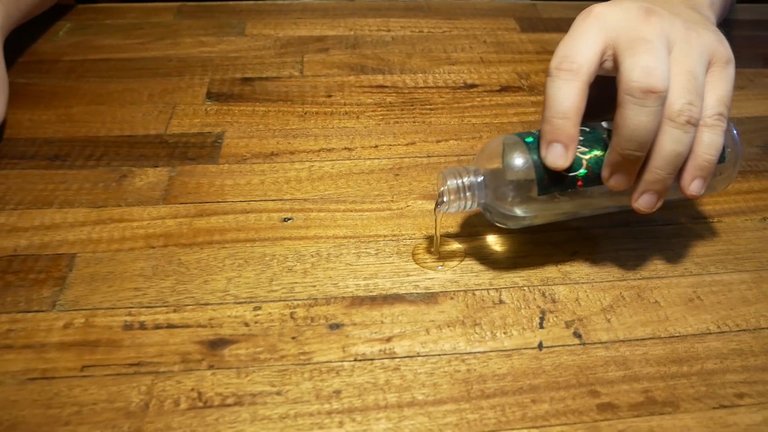
You might think that the oil would give it a sticky surface. No, it didn't the wood will absorb the oil you just need to let it dry.
Our restored old dinner table now with a rustic touch and a scent of coffee. Not only that the house smelled like a cafe.
To celebrate the success of the project. Let's have a cup of coffee on our new table.


Am gonna make my own dinner table too ....👍👍
Awesome. Glad I was able to inspire 😀