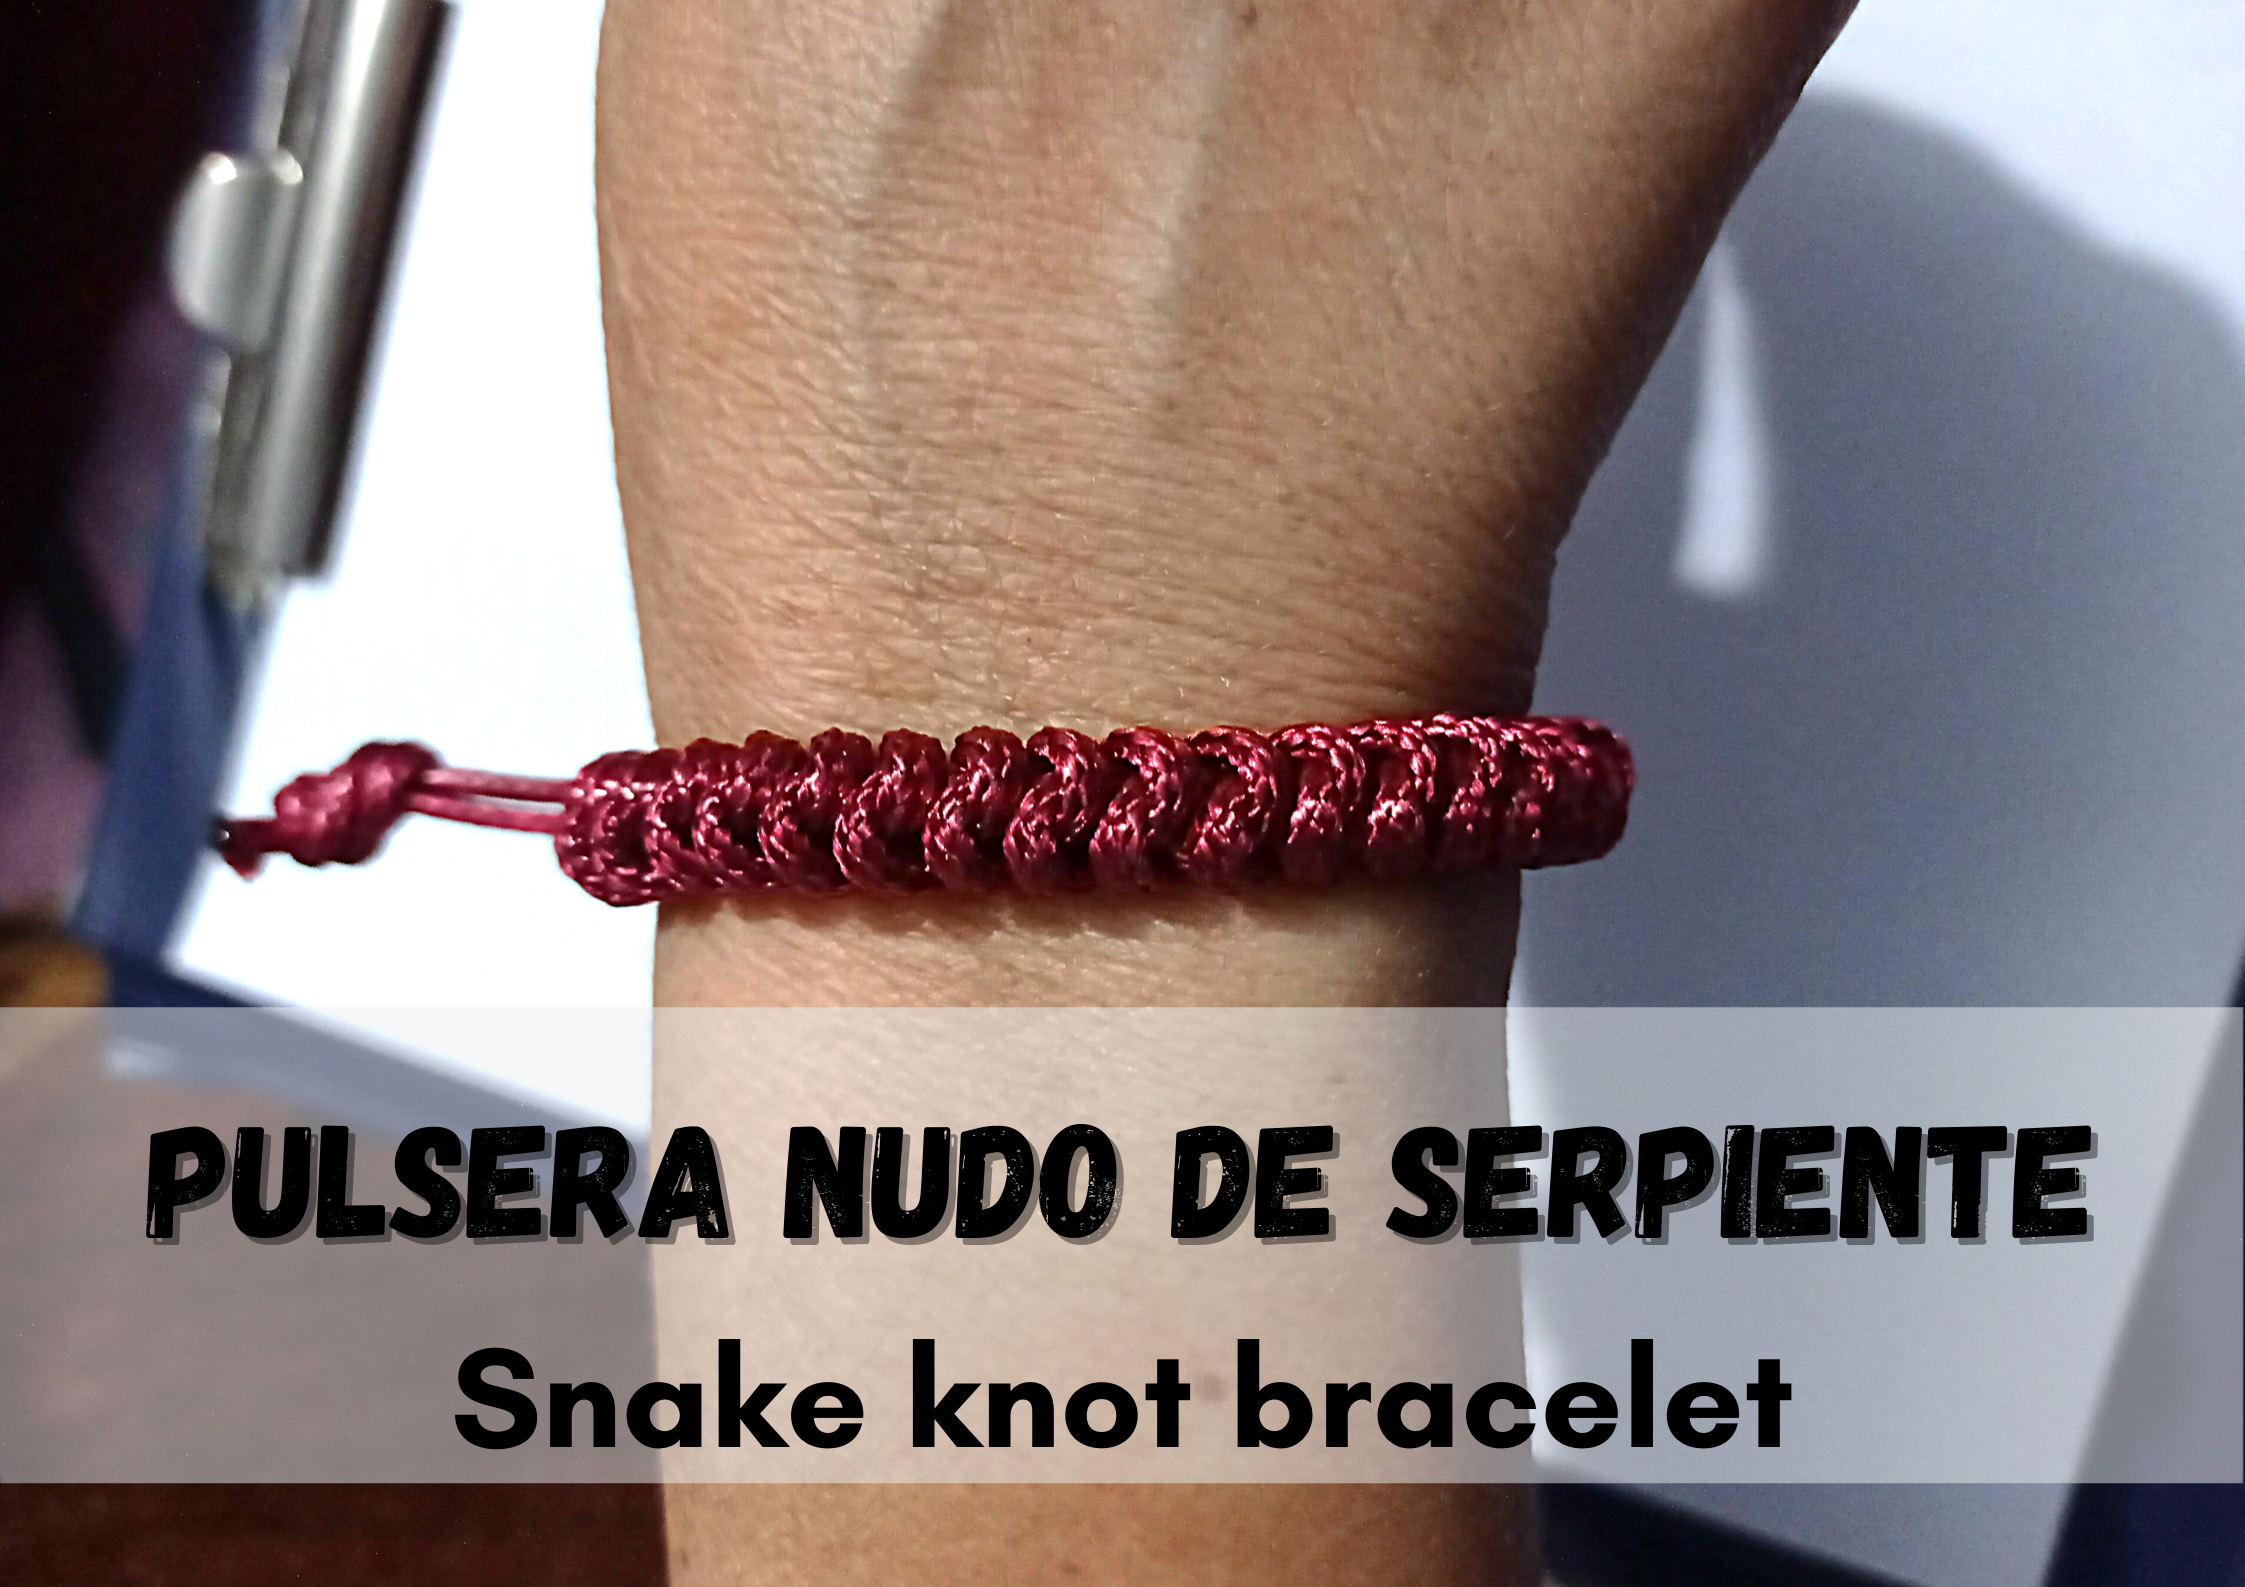
¡Hola a todos en Hive! Hoy les vengo con algo diferente, y es de una linda pulsera con nudo de serpiente. Será un lindo detalle para tu familia, amigos o tu pareja, sin duda alguna será un lindo detalle para hacer.
Les explicaré paso a paso como hacer este lindo accesorio y verás lo fácil que es :)
Hello everyone at Hive! Today I come to you with something different, and that is from a cute snake knot bracelet. It will be a nice detail for your family, friends or your significant other, no doubt it will be a nice detail to make.
I will explain step by step how to make this cute accessory and you will see how easy it is :)

~MATERIALES~
~MATERIALS~
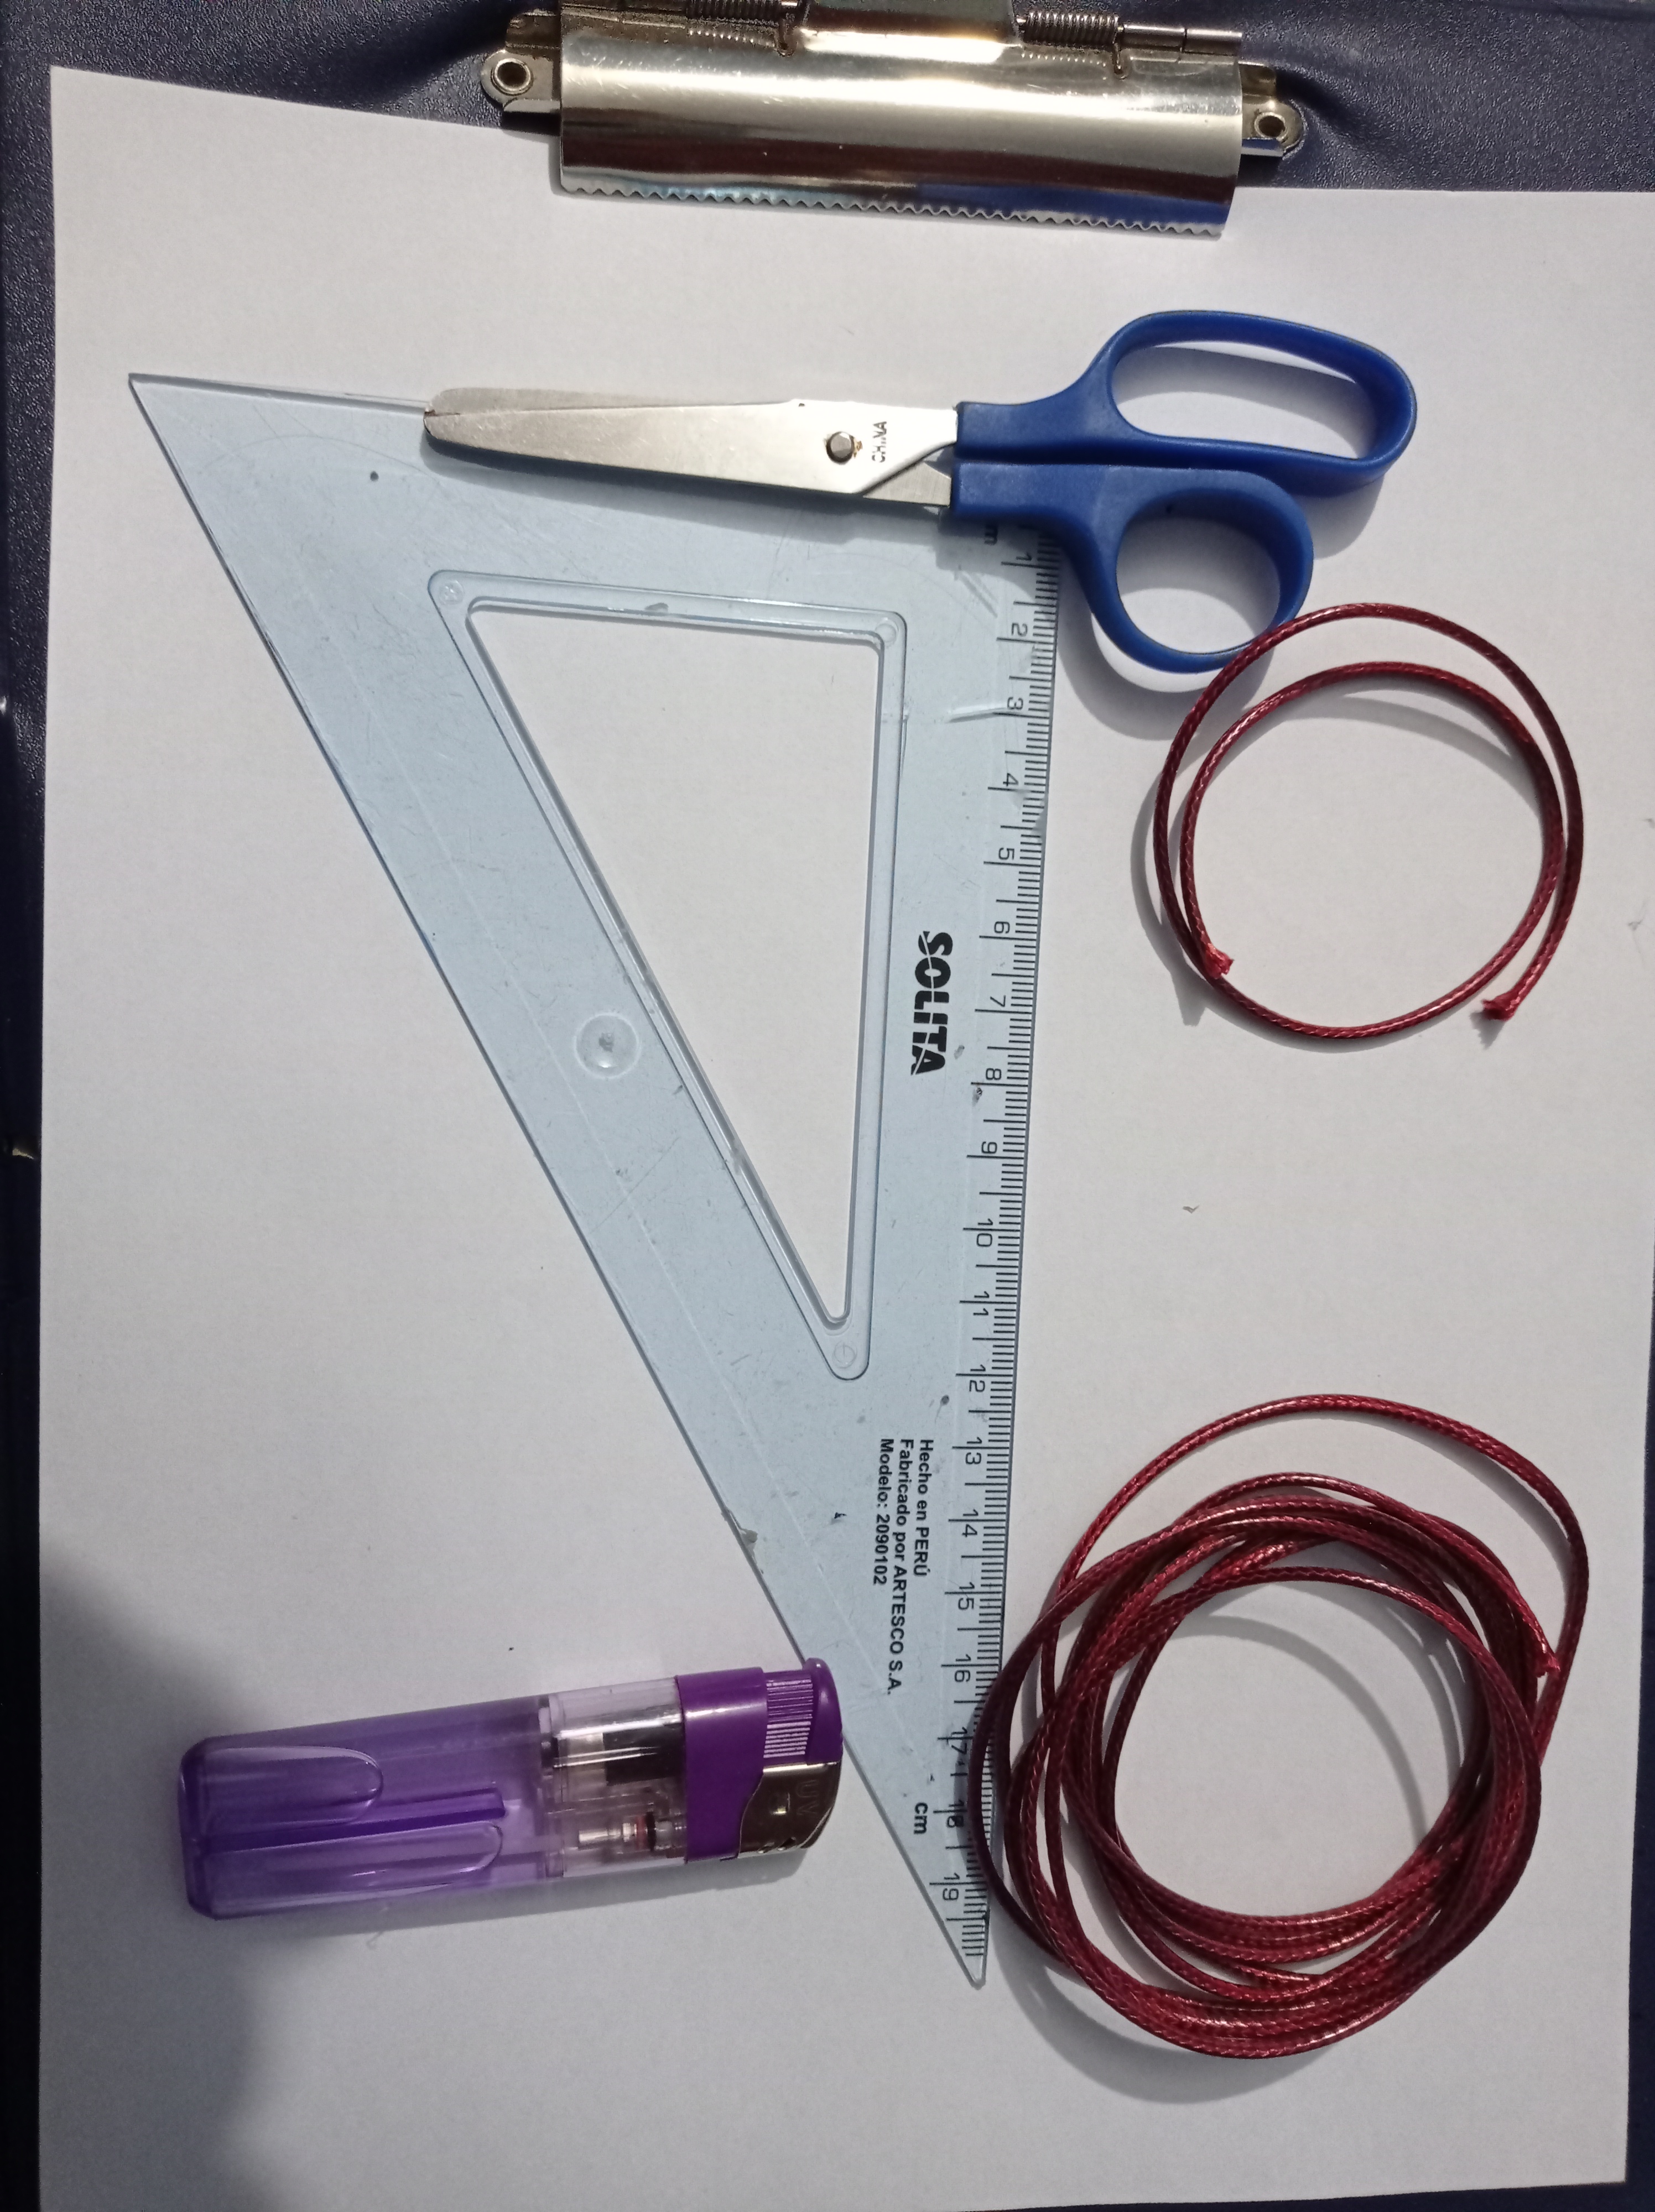
- 2 metros de hilo de víbora (Lo cortaremos para que sean dos hilos de 1 metro cada uno)
- También cortaremos 30 cm de hilo de víbora para el nudo del final
- Tijeras
- Encendedor
- Regla
- 2 meters of snake thread (We will cut it to be two threads of 1 meter each).
- We will also cut 30 cm of snake thread for the knot at the end.
- Scissors
- Lighter
- Ruler
~PASO A PASO~
~STEP BY STEP~
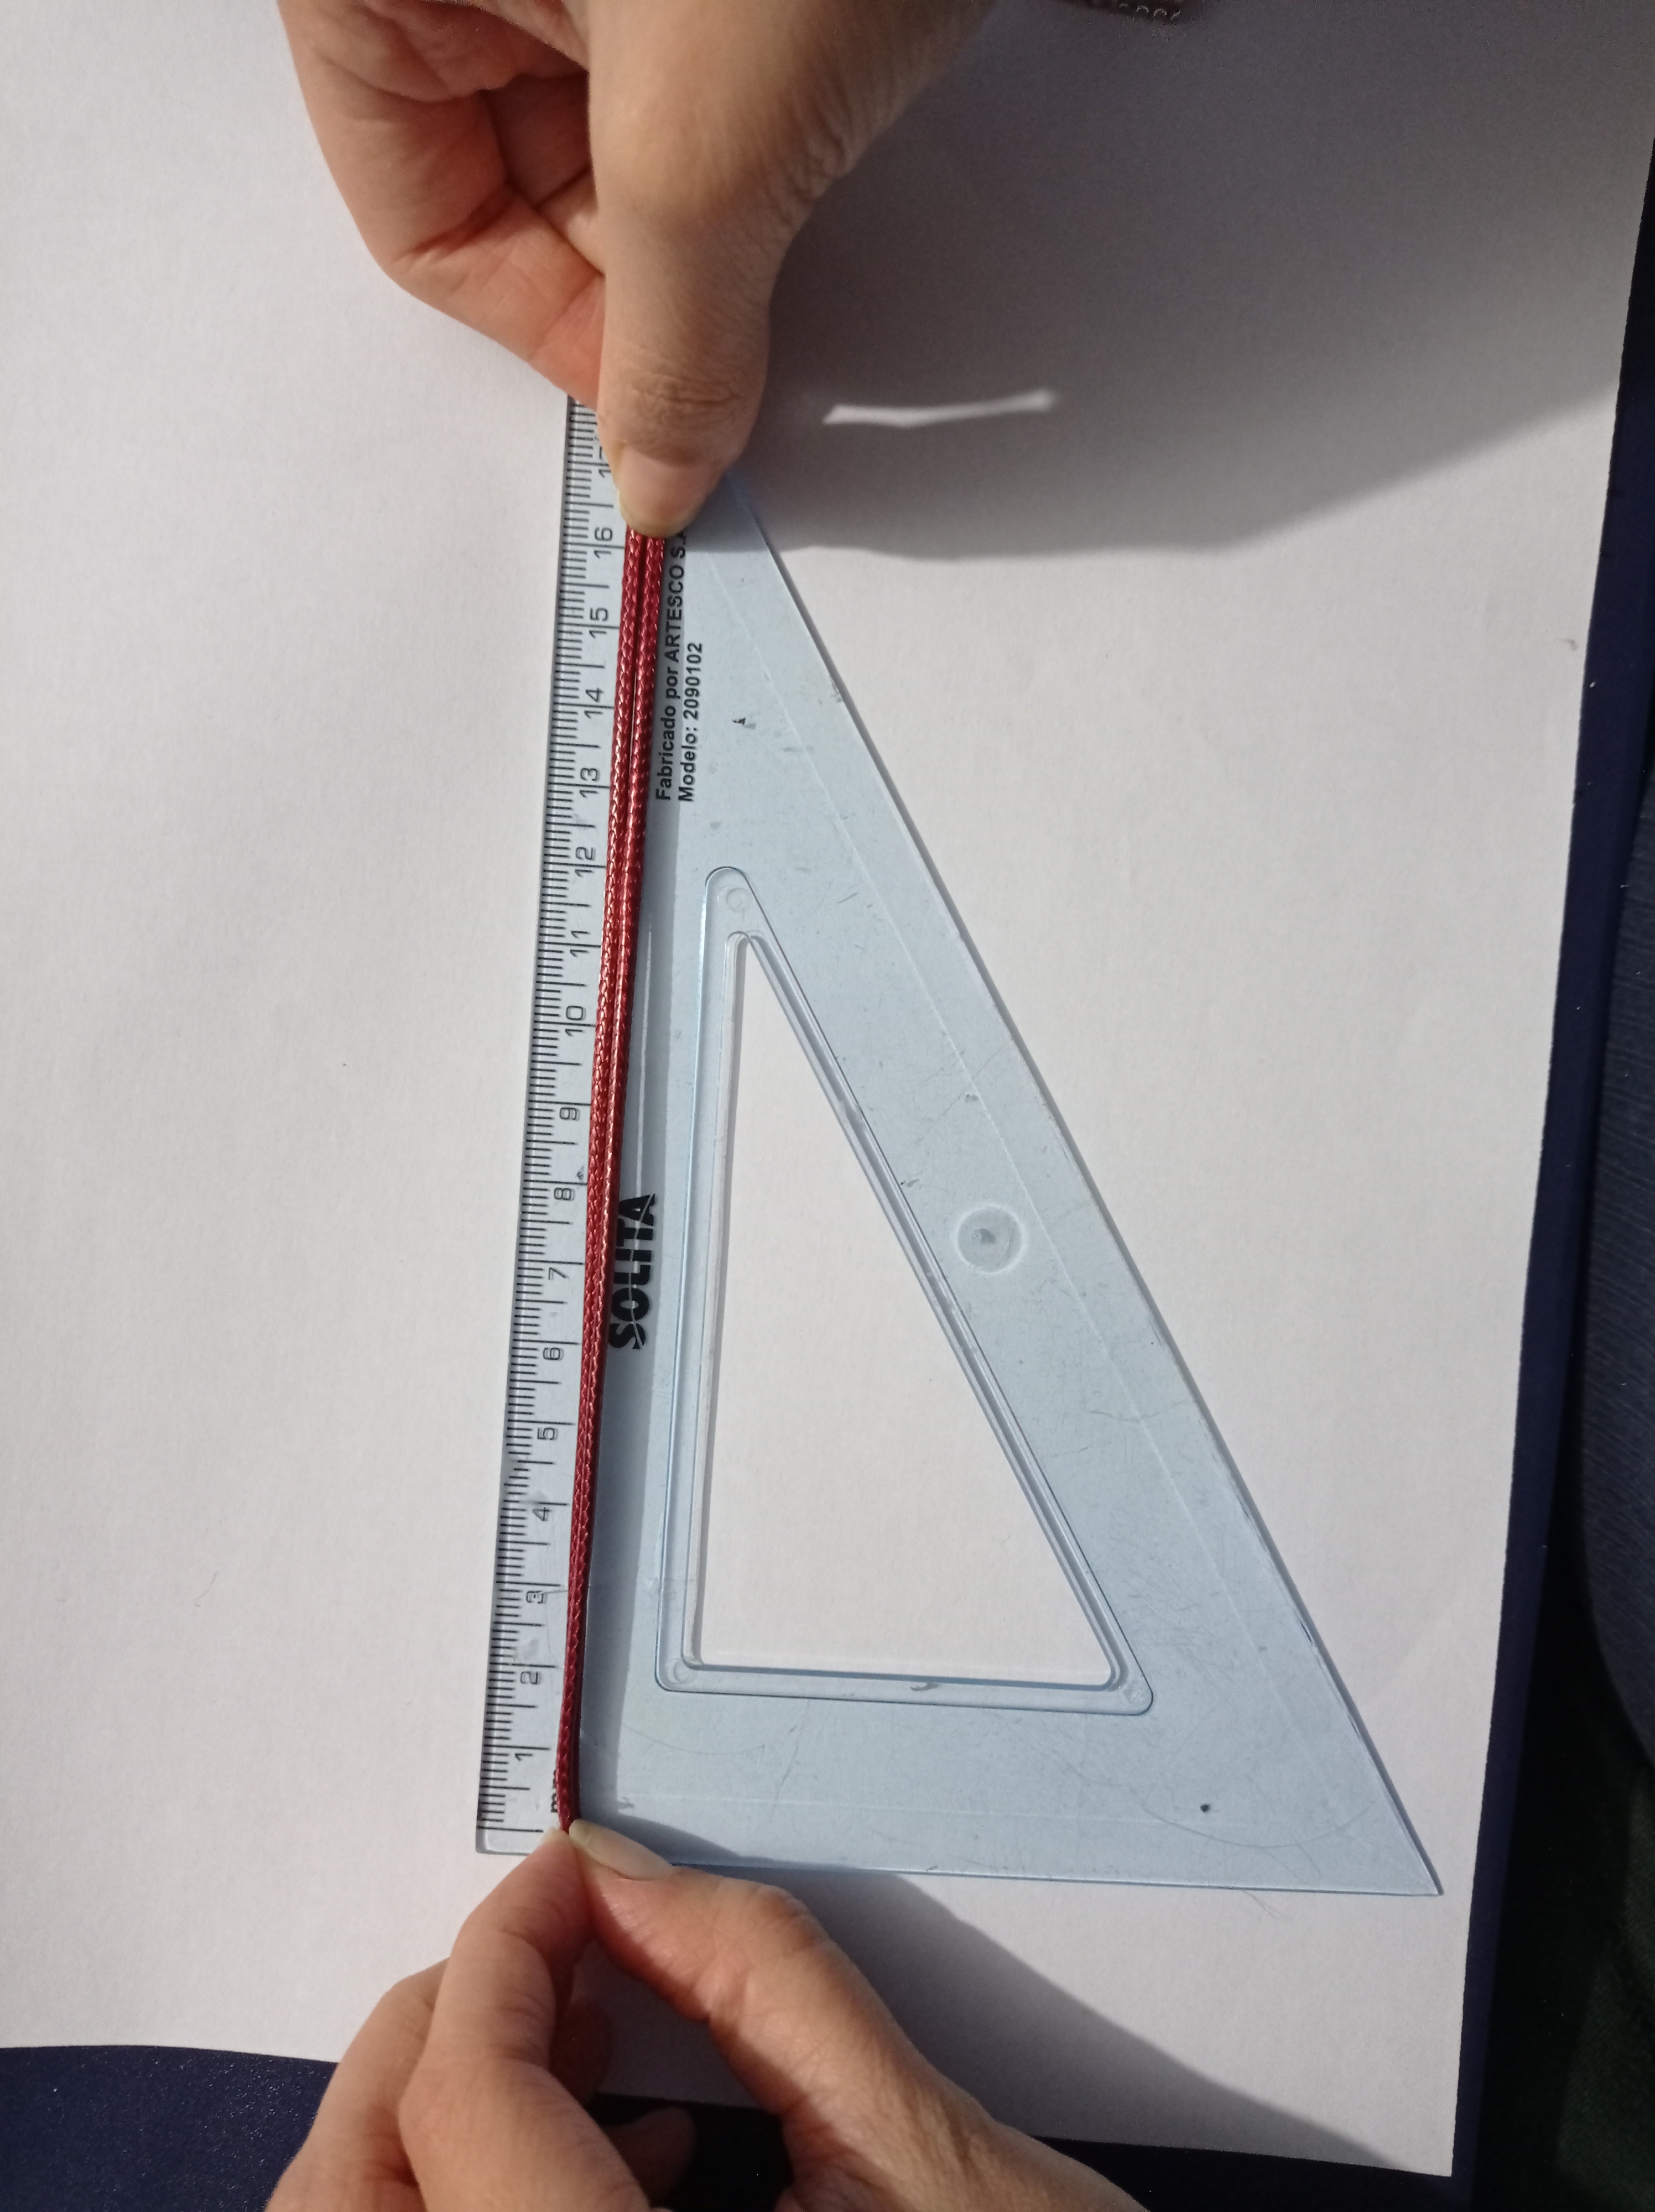
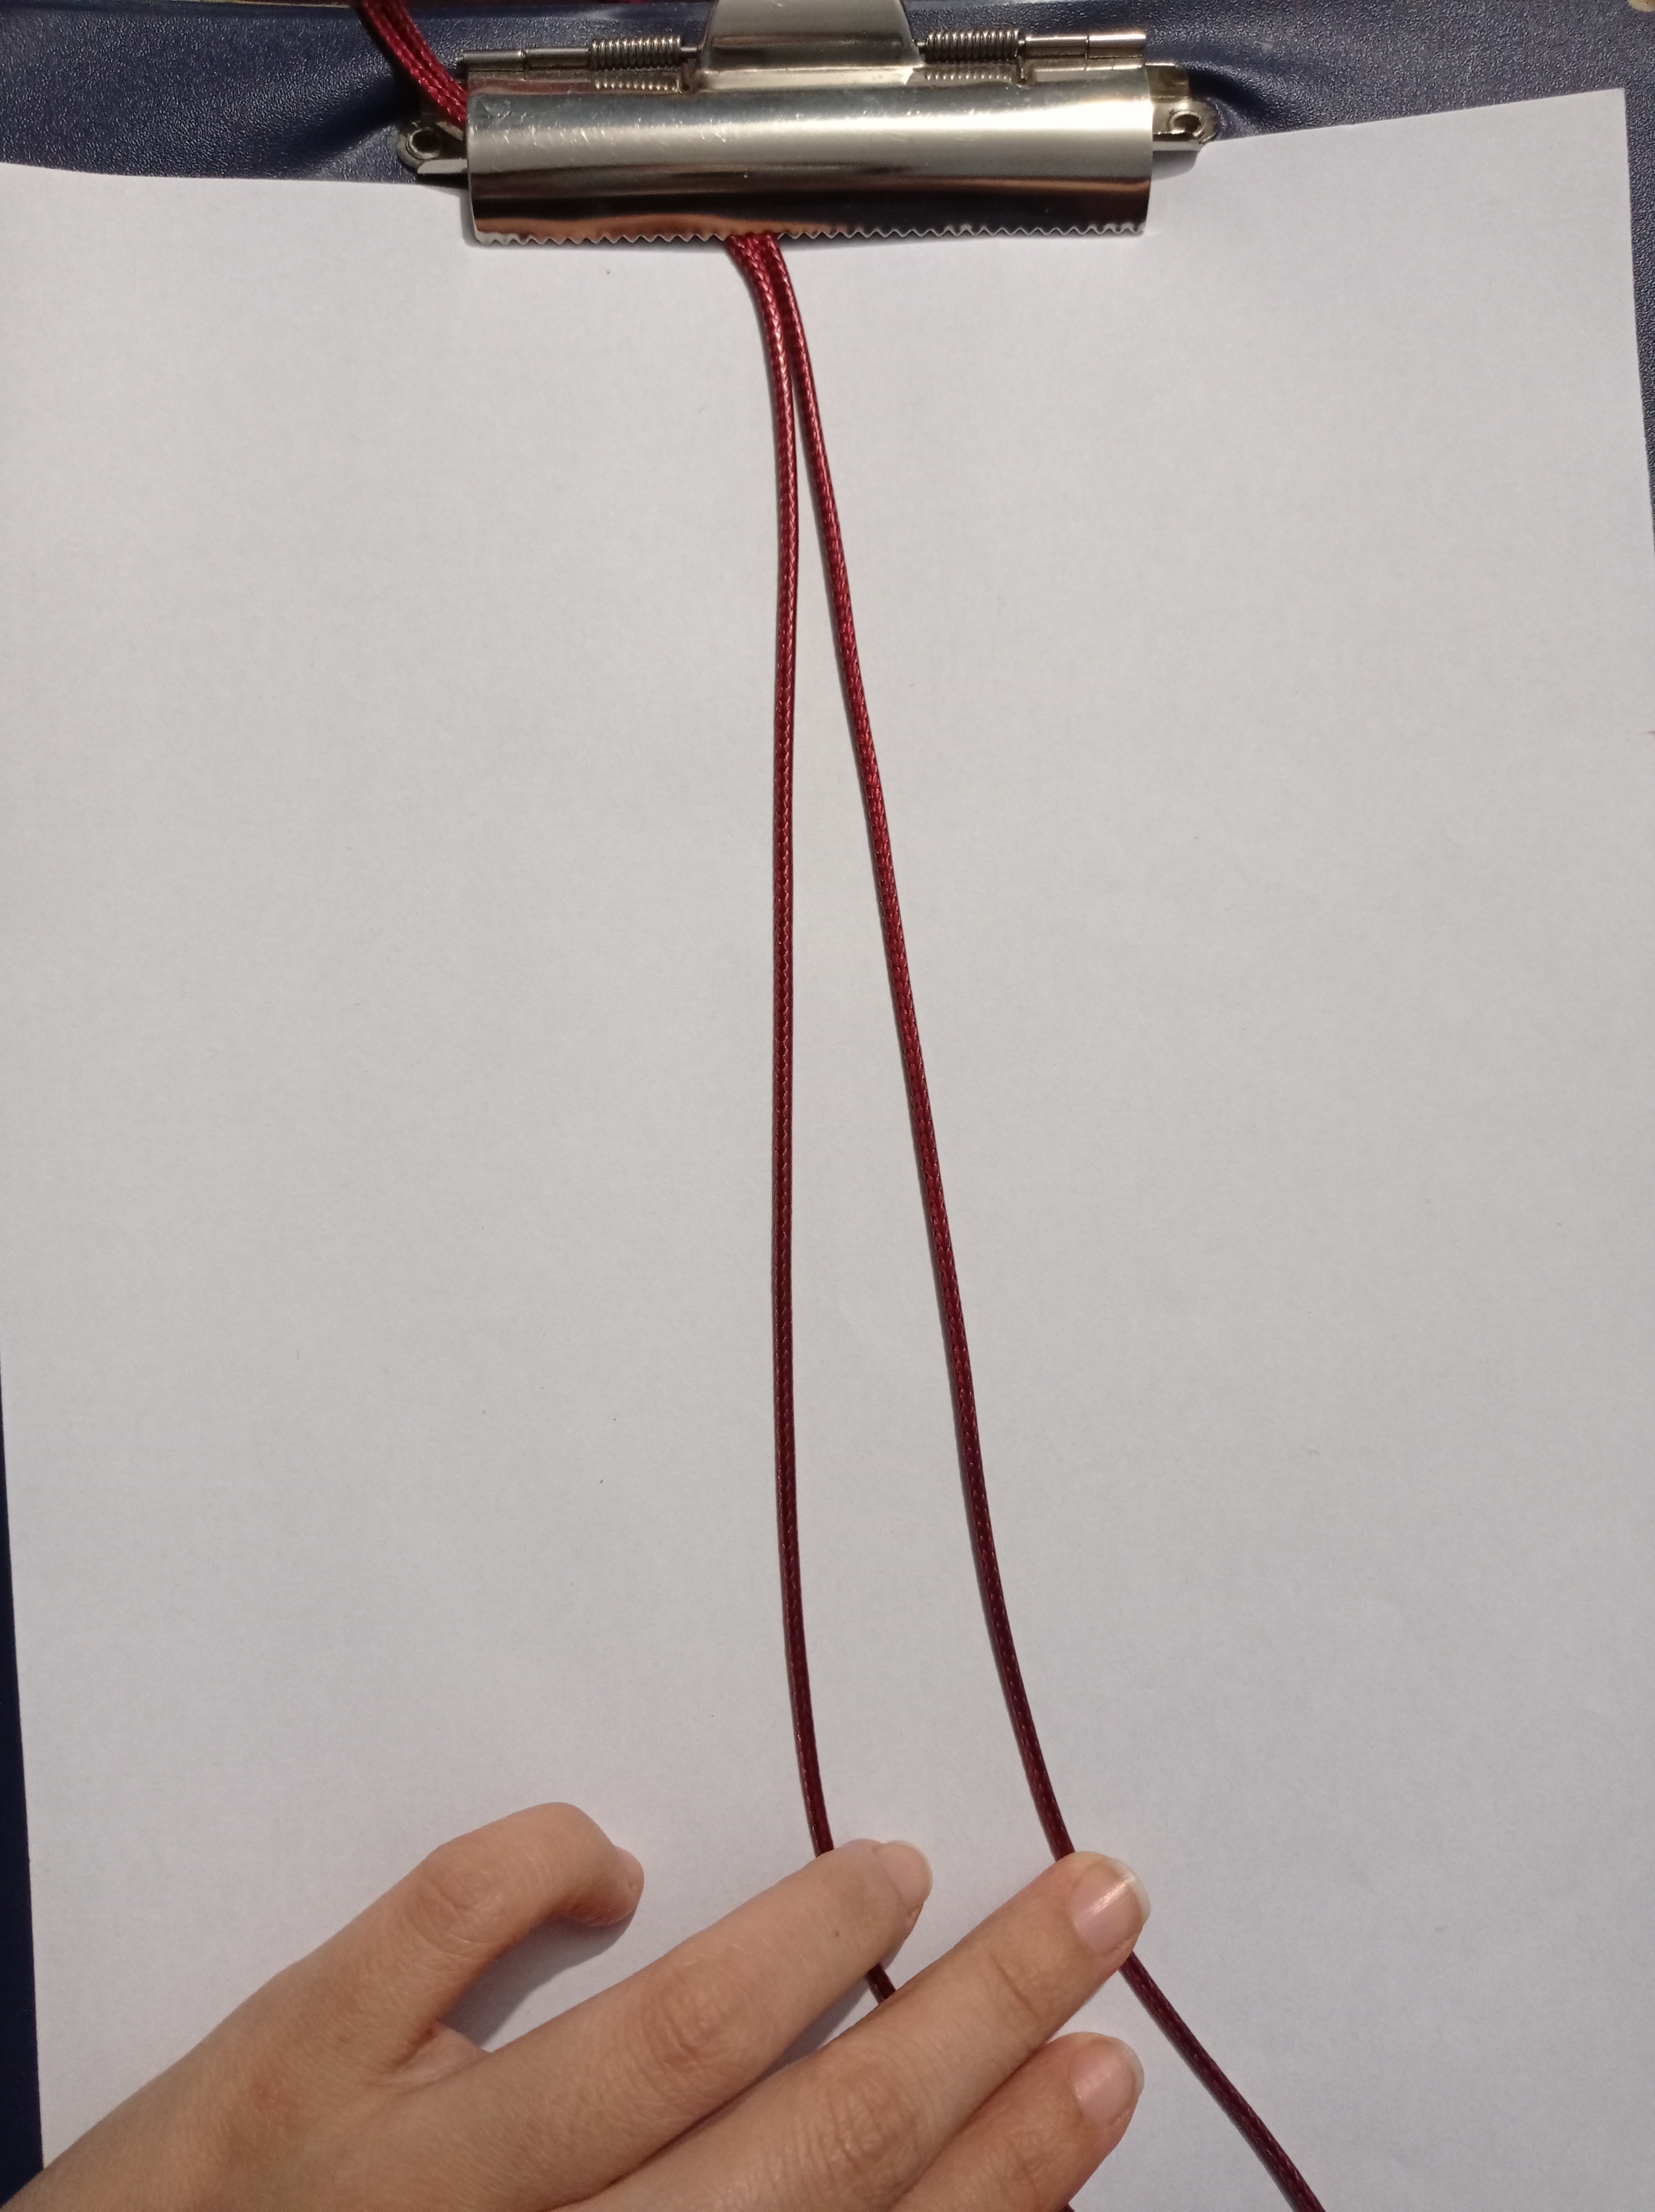
Lo primero es tener una base donde ponerlo, ya sea una carpeta con gancho o también fijarlo con cinta adhesiva a la mesa donde estés, lo importante es que este fijo para que no se mueva al momento de comenzar a armar.
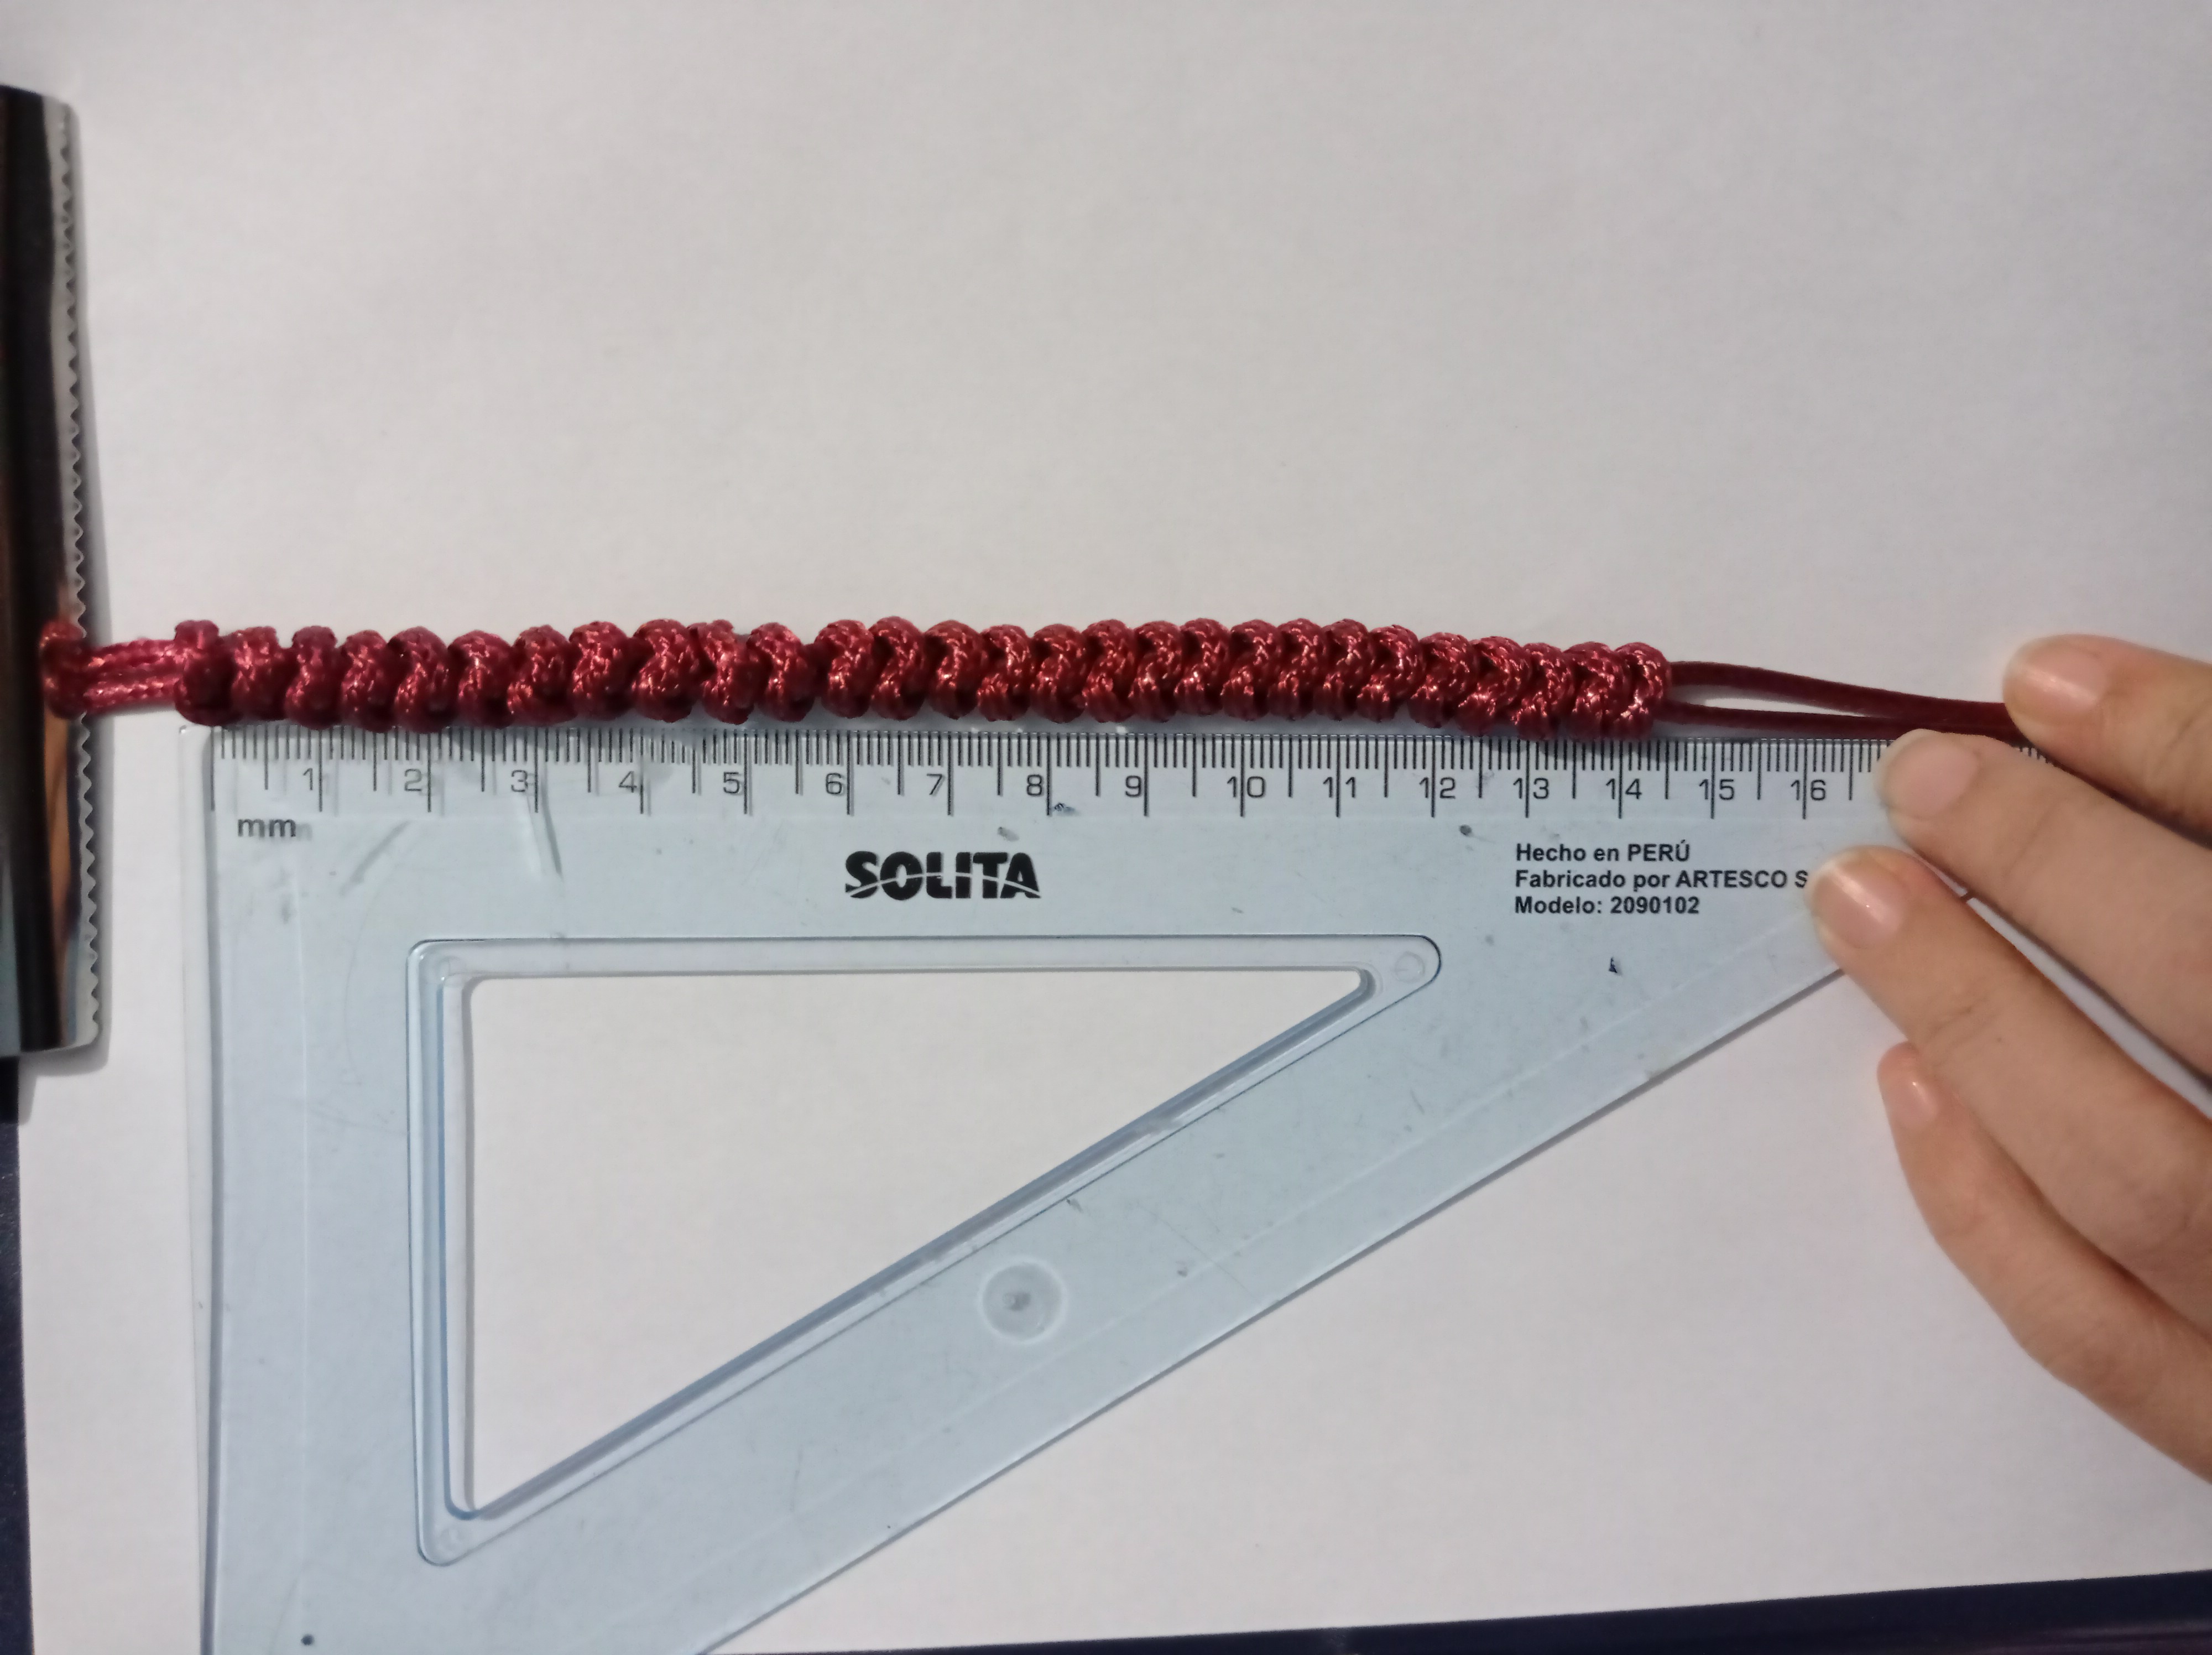
Luego mediremos 16 cm con nuestra regla y desde ahí fijaremos para empezar a armar.
The first thing is to have a base where to put it, either a folder with a hook or also fix it with adhesive tape to the table where you are, the important thing is that it is fixed so that it does not move when you start to assemble.
Then we will measure 16 cm with our ruler and from there we will fix it to start assembling.
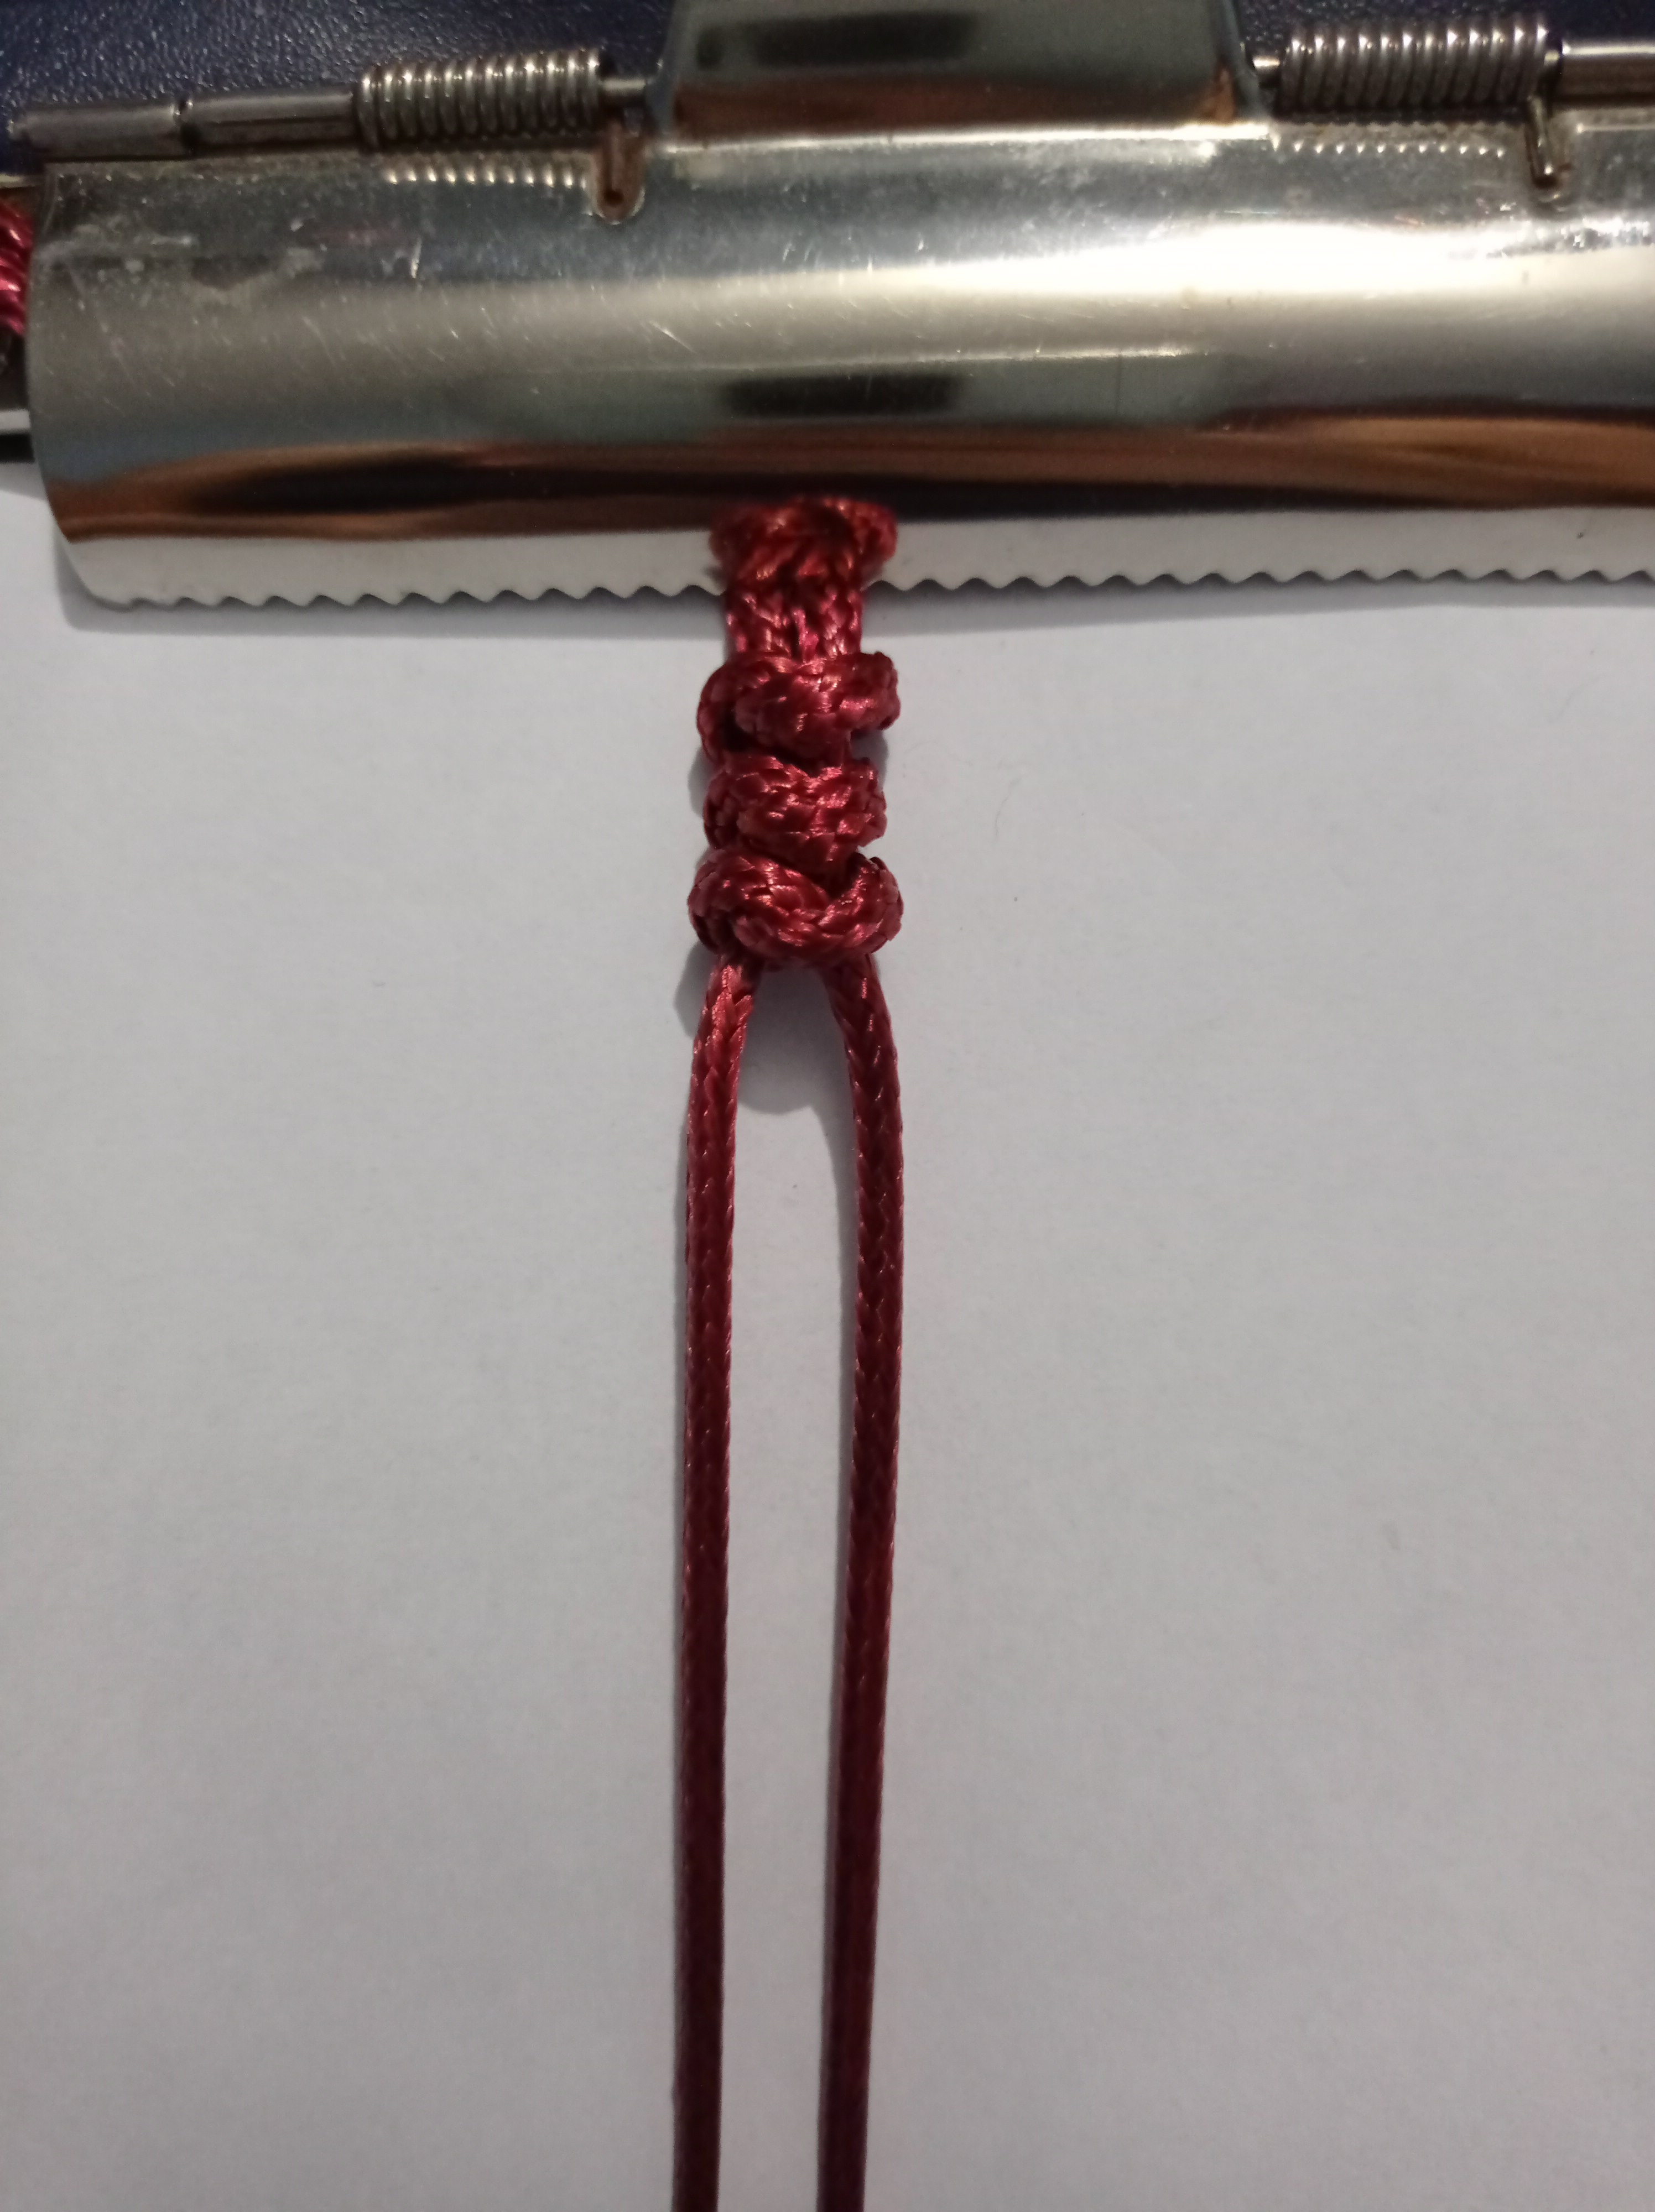
Después estiramos los hilos y con el hilo de la derecha hacemos una argolla hasta formar una P, luego dar otra vuelta para formar otra argolla, quedará de esta manera:
Then we stretch the threads and with the thread on the right we make a ring to form a P, then turn again to form another ring, it will look like this:
Importante recordar que esa forma será la base para formar toda la pulsera.
It is important to remember that this shape will be the base to form the whole bracelet.

Lo siguiente es tomar el hilo de la izquierda y pasarlo debajo de las dos argollas, luego estiramos bien para que quede firme el primer nudo.
The next step is to take the thread on the left and pass it under the two rings, then stretch it well so that the first knot is firm.
Los nudos irán quedando de esta manera:
The knots will look like this:
Seguirás con este procedimiento hasta llegar de 13 a 14 cm de largo, o dependiendo el tamaño de la muñeca de la persona a la que quieras hacerlo.
You will continue with this procedure until you reach 13 to 14 cm in length, or depending on the size of the wrist of the person to whom you want to do it.
Luego lo soltaremos y cerrraremos la pulsera, por lo que tomaremos la regla y mediremos 6 cm, de esa distancia se hará un nudo normal, lo haremos en ambos extremos.
Then we will release it and close the bracelet, so we will take the ruler and measure 6 cm, from that distance we will make a normal knot, we will do it at both ends.

Lo siguiente es que tomaremos la pulsera, con una punta mirando hacia arriba y otra mirando hacia abajo, y tomaremos el hilo de 30 cm para hacer el nudo corredizo.
Lo primero es dejar un poco de espacio en la parte izquierda, luego pasar el otro extremo del hilo por encima del dedo indice tres veces, luego de la tercera vez sacas los hilos y el extremo de la derecha lo pasas por dentro de la argolla que se estaba armando y luego se toman los dos extremos del hilo y se aprieta.
Next we will take the bracelet, with one end facing up and the other end facing down, and we will take the 30 cm thread to make the slip knot.
The first thing is to leave a little space on the left side, then pass the other end of the thread over the index finger three times, after the third time you take out the threads and the right end you pass it through the inside of the ring that was being assembled and then take the two ends of the thread and tighten it.
Por lo que el nudo corredizo quedaría de este modo:
Therefore, the slip knot would look like this:
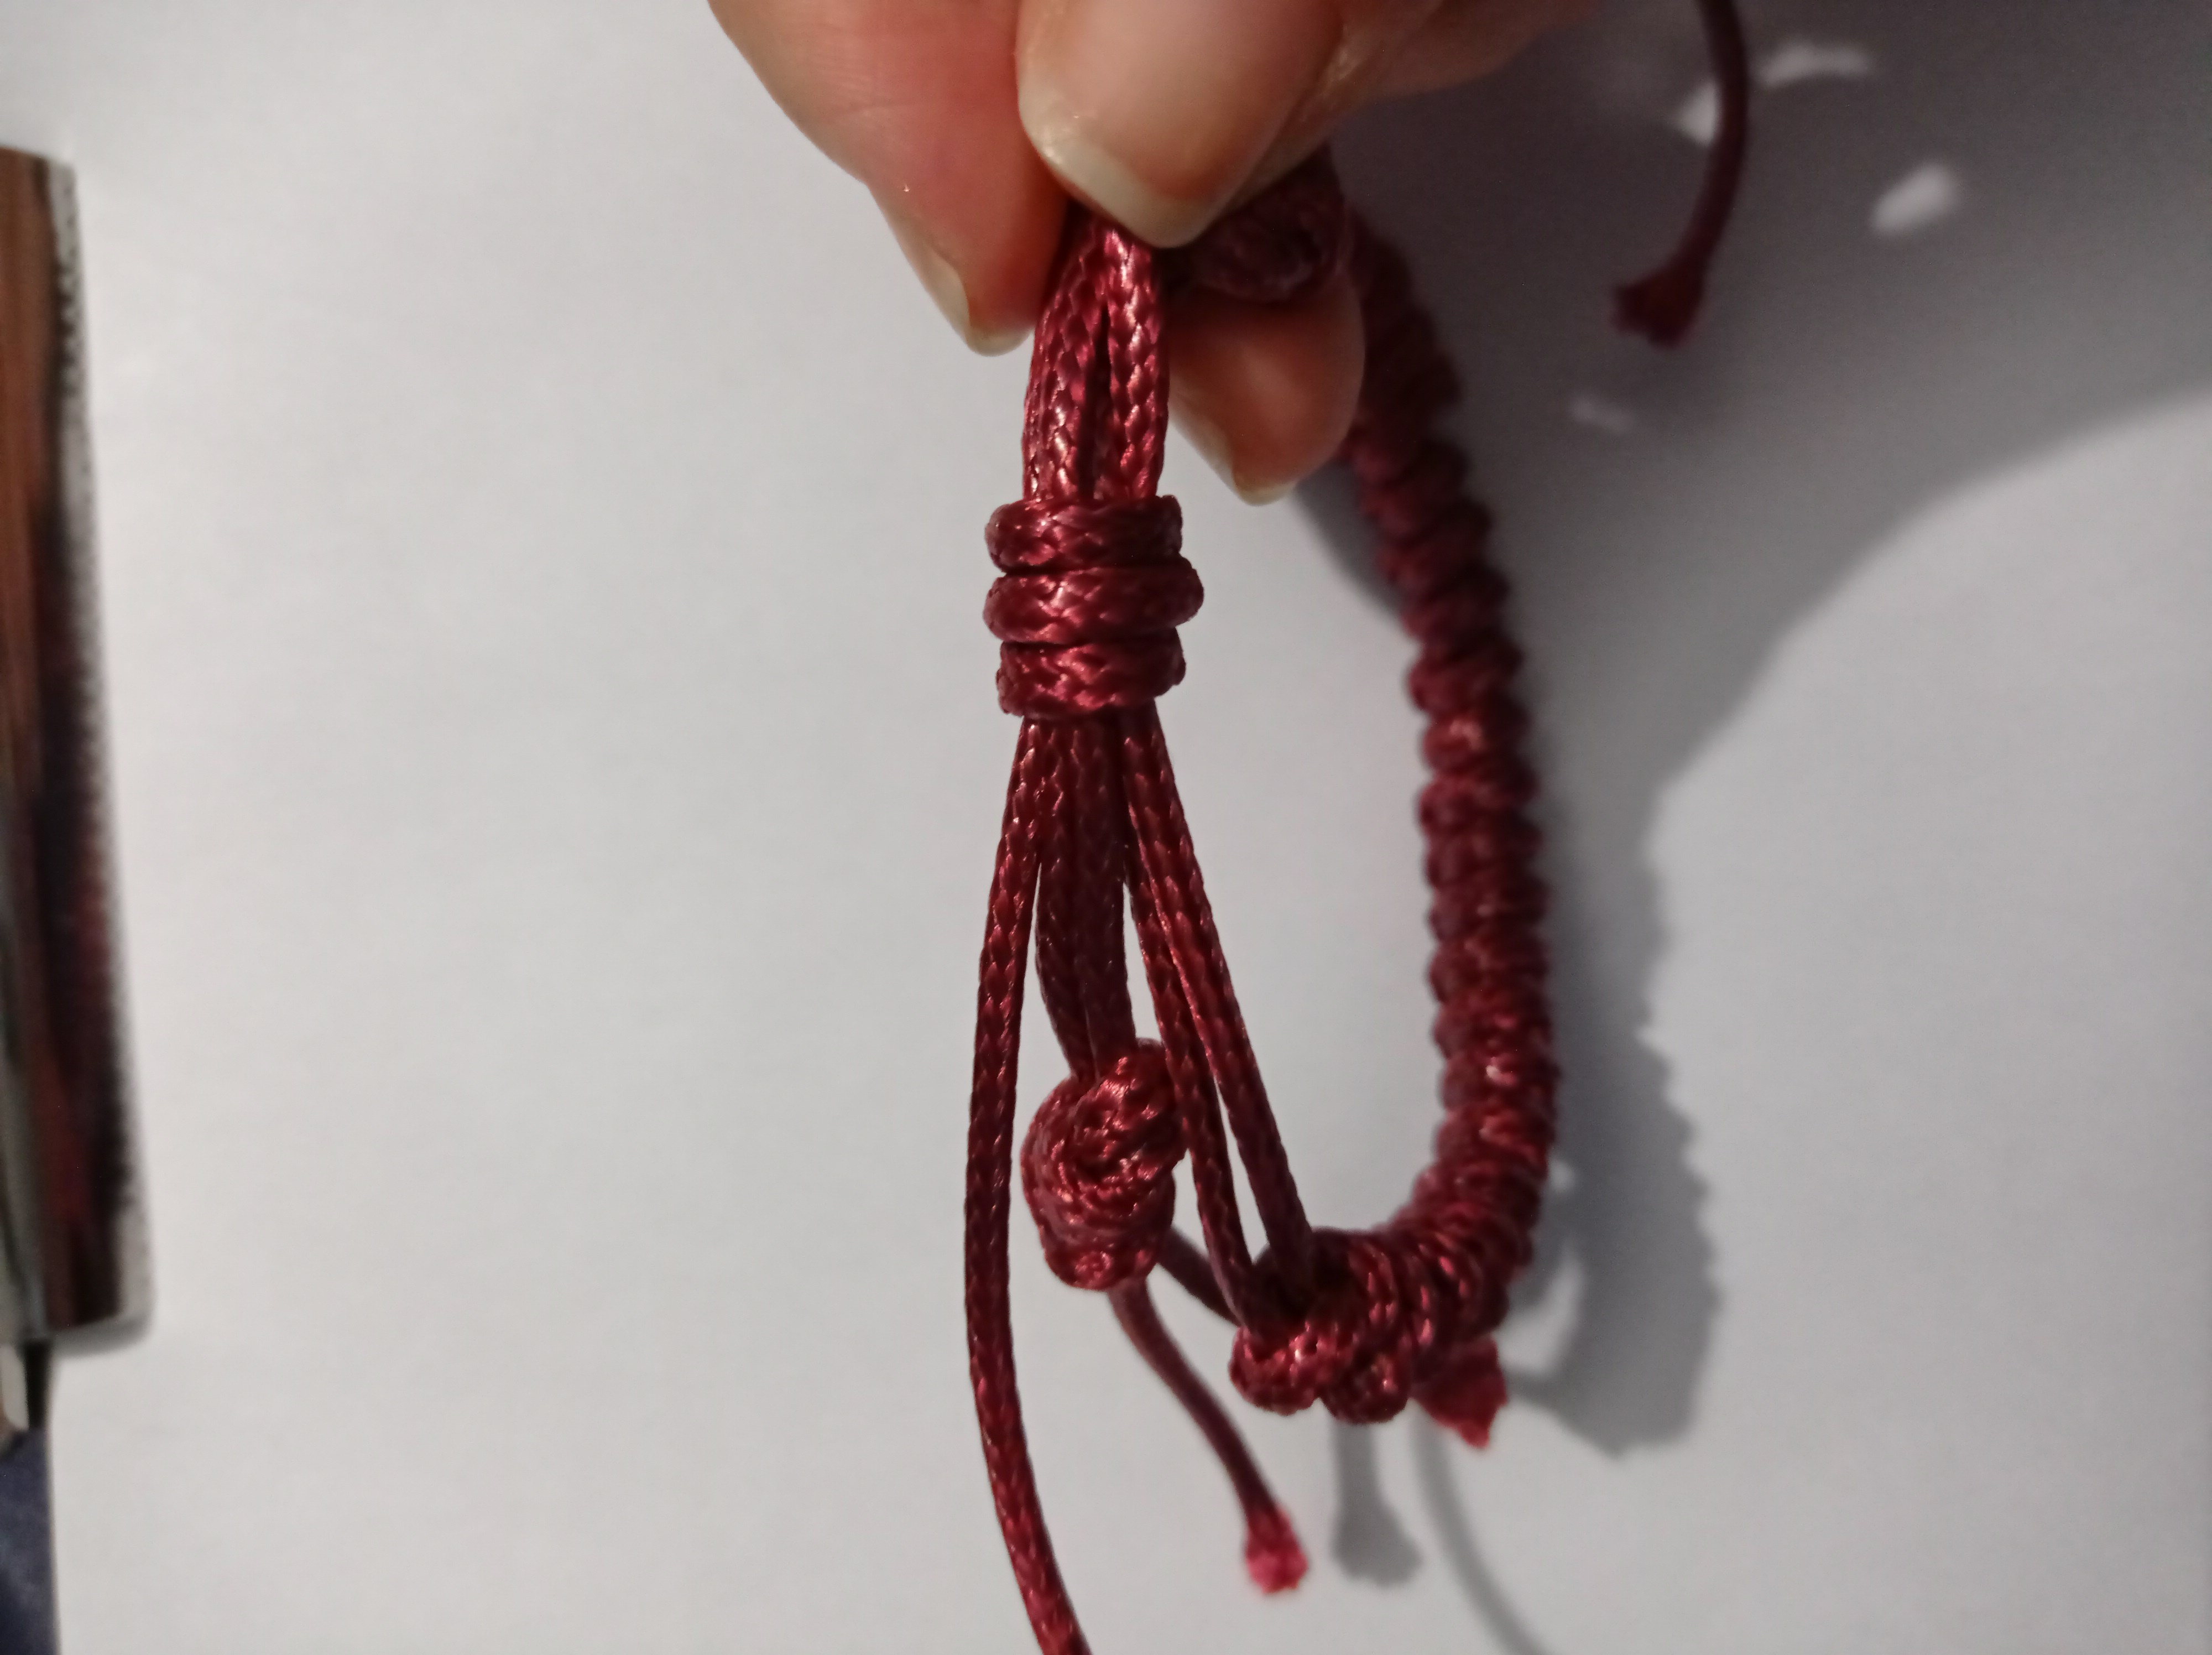
Después tomaremos la tijera y cortaremos cada una de las puntas.
Then we will take the scissors and cut off each of the ends.
Por último tomaremos el encendedor y procederemos a quemar cada una de las puntas (tengan cuidado con este paso), le daremos pequeños toquecitos con el encendedor para fijarlo mejor.
Finally we will take the lighter and proceed to burn each of the tips (be careful with this step), we will give small touches with the lighter to fix it better.
¡Y listo! Tendrás tu linda pulsera lista para lucirla.
And that's it! You will have your beautiful bracelet ready to wear.
tremendo trabajo pana te felicito siga asi..
Your post has been curated by us! Received 20.00% upvote from @opb. Do consider delegate to us to help support our project.
Do join our discord channel to give us feedback, https://discord.gg/bwb2ENt
* This bot is upvoting based on the criteria : 1. Not plagiarised, 2. Persistent previous quality posts, 3. Active engagement with other usersDo upvote this commment if you 💚 our service :)