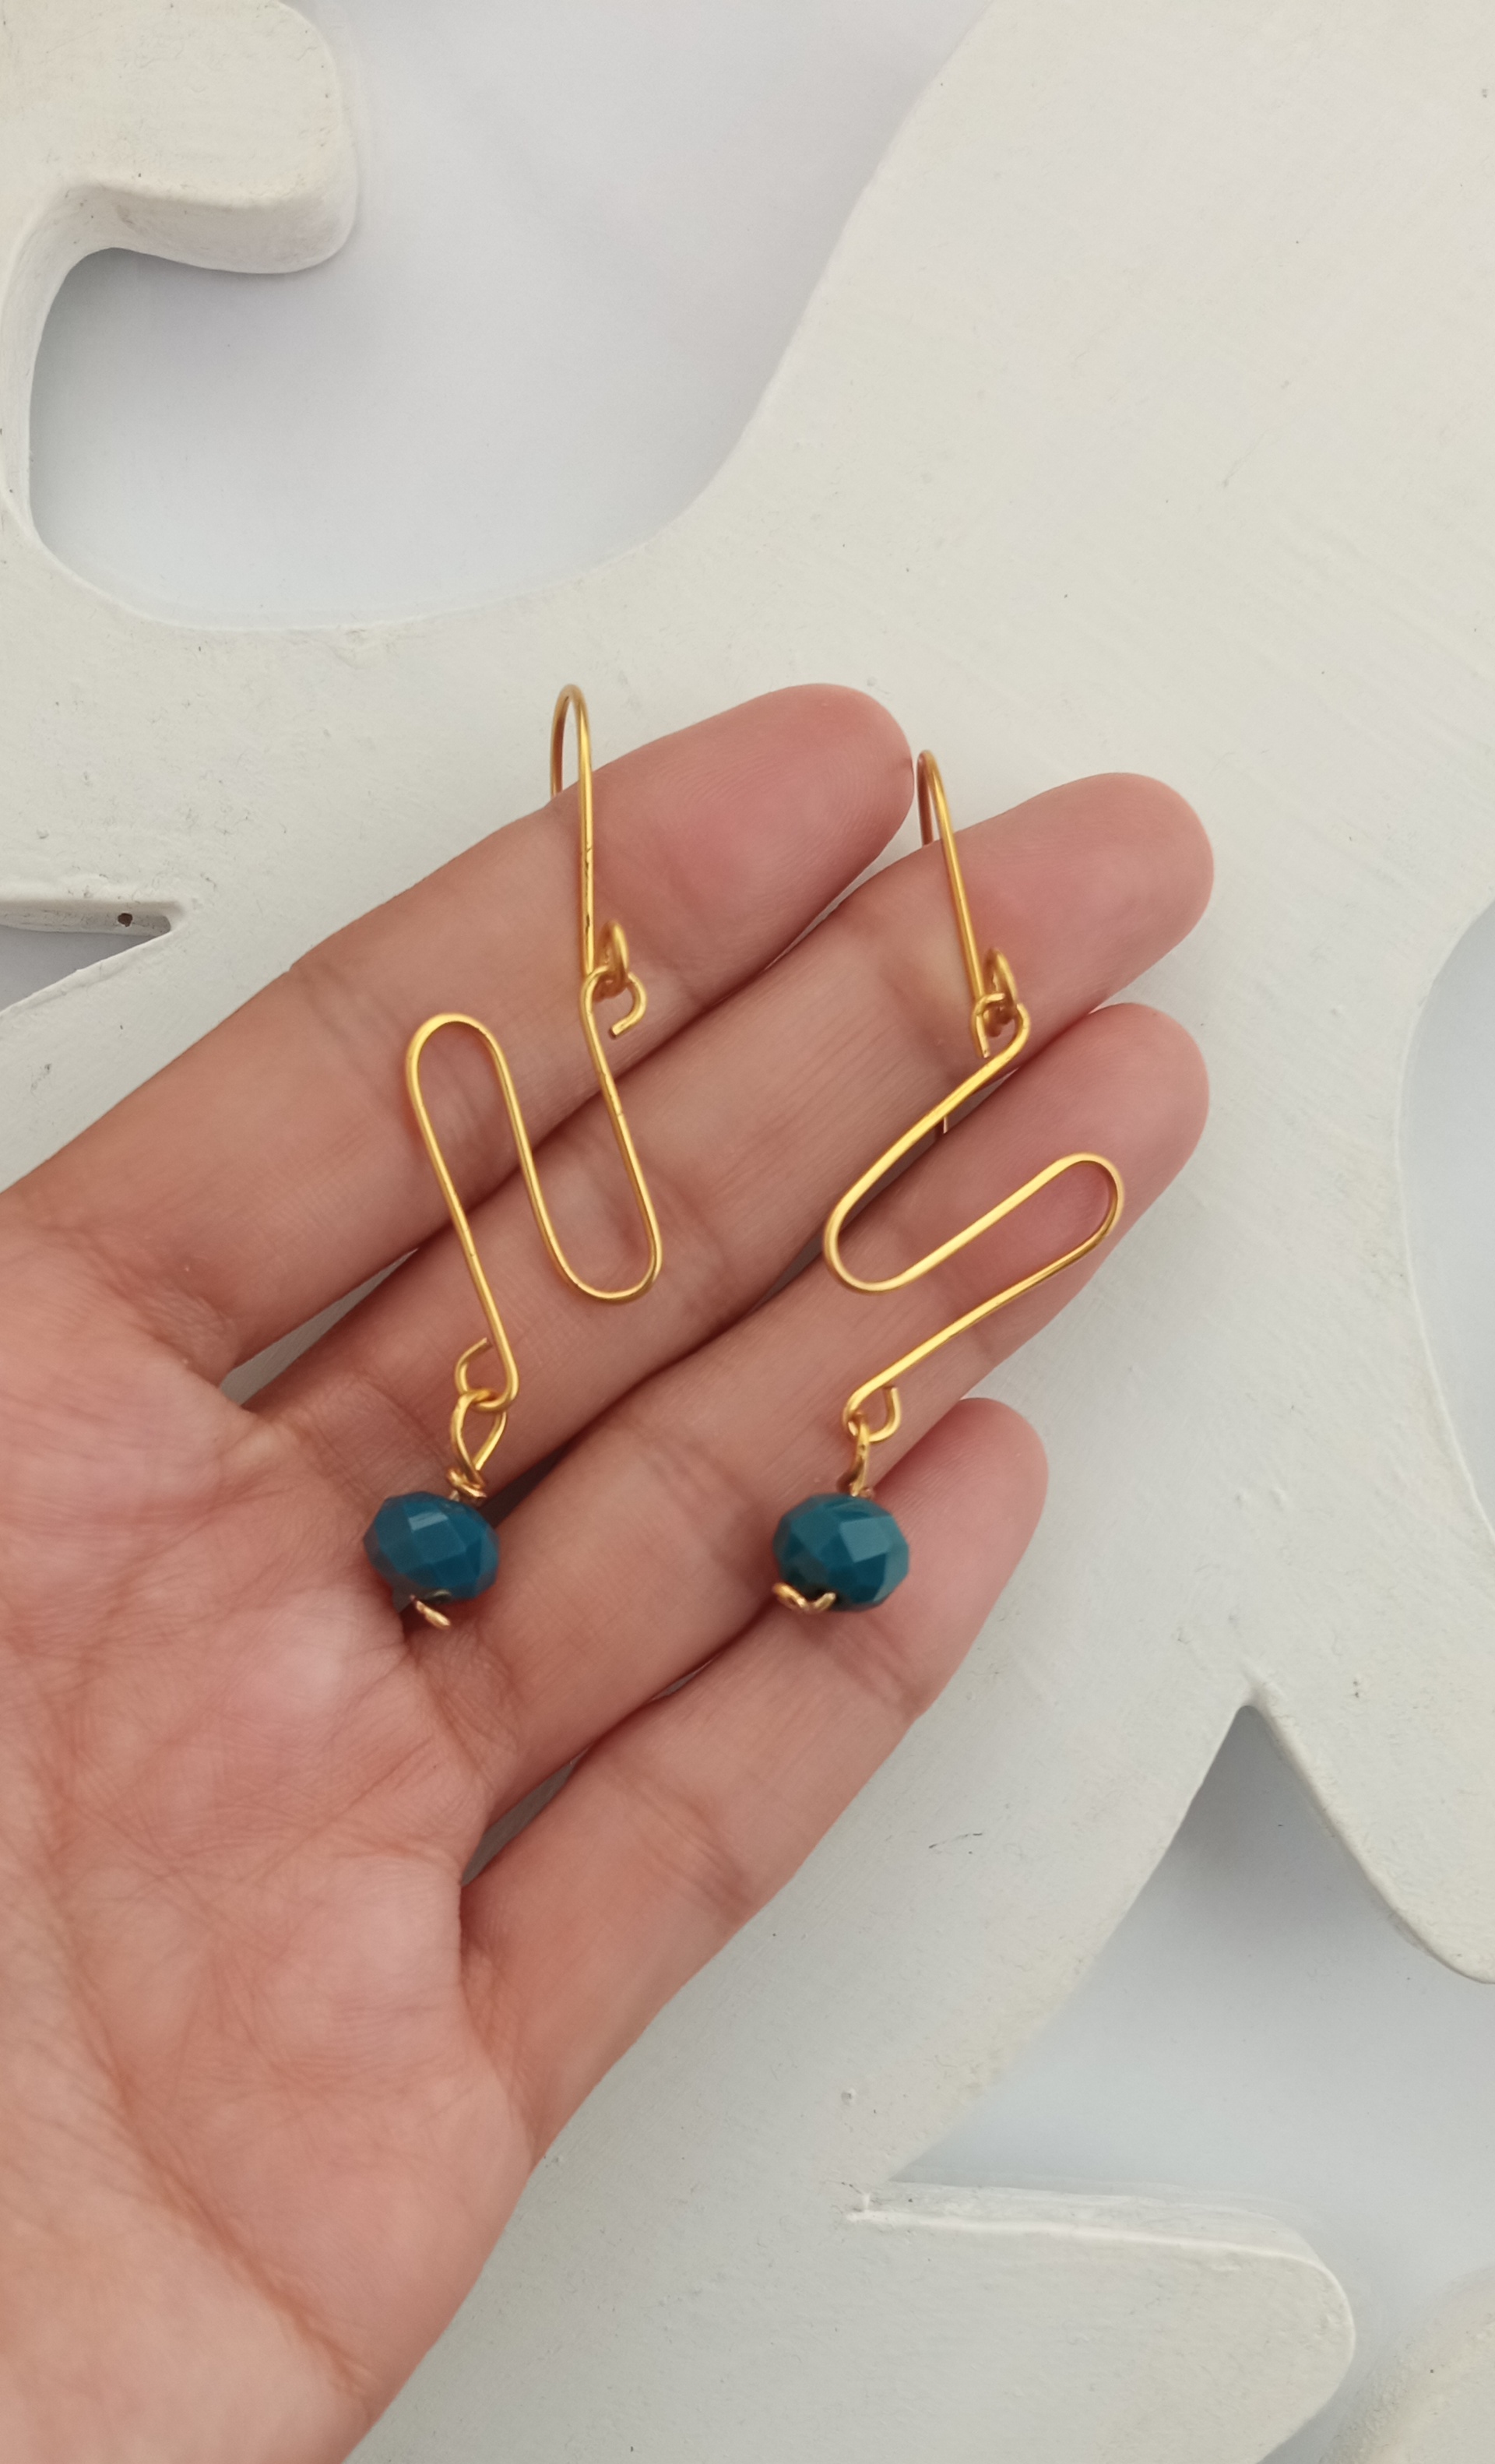
Evangeline tendrils / Zarcillos Evangeline

in GEMS4 years ago

IMG_20200902_070214.jpg


Evangeline tendrils

Hello! Today I'm going to show you how I made this pair of earrings, which I called Evangeline, they are very easy to make and very few materials are needed, let's start with the tutorial.

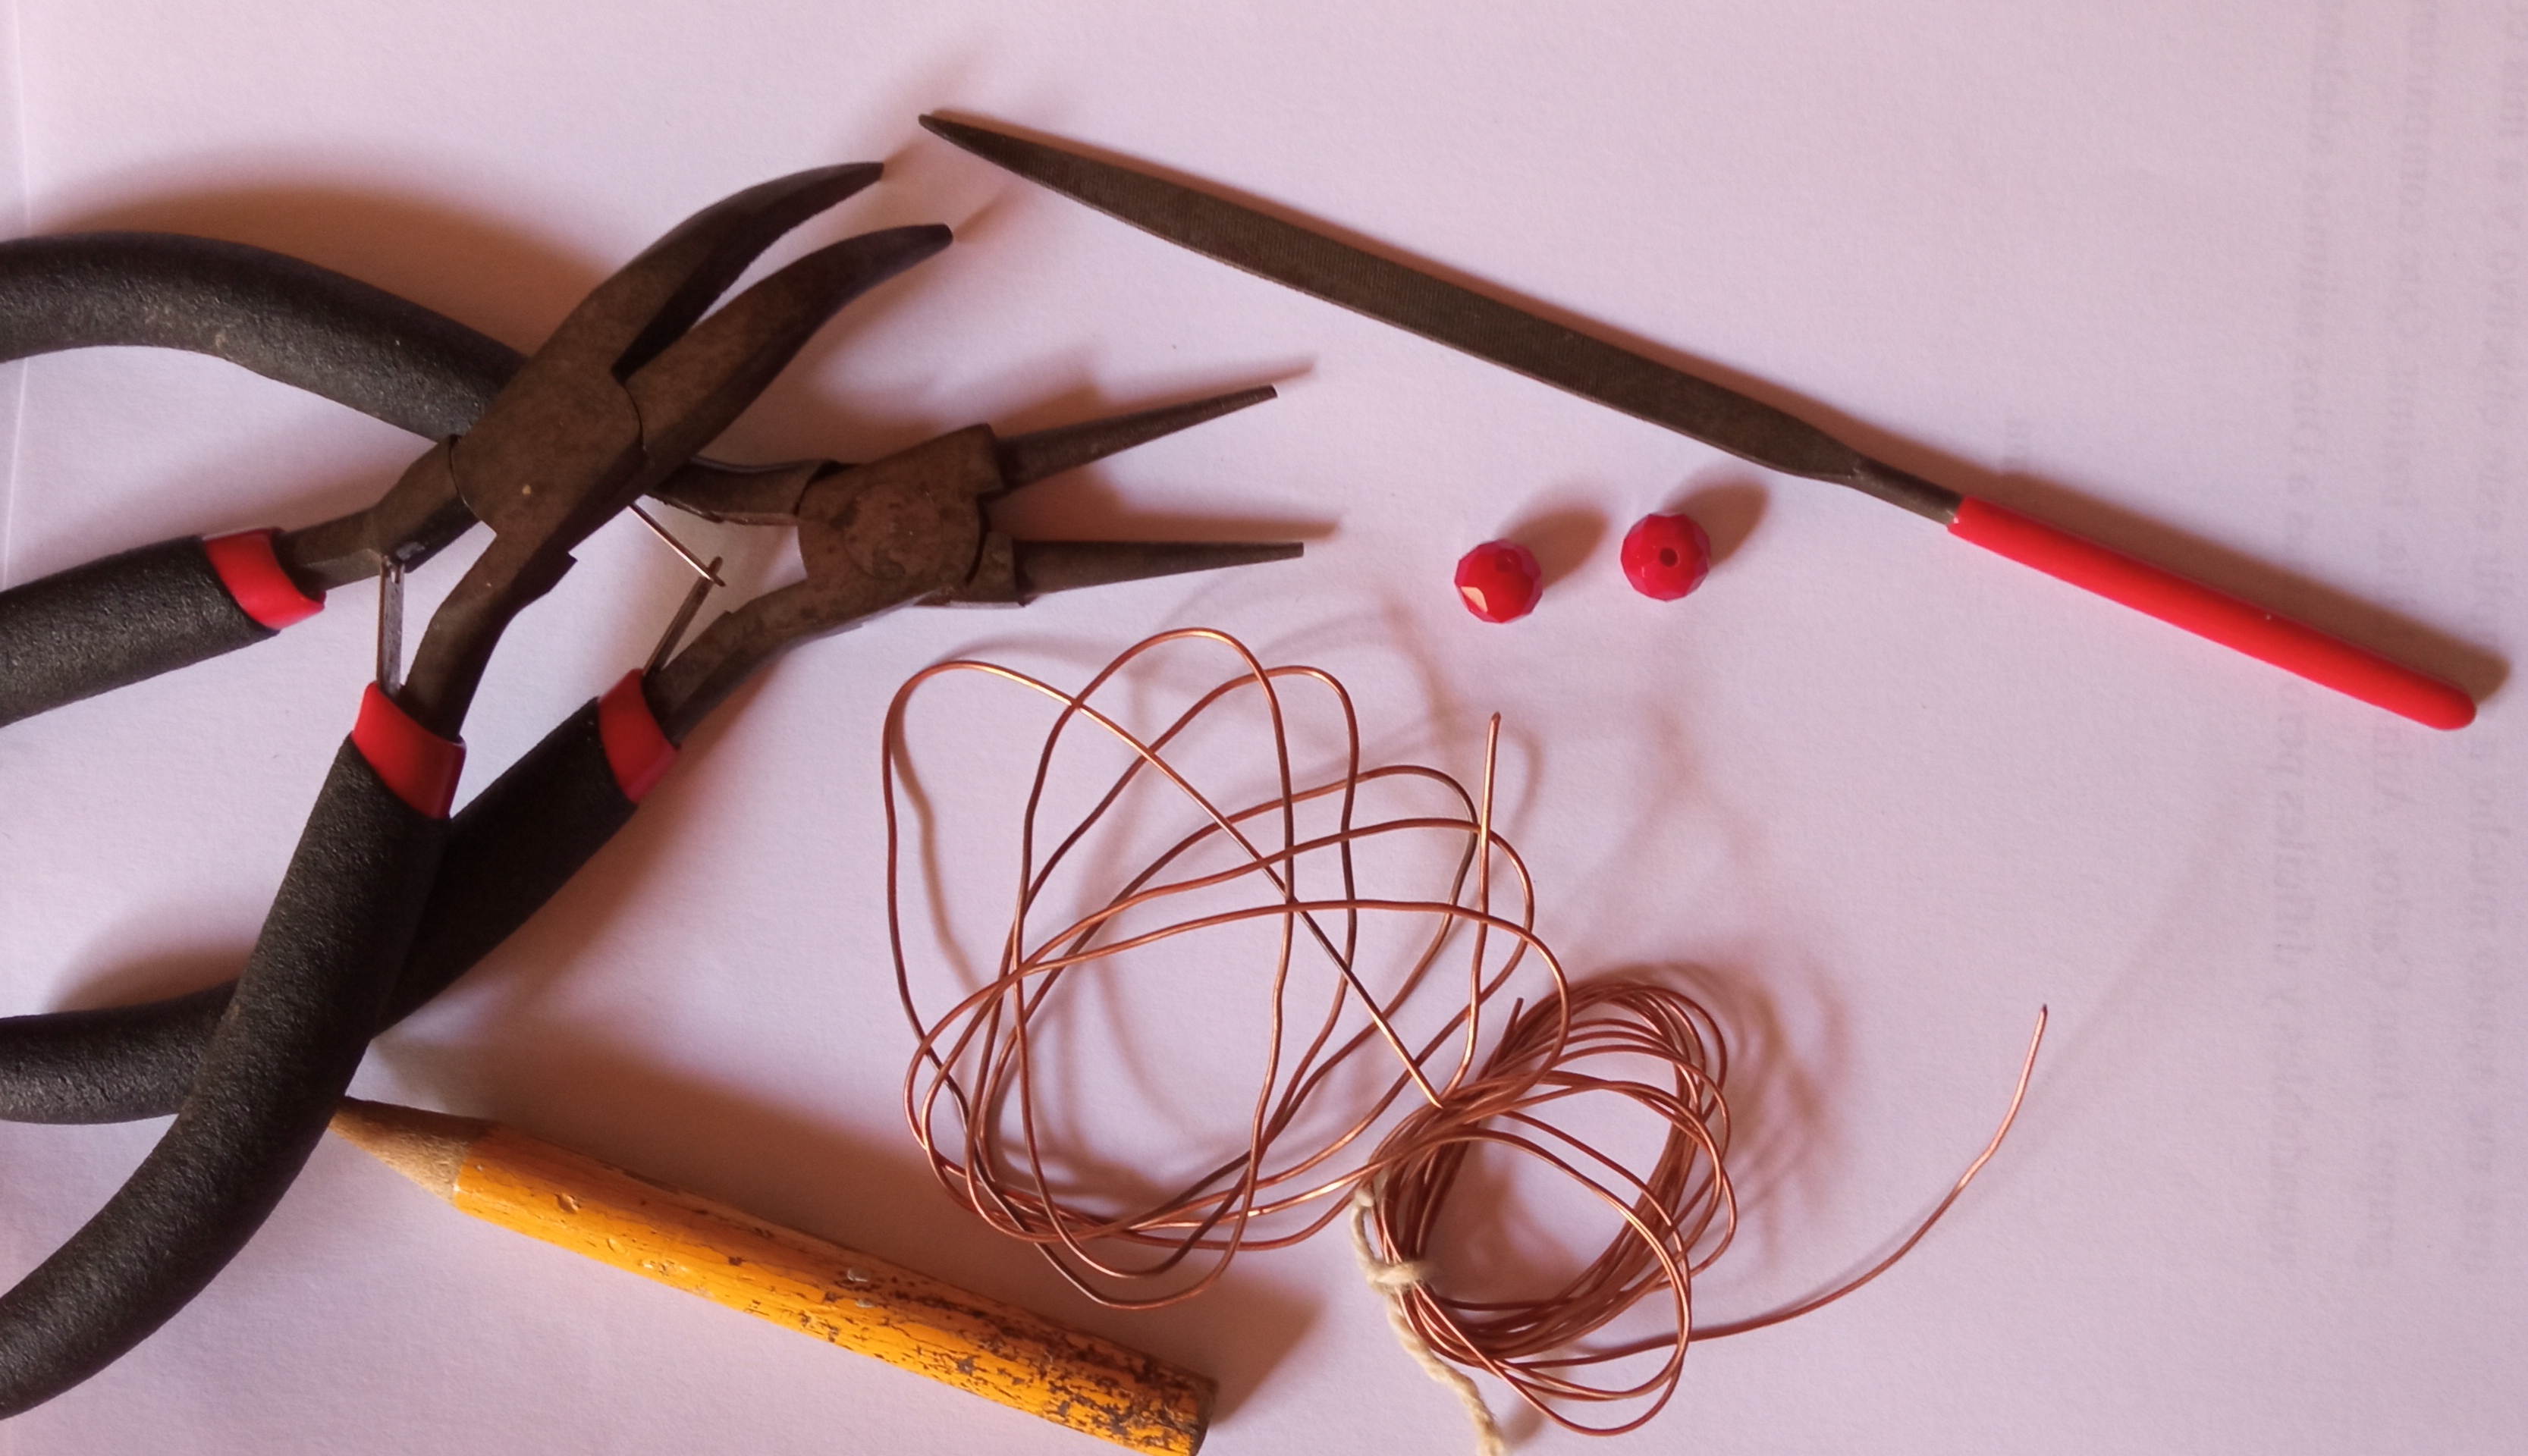
Materials:
  • Number 10 and number 12 copper wire.
  • Jewelry pliers.
  • Metal file.
  • Pencil.
  • 2 Czech crystals.

IMG_20200830_060051.jpg


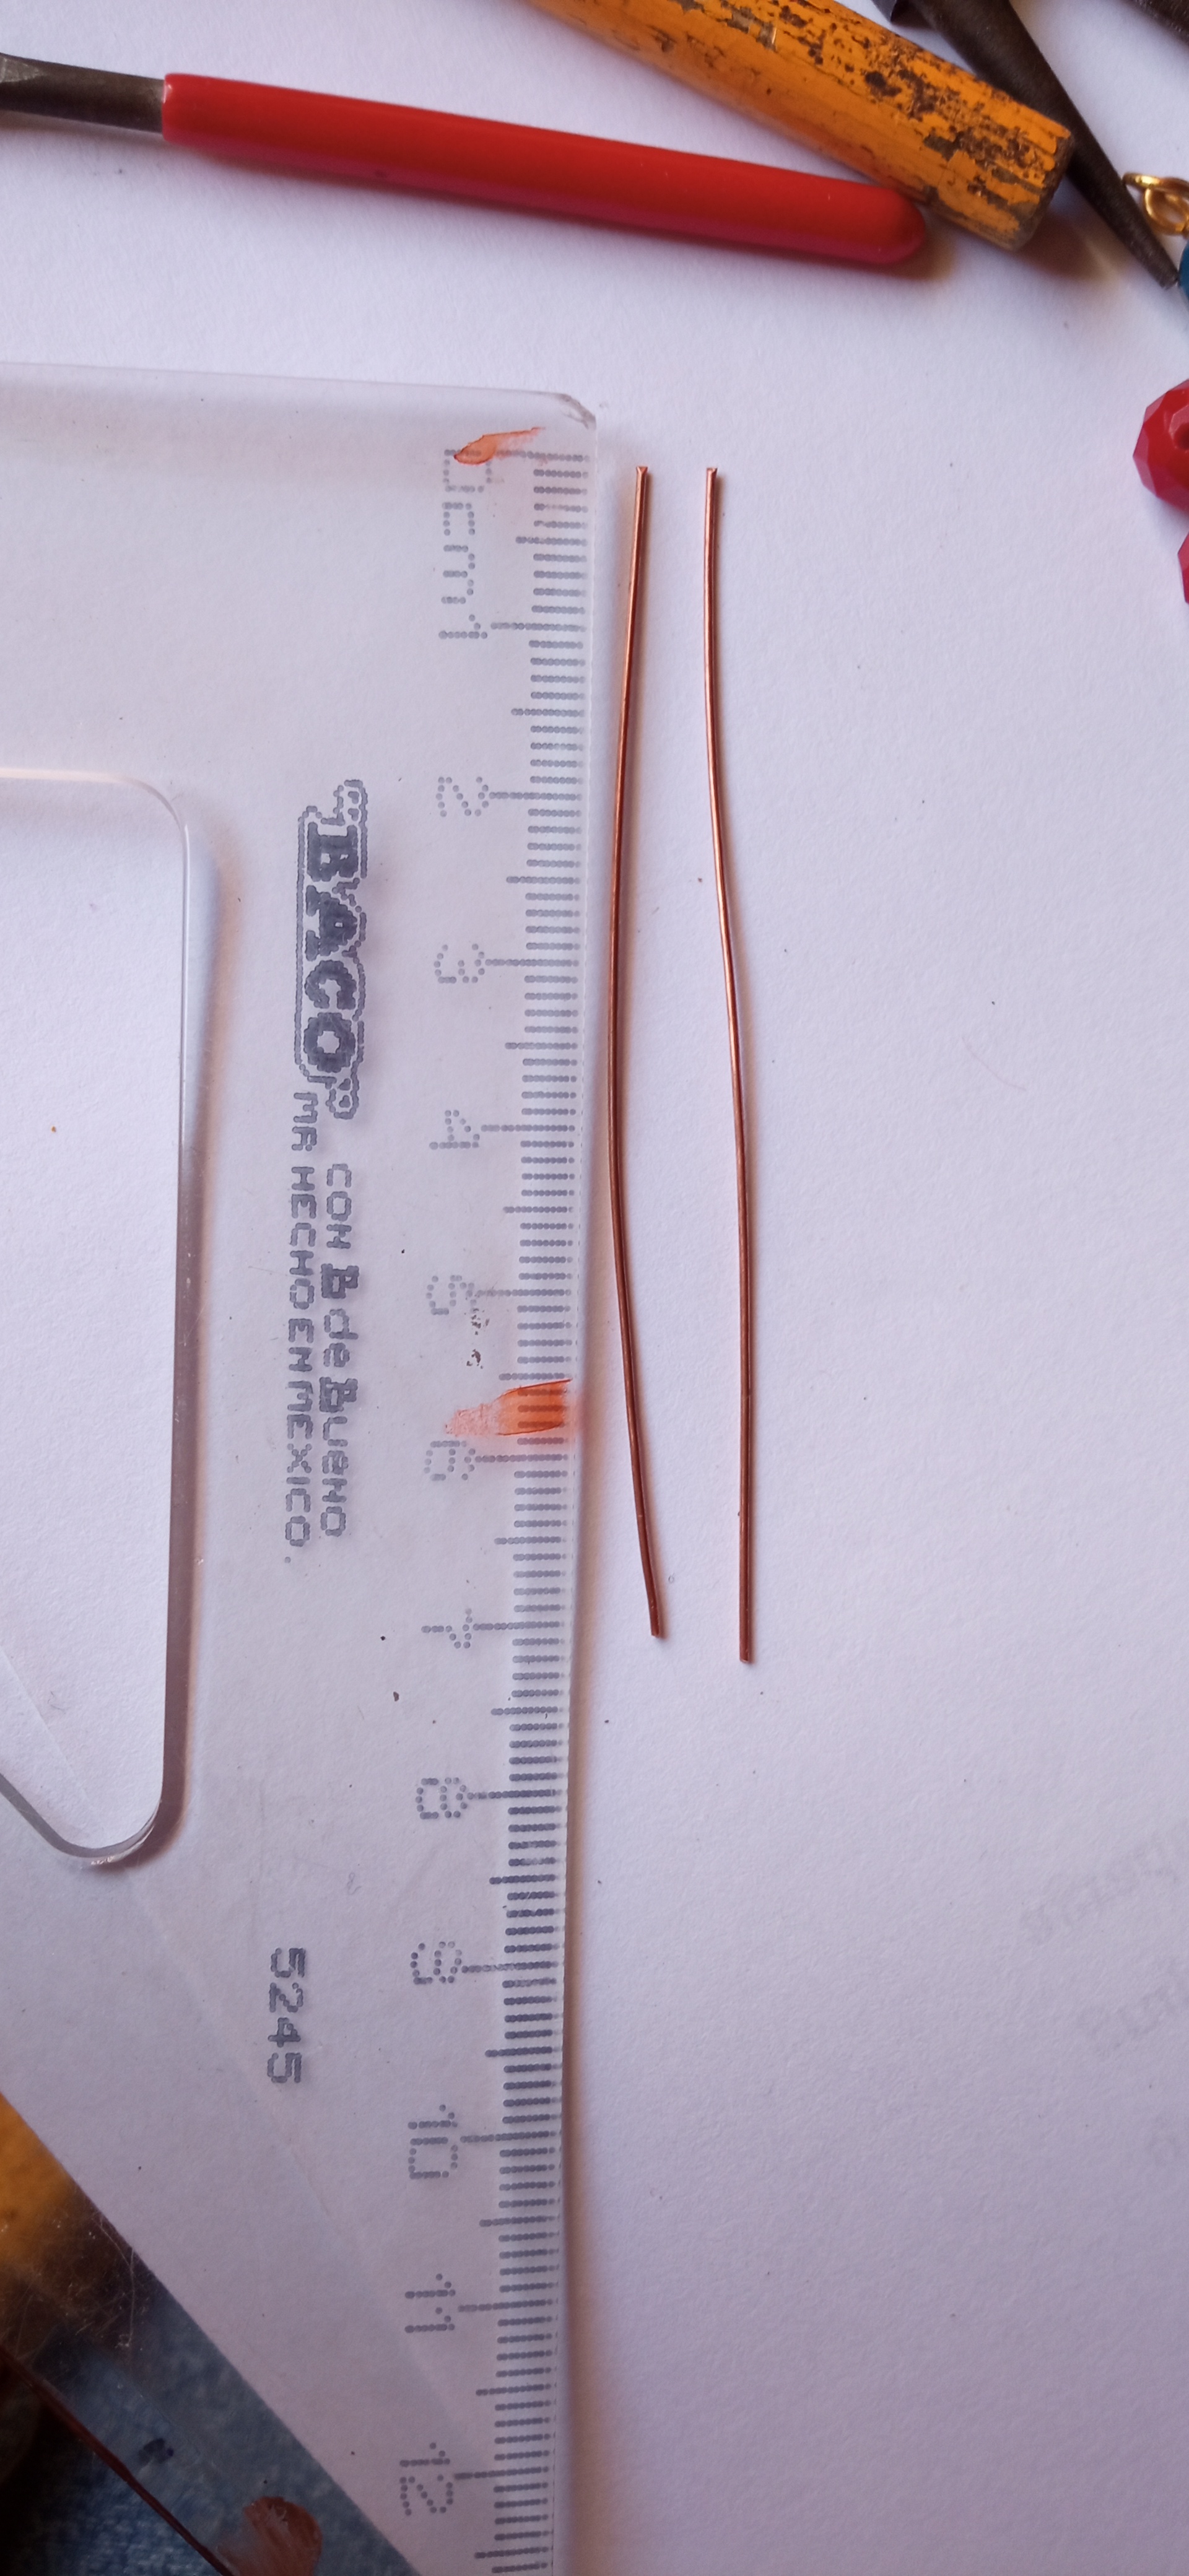
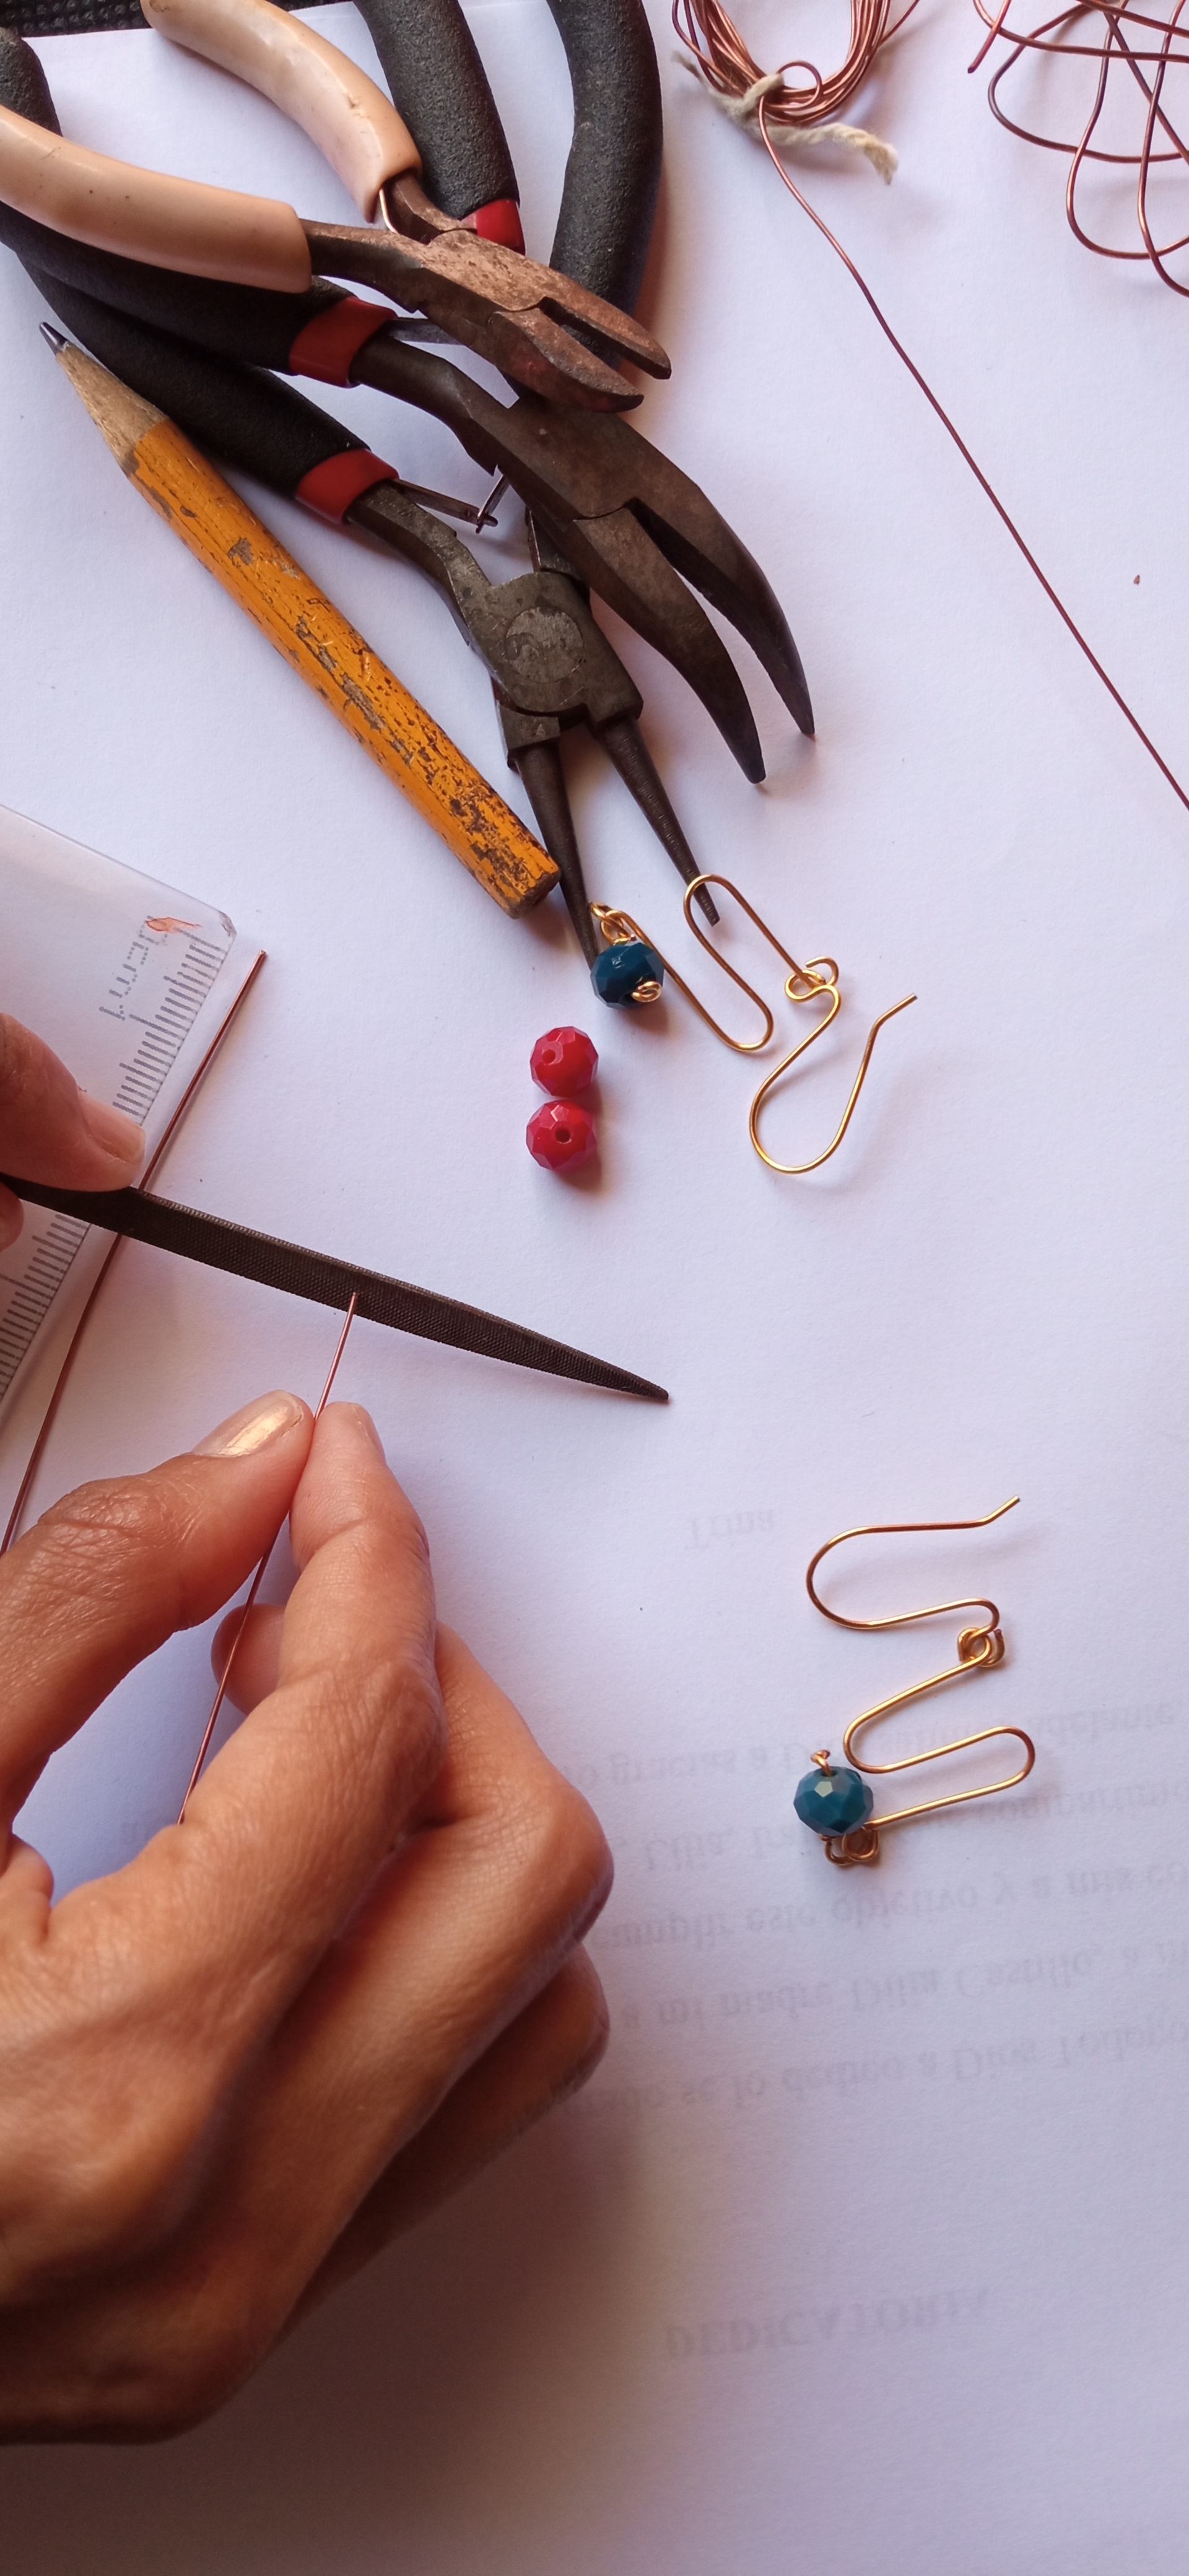
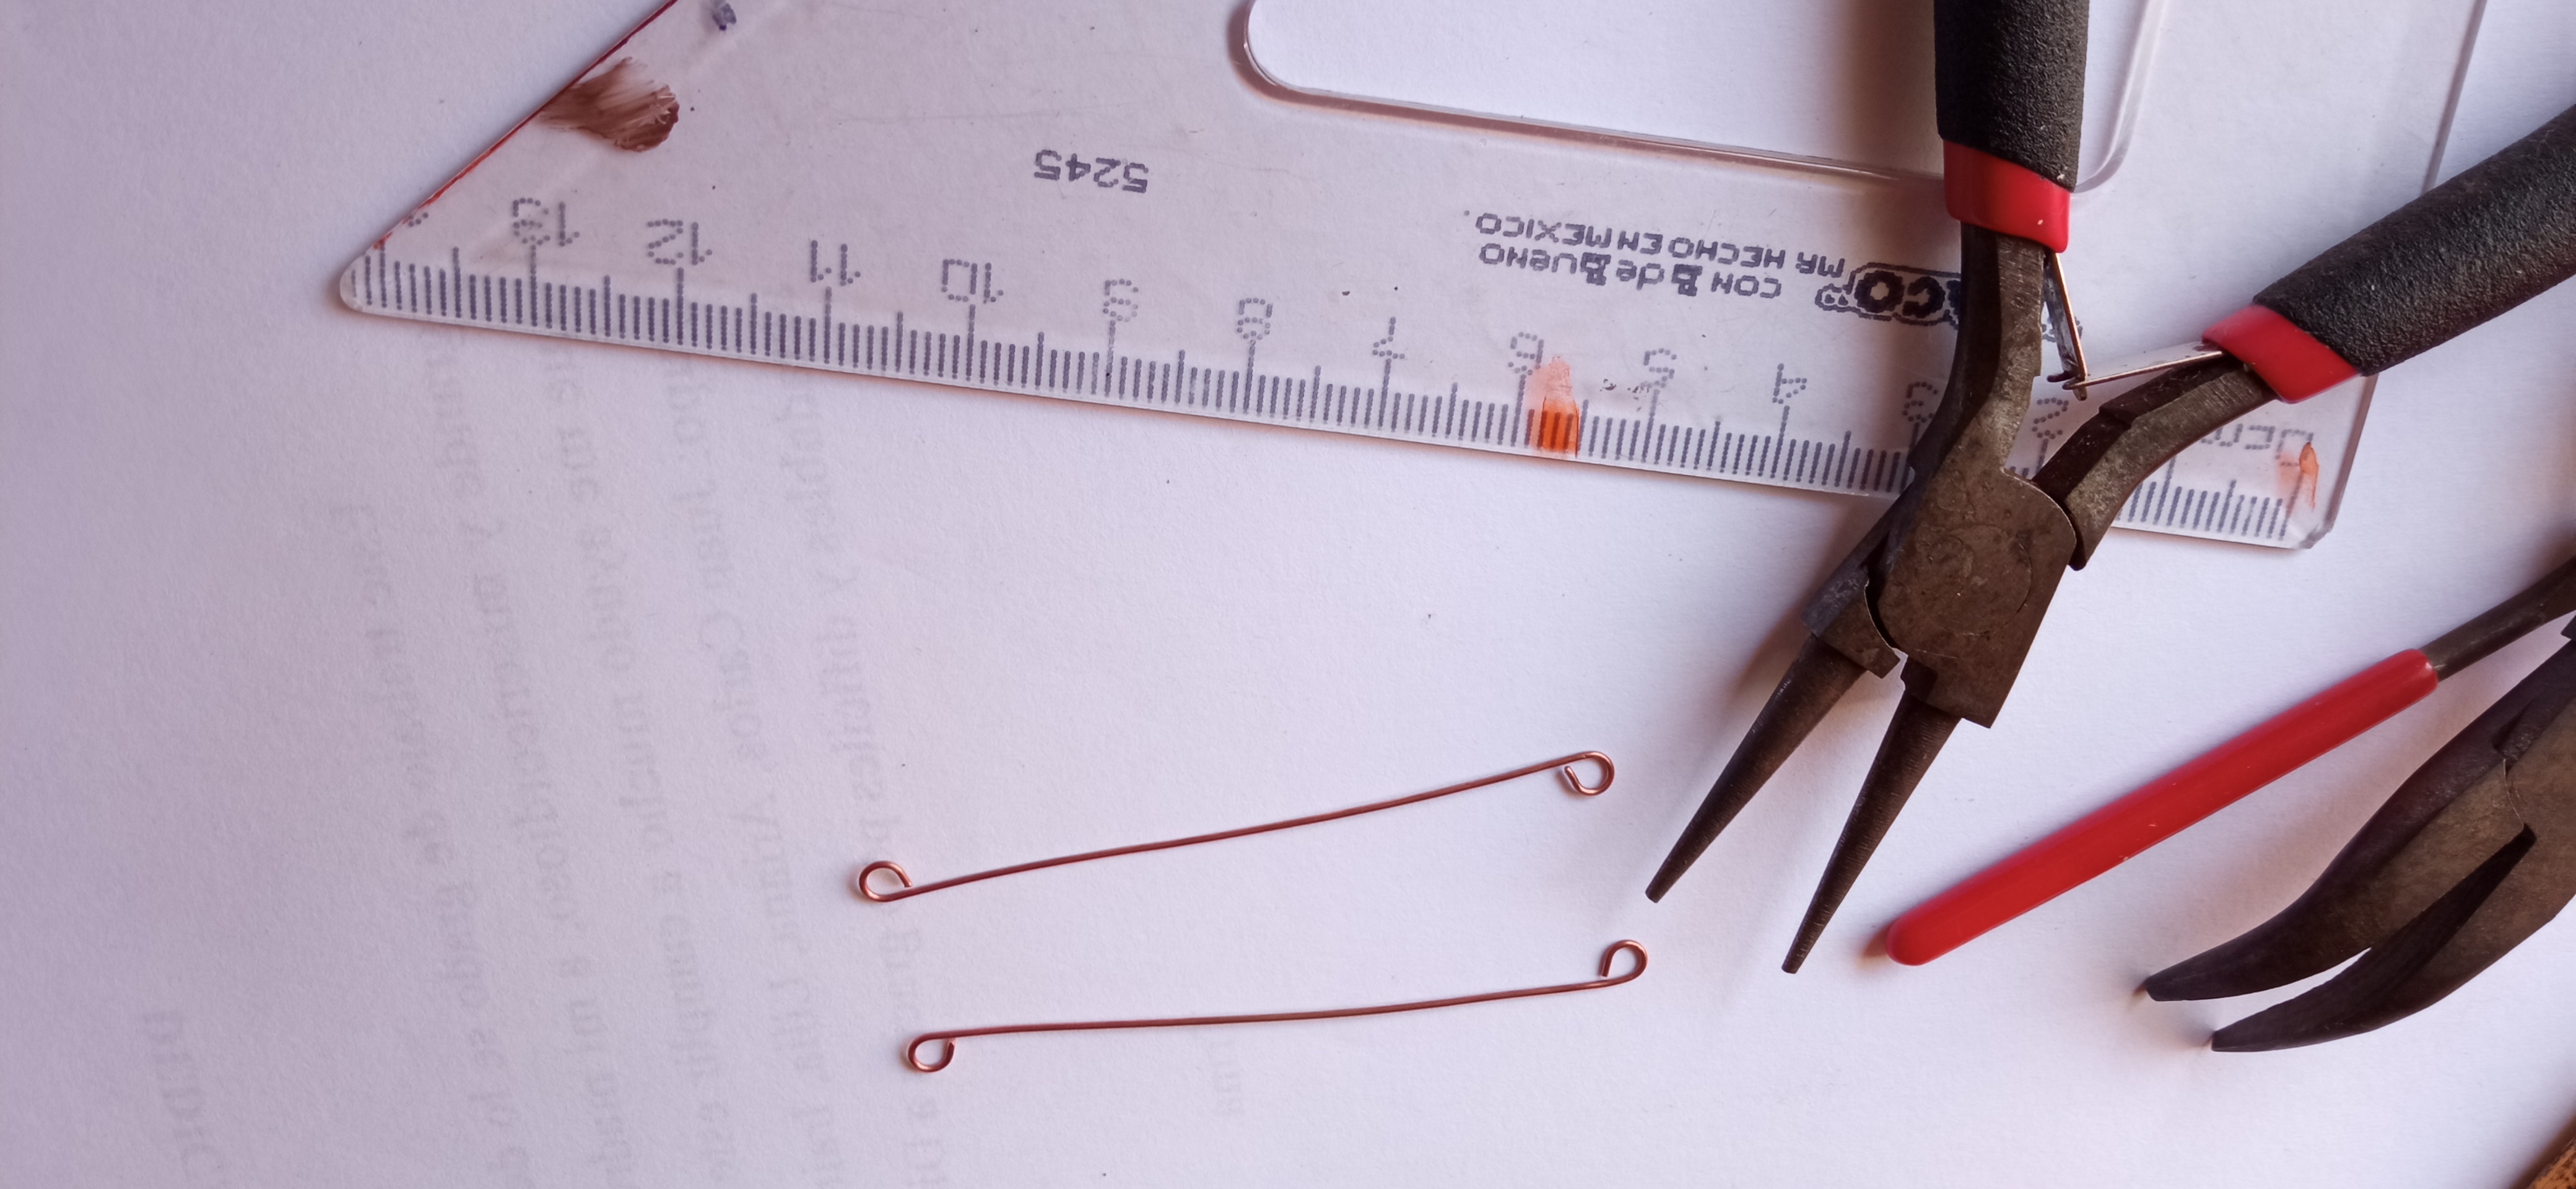
We will cut 2 pieces of 7 cm from the number 10 wire and pass the ends through the file so that they do not hurt.

IMG_20200829_163714.jpg

IMG_20200829_163759.jpg


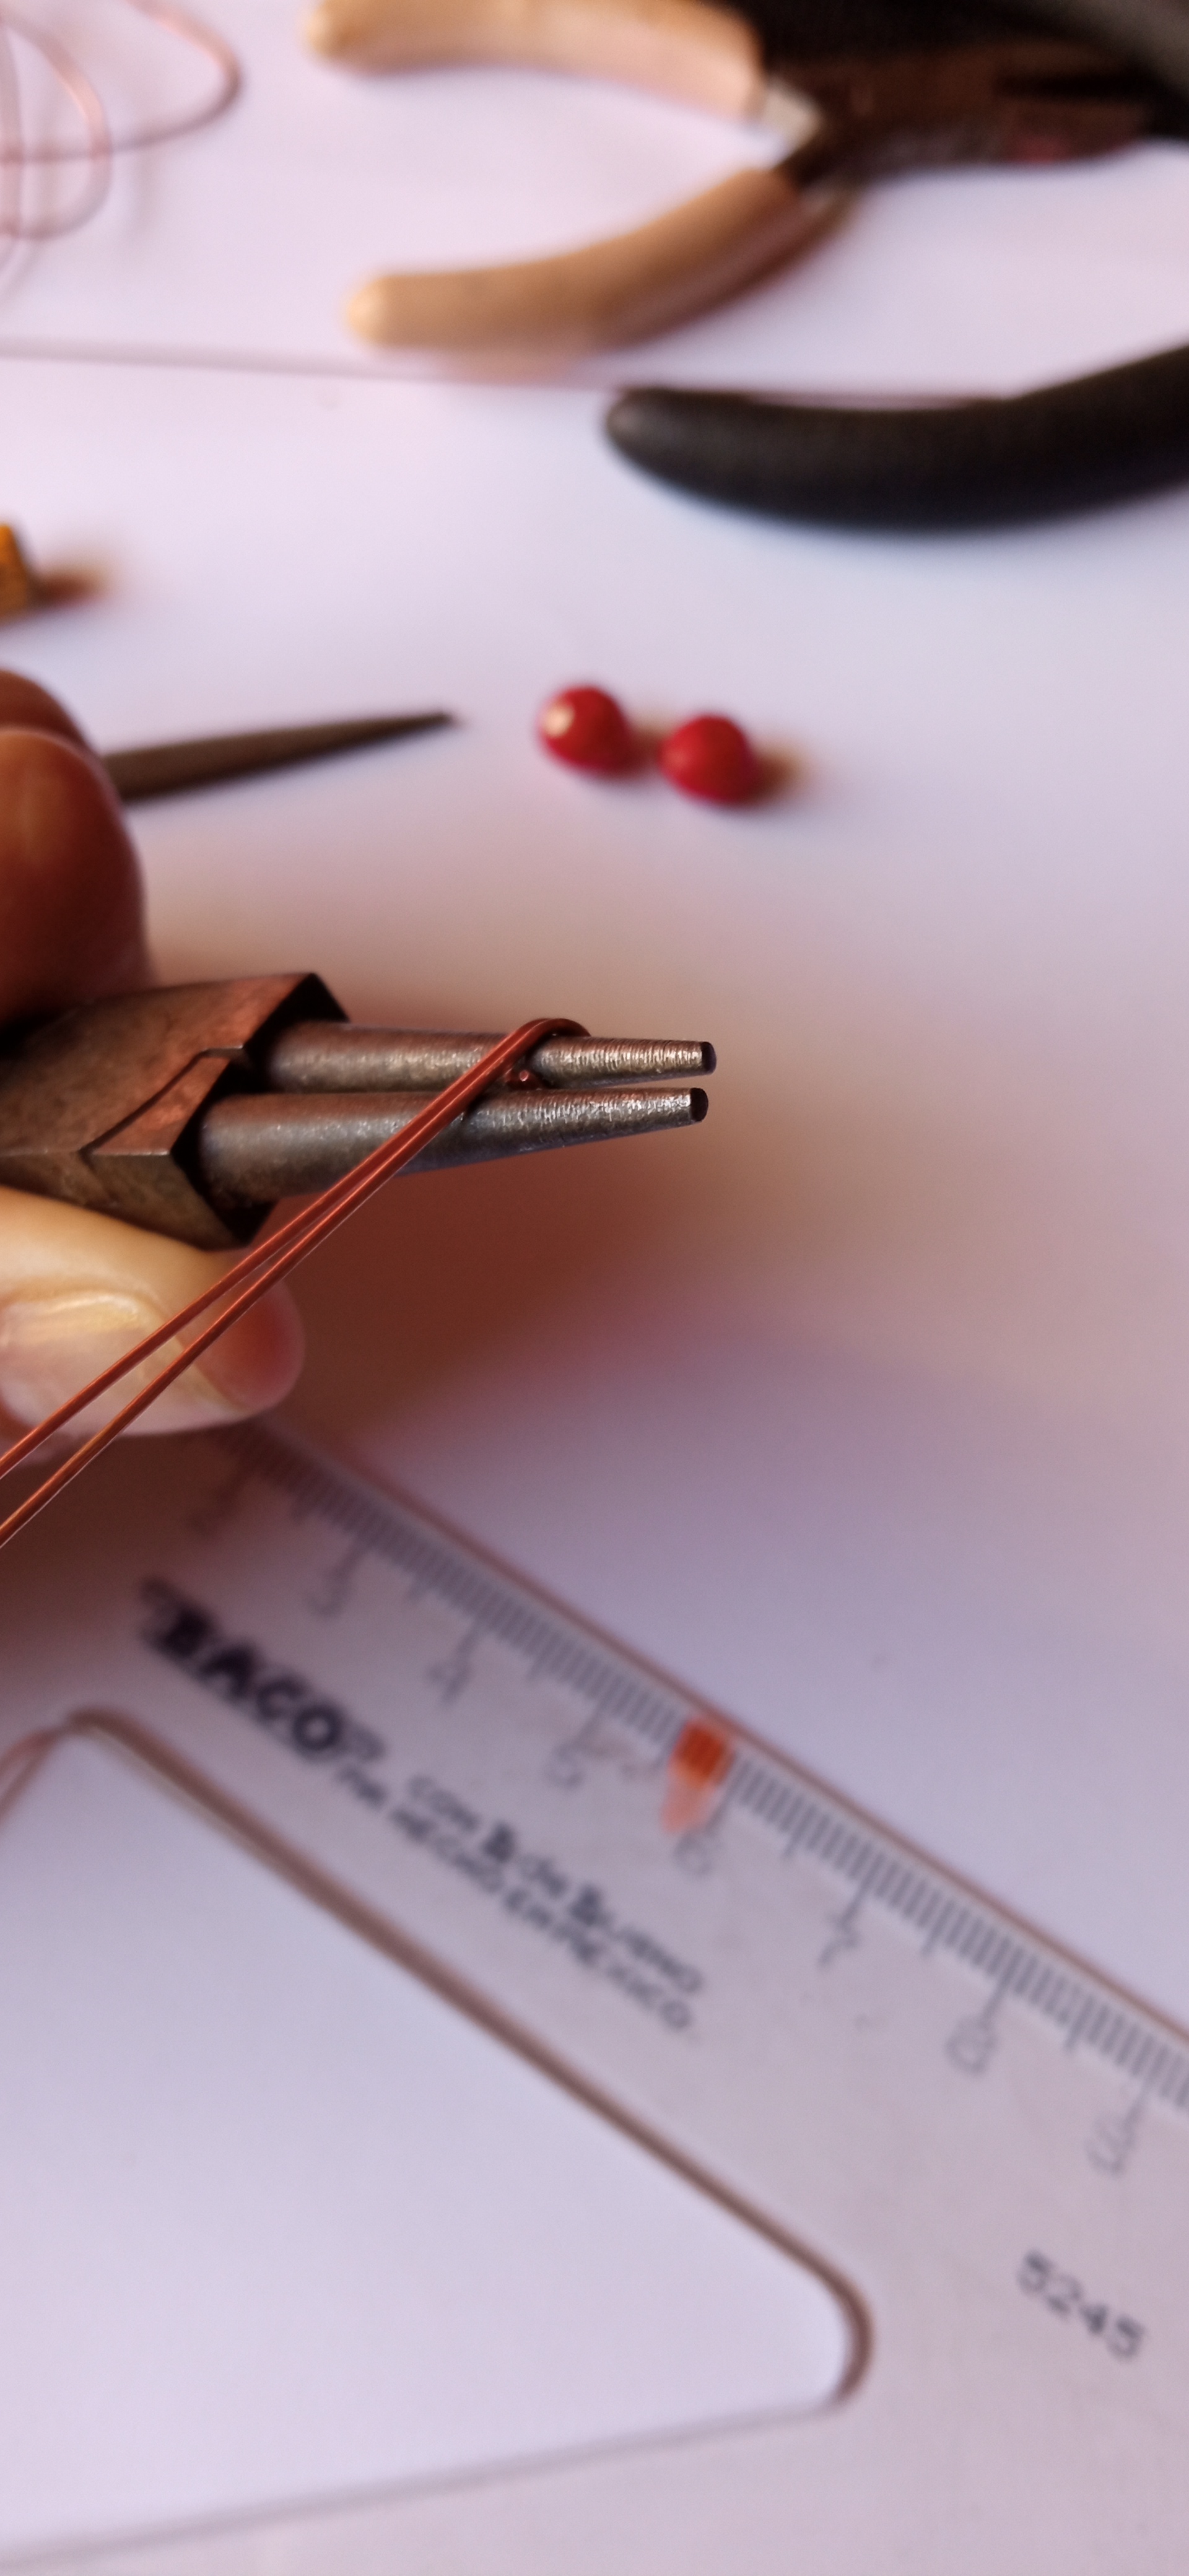
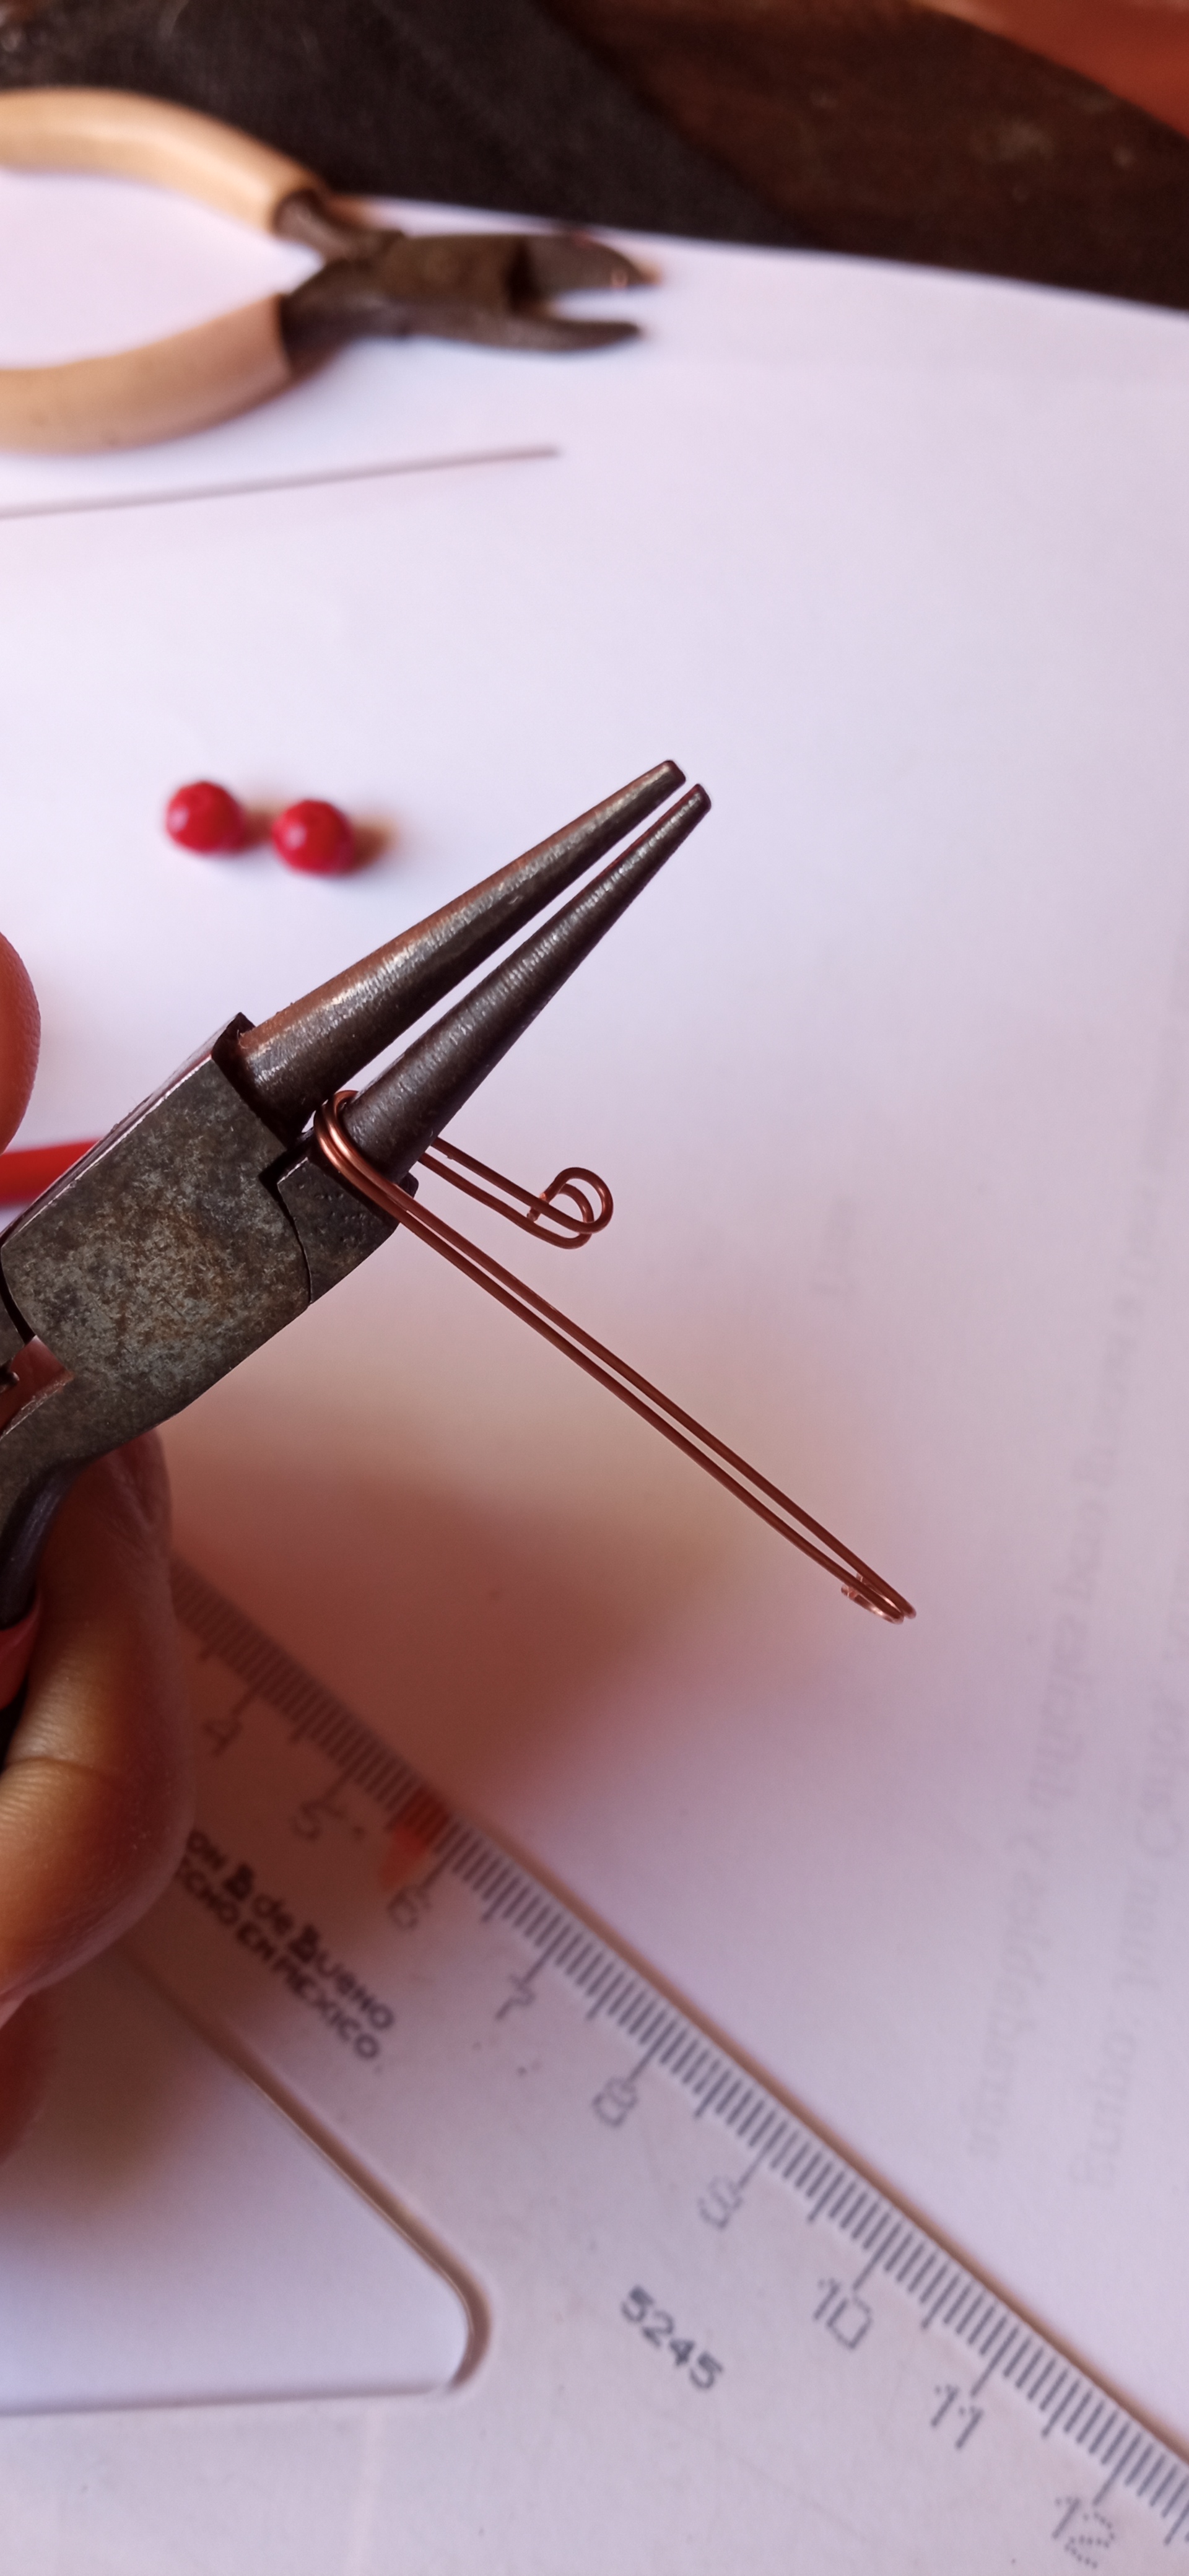
Then we shape it with the clamp, we make the two rings, upper and lower of our piece.

IMG_20200829_164128.jpg


IMG_20200829_164536.jpg


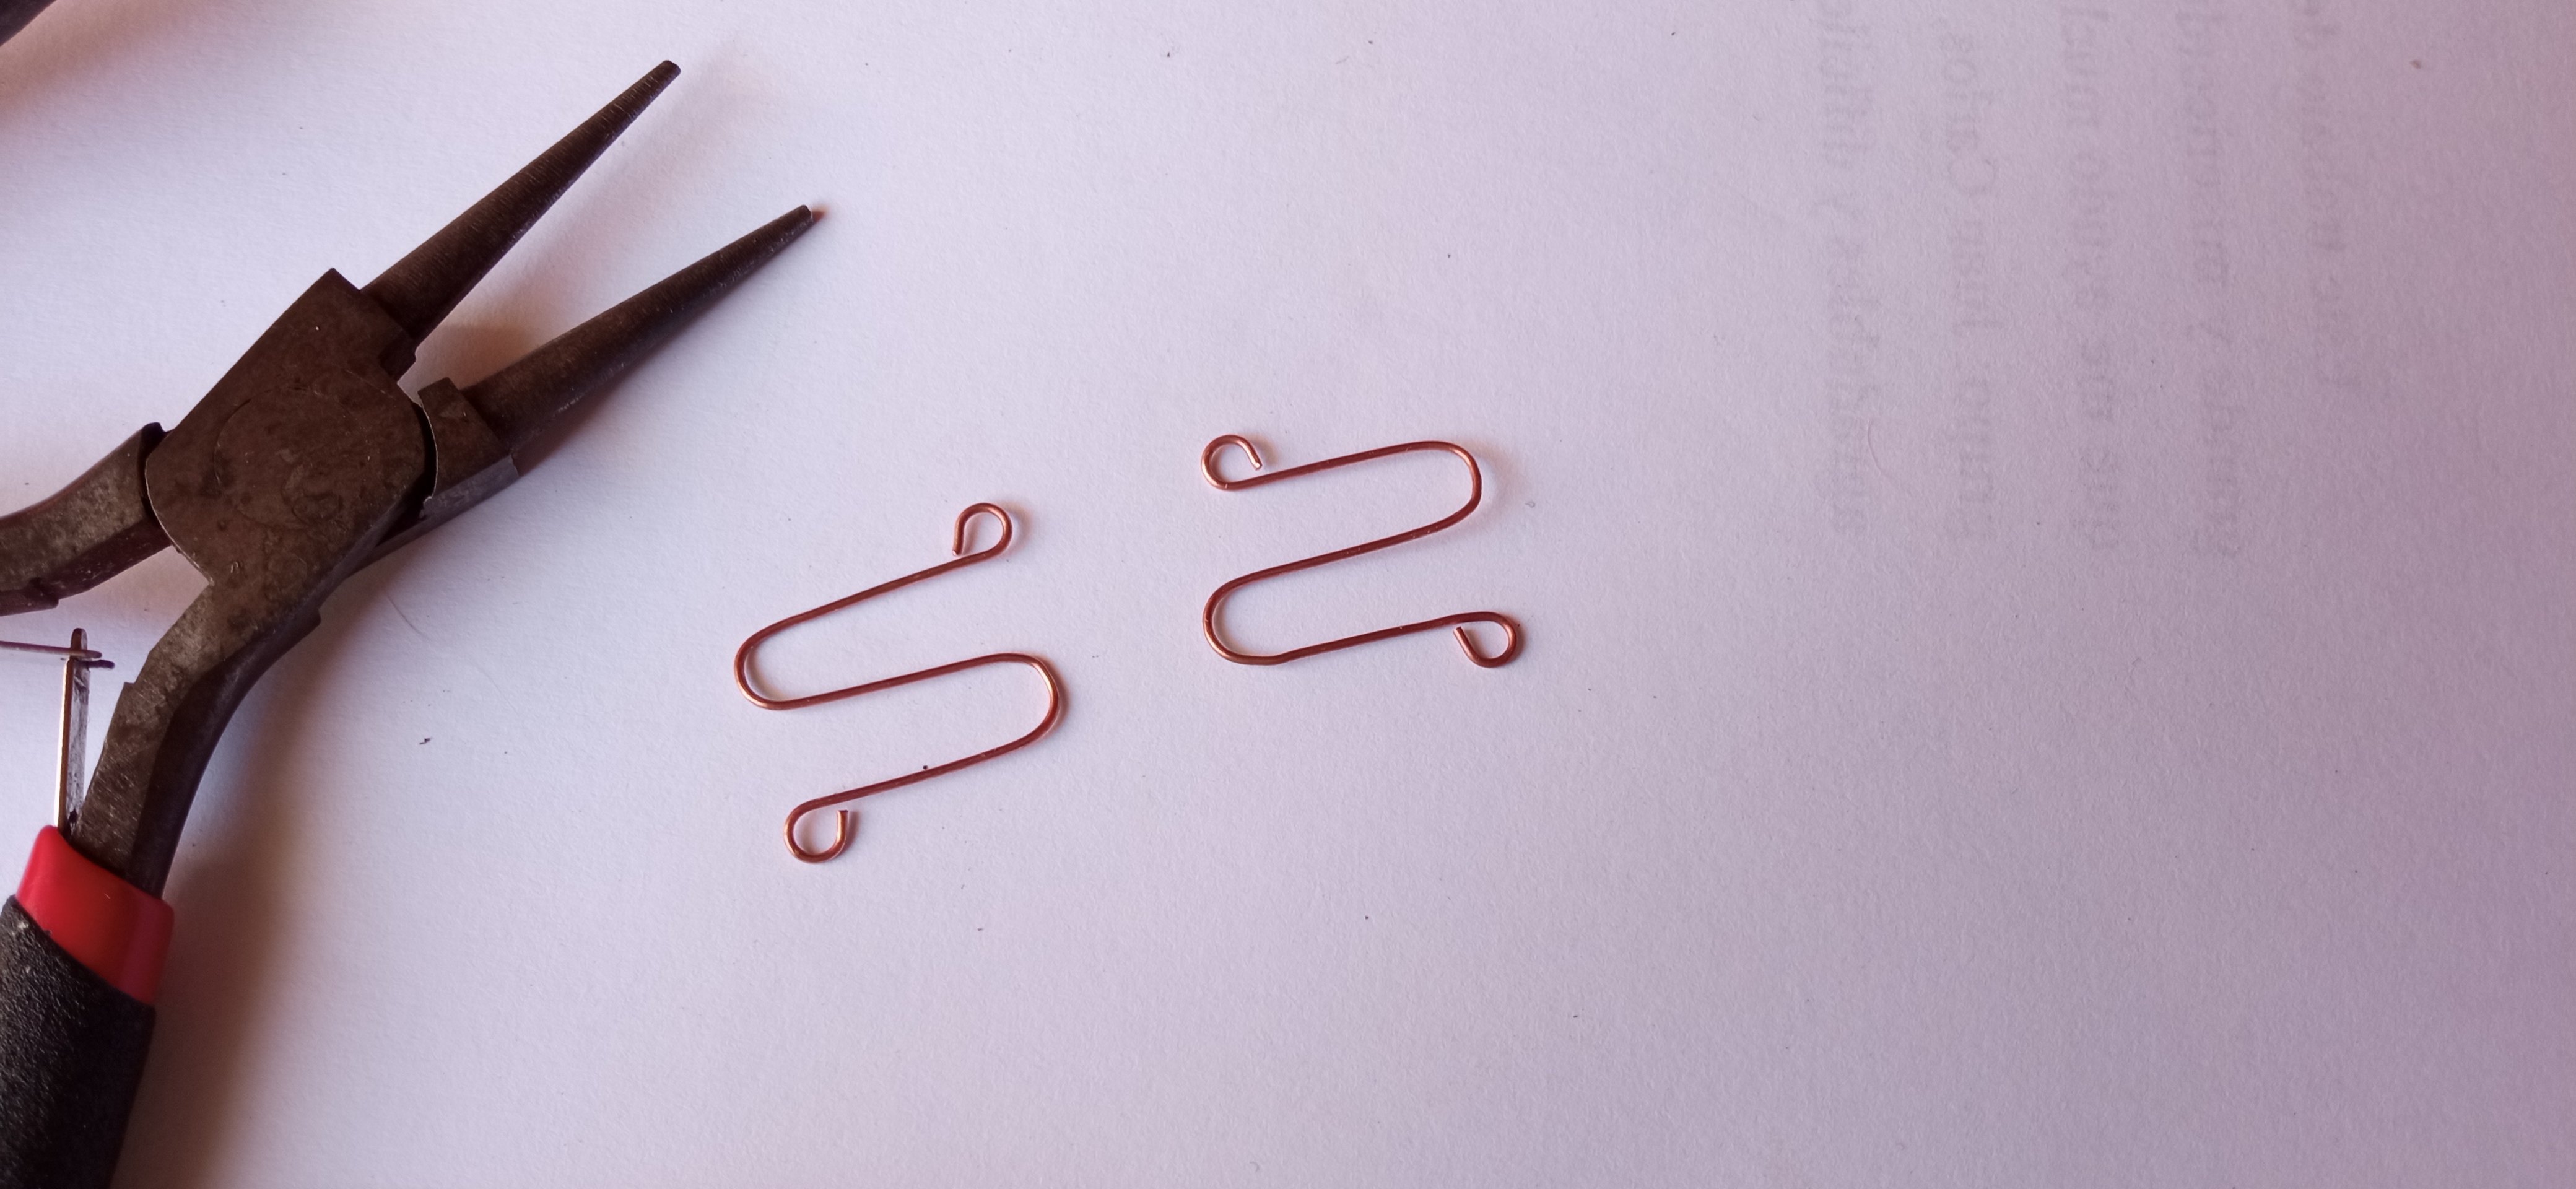
With the help of the same clamp we make the necessary curves to give the characteristic shape of the tendril.

IMG_20200829_164643.jpg


IMG_20200829_165227.jpg


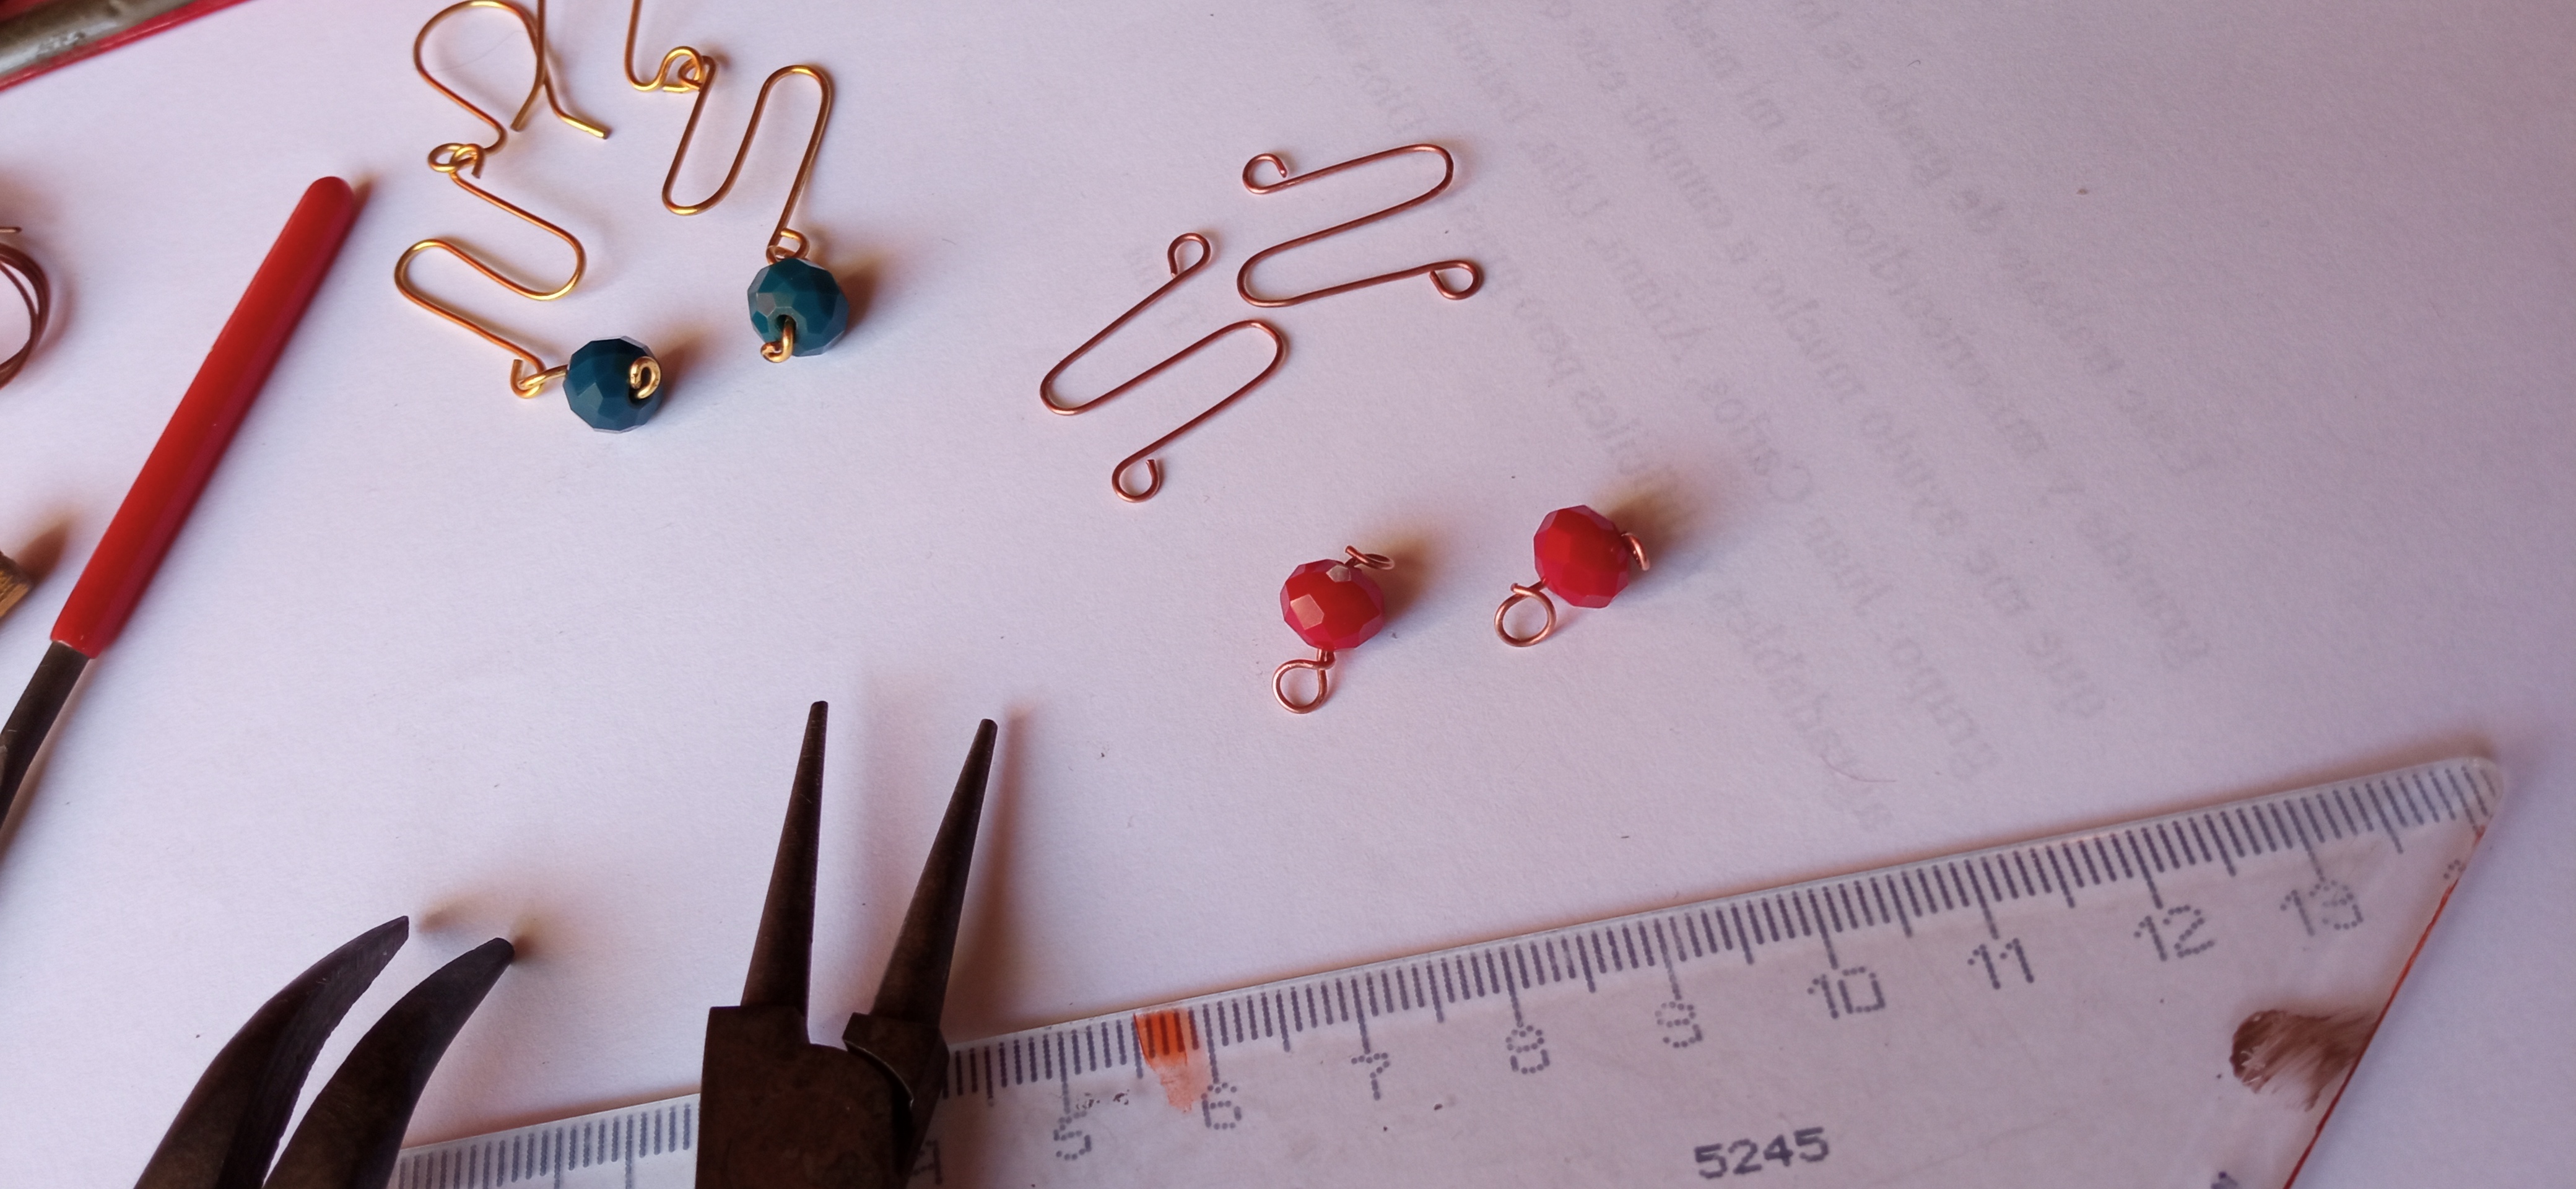
Then we make a small setting in each Czech crystal, with two pieces of 4 cm thread of the number 10, we make a ring and a termination so that the crystal does not come off.
IMG_20200829_171531.jpg


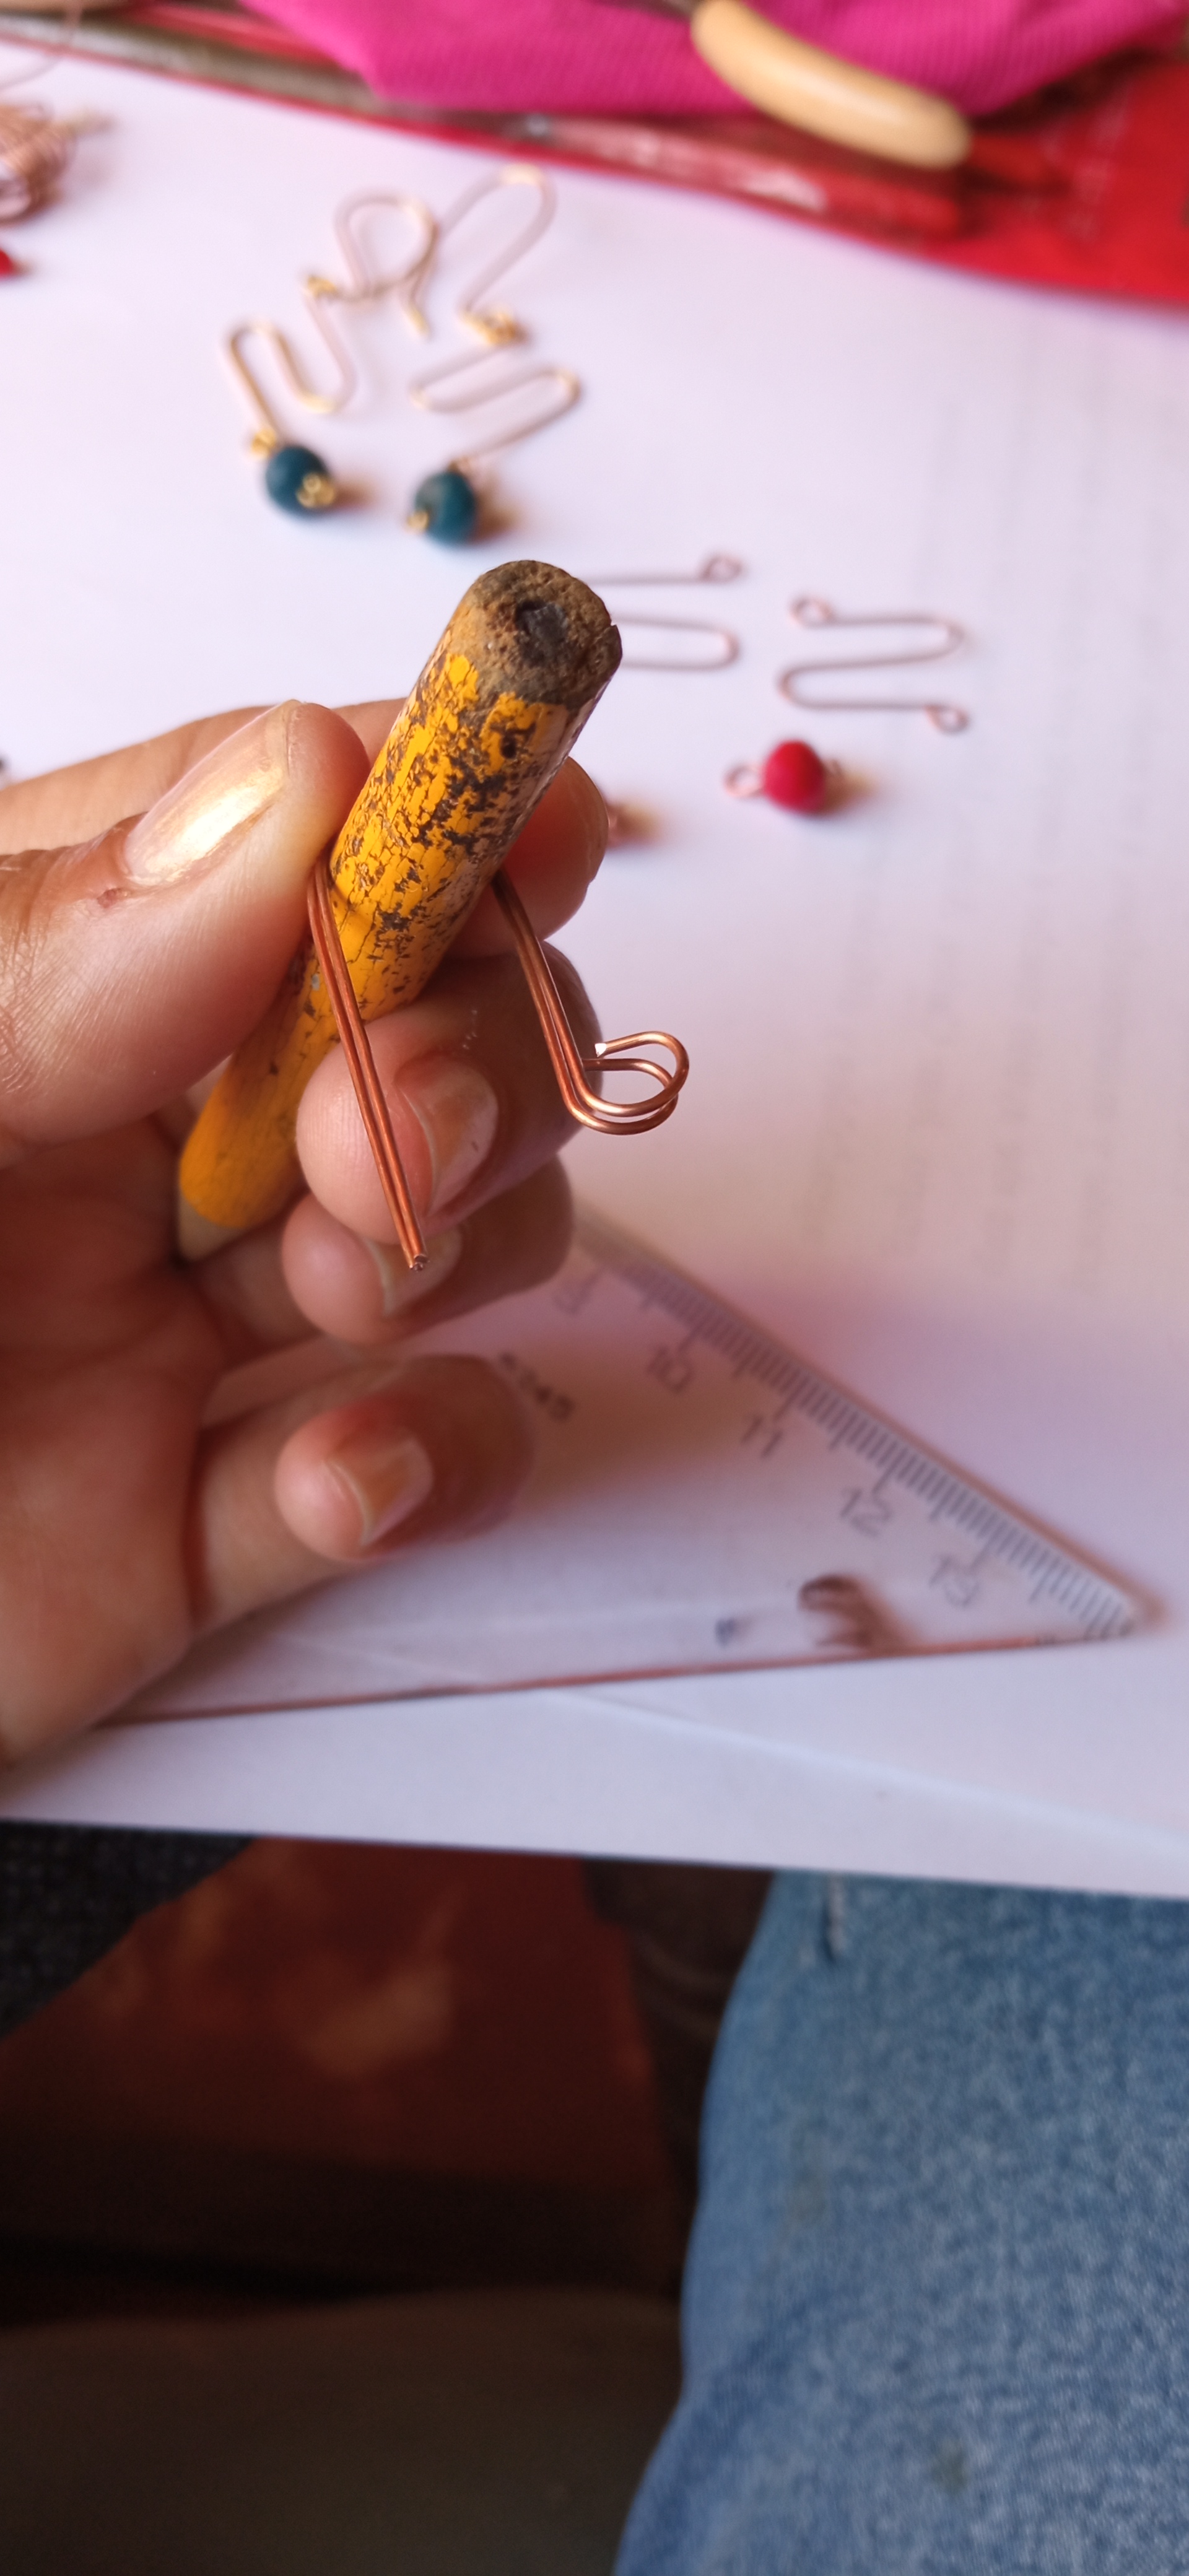
Finally we make the hook that goes inside the ear, with two pieces of wire of 7 cm each, we help ourselves with the pliers to make the lower ring and with a pencil to make the curved shape.

IMG_20200829_171904.jpg


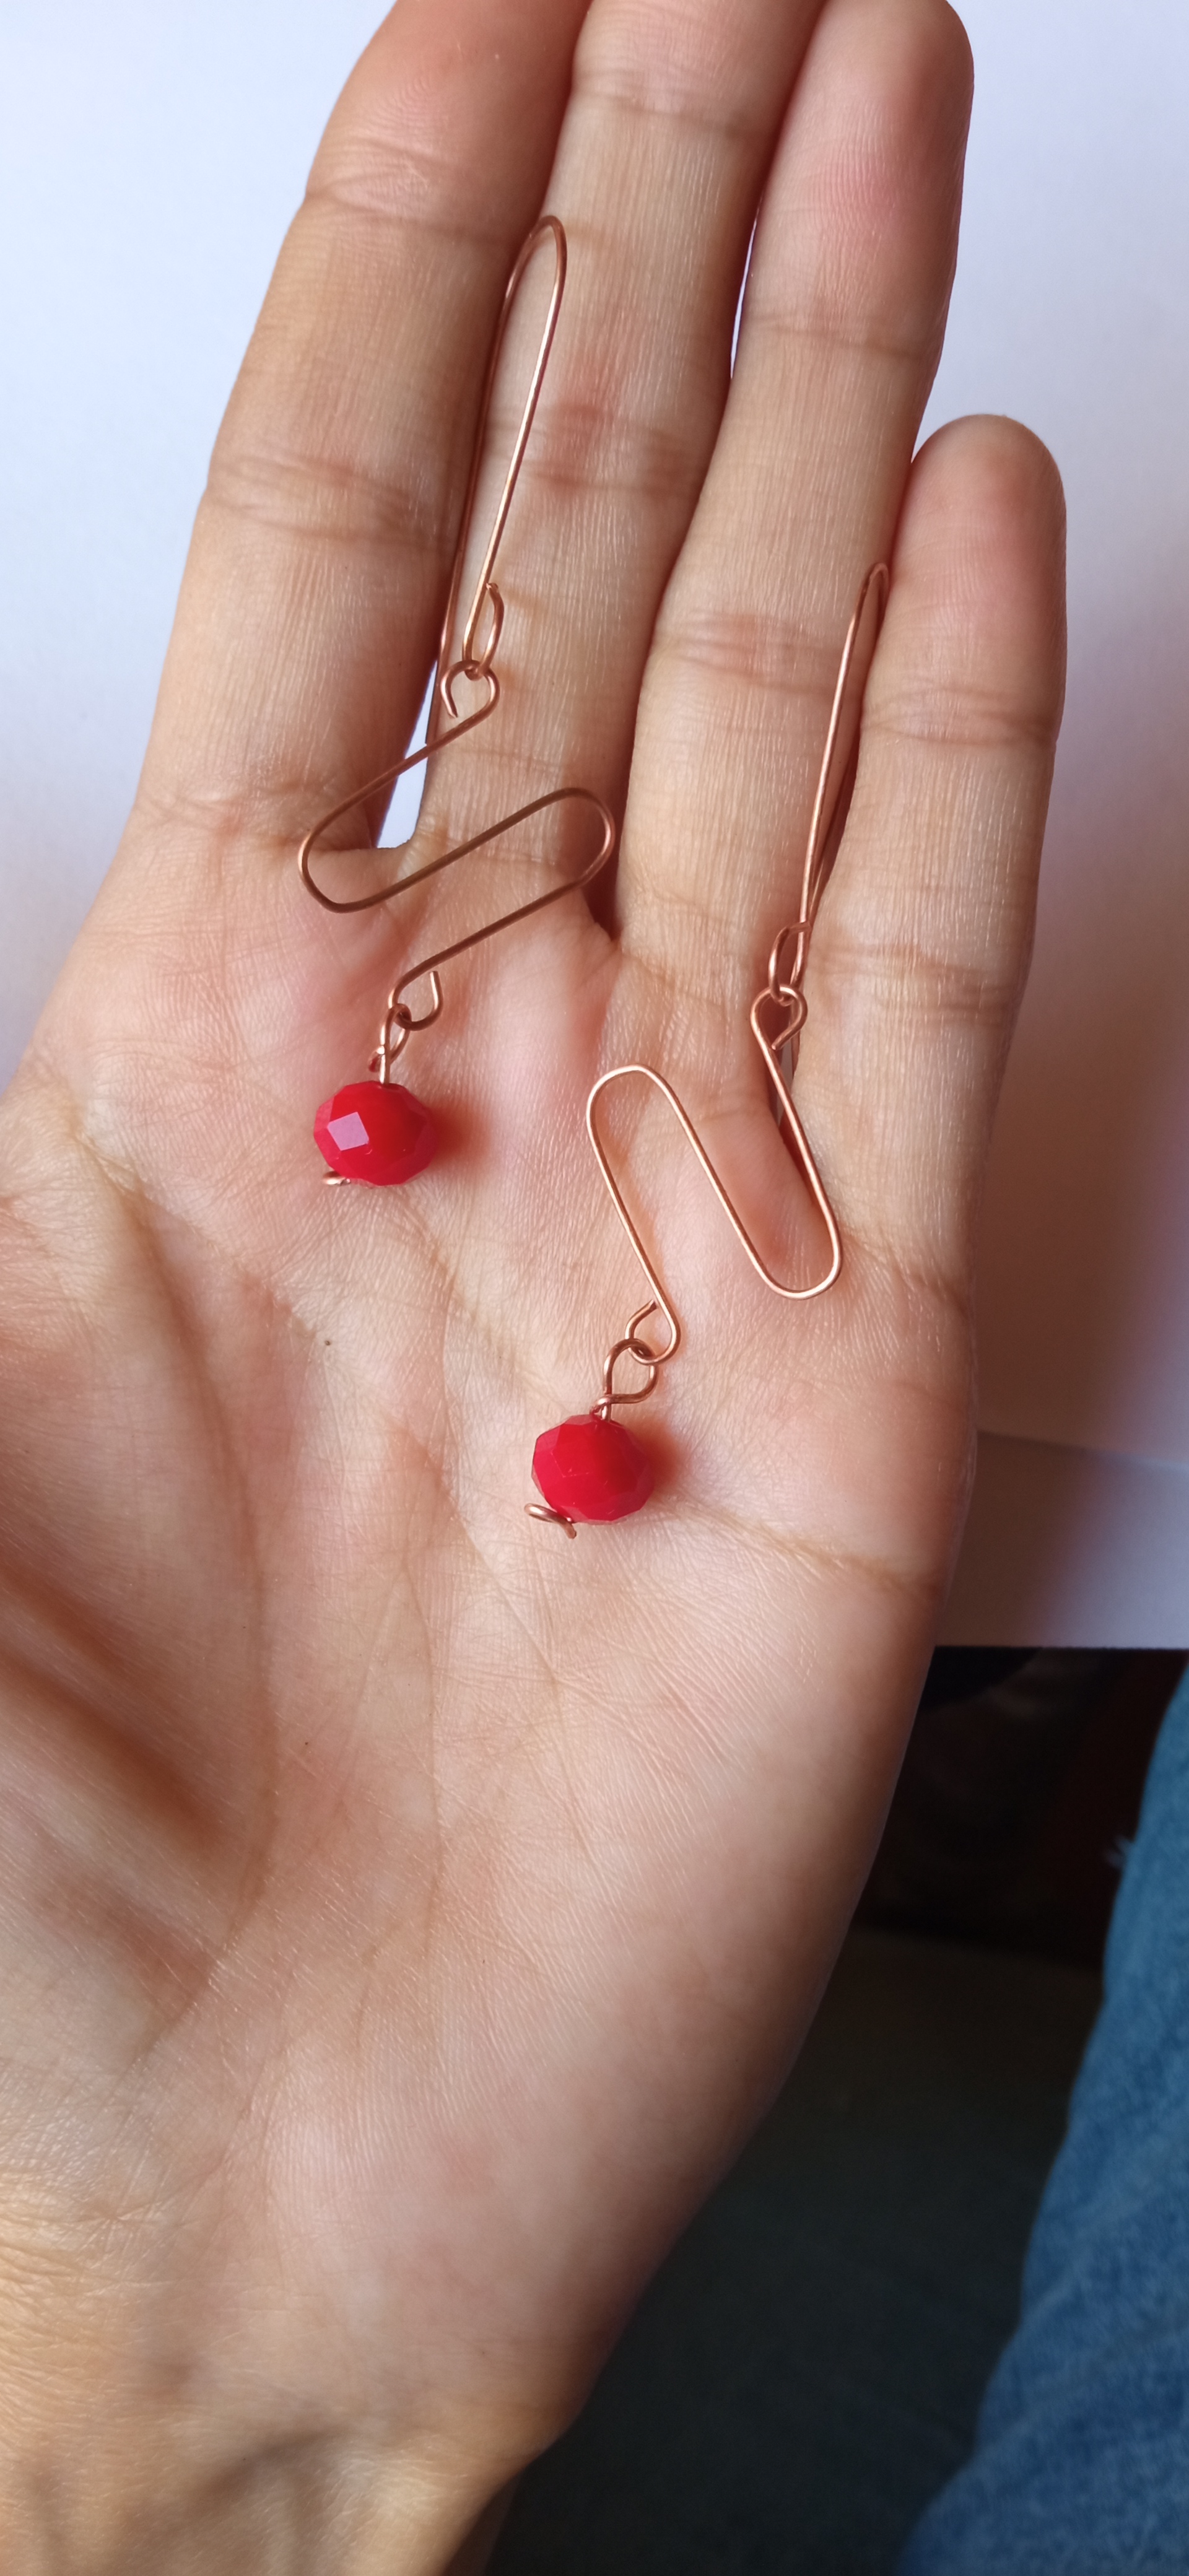
The last step is to put all the pieces together and send them to the electrolytic bath and this is the result!

IMG_20200829_172015 (1).jpg


IMG_20200902_070214.jpg

![IMG_20200829_172853 (1).jpg](UPLOAD FAILED)


Zarcillos de Evangeline

¡Hola! Hoy les voy a mostrar como hice este par de aretes, que llamé Evangeline, son muy fáciles de hacer y se necesitan muy pocos materiales, comencemos con el tutorial.

Materiales:

  • Alambre de cobre número 10 y número 12.
  • Alicates de joyería.
  • Lima metálica.
  • Lápiz.
  • 2 cristales checos.

IMG_20200830_060051.jpg


Cortaremos 2 piezas de 7 cm del alambre del número 10 y pasamos las puntas por la lima para que no lastimen.

IMG_20200829_163714.jpg

IMG_20200829_163759.jpg


luego le damos forma con la pinza, hacemos los dos anillos, superior e inferior de nuestra pieza.

IMG_20200829_164128.jpg

IMG_20200829_164536.jpg


Con ayuda de la misma pinza hacemos las curvas necesarias para dar la forma característica del zarcillo.

IMG_20200829_165227.jpg


Luego hacemos un pequeño engarce en cada cristal checo, con dos trozos de hilo de 4 cm del número 10, hacemos un anillo y una terminación para que el cristal no se desprenda.

IMG_20200829_171531.jpg


Finalmente hacemos el anzuelo que va en la oreja, con dos trozos de alambre de 7 cm cada uno, nos ayudamos con la pinza para hacer el anillo inferior y con un lápiz para hacer la forma curva.

IMG_20200829_171904.jpg


El último paso es unir todas las piezas y enviarlas al baño electrolítico y ¡este es el resultado!

IMG_20200829_172015 (1).jpg

![IMG_20200829_172853 (1).jpg](https://images.hive.blog/DQmQDievW9K62pGHkHmqDY1aVzH7NFFM7FV8JZTqJvHRTCe/IMG_20200829_172853%20(1).
IMG_20200829_172853 (1).jpg

Sort:  

Que geniales quedaron esos zarcillos. Si buscas una comunidad de manualidades seguro te va mejor con tus publicaciones.

Congratulations @yelitzarg! You have completed the following achievement on the Hive blockchain and have been rewarded with new badge(s) :

You received more than 100 upvotes. Your next target is to reach 200 upvotes.

You can view your badges on your board and compare yourself to others in the Ranking
If you no longer want to receive notifications, reply to this comment with the word STOP

Do not miss the last post from @hivebuzz:

Feedback from the September 1st Hive Power Up Day