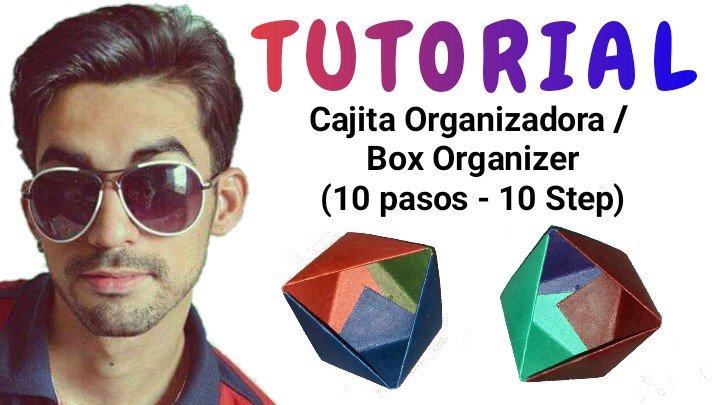
I am not only an artist, I am also a teacher by vocation and profession (although educating is the greatest of the arts). Unfortunately, because of the pandemic, I can not exercise such work on a regular basis. However, when you love what you do, you manage to keep developing and learning. For that reason, and in order to continue exercising my career, I have designed a series of tutorials so that the little ones of the house (and also adults), can distract themselves and at the same time learn. The tutorials are dedicated to the theme of crafts and the materials required can be of any origin. The important thing is to have fun and make beautiful things.
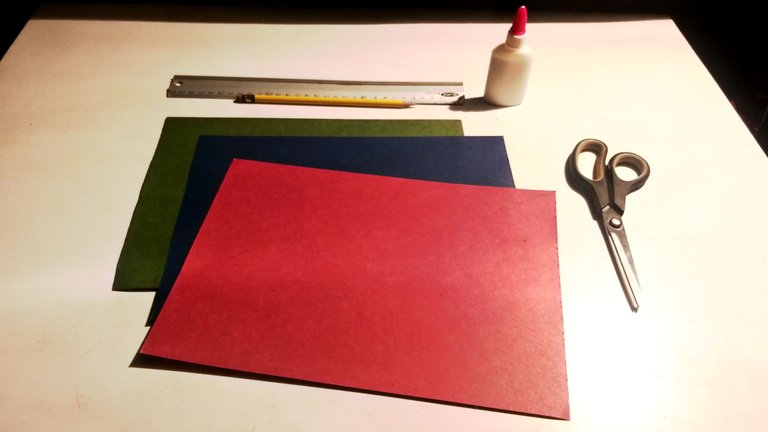
¿QUÉ NECESITAS? / WHAT DO YOU NEED?
- 3 Hojas de papel Construcción, Cartón o Cartulina (de distintos colores) de 12×12cm
- Una Tiejera
- Una Regla
- Pegamento
- 3 sheets of construction paper, cardboard or cardboard (different colors) of 12×12 cm / * One scissors / * A Ruler /* Glue
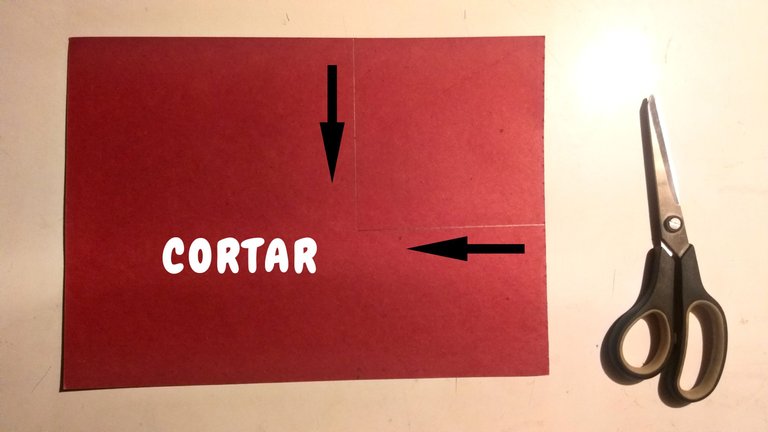
(1): Lo primero que debes hacer es cortar una hoja se papel en un cuadrado perfecto de 12×12 cm. / The first thing to do is to cut a sheet of paper into a perfect square of 12×12 cm.
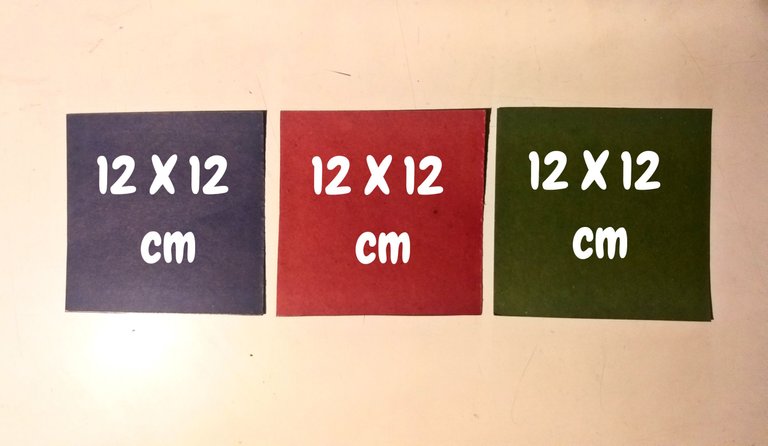
(2): Repite el procedimiento con las dos hojas restantes. / Repeat the procedure with the remaining two sheets.
(3): Toma una da las hojas y doblaba, de tal manera que al hacerlo se forme un triángulo. / Take one of the sheets and fold it in such a way that it forms a triangle.
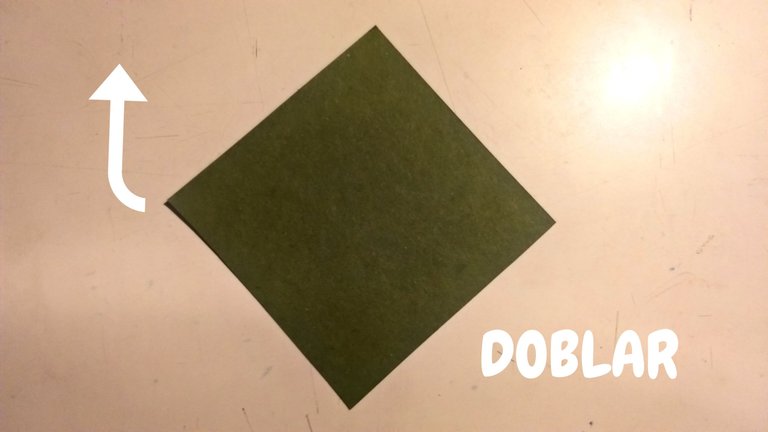
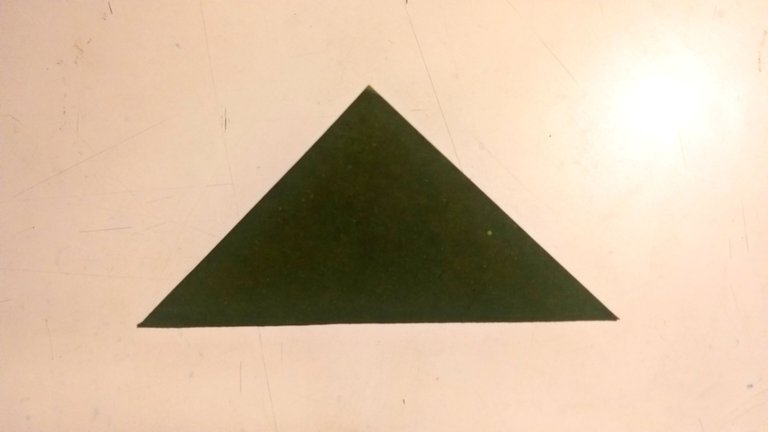
(4): Dobla la punta del lateral derecho hacia la cúspide del triángulo. / Fold the tip of the right side towards the cusp of the triangle.
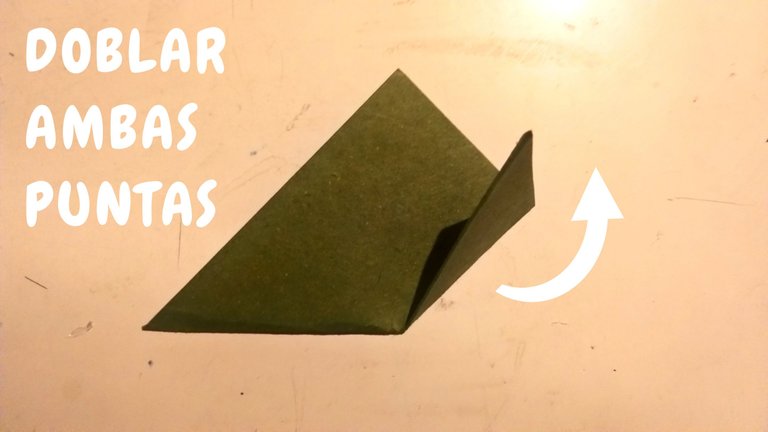
(5): Dobla la punta del lateral izquierdo hacia la cúspide del tirando. Ahora se formará un cuadrado más pequeño. / Fold the tip of the left side towards the cusp of the pull. Now a smaller square will be formed.
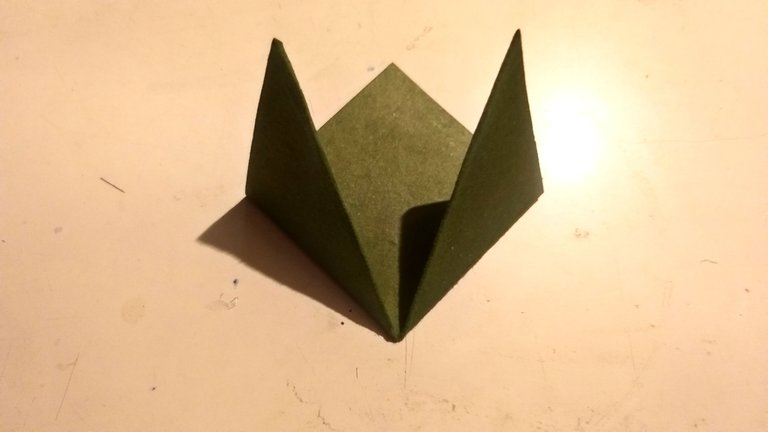
(6): Dobla la cúspide del triángulo hacia el centro de su base. De esta manera, te quedarán tres pestañas. / Fold the top of the triangule towards the center of its base. In this way, you will be left with three tabs.
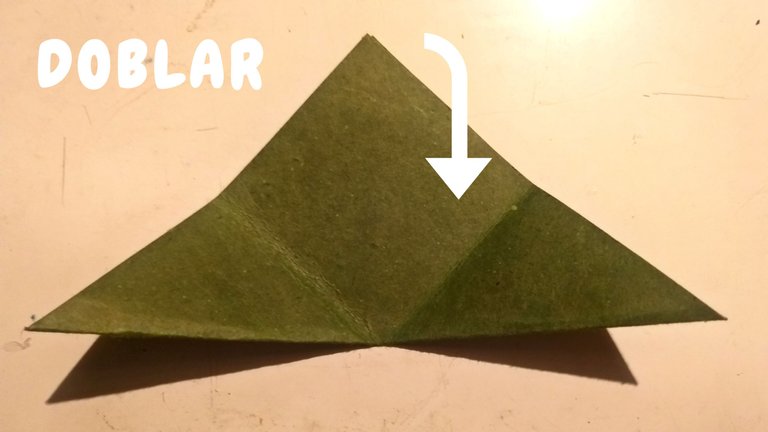
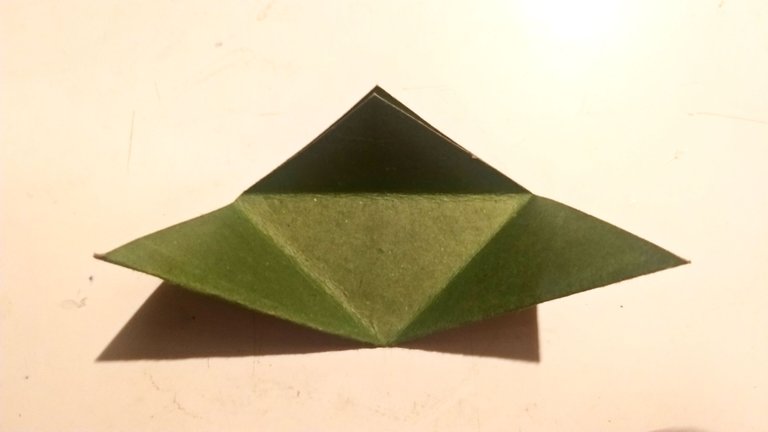
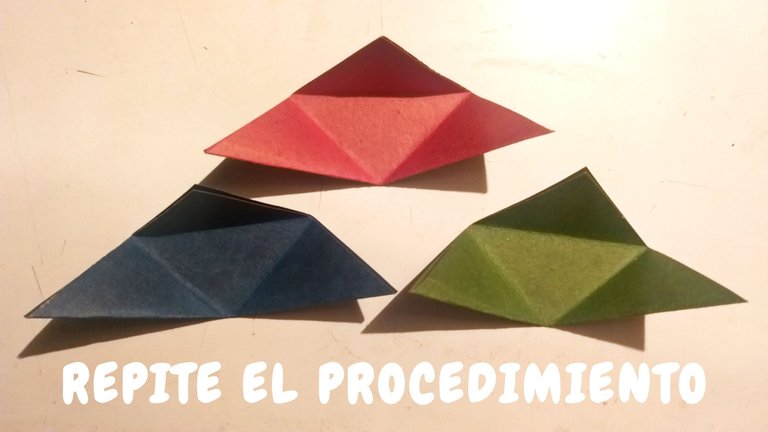
(7): Repite el procedimiento con las otras dos hojas de papel. Ahora tendrás tres piezas listas para ser unidas. / Repeat the procedure with the other two sheets of paper. Now you will have three pieces ready to be joined together.
(8): Conecta las piezas desde las pestañas laterales. Estas deben calzar como en una especie de abrazo. / Connect the pieces from the side tabs. They should fit together in a kind of embrace.
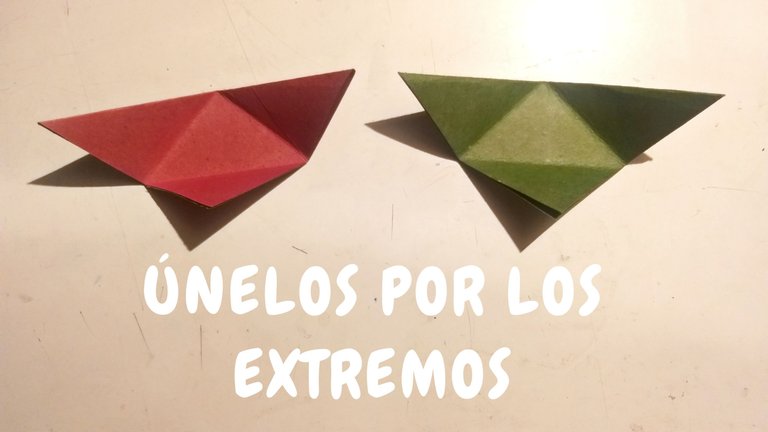
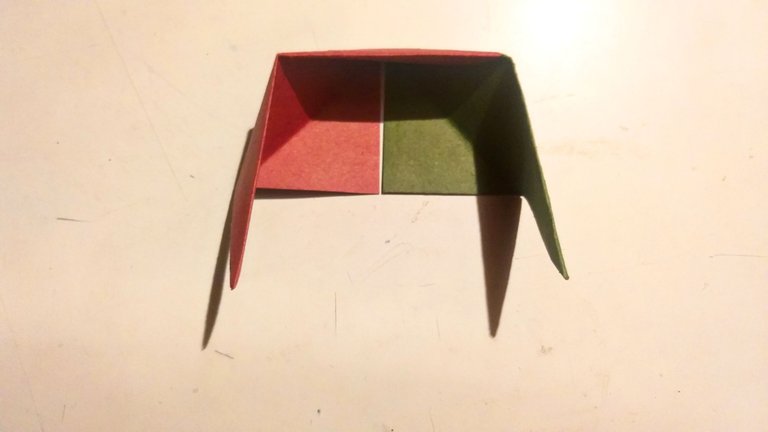
(9): Con un poco de pegamento, asegúrate de pegar las pestañas, de esta manera aseguras que el material no se desprenda, además de hacerla resistente. / With a little glue, be sure to glue the tabs, thus ensuring that the material does not come off, in addition to making it resistant.
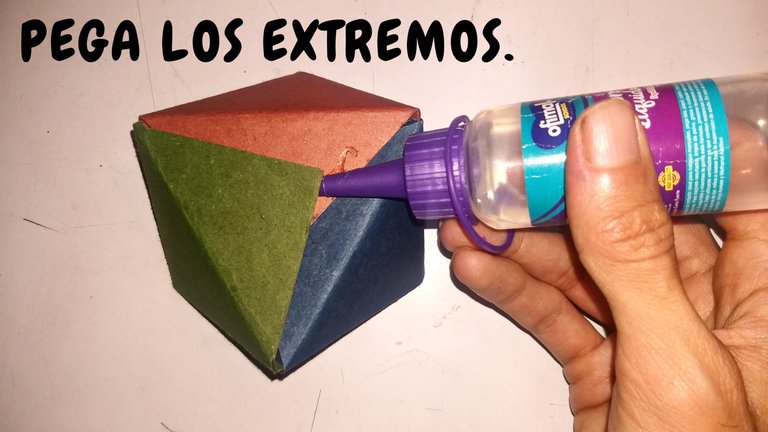
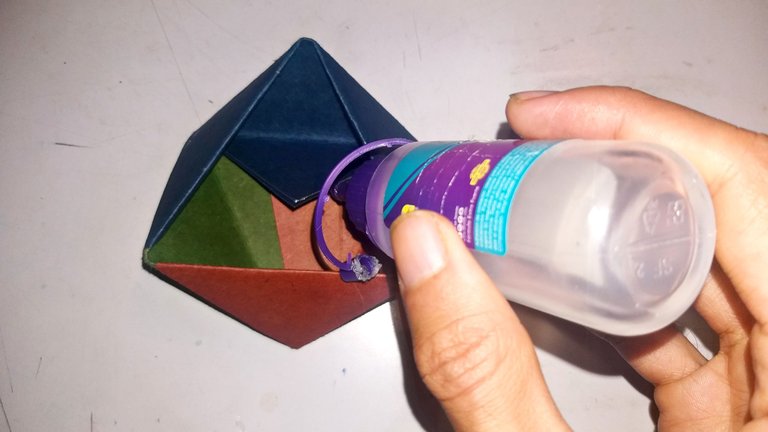
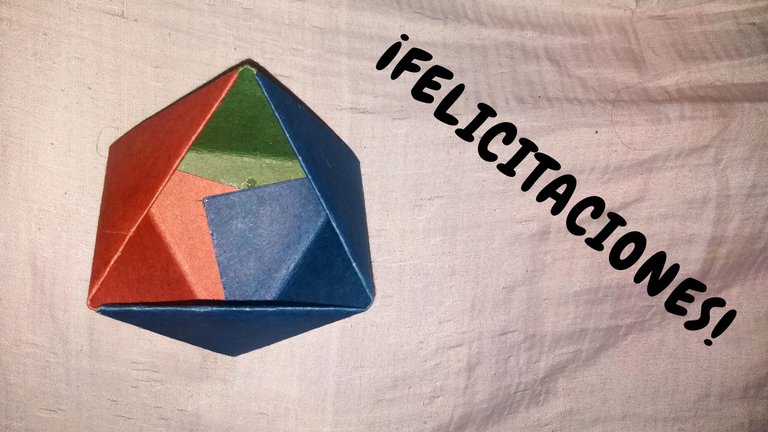
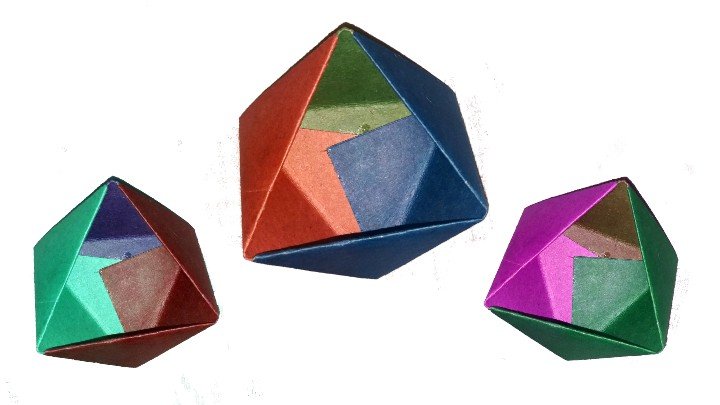
(10): ¡Ya tu caja está lista! Puedes probar a mezclar los colores para darle un toque más divertido al proceso. Estas cajitas organizadoras son ideales para guardas tachuelas, grapas u otros artículos que, debido a su minúsculo tamaño, tienen a extraviarse. / Your box is ready! You can try mixing colors to add a fun touch to the process. These little organizer boxes are ideal for storing tacks, staples or other items that, due to their tiny size, are prone to getting lost.
I hope you liked the tutorial, but above all, that you have put it into practice. Soon I will upload more tutorials for you to invest your free time in something fun and profitable. Any opinion, criticism or suggestion, don't forget to leave it in the comments box. Reading them motivates me to keep building and forming bonds with you, big hugs! See you soon!



@rutablockchain, gracias por el apoyo.