Greetings dear creative Hivers, hope you are all having a splendid Sunday, it's that time of the week when we get to have all the fun we wish to for the week or just take the much-needed rest, while fir some of us it's a bit of the both, for me, even though I wish to have a bit of both world, my body decided otherwise, forcing me to stay in bed all day, being sick sucks, hopefully, I get much better as the new week unfolds.
That is not stopping me from being a part of another creative Sunday edition, especially when I have an interesting DIY to share with us, a bow headband, some weeks back, I made a mermaid lace dress for a young teenage friend of mine, my friend's daughter actually, and she requested that U make her a marching hair bow she could use in styling hair when she adorns the dress, which led to the making of this beautiful headpiece.
I thought to share the process with us because anyone can recreate this headband as long as you have the available materials, which ate not even difficult to find at home, also for us ladies or mothers of little girls, This is s post we should take advantage of to help reduce the cost of buying for ourselves or young ones.
Materials used
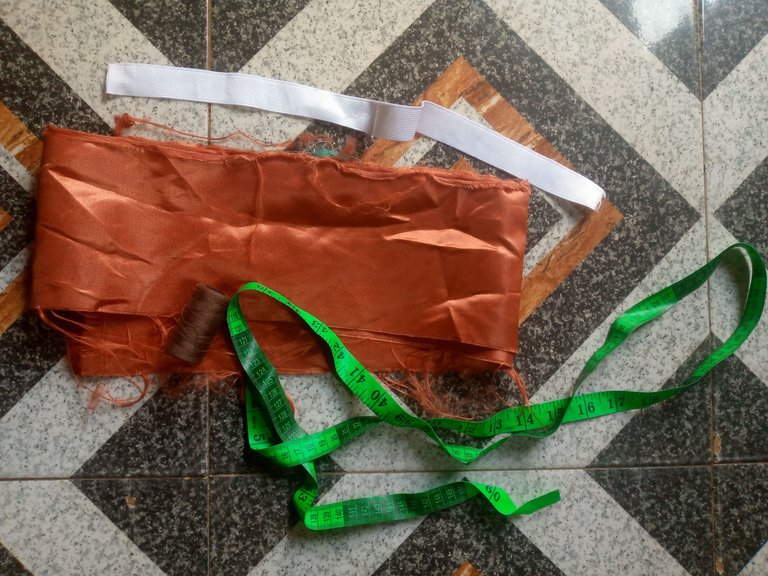
- Satin fabric
- needle and thread(or if you have a sewing machine)
- tape rule
- single applique
Cutting and sewing Process
- I started by cutting out the length and width of the material needed to make the headband, which measures 27 inches in length and 3 inches in width.

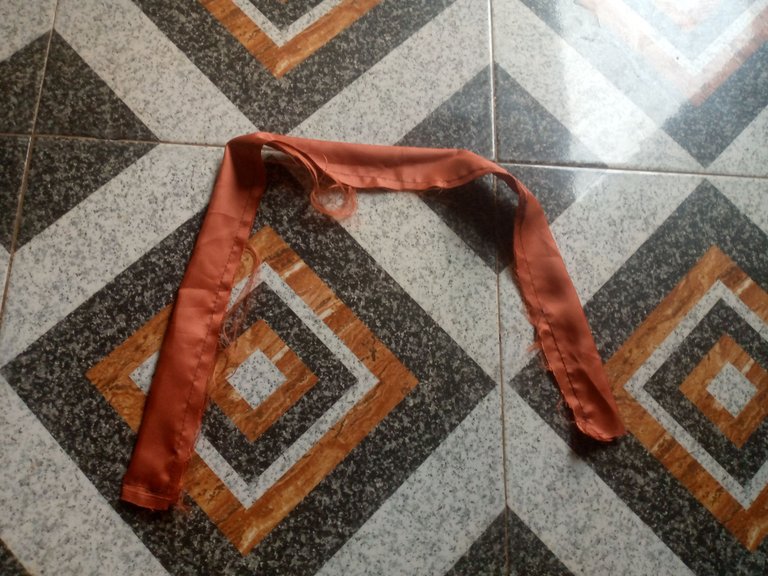
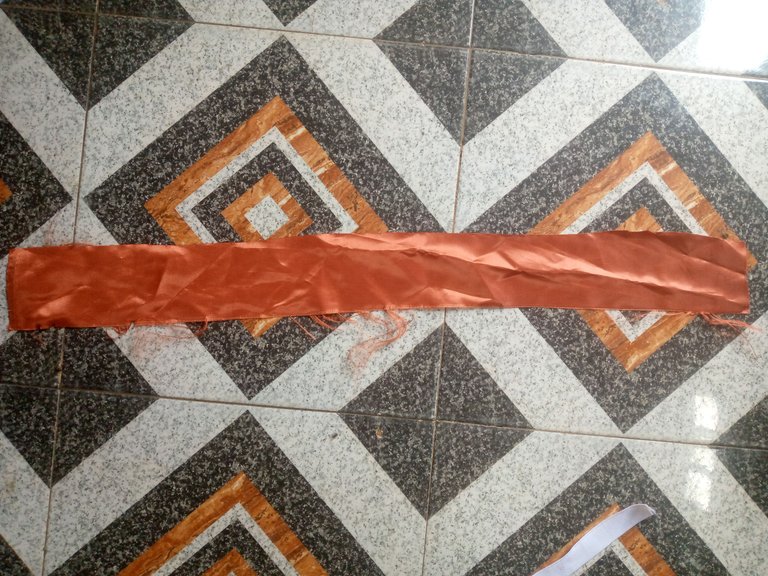
- Next, I folded the strip and sewed the length edge using half an inch of seam
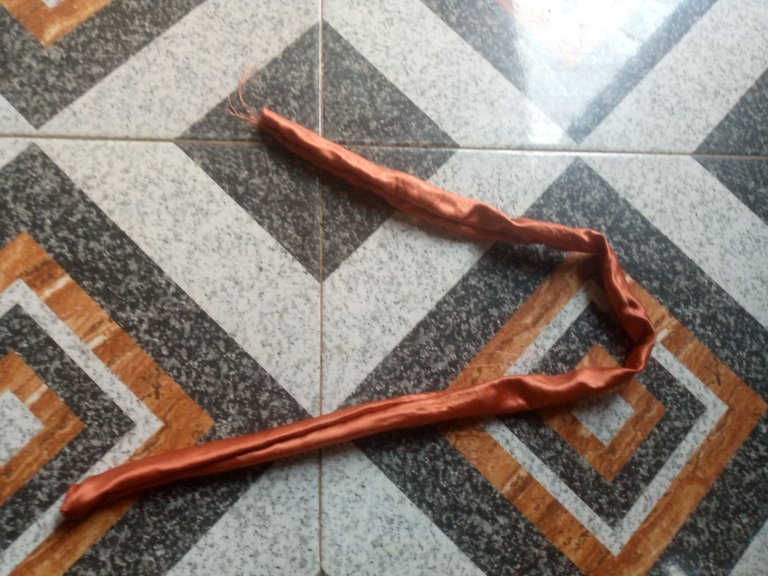

- Continuing, I turned the strip into the good side and passed the elastic into the other edge,
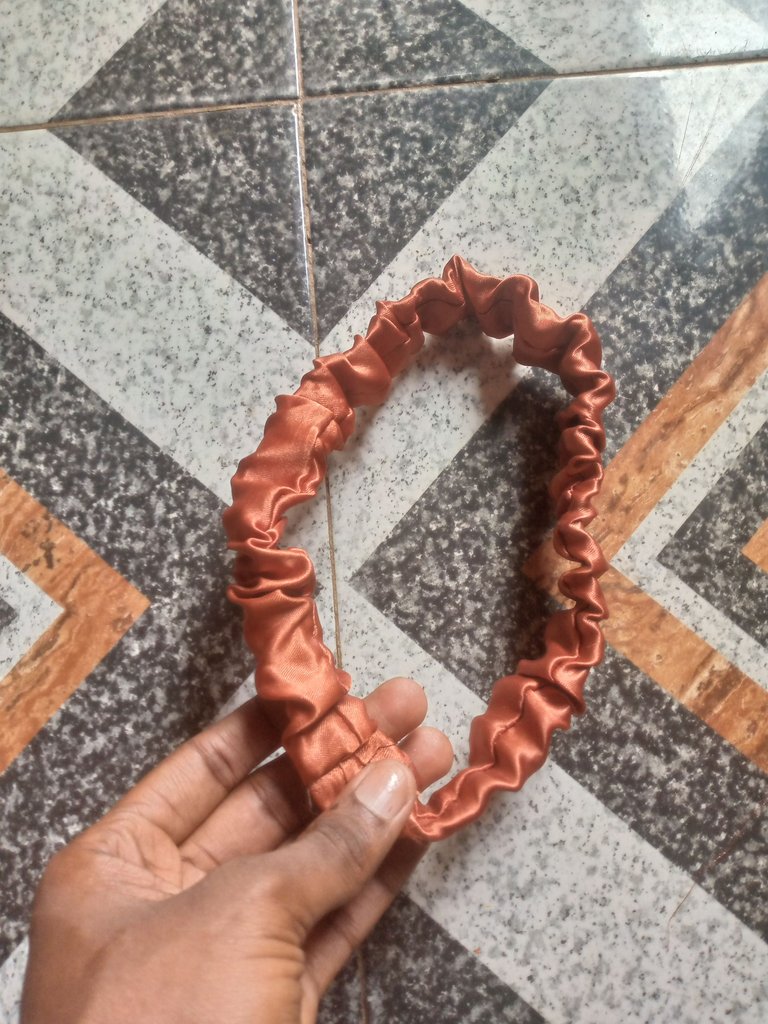
- I sewed both edge, keeping the elastic in place, the headband is already forming at this point.
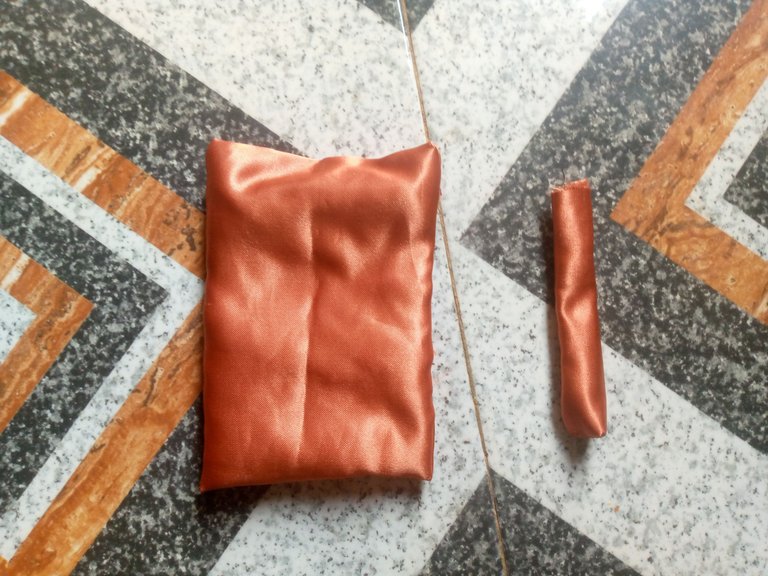
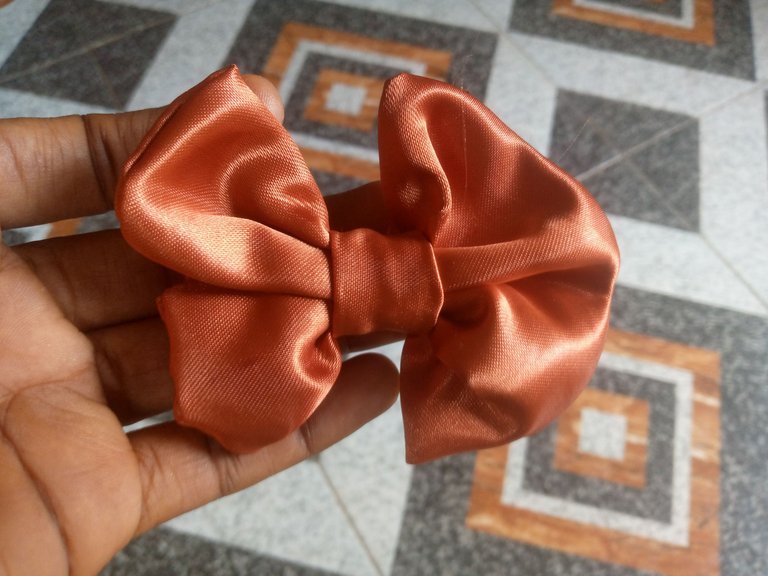
- To make the bow, I cut and sewed in two rectangular pieces, then folded the bigger one to form the bow.
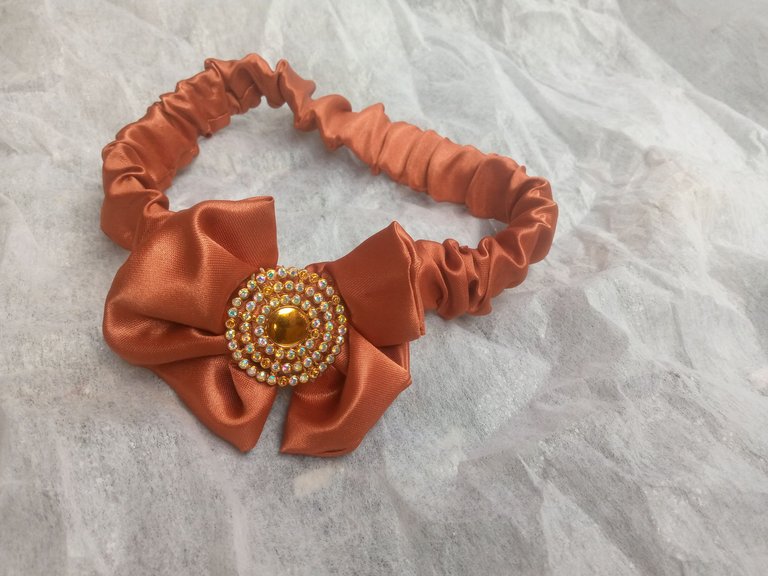
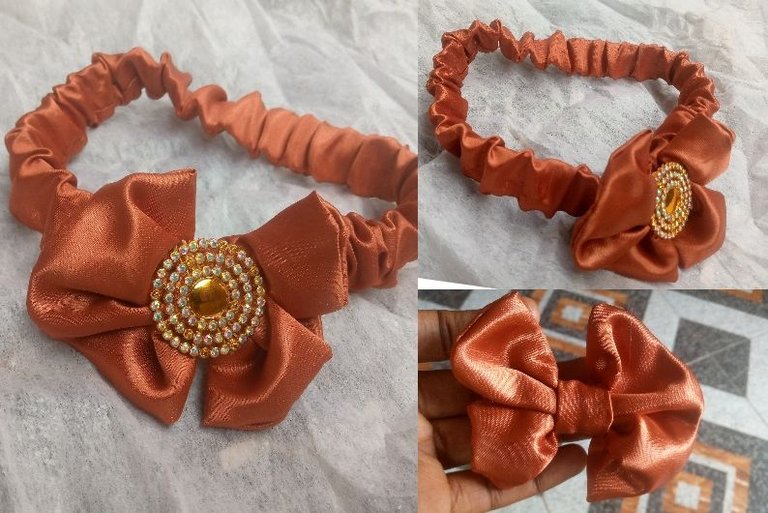
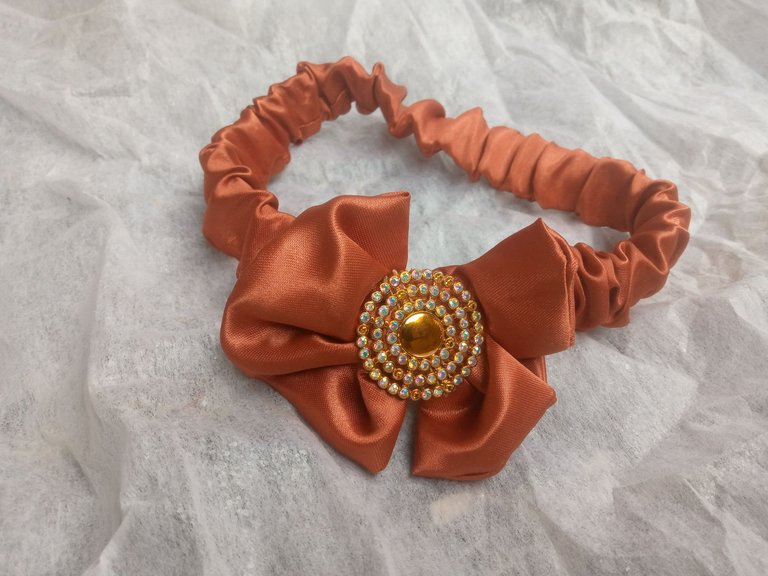
- Finally, I placed the little bow on the headband, furnishing it with this sparkling applique.
And that completes the making process of the head band.
Beautiful, isn't it?
I hope you learned something new, would you create your bow?
All images used on this post are mine
Thank you for reading.
Posted Using INLEO
Such a beautiful headband with a lovely pendant design. Looks like a super power, haha. Nice work
Haha you praise my craft so well, thank you so much🥰
This is beautiful and the process isn't that hard to follow. I'm sure that little girl will be very happy to have it.
I wish you a happy Sunday and a quick recovery.
Thank you so much Funshee, it's indeed simple and she loves it.
It's looks simple but beautiful. I really liked it very much.
Thank you🥰
The look is simple, and the process is also not complicated, but the ending of this ribbon headband looks very good, surely your friend will love to wear it.
It's an easy headband DIY process and yes, she loves it.
It looks really nice! Congratulations!
!BBH
Thank you❤
Heyy glorydee, it looks very attractive but I think its hard to make. isn't it??