Happy Sunday dear Hivers, I hope you are all having a fun Sunday, yay! It's another interesting edition of the hive learner creative Sunday, as usual, I will be sharing with us another easy DIY, this time, we will be making a collar.
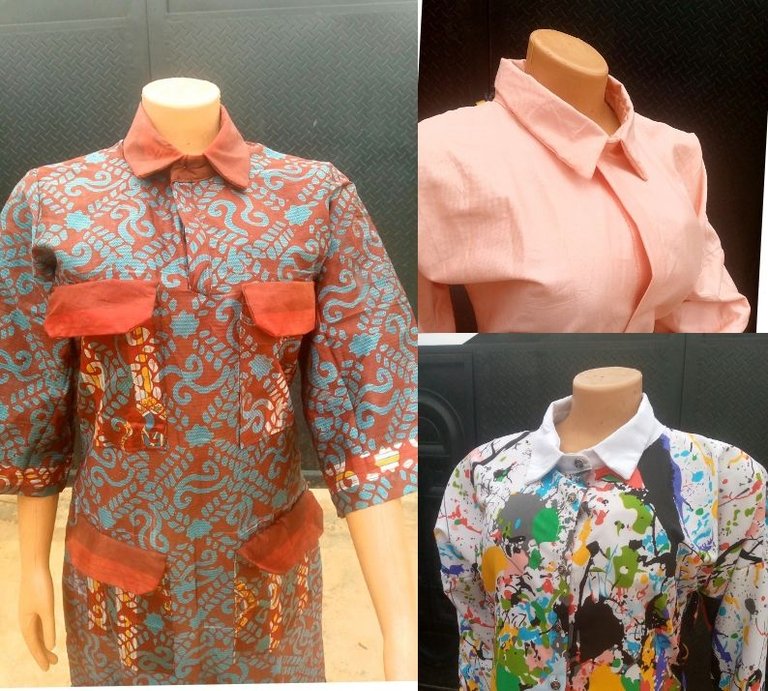
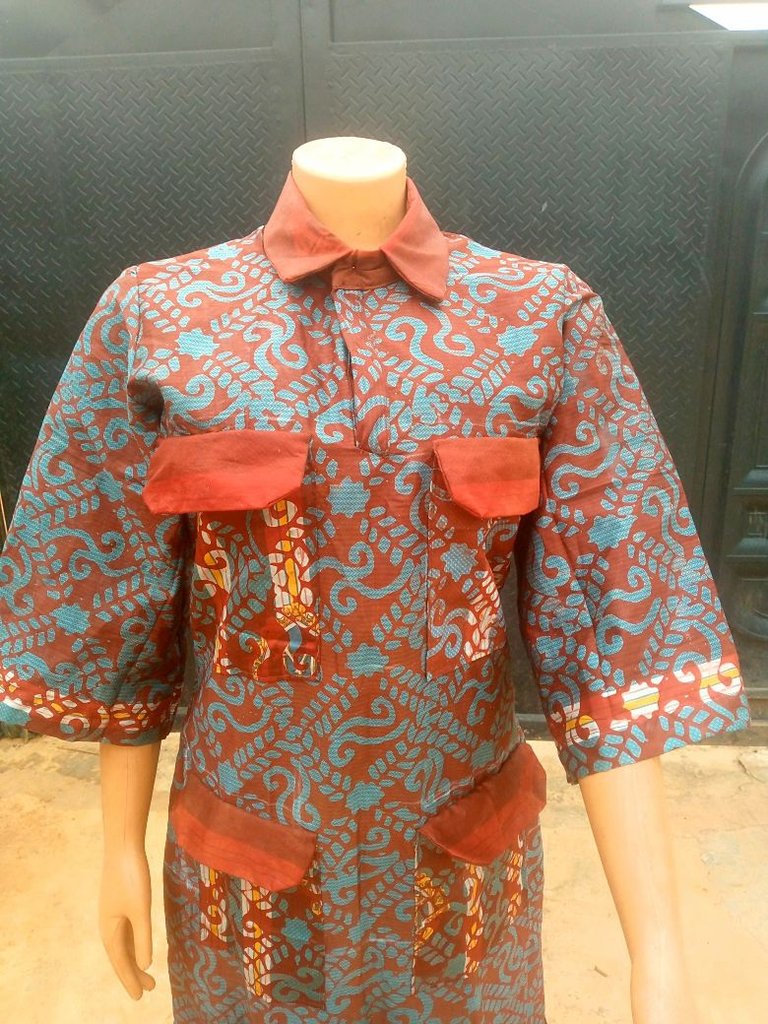
I recently shared a needlework post on how I made a dress with a collar for a grandma, and a Hiver got interested, wanting to know how I achieved the collar, according to her she recently started learning how to sew. I didn't share a detailed explanation of how I achieved the collar in that post, so I thought to share the details here today since it's a creative Sunday, and I hope any other person interested will benefit from this DIY.
I've made several shirts
using this same pattern, it's easy, and I believe anyone with a little sewing knowledge should be able to achieve this.
Materials used
- Any fabric of choice
- collar stay
- tape rule
- Chalk
Let's get right into the making process then
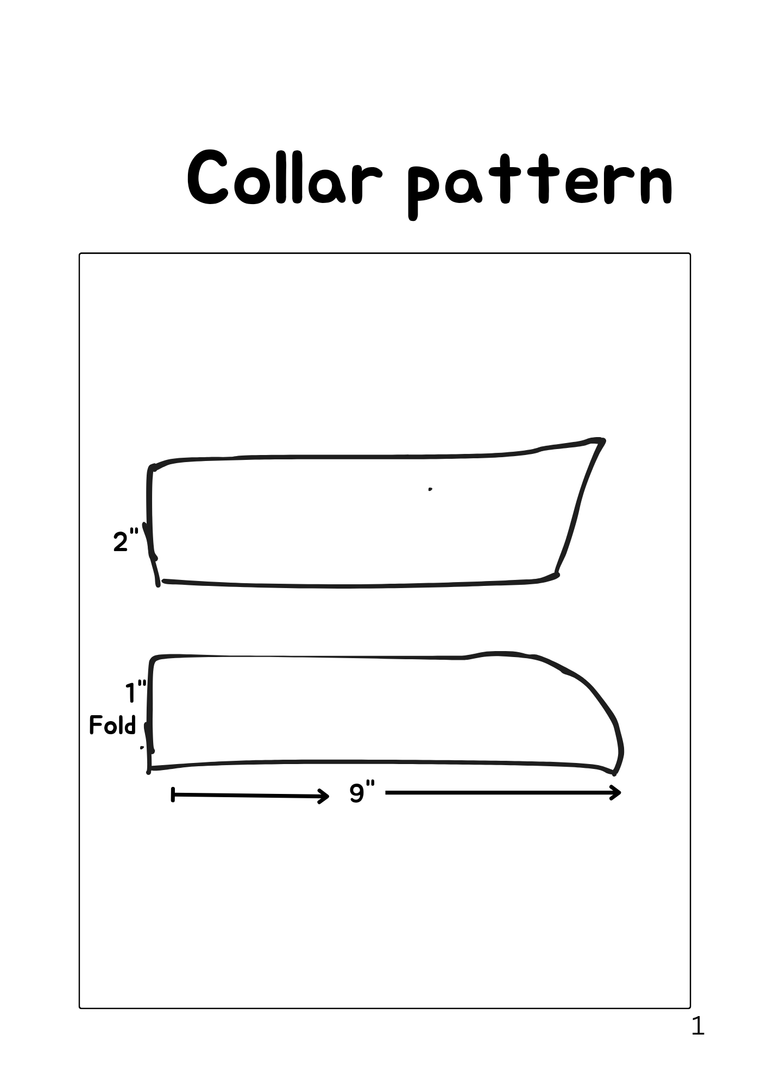 Edited by me using canva
- First I measured around the neckline of the shirt I would be sewing the collar on. For me it was 18", so I placed the fabric on a fold, measuring a width of 9 Inches, and length of one quarter, and made a slight curve at the front edge, just like I illustrated in the image above
- The upper collar is drafted, following the lower one, but about one inch away from its edge, but longer in length, since it measured 2 inches at the folded edge but 2.5 at the outer edge
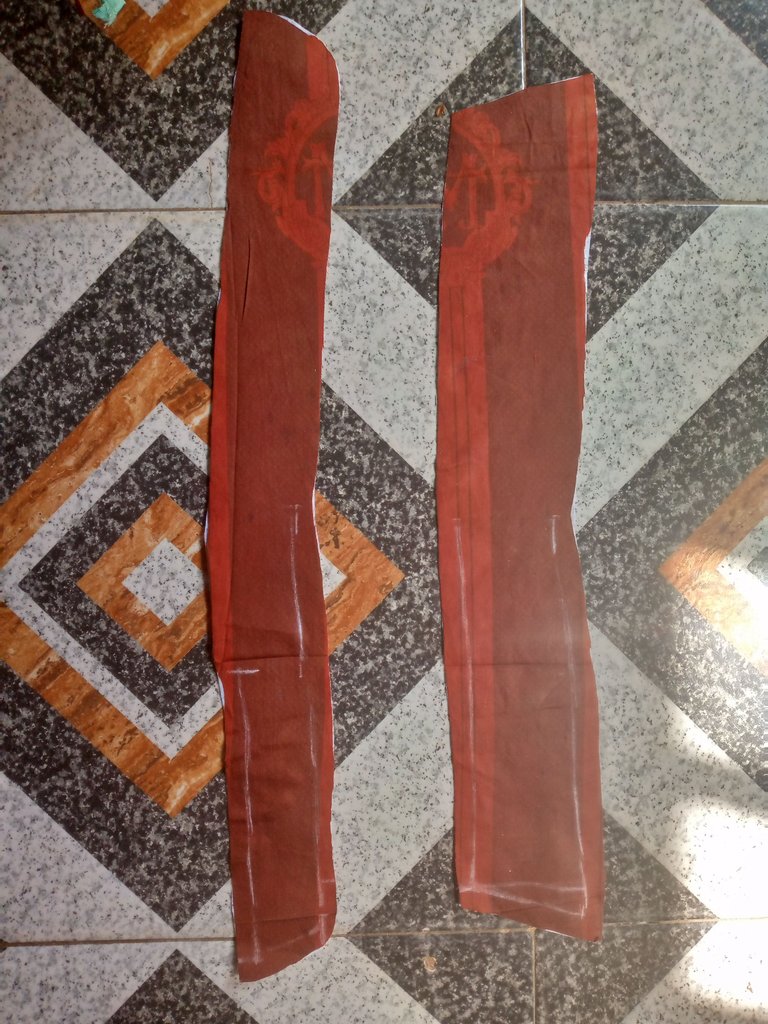
- Here is what the pattern looks like on fabric after opening it up, I made sure to add half half-inch allowance around except the folded edge when cutting.
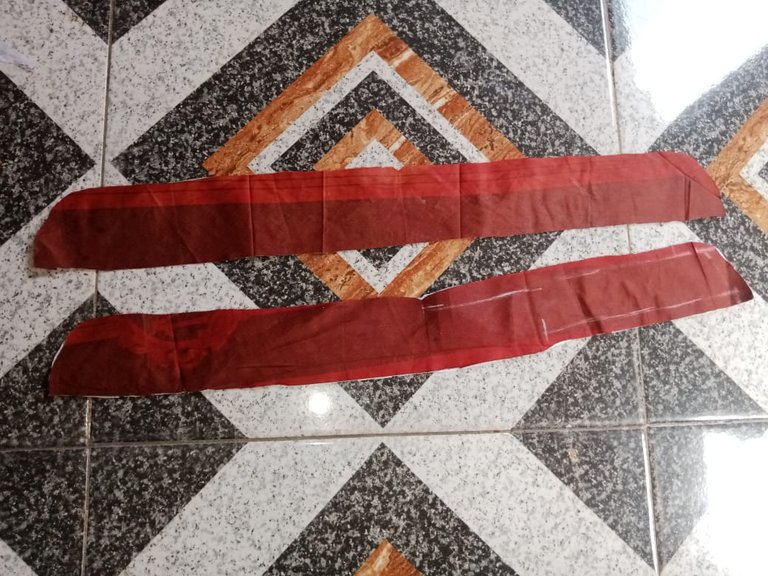
- The pattern has two pieces each, I the two sides and up of the upper collar pattern, note that I already ironed the collar stay for more firmness on the wrong side of each pattern piece.
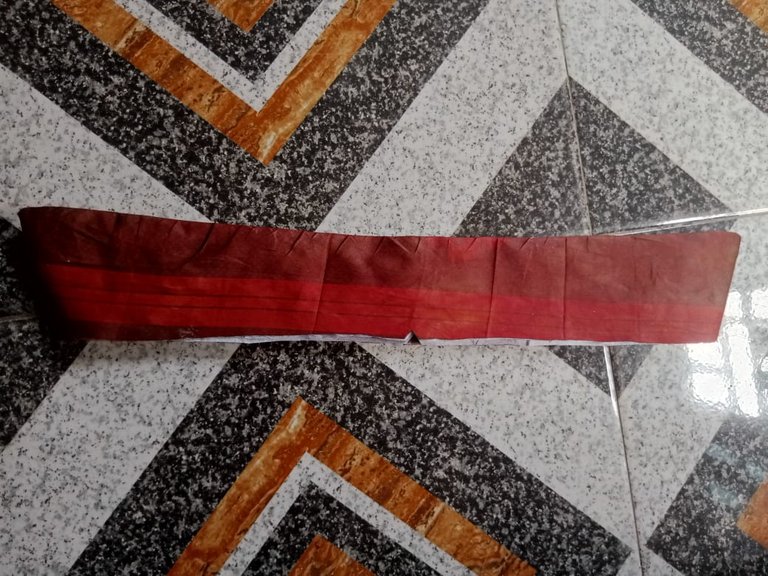
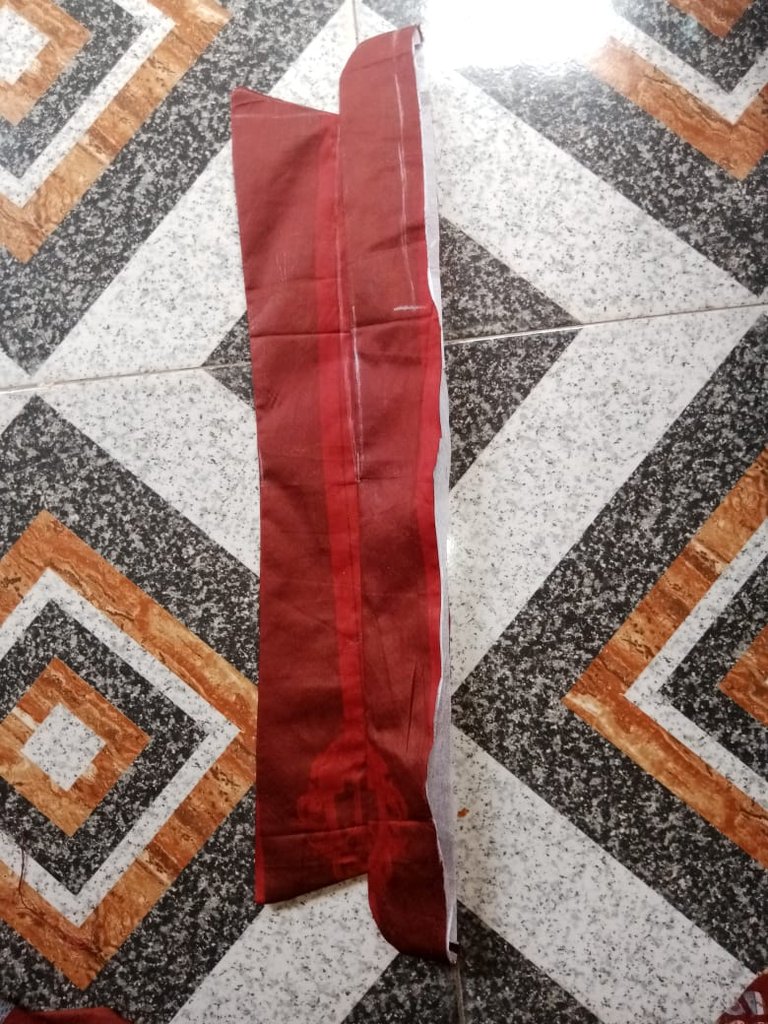
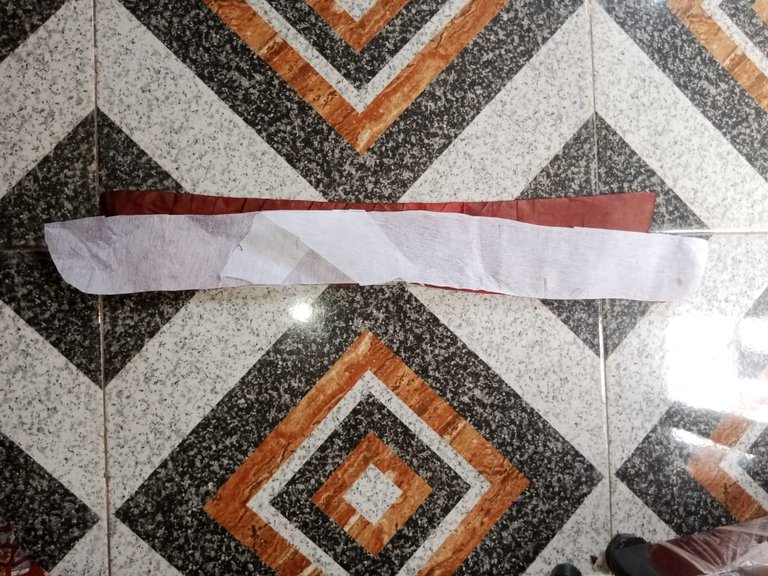
Next, notching the center point of all now three collar patterns, I placed them in position, and repeated the same sewing process on the lower pattern pieces, joining them to the upper pattern
- here, the collar is ready, all I did was just sew it around the neckline, and there you have, a very easy collar-making process.
Images used are mine
Thank you for reading.❤❤
Posted Using InLeo Alpha
Shirt collars are great. They look quite nice and well fitting. Well done
Thank you❤
Congratulations @glorydee! You have completed the following achievement on the Hive blockchain And have been rewarded with New badge(s)
You can view your badges on your board and compare yourself to others in the Ranking
If you no longer want to receive notifications, reply to this comment with the word
STOPThanks Buzzy
Keep it up @glorydee! Your daily posts are inspiring and making a difference on Hive.
BTW, we noticed we miss your support for our proposal. Mays we ask you to check it out and consider supporting it?
Thank you!
Your dress is amazing and how you came about this wonderful idea is just so creative, nice work and keep it up