When we have moved to our new home, my brother accidentally broke the cement pot in which i have planted alovera.
I have cared about these plants for two years and now i can't let them die in front of my eyes. So i have decided to make new home( cemented pot) for this plant.
So let's start making this pot. Which actually takes 5 working days for completing it.
Day 1
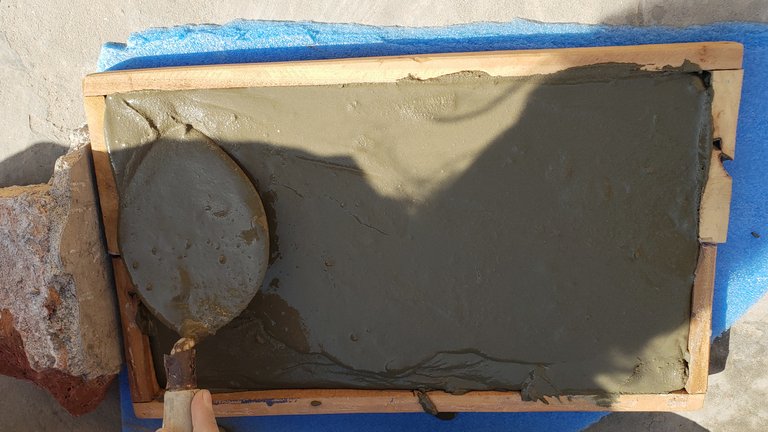
On the first day i have cut the wood in different sizes to make a mold for my cement pot. But i have made only two molds. Because it was a very difficult process for me to cut wood and insert nails in it for making it secure.

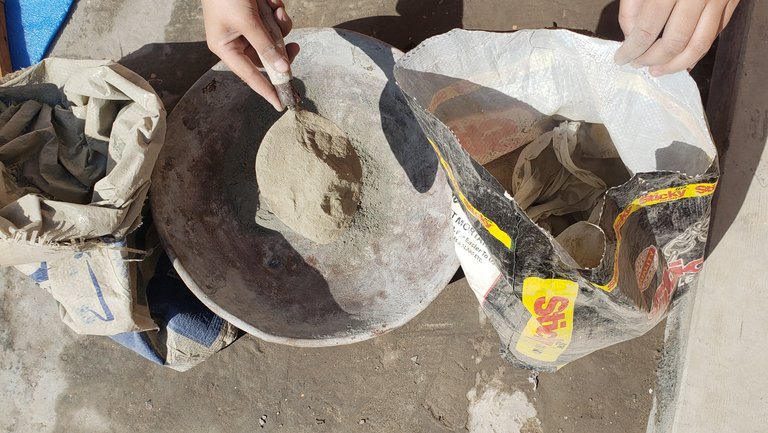
Later i have combined cement with the sand to make a cemented mixture for making the pot.
In this process the quality of cement needs to be 1/4 of the sand.
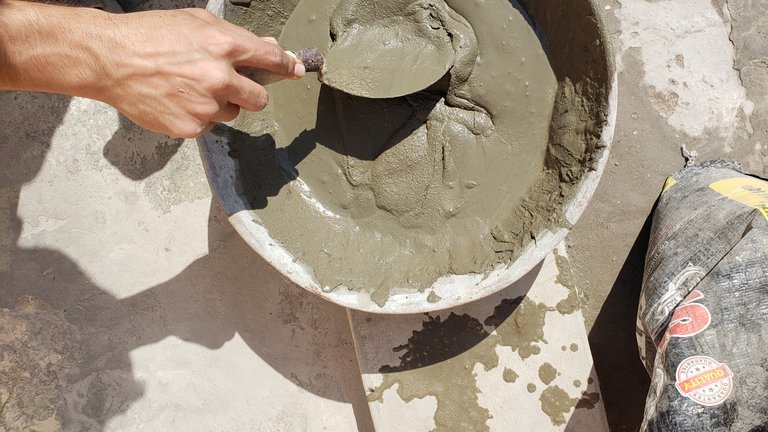
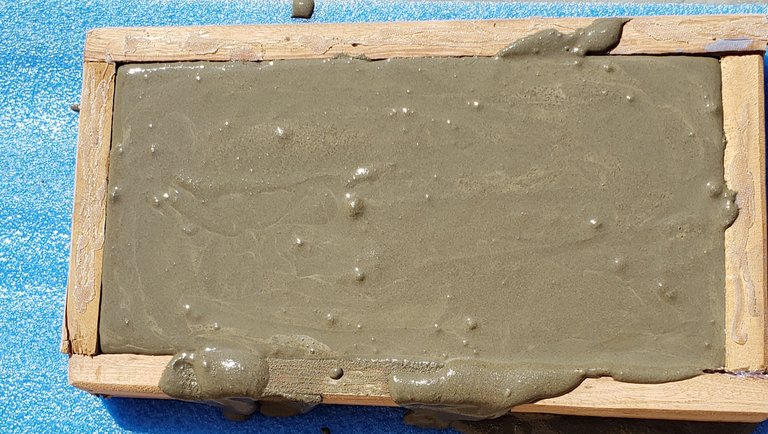
Then i have added some water to make a thick paste of the cement.
After making the paste i have started pouring the paste to the mold slowly. I have used a foam under the mold for making it easy to remove.
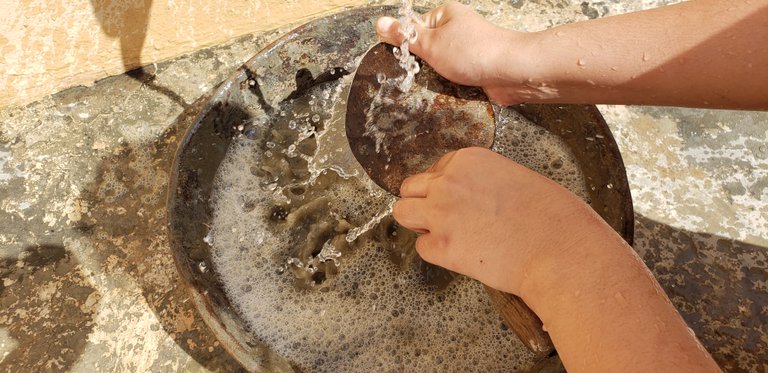
And lastly i have cleaned the things i have used for mixing cement because it's hard to clean it after getting dry.
Day 2
On the second day i have taken the cemented bricks out of the mold.
And then made new cement mixture and added that into the molds.
If i made 4 molds in the starting so i would save my 1 day but it's fine to take small foot steps.
Day 3
On day 3 i have finished de molding all the cemented bricks i have made throgh my molds.
And on the same day i have made all these bricks standing and i have poured some cement in the middle of the bricks for making the base of the pot.

Also i have applied some cement in the opened corners to make them attached with eachother.
Day 4
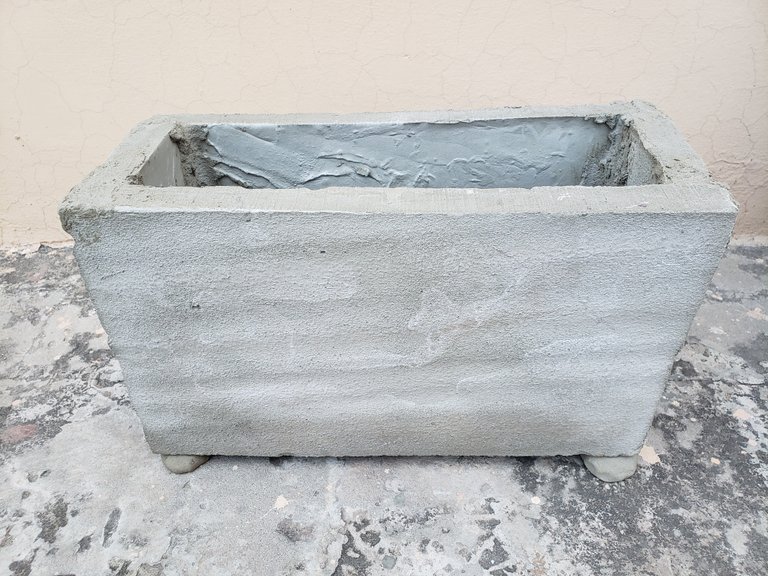
On day 4 my pot was all done i have also made small foot steps for my pot to give it some height.
And on this day i have dipped the pot in water for making it more strong.
Day 5
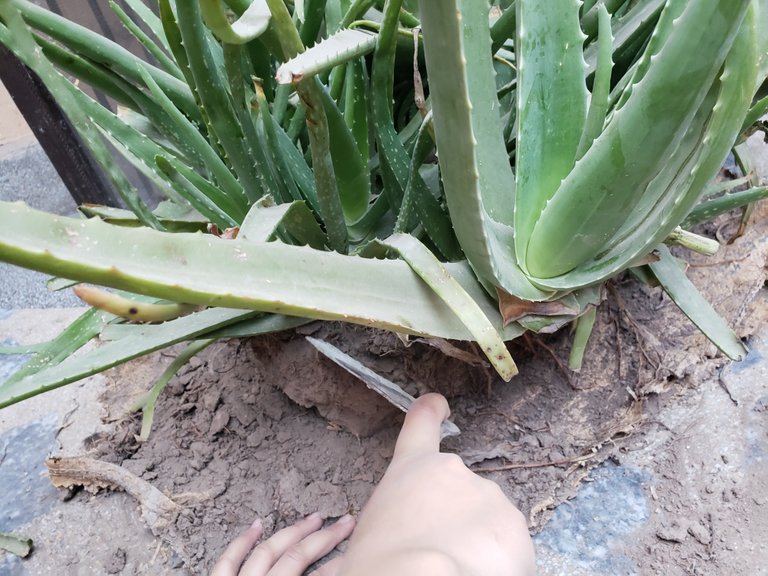
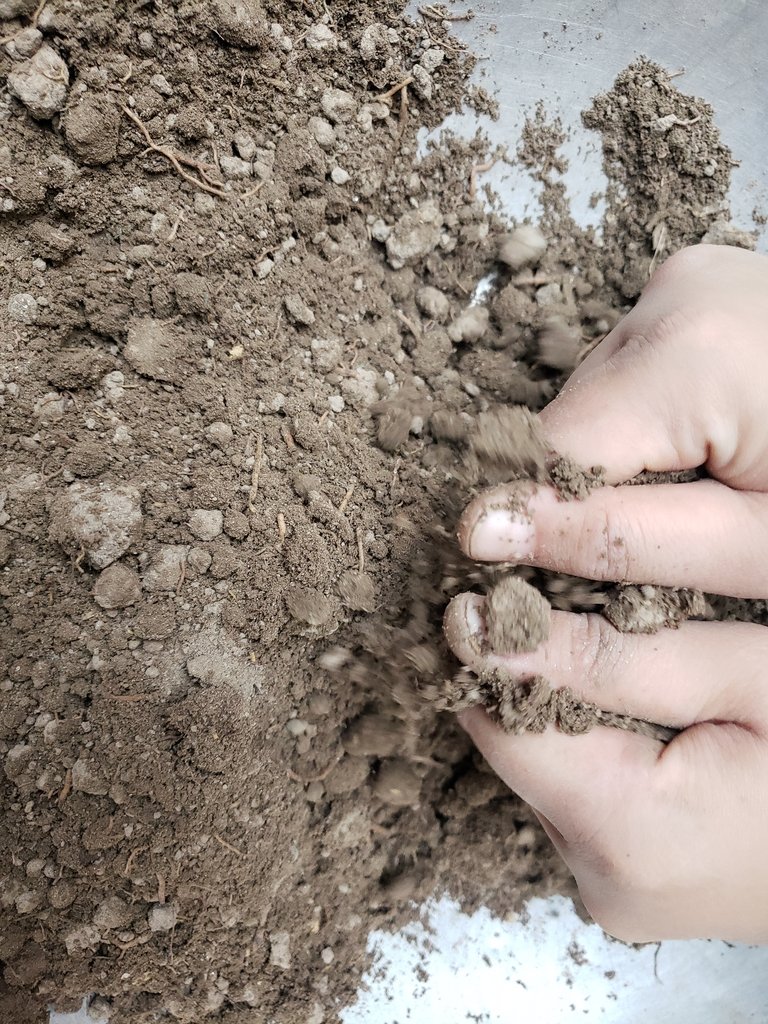
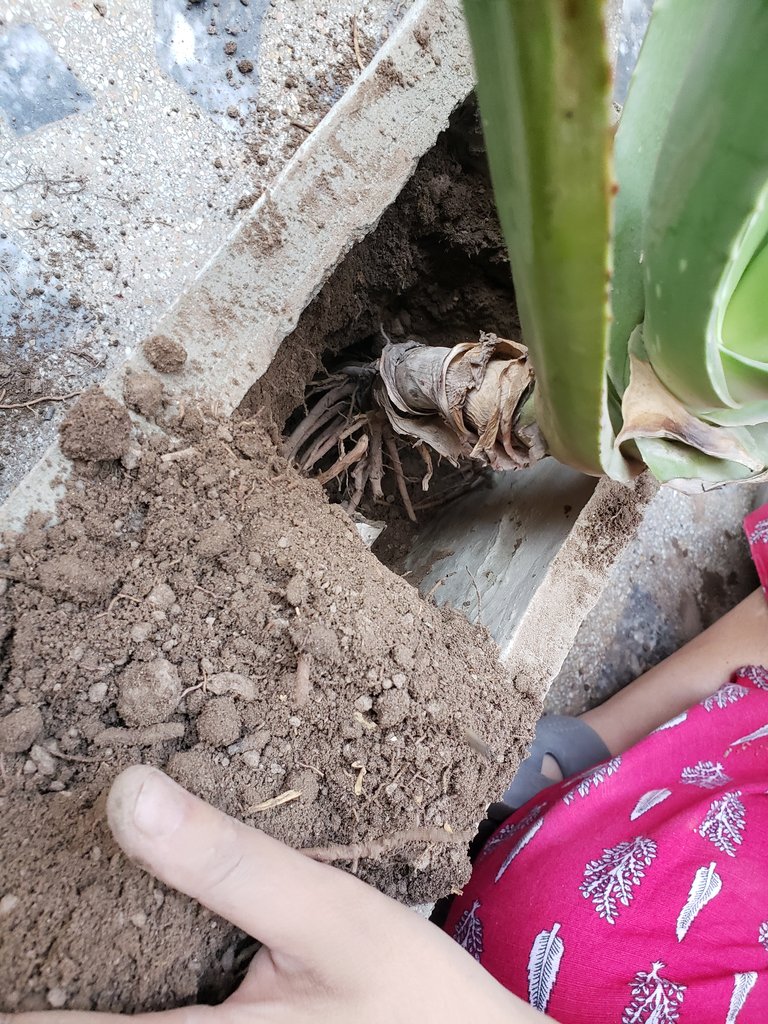
On day 5 it's time wo shift plant to the pot so firstly i have carefully started removing the soil from the roots of the plant.
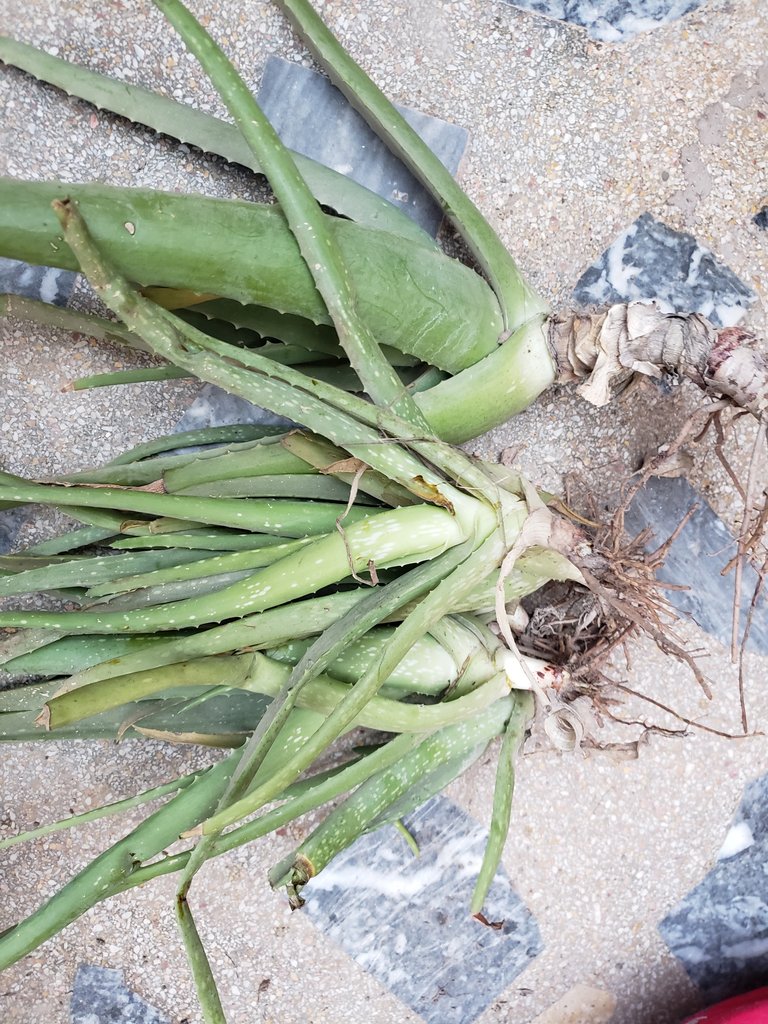
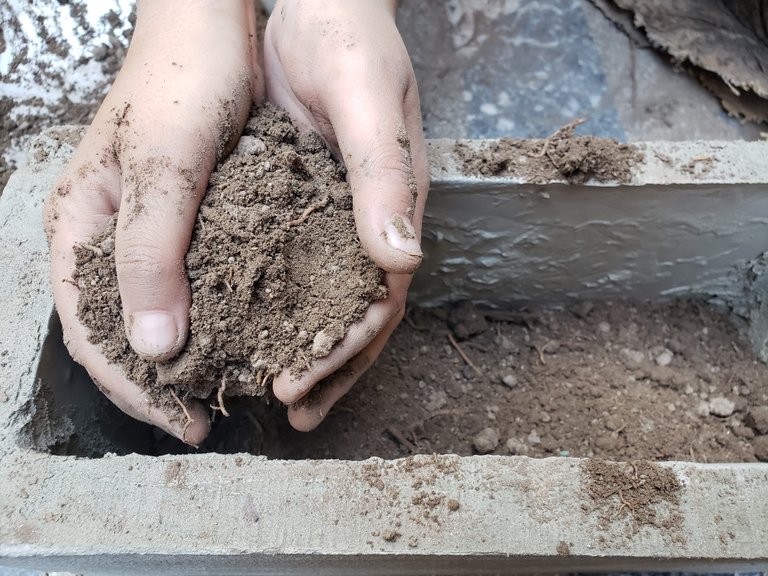
Then i have got some of alvoera plants and also the soil. I have used the same soil for planting these alovera because i want to make it same as the one i had before.
Later i have started inserting the soil to the pot and then i have made space for my first plant and carefully added the alovera plant to the pot.
And with same process i have inserted all other alovera plants to the pot.
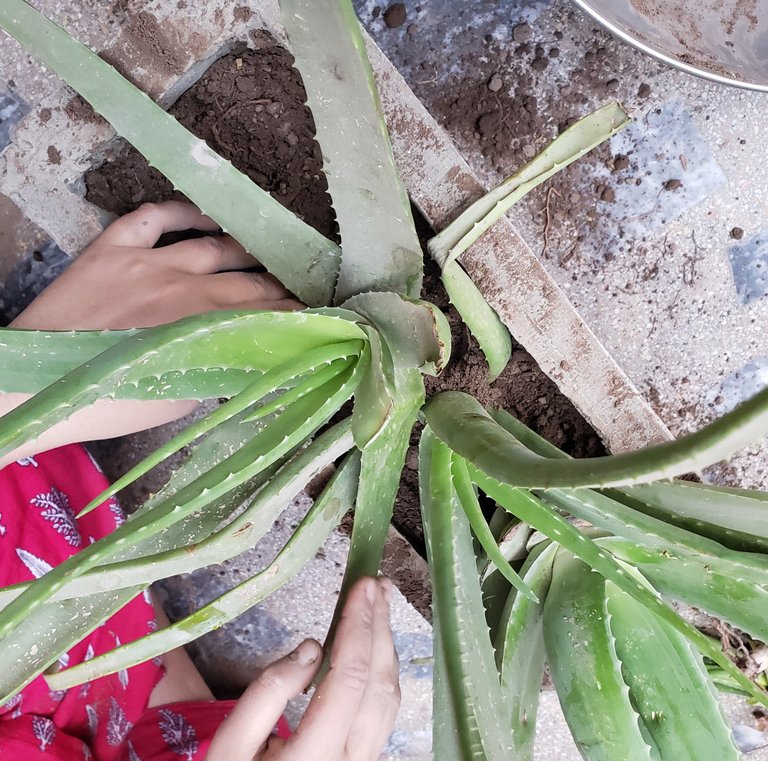
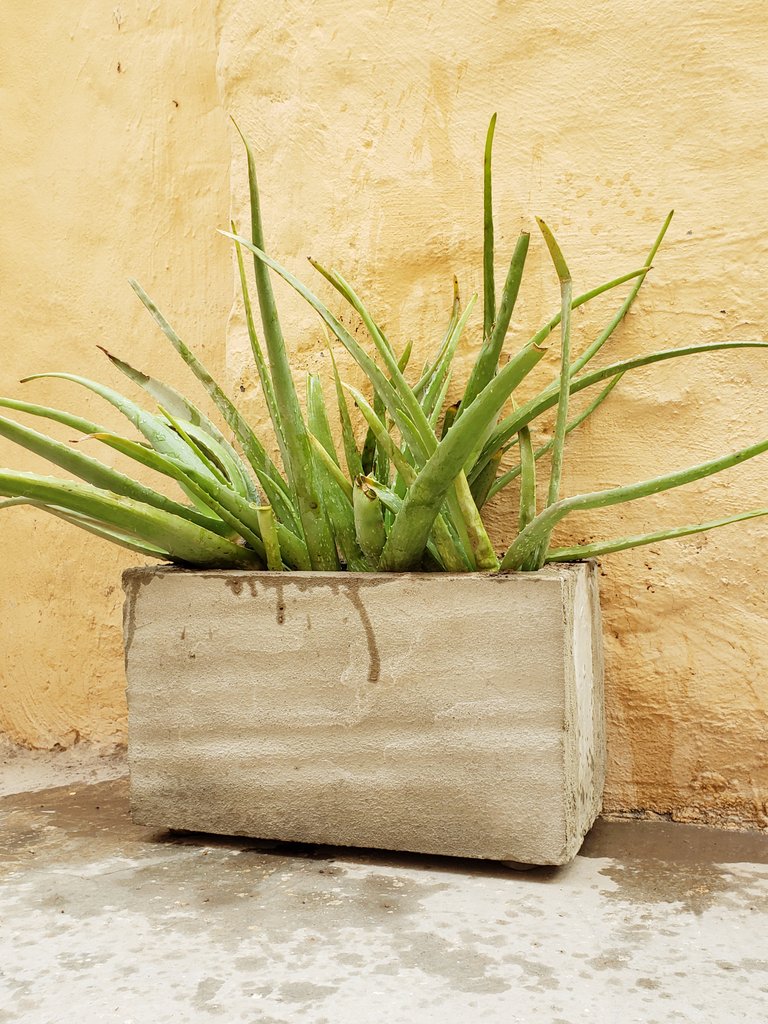
And lastly i have watered the pot with some tape water and here's the final results of this plant.
In this project my brother has helped me alot, without him it was impossible to create this one,
That's it for today will be back with another exciting idea soon bye bye 😁 👋
View or trade
LOHtokens.@hadianoor, You have received 1.0000 LOH for posting to Ladies of Hive.
We believe that you should be rewarded for the time and effort spent in creating articles. The goal is to encourage token holders to accumulate and hodl LOH tokens over a long period of time.
Sending Love and Ecency Curation Vote!
 Please Vote for our New Proposal! 🙏
Wonderful innovative. But, won't the cement pot suffer strain once the aloe root starts expanding?
Well done girl !
Eid Mubarak
Wonder full beautiful ❤️ 😍