
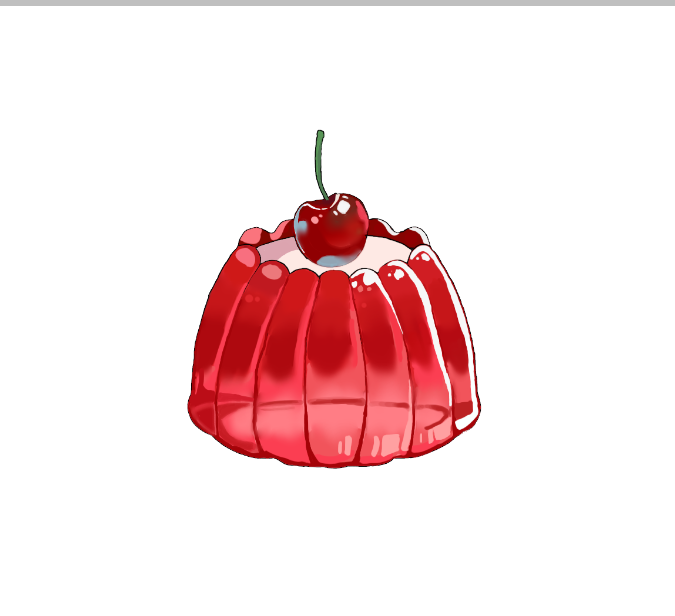
Procedure

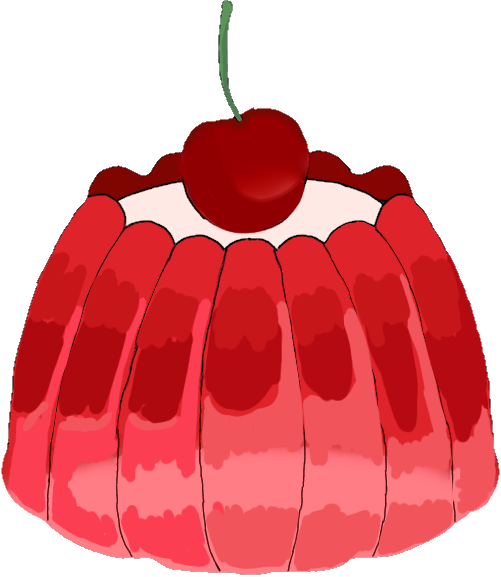
- In the first step with the help of a very sharp hard brush inside the toolbox I have outlined the overall outside of the drawing and as I don't have a pen or a stylus so I have to put the original drawing on the background and then I had outline with the help of a brush.
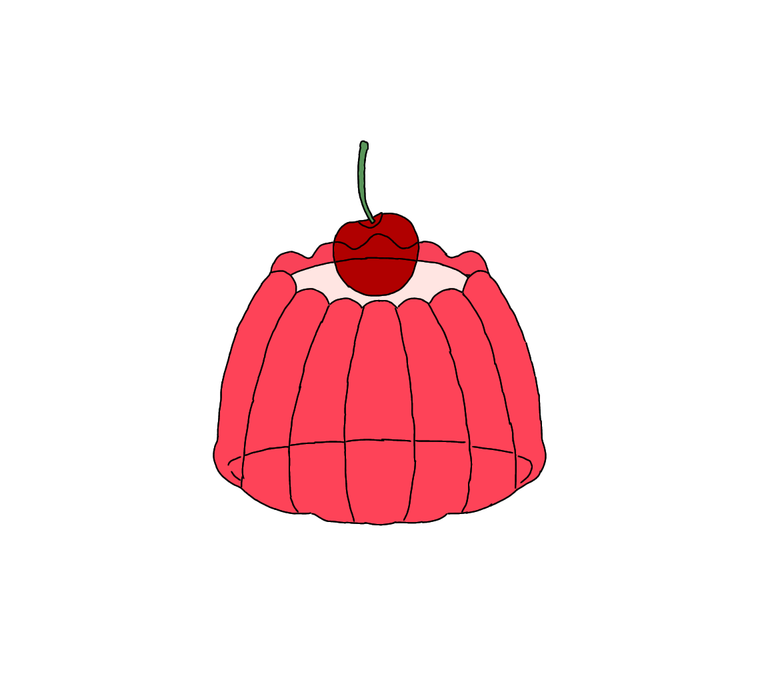
- In the next step I have used bucket tool to colour the overall drawing as it is very convenient to colour for Cherry I have used red and overall the drunk is supposed to be made of very shocking and sharp red colour so I have used them from the real drawing with the help of a tool called eyedropper.
- After putting the colour inside the overall drawing I realised that the inside transparent lines are supposed to be invisible but I have to shrink the middle lines so I use the shrinker from the toolbox.
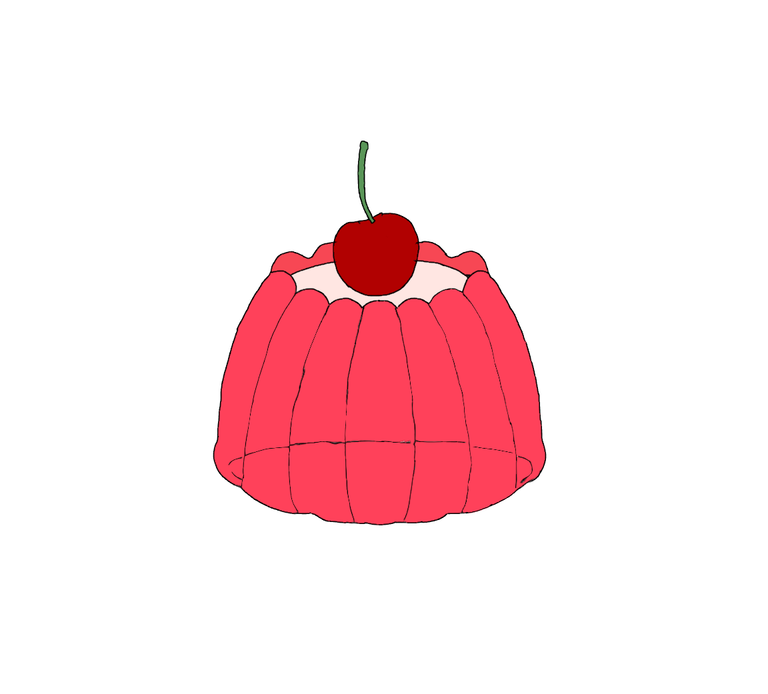
- Diler bottom has a very transparent Jelly bottom colour sofa that I have again used eye dropper tool from the toolbox for choosing the same colour but this time I have used and airbrush as the edges of this brush have a very cloudy look so I have used it in the bottom.
- After using that air brush in the bottom of the drawing are realised that the colours are very dull so again I used I drop a tool and from the chromatic circle in the colour section I used rather dark colour to make it more bright and realistic and I gave shadows to the cherry and then blur than with the help of blur tool.
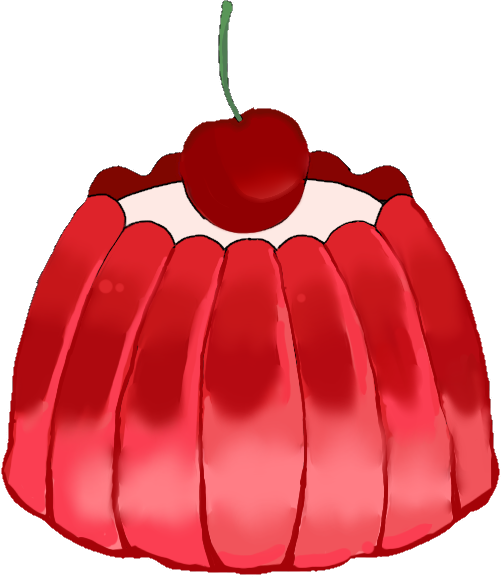
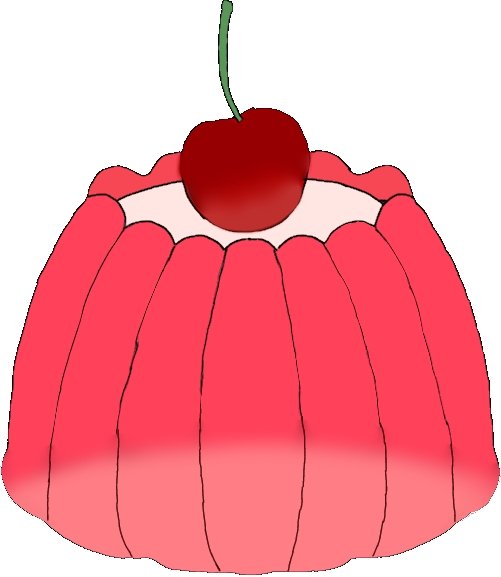
- Na it's time to give highlights and shadows to the drawing and for this it was very intensive and time taking process I have to took very precisely different colours from the chromatic circle from the colors section to make it even more realistic and after colouring it I used the bla tool and very precisely I have to blur and smudge everything to give a cloudy look.
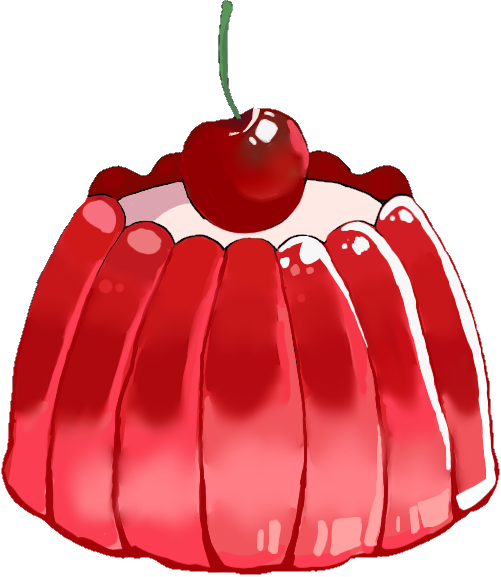
- Now it's time to show the light whenever we make any kind of digital at we have to show that from which side the light is coming to make the stuff more realistic and in this case status coming from the left side and that side should must be very bright and when we say bride fit means that most likely we are going to use very bright colours and most likely white.
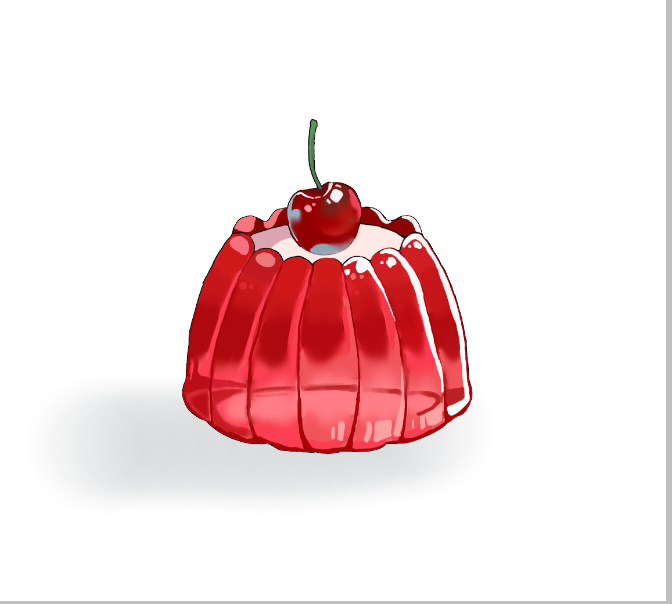
Final look
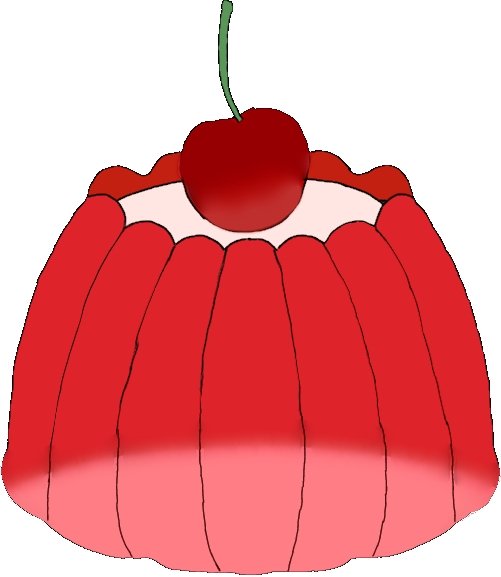
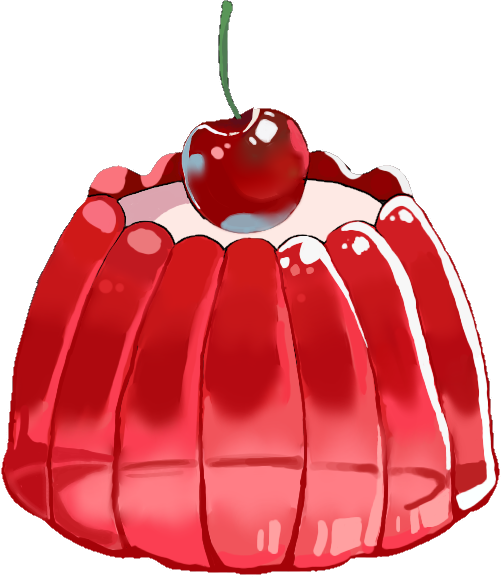
Here is the final image I captured I have no idea why the app from which I have made this was not saving the exact image which I was making so I had to talk the screen shot of the final image and these last two images are the screenshot and after completing it it was looking better than I put blank or white background.
Fantastic 🤩
!LUV
(1/1) sent you LUV. | tools | discord | community | HiveWiki | <>< daily@mojiko-blog, @sahi1
This is indeed creativity at its peak, I wonder how you guys do it.
It is called digital art and I made it on my phone and don't worry you can do it and make it better than me I made it using the app called ibispaint X.