¡Hola a todos! 💞 | Hello everyone! 💞
En fin, aquí los recursos y pasos:
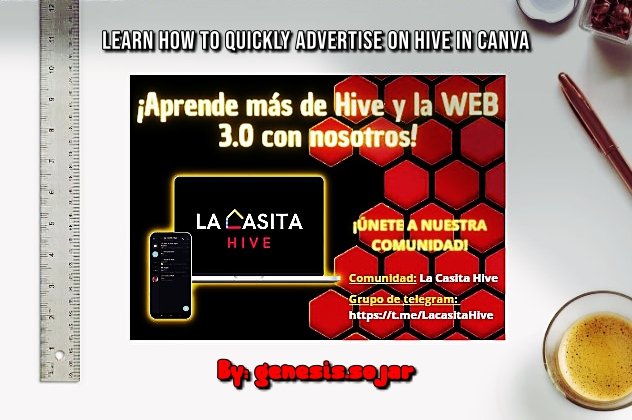
Anyway, here are the resources and steps:As you know I love graphic design, but not only about photo editing I like to design banners, flyers, the covers for each of the posts I do as they make my creativity fly. That's why in this post I will give you the step by step of how you could design a quick advertisement for those hivers like the #lacasitahive Community that want to reach more people telling them about how great Hive is and how this blockchain network works. This advertisement will have animation to draw a little more attention and they can also upload them to their social networks.

💻RECURSOS💻
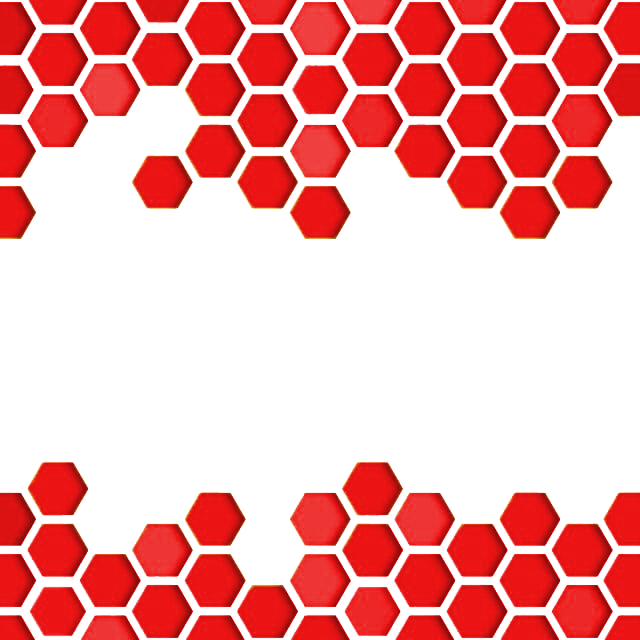
Nada más necesitaremos esta plantilla para copiarla y pegarla en CANVA.
We will just need this template to copy and paste it into CANVA.

💻PASO A PASO💻
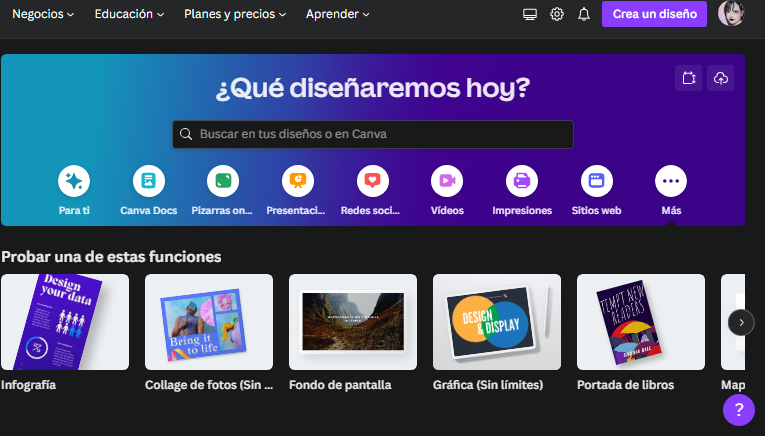
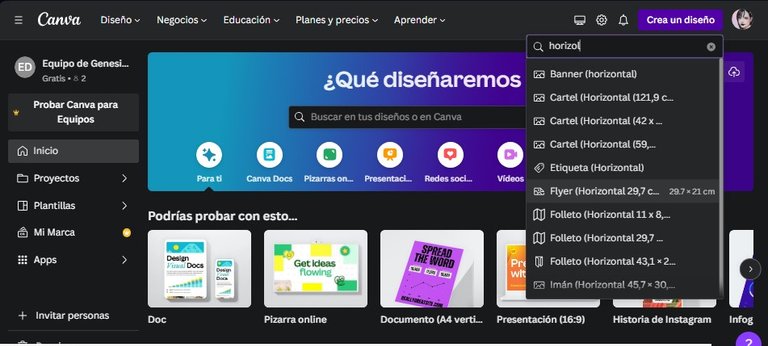
💻PASO N°1:CREAR DISEÑO, en la lupita que se muestra en la imagen colocaremos la palabra clave: "horizontal" entonces saldrán varias opciones. Donde salgan las medidas de FLYER HORIZONTAL (29.7 X 21 cm) le damos clic y nos redirigirá a nuestra plantilla vacía con esas medidas. Abrimos la página de CANVA: https://www.canva.com y nos dirigimos al recuadro morado que dice
💻STEP N°1:CREATE DESIGN, in the little magnifying glass shown in the image we will place the keyword: "horizontal" then several options will appear. Where the FLYER HORIZONTAL measures (29.7 X 21 cm) appear, click on it and we will be redirected to our empty template with those measures. We open the CANVA page: https://www.canva.com and go to the purple box that says
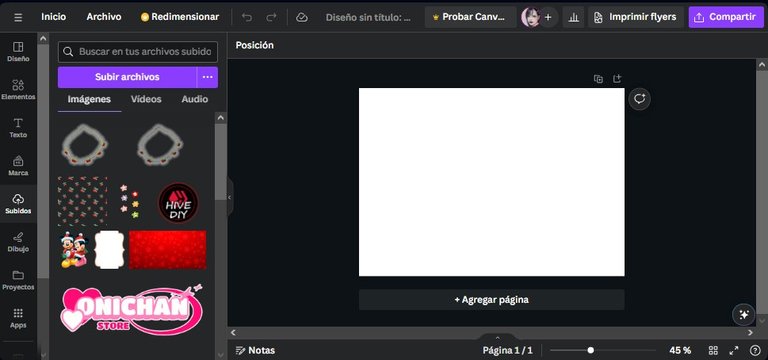
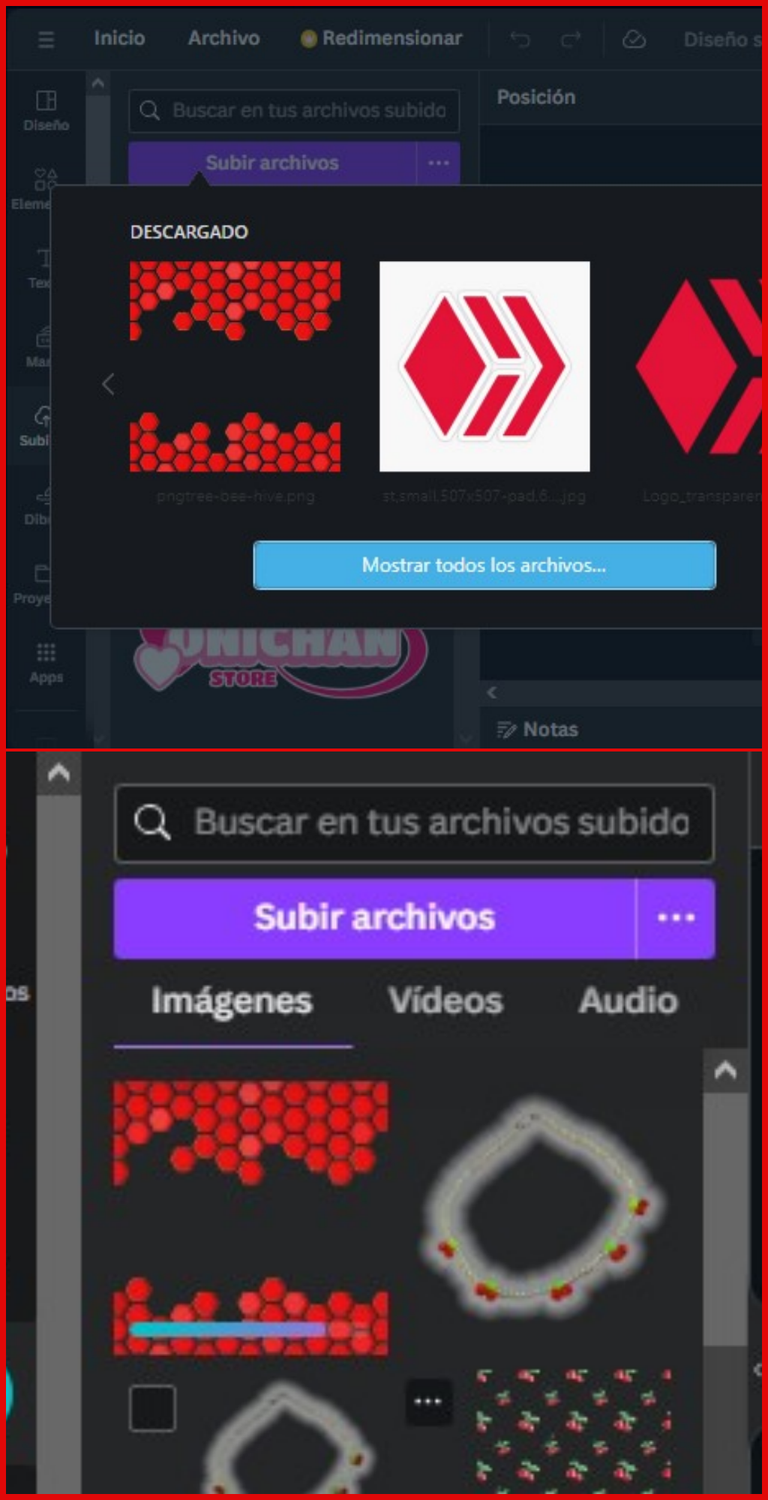
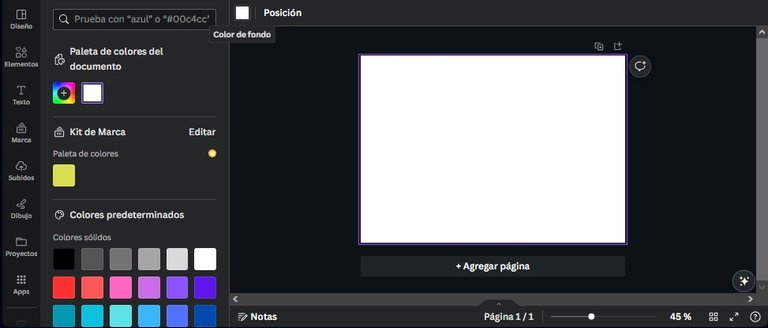
💻PASO N°2: Vamos a la sección que dice SUBIDOS y le damos clic a SUBIR ARCHIVOS y seleccionaremos la plantilla que les adjunte anteriormente. Esperamos a que cargue. Por otra parte, seleccionamos el color de fondo y lo ponemos en negro ya que creará una combinación bonita.
💻STEP N°2: Go to the section that says UPLOADS and click on UPLOAD FILES and select the template I attached above. We wait for it to load. On the other hand, we select the background color and set it to black as it will create a nice combination.
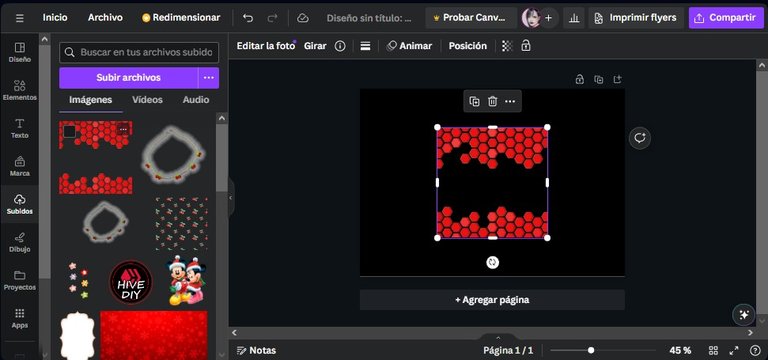
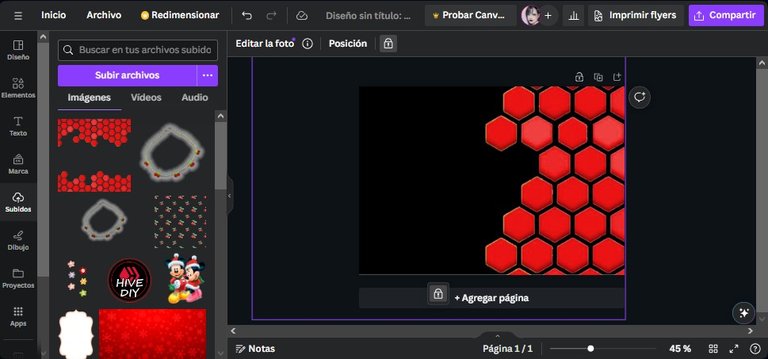
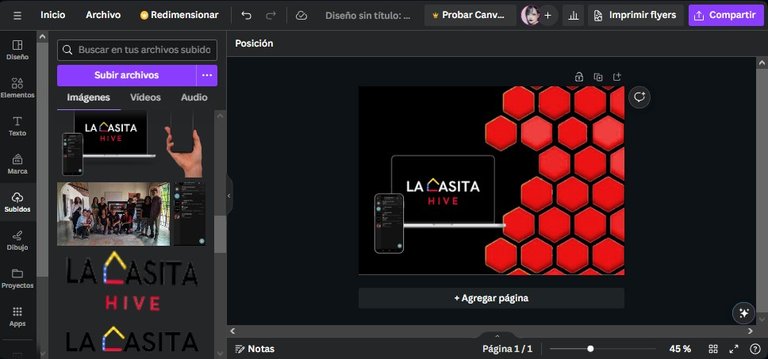
💻PASO N°3: Ya cuando este la plantilla cargada, la clocamos de lado y la agrandamos de tal manera que quede parte de los hexágonos del lado derecho como se puede mostrar en la imagen. Lo pueden realizar así o como lo estoy haciendo yo. Yo en este parte también agregué a la publicidad una computadora con el emblema de LA CASITA HIVE y una captura del grupo de Telegram en el Iphone; edición que anteriormente realicé en Photoshop. Si quieren que les enseñe a como realizar esto solo coméntenmelo😘.
💻STEP N°3: Once the template is loaded, we place it sideways and enlarge it in such a way that part of the hexagons remain on the right side as shown in the image. You can do it this way or as I am doing it. In this part I also added to the advertisement a computer with the emblem of LA CASITA HIVE and a capture of the Telegram group in the Iphone; edition that I previously made in Photoshop. If you want me to show you how to do this just let me know😘.
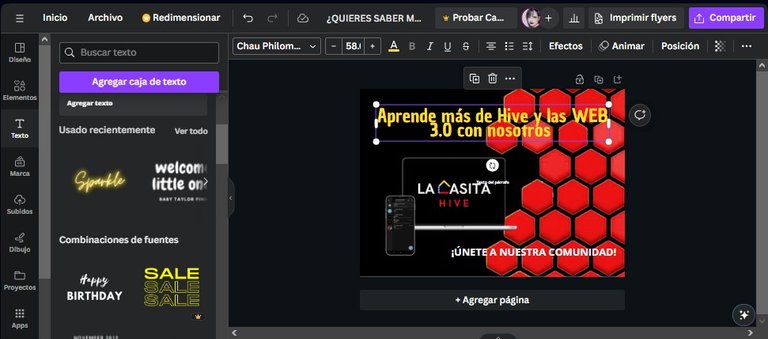
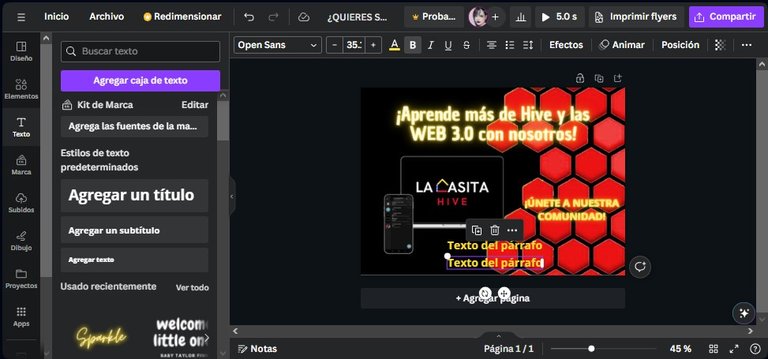
💻PASO N°4: Ya agregadas las imágenes de decoración nos dirigimos a la sección de TEXTO y damos clic donde dice "AGREGAR UN TITULO". En este escribiremos: ¡APRENDE MÁS DE HIVE Y LA WEB 3.0 CON NOSOTROS! (Se puede notar que me equivoqué, pero realizando el post me di cuenta por lo que corregí ya al final, lo siento ☹️) y luego añadimos otro texto dando clic en "AGREGAR UN SUBTITULO". En este escribiremos: ÚNETE A NUESTRA COMUNIDAD. Para finalizar damos clic en "AGREGAR TEXTO" (agregándolo dos (2) veces) donde colocaremos el nombre bien sea de la comunidad a la cual quieras que se unan, en este caso sería La Casita Hive y abajo el link, ya sea si esa comunidad tiene grupo de Telegram u otra información que prefieran.
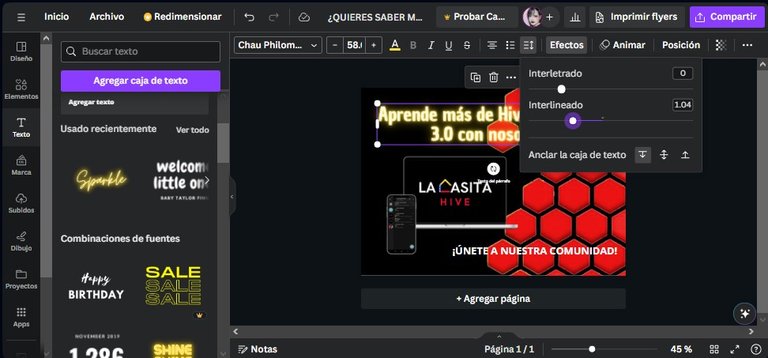
💻PASO N°5: Ahora bien, teniendo ya los textos que queremos que se muestren en nuestra publicidad o flyer le añadimos los EFECTOS que se encuentran ubicados en la parte de arriba del diseño. Si pueden observar, en el lado izquierda hay algunos efectos. Lo que hice fue añadir el efecto "SPARKLE" sin embargo, cambiara la letra. Lo que pueden hacer aquí es dirigirse a la parte de arriba donde dale para cambiarle el tamaño a las letras y al lado de estas seleccionar la tipografía "OPEN SANS" y así también hacemos con el texto de "ÚNETE A NUESTRA COMUNIDAD". A los demás textos solo le cambiamos el color a amarillo y blanco, finalizando así este paso.
💻STEP N°4: Once the decoration images have been added, go to the Text section and click on "ADD A TITLE ". In this we will write: LEARN MORE ABOUT HIVE AND WEB 3.0 WITH US! (You can see that I made a mistake but I realized it while making the post so I corrected it at the end, sorry ☹️) and then we add another text by clicking on "ADD A SUBTITLE ". In this one we will write: JOIN OUR COMMUNITY. To finish we click on "ADD TEXT " (adding it two (2) times) where we will place the name of either the community you want them to join, in this case it would be La Casita Hive and below the link, either if that community has a Telegram group or other information you prefer.
💻STEP N°5: Now, having already the texts that we want to be shown in our advertisement or flyer we add the EFFECTS that are located at the top of the design. If you can see, on the left side there are some effects. What I did was to add the effect "SPARKLE" however, it will change the font. What you can do here is to go to the top where you can change the size of the letters and next to them select the font "OPEN SANS" and so do with the text "JOIN OUR COMMUNITY ". To the other texts we only change the color to yellow and white, finishing this step.
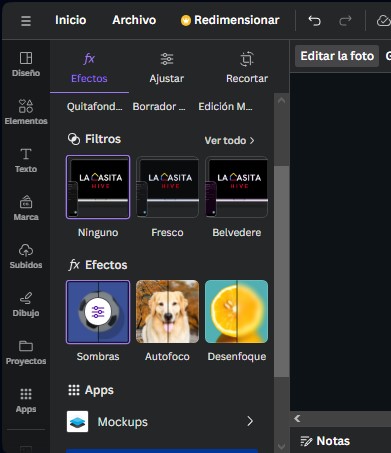
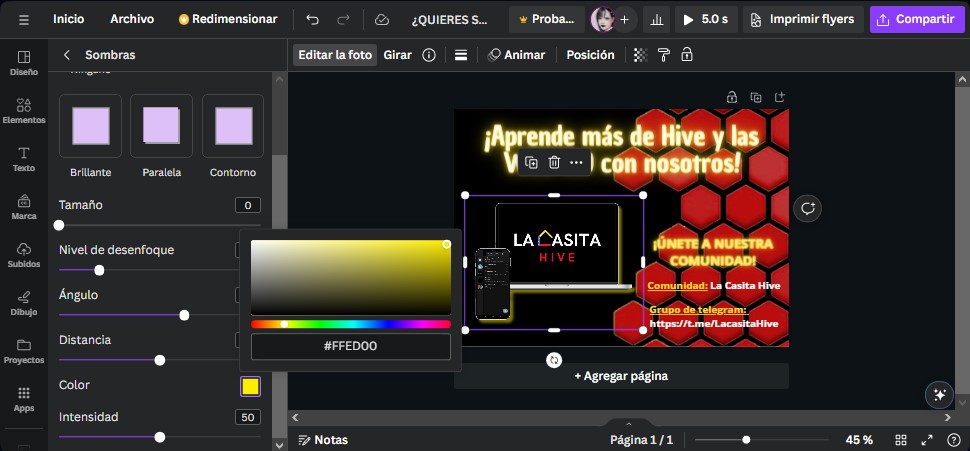
💻PASO N°6: Para darle más profundidad a la computadora y al telefono lo que hice fue colocarle el efecto de sombras en la sección de "EDITAR LA FOTO". Di clic en la opción contorno y seleccione el color amarillo.
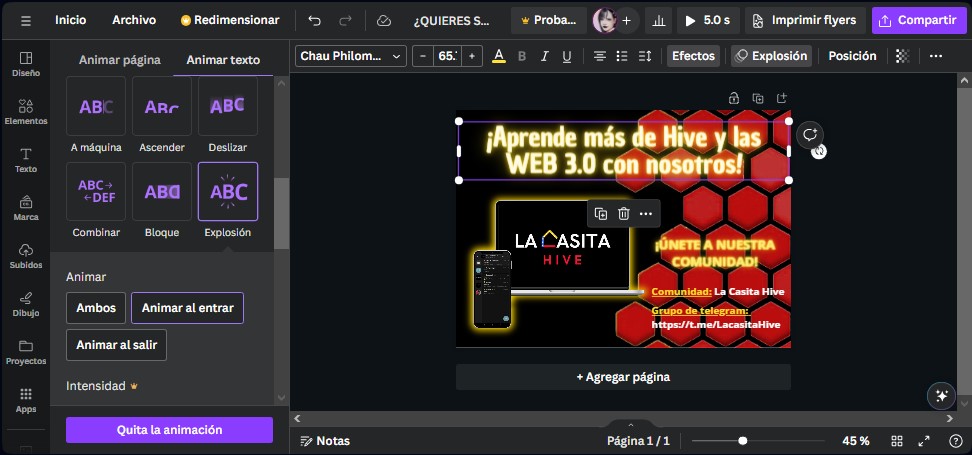
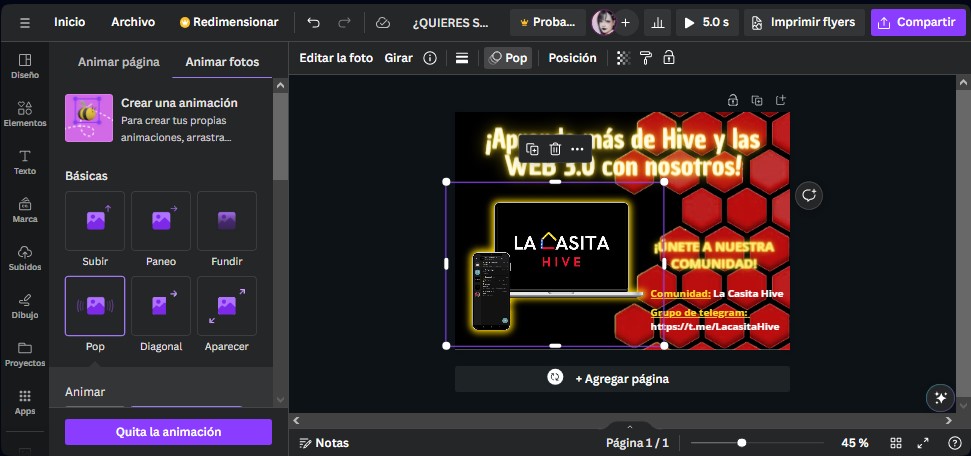
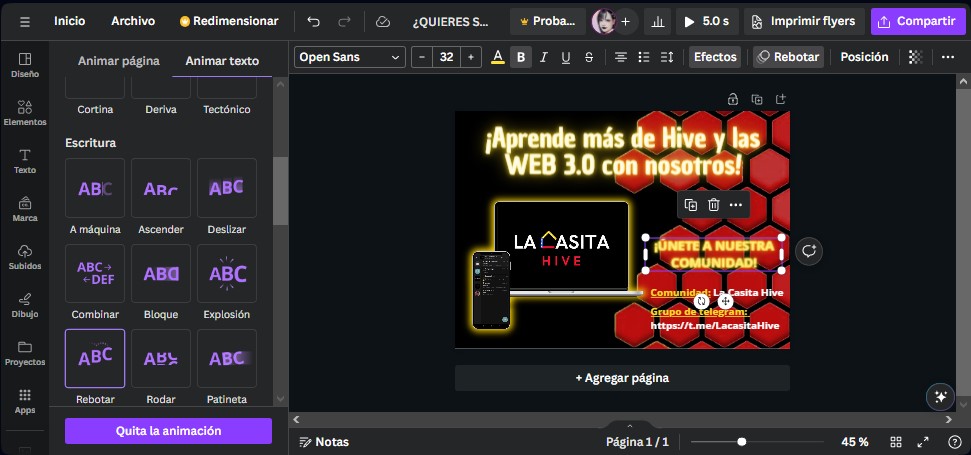
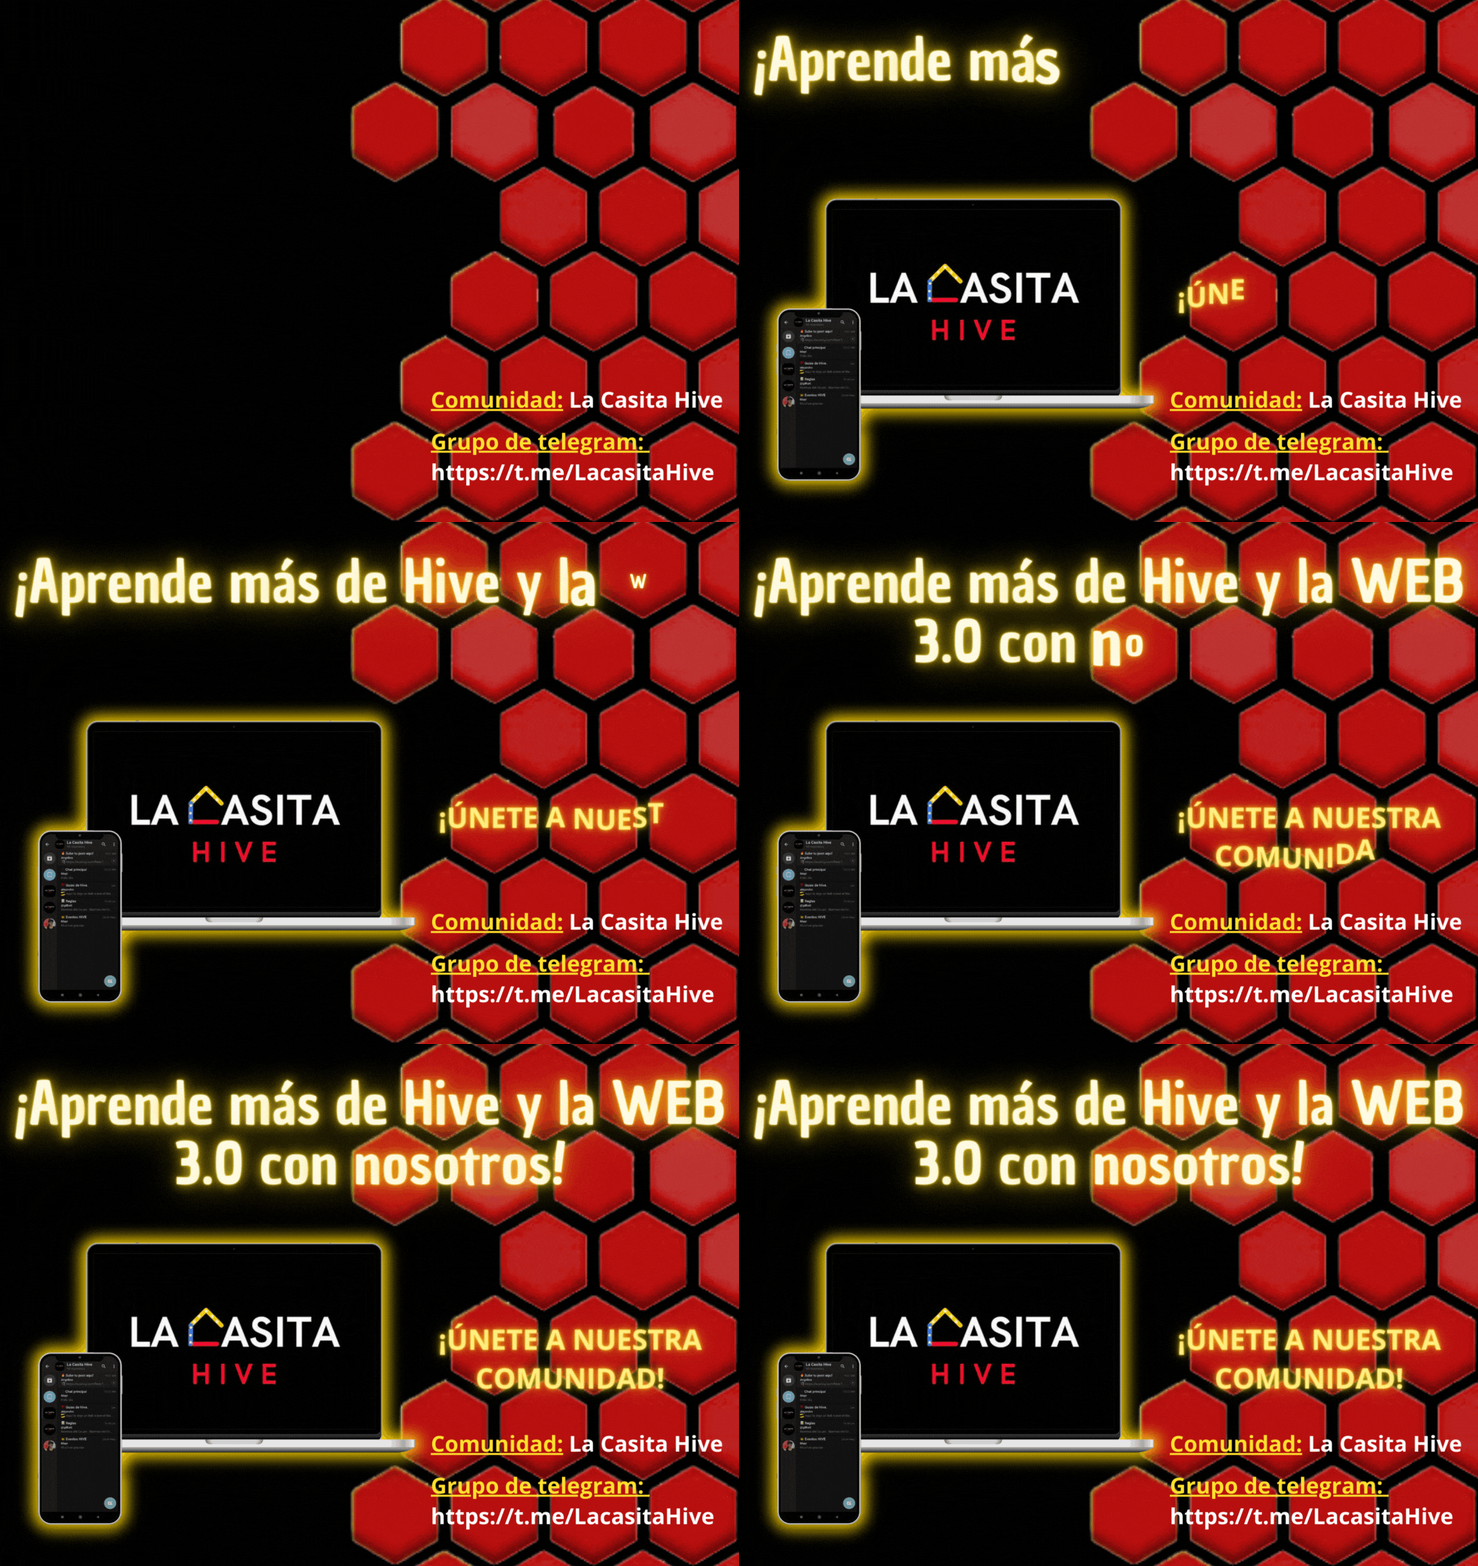
💻PASO N°7: Por último le agregué animaciones tanto a los texto como a la computadora. Se puede mostrar en la imágenes cual fue los que les agregué. Esta animaciones las consigues en la parte superior donde se lee "ANIMAR" mas dos circulitos adjuntos. La guardamos en nuestra computadora y listo.
💻STEP 7: Finally I added animations to both the text and the computer. You can see in the images which ones I added. You can find these animations in the upper part where it says "ANIMATE" plus two little circles attached. We save it in our computer and that's it.

.gif)
Y así fue quedó nuestro flyer o publicidad como quieran verla. Espero que te halla gustado este post, no te olvides de comentar, ¡nos vemos en otra próxima oportunidad!
And that's how our flyer or advertisement, however you want to see it, turned out. I hope you liked this post, don't forget to comment, see you next time!
.gif)
📲Utilice solamente el programa de CANVA y el programa Inshot para tomar las capturas de mi pantalla.
📲I used only the CANVA program and the Inshot program to take screenshots of my screen.
📷 ALL PHOTOS ARE MY PROPERTY
📷 TODAS LAS FOTOS SON DE MI PROPIEDAD
Pues déjame decirte que está precioso tu diseño amiga, te felicito de todo corazón.
Muchas gracias Lj!! Aprecio mucho lo que me dices 😘💞
Maybe it's time to do my flyer, so thanks for this tutorial. I find it helpful.
I thank you for taking the time to read it, I hope that when you do it, it will look very nice💕.
Congratulations @genesis.sojar! You have completed the following achievement on the Hive blockchain And have been rewarded with New badge(s)
Your next target is to reach 3000 upvotes.
You can view your badges on your board and compare yourself to others in the Ranking
If you no longer want to receive notifications, reply to this comment with the word
STOPExcelente post, haces que parezca fácil algo que yo me tardo horas en hacer, agradecemos mucho tu trabajo, perdón por llegar tarde a tu publicación he estado fuera de las redes, te lo digo porque es un placer para mi volver a entrar y encontrarme con maravillas como esta. Muchas gracias, te mando un abrazo.
Muchas gracias kiro, aprecio mucho tus palabras por lo que me motivan a realizar más post de este estilo, espero que algún día lo intentes. También te mando un fuerte abrazo💞.