I have previously steered away from creating "art process" posts because what I make tends to take a really long time to get from "Point A" to "Point B."
What makes it tricky is that I also don't create a single piece of work from start to finish... I work with colors at different times, so in terms of "process," I might do just a little bit of work on 15 different pieces, on any given day.

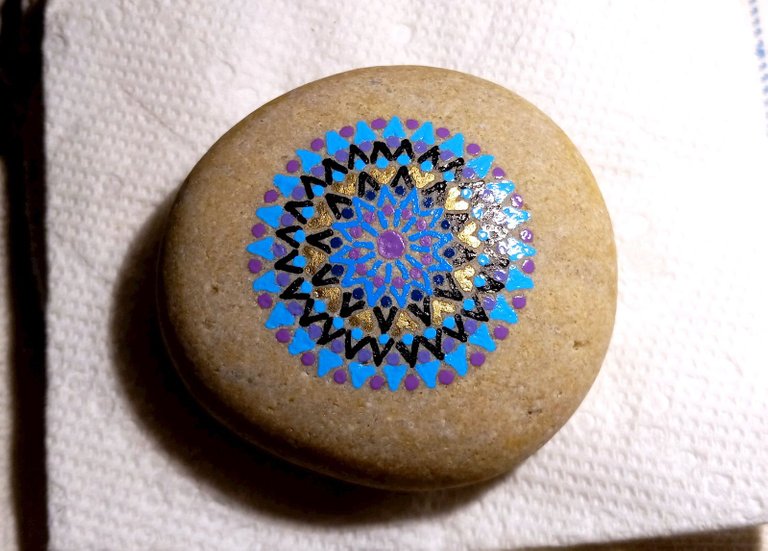
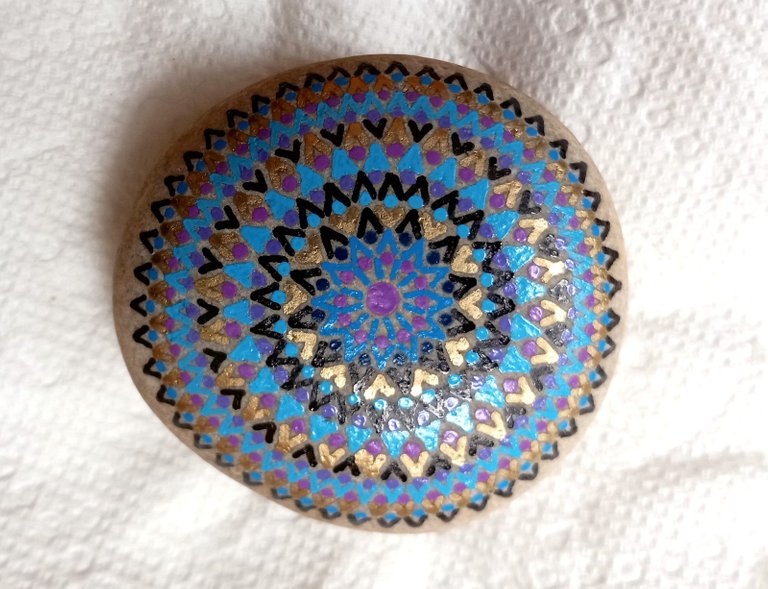
The End Product...
Regardless, I'm going to try to track this one stone, through the process... this stone was created for a show we attended in the first part of September.
The first shot (above) shows the finished stone... some 17 days after I started it. Here's how (more or less!) it came into being:
Here's where we started, on August 17th:
In terms of "what I usually work on," this is a fairly large "golden sand" colored stone. It's about 2 3/8 inches or 61mm across. I consider that "large," when it comes to pale stones like this; they tend to chip/break in our rough surf here, so they are rarely perfect and smooth, except as tiny pebbles.
The center point is the most important, in some ways. If it's not "centered," the whole design ends up looking askew.
No, I don't measure it. After a couple of decades of doing this, I just eyeball it. It doesn't have to be perfect, just well-centered.
"Pale" stones like this one a rarely what I paint because they tend to be "large grain" from nature's side, and that means lots of little "pits" that can't be painted around. You can actually see some of those little pits, and I am hoping to work around them.
We'll see how that goes!
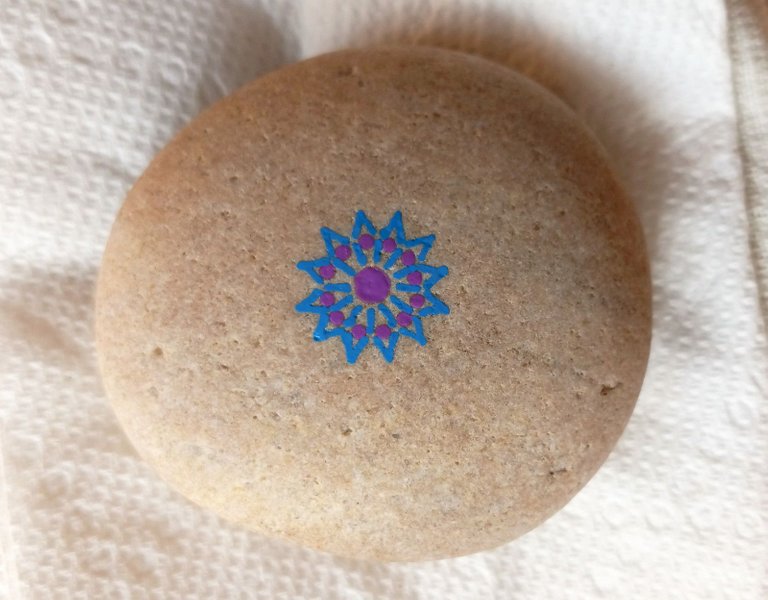
I like to play with contrast, so adding some darker colors, once the initial "star" pattern has dried.
Gold works as one of my "neutral" colors. I am trying to create a somewhat "icy" or "Nordic" design here, color-wise.
As you can see from the way the shadows are moving around, this work happened across about a 15-hour period. Yes, I was doing lots of other things, in between.
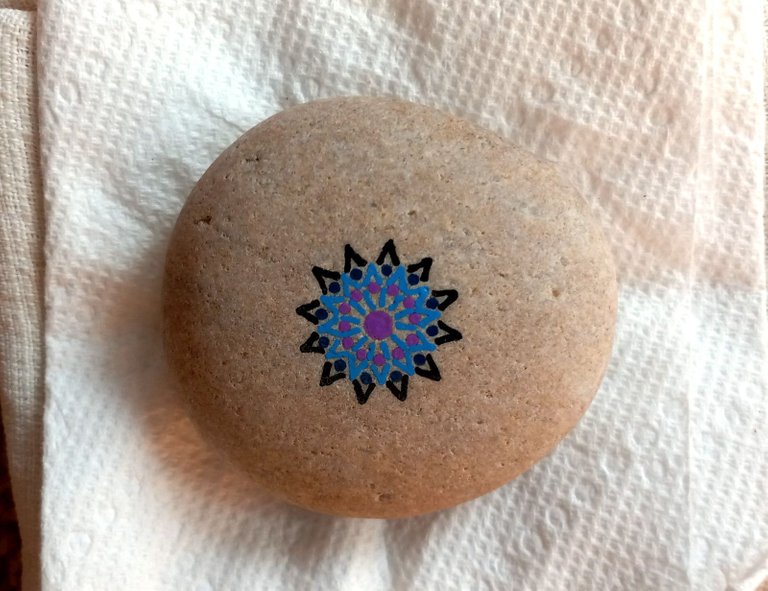
Last bits of the day is a "design doubling," using the contrasting black. There are now 24 points in the star, instead of 12.
Just a reminder that I am working entirely free hand here. It may look geometrically perfect, but it's all painted by "estimate and guesstimate!"
Continuation on August 18th:
Actually working late, it's after dark... sorry about the odd "sheen" to the colors; the result of artificial lighting. It's why I prefer photographing during daylight.
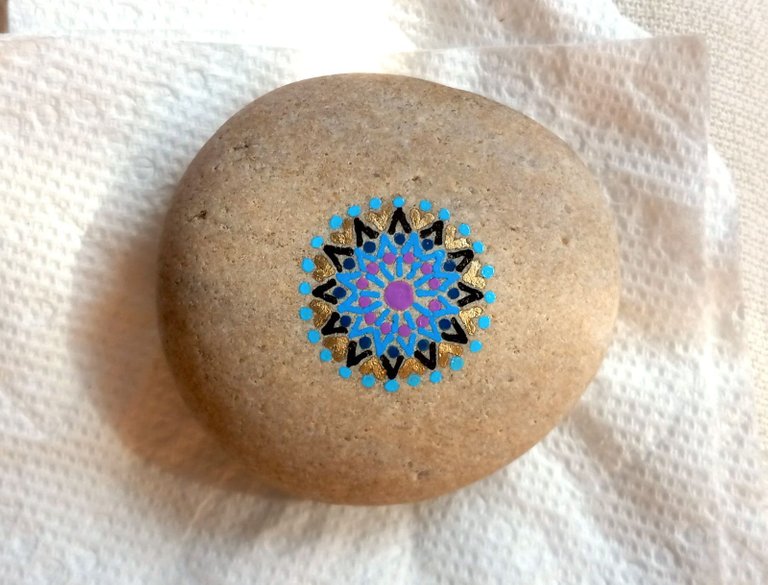
Decided to add a circle of "solid" triangles, rather than the "hollow" ones.
I should not work so late, when I am also tired and a bit cross-eyed!
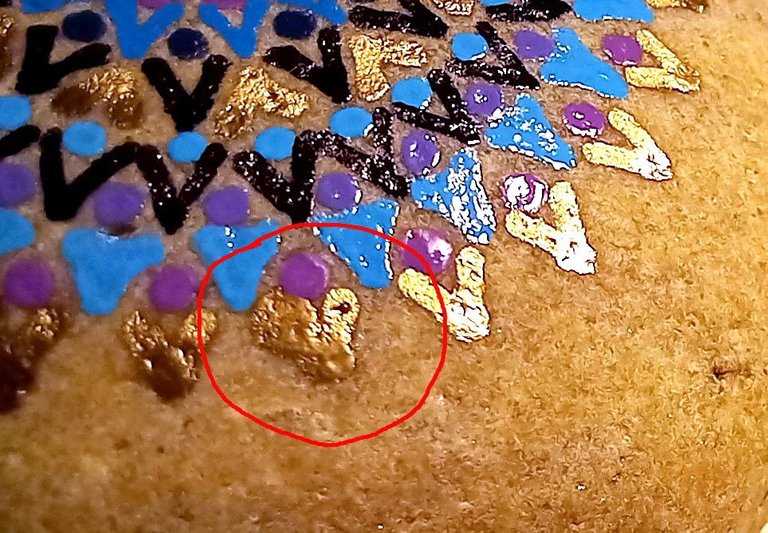
Wasn't paying attention, and ran into one of those little "pits," mentioned earlier, while adding a ring in gold. Normally, when I encounter a pit, I get out a toothpick" and painstakingly add very tiny dabs of paint to keep "blobs" like this from happening.
Fortunately, it's gold on a golden-ish stone, so it doesn't SCREAM at me.
We'll see how I feel about it, in the morning.
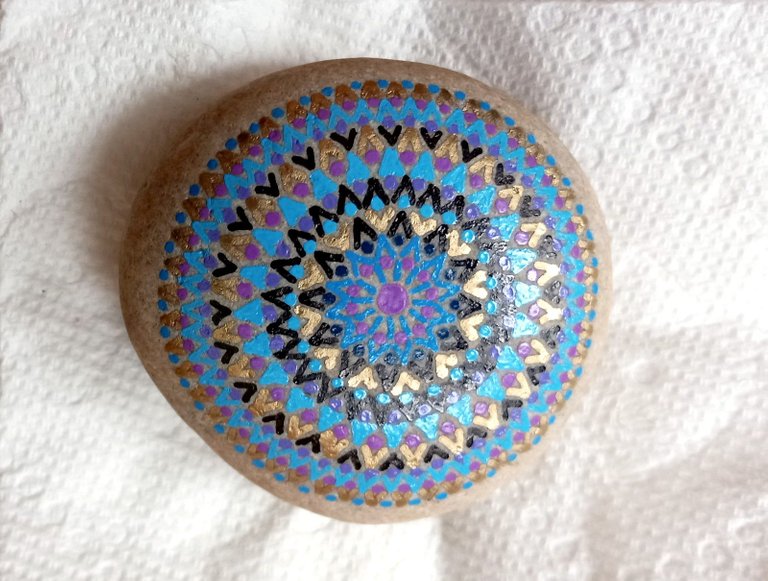
August 19th, Continuation:
It's morning, and I don't hate it.
I realize, most people wouldn't even notice, and it's obvious to me because I know what happened. Onwards!
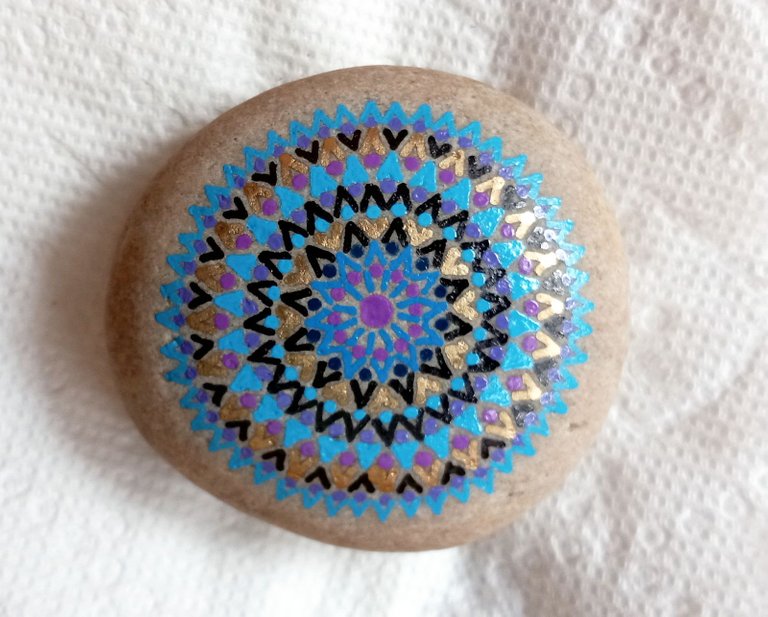
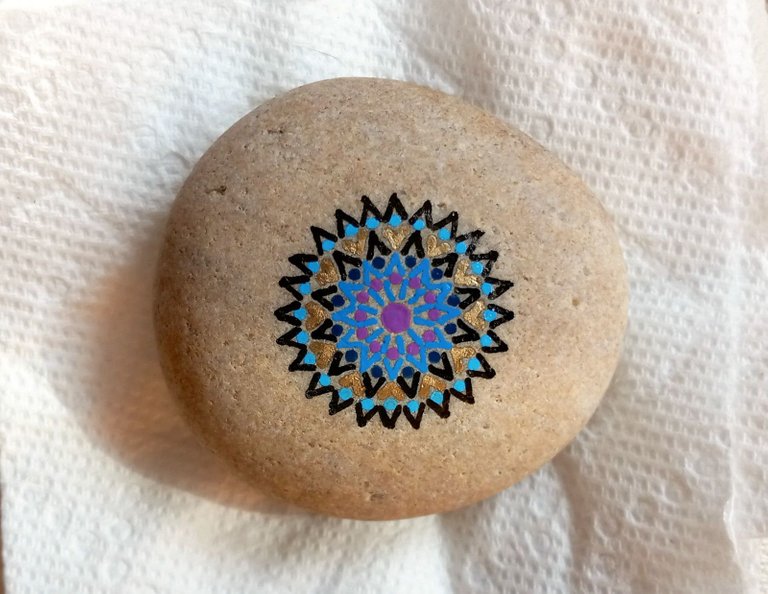
Time for another "design doubling." Now working with rings of 48 points, instead of 24. This is where it gets "tricky" in the sense of noticing whether or not the original center design was well-proportioned.
If it was misaligned, the design would start to appear lopsided, or slightly "twisted."
This is the time when I have to consider how I am going to "close" the mandala design.
I prefer to have the final ring be in a fairly strong contrast color, to "frame" the design. Here, my primary contrast colors have been black and just a touch of indigo.
Think I'll stick to black.
And that's the end of the initial painted design.
For those of you who like "details," this stone has 529 total design elements, counting individual dots, "V's" and triangles.
But we're not done yet!
Although this is essentially "dry to the touch," now the paint (which is oil based) has to completely dry and "cure" for about a week. Well... it doesn't have to — 48 hours is "enough" — but I like to err on the side of caution. I have too much time invested in these stones to not do so.
Adding the Back Markings, and Finish

On about August 28th, I flipped the stone (along with several others) over and added the back signature and serial number.
It then dries/cures for another few days, before getting multiple ultra-thin coats of protective finish, which makes it OK to be handled extensively... and for those who want, it can also be placed outdoors. Some of the old "failures" we have in the yard have been out there 8-10 years.
This stone just made it to the arts and crafts show we went to on September 10th & 11th.
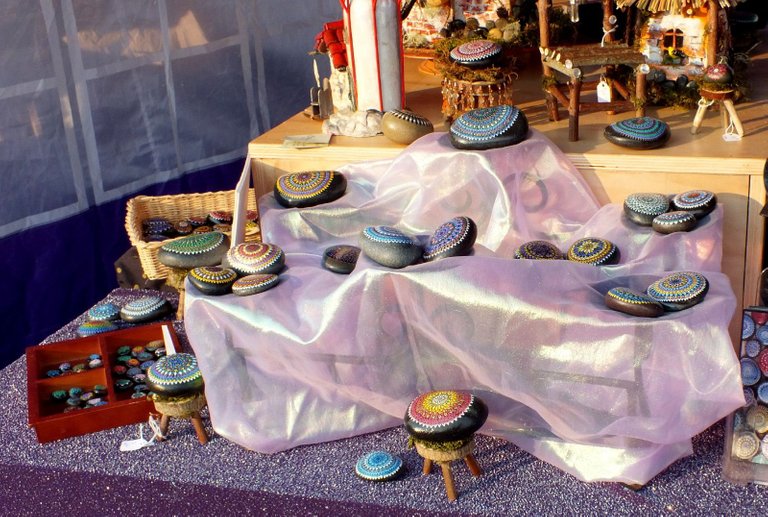
There, it actually sold, making it one of the fastest sold items I've made in many years! The selling price of $55.00 probably bears little relation to "fair compensation," given the hours of work that went into it... but that's just the nature of art!
I hope you enjoyed this little explanation of how Alchemy Stones are created!
Thanks for stopping by! Do leave me a comment if you feel so inspired — interaction and engagement are always welcome!
If you enjoy painted rocks, do check out The Hive Rocks Project and help spread the word about Hive, while also being creative!
Because I am trying to make some semblance of income — a part time living, even — I now add this footer to all my posts, in the hope that someone, somewhere, might decide to take a further look at my work, and perhaps consider supporting independent art.
Thank you, in advance, for your consideration and support!
My Alchemy Stones Patreon appeal
Alchemy Stones web site and blog
Regardless, your upvotes and comments are always appreciated!
Thank you for supporting independent art!
2022.10.22 AS-TXT-126/094
Thank you for sharing this post on HIVE!
Your content got selected by our fellow curator tibfox & you received a little thank you upvote from our non-profit curation initiative. Your post will be featured in one of our recurring curation compilations which is aiming to offer you a stage to widen your audience within the DIY scene of Hive.
Next time make sure to post / cross-post your creation within the DIYHub community on HIVE and you will receive a higher upvote!
Stay creative & hive on!
Thank you for the support, I appreciate it!
What type of paint do you use?
It is a thick-flowing oil based paint, similar to what you might use to decorate porcelain and ceramics over the glaze.
I guess you can also use acrylic paints, right?
I know some people do use acrylics to paint on stone, so you probably could. You would have to be very careful applying the finish coat so the paint doesn't run/smear.
Maybe I can use relief painting, too. I have use both acrylic and relief painting on plastic and glass with a a coat of gloss sealer at the end to protect the design. Thank you, have a nice day 😺🤗