Hola amigos de hive || Hello hive friends
Spanish || English
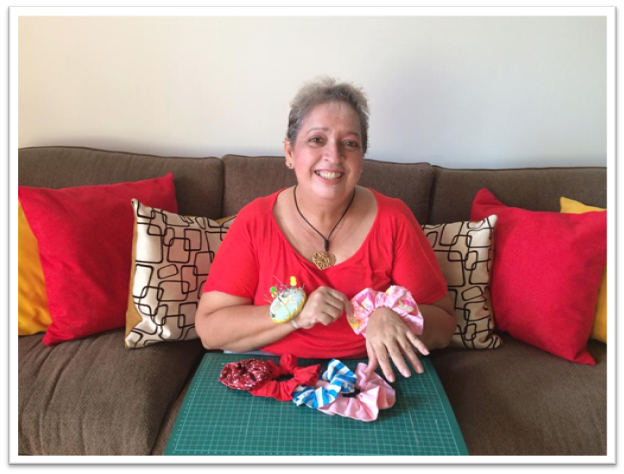
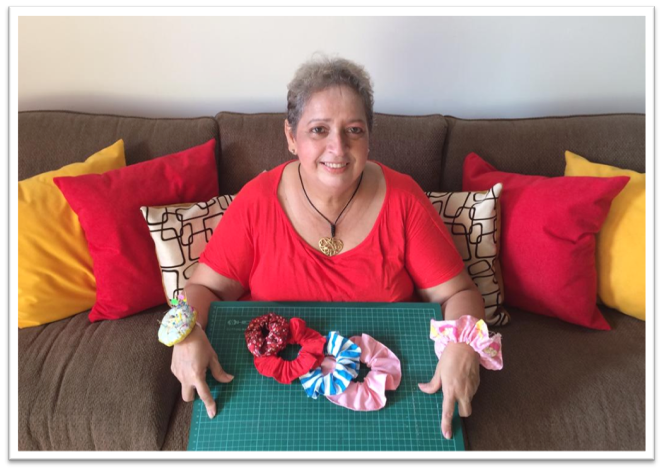
In every sewing project, when we use fabrics to make any project, we always have leftovers that we can use very well with a little imagination. That is why my project today is the elaboration of pigtails or scrunchies.
- Telas de diferentes colores o pintas
- Hilos.
- Tijeras
- Elástica
- Agujas
- Centímetro o regla
- Alfileres
- Máquina de coser, pero si no tienes máquina, no hay problema, también se pueden coser a mano.
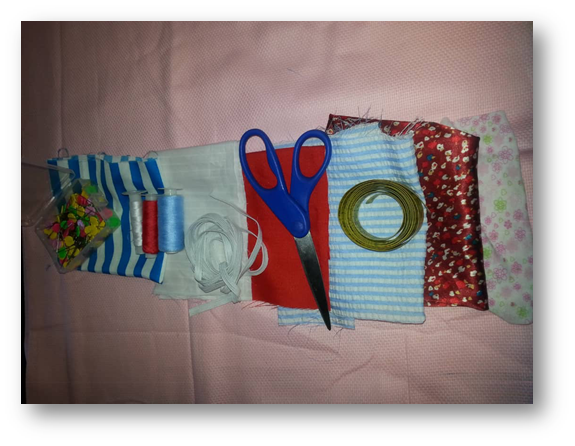
For the elaboration of the tails or scrunchies we need the following materials:
- Fabrics of different colors or paints.
- Threads.
- Scissors
- Elastic
- Needles
- Centimeter or ruler
- Pins
- Sewing machine, but if you don't have a machine, no problem, they can also be sewn by hand.
Now we proceed to develop our project
Vamos a cortar una tira de 60 cms de largo por 12 de ancho.
We are going to cut a strip of 60 cm long by 12 wide.
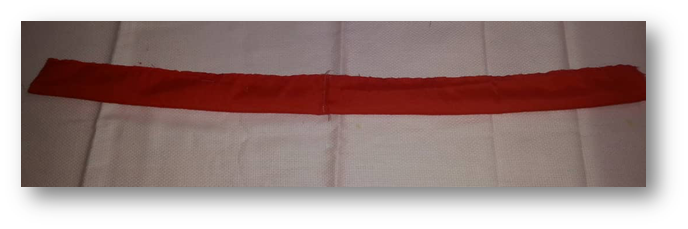
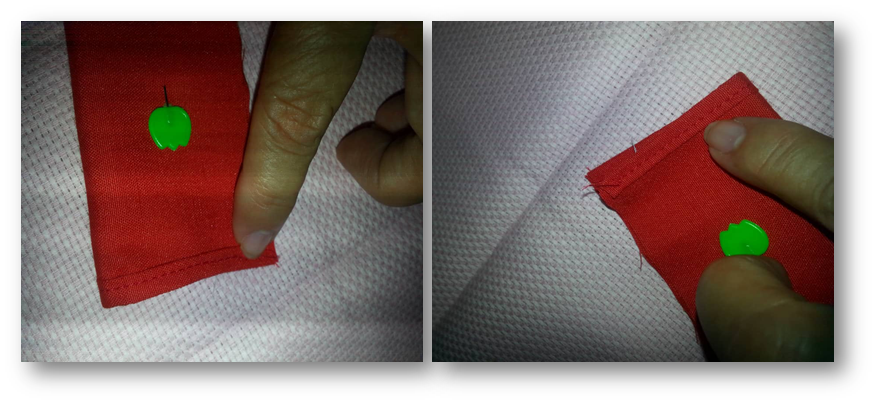
Esta cinta la vamos a doblar por la mitad a lo largo como se ve en la foto.
We are going to fold this tape in half lengthwise as seen in the photo.
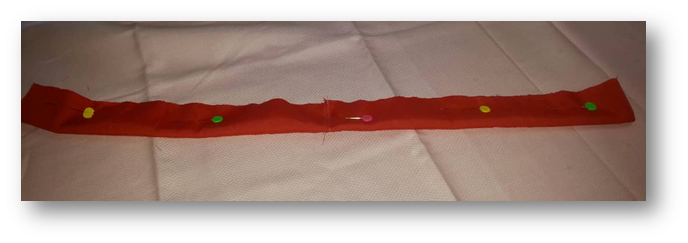
We are going to make a double in one of the ends of the tape and we are going to sew that fold but not close it as shown in the image.
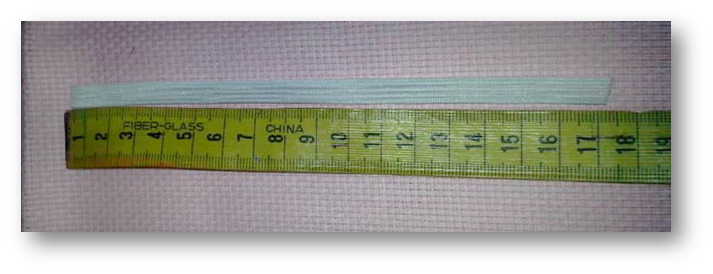
Now we sew that strip lengthwise, not at the ends, and turn. Then we are going to measure 17 cms of elastic, this elastic should have an approximate thickness of 8 mm, if it measures a centimeter wide it also works, we are going to cross the elastic with a hook from one end to the other, and when we join one end with the another the elastic we are going to give some stitches with thread and needle to join them.
What are we going to do now? We are going to put the end of the strip that does not have the fold inside the other end of the strip on which the fold was sewn, this in order to make it look better, and we are going to sew from top to bottom, making sure they fit well one inside the other as shown in the picture.
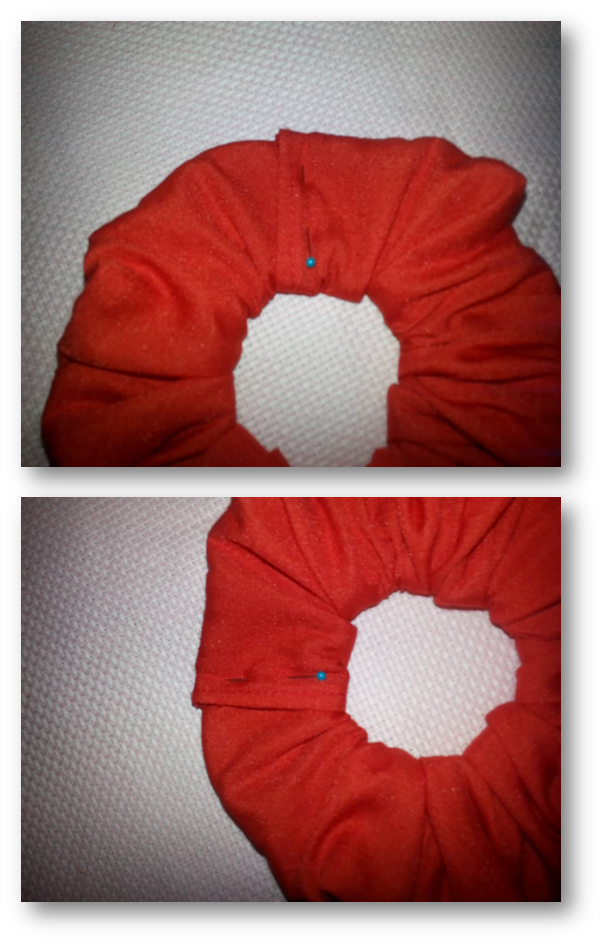
A seam is going to be passed to that joint, and finally, a seam is passed along the entire edge of the strip to give that curl effect of the tail, thus remaining.
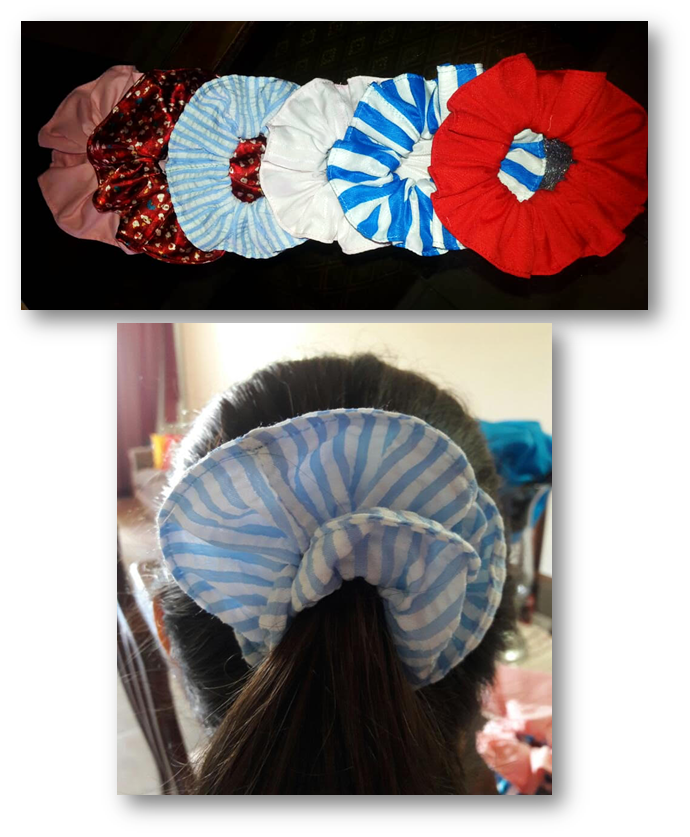
Well I hope you liked this simple project that with little investment we get something practical, beautiful and useful !!!! Until the next project!!.
Thank you for your support and for your visit.
Congratulations @costunina! You have completed the following achievement on the Hive blockchain and have been rewarded with new badge(s) :
You can view your badges on your board and compare yourself to others in the Ranking
If you no longer want to receive notifications, reply to this comment with the word
STOPDo not miss the last post from @hivebuzz:
Your post has been voted as a part of Encouragement program. Keep up the good work!
Dear reader, follow and support this author, Install Android: https://android.ecency.com, iOS: https://ios.ecency.com mobile app or desktop app for Windows, Mac, Linux: https://desktop.ecency.comLearn more: https://ecency.com Join our discord: https://discord.me/ecency