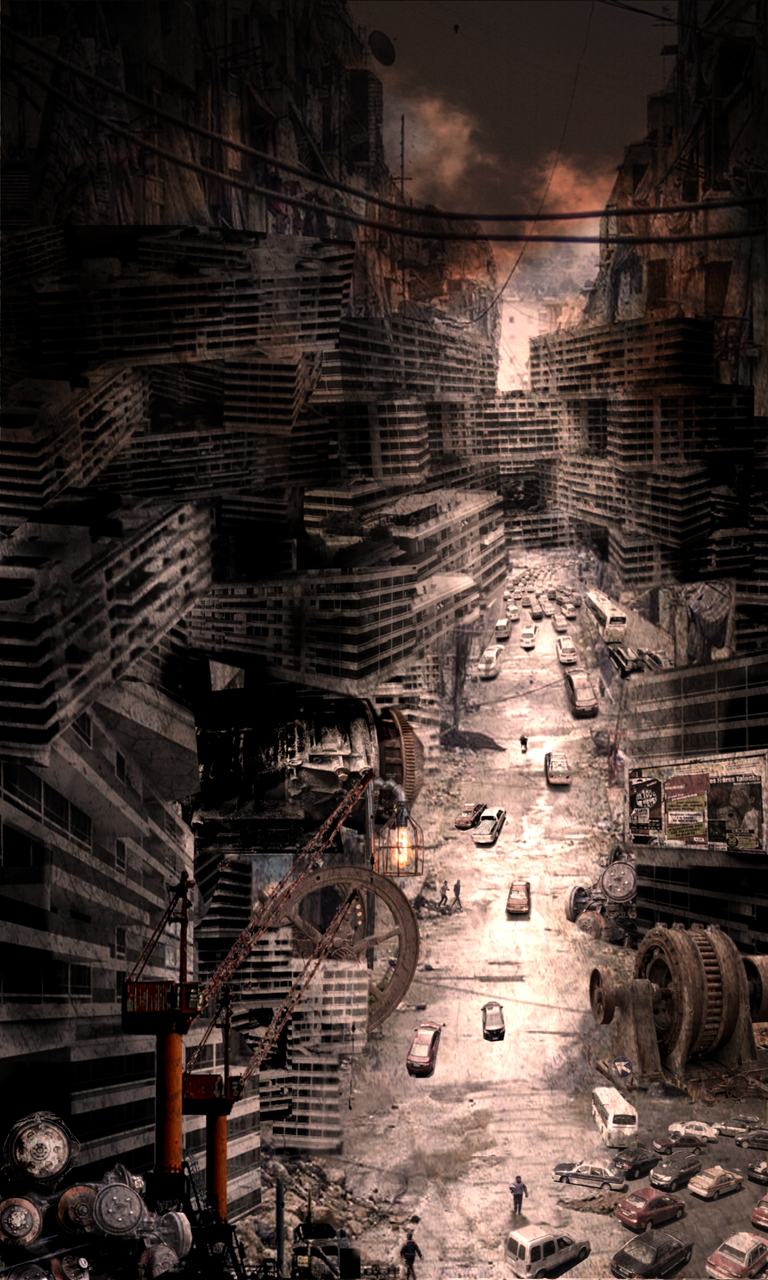
Hi everyone, today I would like to share a new concept art creation of a dystopian kind of world. I have been interested in creating these kinds of artworks recently, maybe I've been inspired by the events happening this year that have caused so many people to struggle to make an income that life in the future could be very different. I think a scene like this would be worst case scenario and I am personally more optimistic about where the world can head towards.
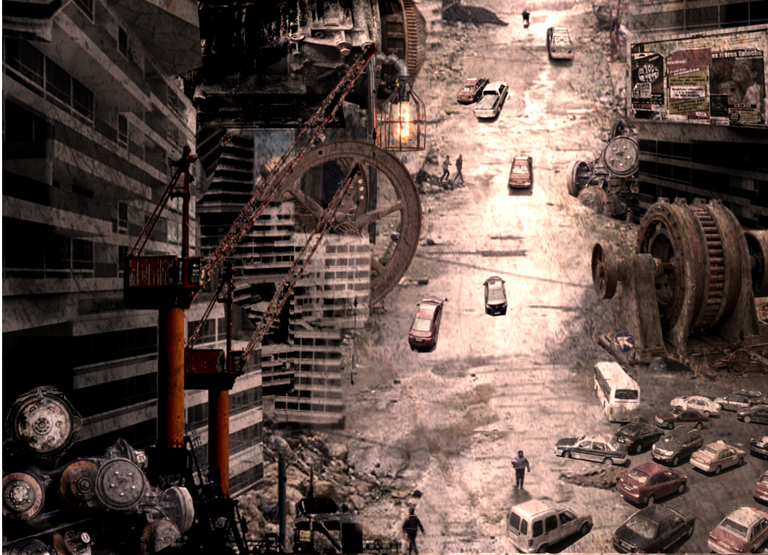
This is the final piece
Step 1
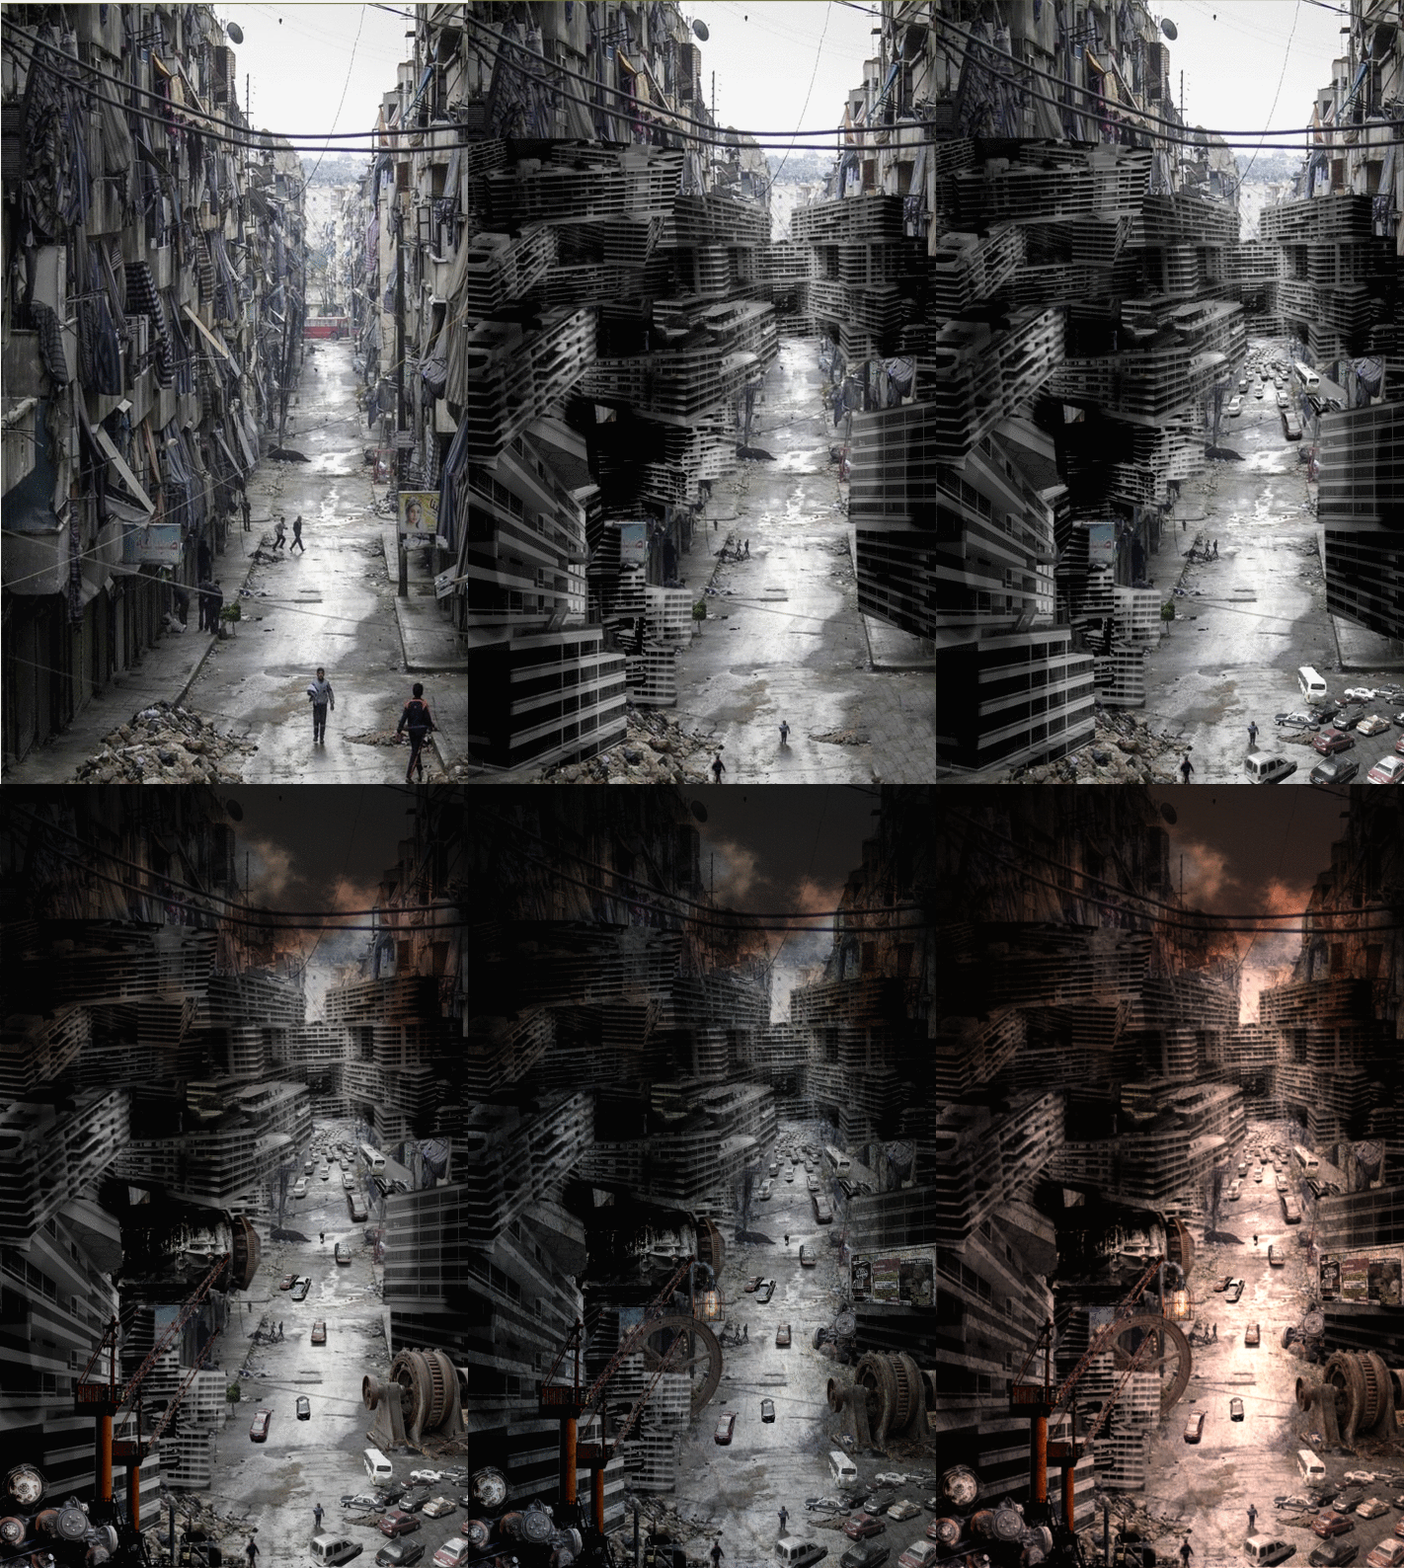
I first find an image that I will use as inspiration and as my base layer. At this point I am not sure where the piece is going but it is a starting point to experiment from.
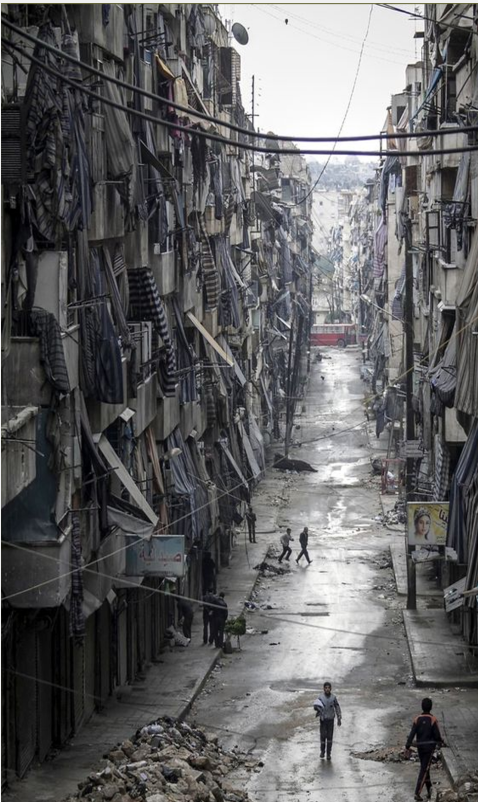
Source
Step 2
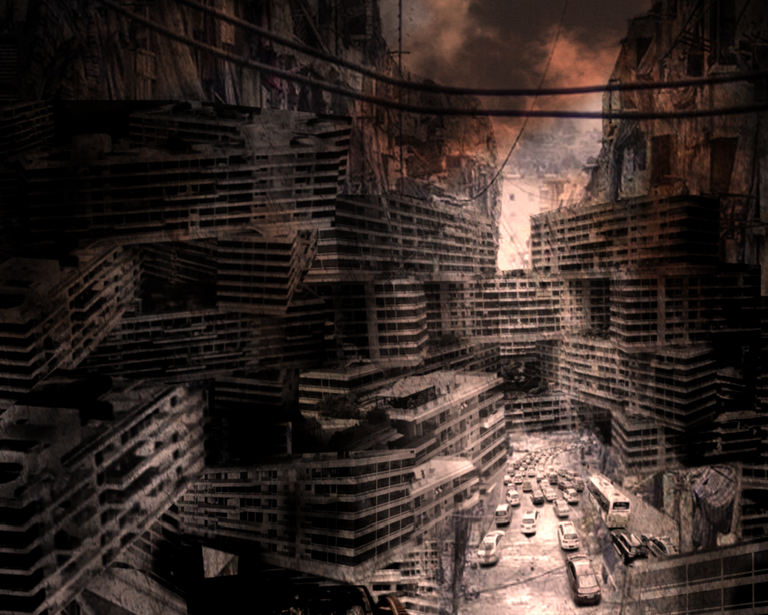
I then want to create a feeling of people crammed into small living spaces in tiny block houses. I find some images relating to this and start adding them in different angles. I wanted to create a look of chaos. I used the clone tool in some places to add more buildings and add to this feeling. Once I have adjusted the contrast and colour settings I used the burn tool and dodge tool to add shadows and highlights to the buildings. Most of the buildings will be in shadow because the main light source will be in the distance.
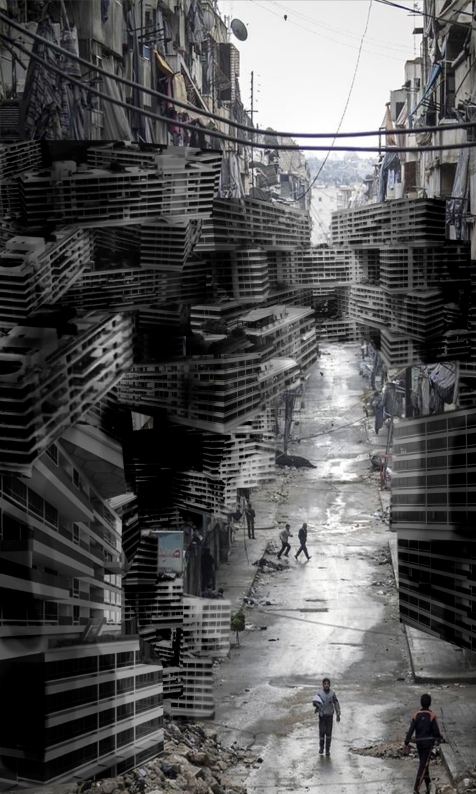
Source
Step 3
The people now look like giants compared to the buildings so they will need to decrease in size. I do this over several layers using various tools like magic wand and clone tool to not effect the rest of the environment.
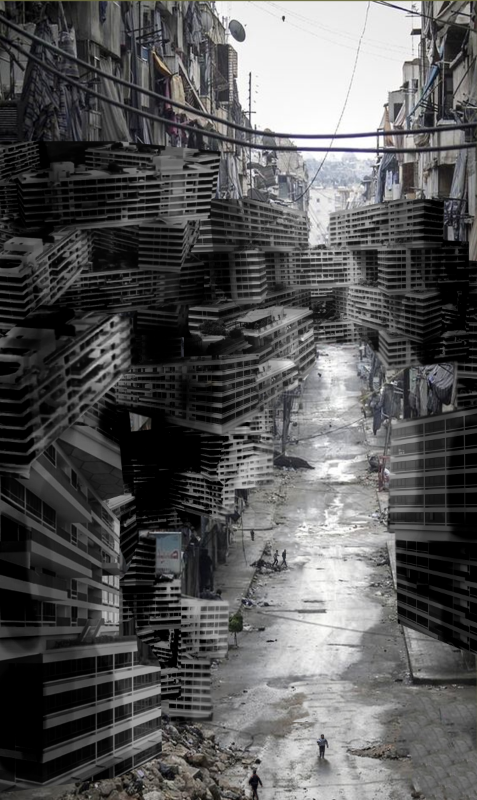
Step 4
Next, the street looks a little empty so I will add some cars. I use the perspective, scale and magic wand tool to achieve this.
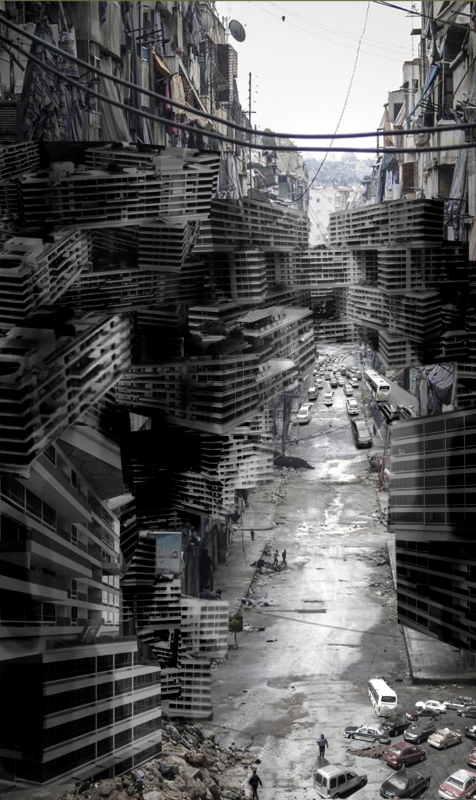
Cars Source
Step 5
The sky takes away from the focal point being the cars driving off into the distance, so I add some dark fog that covers the top half of the image. This is done on a multiply layer. My original intention was to add some warm light to the clouds but noticed it looked more like smoke from a burning building which I prefer more for the overall piece. The street also seemed a little too empty so I added a few more vehicles to it.
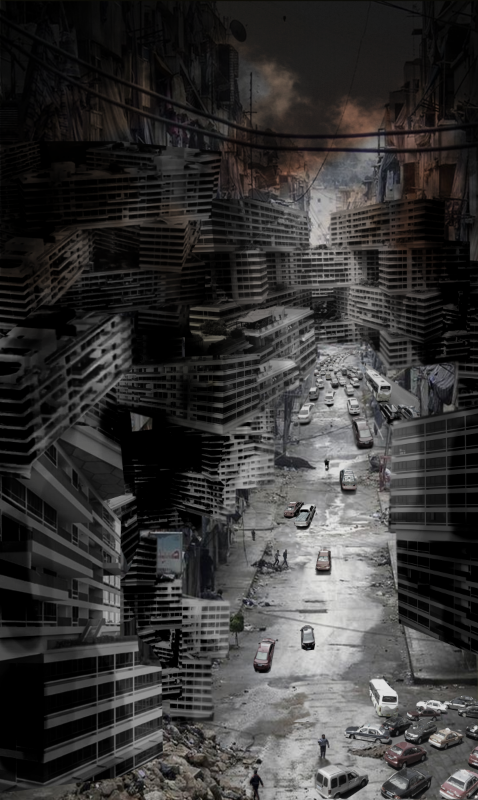
Step 6
Some parts look a little strange and empty so I add some metal machinery and cranes in their place. Adjusting the contrast and colours to match the scene. I got these from textures.com which are free.
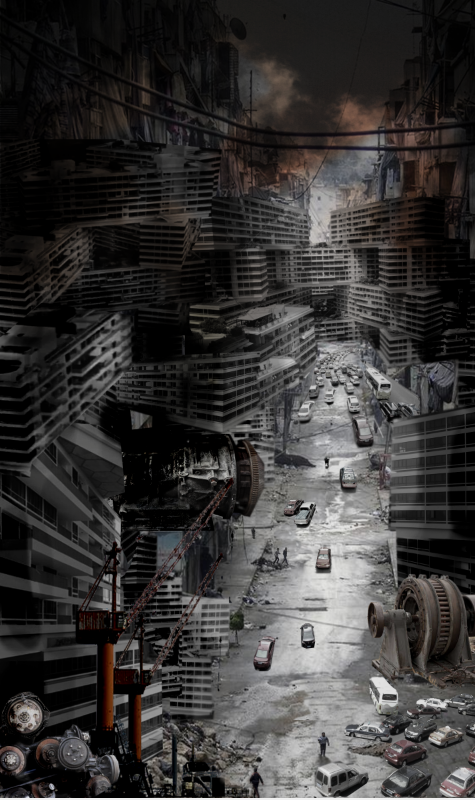
Source
Step 7
I added a few more items such as the giant wheel, lamppost, a small directional arrow for the cars & a large poster on the building in the bottom right. I also added a cracked concrete texture on a multiply layer over the buildings. This gives them a much more worn and dirty look that matches the scene.
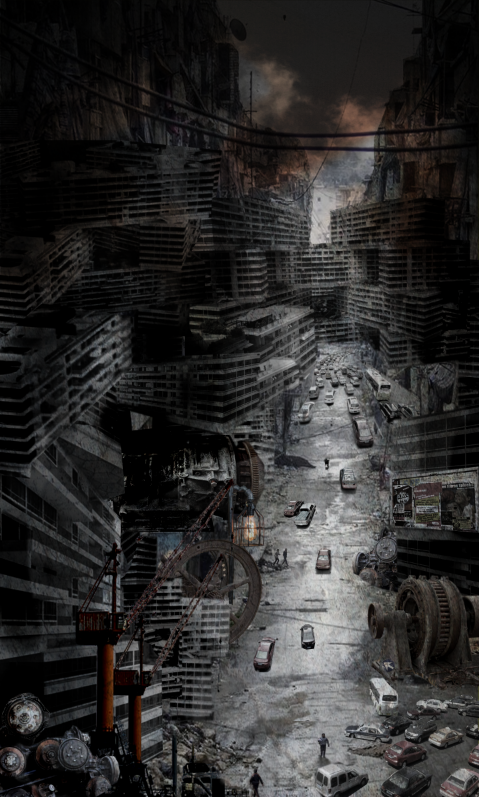
Step 8 - Final Step
The final step involved flattening all the layers into one image and adjusting some of the settings. I added a light effect with a strong intensity in the distance with a warm hue. After this I just explored with various contrasts, lighting and effect to reach the final desired piece...

The source image already looks like some kind of dystopia :D
But seriously, really cool changes you made there. Good work!
Thanks, yeah I agree it does already look pretty dystopian :)
This is so cool! The original photo is dystopian as hell though, can't believe its real... :c
Yes it does I believe it's somewhere in India.
Love the depth you added. Very creative.
Reminds me of the Kowloon walled city!
A brave new world indeed.
Very cool interpretation.
All the best for the future :)