
Español
English

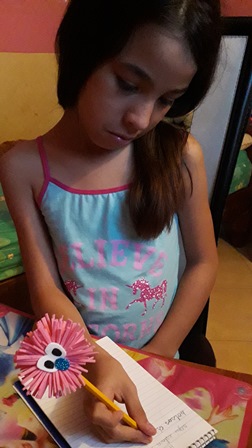
Hola querida comunidad de Hive, soy amante de las Manualidades y considero que son una herramienta que podemos usar para enseñar a nuestros hijos infinidad de cosas y especialmente en esta cuarentena donde pasamos más tiempo del habitual con ellos, el día de hoy realizaremos un proyecto muy lindo que les encantara todas las princesas de la casa, se trata de decorar un lápiz que queda muy hermoso, ellas se motivaran a escribir y a presumir con sus amigas, así que te invito a realizarla y si involucras a los pequeños de la casa, mucho mejor ya que se divertirán y aprenderán al mismo tiempo.
Hello dear Hive community, I am a lover of Crafts and I consider that they are a tool that we can use to teach our children infinity of things and especially in this quarantine where we spend more time than usual with them, today we will carry out a very It is nice that all the princesses of the house will love it, it is about decorating a pencil that is very beautiful, they will be motivated to write and show off with their friends, so I invite you to do it and if you involve the little ones in the house, much better since they will have fun and learn at the same time.

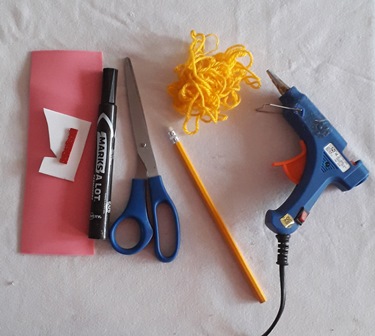
Materiales:
Foamy
Tijera
Pistola de silicom
Marcador negro
Lápiz
Materials:
Foamy
Scissors
Silicon gun
Black marker
Pencil

Procedimiento:
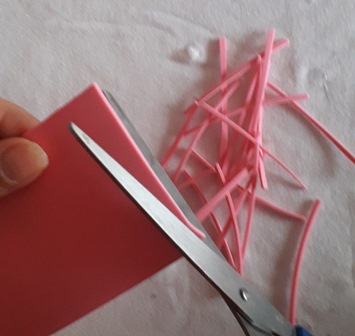
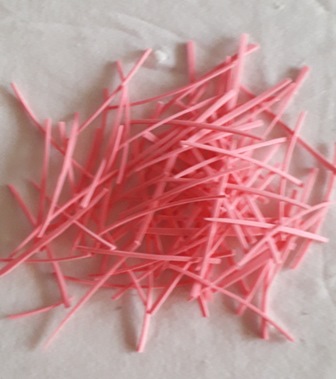
Lo promero que tenemos que hacer es cortar una pieza de foamy de 20 cts por 7 cts y cortarla todo en tiras finas de 7 cts.
Process:
The first thing we have to do is cut a piece of foam of 20 cts by 7 cts and cut it all into thin strips of 7 cts.
.jpg)
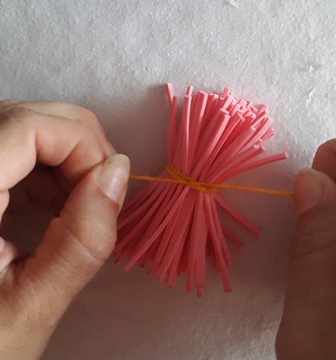
Agrupamos todas las tiras una al lado de la otra y cortamos un pequeño trozo de lana para amarrarlas en el centro haciendo un pequeño nudo.
We group all the strips next to each other and cut a small piece of wool to tie them in the center making a small knot.
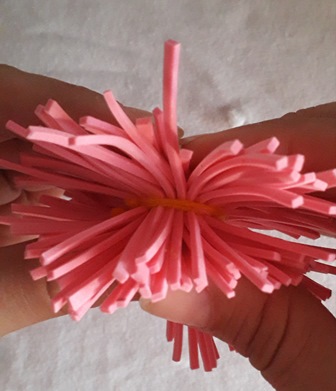
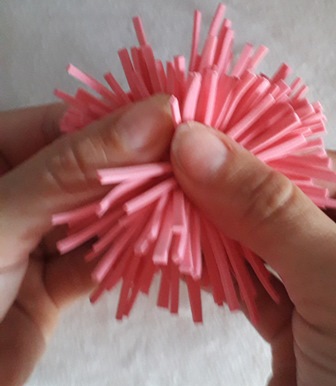
Luego abrimos nuestros tiras de manera que tapemos la lana del medio, tal y como se muestra en la fotografías.
Then we open our strips so that we cover the middle wool, as shown in the photographs.
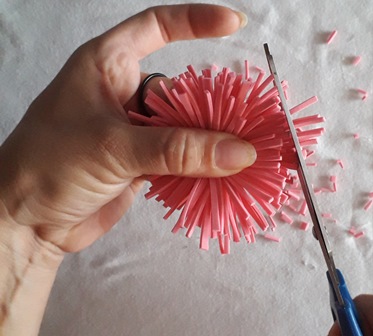
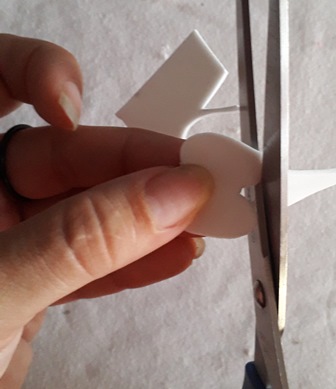
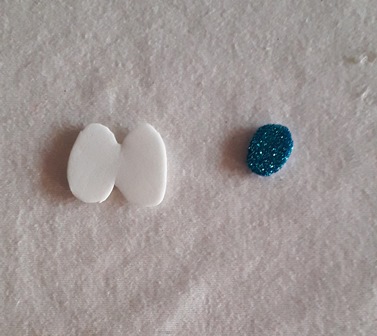
Cortamos las puntas para dar forma circular a nuestra pieza y recortamos los ojos y la nariz de nuestro rostro.
We cut the ends to give a circular shape to our piece and trim the eyes and nose of our face.
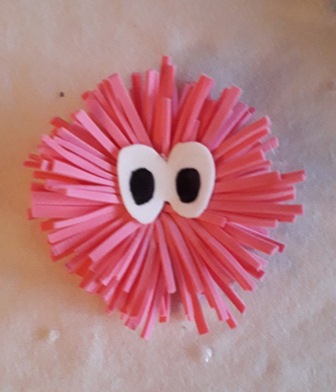
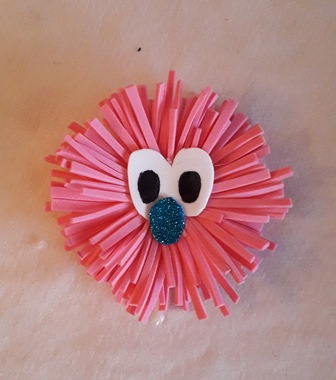
Luego pintamos los ojos en nuestro foamy blanco y los pegamos junto con la nariz en nuestra pieza.
Then we paint the eyes on our sparkling white and glue them together with the nose on our piece.
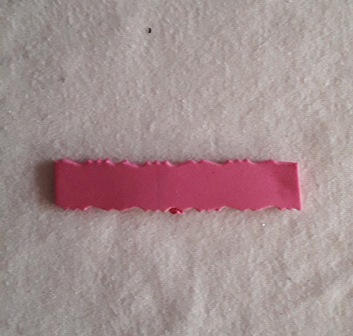
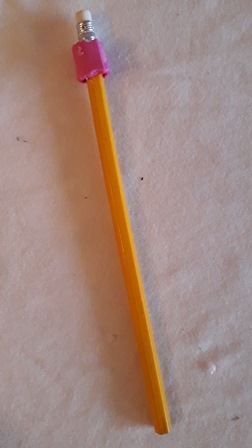
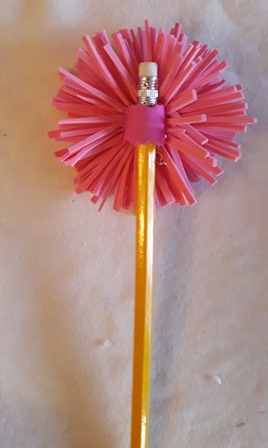
Cortamos una tira de foamy de 1 cts de ancho por 4 cts de largo y se la pegamos alrededor de nuestro lápiz, seguidamente lo pegamos en la parte de atrás de nuestra pieza.
We cut a foamy strip 1 cts wide by 4 cts long and we glue it around our pencil, then we glue it on the back of our piece.
.jpg)
__
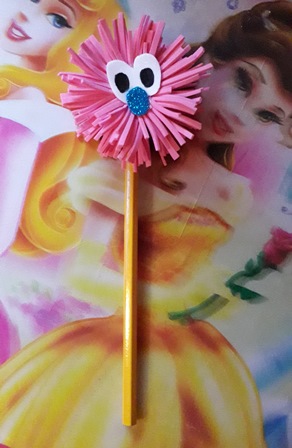
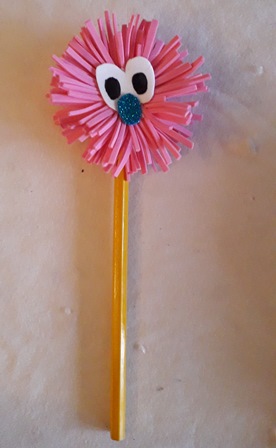
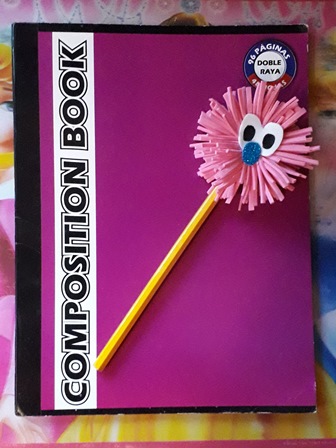
Quedando así nuestro hermoso lápiz decorado, ideal para las princesas de la casa!!
Thus leaving our beautiful decorated pencil, ideal for the princesses of the house!

Es un proyecto muy hermoso, práctico y sobre todo útil, las manualidades pueden despertar la creatividad y el ingenio de los pequeños mientras se divierten y comparten con ellos, les agradezco por acompañarme en este proyecto y los invito a que lo hagan. los pequeños de la casa, les aseguro que les encantará. Nos vemos en una nueva publicación.
It is a very beautiful, practical and above all useful project, crafts can awaken the creativity and ingenuity of the little ones while they have fun and share with them, I thank you for joining me in this project and I invite you to do so. the little ones of the house, I assure you that they will love it. See you in a new post.


OMG! best tutorial. carry on
hi @gorllara! I'm glad you liked it! Thank you for visiting my blog! Regards!
most welcome. Please visit my blog