
Español
English

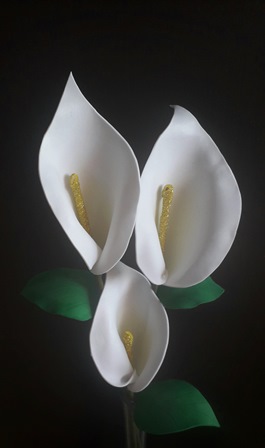
Hola querida comunidad de Hive, soy amante de las Manualidades y considero que son una herramienta que podemos usar para enseñar a nuestros hijos infinidad de cosas y especialmente en esta cuarentena donde pasamos más tiempo del habitual con ellos, el día de hoy realizaremos un proyecto muy lindo se trata de unas hermosas Flores de Cala que quedaran espectaculares en cualquier rincón de tu casa, así que te invito a realizarla y si involucras a los pequeños de la casa, mucho mejor ya que se divertirán y aprenderán al mismo tiempo.
Hello dear Hive community, I am a lover of Crafts and I consider that they are a tool that we can use to teach our children infinity of things and especially in this quarantine where we spend more time than usual with them, today we will carry out a very This is a beautiful cove flower that will be spectacular in any corner of your house, so I invite you to do it and if you involve the little ones in the house, much better since they will have fun and learn at the same time.

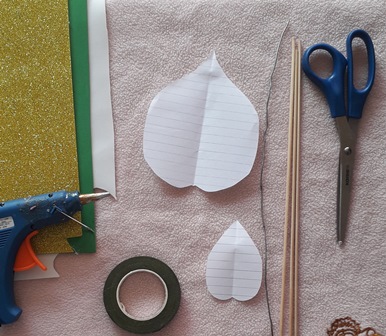
Materiales:
Foamy
Tijera
Palitos de Madera
Plancha
Pistola de Silicom
Flor Papel
Alambre
Creyon de Cera amarillo
Materials:
Foamy
Scissors
Wooden sticks
Griddle
Silicon Gun
Paper Flower
Wire
Yellow Wax Creyon

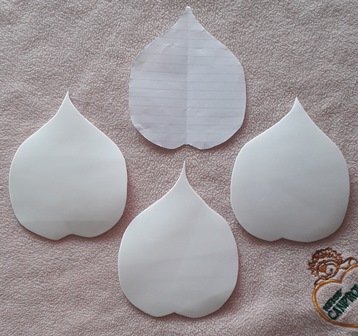
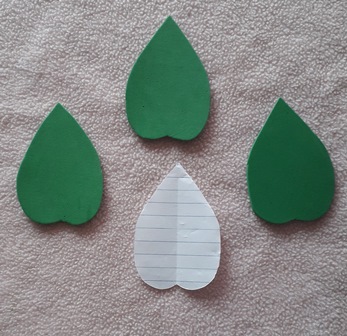
Lo primero que tenemos que hacer es transferir nuestros moldes al foamy tanto de la flor como el de las hojas, nosotros lo hicimos tres veces ya que haremos tres flores.
The first thing we have to do is transfer our molds to the foamy of both the flower and the leaves, we did it three times since we will make three flowers.
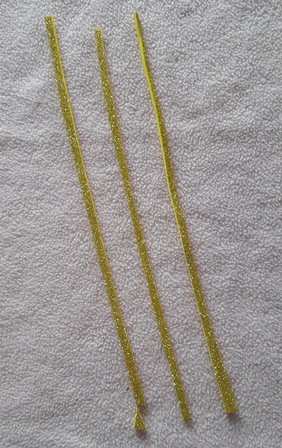
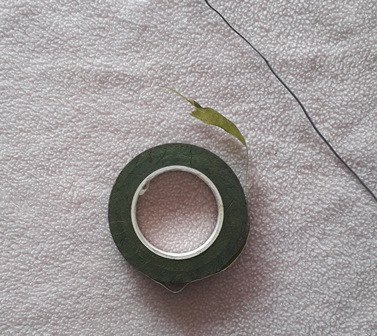
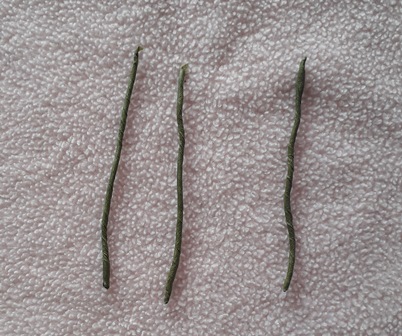
Cortamos 3 tiras de foamy dorado de aproximadamente 0,5 cts de ancho por 15 cts de largo, también tomamos nuestro alambre y lo forramos con florpapel y lo cortamos en 3 piezas de 5 cts cada una.
We cut 3 strips of golden foamy approximately 0.5 cts wide by 15 cts long, we also take our wire and line it with flower paper and cut it into 3 pieces of 5 cts each.
.jpg)
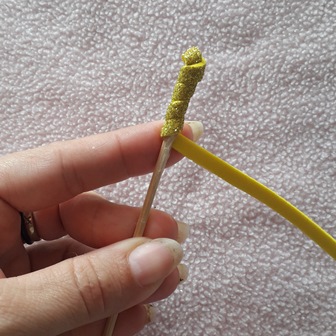
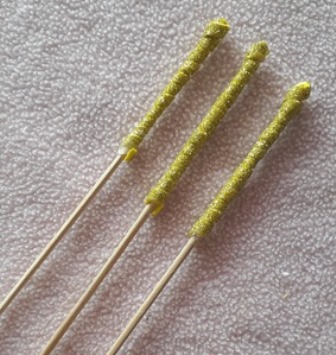
Luego tomamos nuestros palitos de madera y los forramos de manera envolvente con el foamy dorado, tal como se muestra en las fotos.
Then we take wooden sticks and we cover them in an enveloping way with the golden foamy, as shown in the photos.
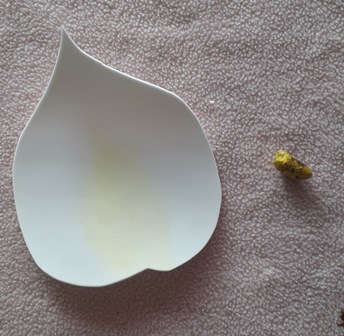
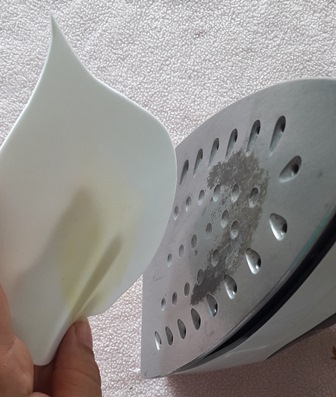
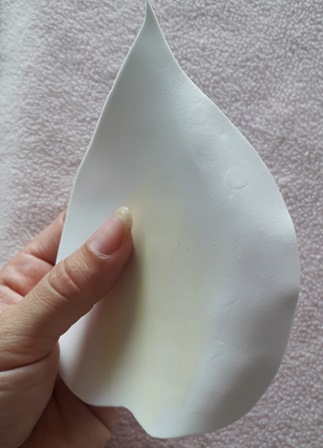
Tomamos el pétalo de nuestra flor y con el creyon amarillo de cera coloreamos el centro para darle un toque especial, con una plancha a temperatura mínima calentamos las orillas de nuestra flor y le vamos dando forma hacia abajo con la ayuda de nuestros dedos.
We take the petal of our flower and with the yellow wax crayon we color the center to give it a special touch, with a iron at a minimum temperature we heat the edges of our flower and we shape it downwards with the help of our fingers.
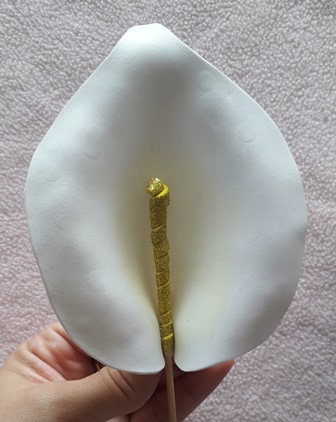
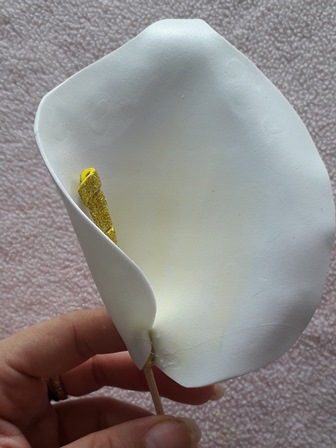
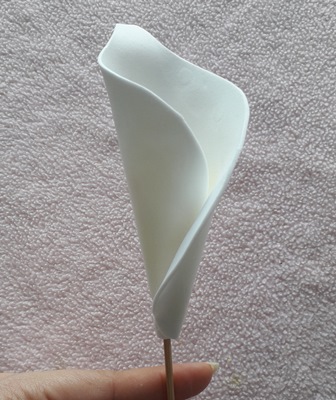
Ahora pegamos nuestro pétalo en el palillo de madera forrado con dorado y lo vamos cerrando primero el lado izquierdo y luego el derecho de manera envolvente.
Now we paste our petal on the wooden stick lined with gold and we close it first the left side and then the right side in an enveloping way.
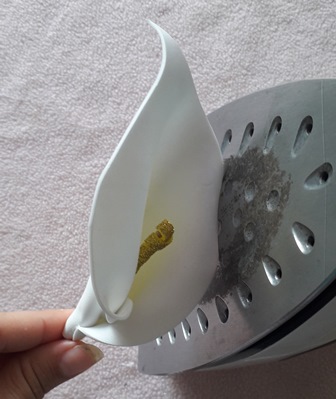
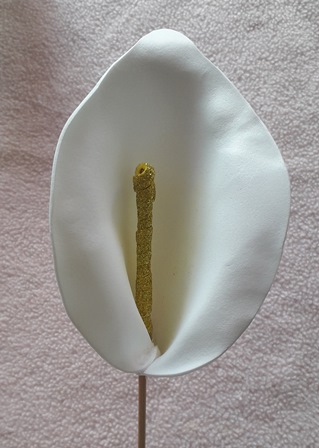
Una vez cerrada la flor le volvemos a dar forma con la plancha caliente de manera de darle la forma final.
Once the flower is closed we shape it again with the hot iron in order to give it the final shape.
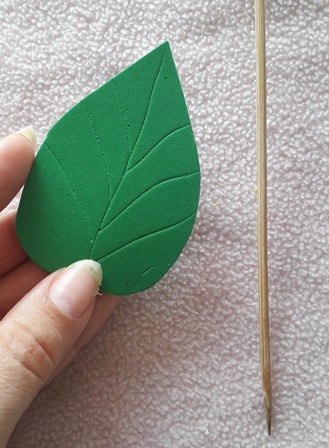
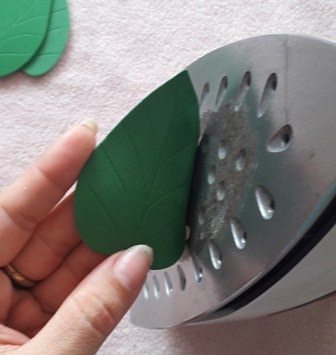
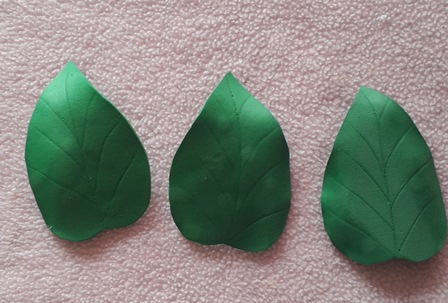
Ahora trabajaremos con las hojas, con la ayuda de un palillo de madera marcamos la forma de las venas de nuestra hoja y con la plancha u nuestras manos les damos forma.
Now we will work with the leaves, with the help of a wooden toothpick we mark the shape of the veins of our leaf and with the iron or our hands we shape them.
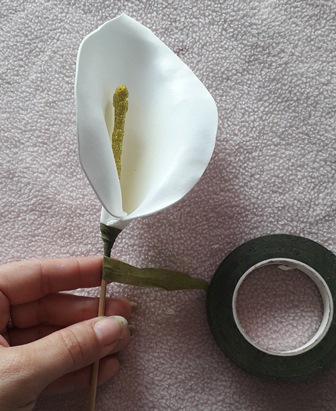
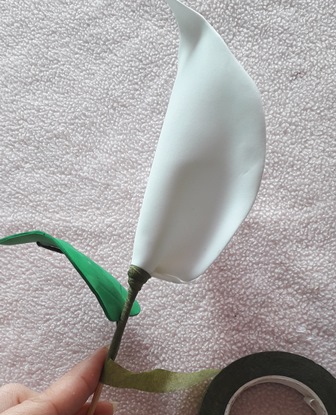
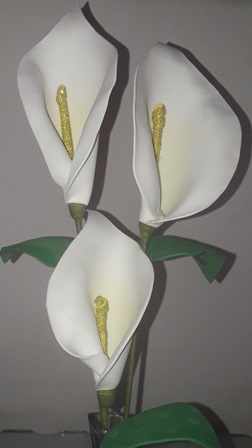
Para terminar nuestra flor, forramos con el flor papel el palillo de madera y a medida que bajamos colocamos la hoja y seguimos forrando para sujetarla al tallo, tal como se ve en la foto.
To finish our flower, we cover the wooden toothpick with the paper flower and as we lower we place the leaf and continue to line to attach it to the stem, as seen in the photo.
_
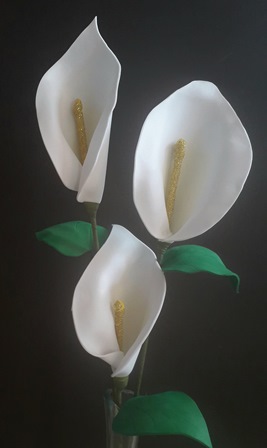
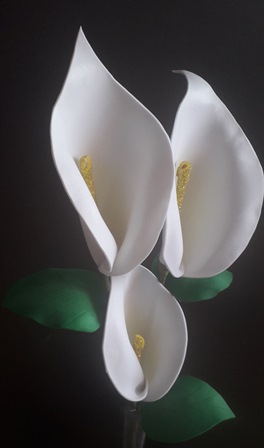
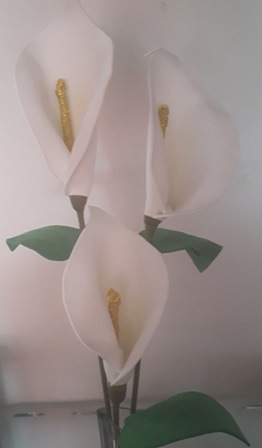
Quedando de esta manera nuestras hermosas flores ideales para decorar cualquier rincón de tu casa!
In this way, our beautiful flowers are ideal to decorate any corner of your home!

Es un proyecto muy hermoso, práctico y sobre todo útil, las manualidades pueden despertar la creatividad y el ingenio de los pequeños mientras se divierten y comparten con ellos, les agradezco por acompañarme en este proyecto y los invito a que lo hagan. los pequeños de la casa, les aseguro que les encantará. Nos vemos en una nueva publicación.
It is a very beautiful, practical and above all useful project, crafts can awaken the creativity and ingenuity of the little ones while they have fun and share with them, I thank you for joining me in this project and I invite you to do so. the little ones of the house, I assure you that they will love it. See you in a new post.


¡Felicidades! Esta publicación obtuvo upvote y fue compartido por @la-colmena, un proyecto de Curación Manual para la comunidad hispana de Hive que cuenta con el respaldo de @curie.
Si te gusta el trabajo que hacemos, te invitamos a darle tu voto a este comentario y a votar como testigo por Curie.
Si quieres saber más sobre nuestro proyecto, acompáñanos en Discord: La Colmena.
Curation Collective Discord community
community witness. Please consider using one of your witness votes on us hereEste post fue compartido en el canal #spanish-curation de la comunidad de curación y obtuvo upvote y reblog por la cuenta de la comunidad @c2-spanish después de su curación manual.This post was shared in the #spanish-curation channel in the for curators, and upvoted and reblogged by the @c2-spanish community account after manual review.@c-squared runs a