.jpeg)

Español
Hola querids amigos ❤️ Este nuevo día les traigo un nuevo y divertido tutorial donde aprenderemos como realizar un hermoso cuadro de un tierno y comelón panda, perfecto para decorar nuestras paredes favoritas dando ese toque creativo y personal, y lo mejor de todo es que esta hecho de materiales súper económicos y muy fáciles de conseguir. Así que, los invito a seguir disfrutando de este divertido trayecto, perfecto para el desarrollo de la creatividad de todos, especialmente de nuestros niños.
English
Hello, dear friends ❤️ This new day I bring you a new and fun tutorial where we will learn how to make a beautiful picture of a cute and eater panda, perfect to decorate our favorite walls giving that creative and personal touch, and the best of all is that it is made of super cheap materials and very easy to get. So, I invite you to continue enjoying this fun journey, perfect for developing everyone's creativity, especially our children.
¿Qué están esperando?
Gracias a esta técnica podemos crear nuestro propio cuadro de panda, además, una hermosa obra hecha en casa es una manera creativa y muy económica de darle un toque de alegría a nuestro entorno. Antes de comenzar no olvidemos lavarnos nuestras manos.
What are they waiting for?
Thanks to this technique we can create our own panda painting, in addition, beautiful homemade work is a creative and very inexpensive way to give a touch of joy to our environment. Before we start, let's not forget to wash our hands.
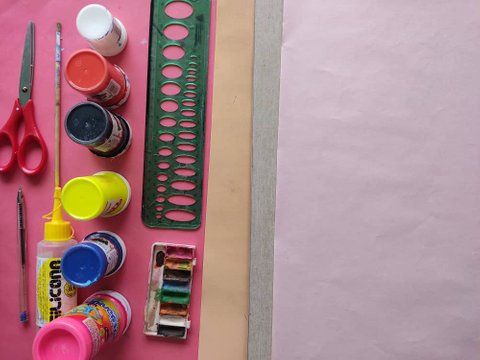
[Materiales | Materials]
Para realizar este tierno panda necesitaremos:
- Moldes.
- Foamy o goma eva.
- Papel vegetal o calco.
- Lamina de cartón.
- Regla.
- Lápiz.
- Marcador.
- Tijera.
- Cúter.
- Pincel o brocha.
- Pinturas.
- Silicón liquido o pegamento.
To make this cute panda we will need:
- Molds.
- Foamy or eva foam.
- Vegetable paper or tracing.
- Cardboard sheet.
- Rule.
- Pencil.
- Bookmark.
- Scissors.
- Cutter.
- Brush or brush.
- Paintings.
- Liquid silicone or glue.
Procedimiento (paso a paso)
Process (step by step)
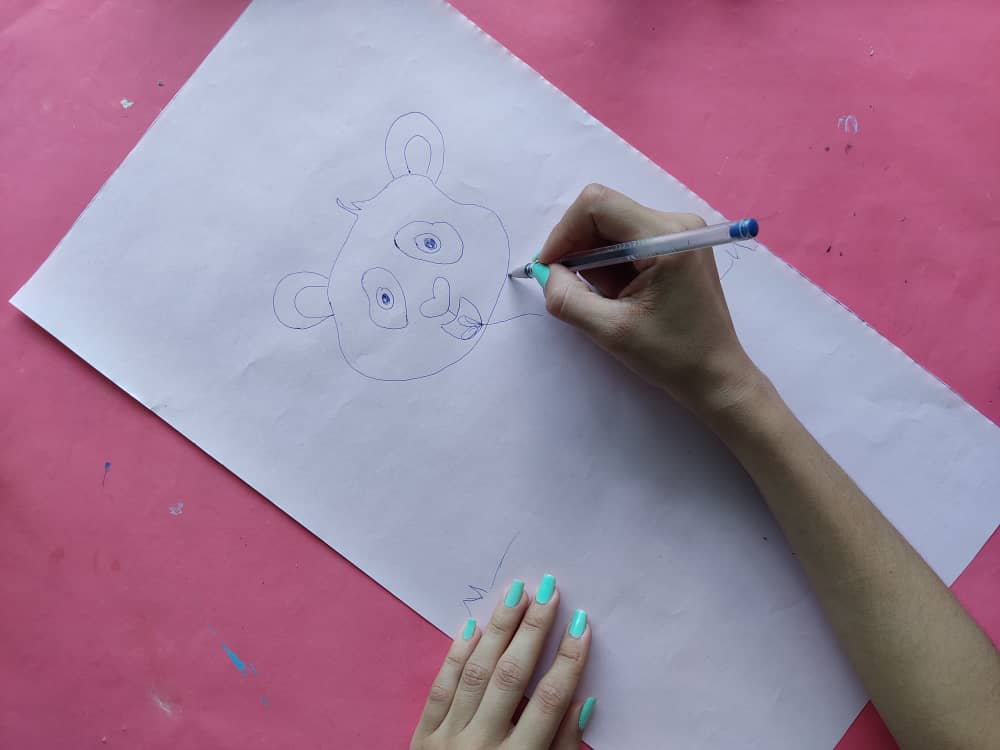
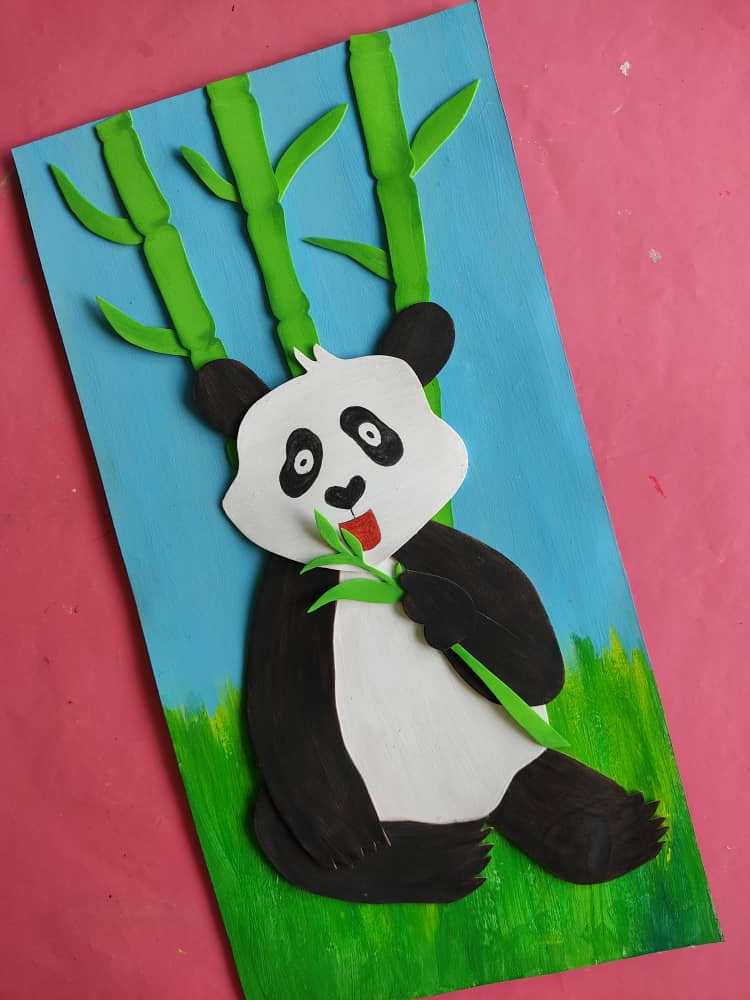
Primero, dibujamos un lindo y tierno panda comiendo un palo de bambú súper jugoso.

First, we draw a cute and cuddly panda eating a super juicy bamboo stick.
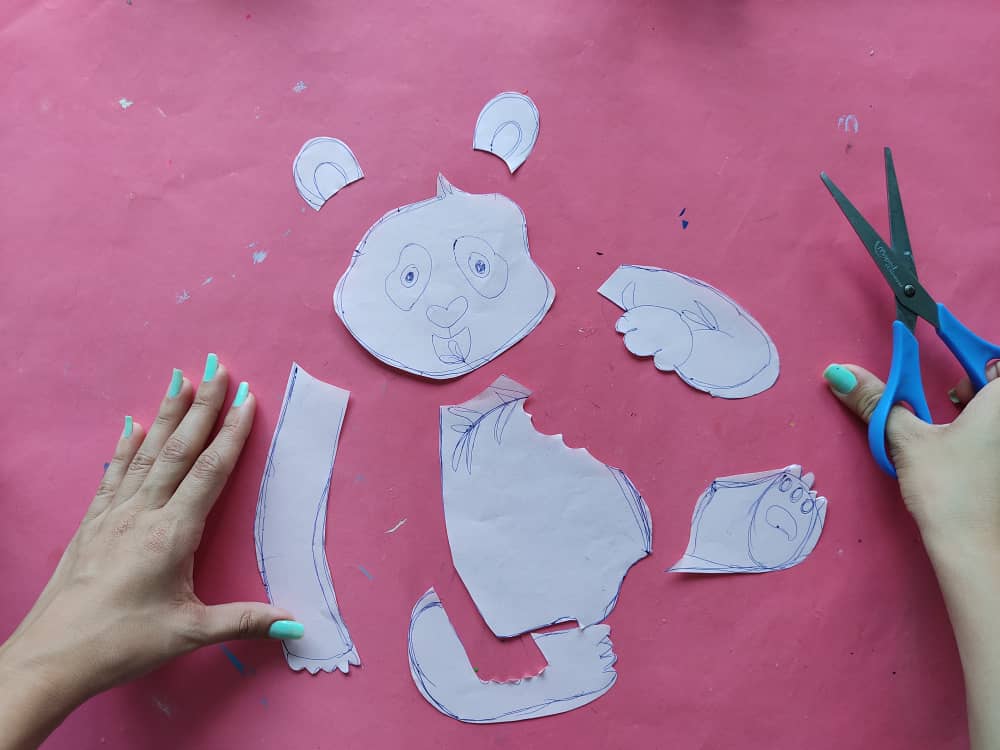
Seguidamente, recortamos nuestro dibujo separando sus orejas, cara, brazos y piernas. Y transferimos estas piezas al foamy con mucho cuidado de manera que se mantengan intactas las figuras.
Next, we cut out our drawing by separating his ears, face, arms, and legs. And we transfer these pieces to the foamy very carefully so that the figures remain intact.
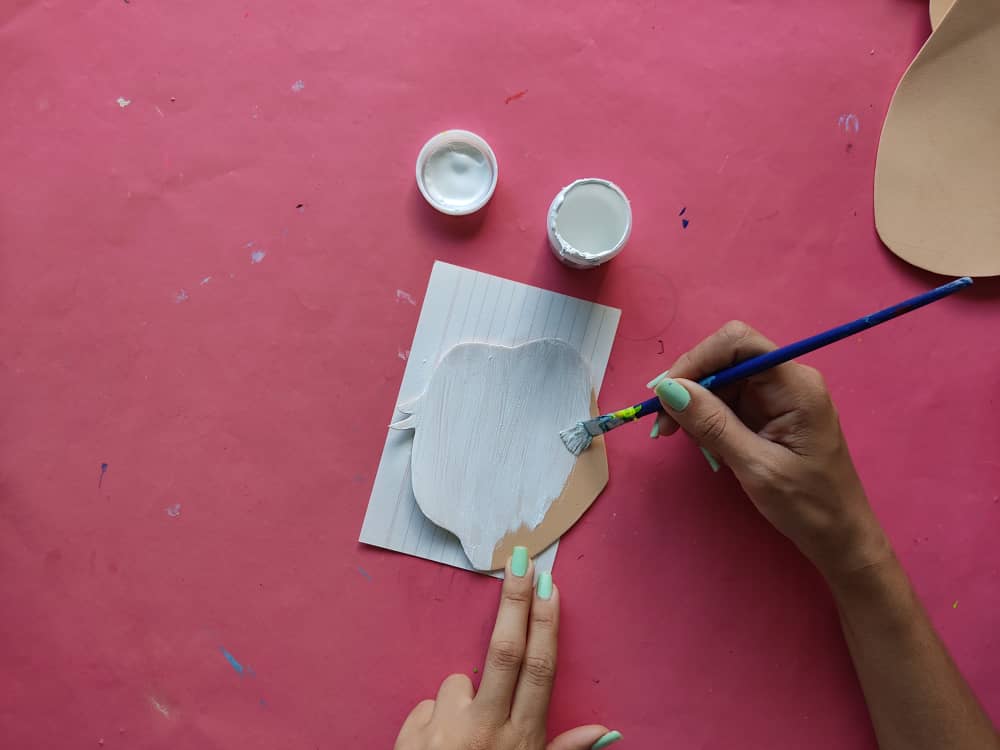
Luego, comenzamos a pintar de color blanco las piezas de acuerdo a su forma, en este caso la cara y la panza.
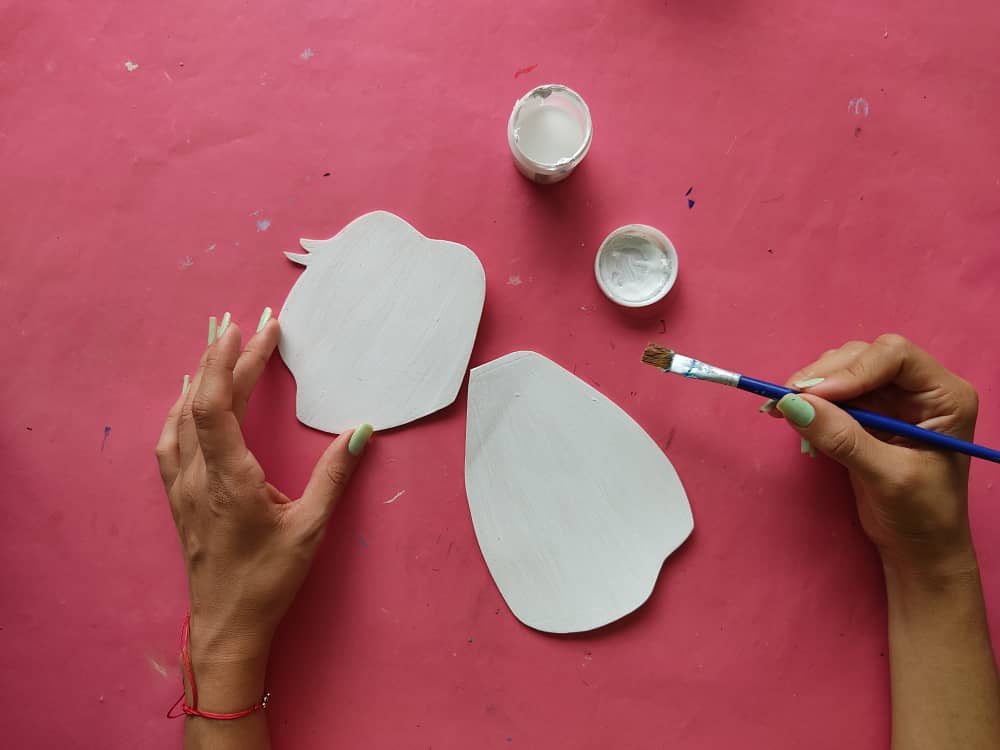
Then, we began to paint the pieces white according to their shape, in this case, the face and the belly.
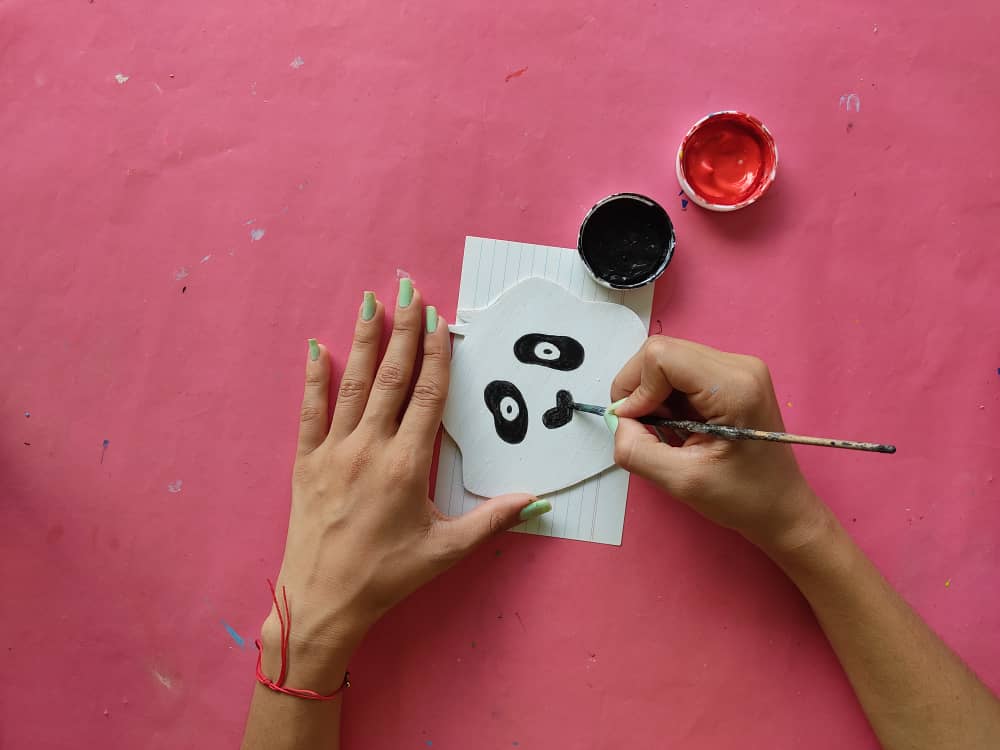
Ahora, definimos la cara y sus detalles como lo son los ojos, nariz y boca.
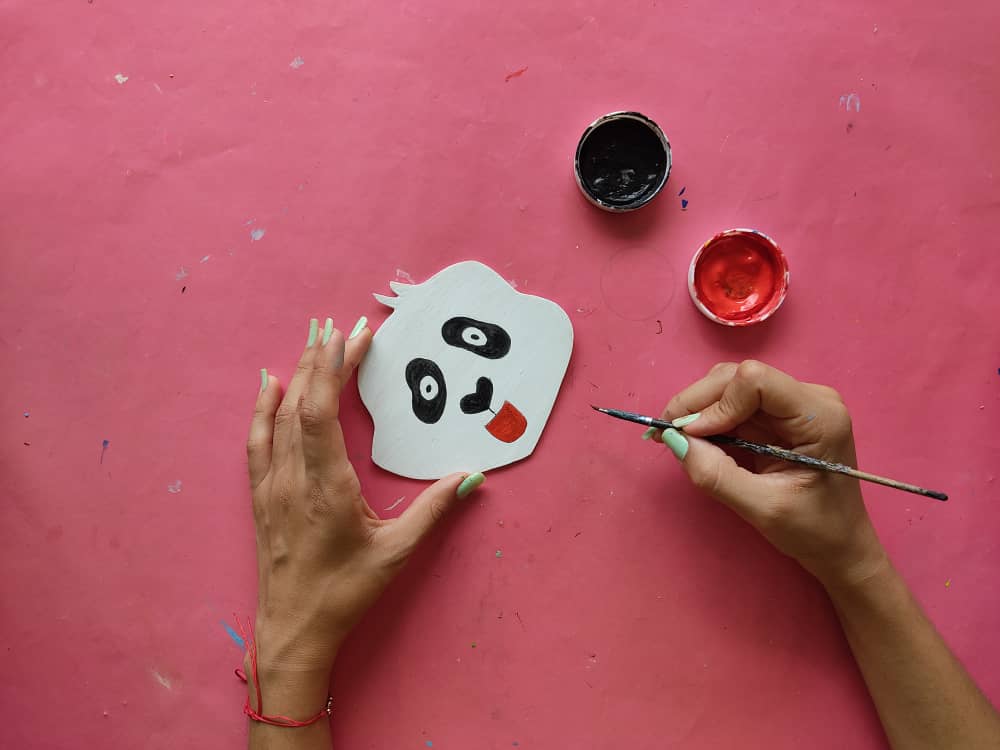
Now, we define the face and its details such as the eyes, nose, and mouth.
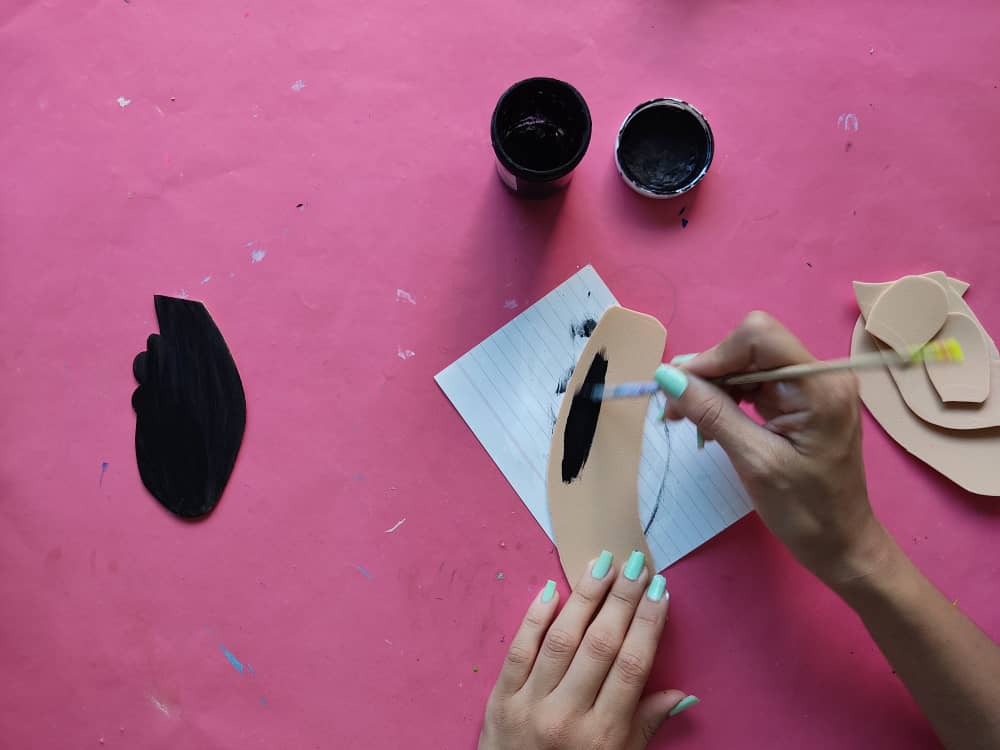
Después, pintamos las piezas restantes, es decir, los brazos y piernas de color negro, en este caso decidí pintar con una sola pincelada para que parezca el pelaje del panda.
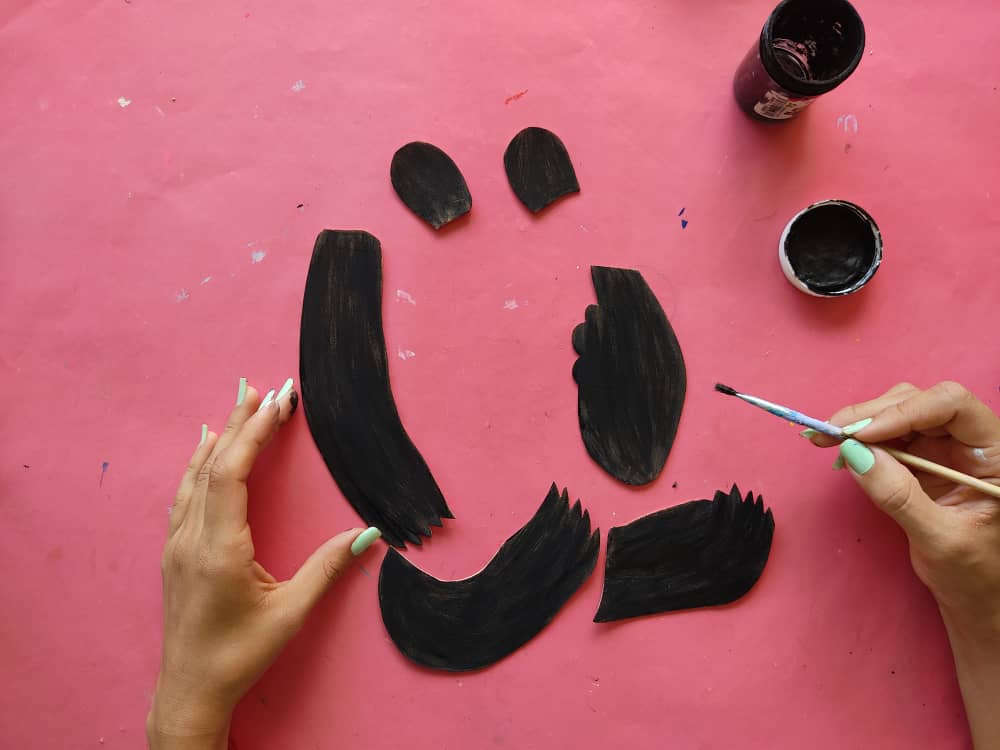
Then we paint the remaining pieces, that is, the arms and legs in black, in this case, I decided to paint with a single brushstroke to make it look like the panda's fur.
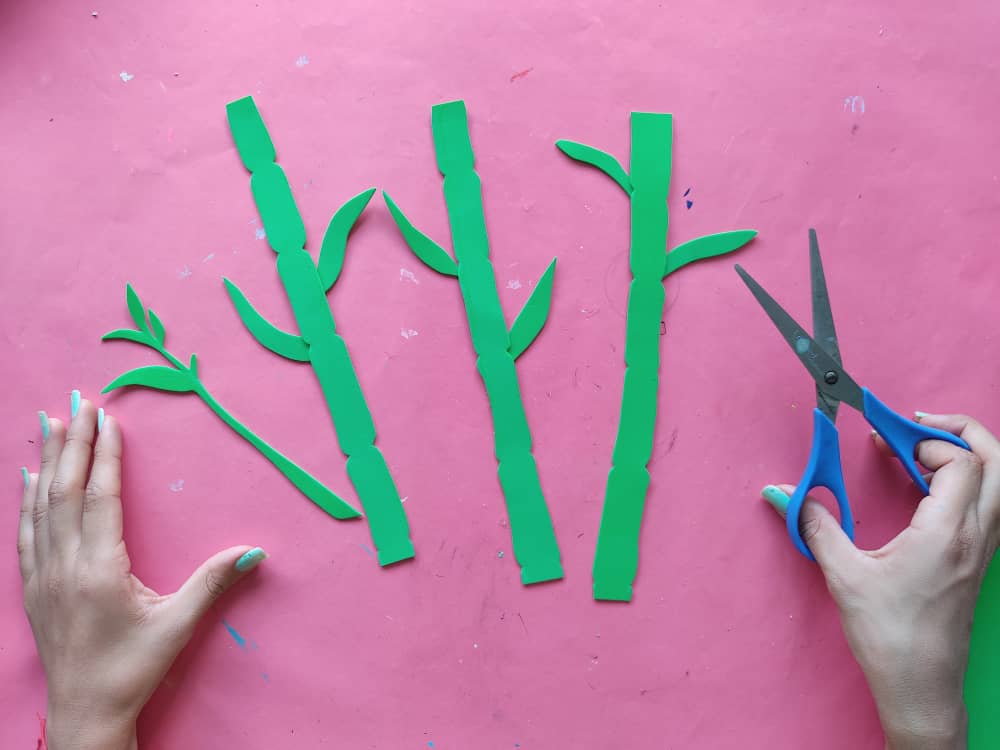
Luego, elaboramos unos palos de bambú en foamy de color verde para decorar el fondo de la base y los pintamos los palos de bambú sombreando sus bordes de color verde oscuro.
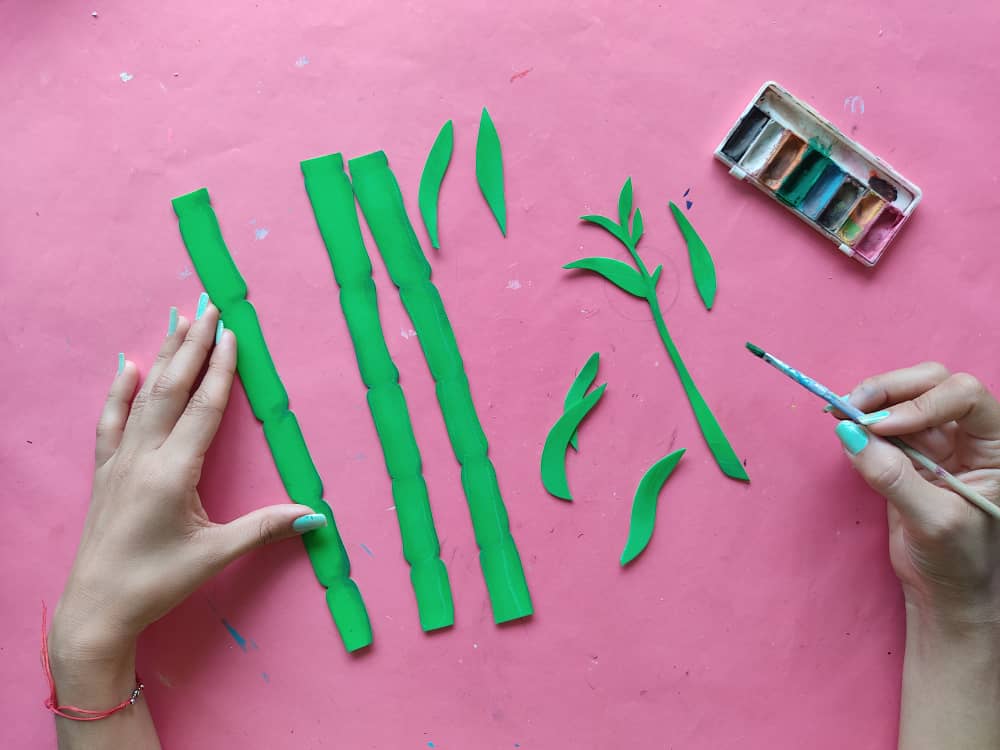
Then, we make some green foamy bamboo sticks to decorate the bottom of the base and we paint the bamboo sticks shading their edges dark green.
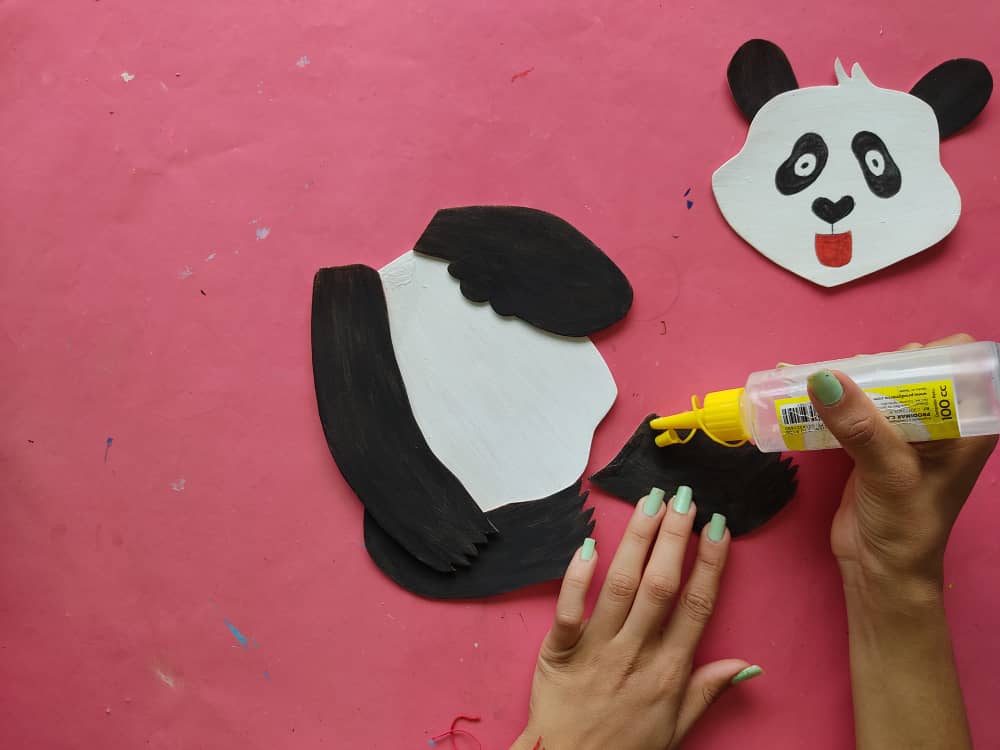
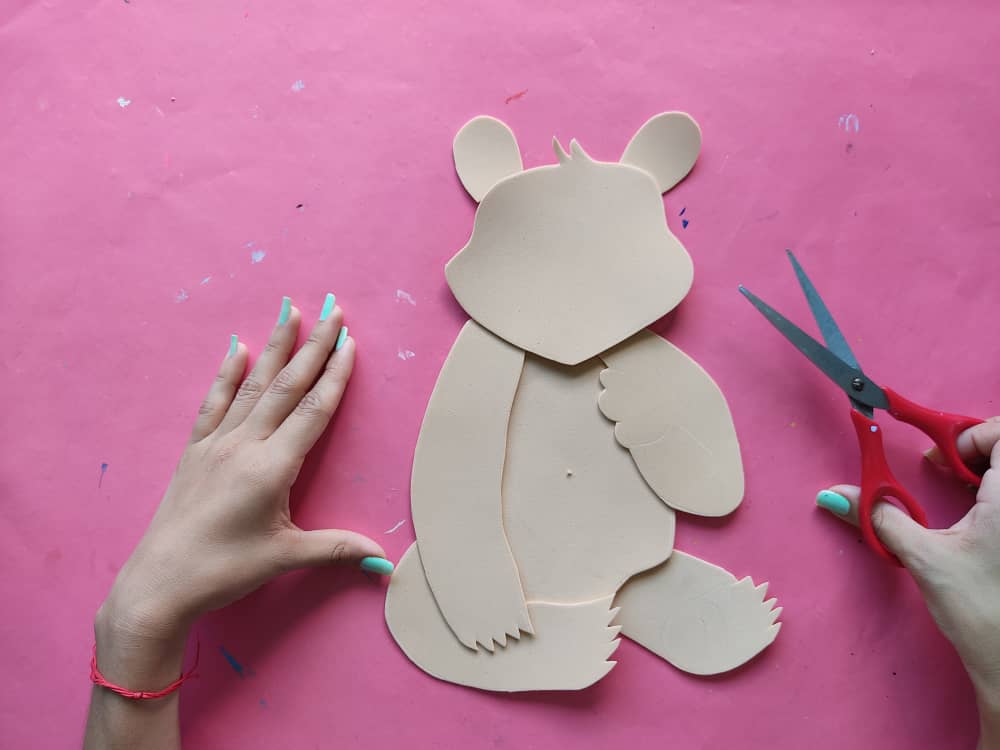
Una vez listas las piezas armamos nuestro lindo panda pegando sus orejas a su cara más el resto de las figuras.
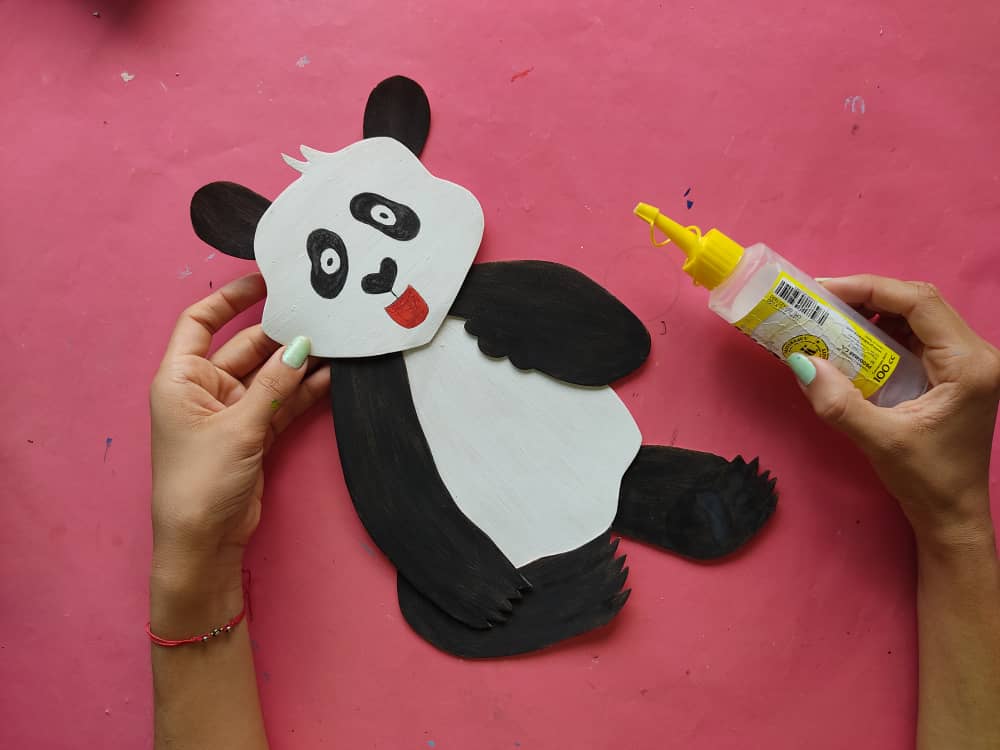
Once the pieces are ready, we put our cute panda together by sticking his ears to his face plus the rest of the figures.
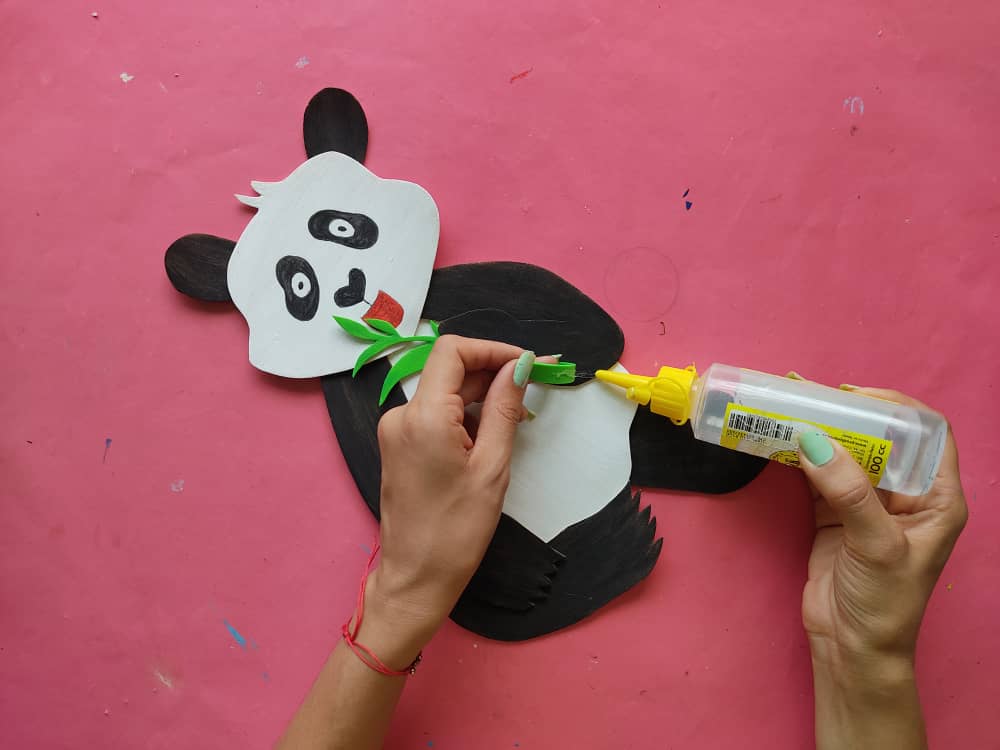
Seguidamente, pegamos la pequeña rama de bambú de manera que luzca como si realmente la está sosteniendo para comérsela.
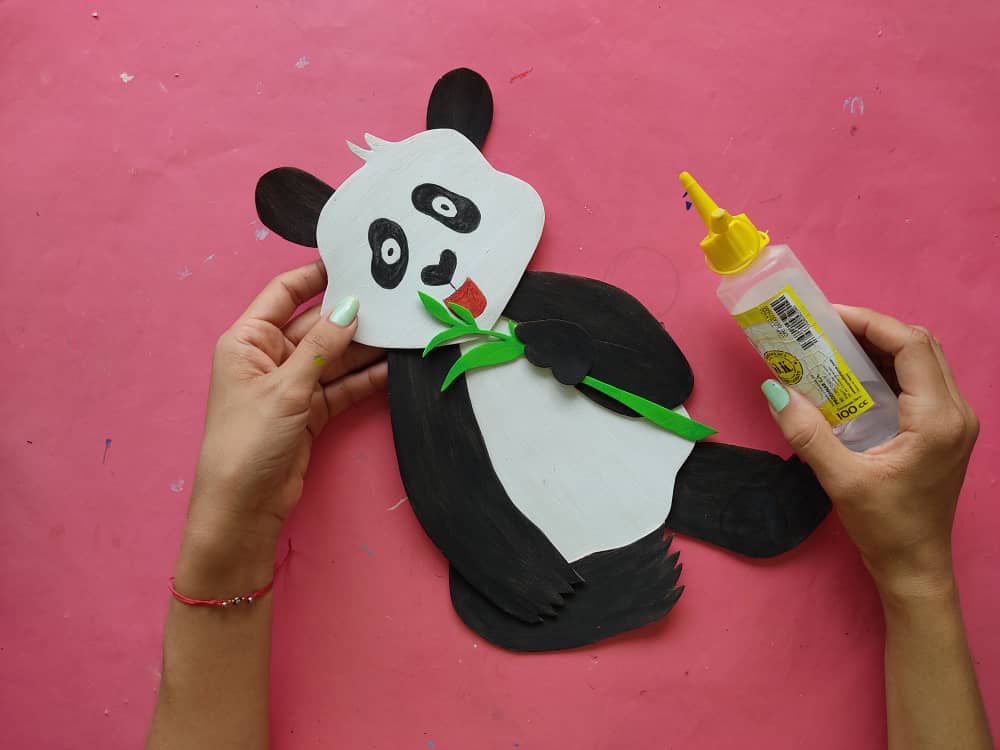
Next, we glue the small bamboo branch so that it looks as if it is actually holding it to eat it.

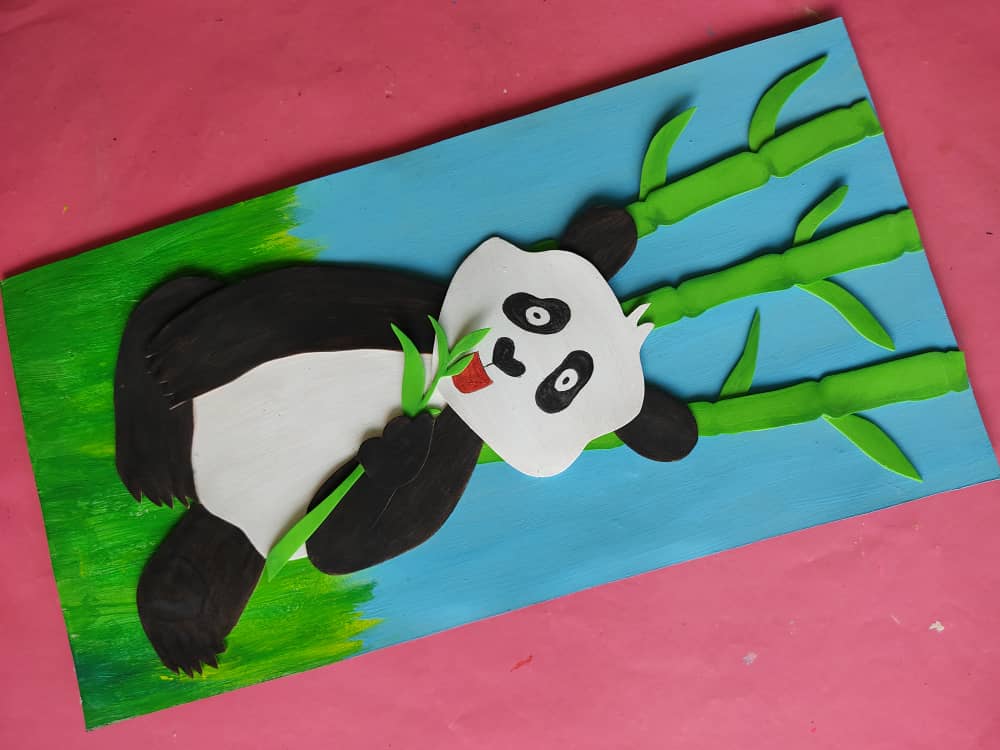
Ahora, elaboramos una linda base de cartón de 24cm por 50cm y la pintamos de verde para el césped y azul para el cielo.
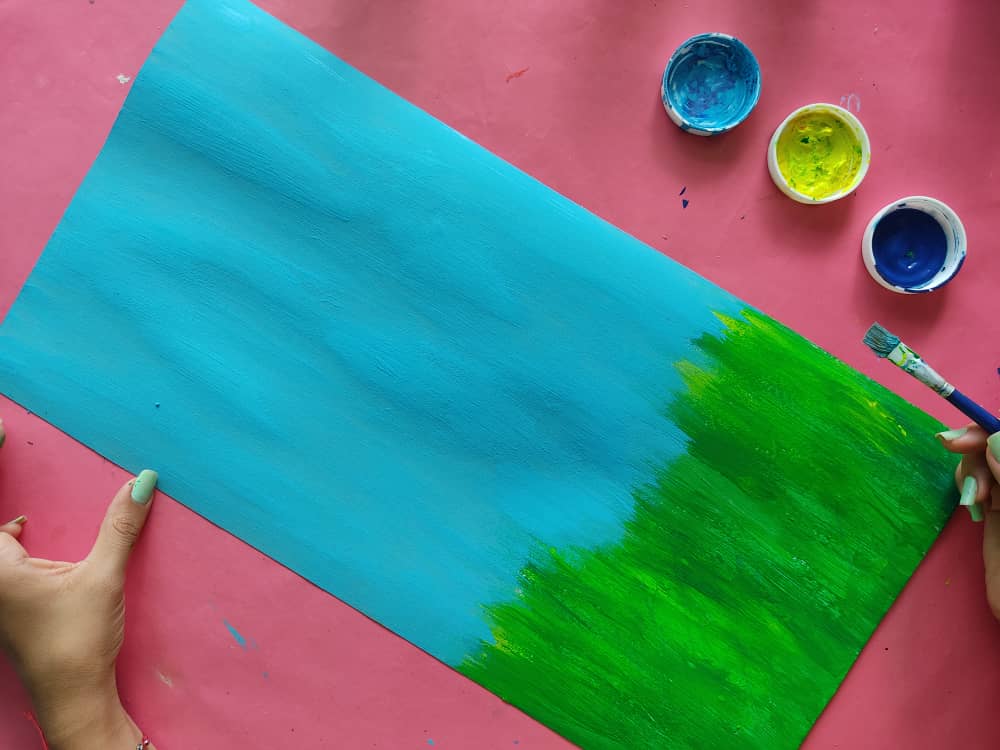
Now, we make a nice 24cm by 50cm cardboard base and paint it green for the grass and blue for the sky.
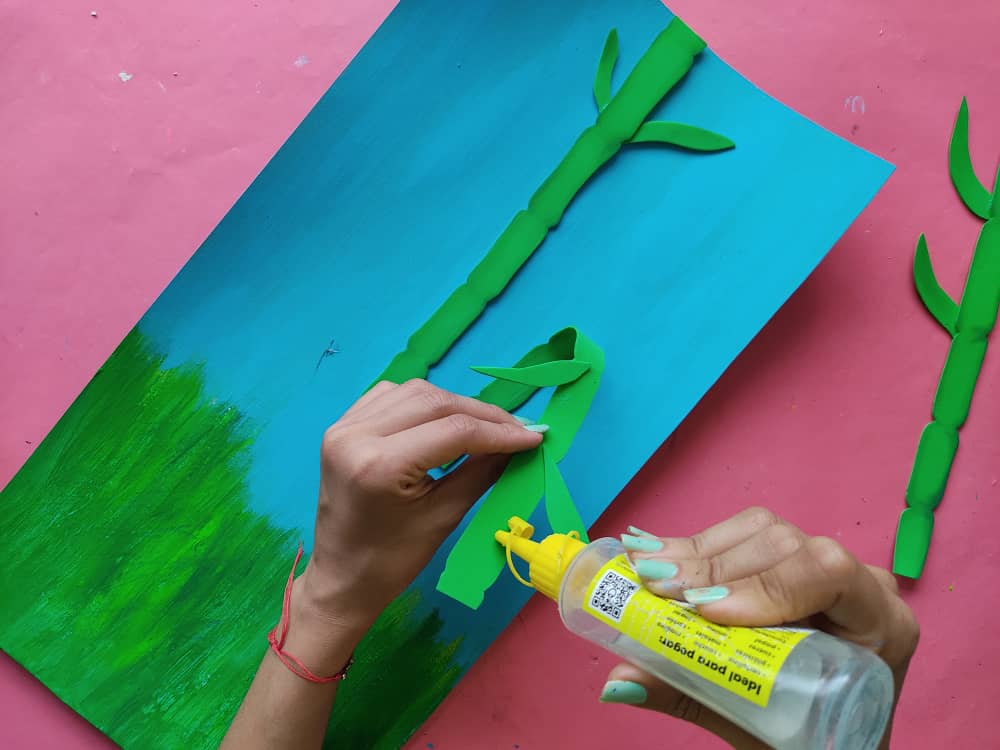
Una vez que esté lista nuestra base, pegamos las ramas de bambú centradas en la parte superior del cuadro.
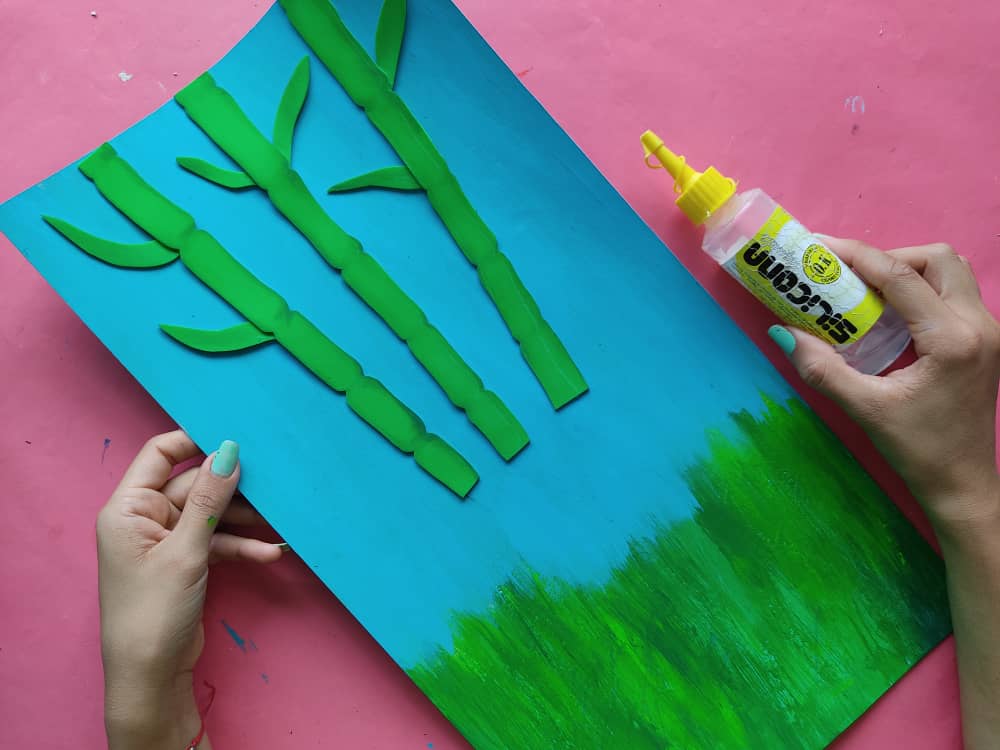
Once our base is ready, we glue the bamboo branches centered at the top of the frame.
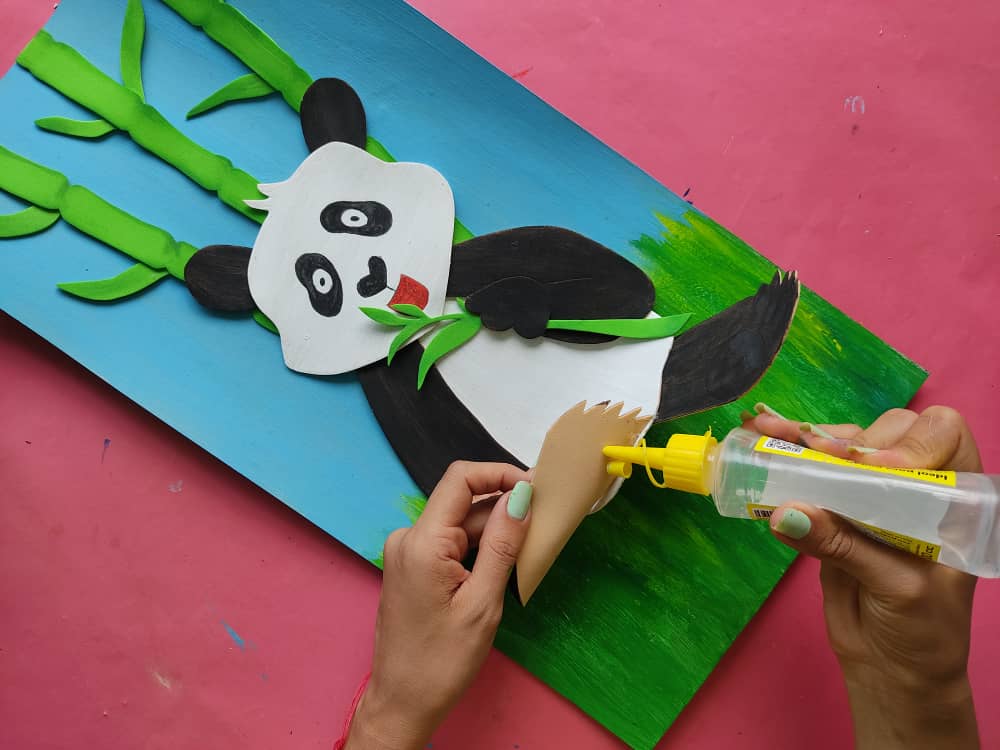
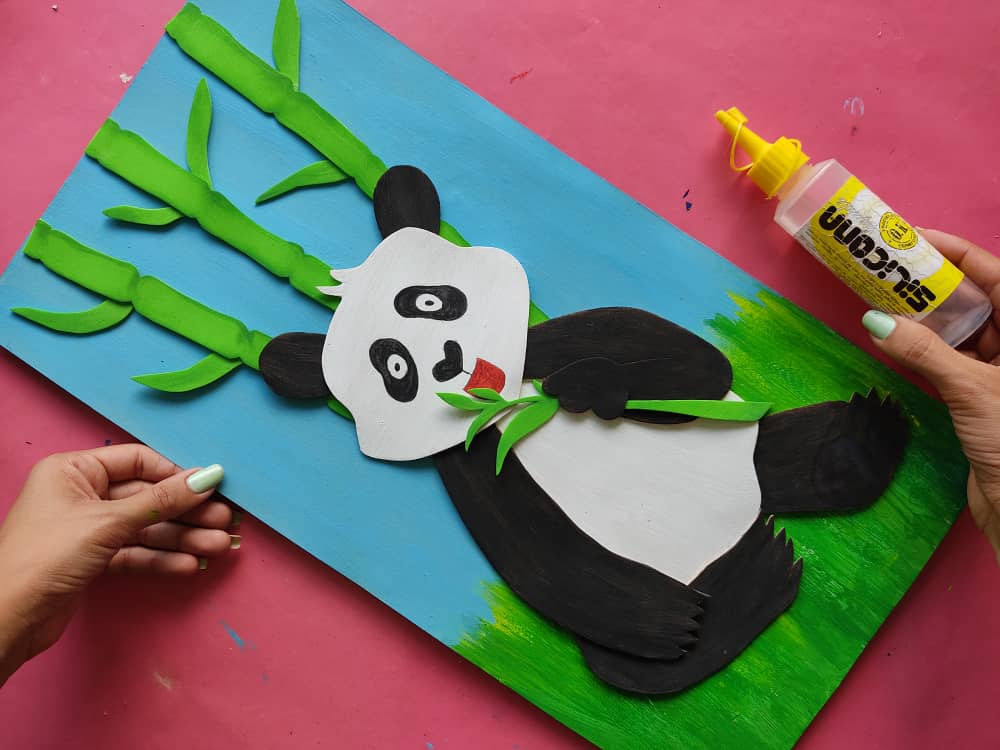
Después, pegamos a nuestro hermoso panda al hermoso cuadro, asegurándonos que quede muy bien pegada.
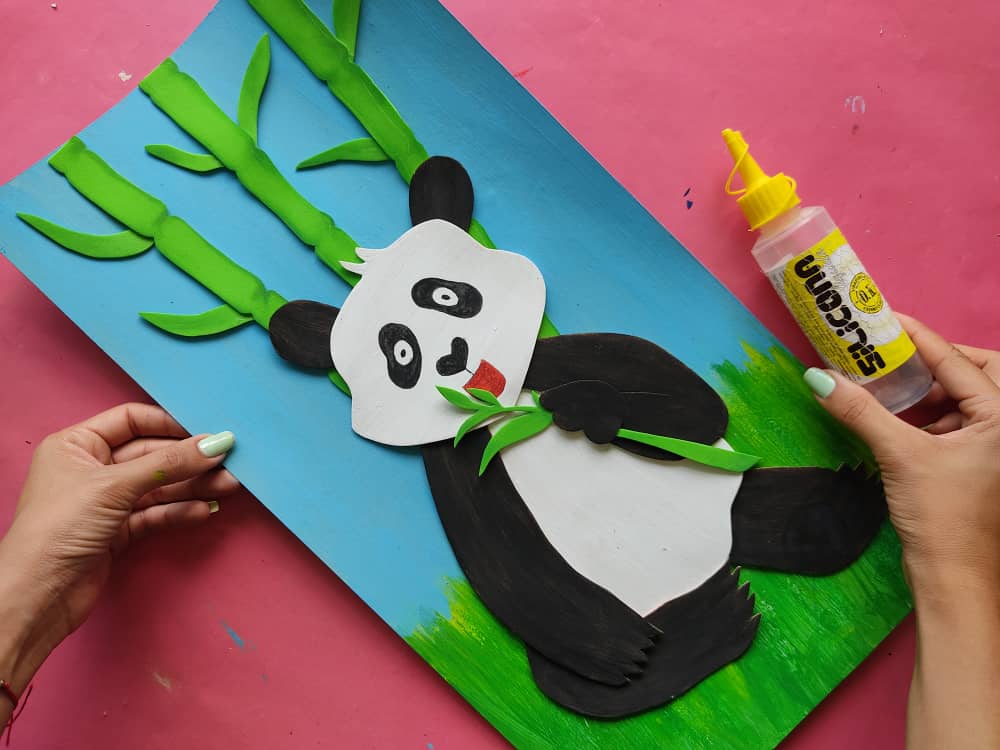
Next, we glue our beautiful panda to the beautiful painting, making sure it is very well glued.
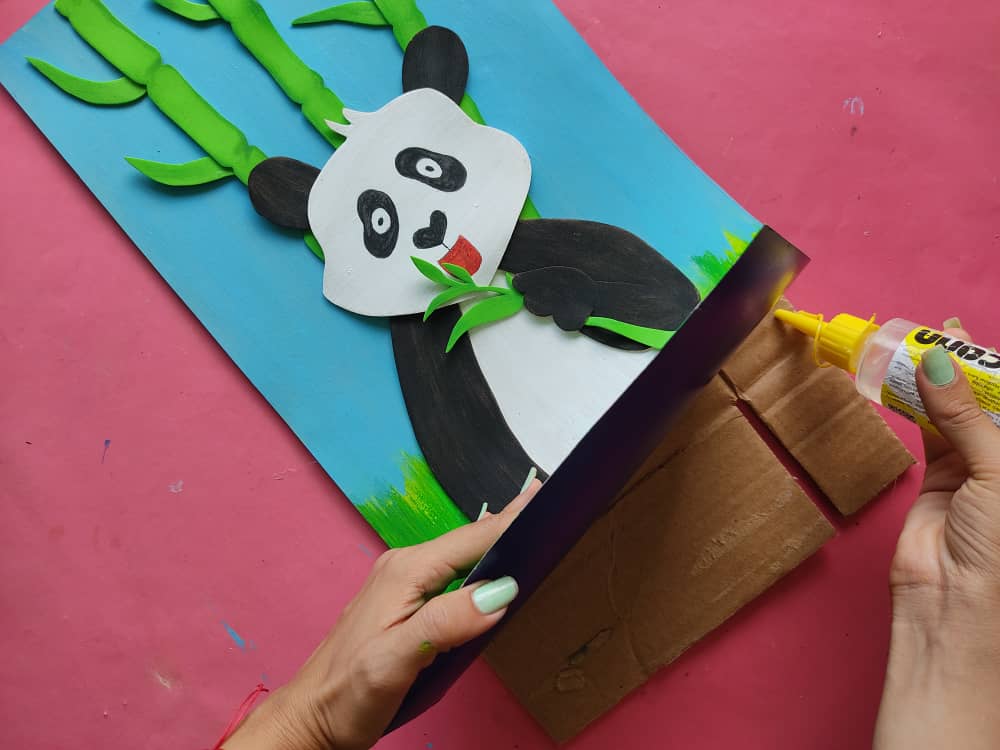
Finalmente, pegamos nuestra obra sobre una base de cartón más grueso para así lograr que nuestro cuadro tenga mayor firmeza.
Finally, we glue our work on a thicker cardboard base in order to make our painting more firm.
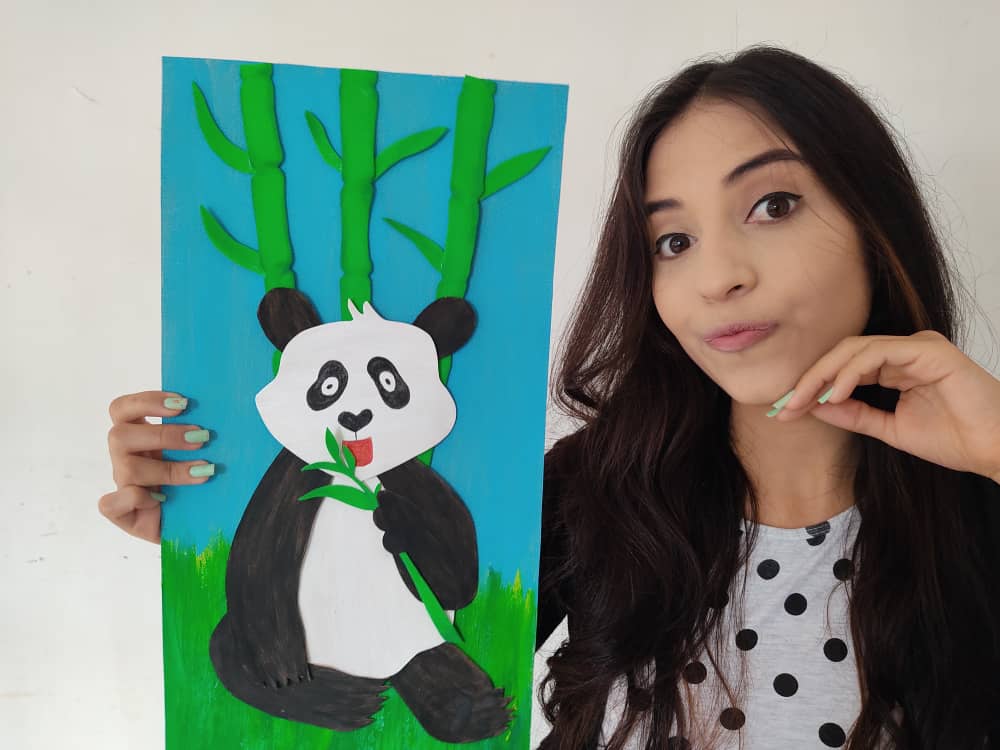
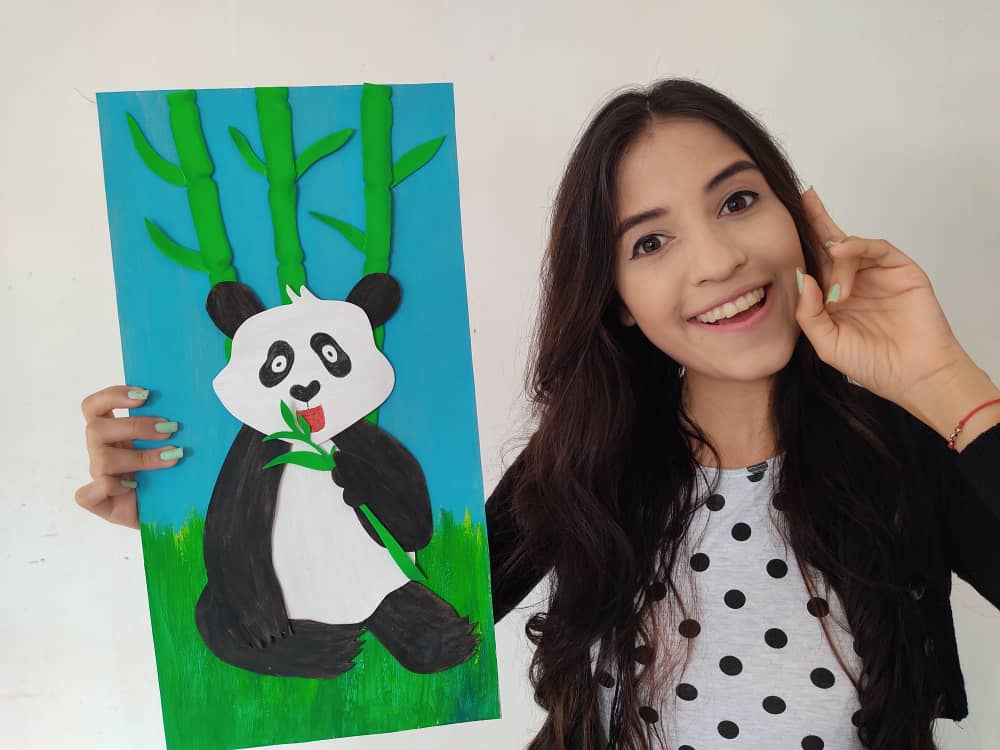
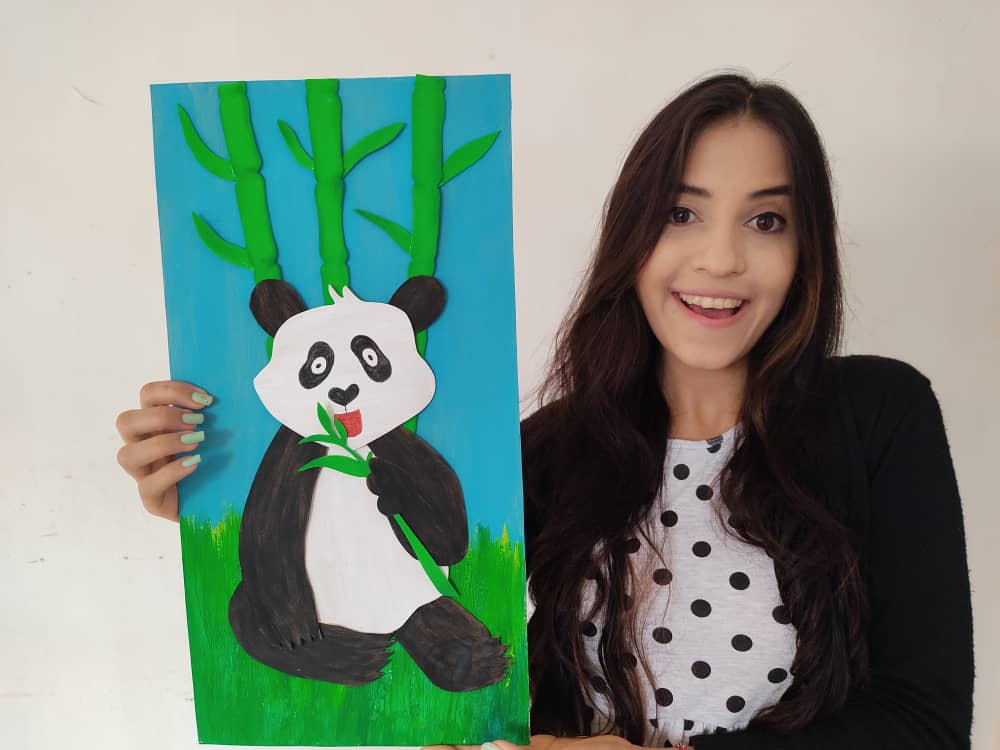
Gracias por acompañarme y espero que lo hayan disfrutado. ❤️
Thanks for joining and I hope you enjoyed it.❤️
.jpeg)
.jpeg)
.jpeg)
.jpeg)
.jpeg)
.jpeg)
.jpeg)
.jpeg)
.jpeg)
.jpeg)


My twt #posh
Muy lindo, tierno y ceñido al tiempo
Muchos gracias amigo
Your post has been voted as a part of Encouragement program. Keep up the good work!
Boost your earnings, double reward, double fun! 😉
Support Ecency, in our mission:
Hivesigner: Vote for ProposalTry https://ecency.com and Earn Points in every action (being online, posting, commenting, reblog, vote and more).Ecency: https://ecency.com/proposals/141
que buena obra señorita @saracampero
Me pareció genial la idea de colocar a parte el dibujo del panda y hacer por piezas lo hace ver como un dibujo 3D te quedo tierno
Esta muy lindo
Me encantan los pandas 😅