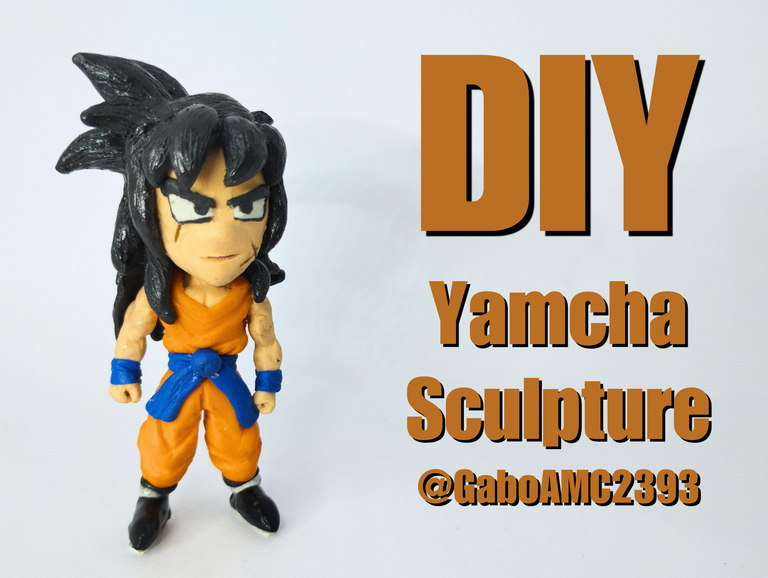
Greetings friends. As you may know, I have been sharing in the community a series of figurines that are part of a Dragon Ball collection that I am making.
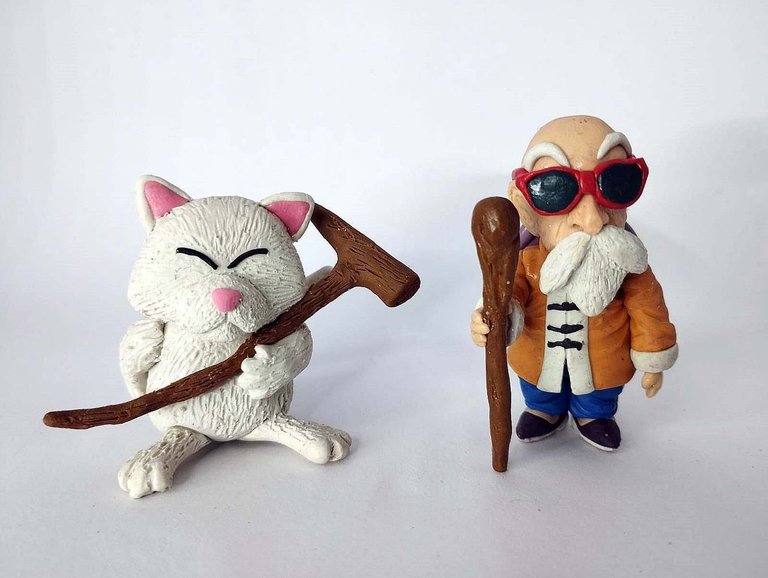
I have already made the ones of Master Roshi and Master Karin. Today I will show you the one of another iconic character, the almighty Yamcha.
You can see those Master Roshi and Karin sculpts by following the link below:
Español
Saludos amigos. Cómo quizás sepan, he estado compartiendo en la comunidad una serie de figuritas que forman parte de una colección de Dragón ball que yo mismo estoy haciendo.
Ya te hecho las del Maestro Roshi y el Maestro Karin. Hoy les mostraré la de otro icónico personaje, el todopoderoso Yamcha.
Pueden ver esas esculturas del Maestro Roshi y Karin siguiendo el enlace a continuación:
Link: https://peakd.com/hive-158489/@gaboamc2393/diy-master-karin-sculpture-eng
Step by step
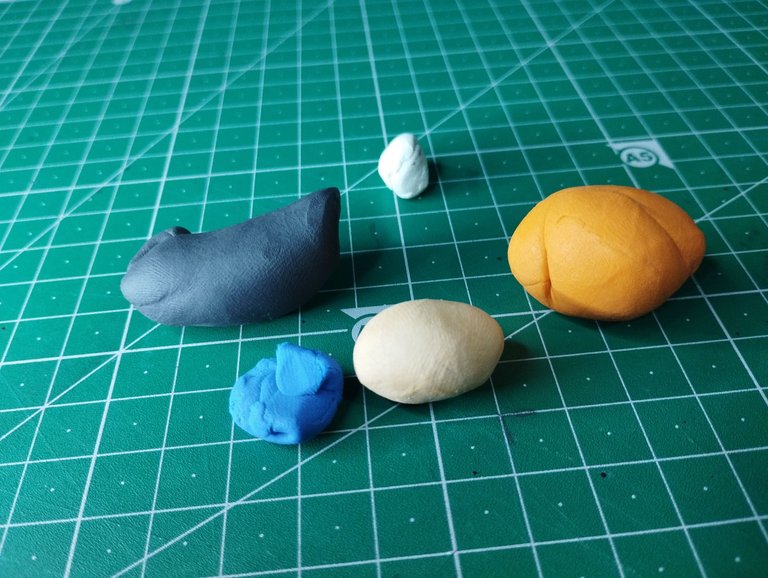
Well, as you can see, as with the other sculptures, for this one I also used plasticine, as well as other materials such as wooden sticks, glue and tools such as knitting needles and some tweezers.
Paso a paso
Bien, cómo pueden ver, al igual que con las otras esculturas, para esta también utilicé plastilina, además de otros materiales como palillos de madera, pegamento y herramientas como agujas de tejer y algunas pinzas.
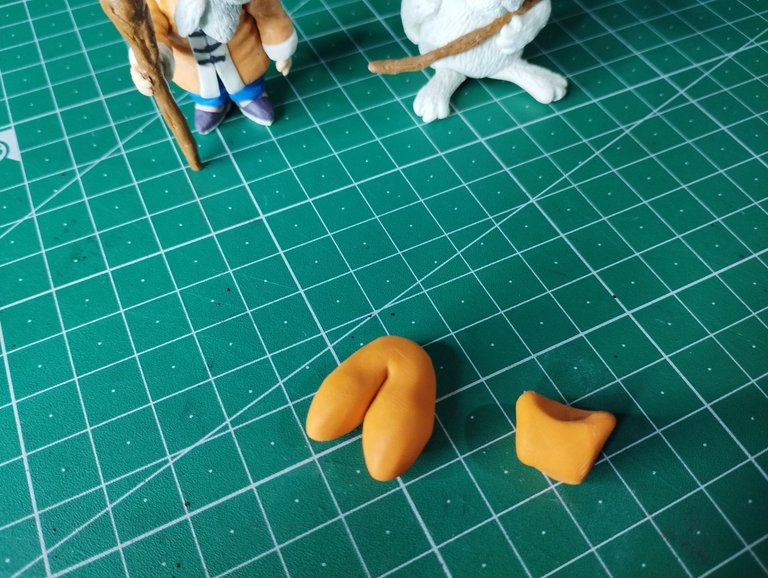
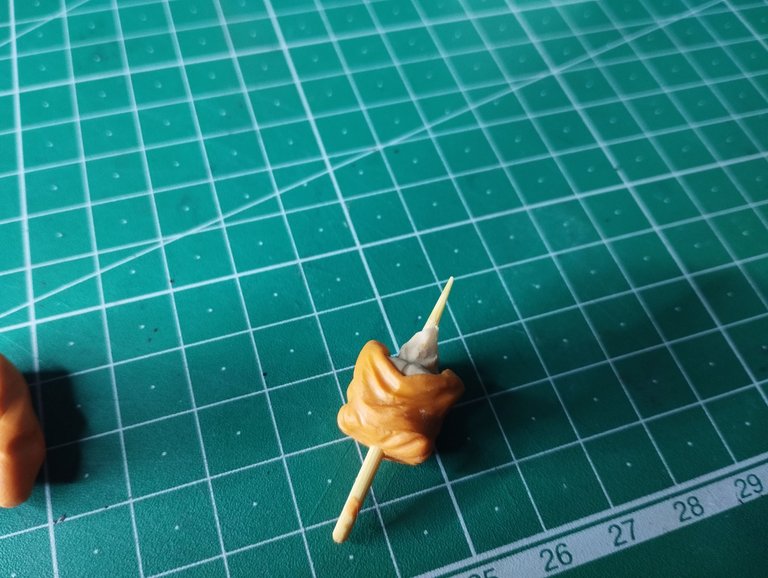
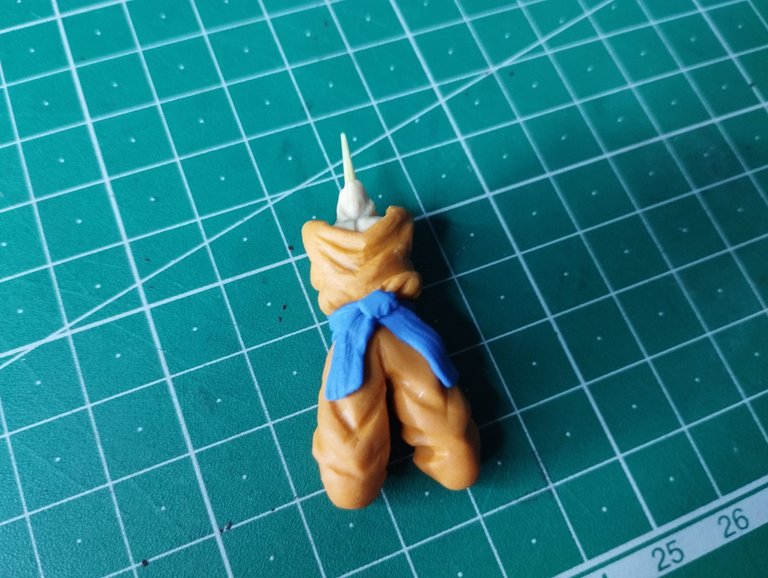
The first thing I did was to use the orange color for Yamcha's costume. I started with the top and then the bottom, making a round clothing style, as if it was inflated, then I would continue shaping it.
Lo primero que hice fue usar el color anaranjado para el traje de Yamcha. Comencé con la parte superior y luego la inferior, haciendo un estilo de ropa redonda, como si estuviese inflada, luego le seguiría dando forma.
With the knitting needle and a toothpick, I started to make the folds and wrinkles of the clothes, trying to make as many as possible, with as much symmetry as I could.
I also made the chest and neck with light skin colored plasticine. I joined the two pieces with wooden sticks and glue to reinforce the union.
Con la aguja de tejer y un palillo también, comencé a hacer los pliegues y arrugas de la ropa, tratando de hacer todos los que fuesen posible, con la mayor simetría que pude.
También le hice la parte del pecho y el cuello con plastilina color piel clara. Las dos piezas las uni con palillos de madera y pegamento para reforzar la unión.
 |  |
|---|
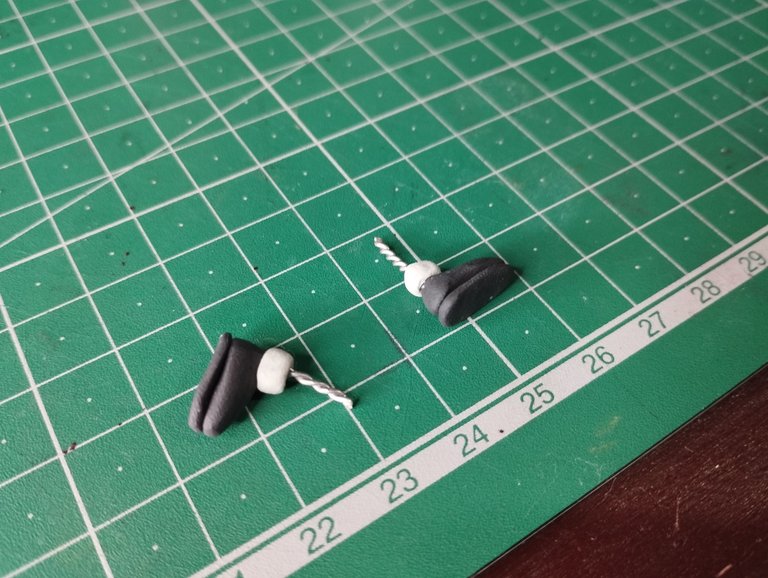
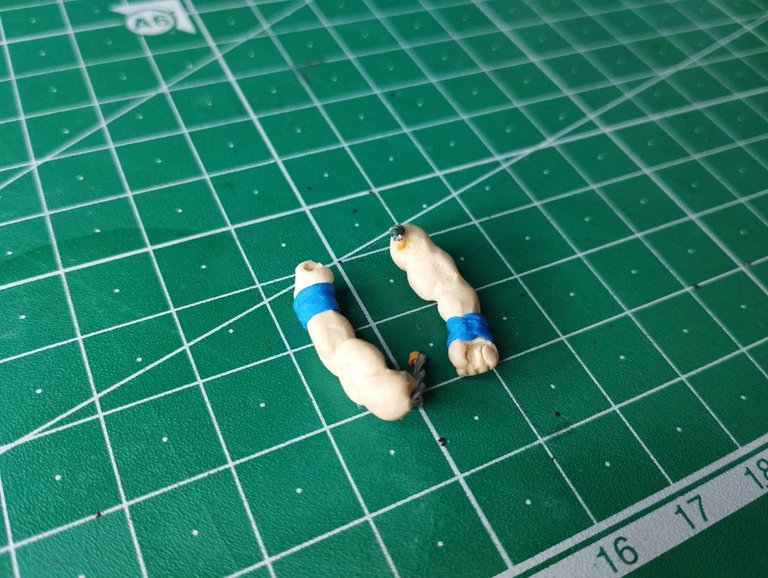
The next thing I made were the arms and legs. Because of the shape of them, I couldn't use wooden sticks, so I looked for wire, bent it and used it not only to support the arms, but I left a wire overhang outside the pieces to serve as a union with the legs and torso.
Lo siguiente que hice fueron los brazos y las piernas. Por la forma de los mismos, no pude usar palillos de madera, por lo tanto busque alambre, lo doble y lo usé no solo como soporte de los brazos, sino que deje fuera de las piezas un saliente de alambre para que sirviera de unión con las piernas y el torso.
 |  |
|---|
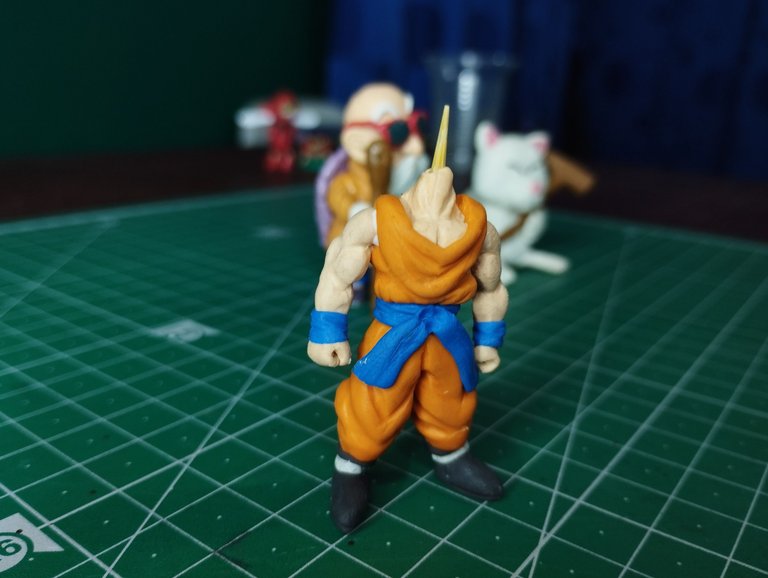
Again I used glue to reinforce the union, leaving the body of the character once finished. Notice that he can stand up, which highlights the importance of making the body in a fabric so that he can balance and stand even though he has no base to stand on. This is very important in this type of figurines.
Nuevamente usé pegamento para reforzar la unión, quedando de esta manera el cuerpo del personaje una vez terminado. Fíjense que puede ponerse de pie, lo que destaca la importancia de hacer el cuerpo de tela manera que logre un equilibrio y pueda mantenerse de pie a pesar de no tener una base sobre la cuál pararse. Esto es muy importante en este tipo de figuritas.
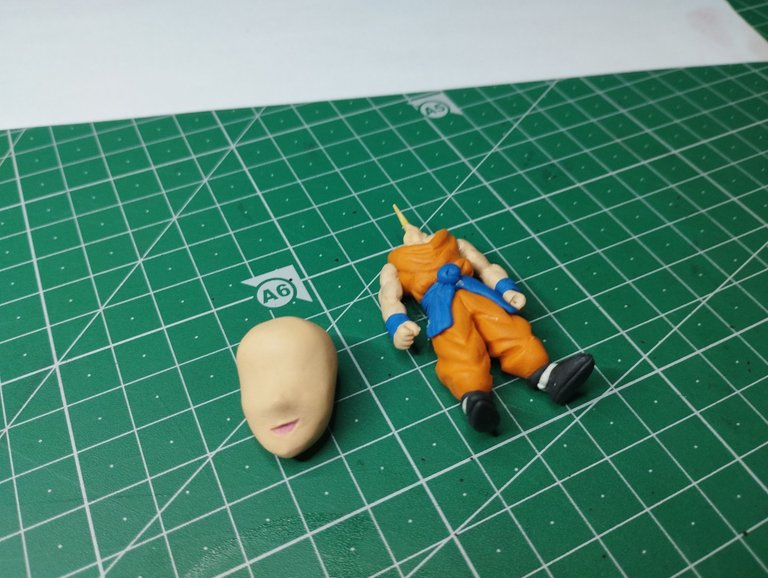
The next thing was to work on the head. Like the previous characters, this one I also did chibi style, so the head of the character is much bigger than the body.
Lo siguiente fue trabajar en la cabeza. Al igual que los personajes anteriores, este también lo hice también estilo chibi, así que la cabeza del personaje es mucho más grande que el cuerpo.
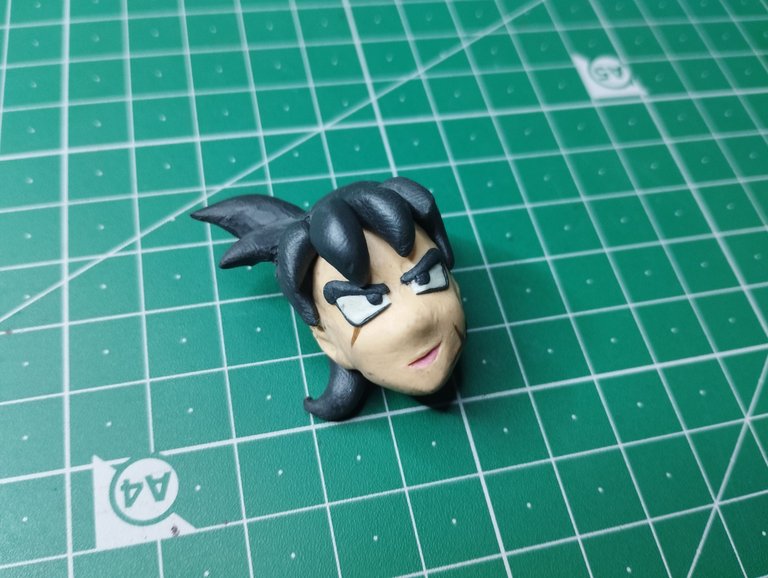
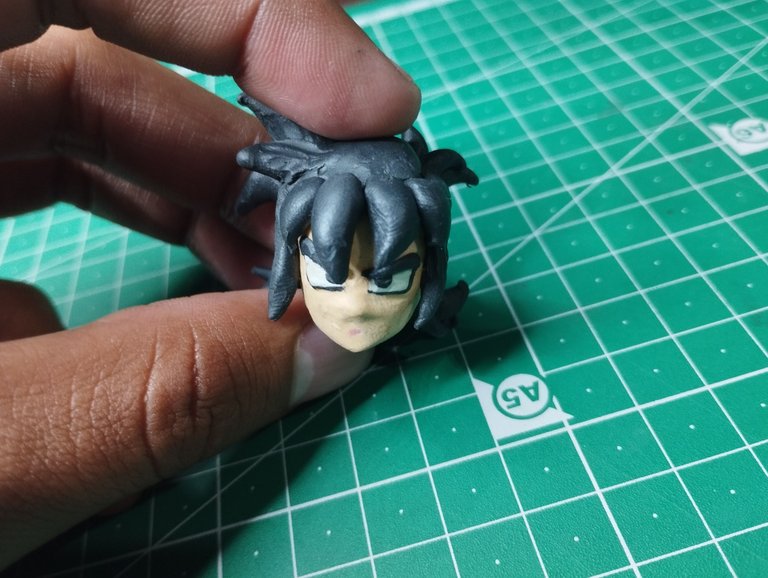
After making the base shape. I continued with the eyes, the mouth and finally the hair. Although Yamcha has a couple of different hairstyles throughout the series, the one I liked the most was the one with long hair, so I decided to do it that way.
In a way it reminds me a lot of Goku, the big difference is the mane backwards, but the front part looks very similar.
Después de hacer la forma base. Continúe con los ojos, la boca y finalmente con el cabello. Aunque Yamcha tiene un par de peinados distintos a lo largo de la serie, el que más me gustó a mi fue el de cabello largo, así que decidí hacerlo así.
En cierta forma me recuerda mucho a Goku, la gran diferencia es la melena hacia atrás, pero la parte delantera se parece mucho.
 |  |
|---|
So that it wouldn't look like a single piece of smooth plasticine without "depth", I used a wooden stick to give it that hair-like touch, making small lines without any pattern all along the black plasticine. Below you can see how it turned out.
Para que no quedase como una única pieza de plastilina lisa y sin "profundidad", usé un palillo de madera para darle ese toque similar al cabello, haciendo líneas pequeñas y sin ningún patrón a lo largo de toda la plastilina de color negro. A continuación pueden ver cómo quedó.
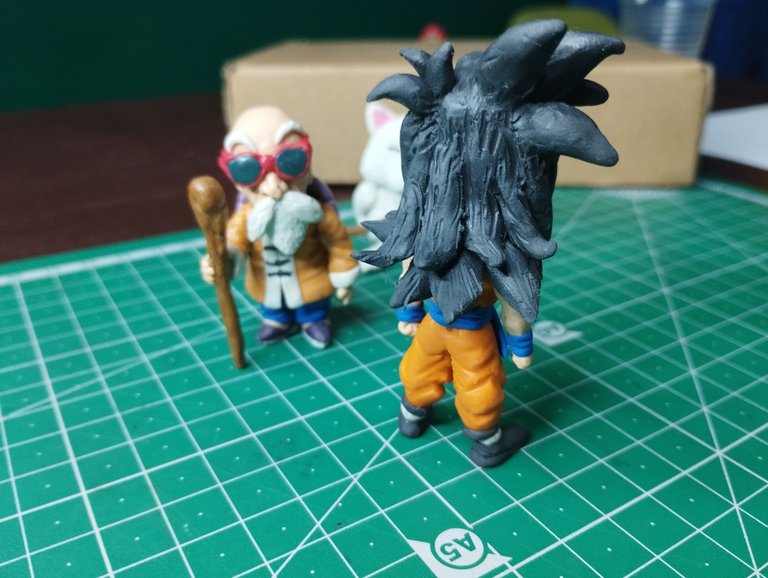
In this way the Yamcha figurine was finished. Below you can see a series of pictures of the final result:
De esta manera la figurita de Yamcha quedó terminada. A continuación pueden ver una serie de fotografías del resultado final:
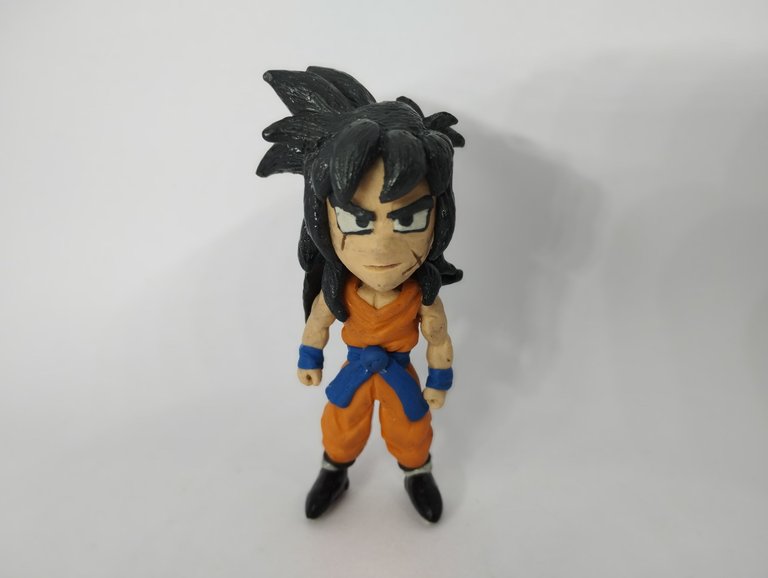
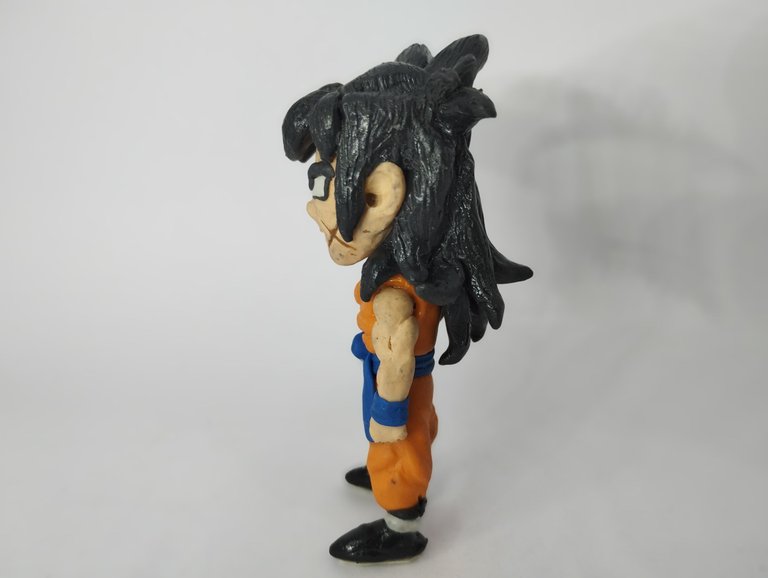
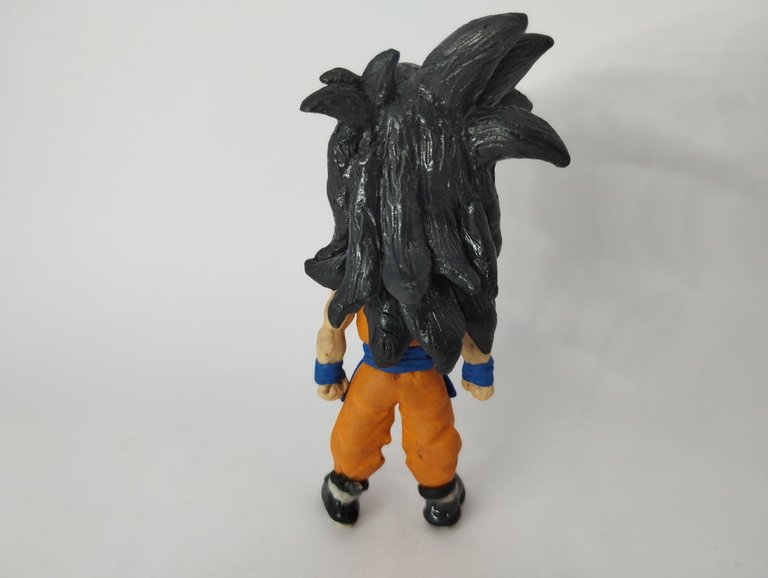
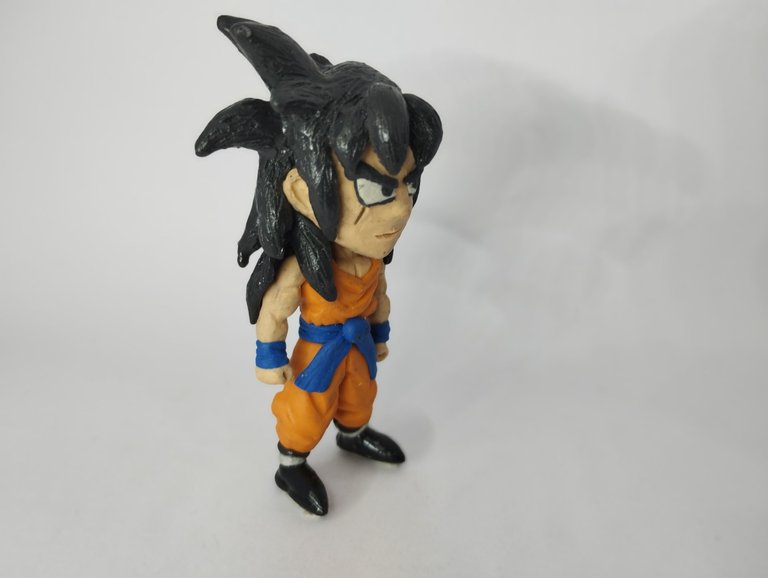
Well friends, that's all for now. This is the third figurine I've made from my collection. I sincerely hope you liked it.
I invite you to leave your opinions below in the comments, as always I will be happy to read them. With nothing more to add, I'll say goodbye then...
See you next time!
Bien amigos, esto ha sido todo por ahora. Está es la tercera figurita que hago de mi colección. Espero de corazón que les haya gustado.
Los invito a dejar sus opiniones abajo en los comentarios, como siempre estaré encantado de leerlos. Sin más que agregar, me despido entonces...
¡Hasta la próxima!

This Yamcha sculpture and fanart turned out gorgeous. One more for the collection, it keeps growing. What a beauty!
I imagine a small shelf full of all the Dragon Ball figurines 😍🤎
Or a shelf hehehe it would look great. Hopefully I can finish it soon
Thanks for they comment ando the support!
Definitely a beautiful and well-crafted sculpture. A collection that is only going to grow.Thank you as always for leaving us your wonderful work. Blessings and success.
Thanks for they support!
@tipu curate 8
Upvoted 👌 (Mana: 0/69) Liquid rewards.
Thank you for your support. Thank you very much for your support.
Thank you for sharing this post with the community and for preferring us, it is a pleasure for us to have you here.
We hope to see you soon. Best regards!
Thanks to you for this great space to share your passion for anime.
It is beautiful what you do, it is spectacular and the step by step understandable, thanks for sharing.
Thanks to you for taking the time to stop by my post to comment.
Es chistoso porque solo viendo el cuerpo, podría ser cualquier personaje de Dragon Ball jaja
Te quedó muy bien la verdad, tuviste en cuenta el detalle de la cicatriz.
Deberías hacer mas figuras. Mi recomendación es que ahora vayas por Trunks del futuro xd
Saludos, bro
I've already made several, there in the post you can see the ones I'm wearing and if you read it you will realize that it is part of a collection I'm putting together. And for sure I will make more figures, in fact I already made Puar hehehe I hope you can see it soon when I publish it.
Tienes talento, te quedaron geniales esas figuras, están muy cuidados los detalles de la vestimenta.