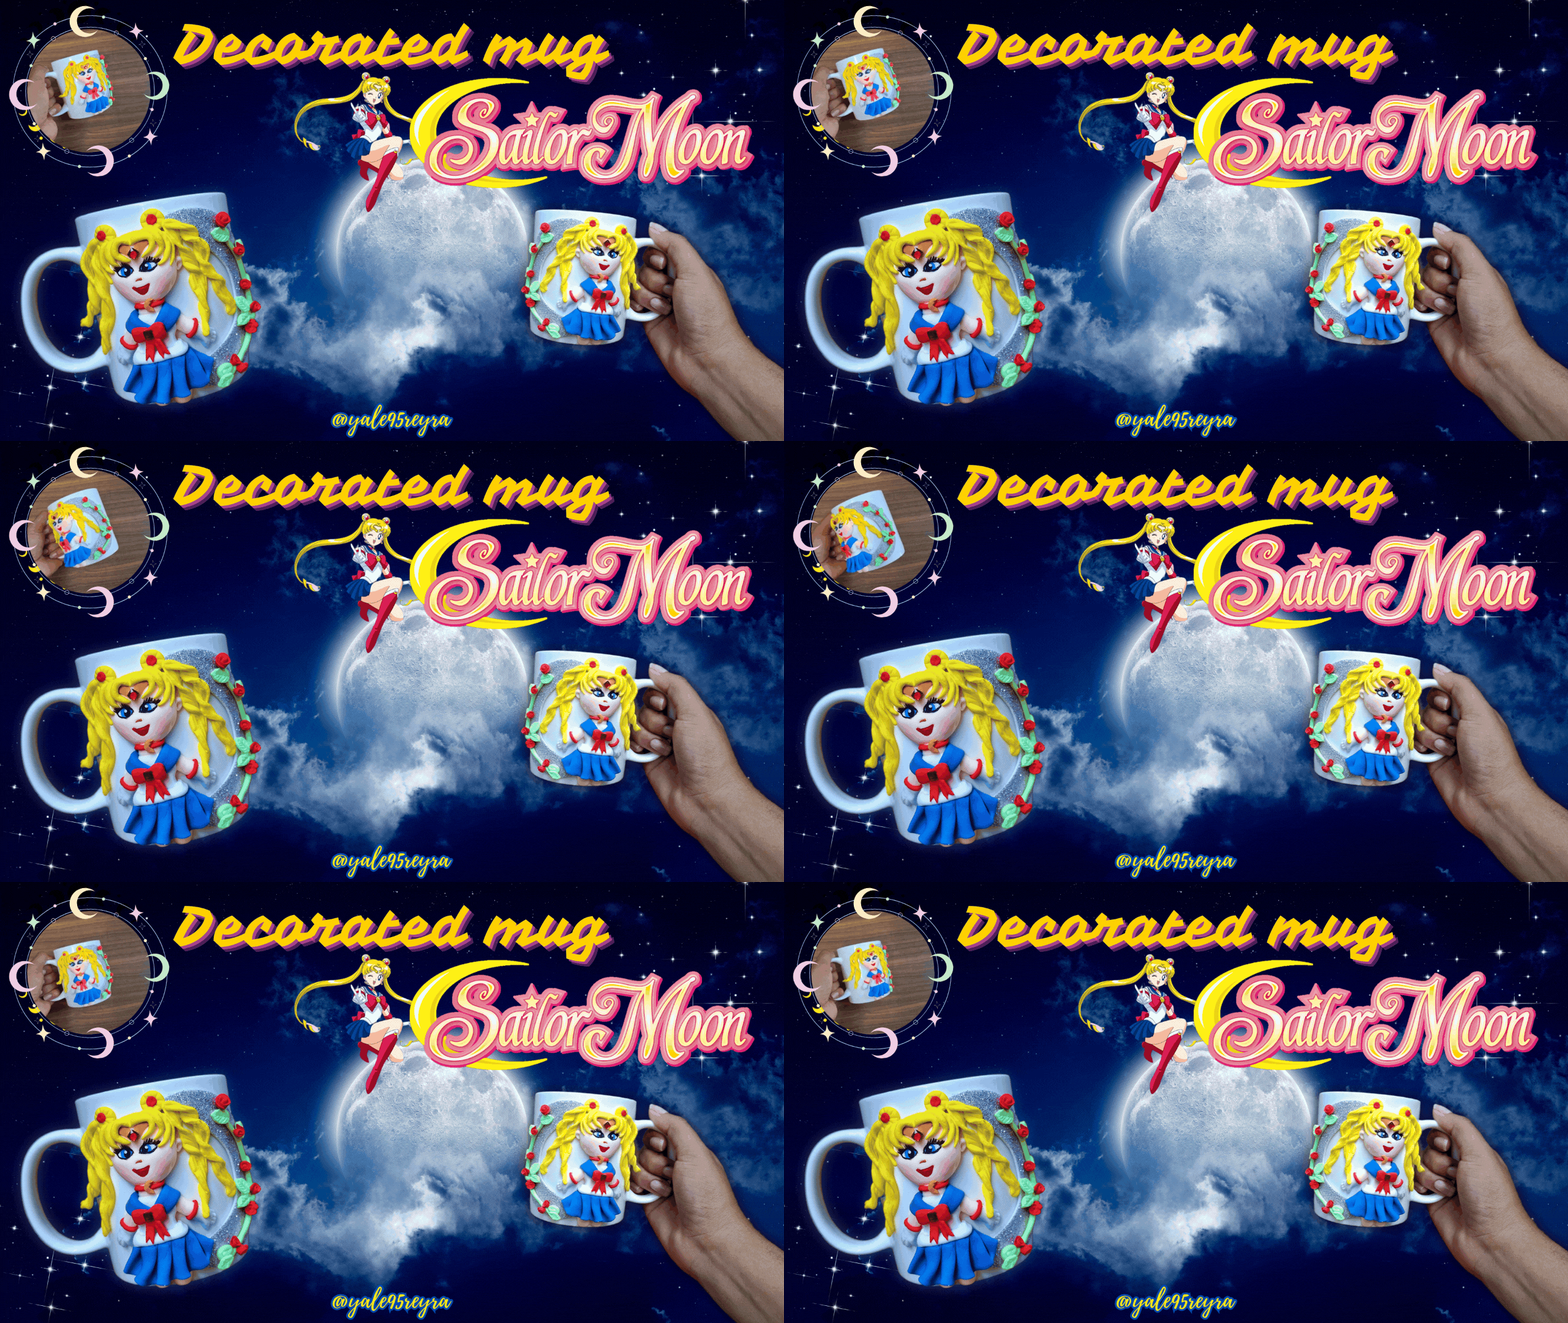
Hello dear friends, manga and anime series lovers. Today I have the pleasure to share with you a very special fan art, since I set out to create a mug decorated with the image of Sailor Moon the protagonist of a series of long ago and which, if I remember correctly, was the first anime series I saw, when I was little. I want to give this mug to a friend who is not as much a fan of anime series as my husband @edeyglezsosa, but she still told me that she has watched a lot of series including Sailor Moon.
While I was making this craft, I got to thinking that maybe, like me, many, many people have seen in their childhood series like this or even movies without knowing that they are anime series or even without knowing that they are based on manga. So now you know, if you want to have a mug decorated with Sailor Moon I invite you to enjoy this tutorial. Below I show you all the necessary materials and the step by step of the creative process.
Hola queridos amigos amantes del manga y las series anime. Hoy tengo el placer de compartir con ustedes un fan art muy especial, ya que me propuse crear una taza decorada con la imagen de Sailor Moon la protagonista de una serie de hace mucho tiempo y la cual, si mal no recuerdo, fue la primera serie anime que vi, cuando era pequeña. Esta taza se la quiero regalar a una amiga que no es tan fanática de las series anime como mi esposo @edeyglezsosa, pero aun así me contó que ha visto un montón de series entre las cuales está Sailor Moon.
Mientras hacía esta manualidad, me puse a pensar que quizás, al igual que yo, muchísimas personas habrán visto en su infancia series como esta o incluso películas sin saber que son series animes o incluso sin saber que están basadas en mangas. Pues ya sabes, si quieres tener una taza decorada con Sailor Moon te invito a que disfrutes de este tutorial. A continuación te muestro todos los materiales necesarios y el paso a paso del proceso creativo.
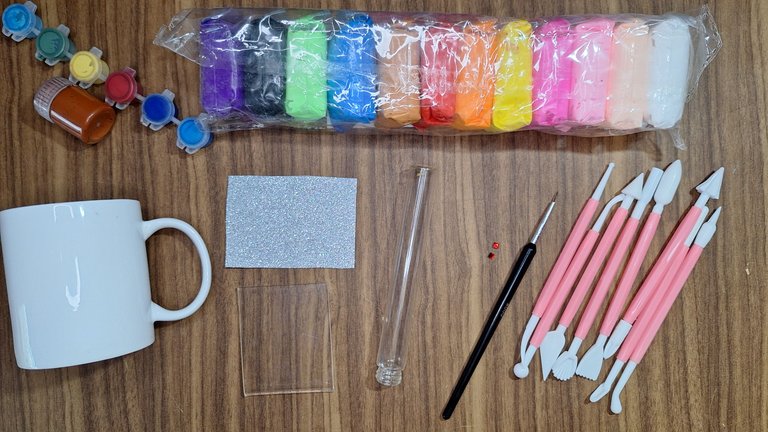
🌙Materials // Materiales🌙
- 1 cup / 1 taza
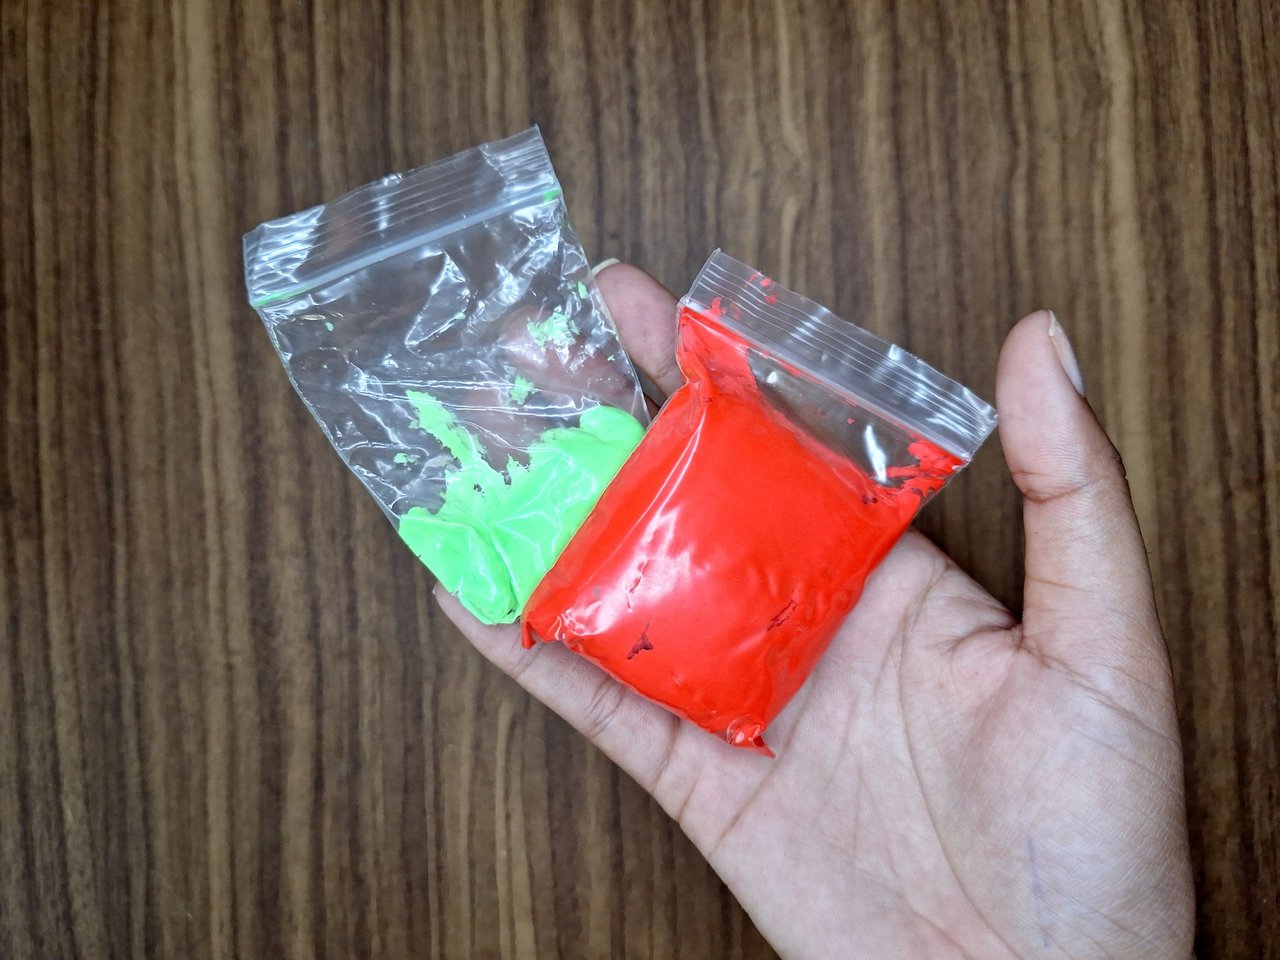
- Moldable foami / Foami moldeable
- Silver foami sheet / Hoja de foami plateada
- Roller / Rodillo
- Clear acrylic plate / Placa de acrílico transparente
- Stake / Esteca
- Liner brush / Pincel liner
- Paints / Pinturas
🌙Step by step // Paso a paso🌙
 |
 |
 |
 |
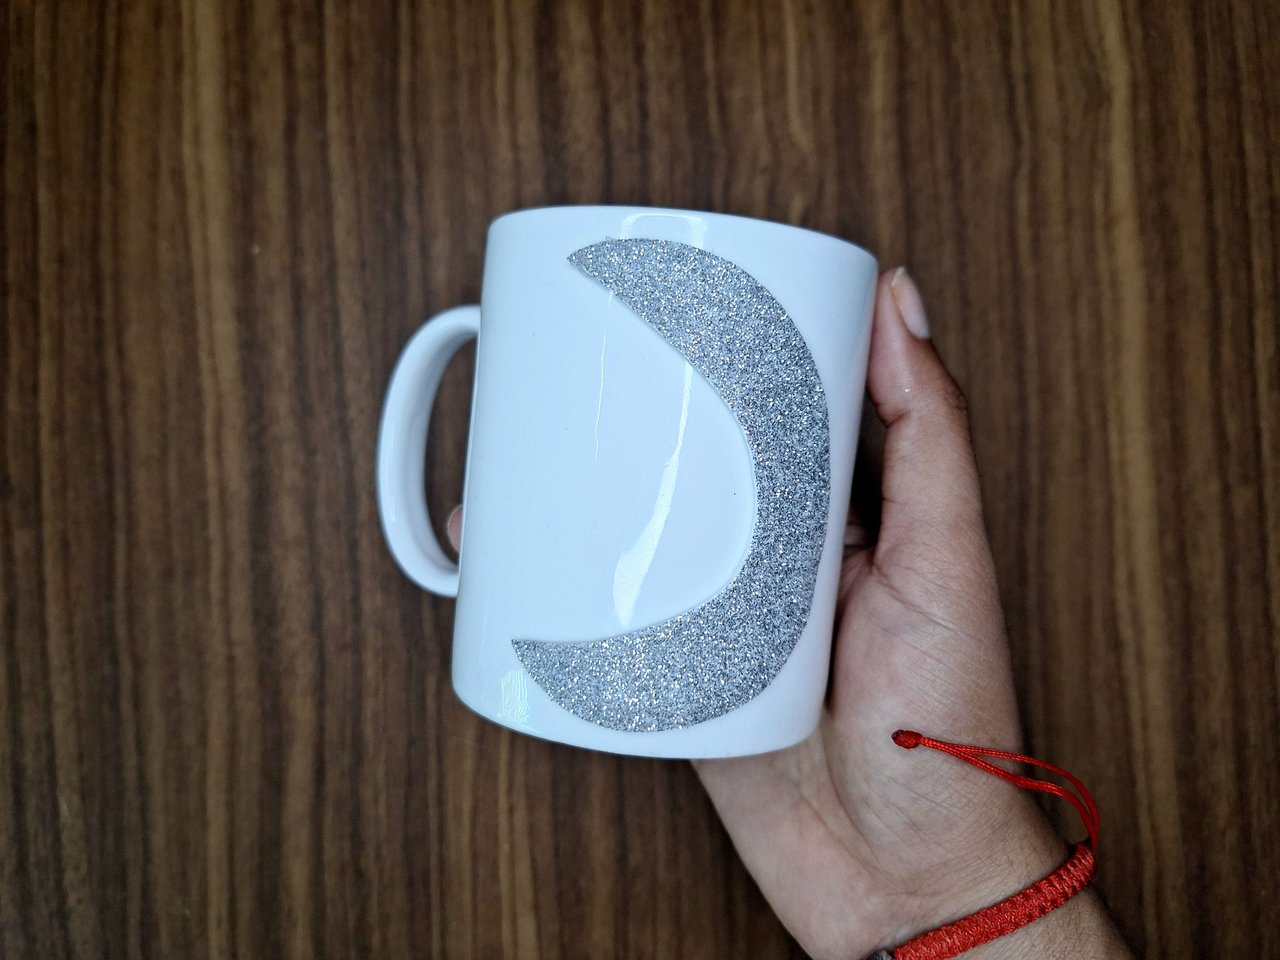 |
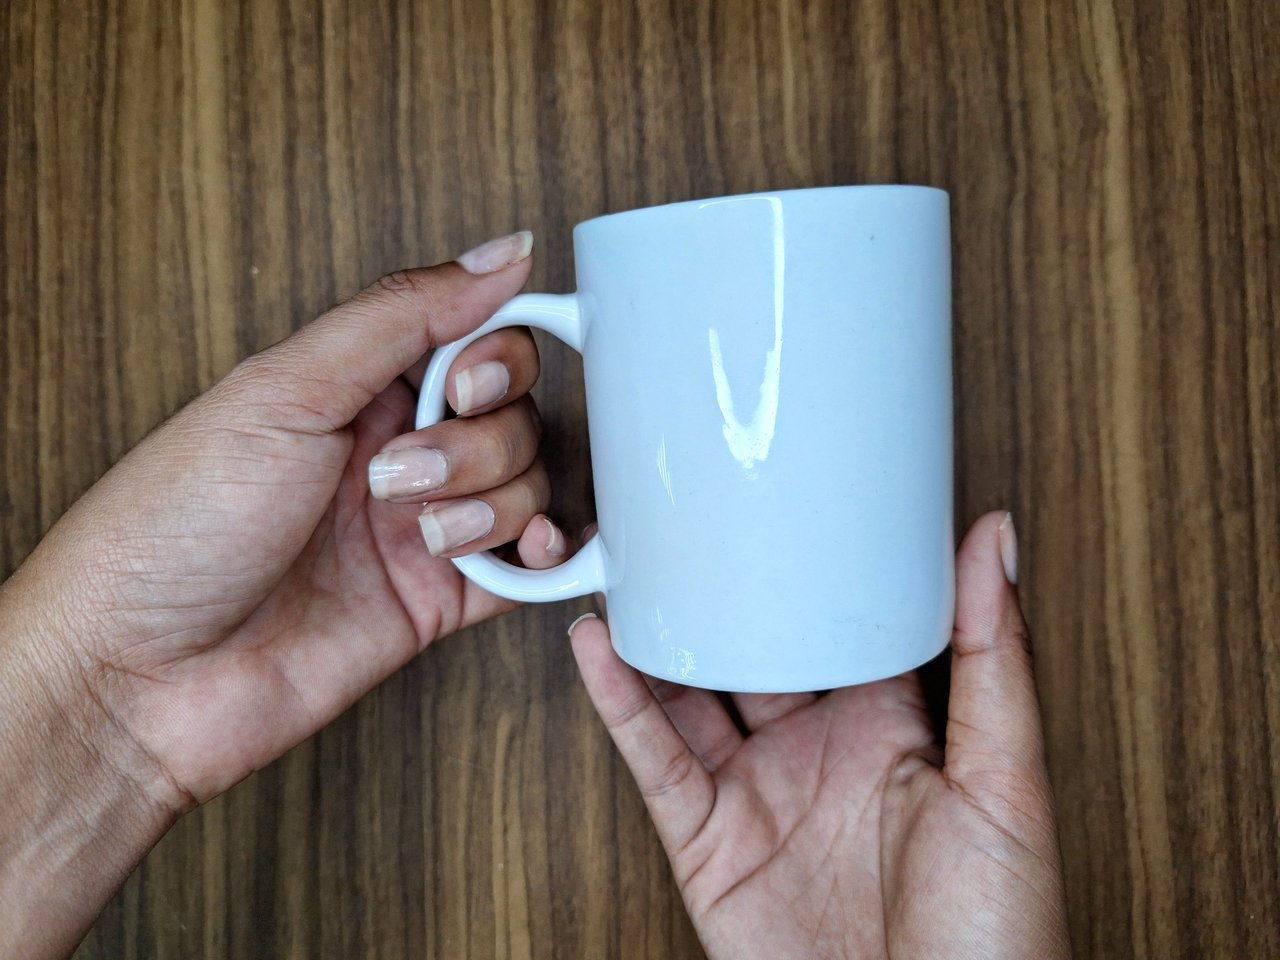
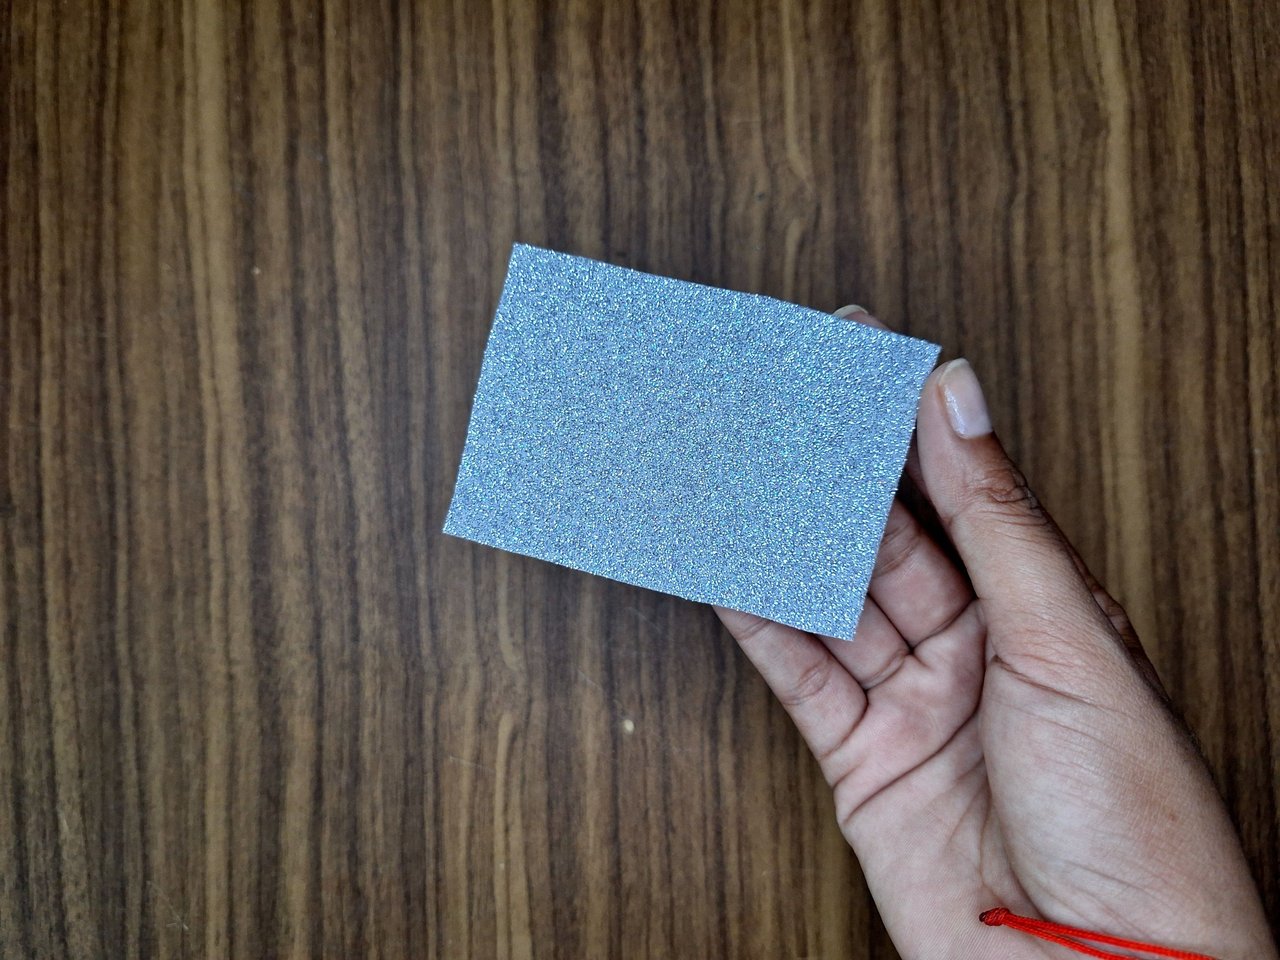
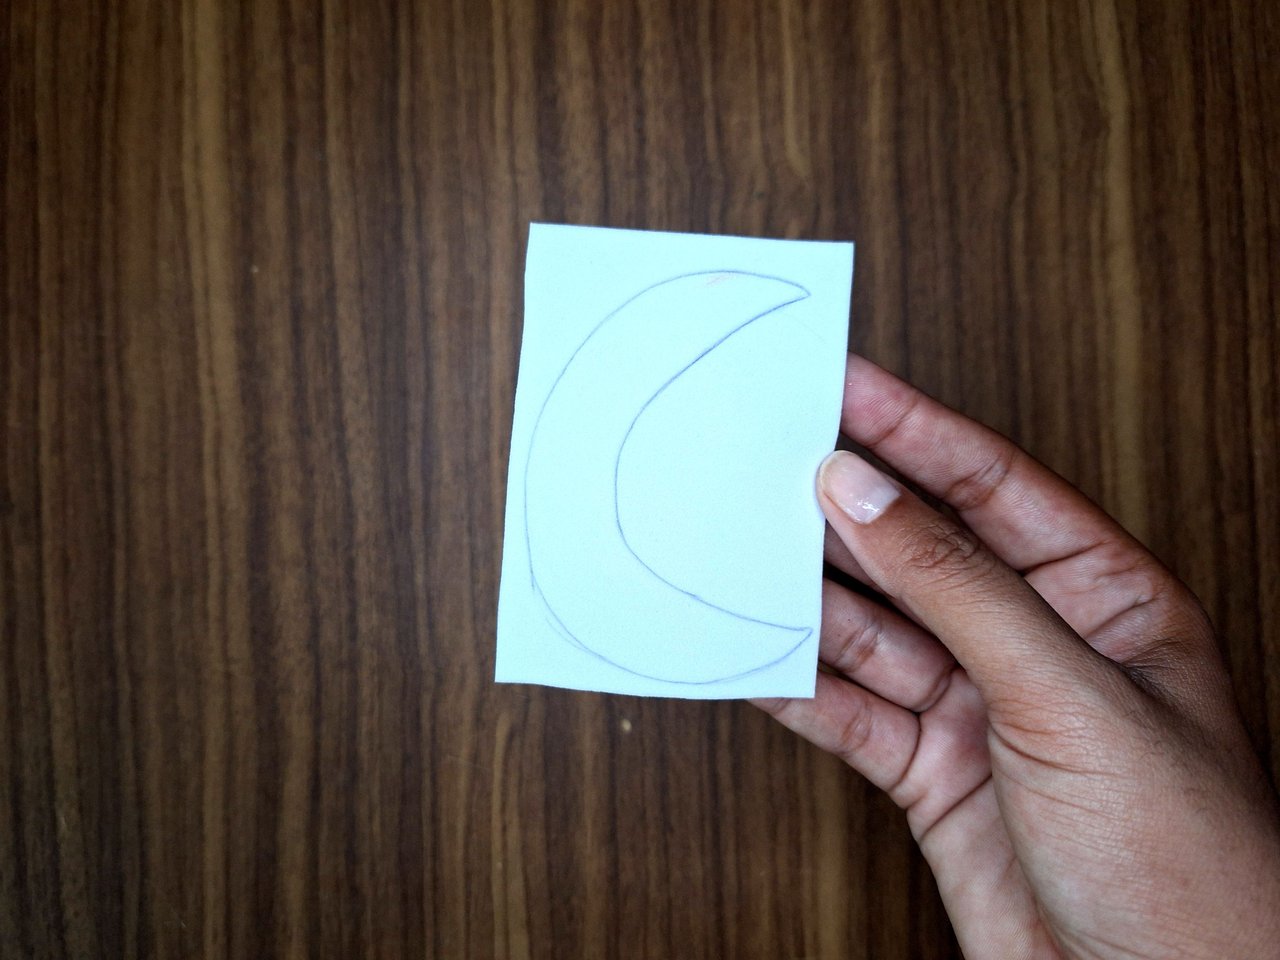
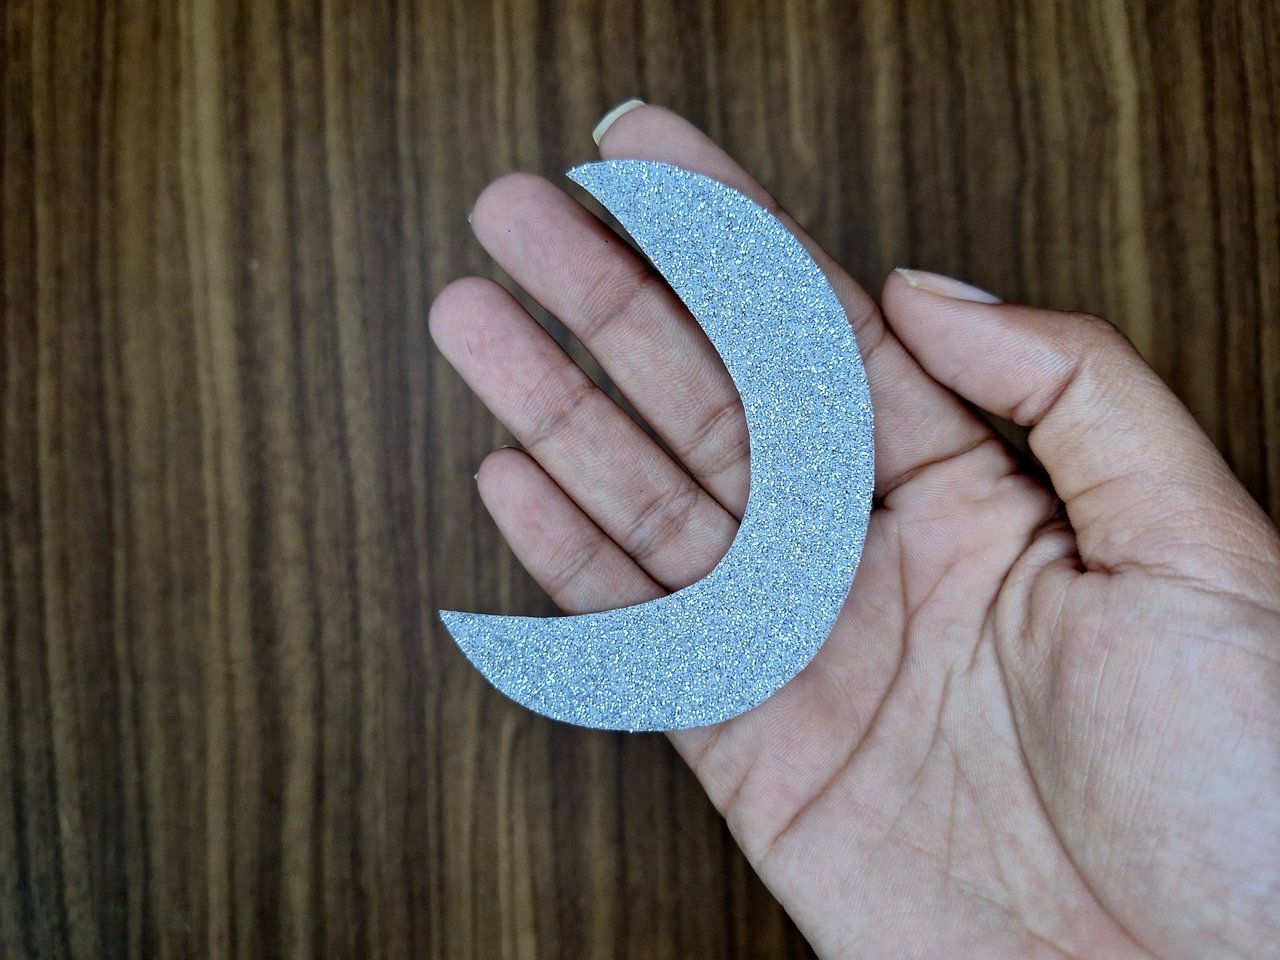
To begin with we must have a white cup, preferably it can be of any color. The important thing is that it has no ornaments. On a sheet of silver-colored frosted foami, mark the silhouette of the moon and cut it out. Then glue it on one side of the cup, leaving space to make Sailor Moon.
Para comenzar debemos tener una taza de color blanco, preferiblemente puede ser de cualquier color. Lo importante es que no tenga adornos. En una lámina de foami escarchado de color plateado, marcar la silueta de la luna y recortarla. Luego pegarla en un lado de la taza, dejando espacio para hacer a Sailor Moon.
 |
 |
 |
 |
 |
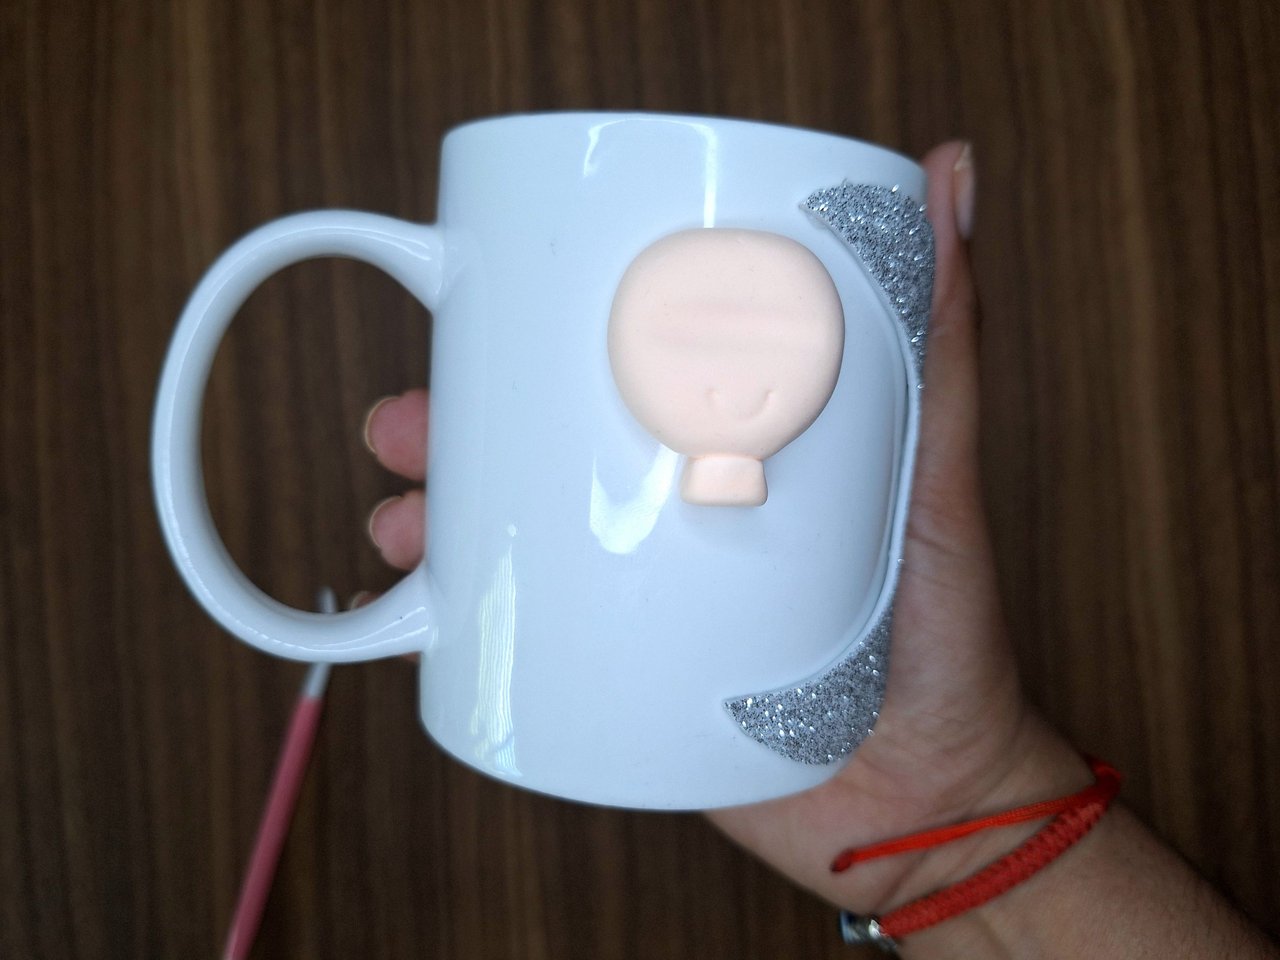 |
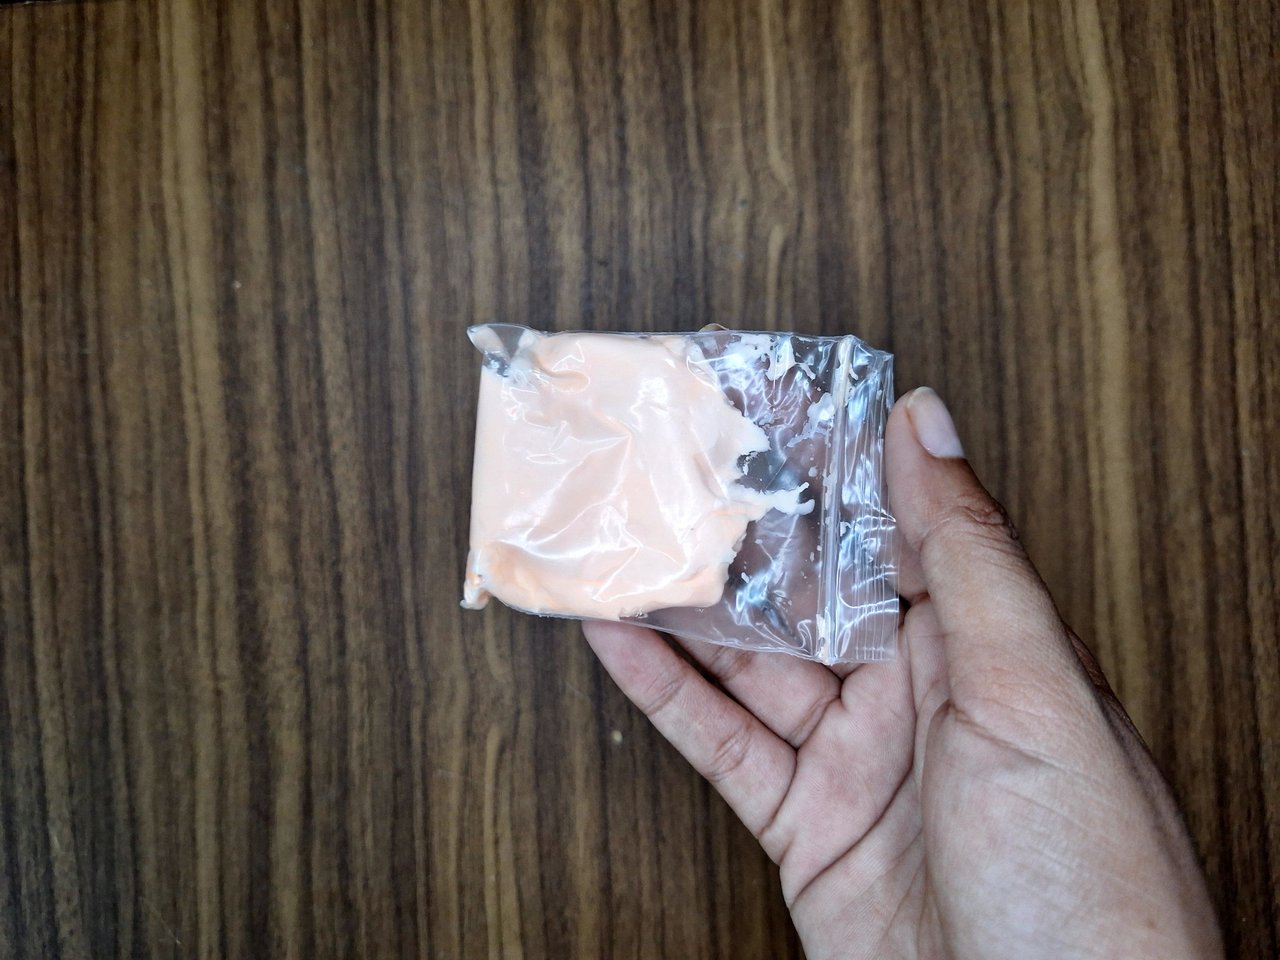
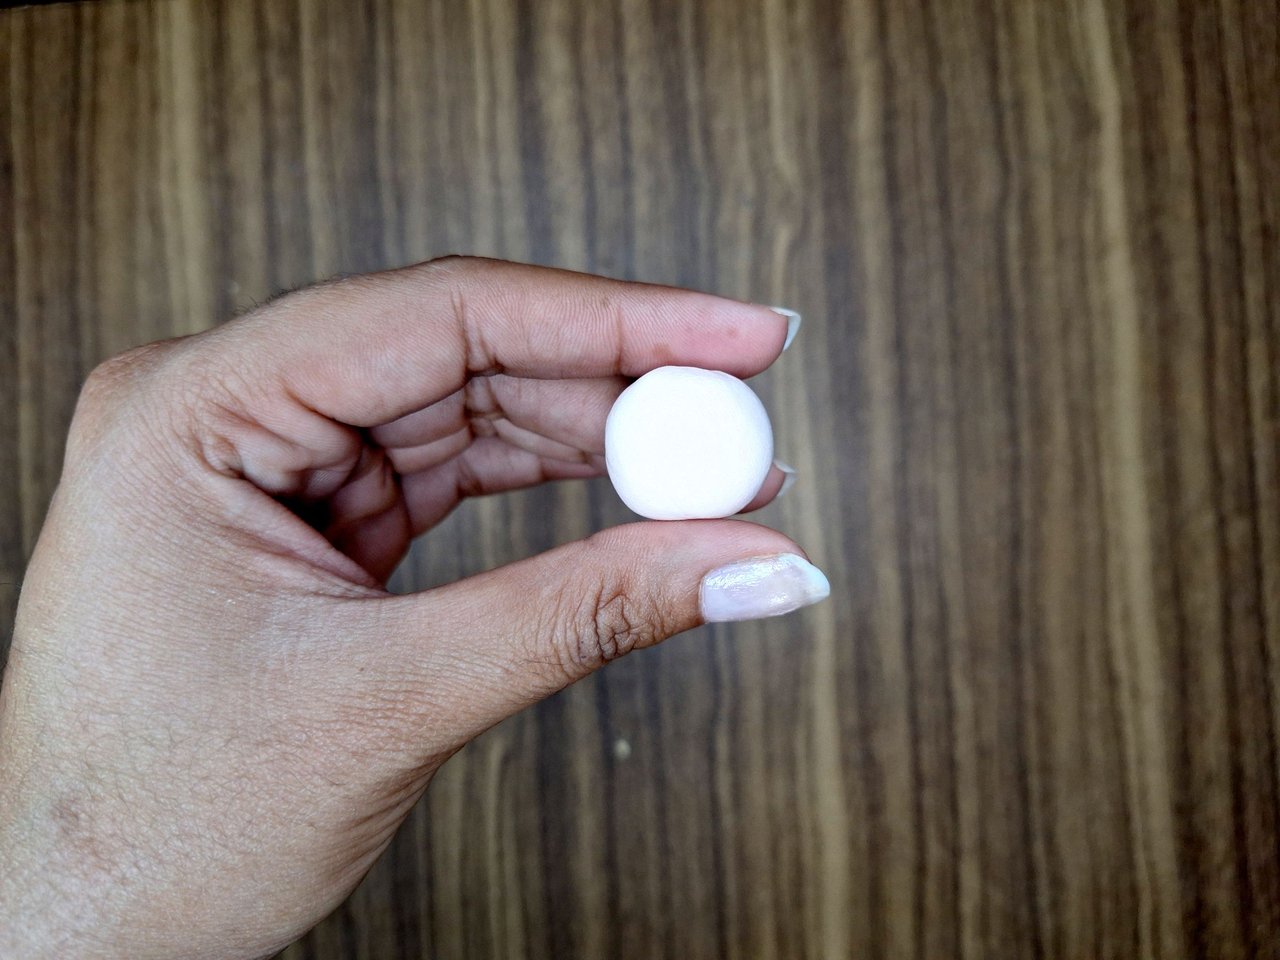
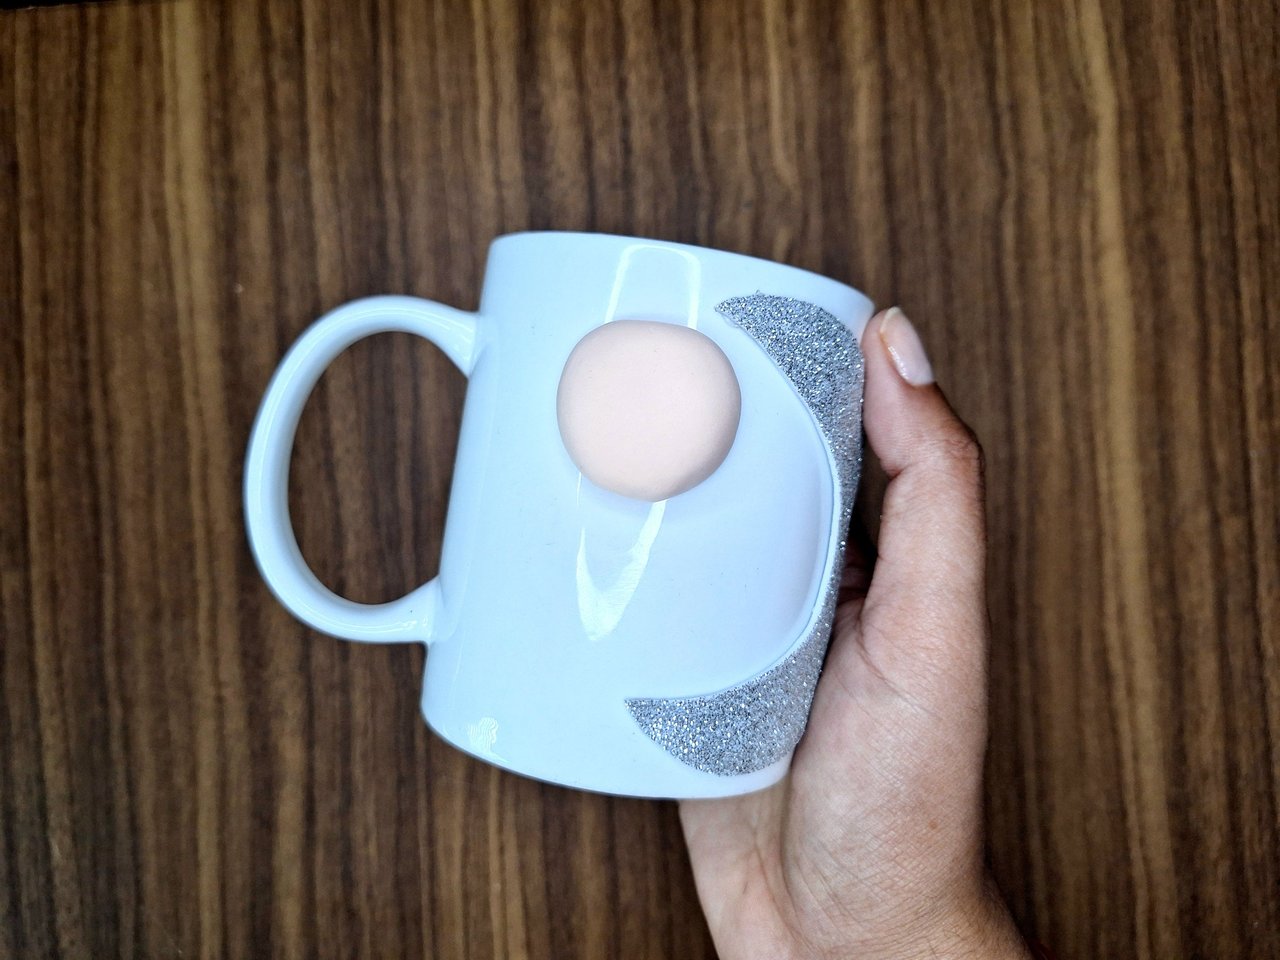
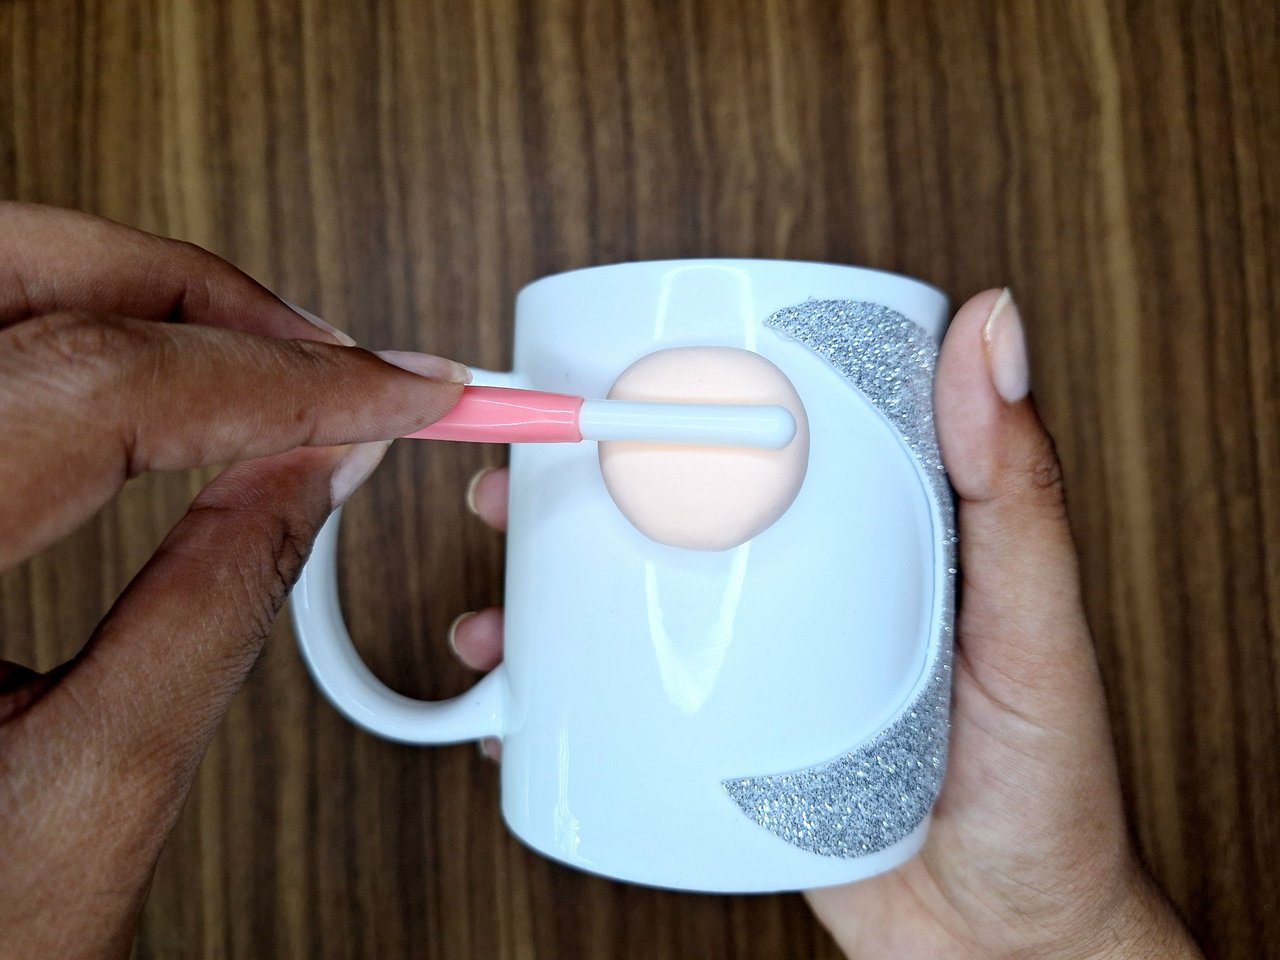
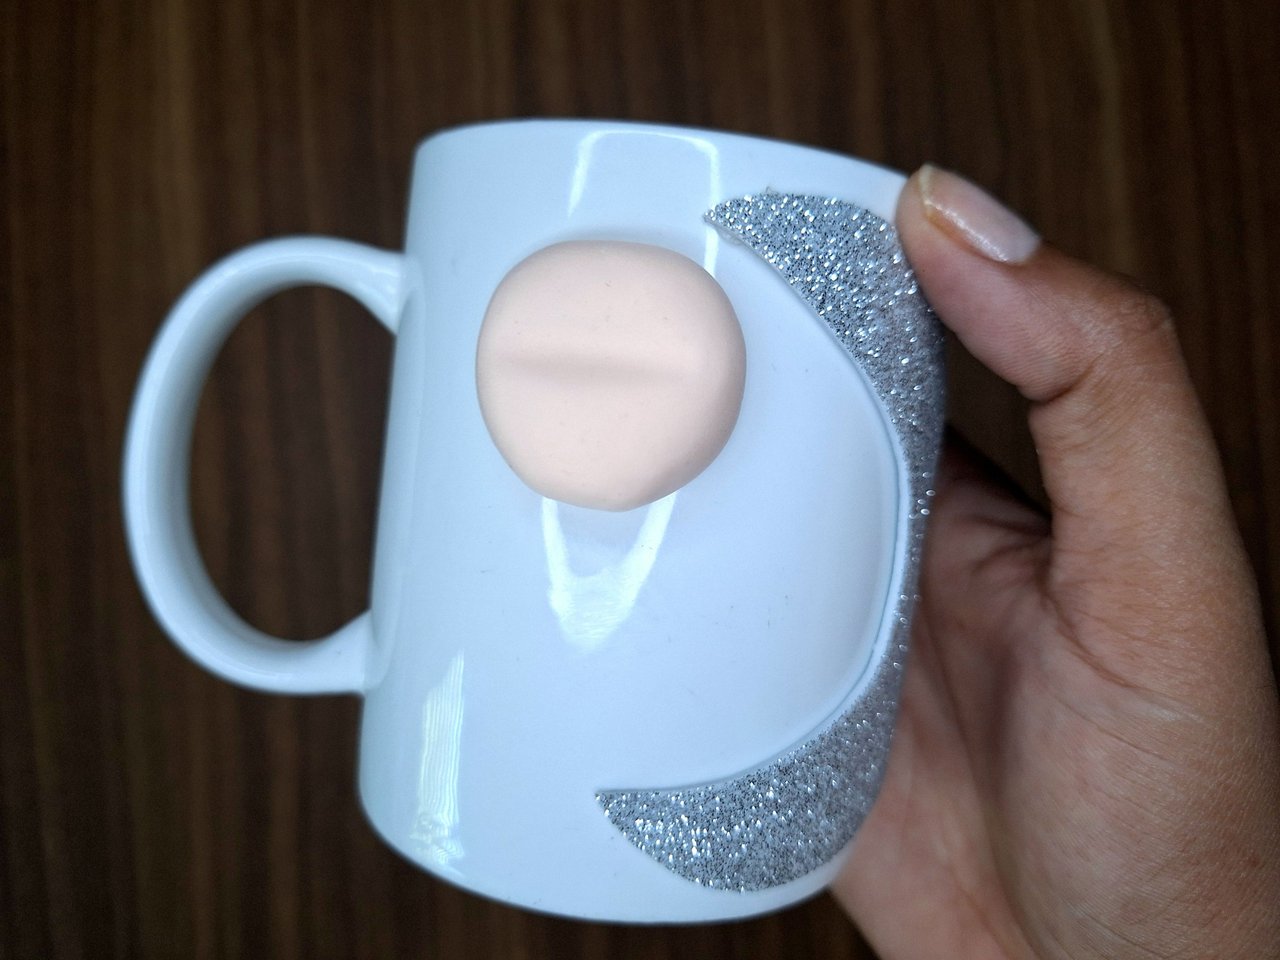
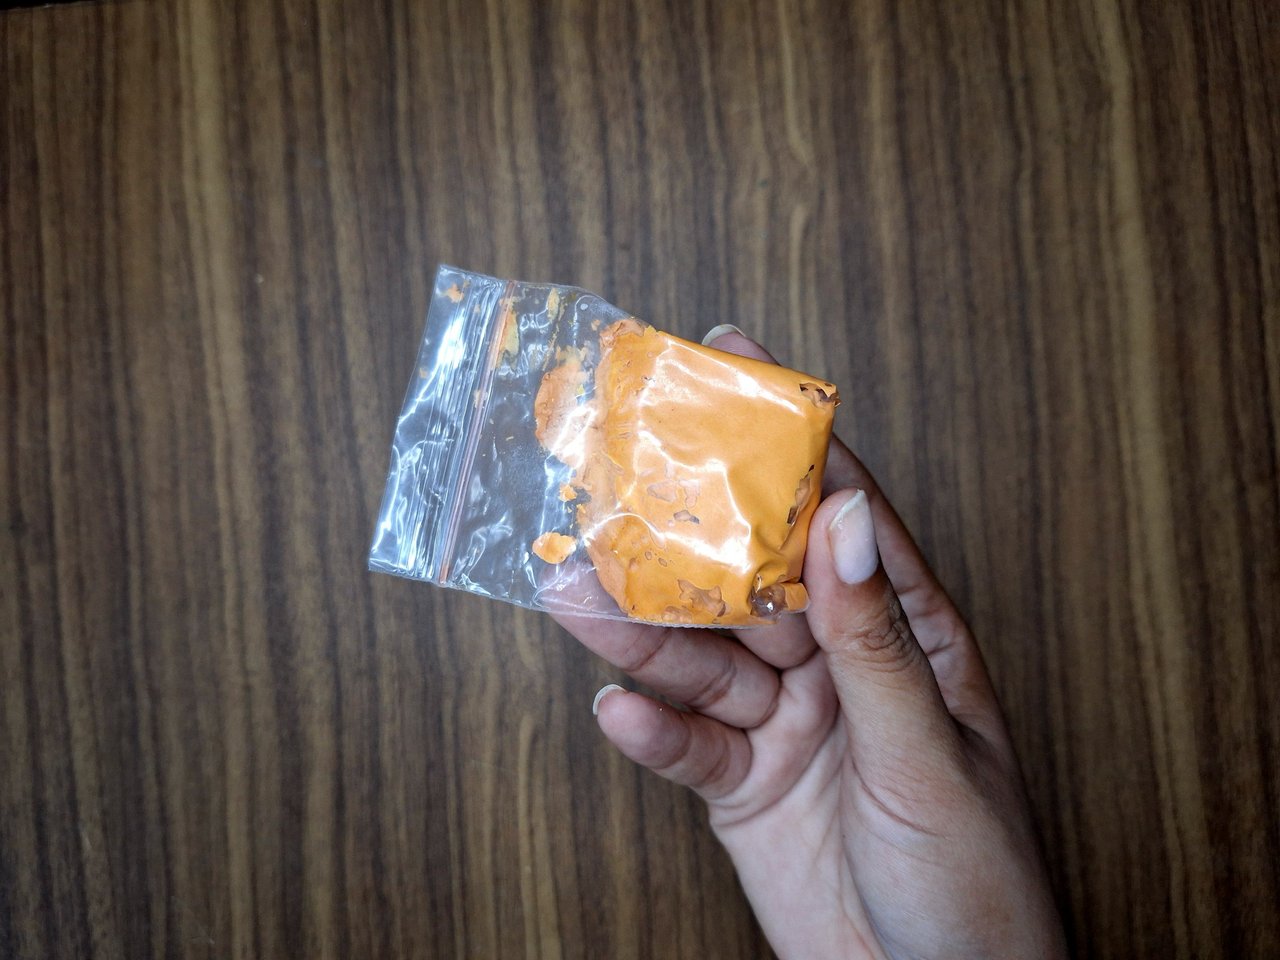
With skin-colored moldable foami, make a ball and flatten it, not too much to leave a little height. Glue it to the top 1.5 cm from the edge. With a rolling pin, press where the eyes will be located to give it depth. Then with another portion of foami make the neck. I don't use glue for the moldable foami, because its own humidity makes it adhere to the cup and then each part of the pieces will stick to each other. If you use cold porcelain, it is necessary to use glue.
Con foami moldeable color piel, hacer una bola y aplanarla, no mucho para dejarle un poco de altura. Pegarla en la parte superior a 1.5 cm del borde. Con una esteca tipo rodillo, presionar donde estarán ubicados los ojos para darle profundidad. Luego con otra porción de foami hacer el cuello. Yo no utilizo pegamento para el foami moldeable, pues su propia humedad hace que se adhiera a la taza y luego cada parte de las piezas se van pegando unas con otras. Si utilizas porcelana fría, si es necesario usar pegamento.
 |
 |
 |
 |
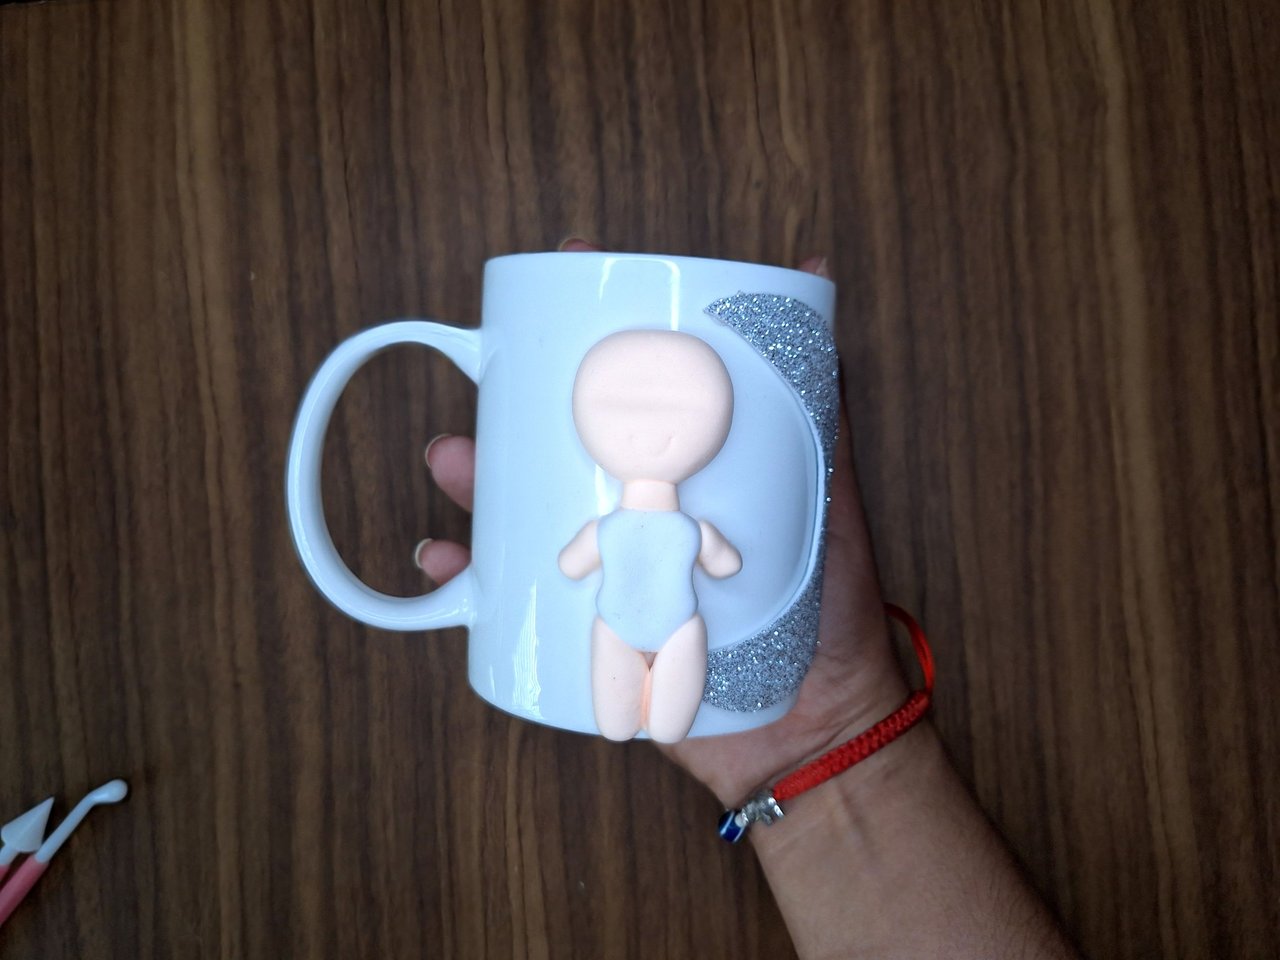 |
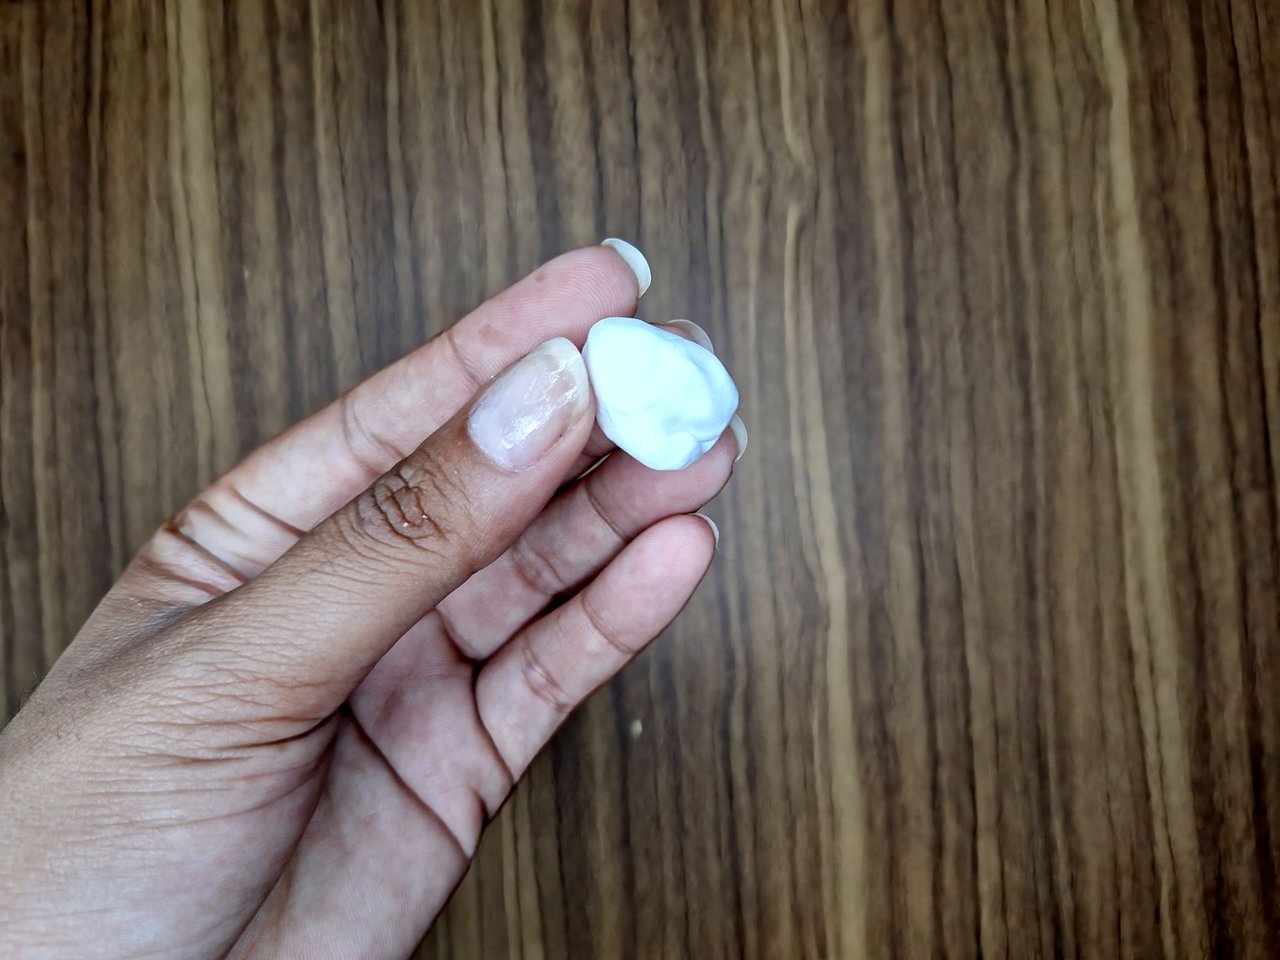
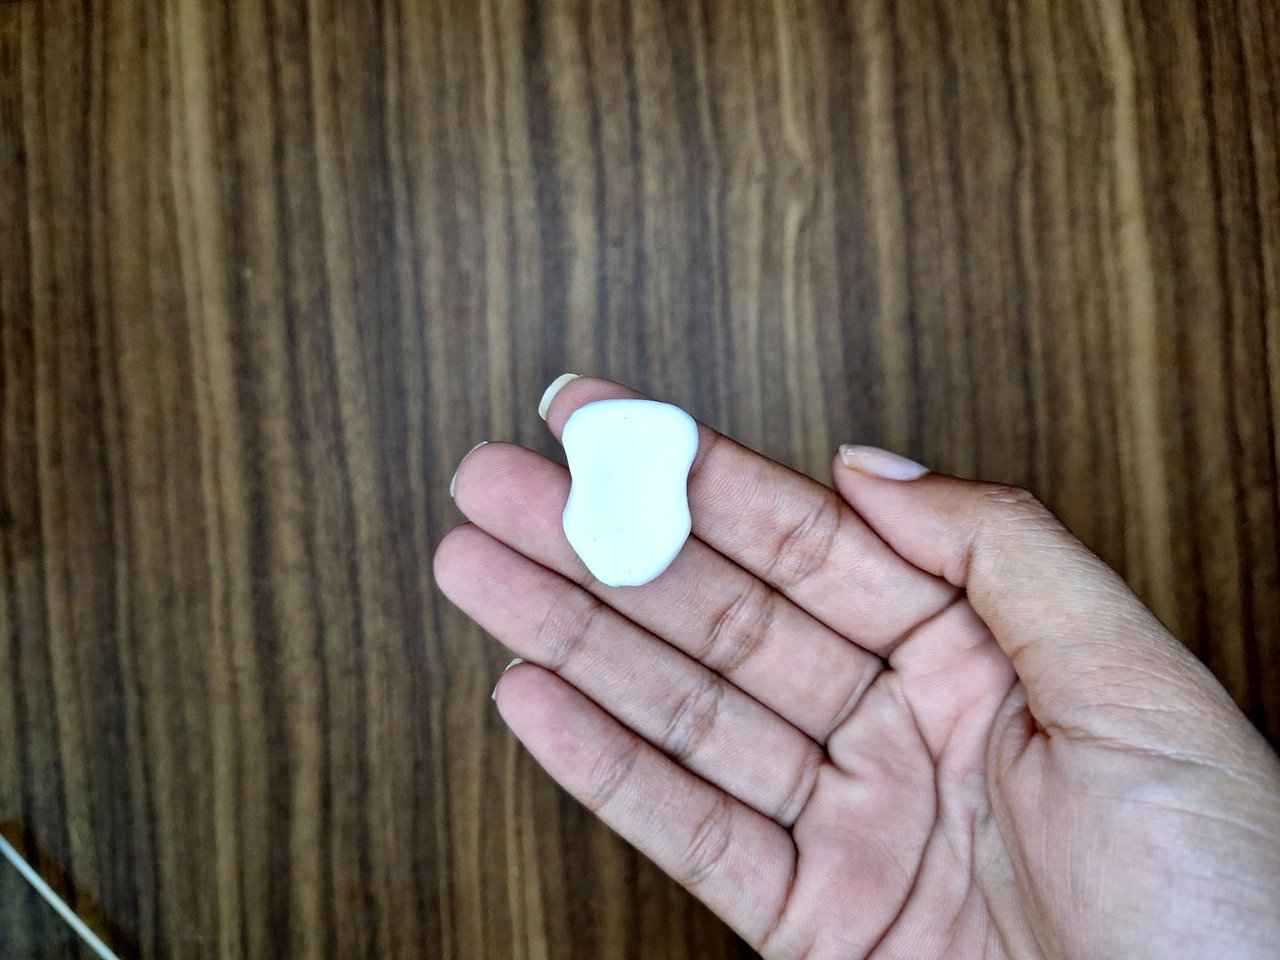
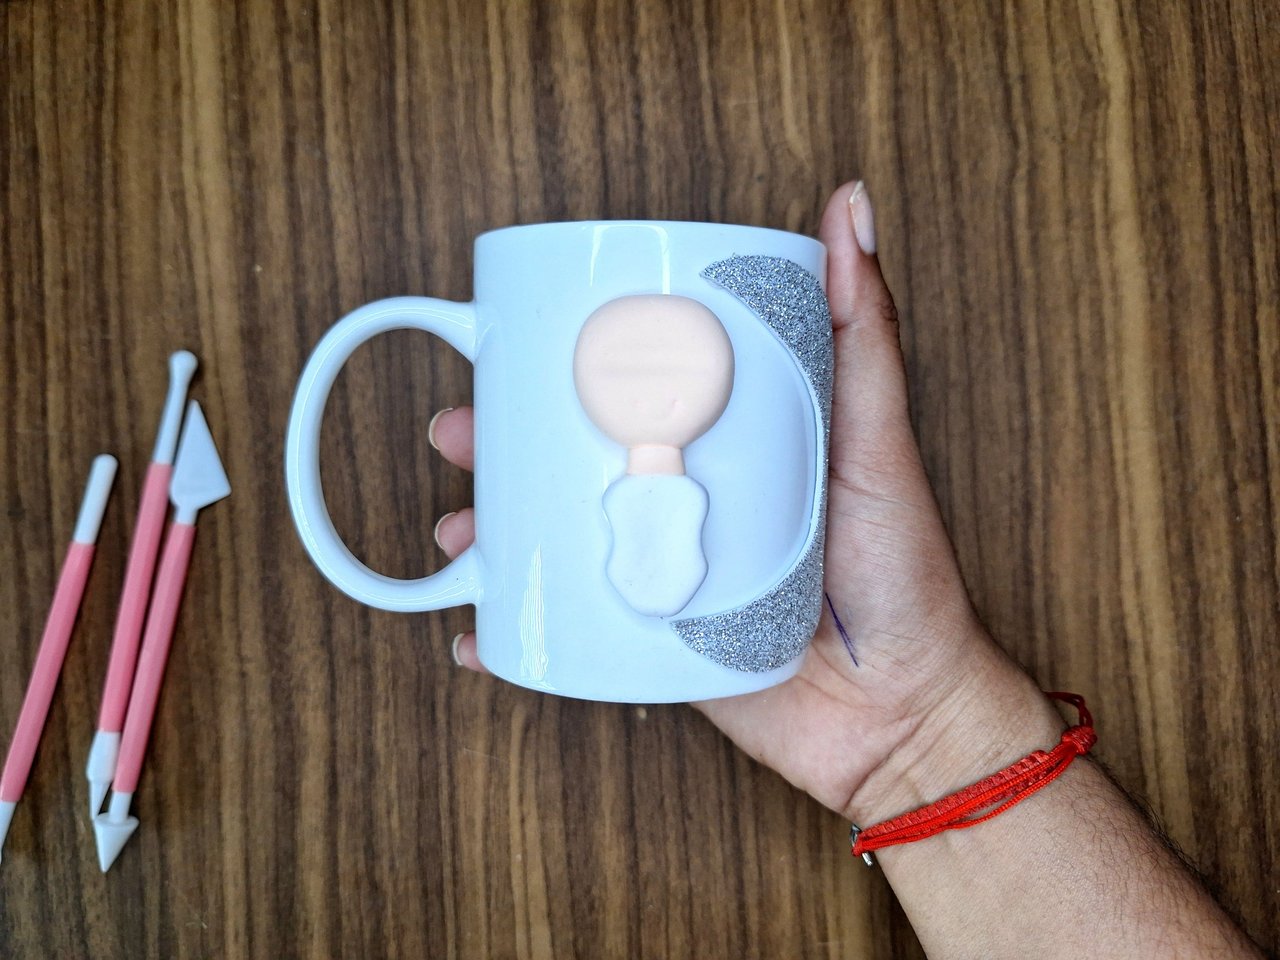
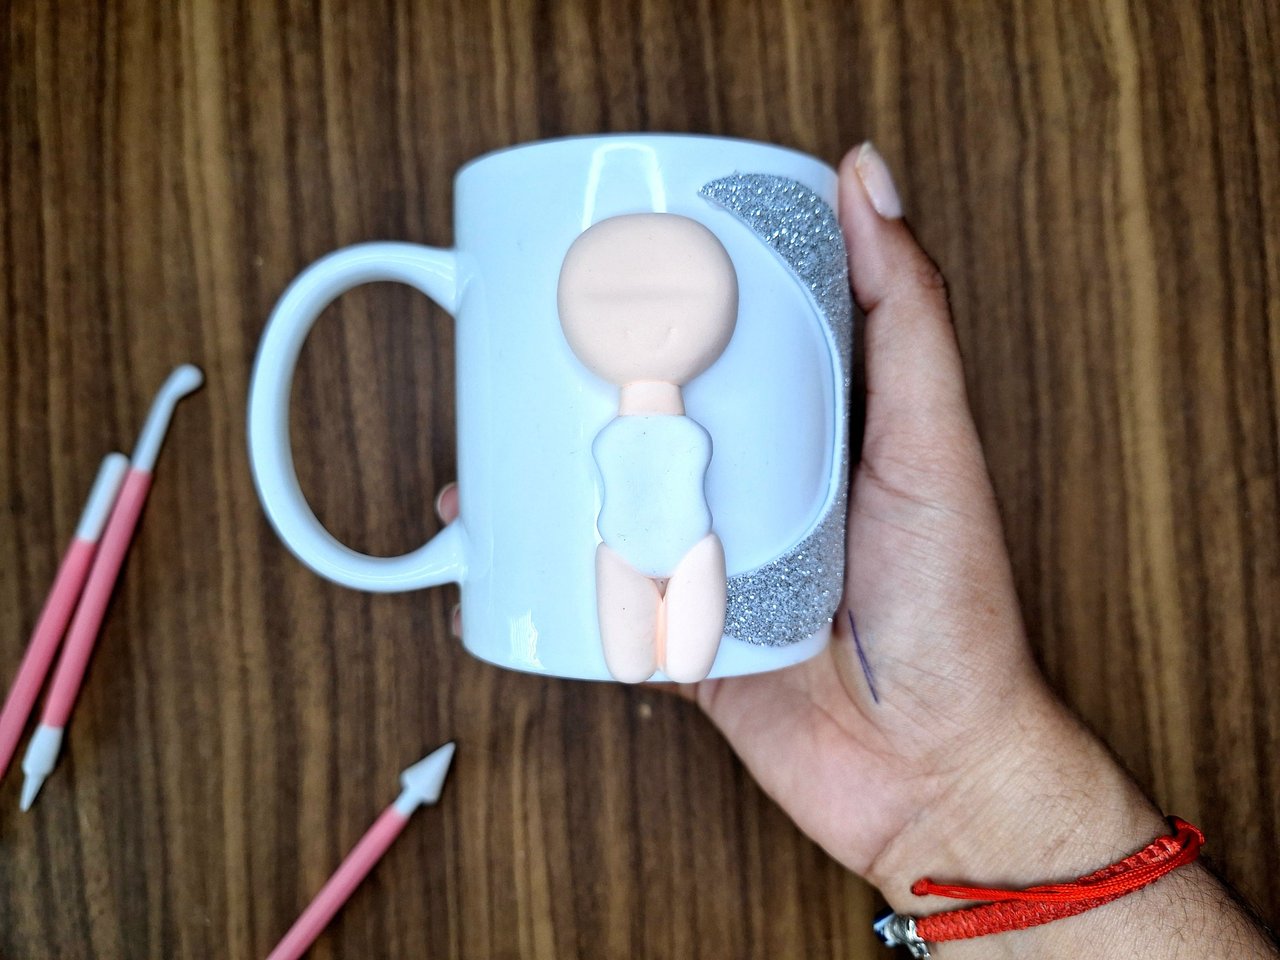
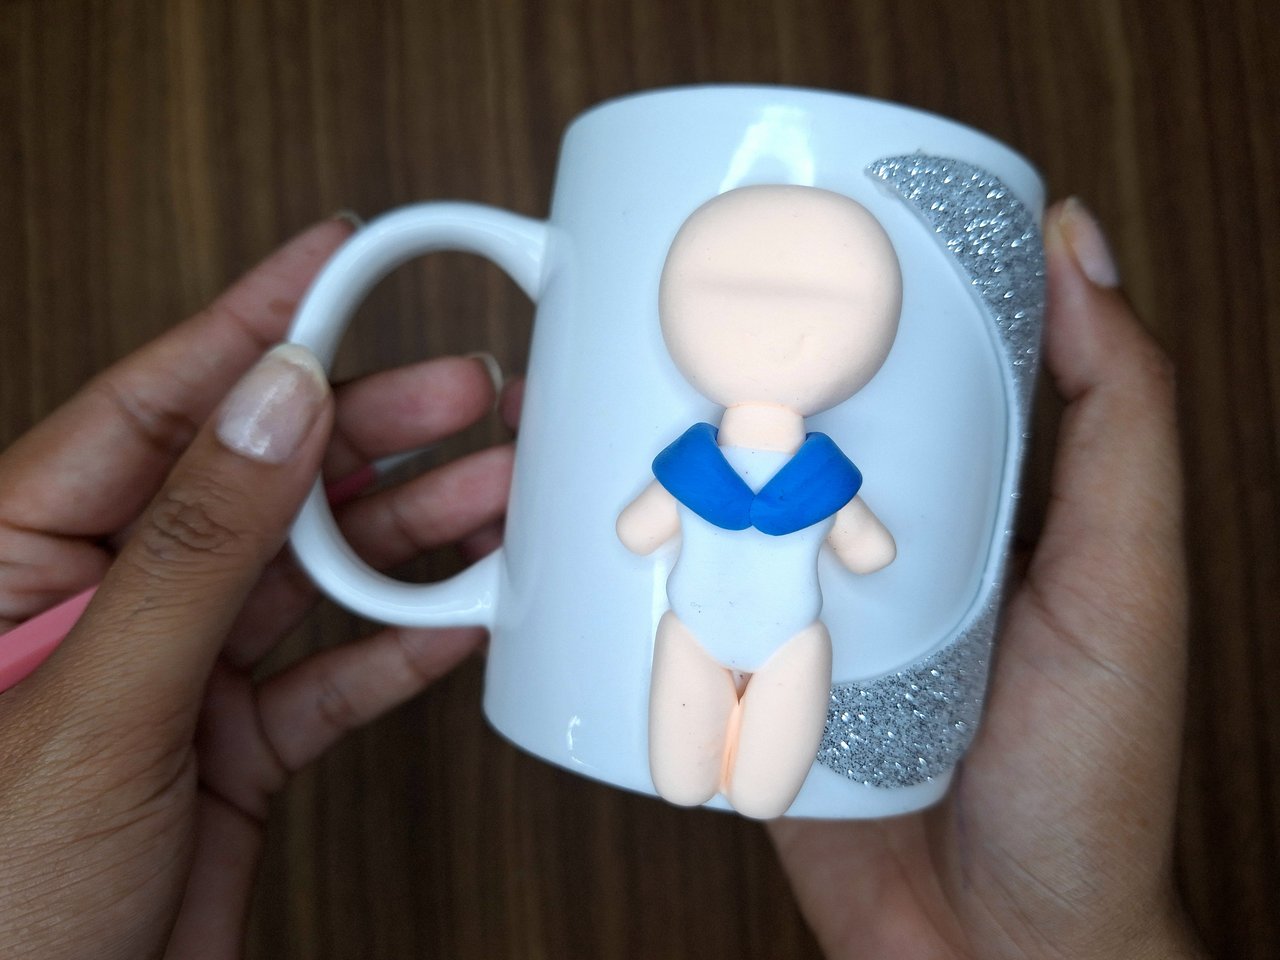
With white moldable foami I made the whole torso, helping me with the stecas to give it its shape, then I attached it to the neck and with skin color I placed the legs and arms. These last ones are about 1 cm long, because then they are joined to the gloves.
Con foami moldeable de color blanco hice todo el torso ayudándome con las estecas para darle su forma, luego lo uní al cuello y con color piel coloqué las piernas y los brazos. Estos últimos son de aproximadamente 1 cm de largo, pues luego se unen a los guantes.
 |
 |
 |
 |
 |
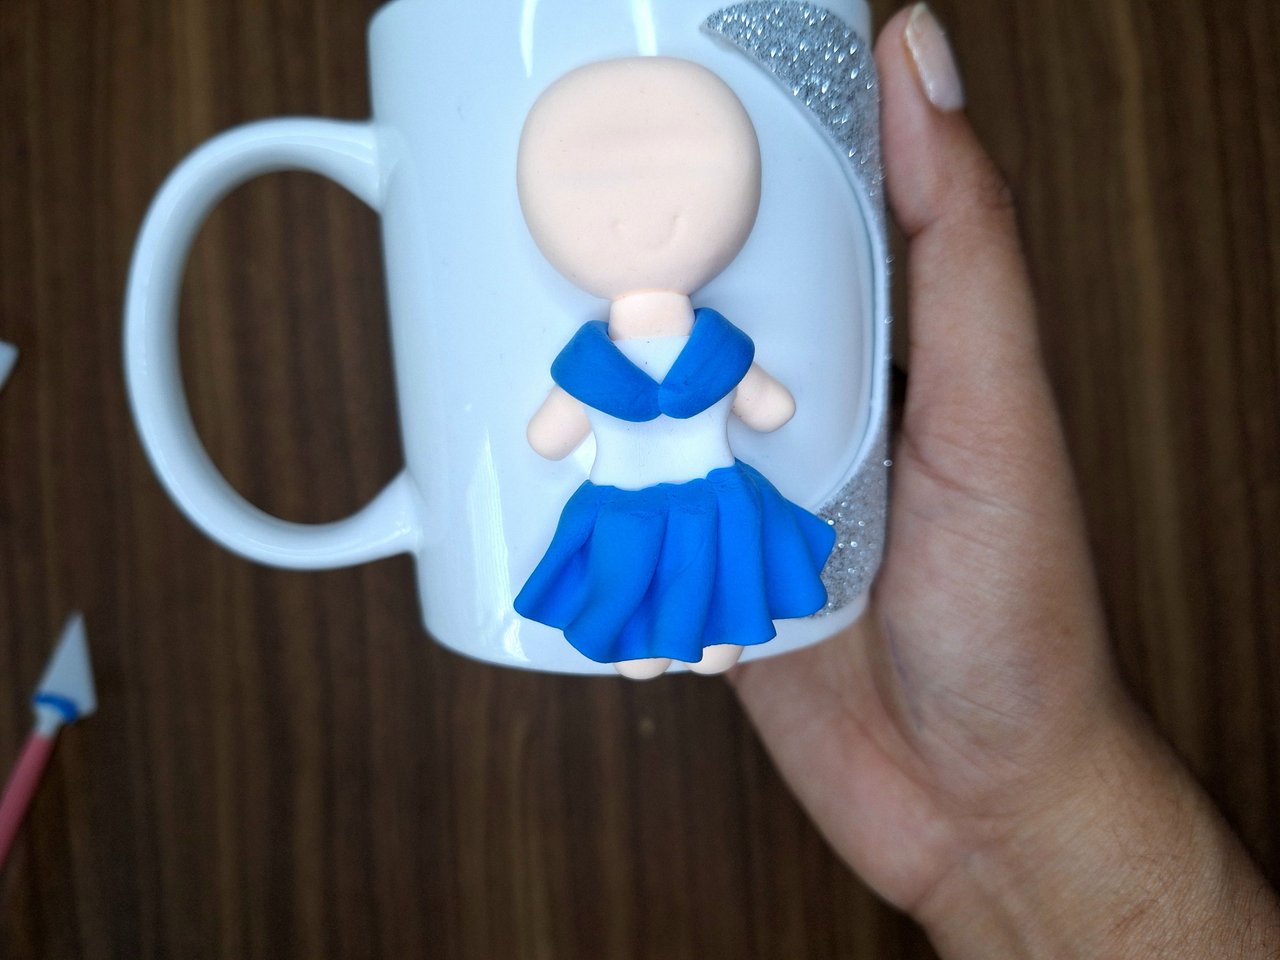 |
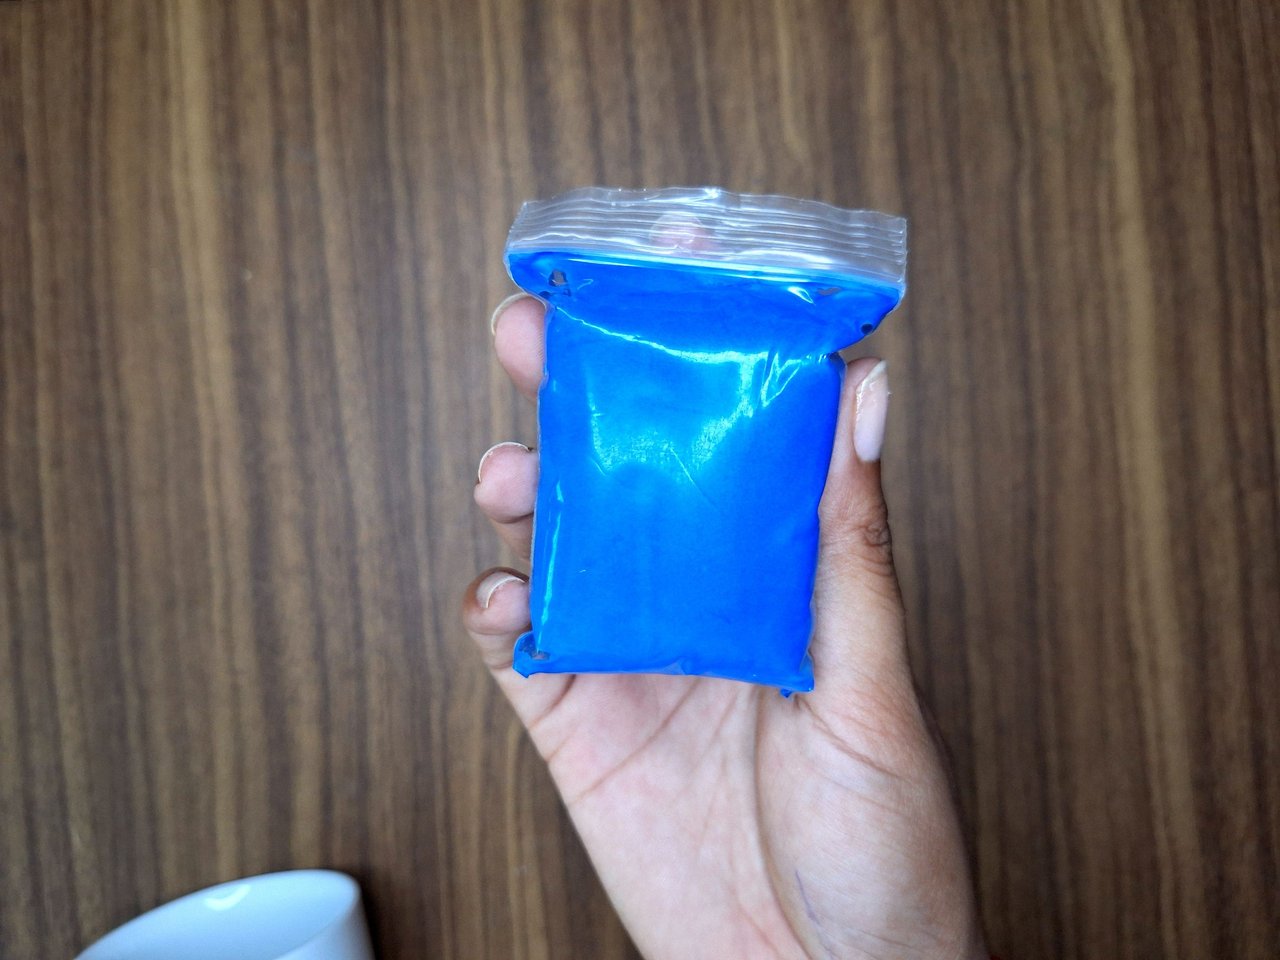
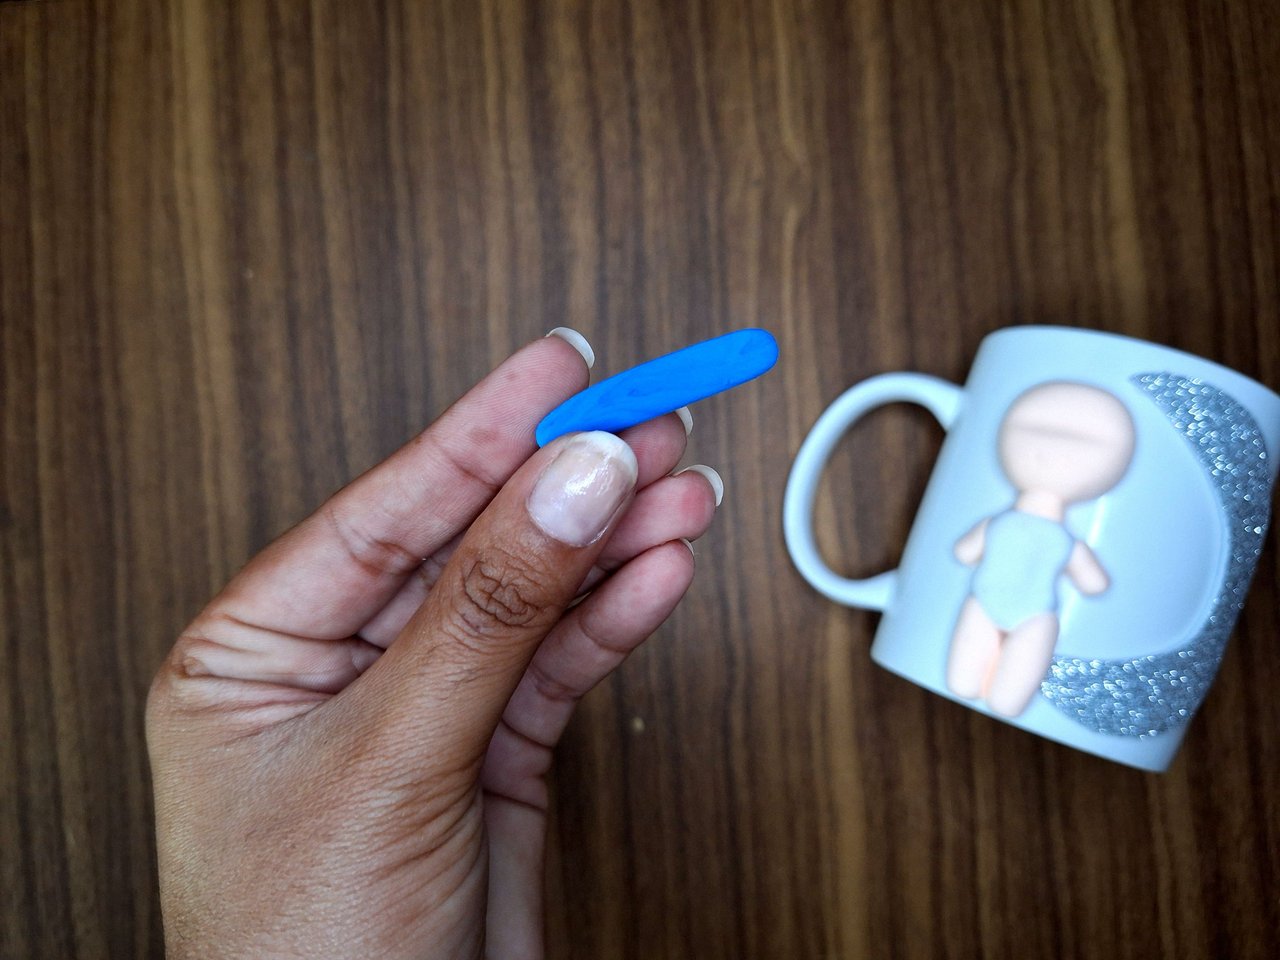
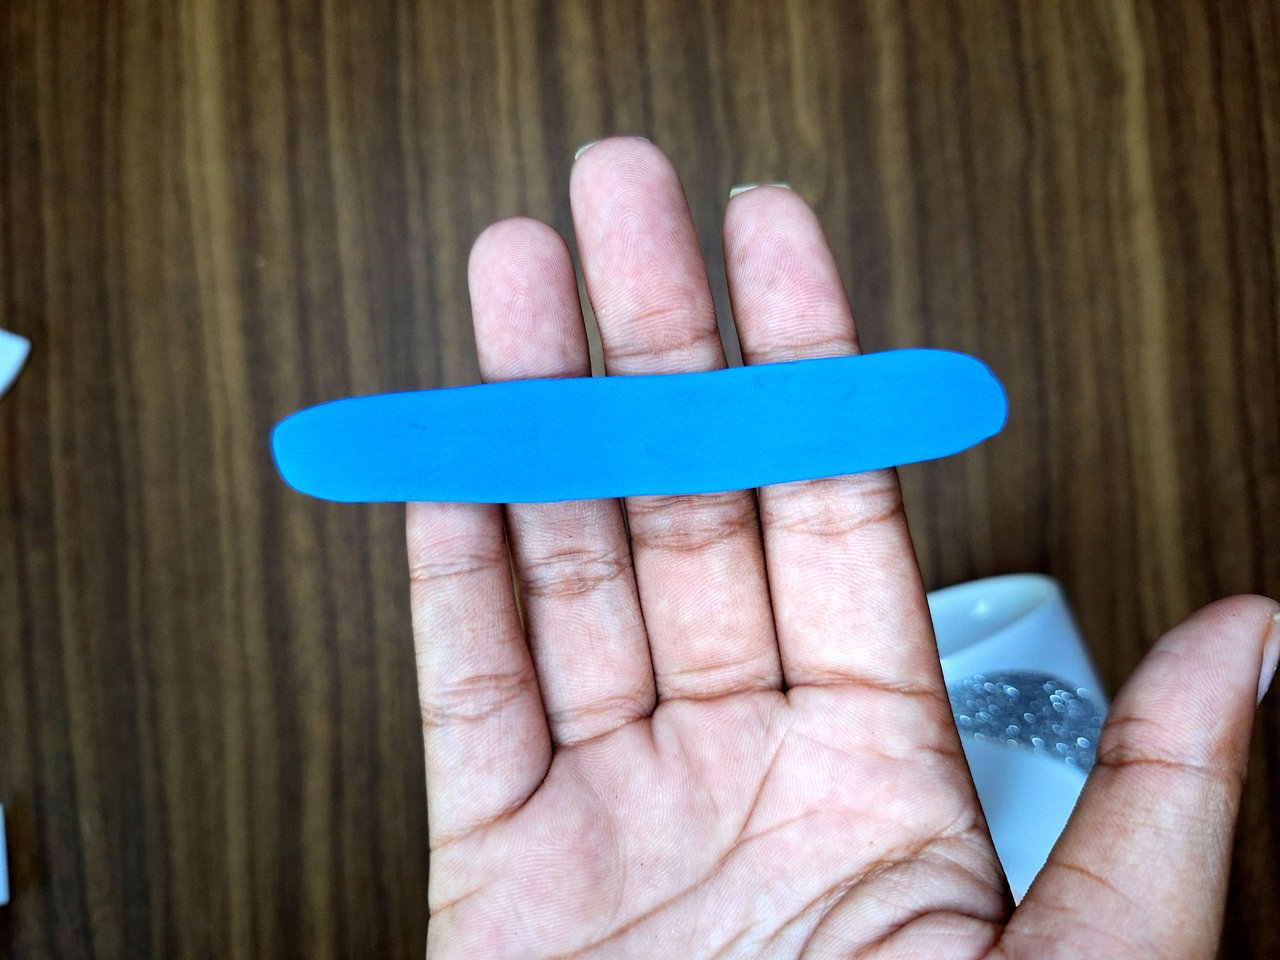
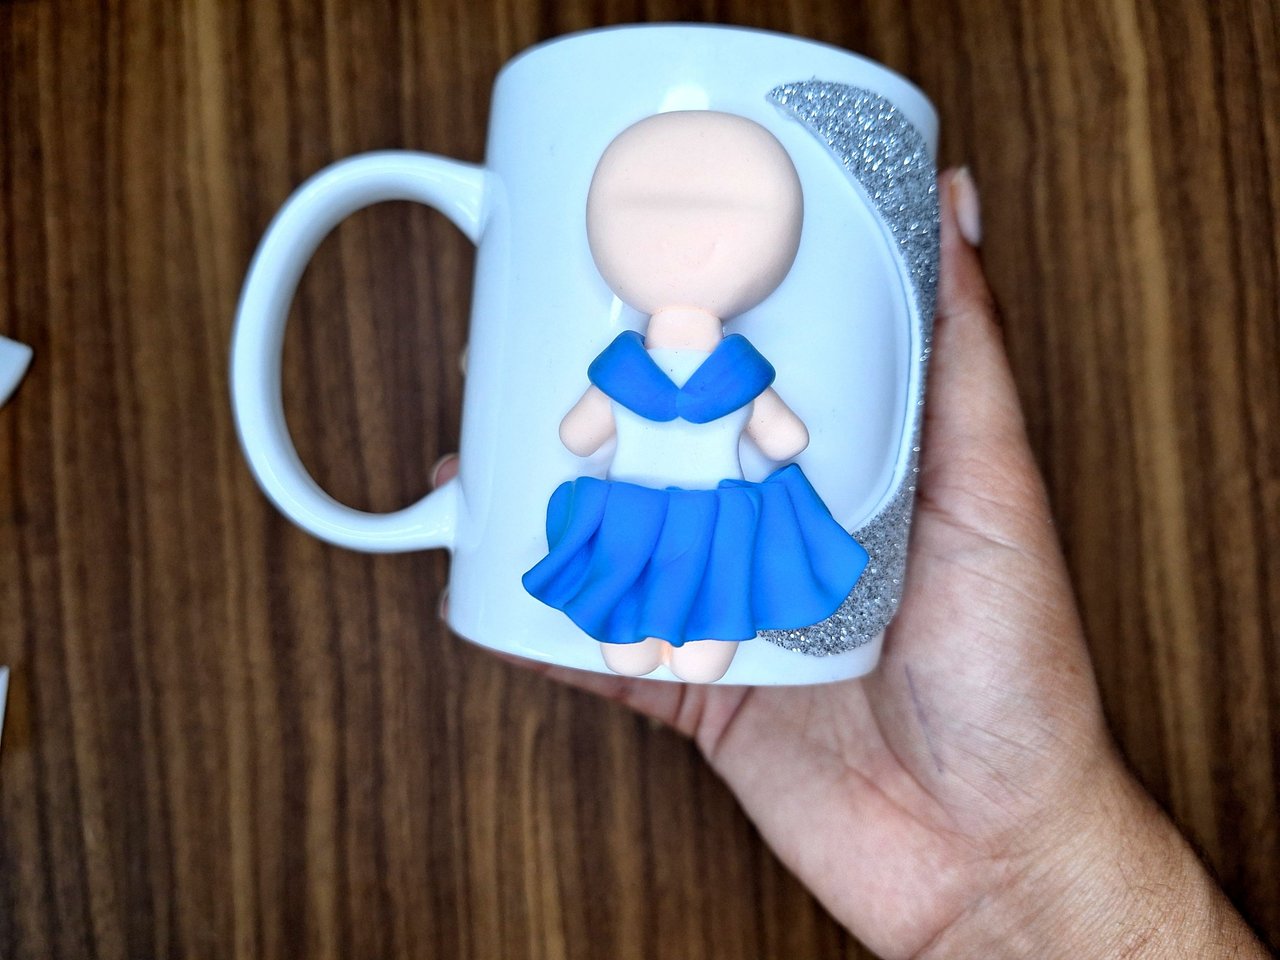
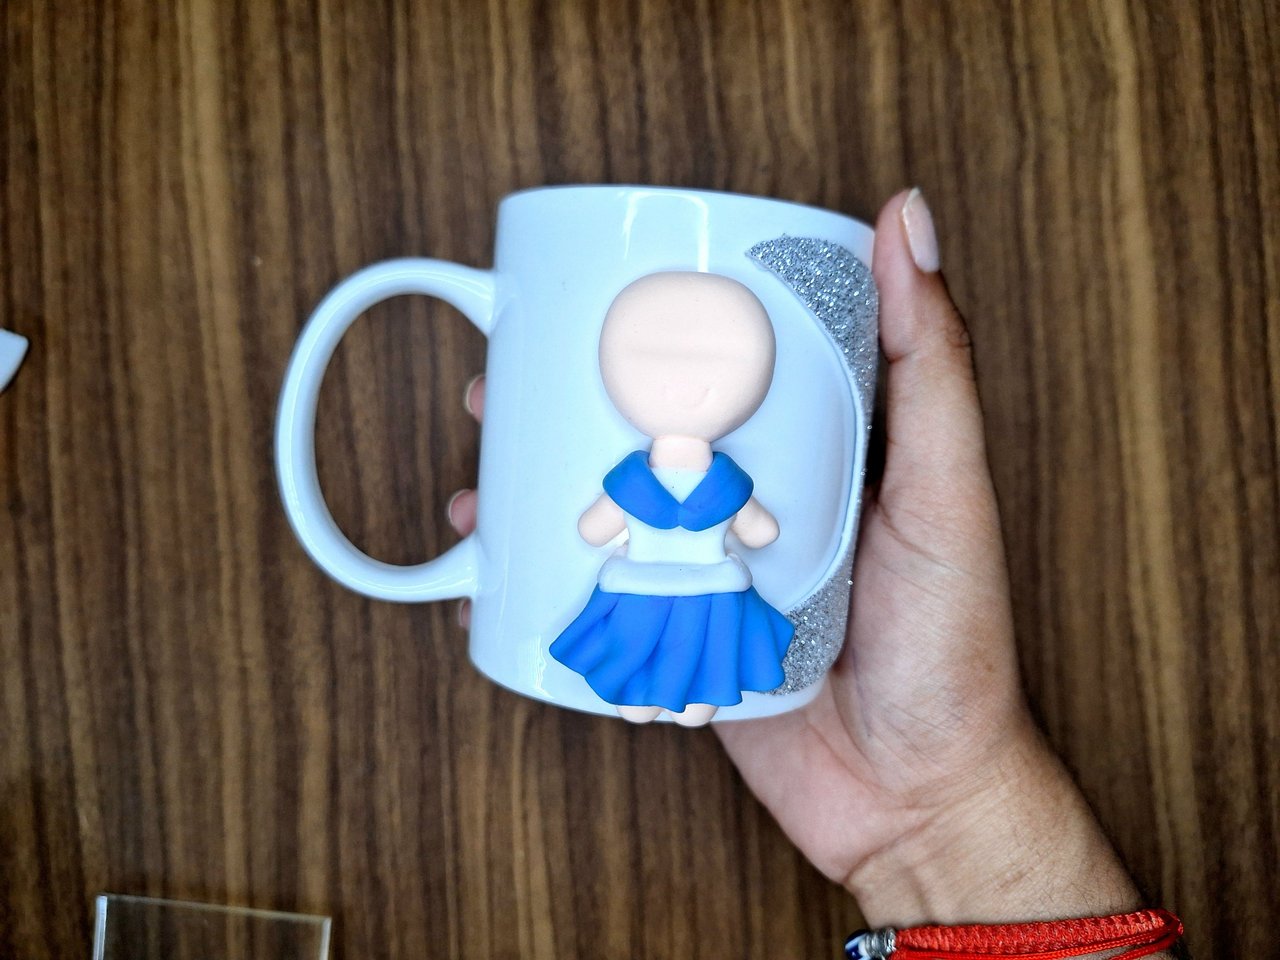
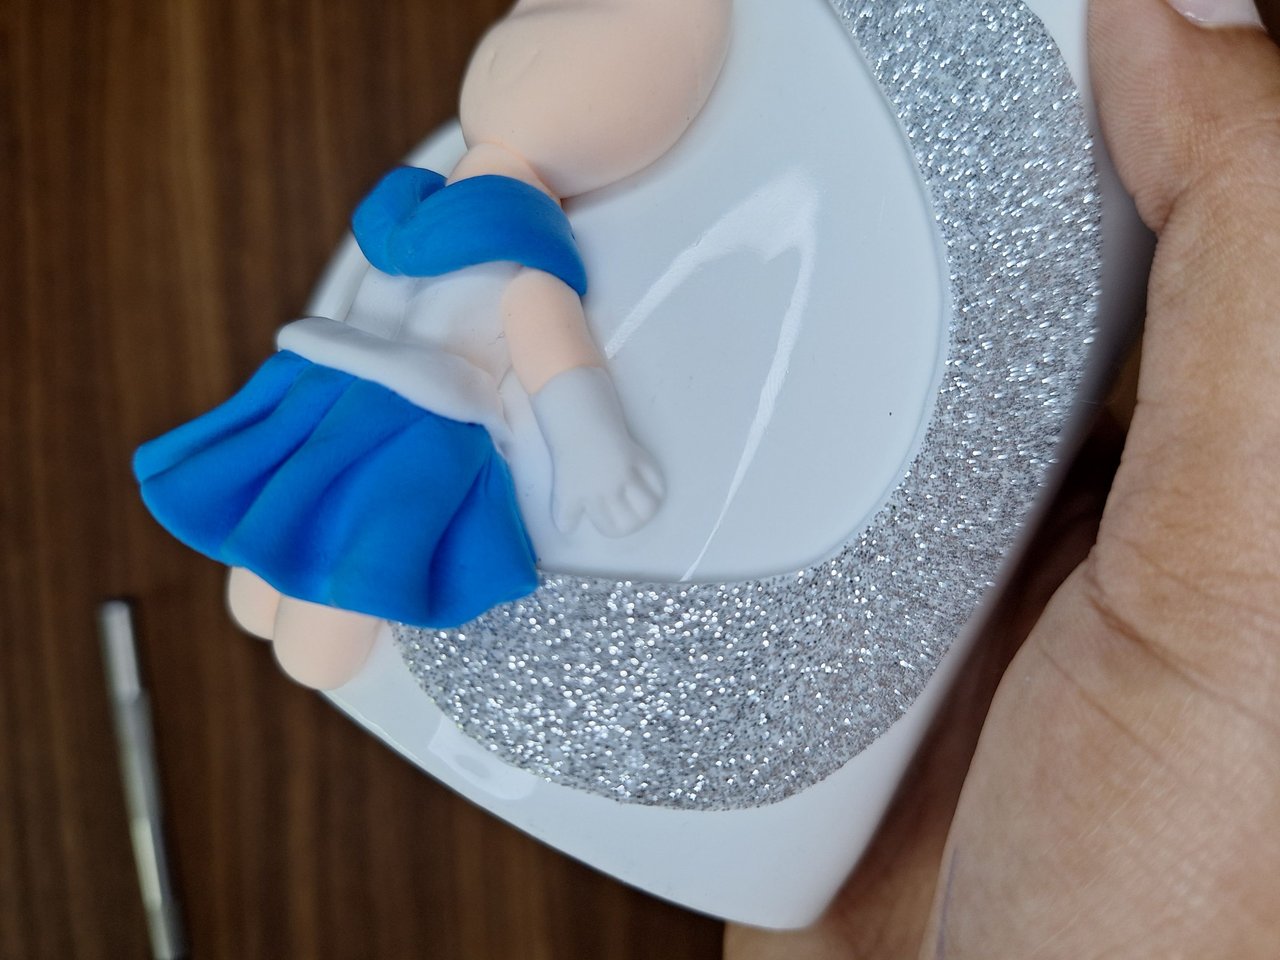
With blue foami I made a long piece with thinner and rounded ends, cut them in half and placed them from the shoulders to the center of the chest. With another wider and longer blue piece I made the skirt. As it has a pleated shape, it is folded and joined at the top without gluing the bottom to obtain this shape. Put it in place and cut off the excess.
Con foami azul hice una pieza larga con las puntas más finas y redondeadas, las corté por la mitad y las coloqué desde los hombros hasta el centro del pecho. Con otra pieza azul más ancha y larga se realiza la saya. Como tiene forma plisada, se va doblando y uniendo en la parte de arriba sin pegar la parte de abajo para obtener esta forma. Se sitúa en su lugar y corta los sobrantes.
 |
 |
 |
 |
 |
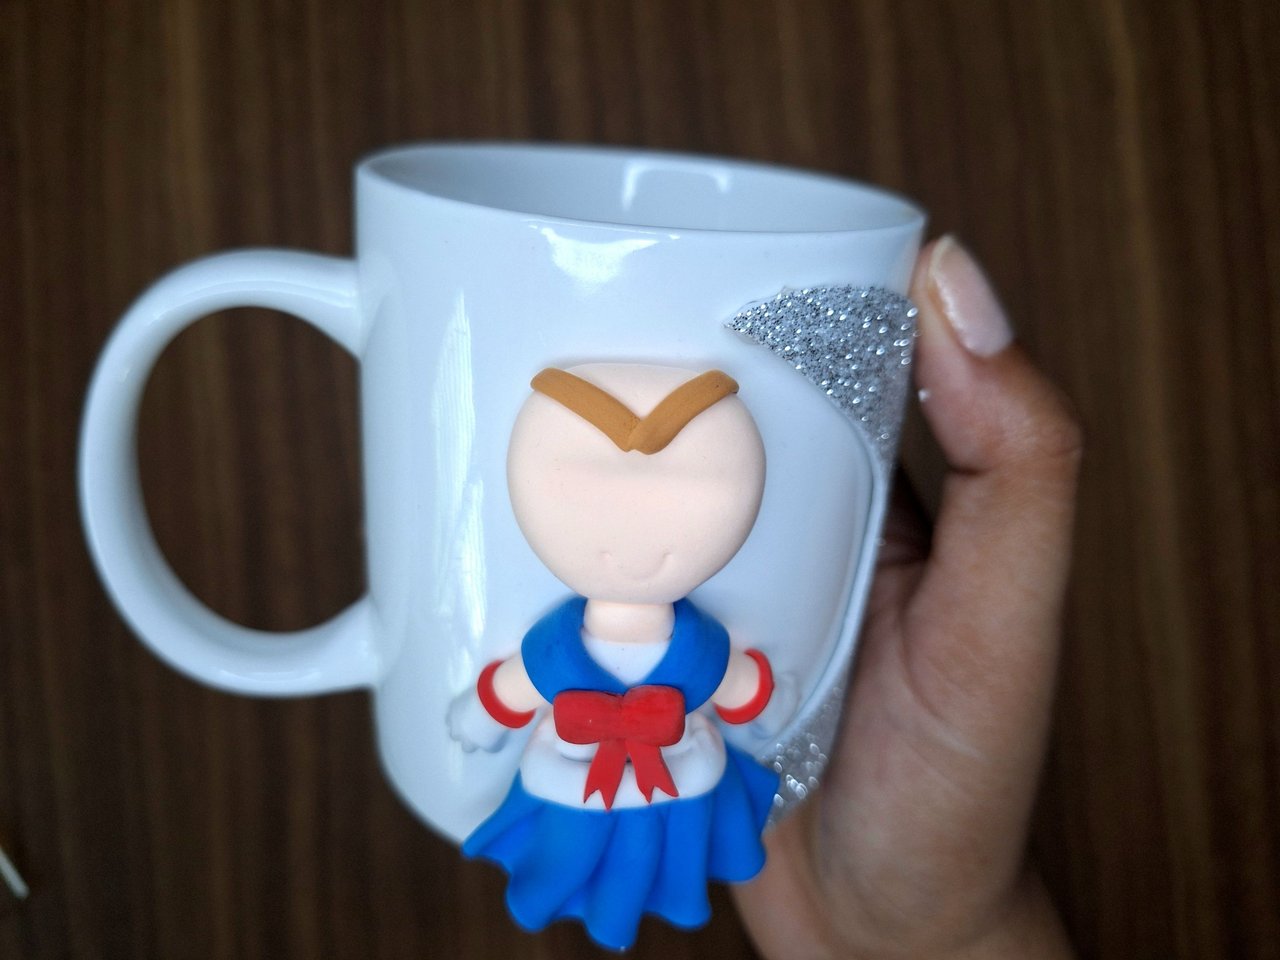 |
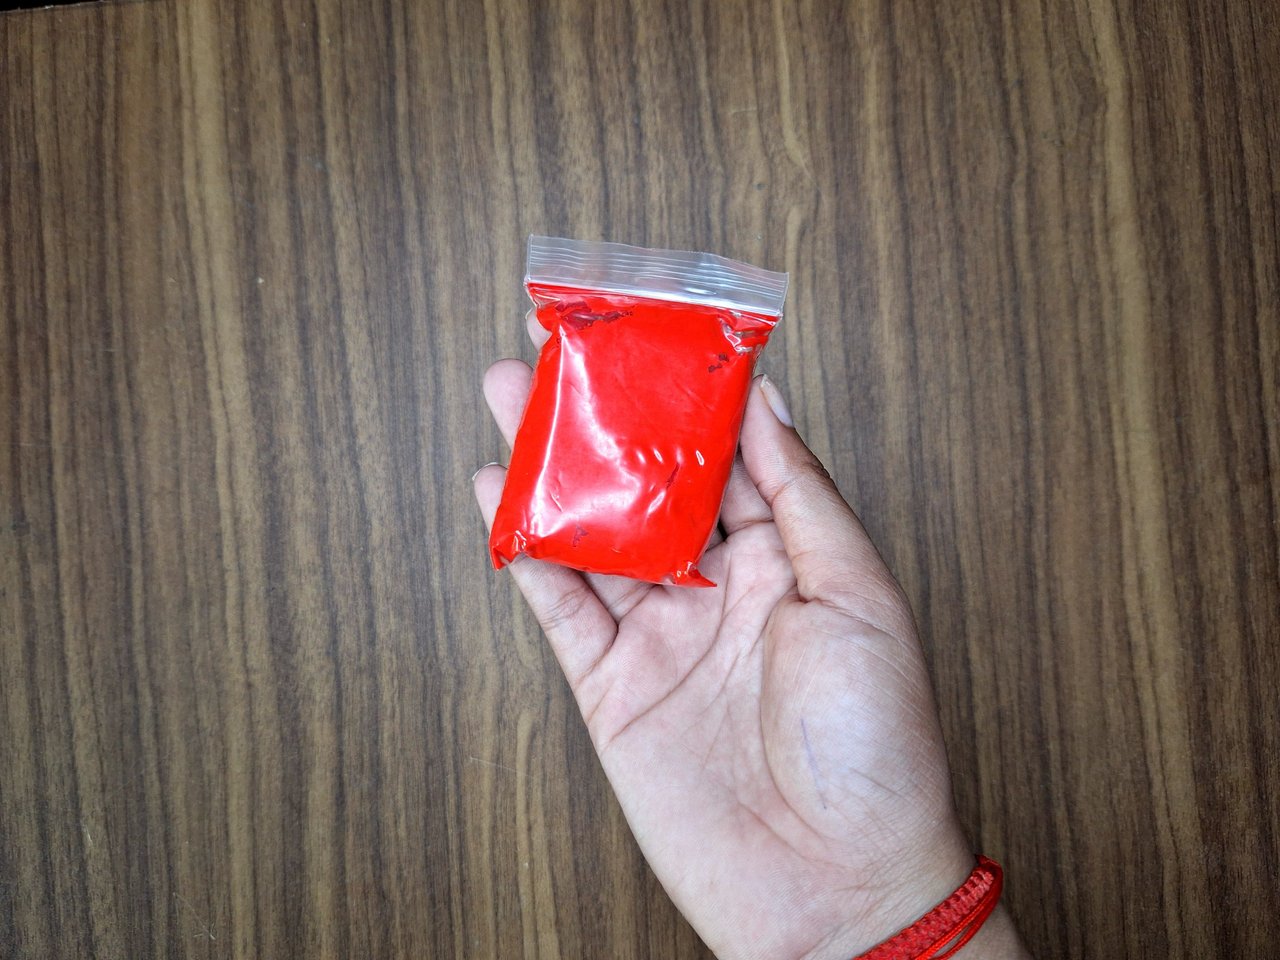
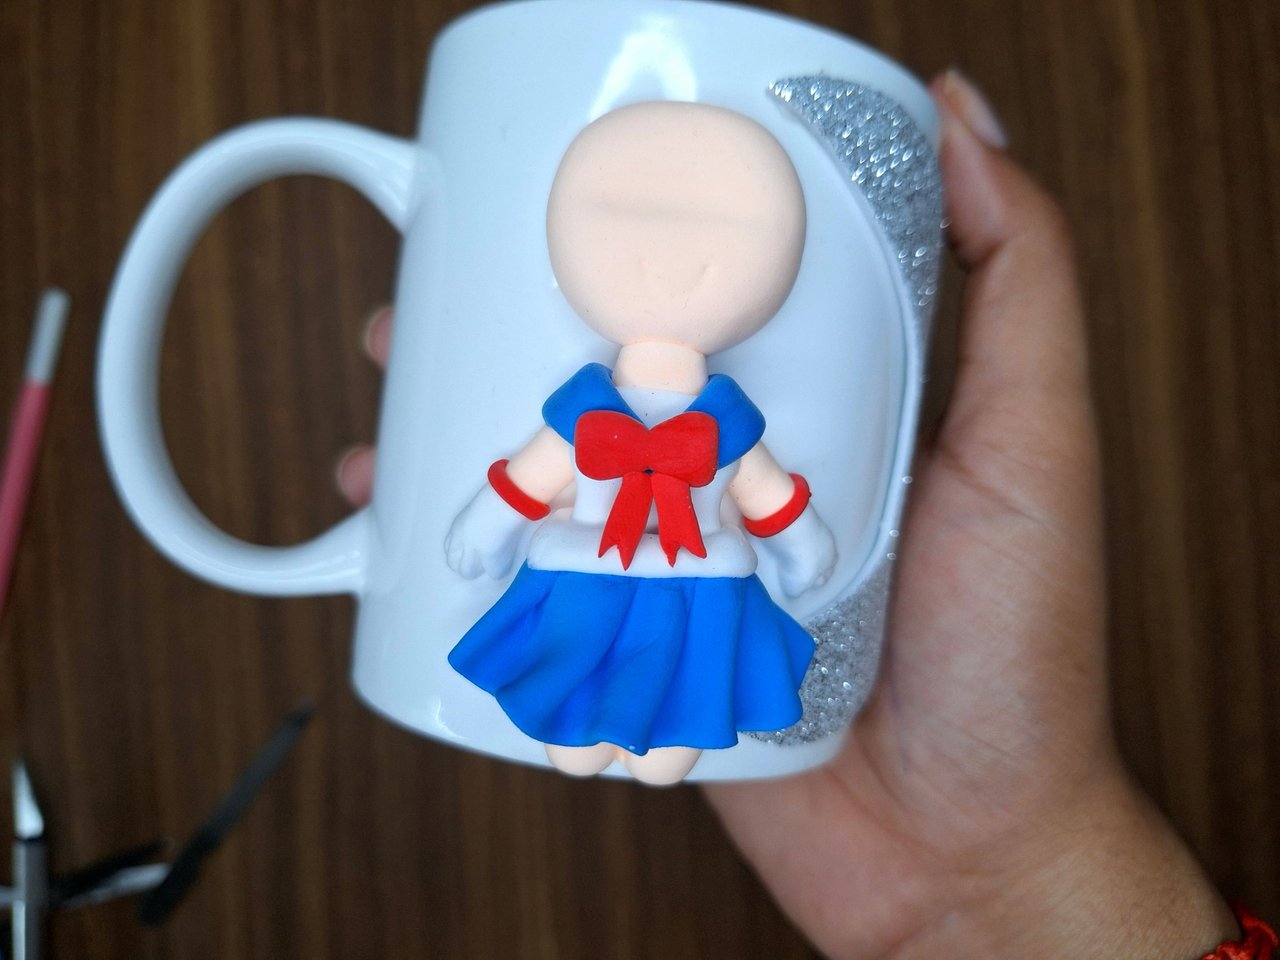
With white foami I made the waistband of the skirt. Then I made the gloves, which are attached to the arms and cut at the ends, giving it the shape of the fingers. With red color I made a thin strip that is placed at the junction of the arm and the glove and then I made the bow and placed it in the center of the chest. With carmelite foami I made the tiara that must be made before placing the hair so that it remains at the bottom.
Con foami blanco hice la pretina de la saya. Luego elaboré los guantes, los cuales se unen a los brazos y se cortan en las puntas, dándole la forma de los dedos. Con color rojo se realiza una tirilla bien fina que se coloca en la unión del brazo y el guante y luego se hace el lazo y sitúa en el centro del pecho. Con foami carmelita hice la tiara que hay que hacer antes de colocar el pelo para que quede en la parte de abajo.
 |
 |
 |
 |
 |
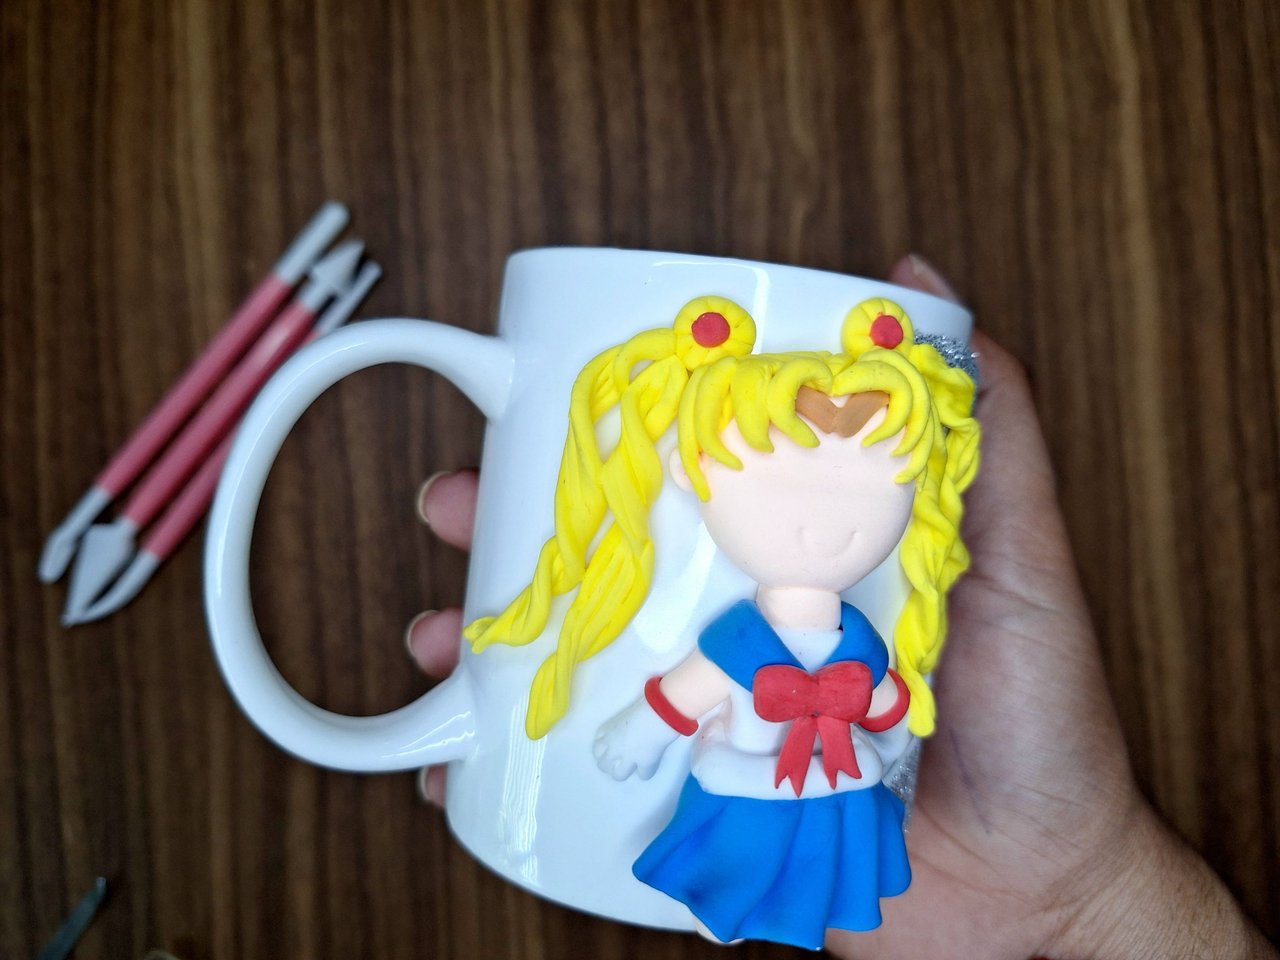 |
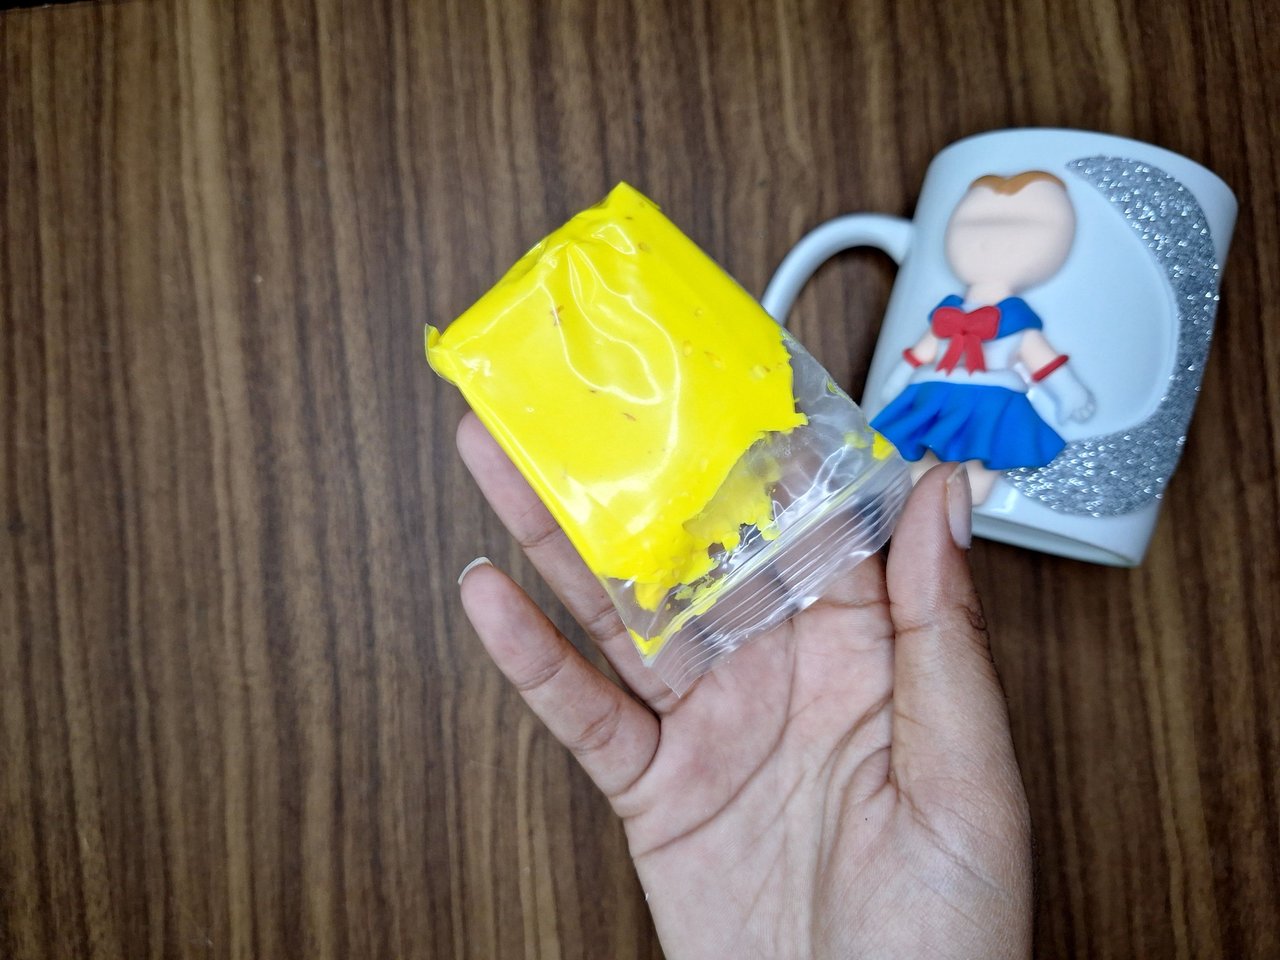
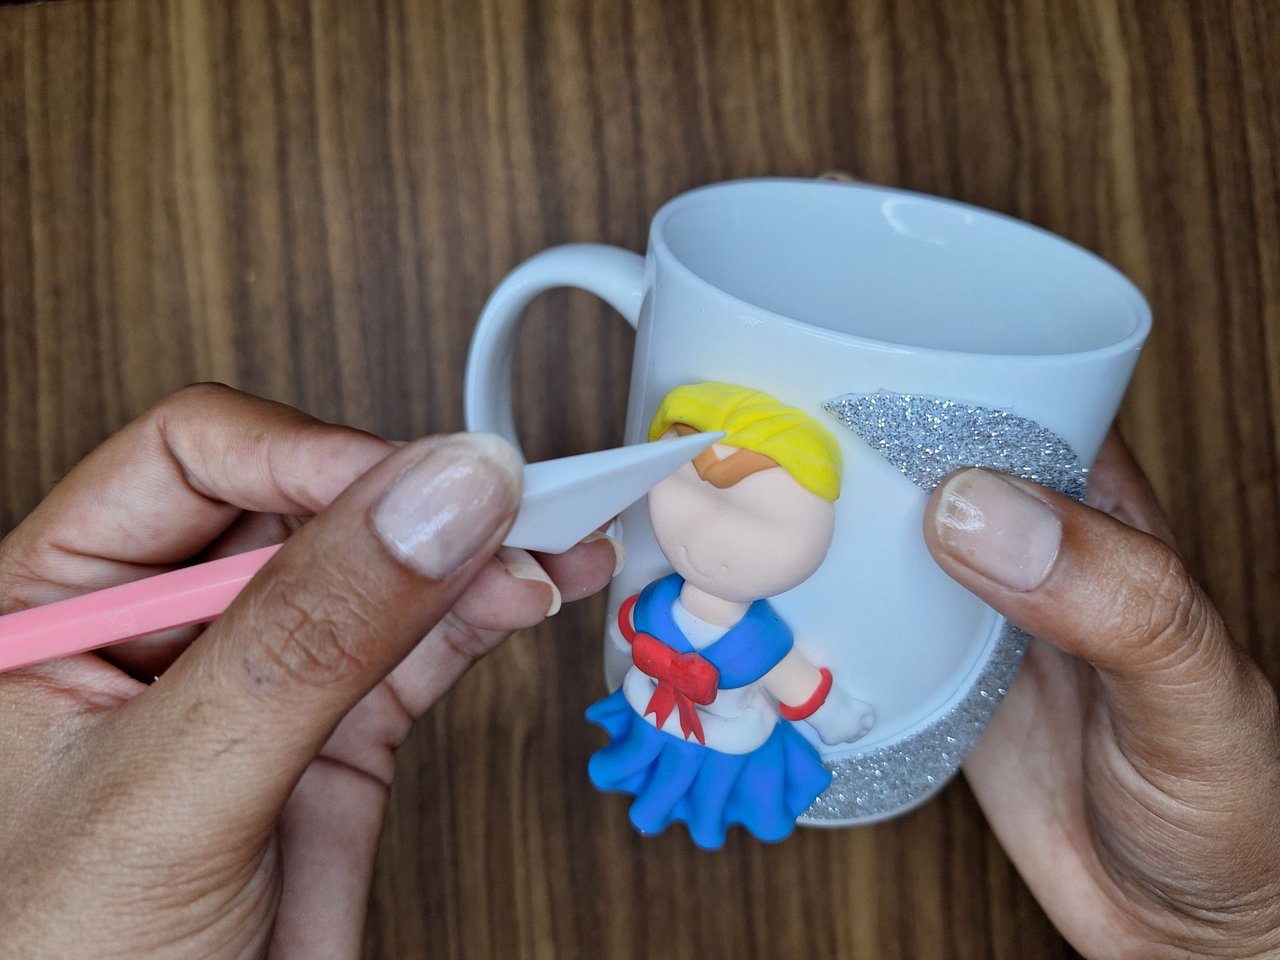
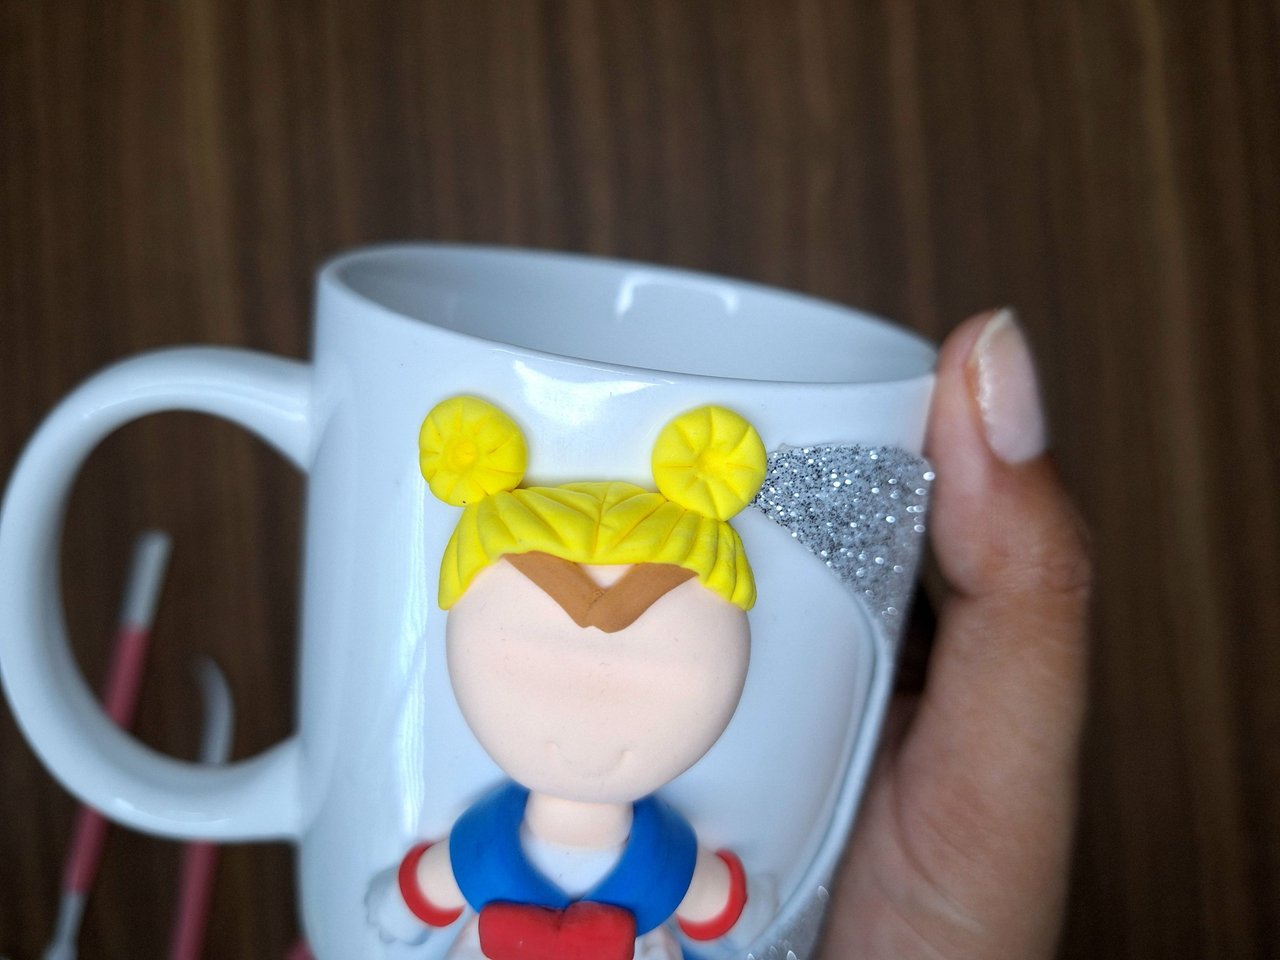
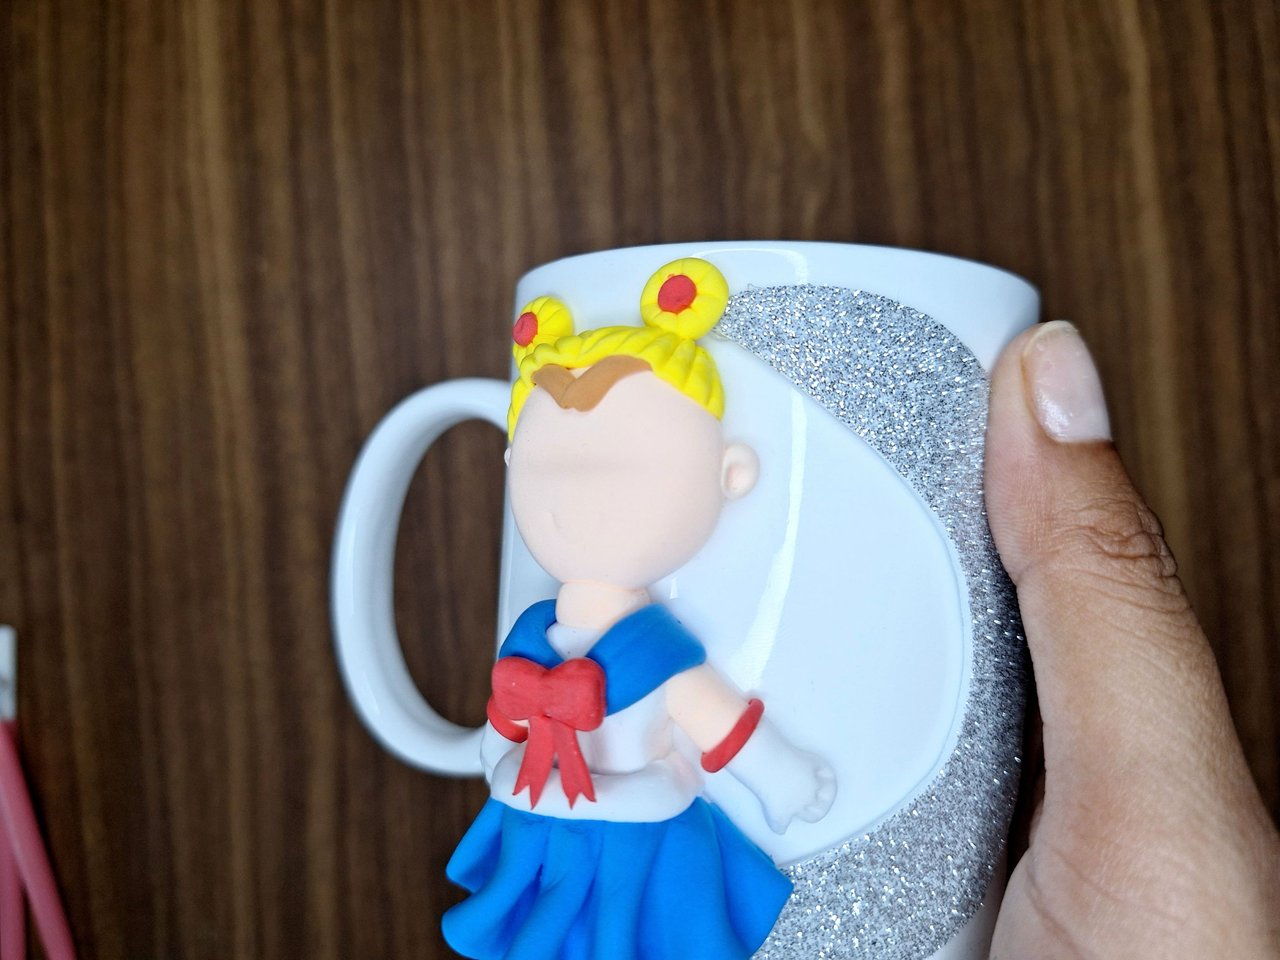
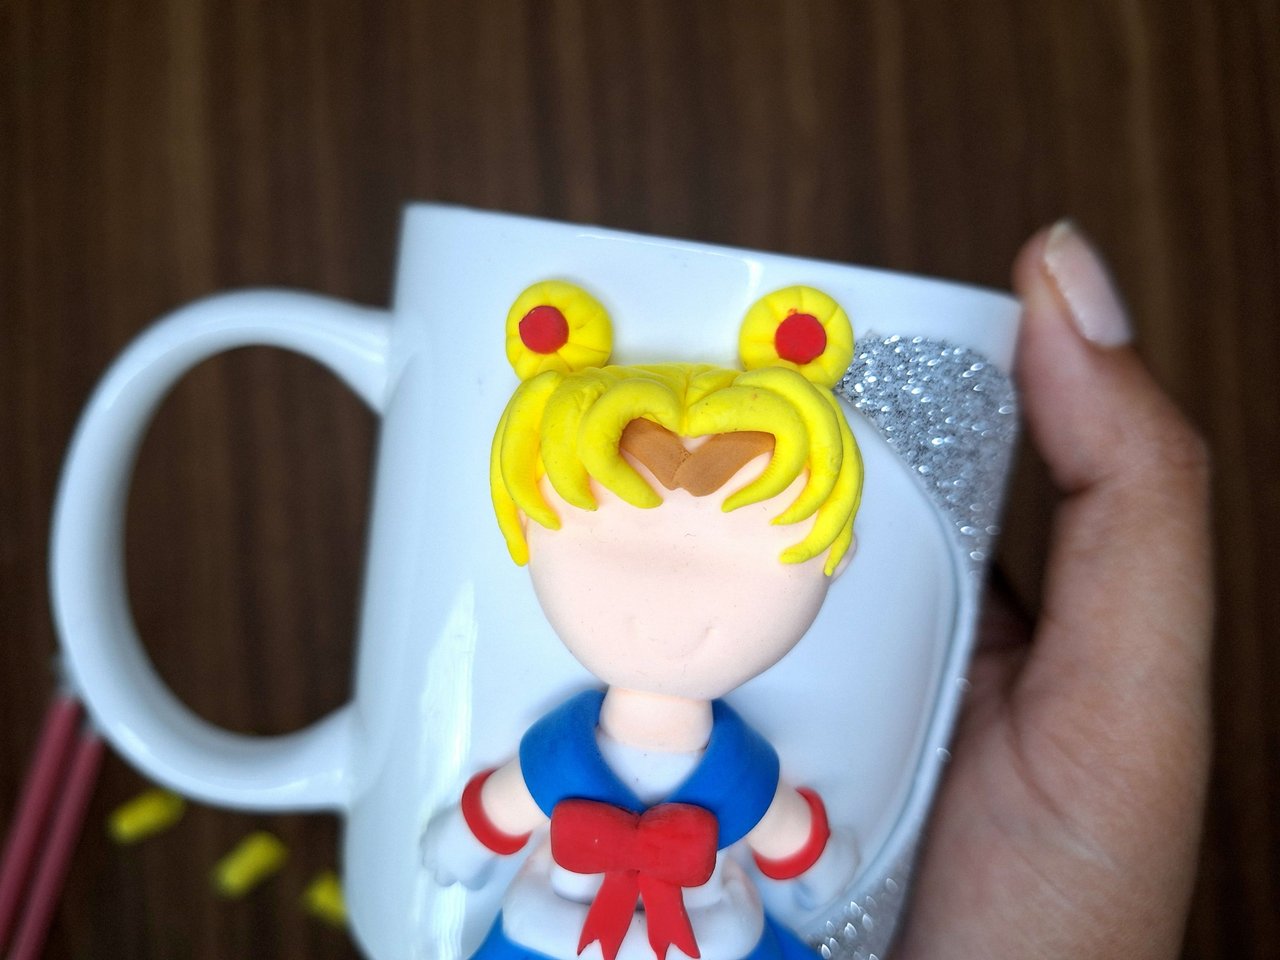
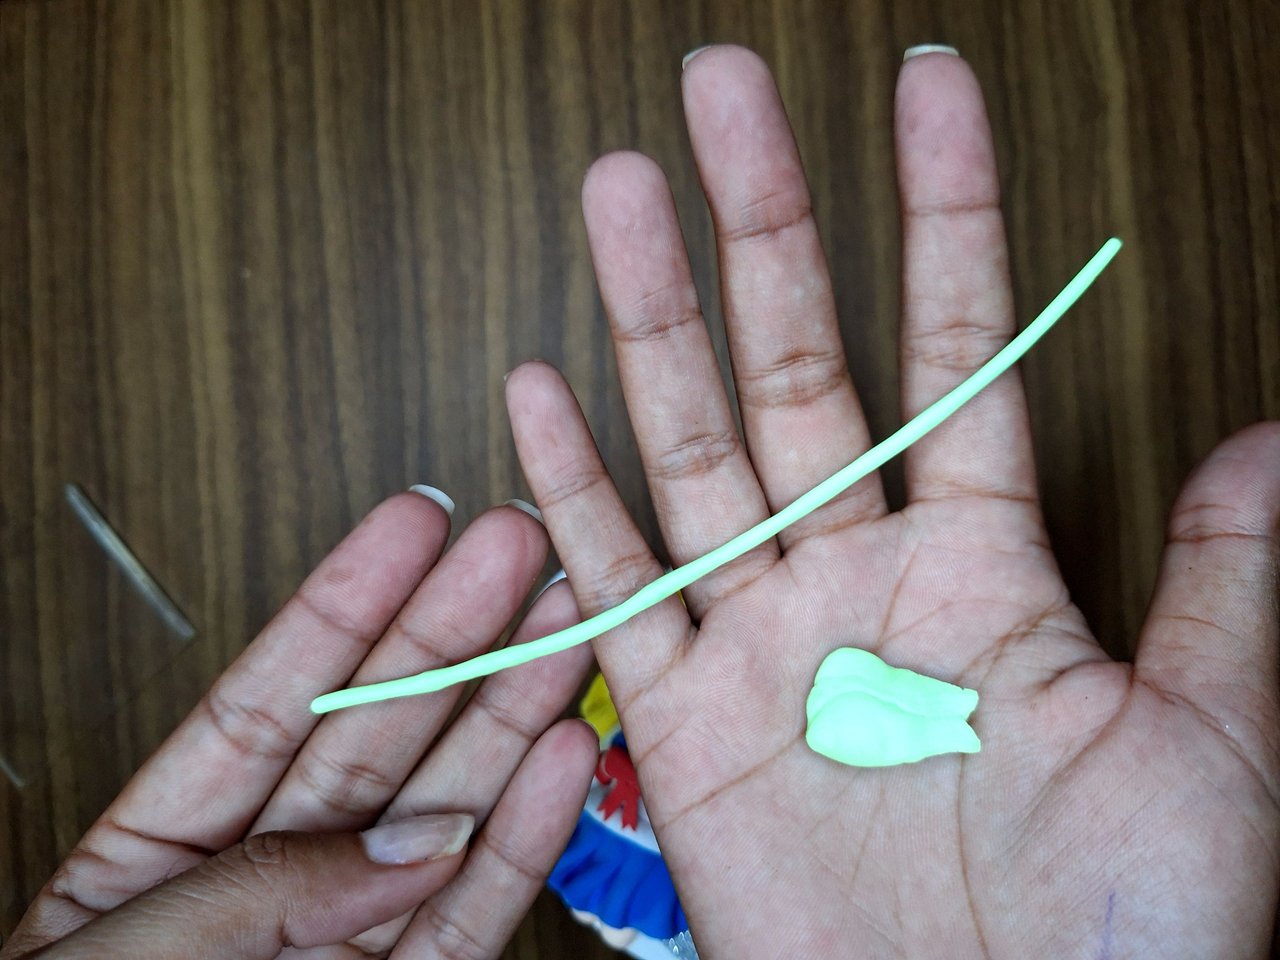
With yellow foami, make the hair, starting by covering the upper part. Make lines starting with the middle one and then diagonally to place the circular bows on top. Continue by placing the little red balls in the center of the buns and then with the characteristic heart-shaped hair tie. To make the hair long, flat strips of half a cm wide are made, which are marked with stripes along the entire length and twisted to give the effect of waves.
Con foami amarillo se elabora el pelo, comienza cubriendo la parte superior. Hacer líneas comenzando por la del medio y luego en diagonal para poner encima los moñitos circulares. Continúe colocando las bolitas rojas del centro de los moños y luego con su cerquillo característico en forma de corazón. Para hacer el cabello largo se hacen unas tiras planas de medio cm de ancho, a las cuales se les marca rayas a todo largo y se van torciendo para darle el efecto de ondas.
 |
 |
 |
 |
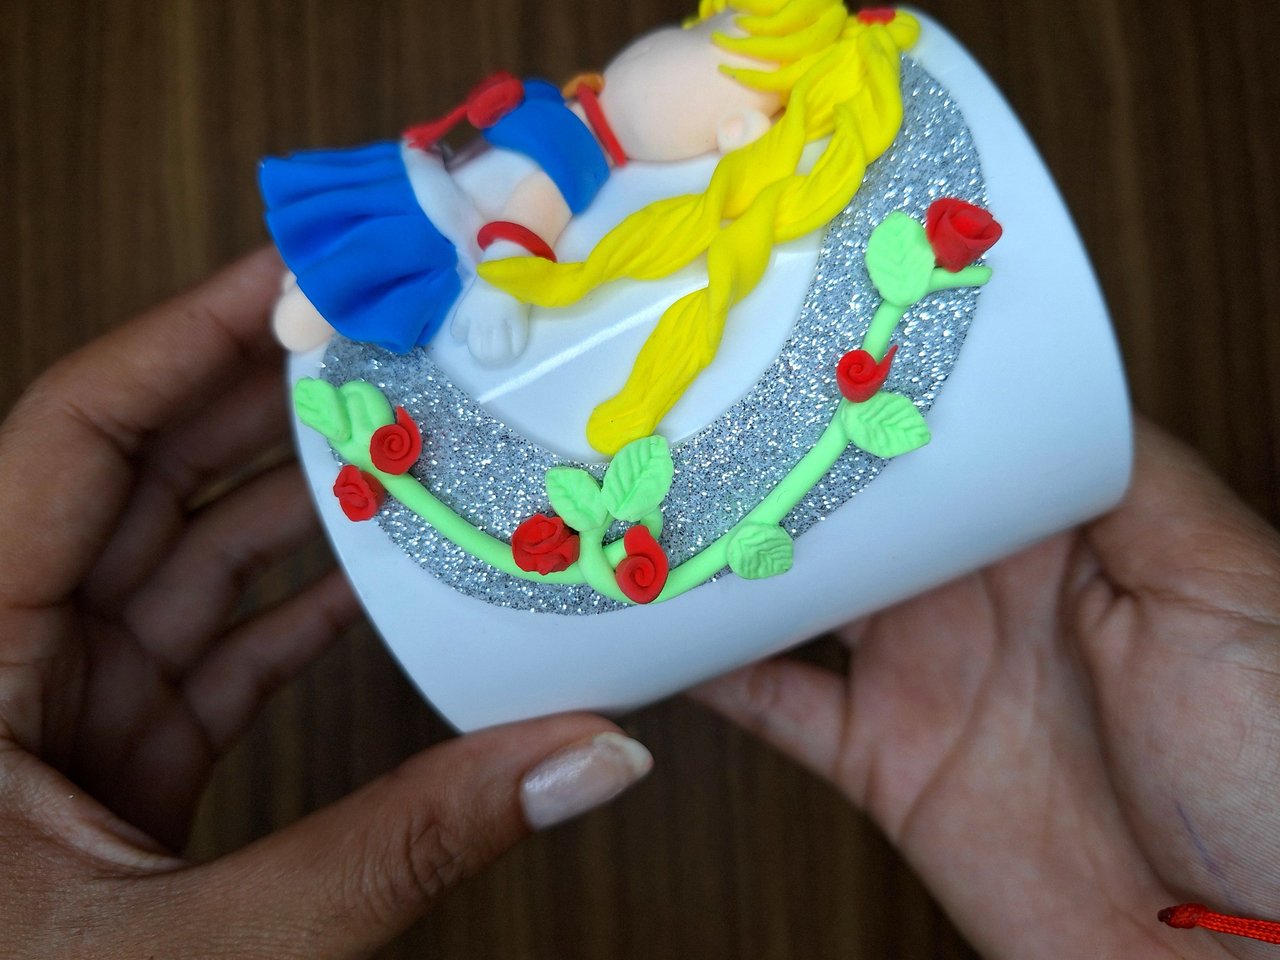 |
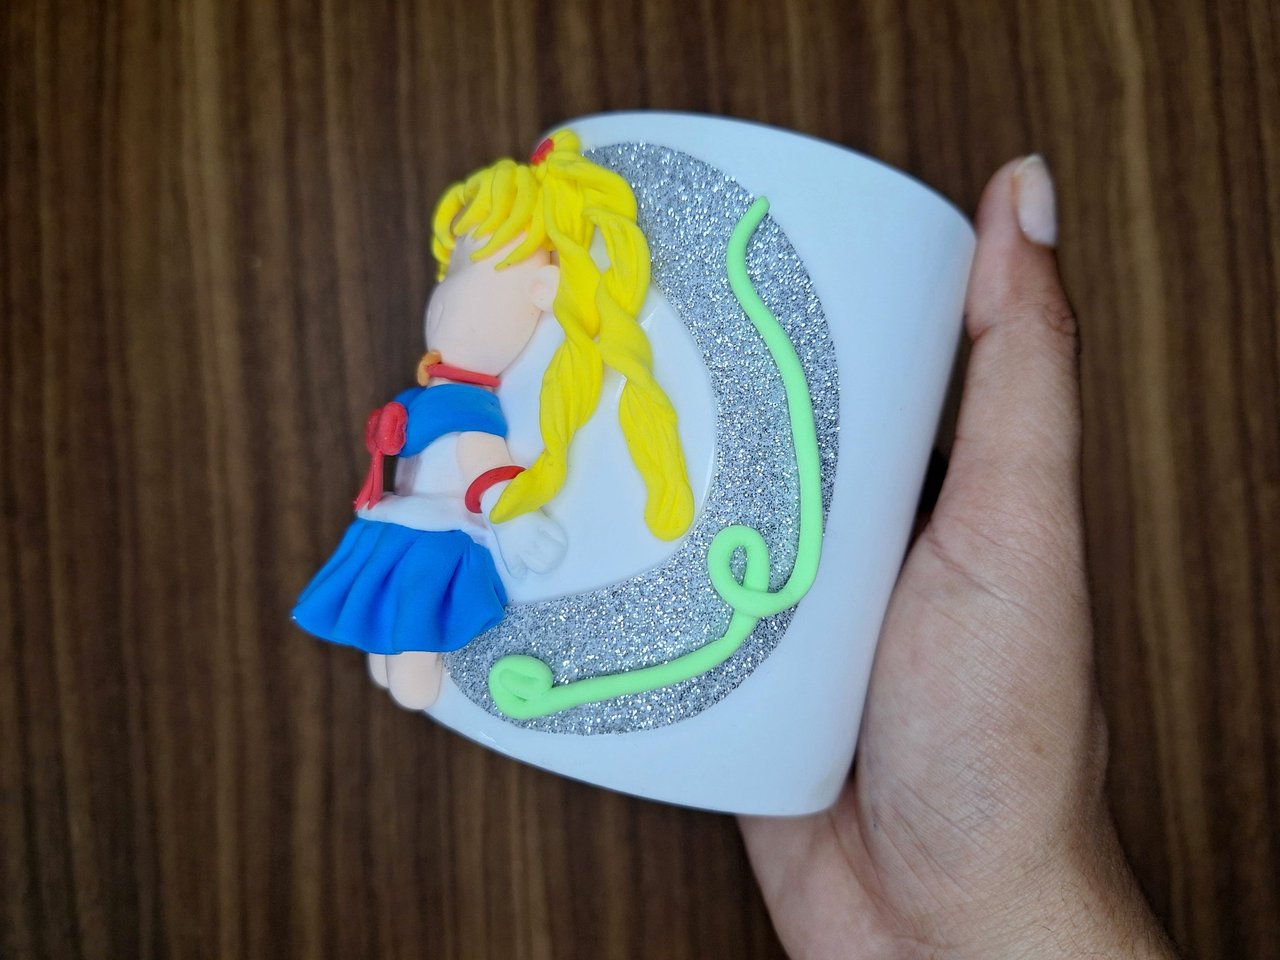
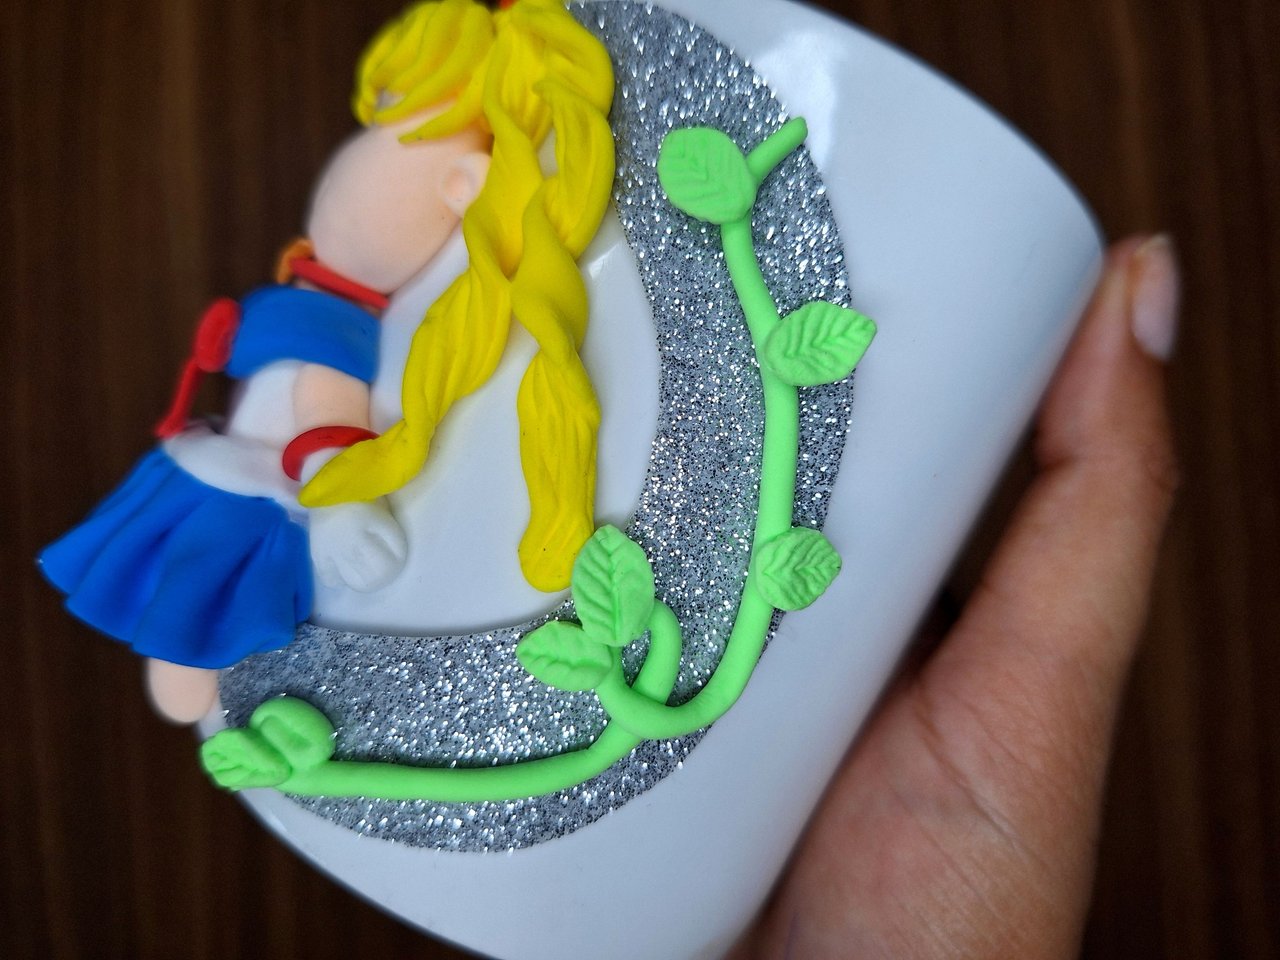
With the red and green colors a kind of vine is made to decorate the moon, starting by making a thin strip to which several small leaves are placed, then the roses are made and placed on top.
Con los colores rojo y verde se hace una especie de enredadera para decorar la luna, se comienza haciendo una tira fina a la cual se colocan varias hojas pequeñas, luego se hacen las rosas y se sitúan encima.
 |
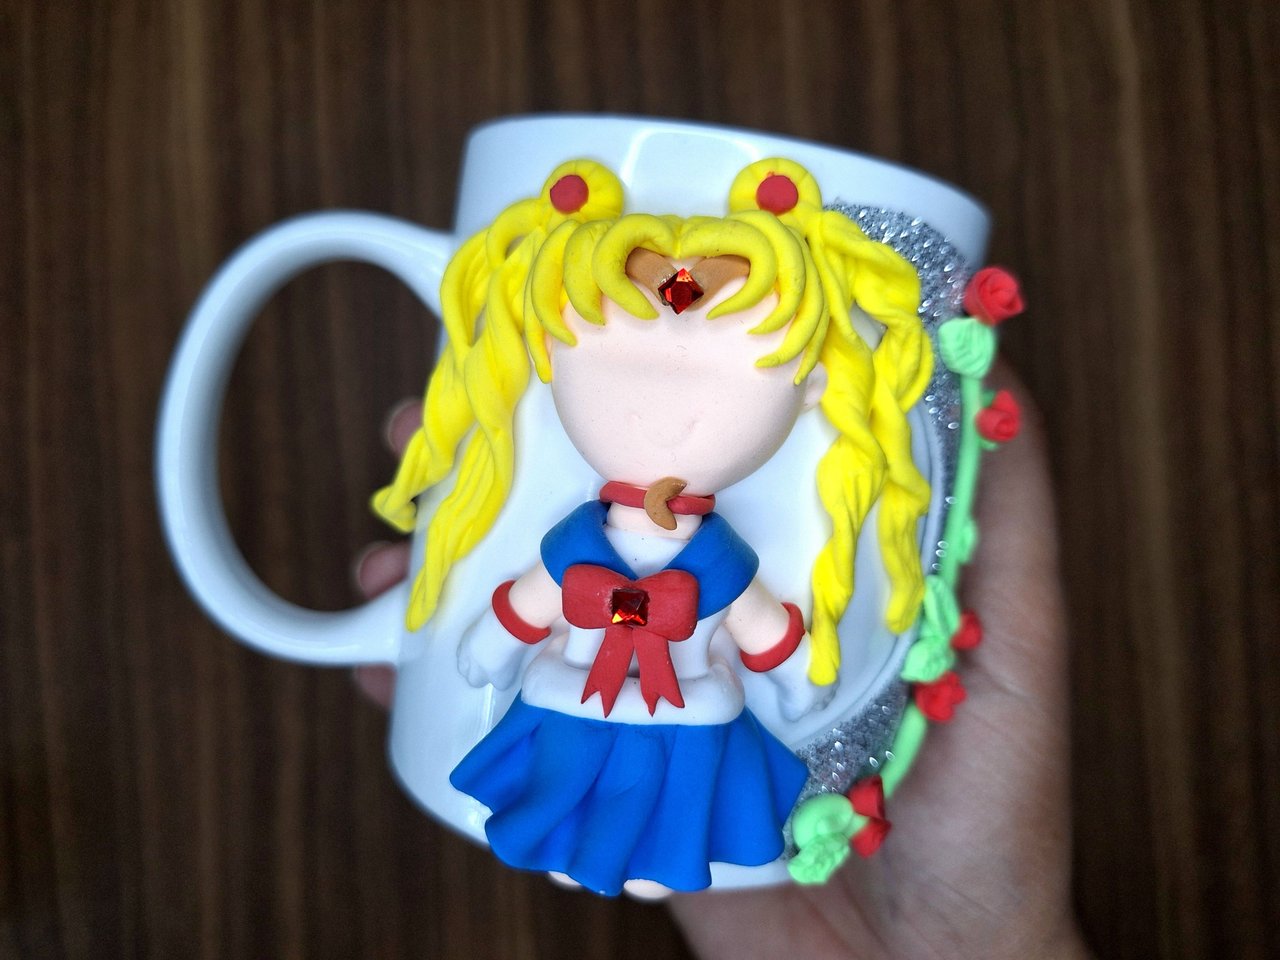 |
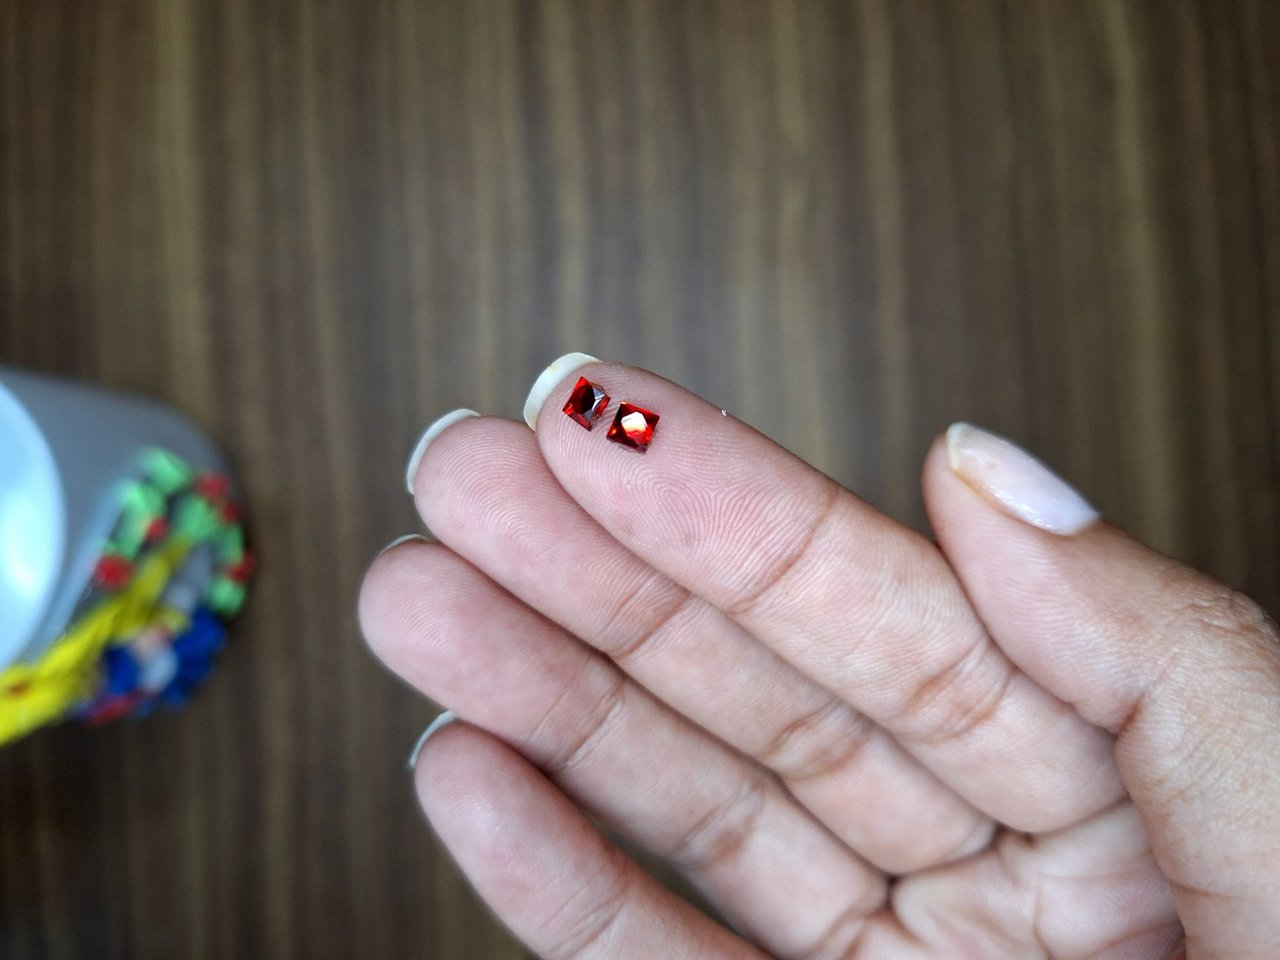
I had two red stones and decided to place one in the center of the tiara and the other in the center of the bow.
Tenía dos piedras rojas y decidí colocar una en el centro de la tiara y la otra en el centro del lazo.
 |
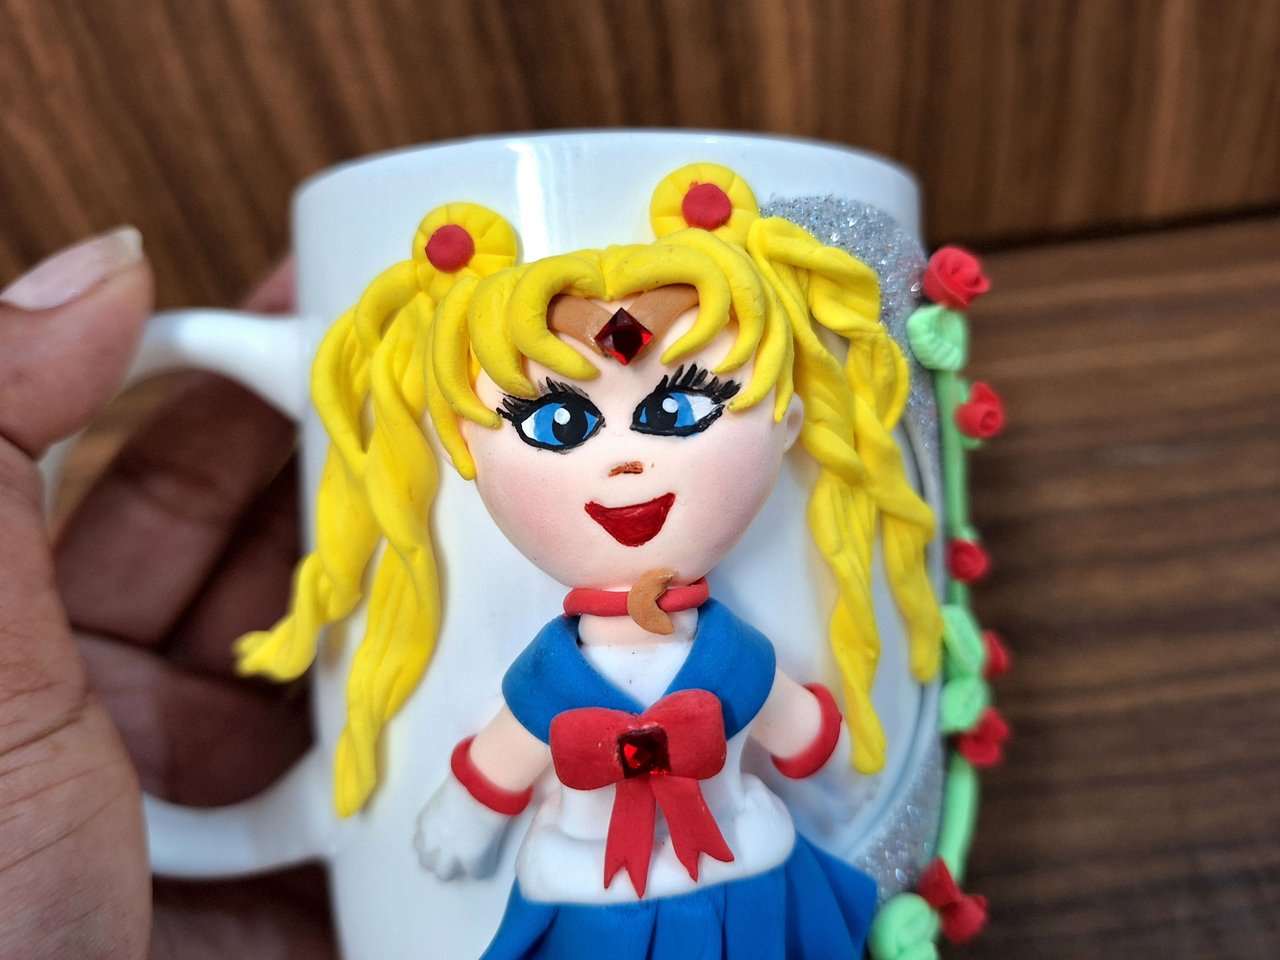 |
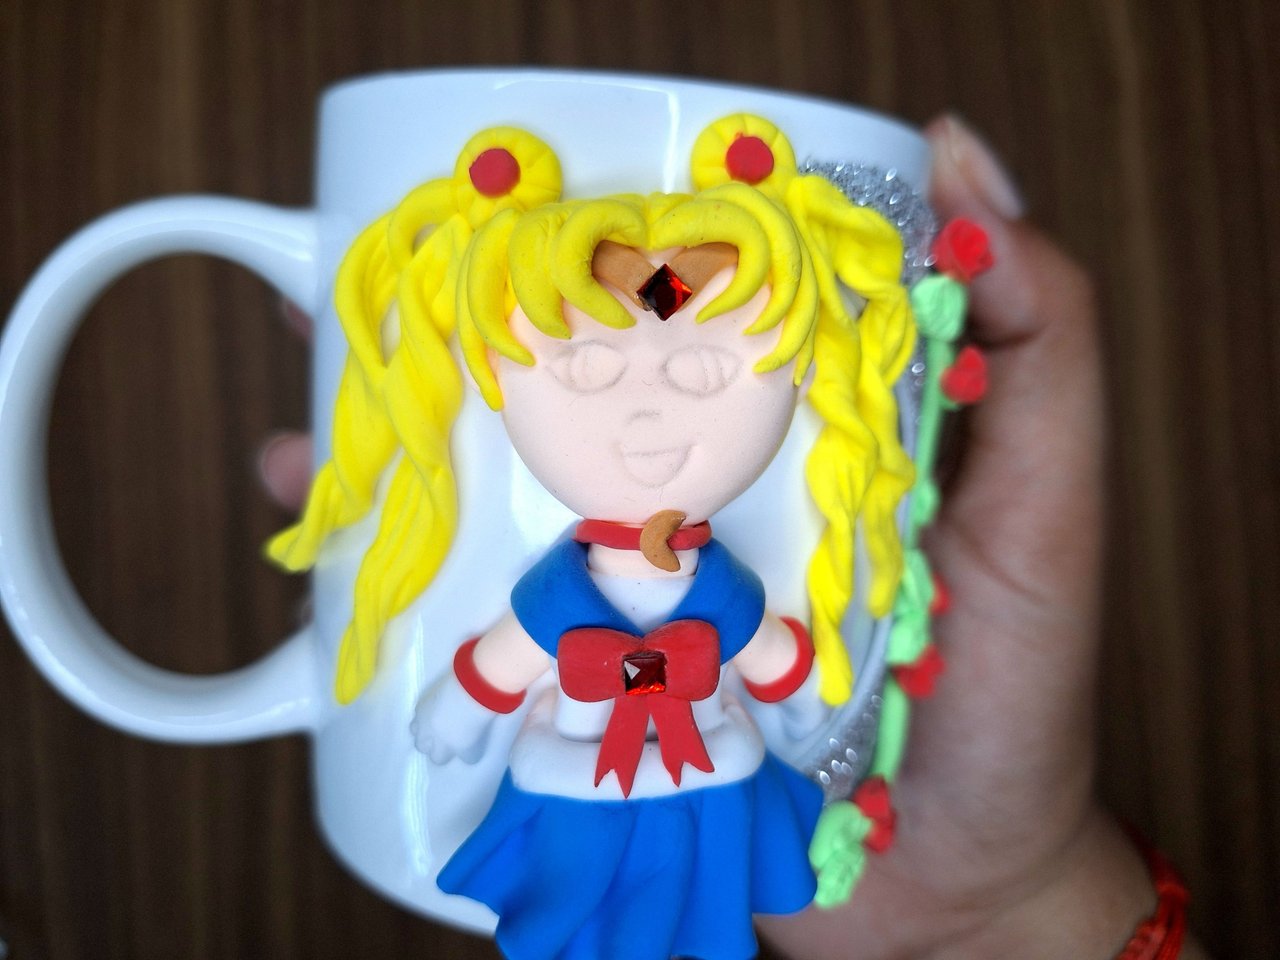
Finally, with a pencil mark the eyes, nose and mouth, and then paint them with a liner brush, I still have a lot of practice with the faces 😄.
Por último, con un lápiz marque los ojos, la nariz y la boca, y luego las pinte con un pincel liner, todavía tengo mucho que practicar con las caras 😄
 |
 |
 |
 |
 |
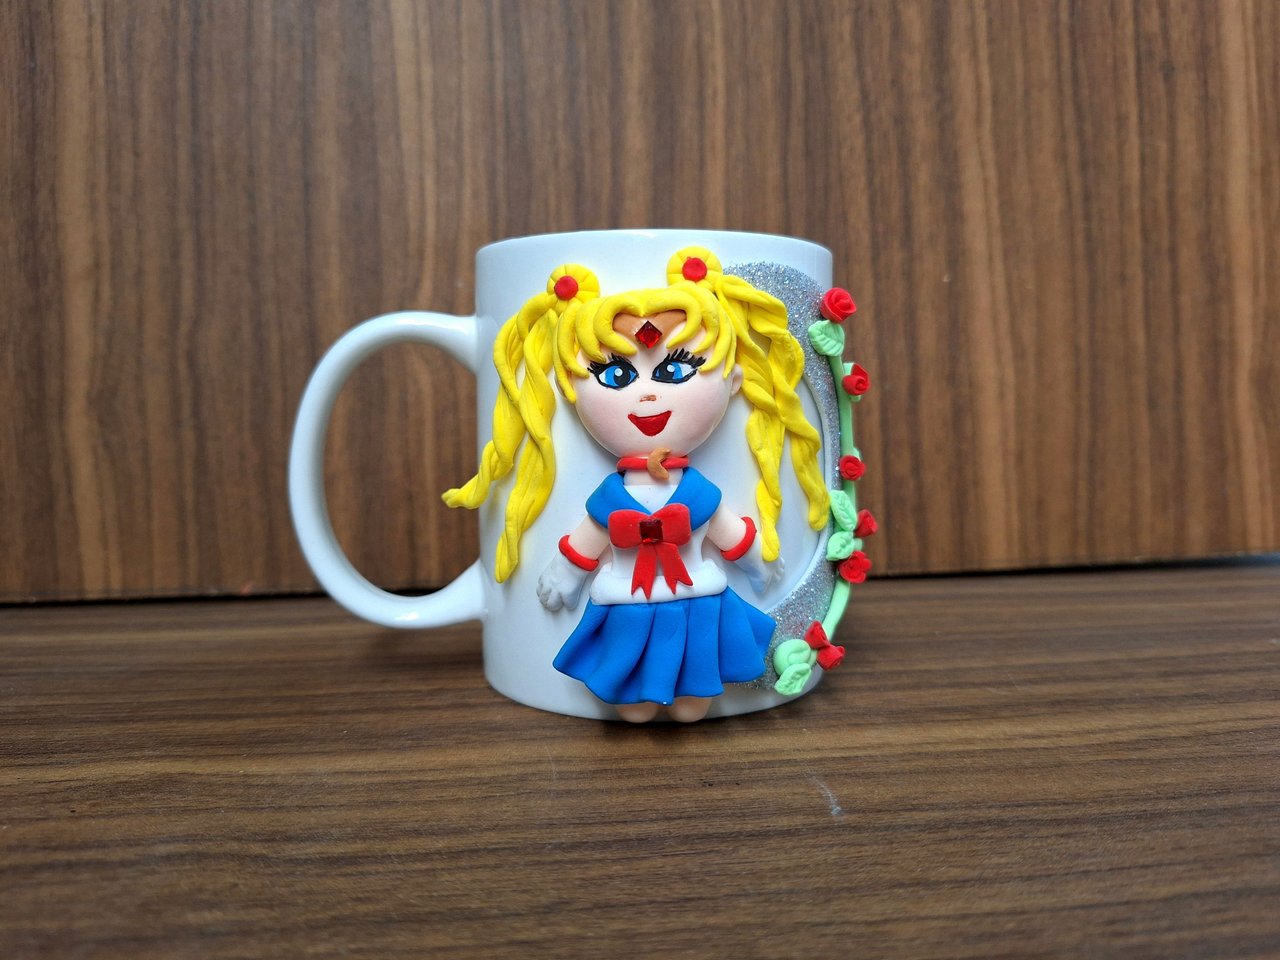 |
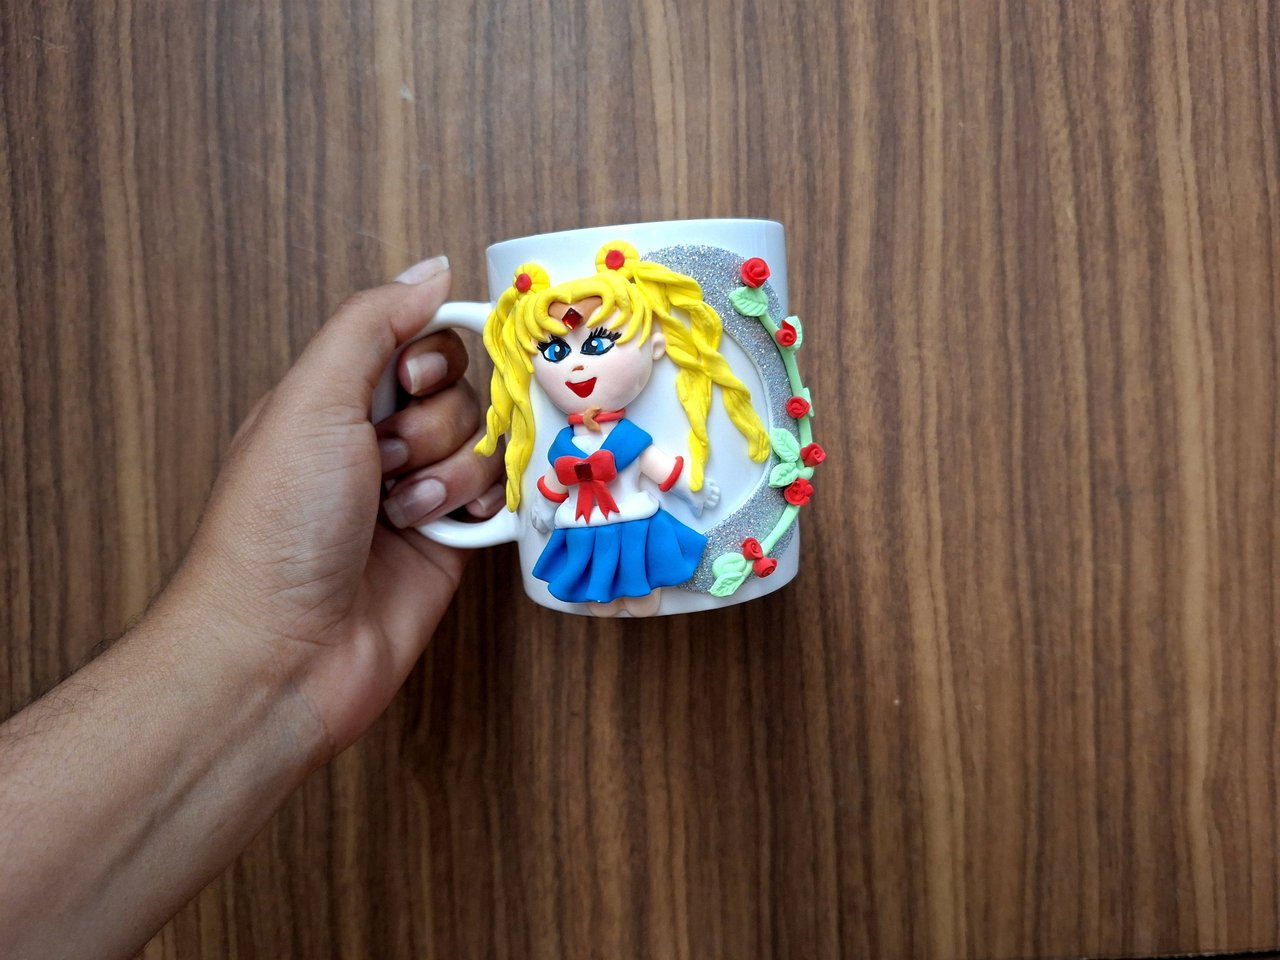
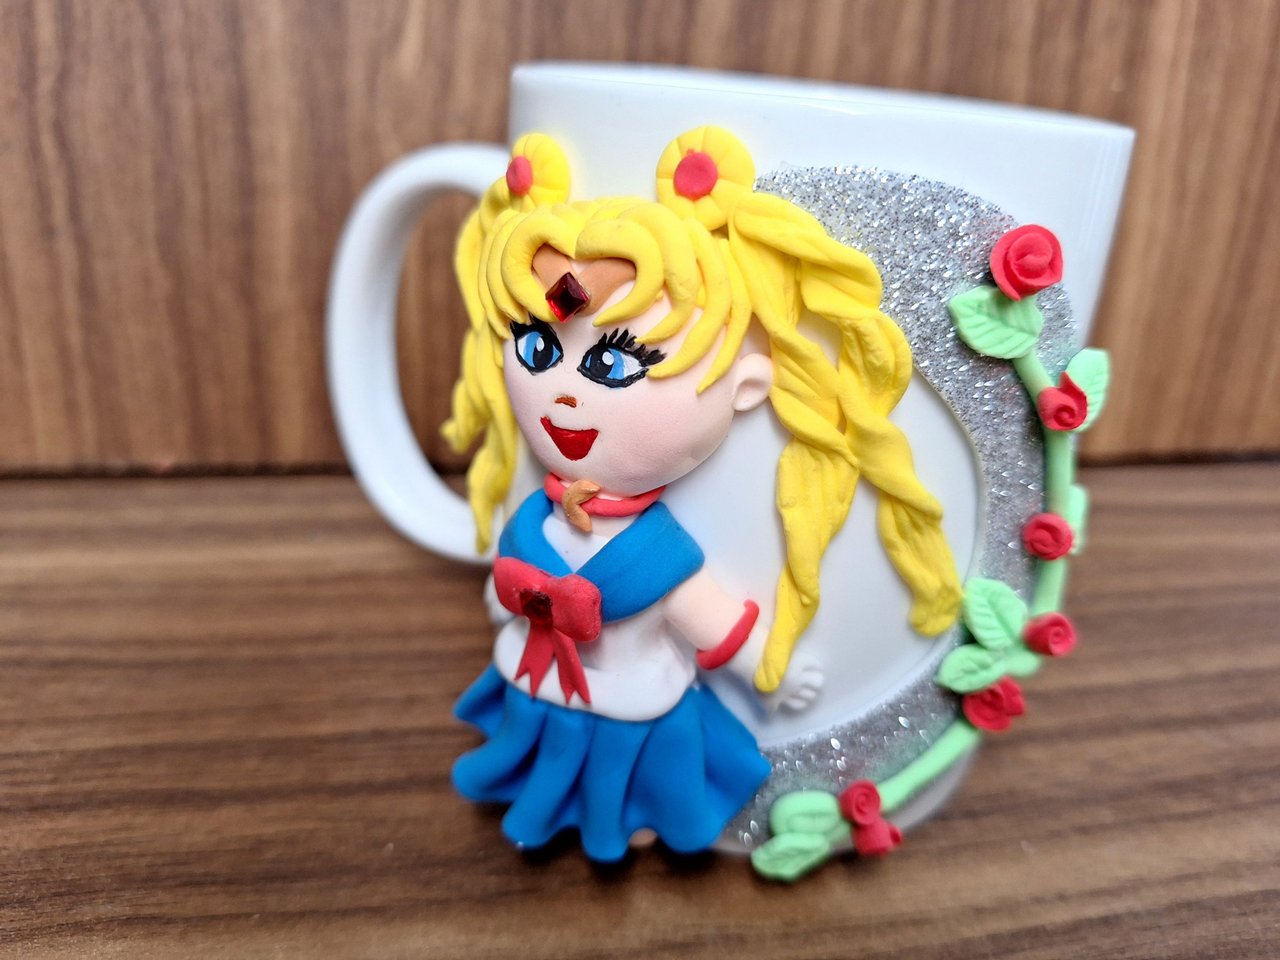
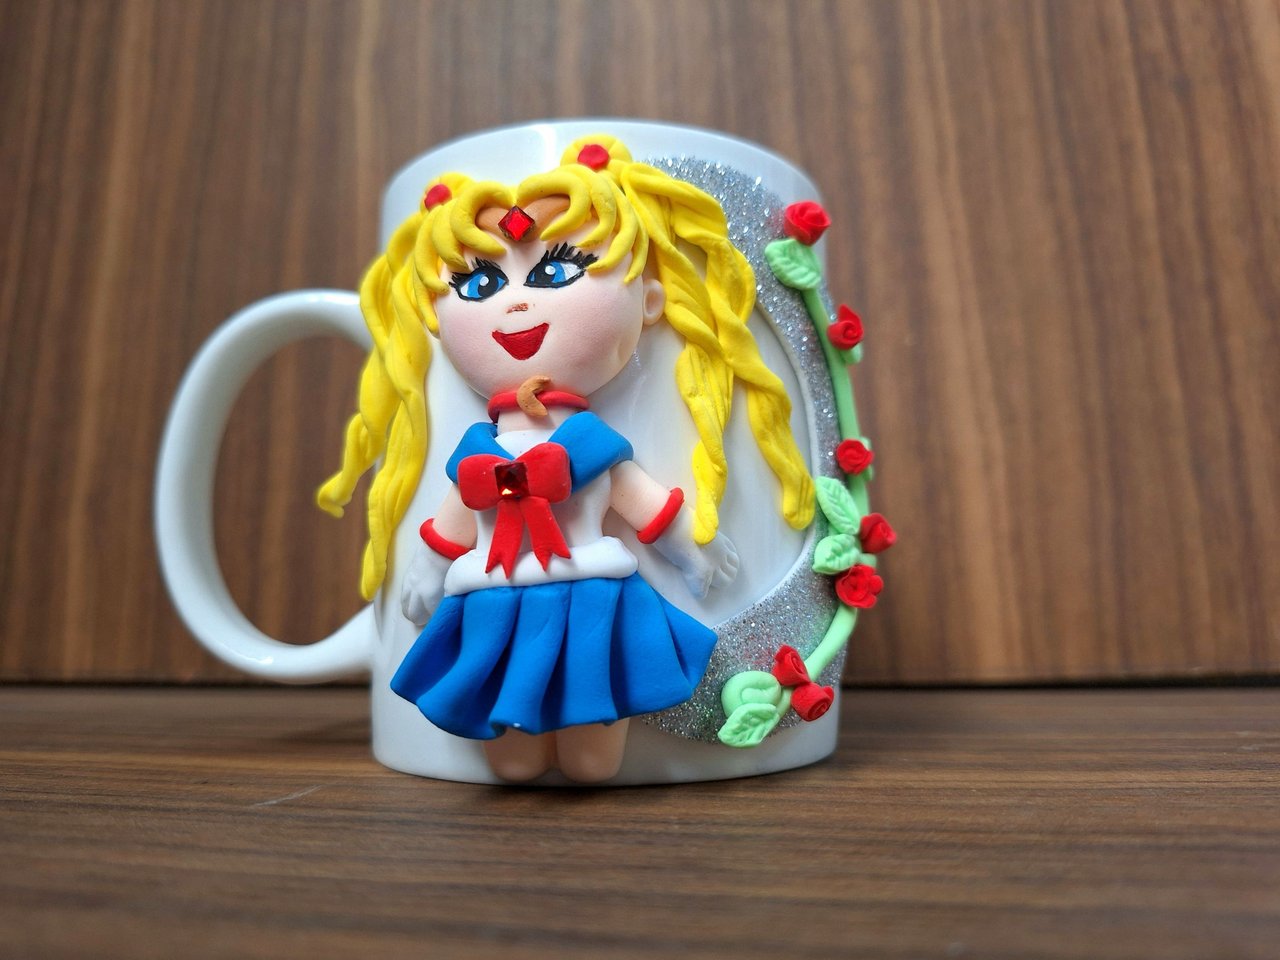
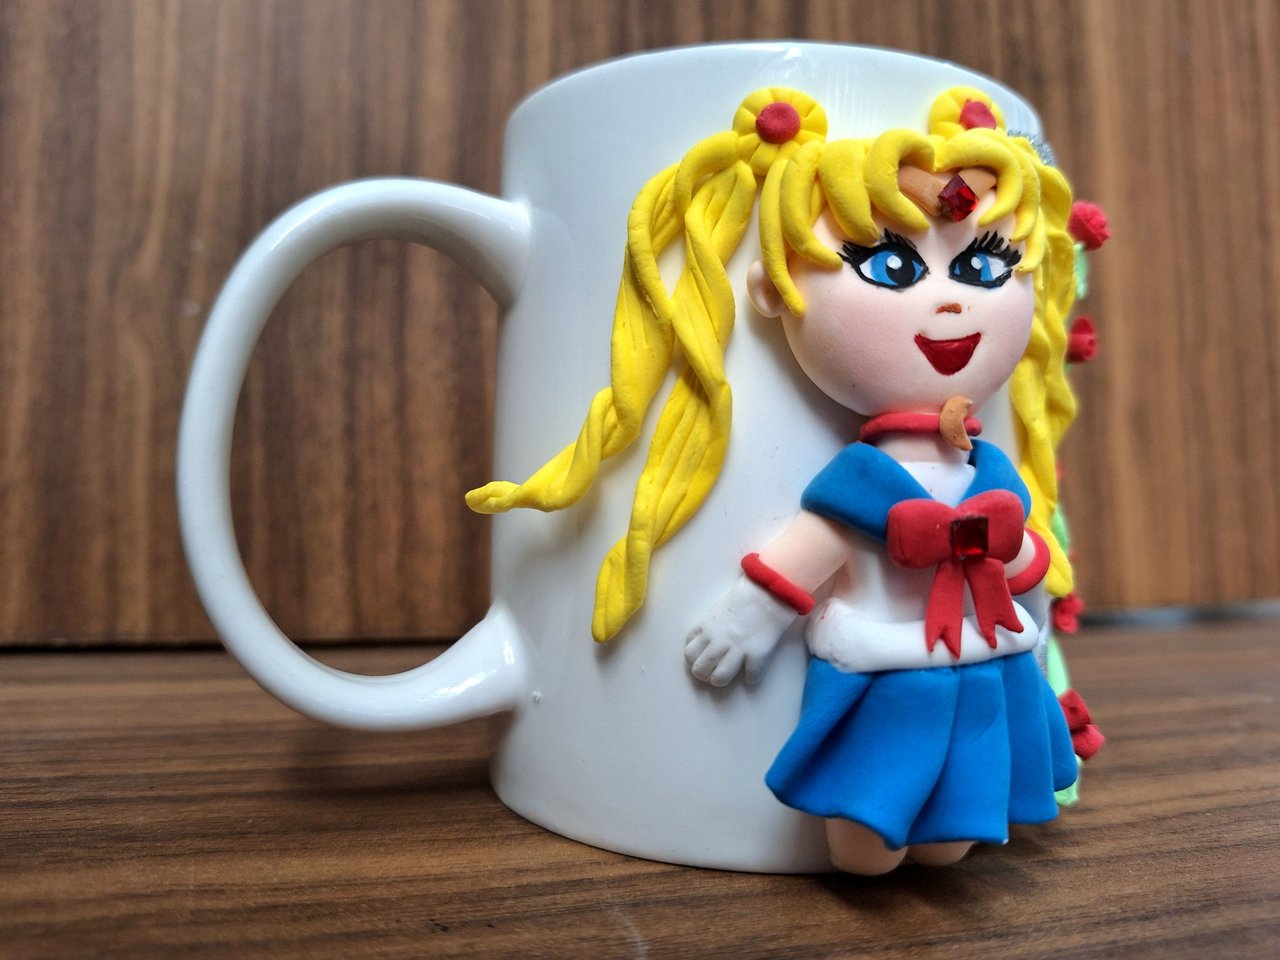
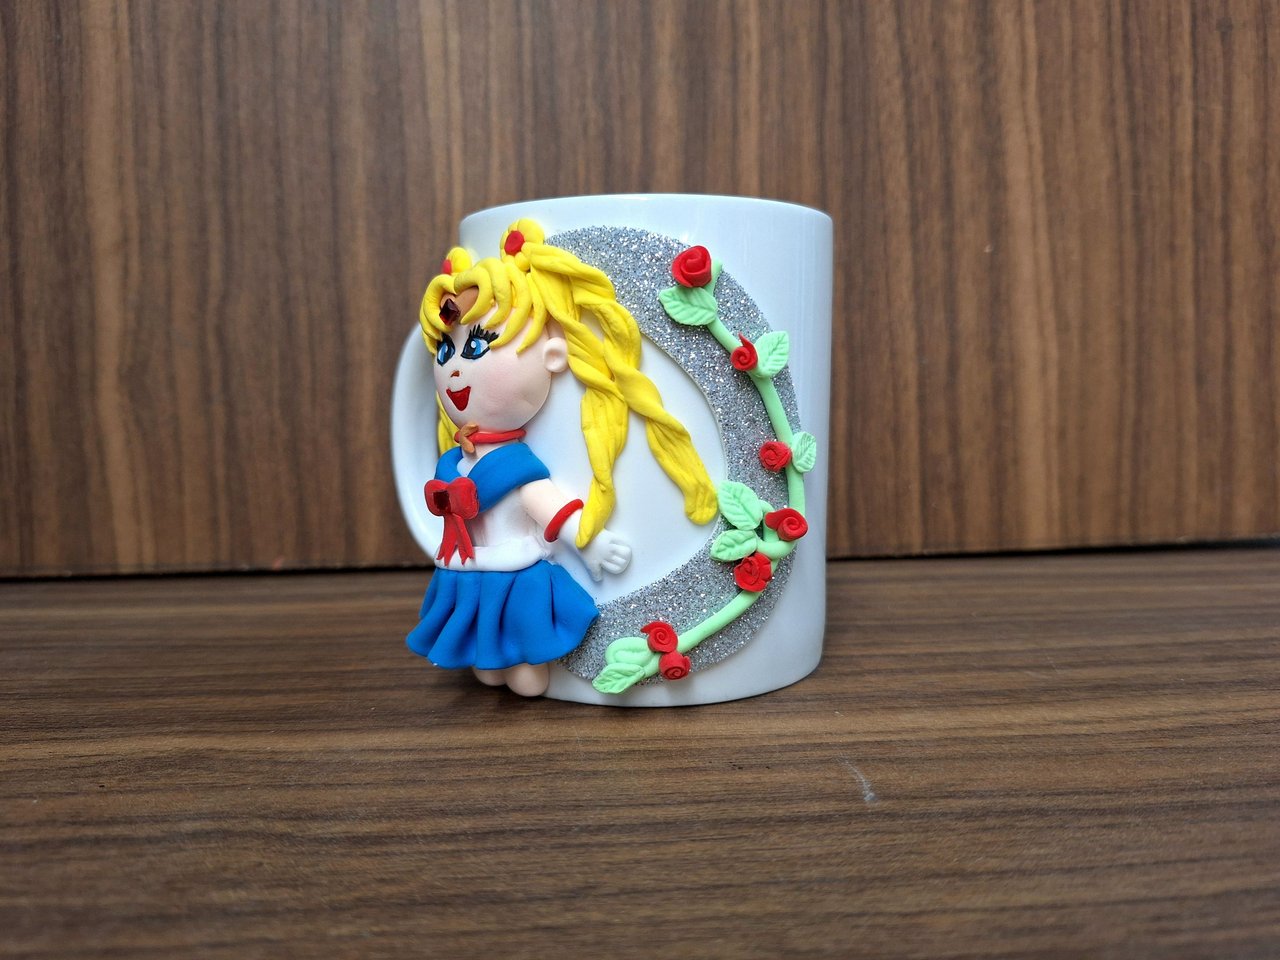
And thus is finished this beautiful cup decorated with the theme of Sailor Moon, a character I loved as a child, keep in mind that if you want to replicate it and want to leave it as an ornament, it can be left as is, but if you want to use it to drink in it have to give it a coat of varnish or epoxy resin to protect it from water, otherwise the figure will be damaged. I hope you liked it, leave me in the comments what you thought and new suggestions. Best regards.
Y de esta forma queda terminada esta hermosa taza decorada con la temática de Sailor Moon, un personaje que adoraba de niña, tengan en cuenta que si quieren replicarla y la quieren dejar como adorno, se puede quedar así tal cual, pero si quieren utilizarla para beber en ella tienen que darle una capa de barniz o resina epóxica para protegerla del agua, de lo contrario se dañara la figura. Espero que les haya gustado, déjame en los comentarios qué te pareció y nuevas sugerencias. Un saludo.
Cover made in Canva
English is not my native language, translated by DeepL
Ni tan fanático, o bueno, si 😅. Lo que dices es muy cierto, muchas personas piensan que nunca han visto una serie anime hasta que le menciono algunos nombres y se convencen de que sí.
Así es, yo misma he visto muchas cuando era pequeña que no tenía idea de que eran anime 😄, parece que en esa época estaban de moda en la televisión.
Quedó súper linda, de seguro le encantará.
Muchas gracias 🥰
Thank you for sharing this post with the community and for preferring us, it is a pleasure for us to have you here.
We hope to see you soon. Best regards!
Thank you very much🥰, I hope to continue sharing my content in this community, I already have several idea in mind to show you 🤗.
This is a beautiful job, the result is outstanding.
Thank you for sharing with the community!
Thank you very much, I'm so glad you liked it 🤗.
Oh wow. The mug looks so good. Your decoration is amazing.
Thank you very much 🥰🤗
Sailor Moon is my childhood anime, I have so many memories of watching it in the afternoons drinking chocolate milk hahaha today it is still my favorite anime, love your craft, it's too cool 😍
Thank you very much, also remembering my childhood Sailor Moon is present, I even played with my friends playing the characters, it's a very nice series and movie 🥹.
Que bonita! me encanta
Muchas gracias 🥰
I love that you made a Sailor Moon mug, it's such an iconic and nostalgic character for many. n. Thanks for sharing the tutorial! I will definitely try to make a mug like that someday. hope to see more of your creations soon! 🌙✨
Thank you very much, it's a great character, I hope you can make a replica of this mug someday, I'm glad it motivated you to make it. Regards 🤗
Me encantó el resultado. Realmente, quedó hermoso.
Hasta podrías venderlas o algo así. Estoy seguro que muchos las compraría.
Te felicito, saludos.
Muchas gracias, me alegro que te haya gustado, si, podría resultar venderlas, siempre hay quienes aman estos trabajos y desean tener una. Saludos 🤗
te quedó chido, muy bueno
Muchas gracias amigo 🥰, me alegro de que te guste 🤗
This character was my favourite for a long time.Feels so nostalgic.
I'm glad to bring you good memories 🥰.