

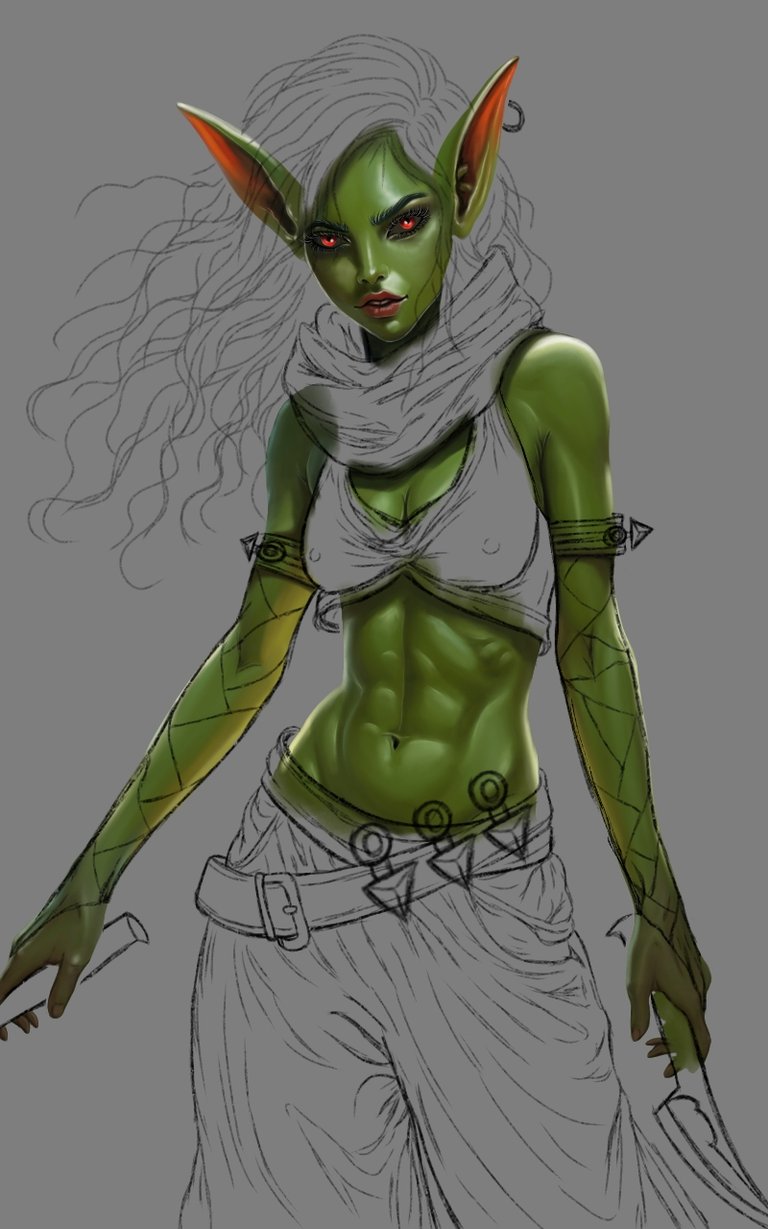
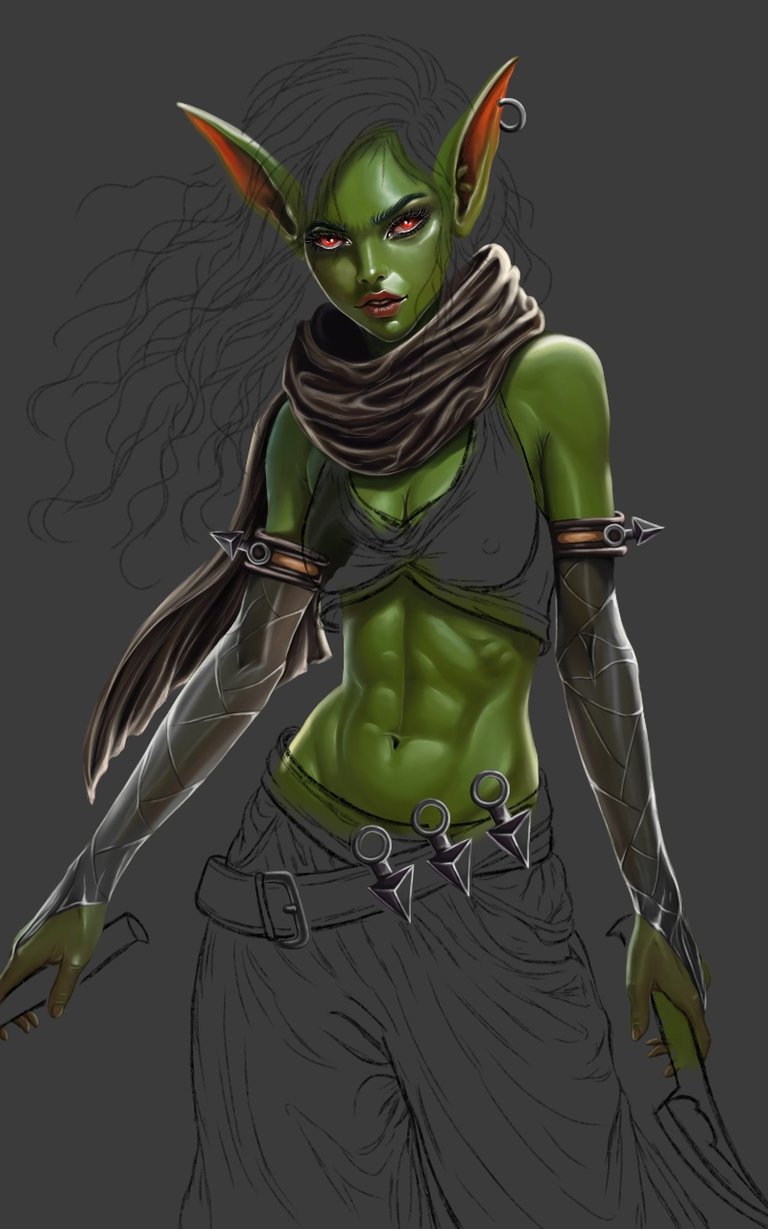
Hola muy buenas noches a todos querida comunidad, deseo se encuentren muy bien. Estoy adelantándome en esta madrugada antes de que amanezca ya que termine esta pieza y ando un poco llena de preocupaciones, asi que para participar en el Social Media de la semana, les cuento que me gusto la carta de Grifzi, una duende que se gana la vida a costa de los demás, intimidando, golpeando y matando. Un personaje sin duda rebelde y ágil para su labor, así que me guie con la idea de representarla en su forma humanizada tomando varios elementos de su vestuario y accesorios para acercarlo mas a su forma base. Me he animado mucho retomando los dibujos y dedicándole el tiempo y los detalles que los hacen únicos al terminarlos, realmente espero lo disfruten y les guste mucho.
Hello good evening to all dear community, I hope you are very well. I'm getting ahead in this early morning before dawn because I finished this piece and I'm a little full of worries, so to participate in the Social Media of the week, I tell you that I liked the letter of Grifzi, a goblin who makes a living at the expense of others, intimidating, beating and killing. A character undoubtedly rebellious and agile for her work, so I was guided with the idea of representing her in her humanized form taking several elements of her costumes and accessories to bring her closer to her base form. I've been very encouraged by retaking the drawings and dedicating the time and details that make them unique to finish them, I really hope you enjoy it and like it a lot.
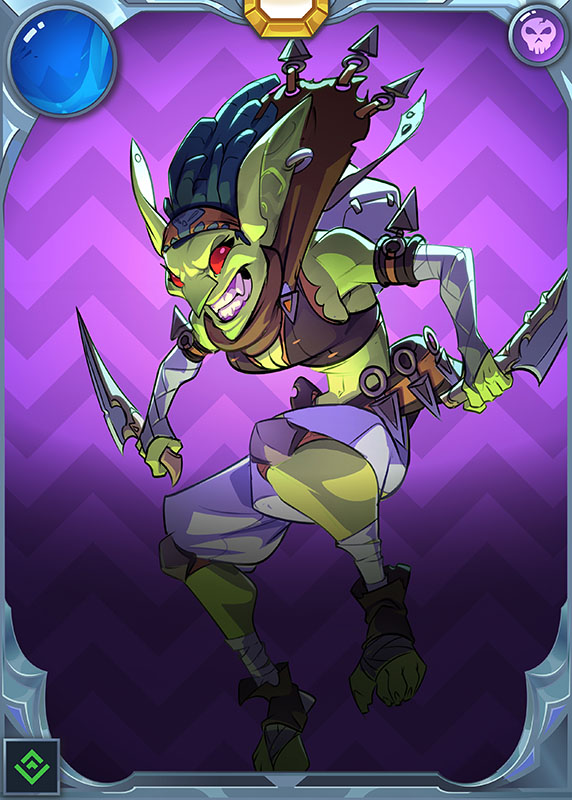
Link de la Imagen de Referencia/Reference Image Link

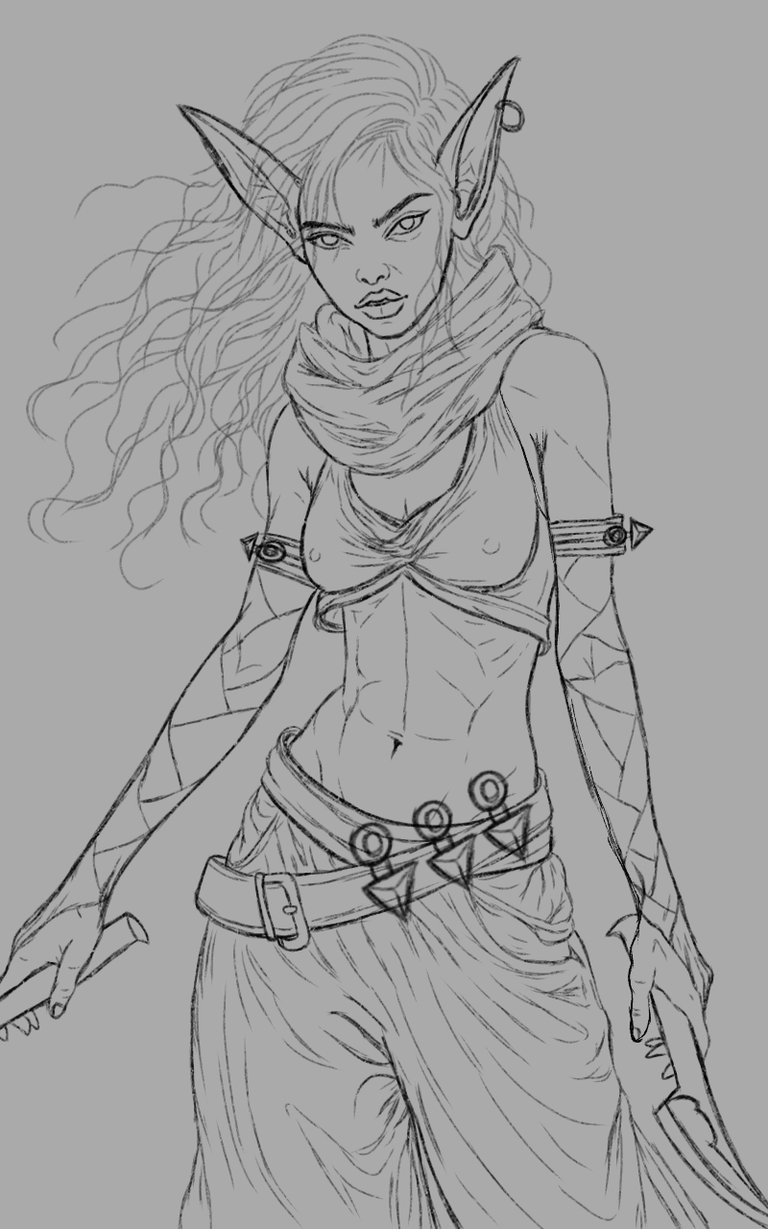
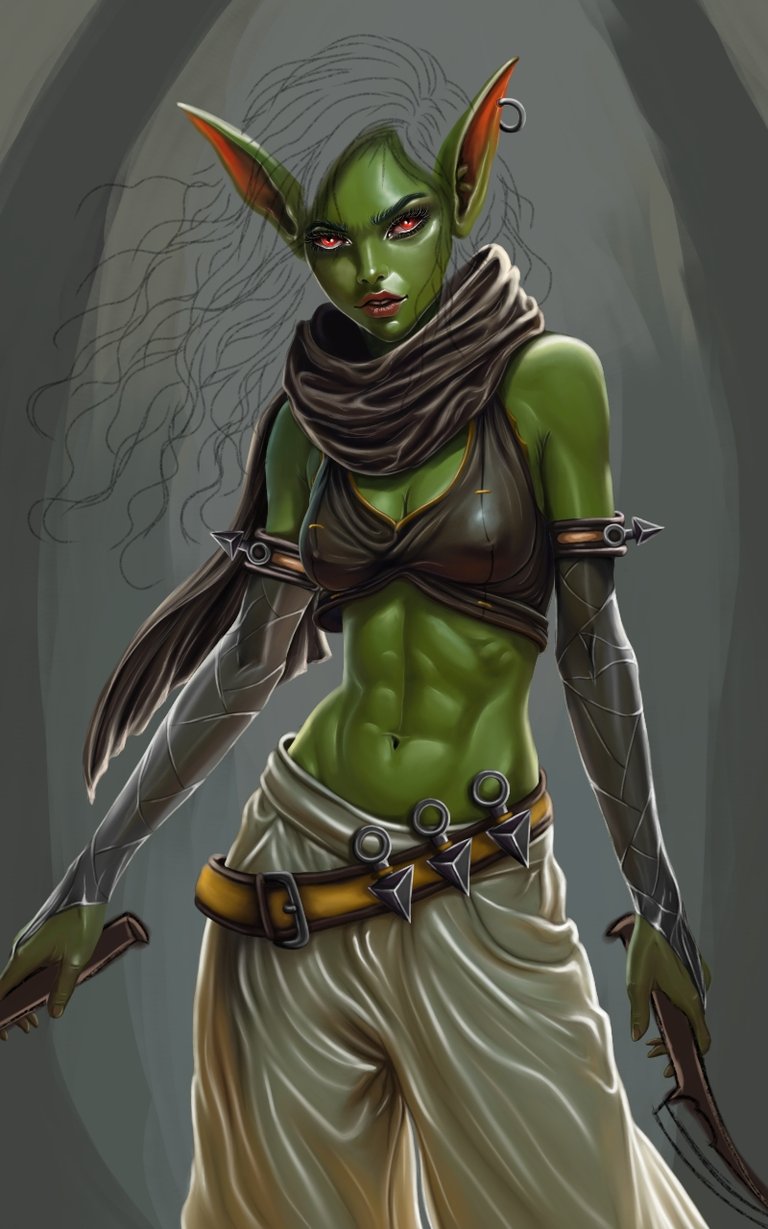
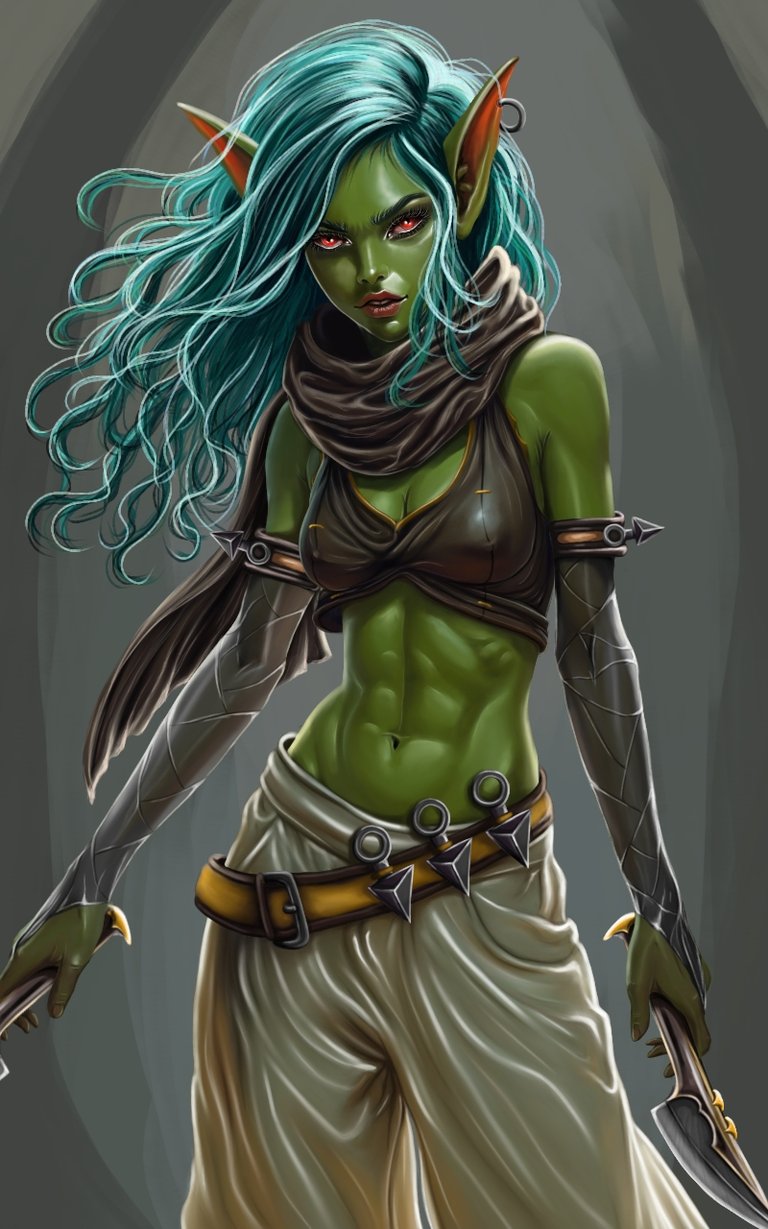
Etapas del Dibujo/Drawing Stages
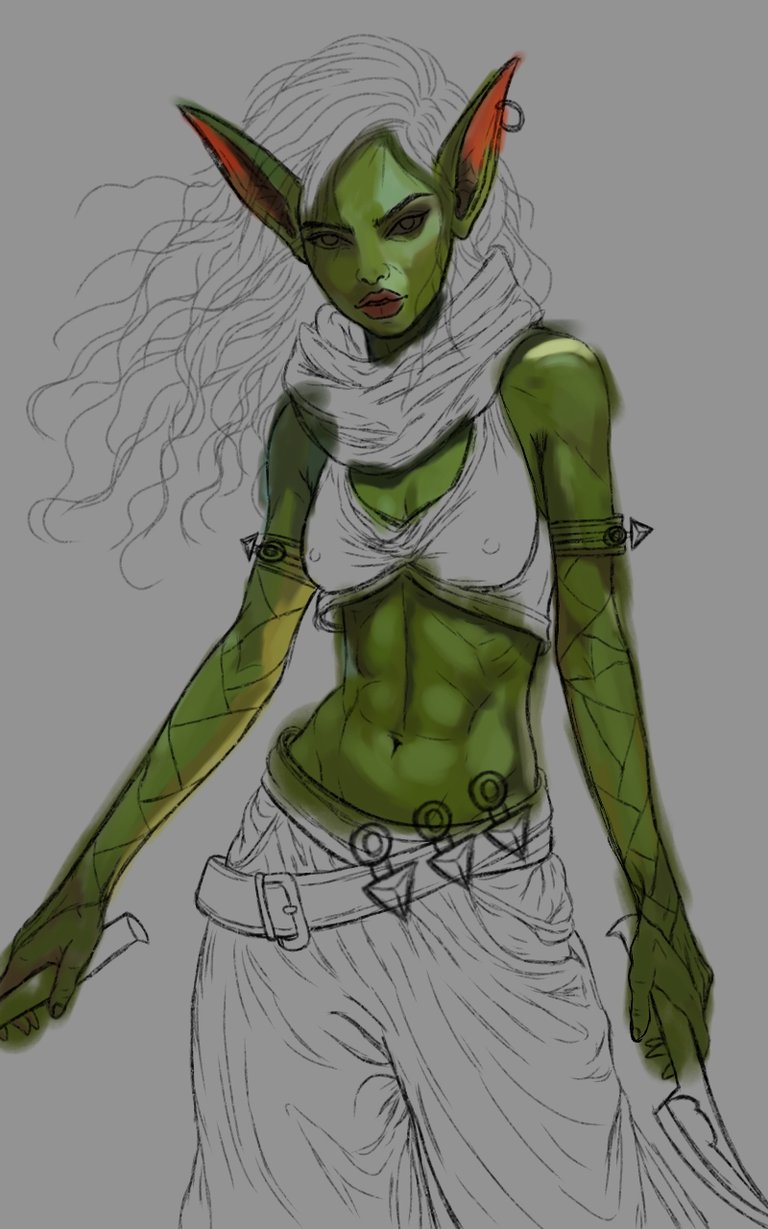
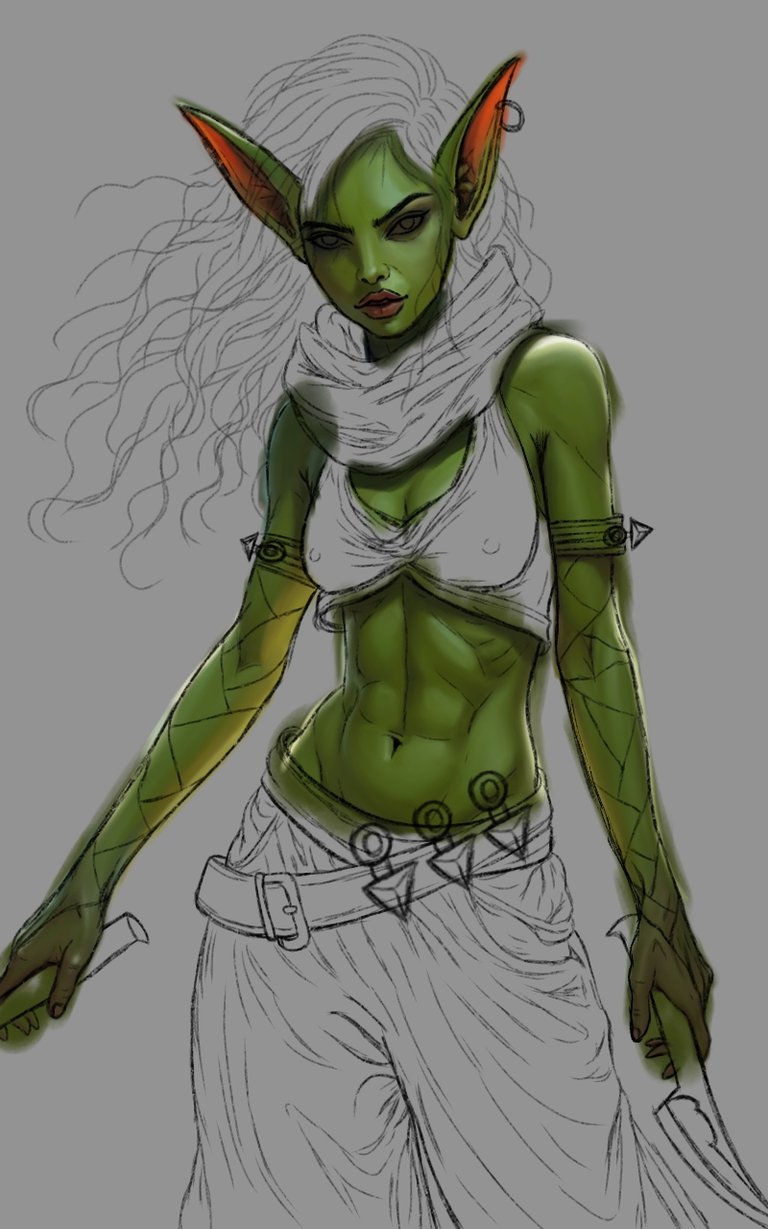
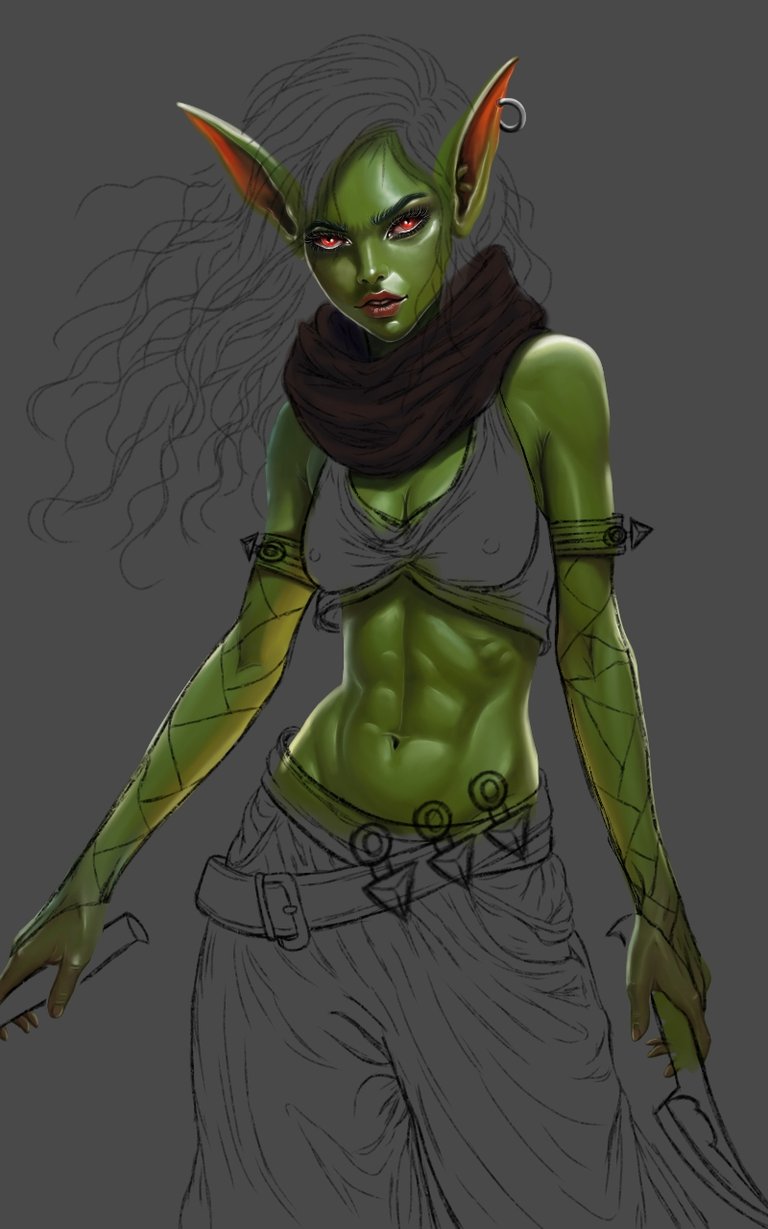
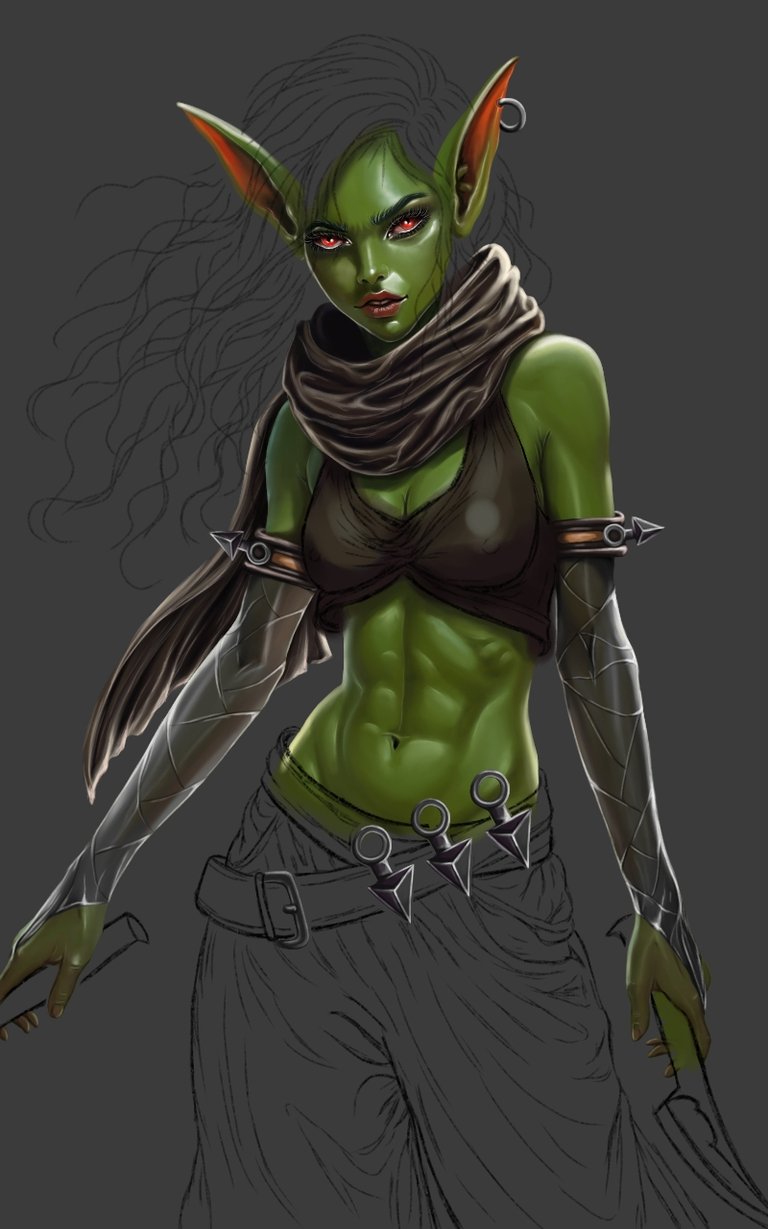
Les quiero contar brevemente como lo fue realizando, empezando con un boceto el cual fui limpiando por capa finalizando con el delineado en limpio definiendo un poco mas los detalles y algunos accesorios, después fui usando varias capas para agregar los tonos de colores, variando las tonalidades y un poco su saturación, porque no quería que quedara muy chillón el tono de su piel, como me paso con el dibujo anterior. Seguí con la opción del difumino usando una brocha suave, luego fui definiendo un poco mas las sombras y la iluminación con la misma brocha suave, borrando lo sobresaliente y definiendo aun mas su iluminación que es la que me ayuda a definir su piel. Con calma, me gusto el resultado que logre, y así seguí en una nueva capa con los accesorios de su ropa empezando con su bufanda, usando tonos oscuros de base y luego creando relieven en nuevas capas con tonos mas claros alcanzando tonos de iluminación para definir bien los pliegues. trabaje con el método normal de mezcla.
I want to tell you briefly how it was done, starting with a sketch which I was cleaning by layer ending with the outline in clean defining a little more details and some accessories, then I was using several layers to add the shades of colors, varying the shades and a little saturation, because I did not want to be too garish the tone of her skin, as I did with the previous drawing. I continued with the blending option using a soft brush, then I was defining a little more the shadows and the illumination with the same soft brush, erasing the highlights and defining even more her illumination which is what helps me to define her skin. Calmly, I liked the result I achieved, and so I continued in a new layer with the accessories of her clothes starting with her scarf, using dark base tones and then creating relief in new layers with lighter tones reaching lighting tones to define well the folds. I worked with the normal blending method.
 |  |  |
 |  | 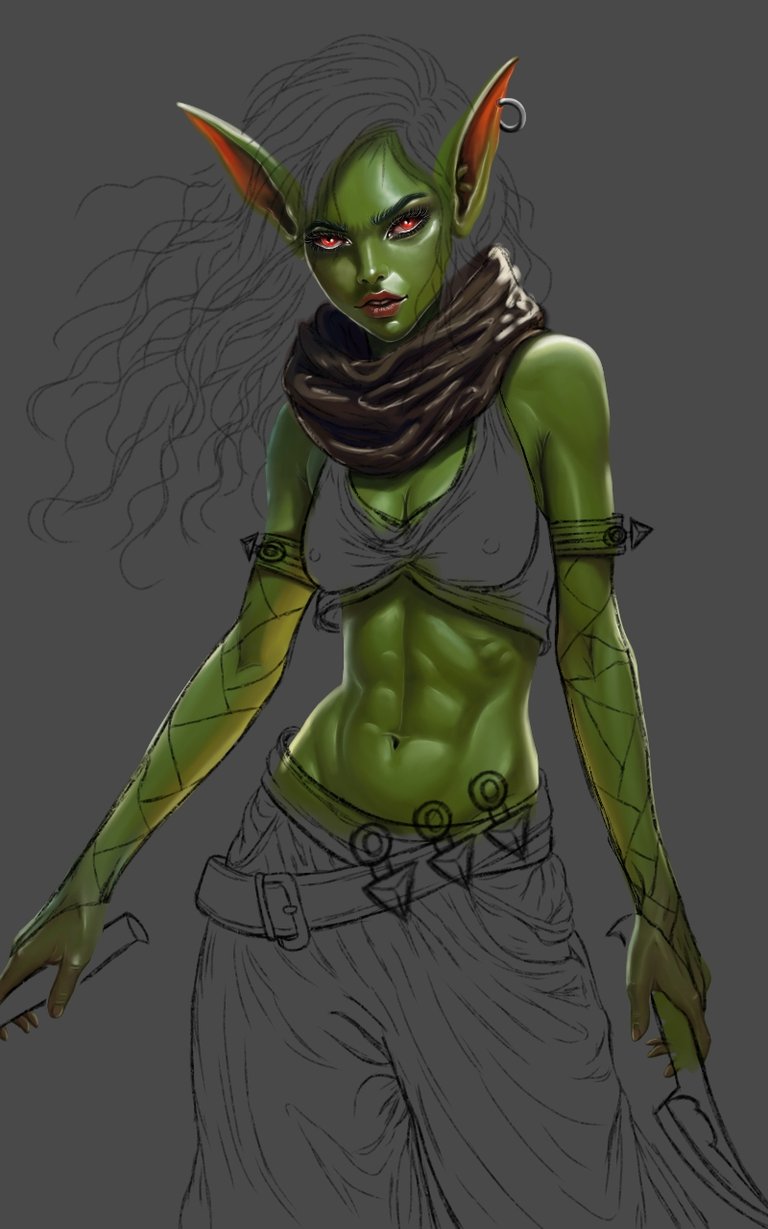 |
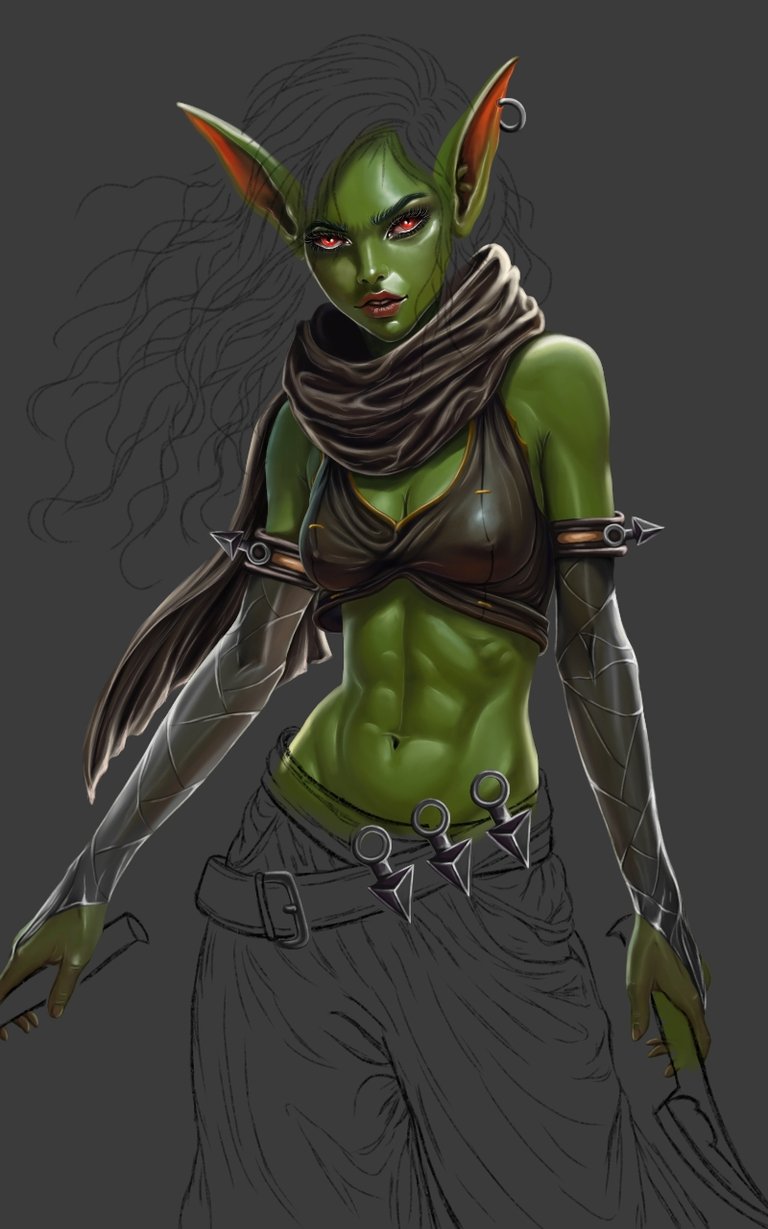
Seguí así con las demás piezas y accesorios de su vestimenta, me tomo bastante tiempo ya que me dejaba llevar por los detalles y el resultado que estaba alcanzando, en cuanto a la maya de sus brazos, lo que hice fue clonar la capa de su piel y luego borre para darle forma a esa maya cambiando el tono de color bajando la saturación y un poco el brillo, donde luego con líneas de sombras y de iluminación definí las separaciones. Después, en nuevas capas con método normal de mezcla también trabaje los accesorios de armas tanto en sus brazos como los de su cintura. El ultimo de sus accesorios de ropa fue su pantalón, el cual usando tonos algo saturados fui pincelando dando pliegues con tonos un poco mas oscuros y también jugando con tonos mas claros de los mismo que pincele primero para así definir un poco mas con la iluminación, usando la brocha tipo suave.
I continued in this way with the other pieces and accessories of her clothing, it took me quite some time since I was getting carried away by the details and the result I was achieving, as for the mesh of her arms, what I did was to clone the layer of her skin and then erase to give shape to that mesh changing the color tone lowering the saturation and a little bit the brightness, where then with shadows and lighting lines I defined the separations. Then, in new layers with normal blending method I also worked the weapon accessories in her arms and waist. The last of his clothing accessories was his pants, which using somewhat saturated tones I was brushing giving folds with a little darker tones and also playing with lighter tones of the same that I painted first to define a little more with the lighting, using the soft brush.
 |  |  |
 | 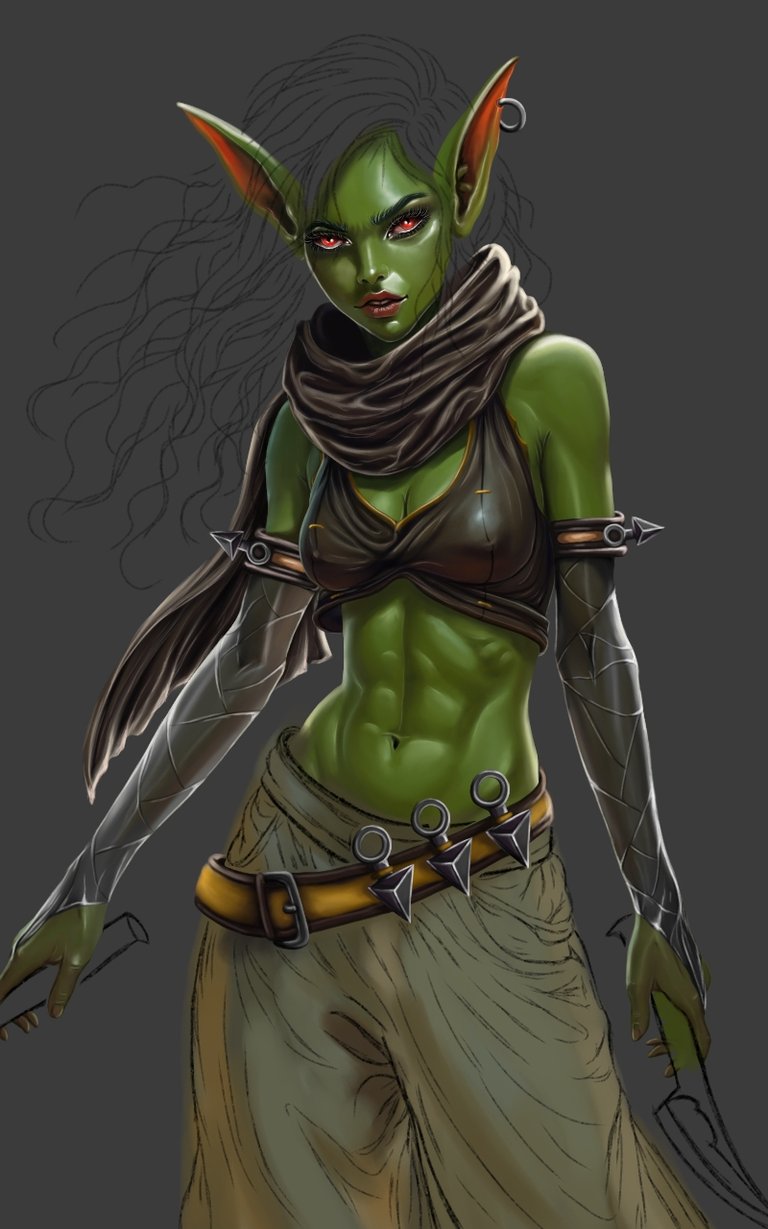 | 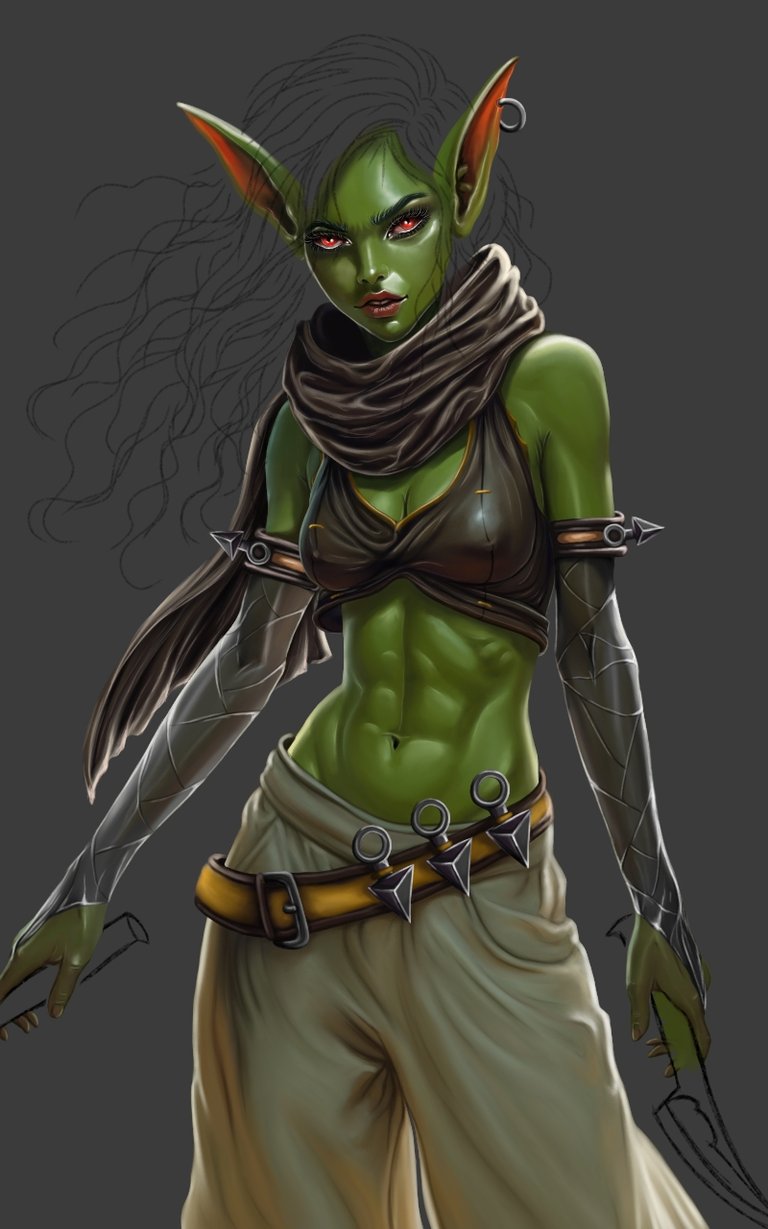 |
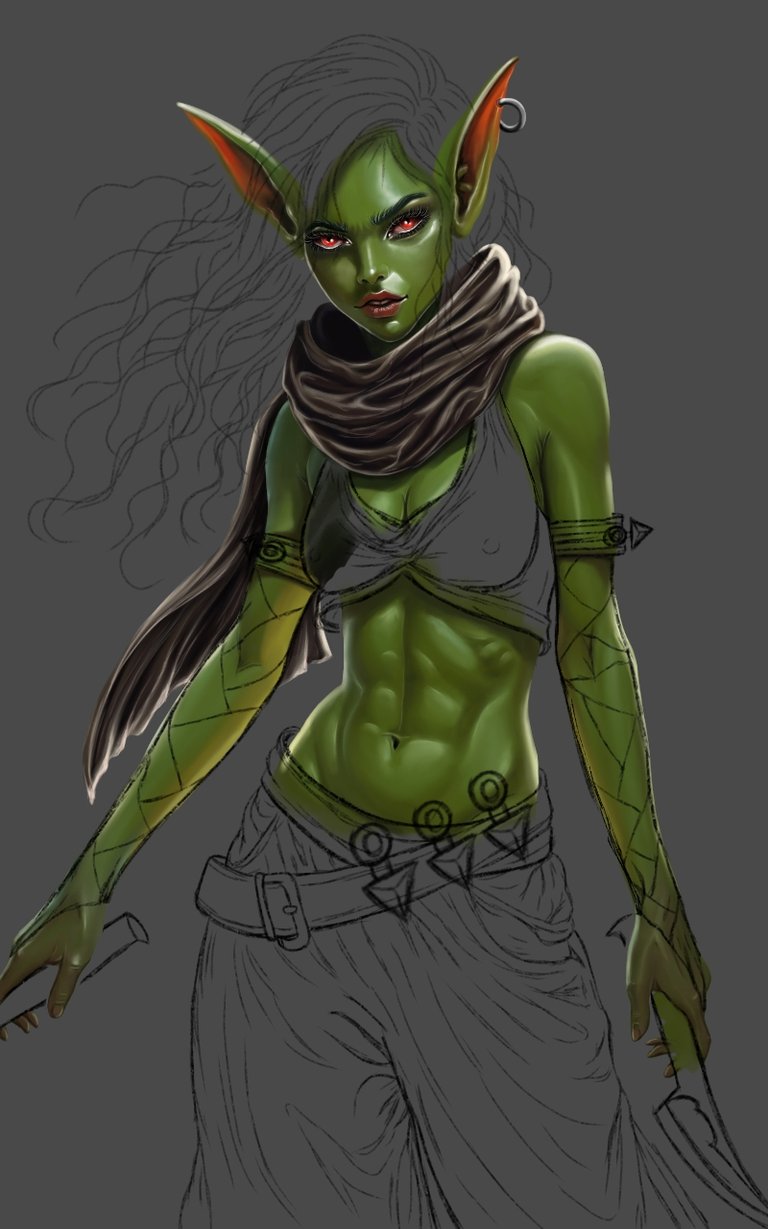
En su pantalón seguí usando capas para endurecer un poco mas las sombras en los pliegues y resaltar aun mas con iluminación usando blanco con opacidad baja y en algunas partes opacidad alta. Seguí en nueva capa con el cabellos agregando una base oscura donde con una brocha suave fui pincelando con tonos mas claros , definiendo con la brocha tipo pelo y para esto use varias capas para los mechones profundos y los principales que llevarían mas iluminación. Termine agregando una capa de superposición para realzar sus ojos y algunas partes de su piel, usando una opacidad baja con un pincel suave, y con una capa de brillo agregue algunos puntos de brillos y también en su piel, haciendo un fondo rápido usando un pincel texturizado y agregando algunas hierbas variando las formas y también los tonos y así mismo agregue algunas hojas con un pincel de la misma, texturizando con pulverizador.
On his pants I continued using layers to harden the shadows in the folds and highlight even more with lighting using white with low opacity and in some parts high opacity. I continued in a new layer with the hair adding a dark base where with a soft brush I was brushing with lighter tones, defining with the hair type brush and for this I used several layers for the deep locks and the main ones that would carry more illumination. I finished adding an overlay layer to enhance her eyes and some parts of her skin, using a low opacity with a soft brush, and with a gloss layer I added some glitter points and also on her skin, making a quick background using a textured brush and adding some herbs varying the shapes and also the tones and likewise I added some leaves with a brush of the same, texturing with spray.
Herramientas Usadas/Used Tools
- iPad Pro
- Procreate
- Ibis Paint X
- Deelp Translate
Redes Sociales/ Social Networks
Sigueme en/ Follow me in:
"Descubre quién eres, y hazlo a propósito"
*"Find out who you are, and do it on purpose"


Me encanta como te quedo y el estilo
Gracias muy amable ☺️💕
Thank You 💕
Que estilo más increíble!
Muchas gracias 😊