
English
Hi there, friends of the Alien Art community; it's been a while since I last wrote here. The truth is that I missed it, but now that I'm drawing more frequently, you'll see me a little more often. How are you today? I hope you're doing great!
A while ago, I did a drawing titled “sad clown” (or something like that), but the truth is that it didn't exactly look like a clown; it was just the idea I got.
I really like the aesthetics of sad clowns, although I don't know what they symbolize or what they mean, because I feel that they must have some meaning.
Anyway, in today's post, I decided to draw (for real), a sad clown, plus it combines how I feel right now… Things of life. I'm sure writing this will make me feel better. Here we go!
 |  |
|---|
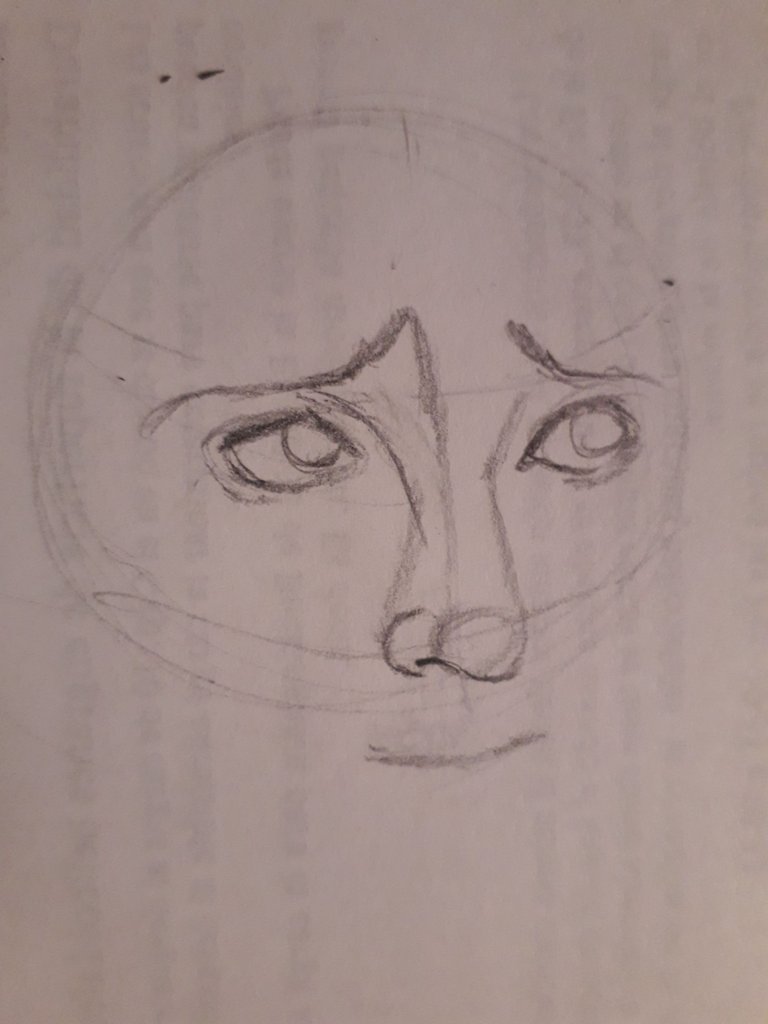
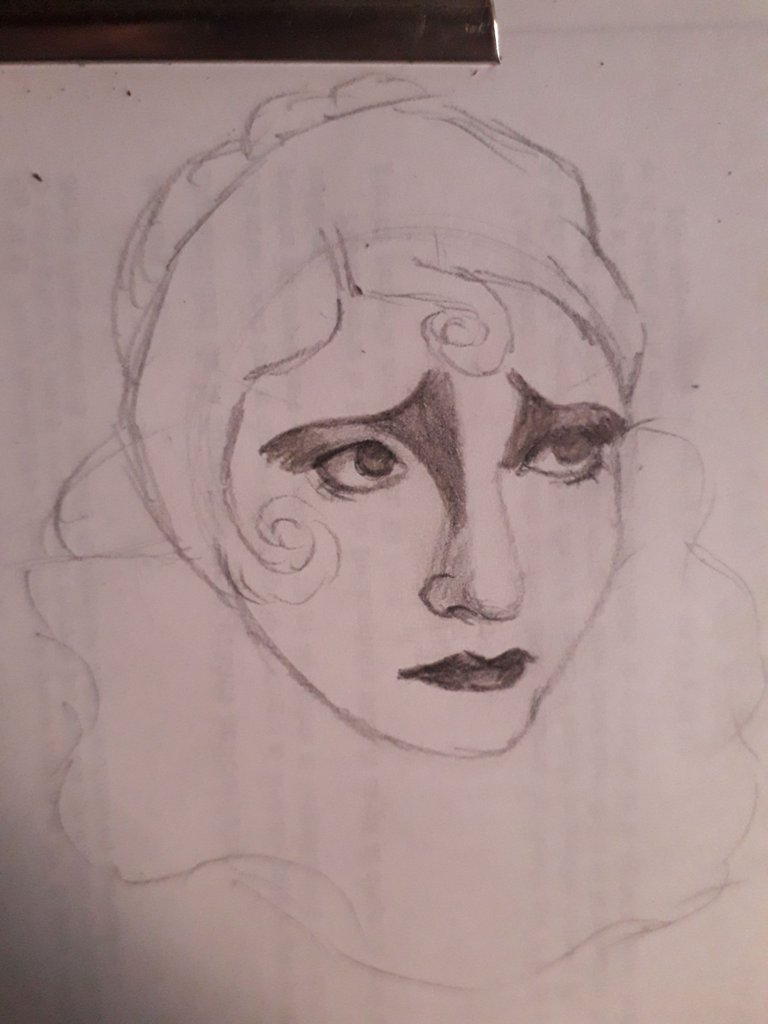
First, I started by drawing a circle and dividing it into two horizontal lines. I drew them with some curvature to try to remember that the head has volume.
Below the top line, I drew two oval shapes, which will be the eyes. I followed by drawing two slanted lines, which would be the space between the eyebrows and the septum of the nose, which goes down to the bottom line.
On the bottom line, we will draw the base of the nose, where I used two circles: one for the nose flap and one for the tip.
Finally, for the mouth, I simply drew a curved line.
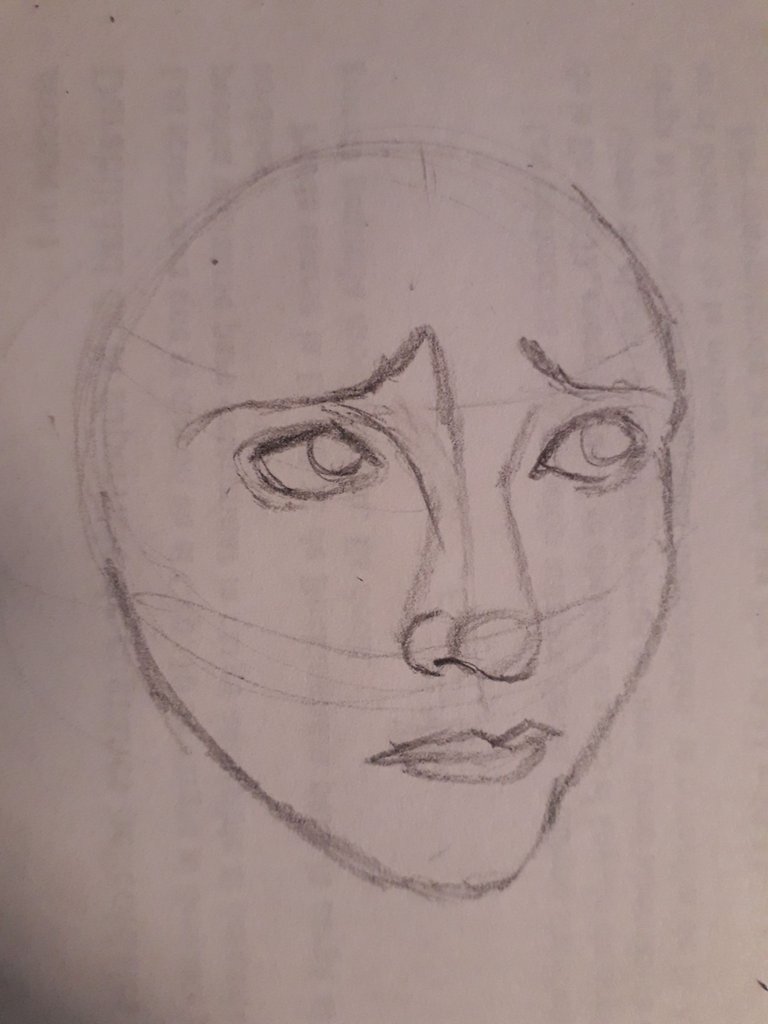
Following these sketched shapes, I drew the eyes and the nose. I also drew the eyebrows, which are very curved. It's worth remembering that we're drawing a face artistically made up as a clown, and this is why it looks a bit exaggerated.
Using straight strokes, I drew the lips, but still without forgetting the volume of the lips and the angle.
 |  |
|---|
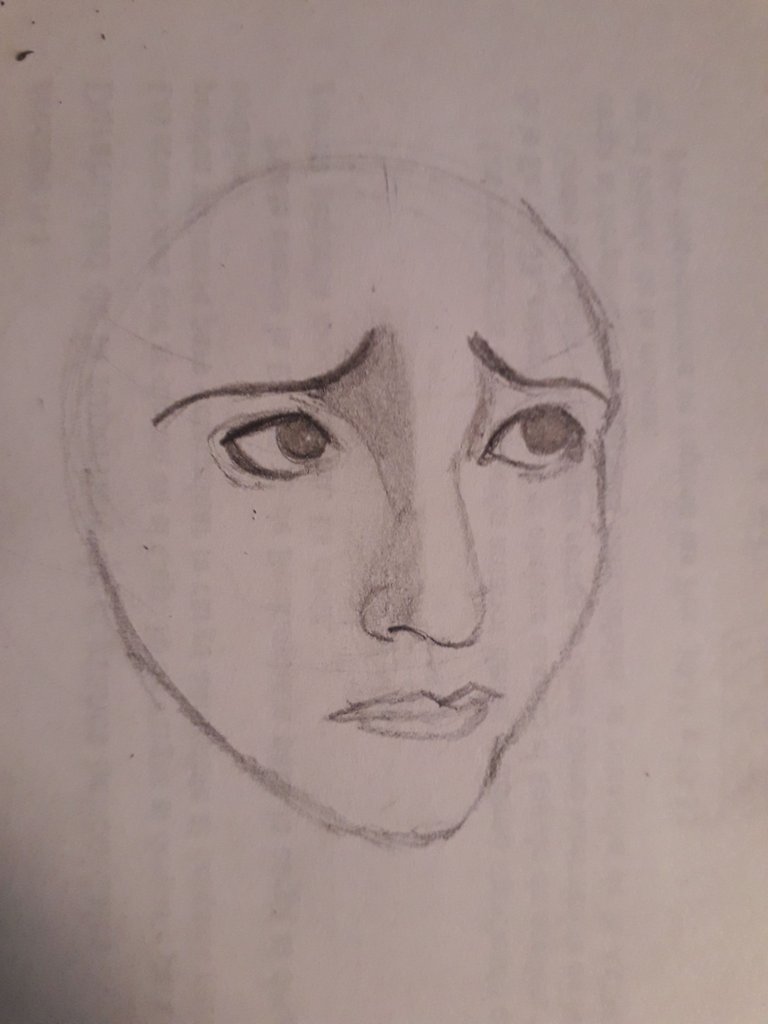
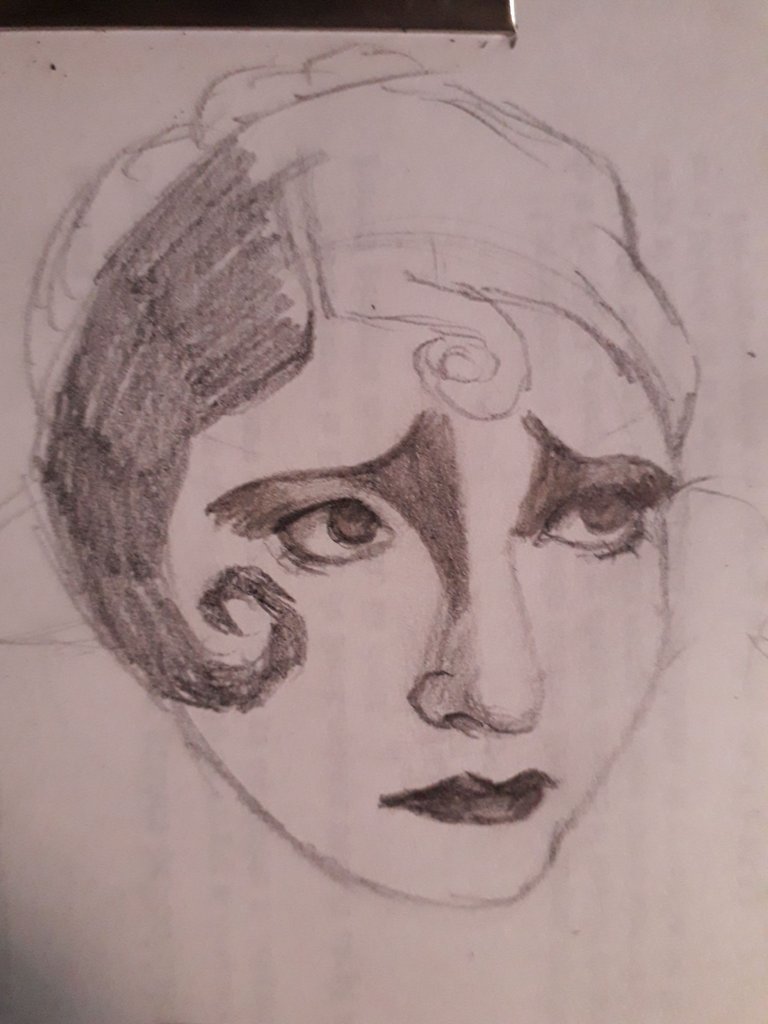
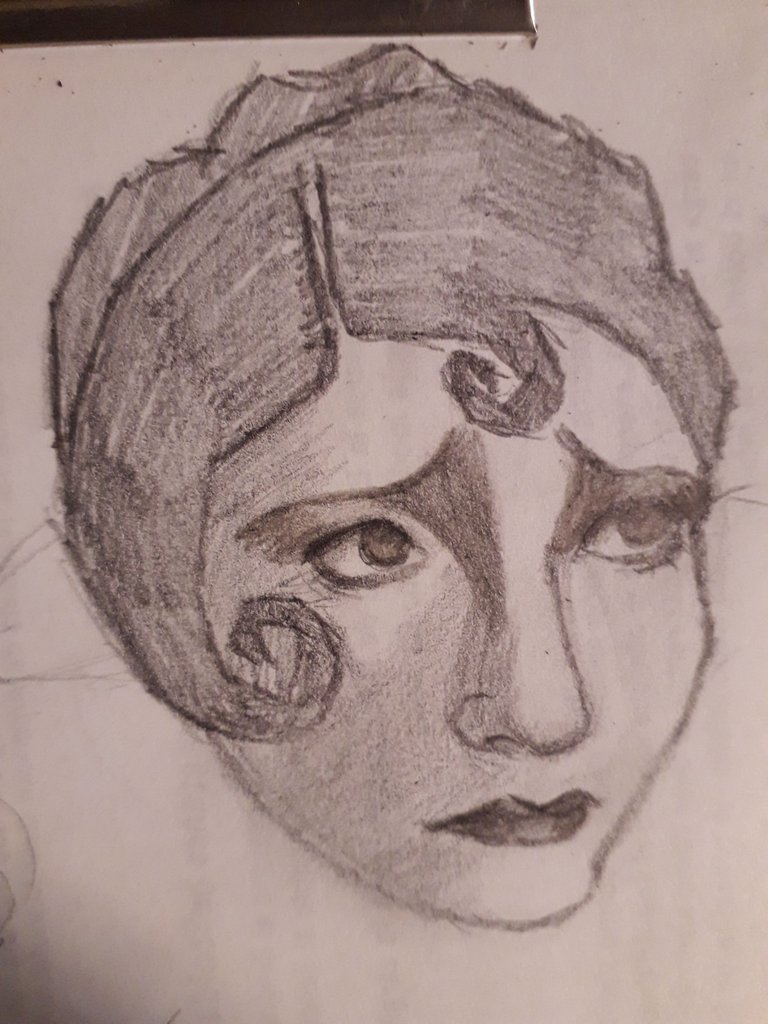
First, I added soft shadows to the area between the eyes and between the eyebrows, but in the reference, this area was darkened with makeup. So taking a black colored pencil, I took care to darken that area much more, as well as the edges of the upper eyelid. I also painted the lips and darkened the edges of the eyes, as well as painted the iris.
On the side of the nose, which is the one you can see, I drew a light shadow.
Here I drew the outline of the clown's hair, which is pulled back and carefully styled, with her bangs and sideburns hair in spirals. Fun fact: I've always wanted to do that with my baby hairs, but I doubt it would look good.
Anyway, besides drawing the outline of the hair, I also drew the outline of the collar of her clothes, whose name I don't know, but it is quite characteristic for having very exaggerated frills.
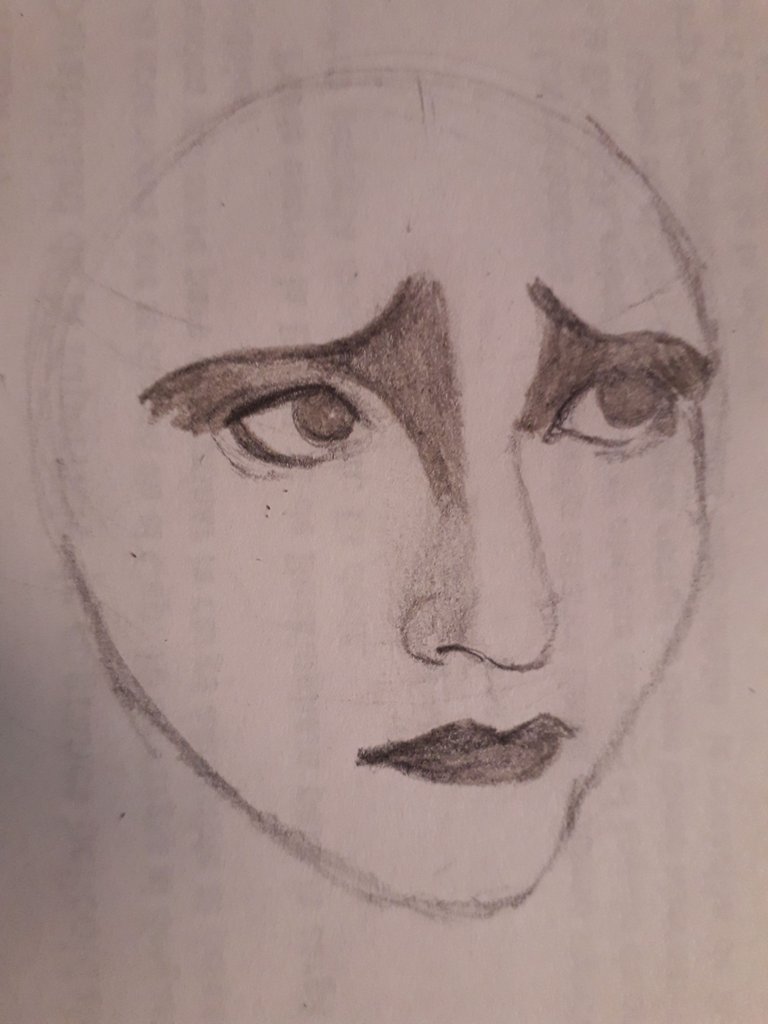
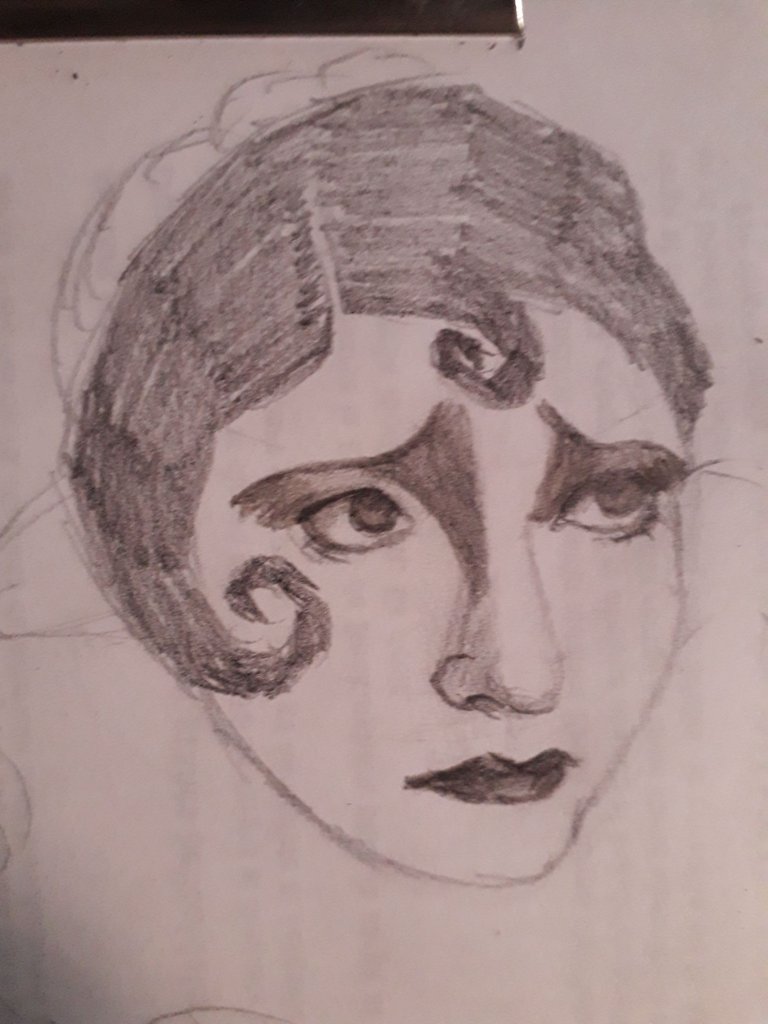
I gave more intensity to the shadows so that the lights and features would stand out more. In particular, I gave more intensity to the black that makes up the eyes, leaving certain strategic areas without darkening so much: these are the highlights. Although on a pale face like this one you can't appreciate the highlights, I tried to make them noticeable on the dark areas like the eyes and lips.
 |  |
|---|
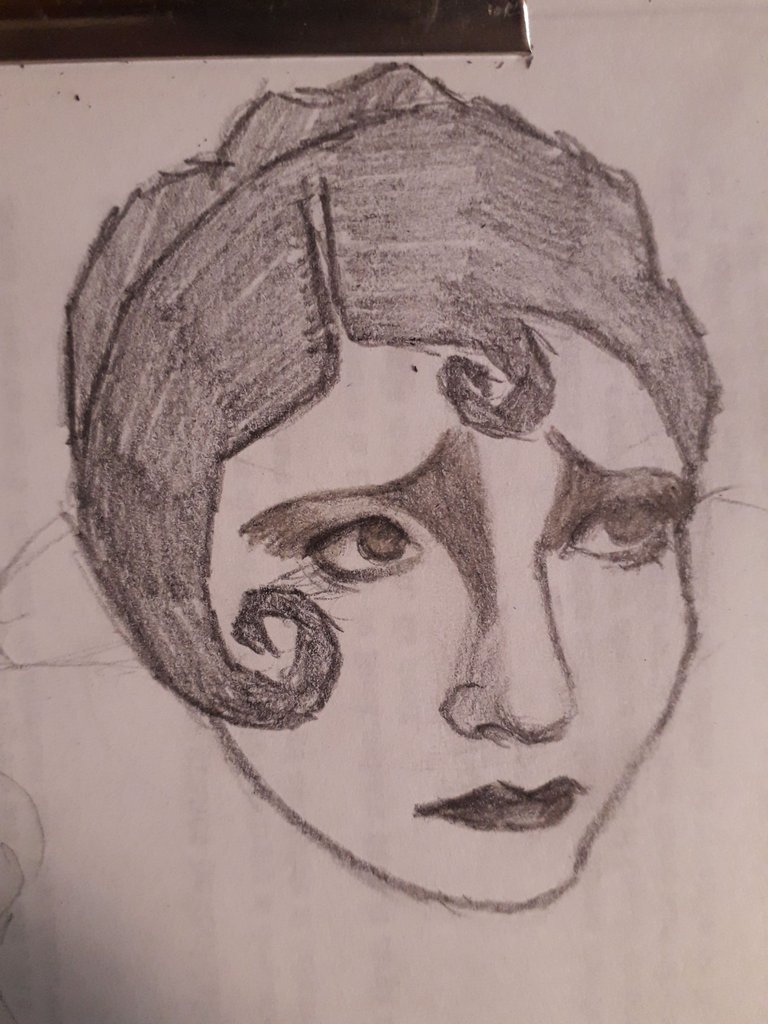
With strokes that followed the orientation and direction of the hair growth, I gave it color. The idea was to make the strokes noticeable (short, fast, and abundant). The important thing is that these lines and strokes were united to follow the idea of the hairstyle.
After coloring all the hair, I was in charge of highlighting the outline with a strong stroke. I also highlighted the outline of the face; I wanted to give this drawing some personality. I didn't want something that was realistic; I wanted an intense color, hard edges, and that unhappy expression.
With soft strokes, following the same direction, I took care of giving shadows to the face. Now there is much more depth, and it is clear where the light is coming from.
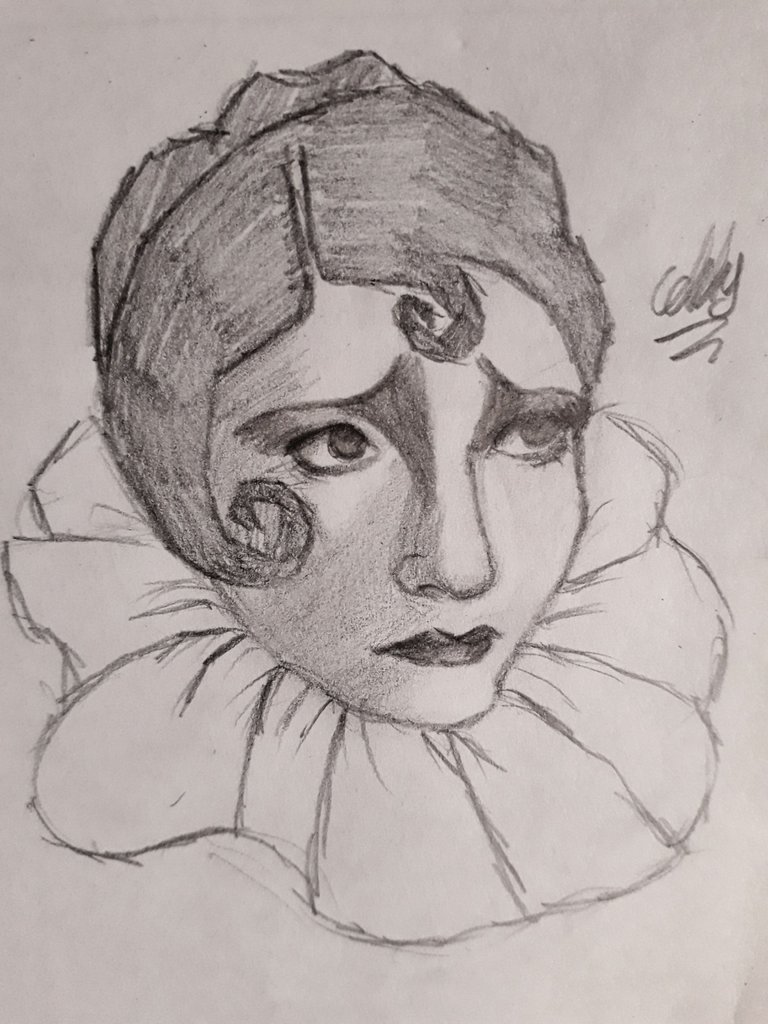
Lastly, I took care of highlighting the collar of her clothes, which will be the only visible part of her clothing. I wasn't quite sure how to draw it, and I think it showed. Even so, I drew the folds and wrinkles of the fabric. The important thing is to get the idea across, haha.
And that's it.
I really liked the result. What I liked most was to experiment with the strokes that followed directions, as in the shadows and the hair. But more than anything, I liked her expression, although I would have liked to give it a little more feeling, make it almost theatrical, although for that I could make a drawing of the makeup in the 1920s. I would like to know what you think. Do you also like this aesthetic?
I managed to feel a little better explaining this process!
Without anything else to add… Take care, drink water, and don't forget to smile. Love you! See you in the next post, bye!
Español
Holiii, amigos de la comunidad de Alien Art, ha pasado bastante tiempo desde la última vez que escribí por acá. La verdad es que se me pasó por alto, pero ahora que estoy dibujando con más frecuencia, me verán un poco más seguido. ¿Cómo se encuentran el día de hoy?, ¡Espero que muy bien!
Hace un tiempo que hice un dibujo titulado “payasa triste” (o algo asi), pero la verdad es que no parecía exactamente una payasa, solo era la idea que me daba.
Me gusta mucho la estética de los payasos tristes, aunque no sé qué simbolizan o qué significan, porque siento que han de tener algún significado.
En fin, en el post de hoy, decidí dibujar (de verdad), una payasa triste, además de que combina en cómo siento justo ahora… Cosas de la vida. Seguro que escribir esto me hará sentir mejor, ¡vamos allá!
| |
|---|
Primero comencé por dibujar un círculo y dividirlo en dos líneas horizontales. Yo las dibujé con cierta curvatura para intentar recordar que la cabeza tiene volumen.
Debajo de la línea superior, dibujé dos formas ovaladas, las cuales serán los ojos. Seguí por dibujar dos líneas inclinadas, las cuales serían el entrecejo y tabique de la nariz, el cual baja hasta llegar a la línea inferior.
En la línea inferior, dibujaremos la base de la nariz, donde yo utilicé dos círculos: uno para la aleta de la nariz y otro para la punta.
Finalmente, para la boca, dibujé simplemente una línea curva.
Siguiendo estas formas bosquejadas, dibujé los ojos y la nariz. También dibujé las cejas, las cuales están muy curvadas. Vale la pena recordar que estamos dibujando un rostro maquillado artísticamente como payaso, y este es el porqué de que se vea un poco exagerado.
Usando trazos rectos, dibujé los labios, pero aun sin olvidar el volumen de estos y el ángulo.
| |
|---|
Primero, añadí sombras suaves a la zona de entre los ojos y el entrecejo, pero en la referencia esta zona estaba oscurecida con maquillaje. Así que tomando un lápiz de color negro, me encargué de oscurecer esa zona mucho más, al igual que los bordes del párpado superior. También pinté los labios y oscurecí las orillas de los ojos, al igual que pinté las irises.
A un lateral de la nariz, que es el que está a vista de ustedes, dibujé una sombra ligera.
Acá dibujé el contorno del cabello de la payasa, el cual está recogido y tiene un peinado cuidadosamente hecho, con su flequillo y cabello de las patillas formando espirales. Como dato curioso, siempre he querido hacer eso con mis baby hairs, pero dudo que se me vea bien.
En fin, además de dibujar el contorno del cabello, también dibujé el contorno del cuello de sus ropas, cuyo nombre no sé, pero es bastante característico por poseer olanes muy exageradas.
Le di más intensidad a las sombras, de manera que las luces y los rasgos resaltaran más. En especial, di más intensidad al negro que maquilla los ojos, dejando ciertas zonas estratégicas sin oscurecer tanto: estas son las luces. Aunque en un rostro pálido como este no se pueden apreciar las luces, intenté que se notaran en las áreas oscuras como los ojos y labios.
| |
|---|
Con trazos que fueron siguiendo la orientación y dirección del crecimiento del cabello, fui dándole color. La idea era que se notaran los trazos (cortos, rápidos y abundantes). Lo importante es que estas líneas y trazos se unieran para seguir la idea del peinado.
Después de darle color a todo el cabello, me encargué de remarcar su contorno con un trazo fuerte. También remarqué el contorno del rostro, quería dotar a este dibujo de cierta personalidad. No quería algo que fuese realista ni mucho menos, quería un color intenso, bordes duros y aquella expresión de desdicha.
Con trazos suaves, siguiendo la misma dirección, me encargué de darle sombras al rostro. Ahora hay mucha más profundidad y está claro de dónde viene la luz.
Por último, me encargué de remarcar el cuello de su ropa, lo cual será lo único visible de sus vestimentas. No estaba muy segura de cómo dibujarlo, y creo que se notaba. Aun así, dibujé los pliegues y arrugas de la tela. Lo importante es que se entienda la idea, jajaja.
Y ya estaría.
Me gustó mucho el resultado. Lo que más me gustó fue experimentar con los trazos que siguieran direcciones, como en las sombras y el cabello. Pero más que nada, me gustó su expresión, aunque me hubiera gustado dotarla de un poco más de sentimiento, hacerlo casi teatral, aunque para ello podría hacer un dibujo del maquillaje en los años 1920. Me gustaría saber qué opinan, ¿a ustedes también les gusta esta estética?
¡Yo logré sentirme un poco mejor explicando este proceso!
Sin nada más que añadir… Cuídense, tomen agua, y no se olviden de sonreír. ¡Se les quiere! Nos vemos en el próximo post, ¡chau!
Credits | Créditos
REFERENCE IMAGE | IMAGEN DE REFERENCIA
- English translation DeepL (sorry for any mistakes, English is my second language)
- Traducción al inglés DeepL (lo siento por cualquier error, el inglés es mi segundo idioma.)
- Dividers, and banners made in Canva
- Separadores y banners hechos en Canva
- Photos used in the post were taken by me, using a Samsung Galaxy J6
- Las fotos usadas en el post fueron tomadas por mí, usando un Samsung Galaxy J6