Greetings to All the community, it is an honor for me to present myself in front of you, I admire the great work done by the participants of greater seniority and experience, if anyone can give me advice on how to improve my designs, do not be shy, I will be grateful and eager to hear your opinions.
This is the first time I present a digital art design of my authorship, the truth is that I am very old and never had the opportunity to work with these new tools, I am more of paper and pencil, but that will change from now on ... download an app on my mobile device and although it is a bit small and uncomfortable to work directly with your fingers on the screen try to manage to present in front of the juries the best work.
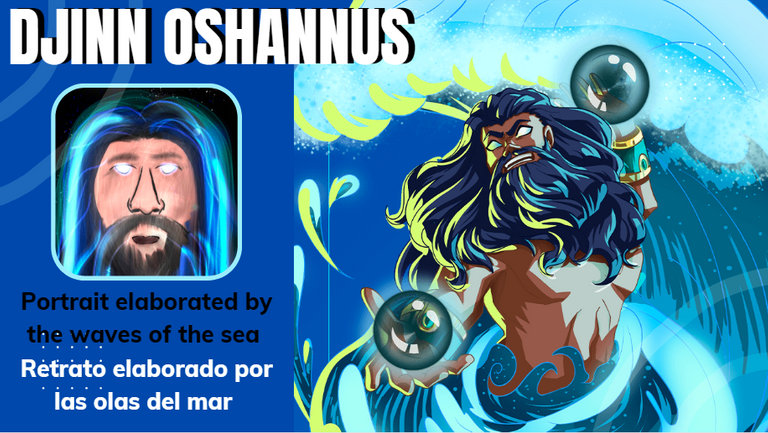
Well, I downloaded the application from the APP store, it is a free application and very complete for those who are motivated to expand horizons and try new activities. The application is called SketchBook and is available to everyone, offering a lot of tools to make high quality designs for free.
Step 1 was to establish the bone structure of the canvas, define the draft where the strongest lines will be drawn and select the limits where the colors will be placed so that when it comes to shading and blurring, the color palettes for each area are not mixed. When I make this kind of sketches, I like to work with templates, rulers and a tool called "symmetry" is very good to make details where both must have a perfect similarity in (x) area.

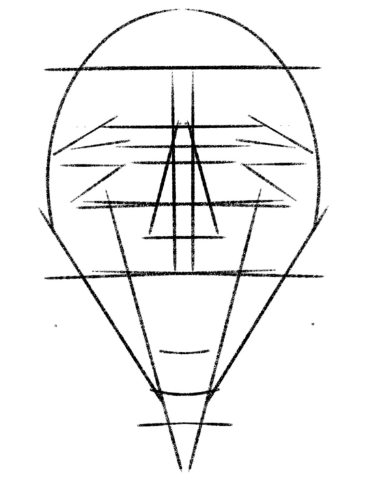
Step number 1
After making the stroke of the face step to place the base colors of the design, the strong palette that will be the fundamental essence to build the work, I divided each area into layers, the layers for those who do not know are like a translucent sheet where you can trace the base design, then for being my first time and avoid losing a complete design for a minimal error, I decided to work it this way and the truth is that I highly recommend it for designs with many details.

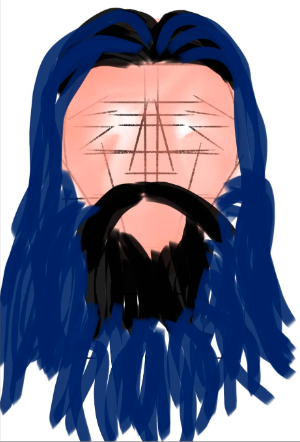
Step number 2
For the inner strokes of the face I used a nib of about size 2.1 and the fill was with "common" brushes. For the hair area I looked at a special brush that gives a phenomenal touch to these areas of the drawing, you just have to identify the direction where you want the hair to be led and identify the areas of "lights and shadows" to give it a better touch.

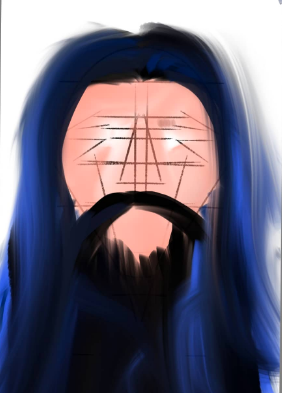
Step number 3
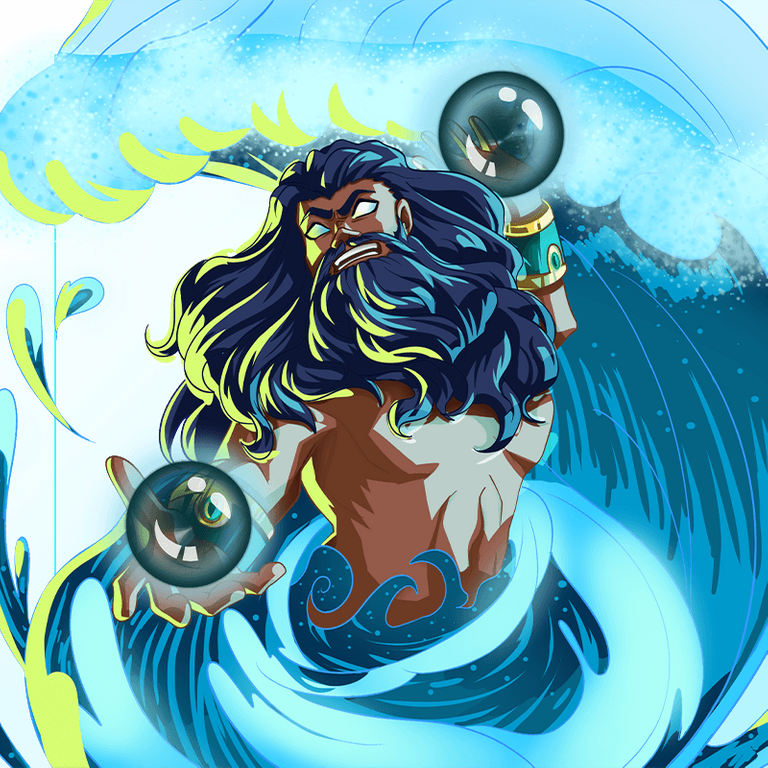
After having a base for the hair and beard of the character because it is so close to the face, I had to work it very delicately so as not to spoil the symmetry of any of the two. This is the final result of the hair. Now, I'm going to fill in the details of the face of our Djin Oshannus.

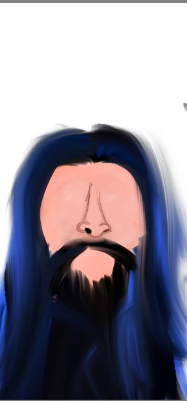
Step number 4
No I'm not good at relizing details with my finger, but it was done the best I could, the first thing was to trace a clear area to give that proportion effect and a more realistic touch,
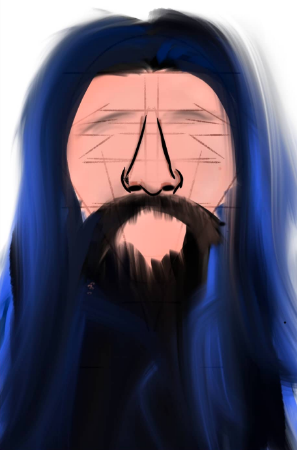
This Was the final result for the nose and the beginning of the eyebrows and eyes.

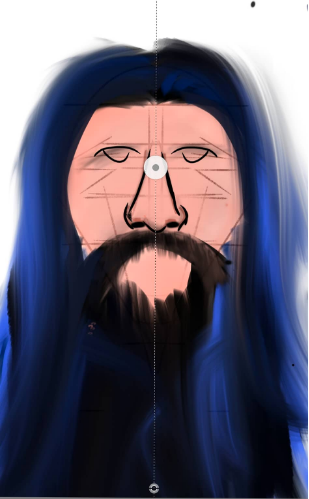
Step Number 5
For the eyebrows and eyes I used the symmetrical tool and this was the result, the truth is that a very helpful tool because I was a long time practicing the look of my character and I could not find a way to make it symmetrical.

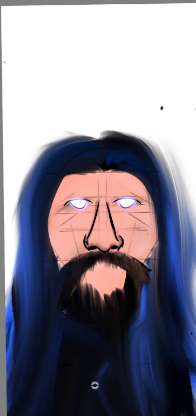
Step number 6
Then move on to the details and I really apologize because I feel that the lips were horrible, I tried many times and that was the best design I could do, I must practice them to improve my designs for the next opportunity.

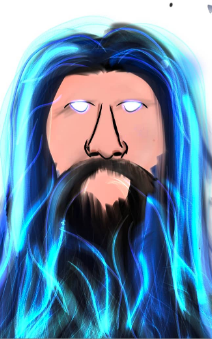
Almost finished the design of this day, just making the final touches to deliver my presentation.

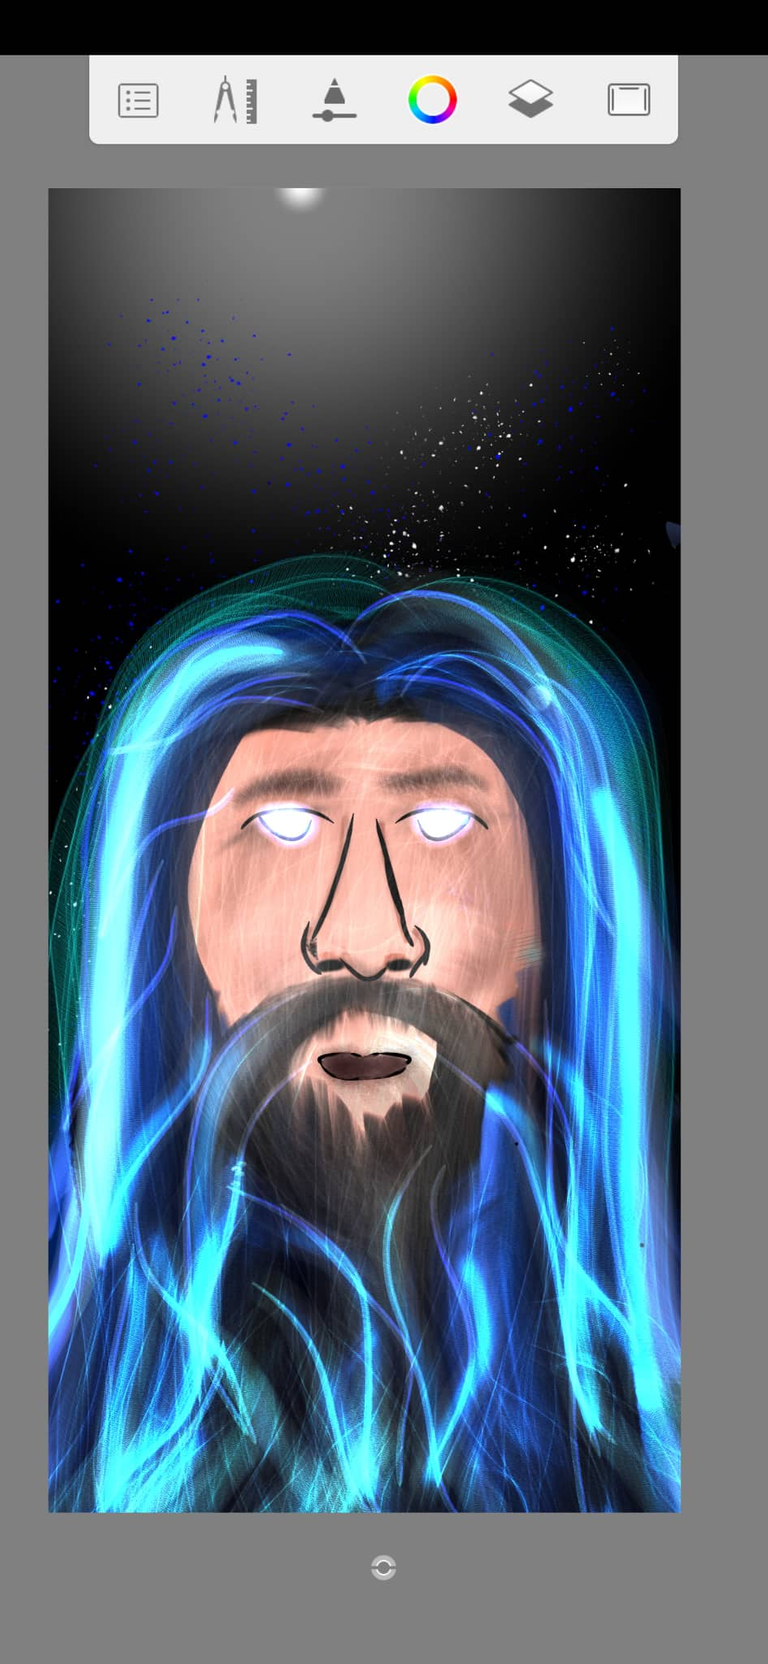
This was the final result for my art entry... and this is the character used as inspiration for this painting.
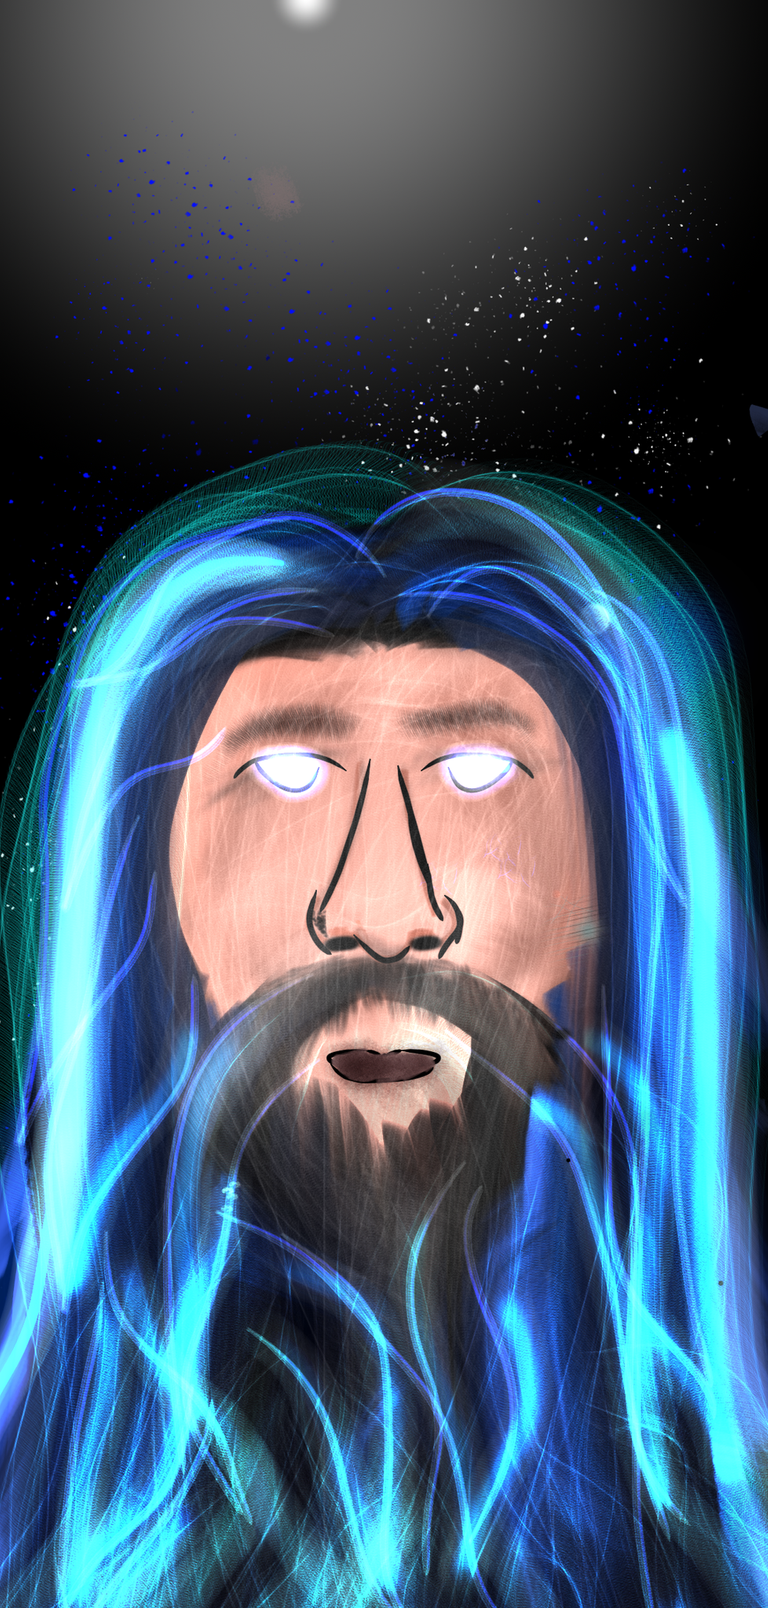
This was the final result of my painting, I hope you like it and thank you very much for taking the time to review this post.
Español
Un saludo para Toda la comunidad, es un honor para mí presentarme delante de ustedes, admiro el gran trabajo que realizan los participantes de mayor antigüedad y experiencia, si alguno puede darme consejos sobre como mejorar mis diseños, no se cohíban, estaré agradecido y ansioso por escuchar sus opiniones.
Este es la primera vez presento un diseño de arte digital de mi autoría, la verdad es que soy muy antiguado y nunca tuve la oportunidad de trabar con estas nuevas herramientas, soy más de papel y lápiz, pero eso va a cambiar a partir de ahora... descargue un app en mi dispositivo móvil y aunque es un poco pequeño e incómodo trabajar directamente con los dedos sobre la pantalla trate de arreglármelas para presentar delante de los jurados el mejor trabajo.

Bueno, la aplicación la descargué desde la tienda de APP, es una aplicación gratuita y muy completa para aquellos que se motiven a expandir horizontes y probar nuevas actividades. La aplicación se llama SketchBook y está al alcance de todos, ofreciendo gran cantidad de implementos para realizar diseños de gran calidad de manera gratuita.
El paso numeró 1 fue establecer la estructura ósea del lienzo, definir el borrador donde se trazaran las líneas más fuertes y seleccionar los límites a donde se colocaran los colores para que a la hora de sombrear y difuminar no se mezclen las paletas de colores para cada zona. Cuando efectúo este tipo de bocetos, me gusta trabajar con plantillas, reglas y una herramienta llamada "simetría" es muy buena para hacer detalles donde ambos deben tener una perfecta similitud en (x) zona.


Paso número 1
Luego de realizar el trazo del rostro paso a colocar los colores bases del diseño, la paleta fuerte que será la esencia fundamental para edificar la obra, yo dividí cada zona en capas, las capas para aquellos que no conocen son como una hoja traslúcida donde puedes calcar el diseño base, entonces por ser mi primera vez y evitar perder un diseño completo por un error mínimo, decidí trabajarlo de esta manera y la verdad es que lo recomiendo mucho para diseños con muchos detalles.


Paso número 2
Para los trazos internos del rostro utilicé una plumilla de tamaño 2.1 aproximadamente y el relleno fue con pinceles "comunes". Para la zona del cabello observé un pincel especial que le da un toque fenomenal a estas zonas del dibujo, solo se debe identificar la dirección a donde quieres que el cabello sea conducido e identificar las zonas de "luces y sombras" para darle un mejor toque.


Paso número 3
Luego de tener una base para el cabello y la barba del personaje por estar tan cerca del rostro, debí trabajarlo con mucha delicadez para no estropear la simetría de alguno de los dos. Este es el resultado final del cabello. Ahora, paso a llenar los detalles del rostro de nuestro Djin Oshannus.


Paso número 4
No soy bueno para realizar los detalles con el dedo, pero se hizo lo mejor que pude, lo primero fue trazar una zona clara para dar ese efecto de proporción y un toque más realista,

Este fue el resultado final para la nariz y el comienzo de las cejas y ojos.


Paso Número 5
Para las cejas y los ojos empleé la herramienta de simétrica y este fue el resultado, la verdad es que una herramienta de mucha ayuda porque estuve un largo tiempo practicando la mirada de mi personaje y no lograba una manera de que esta quedara simétrica.


Paso número 6
Luego pase a los detalles y de verdad pido disculpas porque siento que los labios quedaron horribles, lo intente muchas veces y ese fue el mejor diseño que pude realizar, debo practicarlos para mejorar mis diseños para la próxima oportunidad.


Ya casi finalizado el diseño de esta jornada, solo realizando los toques finales para entregar mi presentación


Este fue el resultado final para mi entrada de arte... y este es el personaje utilizado como inspiración para esta pintura.


The rewards earned on this comment will go directly to the people sharing the post on Twitter as long as they are registered with @poshtoken. Sign up at https://hiveposh.com.
!1UP
You have received a 1UP from @fsc69!
@monster-curator, @oneup-curator, @ccc-curator, @neoxag-curator
And they will bring !PIZZA 🍕, !PGM 🎮 and !LOLZ 🤣
Learn more about our delegation service to earn daily rewards. Join the Cartel on Discord.
BUY AND STAKE THE PGM TO SEND A LOT OF TOKENS!
The tokens that the command sends are: 0.1 PGM-0.1 LVL-2.5 BUDS-0.01 MOTA-0.05 DEC-15 SBT-1 STARBITS-[0.00000001 BTC (SWAP.BTC) only if you have 2500 PGM in stake or more ]
5000 PGM IN STAKE = 2x rewards!
Discord
Support the curation account @ pgm-curator with a delegation 10 HP - 50 HP - 100 HP - 500 HP - 1000 HP
Get potential votes from @ pgm-curator by paying in PGM, here is a guide
I'm a bot, if you want a hand ask @ zottone444
Thanks for sharing! - castleberry#6859
