
That's right, The Oni Collection doesn't stop, as I promised today is the day to release the second piece of this collection inspired by Japanese demons (but beautiful), if you still don't know what this is about, please go to the first post of this collection and you will be able to meet Saori.
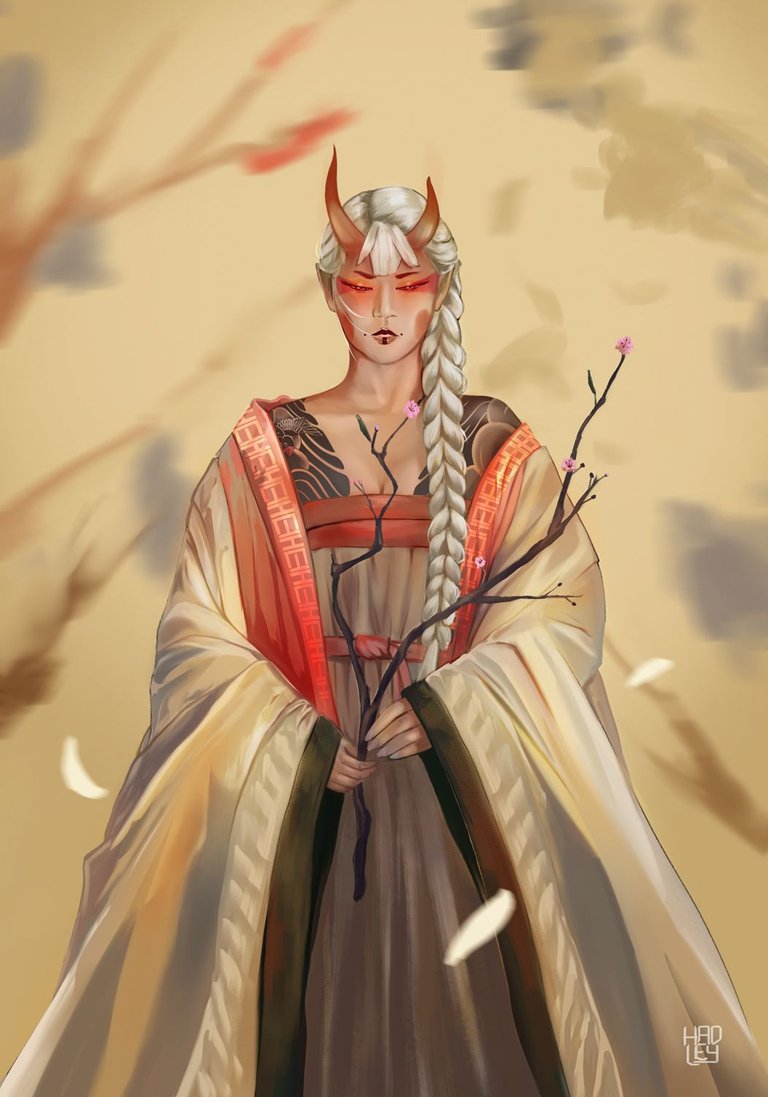
Light, who will be bright, that is the meaning of Hikari, the second edition of this collection, and because of her name I have taken a softer and brighter color palette, but without being blinding, just enough to reflect the essence of Hikari and her pure soul.
Visit me on Open Sea👇
https://opensea.io/Hadley4rt

Tools:
- Gaomon S620
- Photoshop
- Brushes courtesy of Imad Awan: Download here

-Step 1:
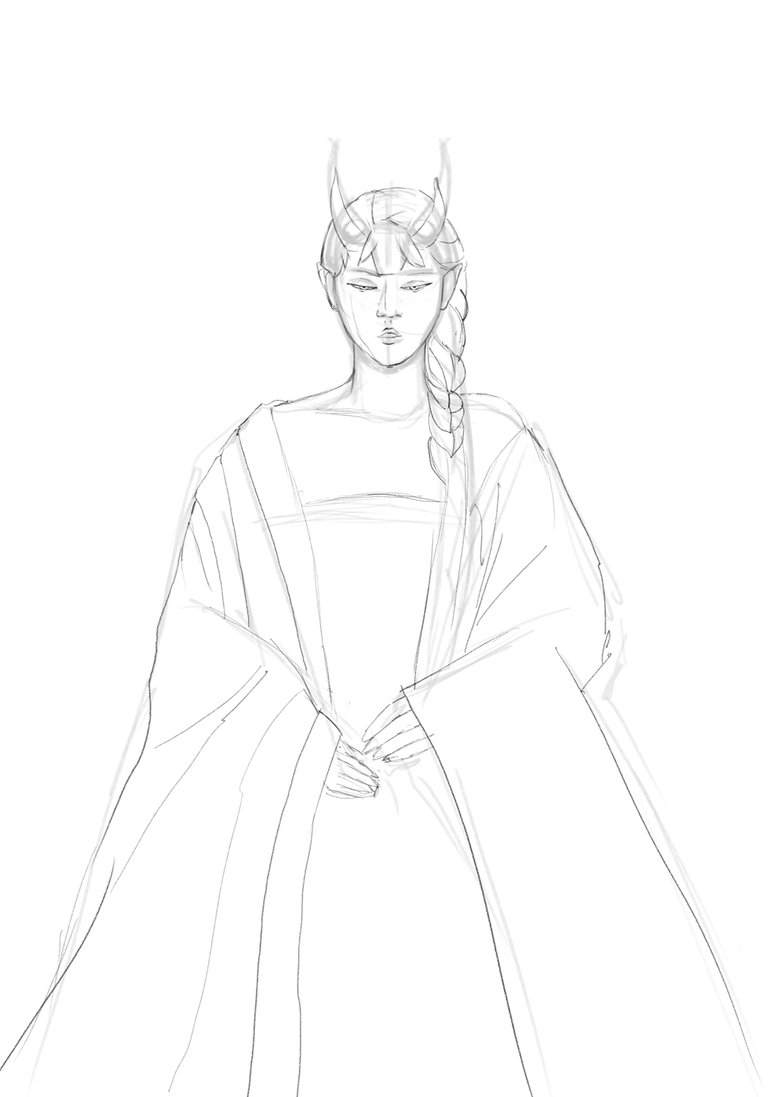
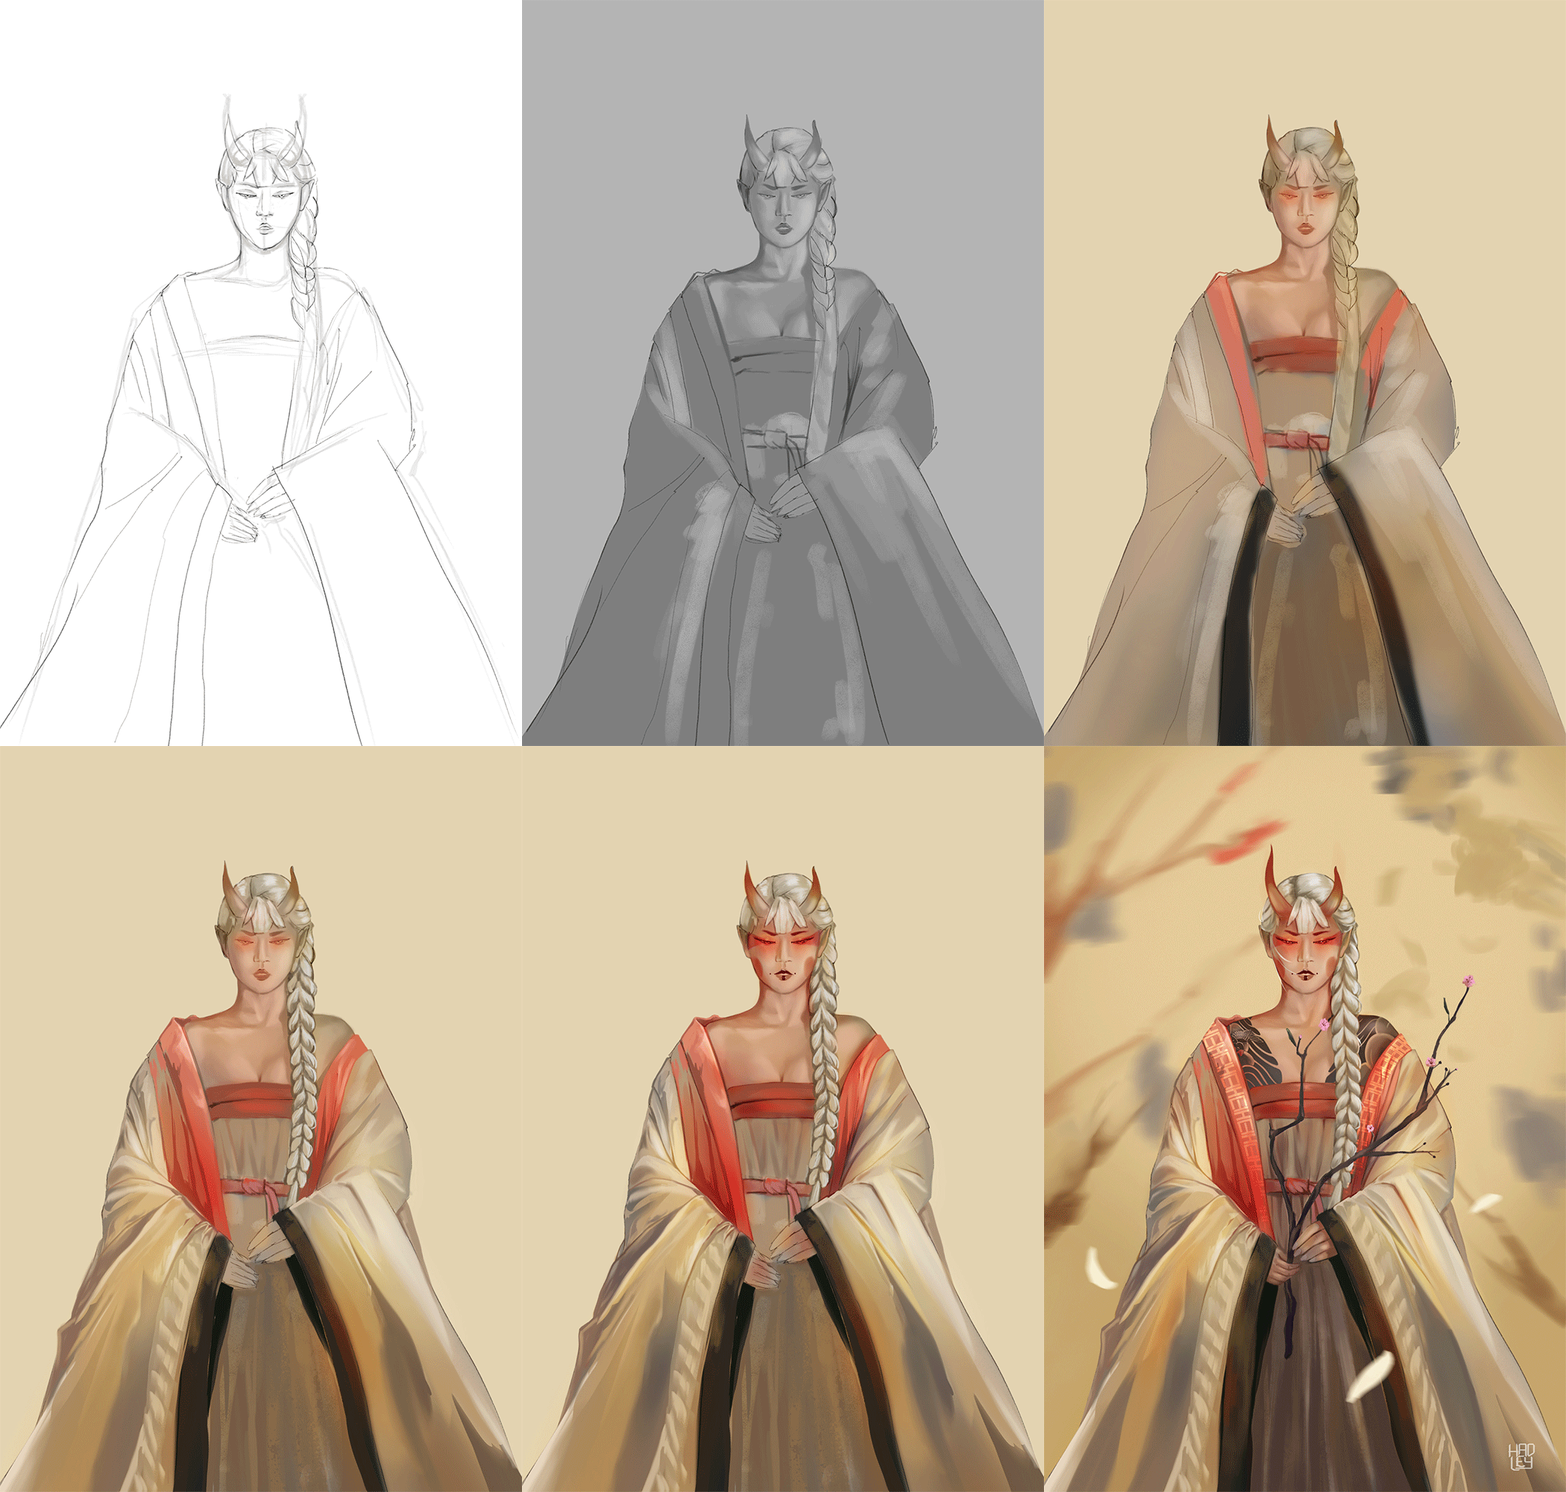
With the thinnest (and most visible) line I could make, I drew the second sketch/outline over the first quick sketch, these thin lines are just the base to start painting, since I don't usually keep these lines until the end, I wanted to make them as thin as possible so they don't get in my way later.

-Step 2:
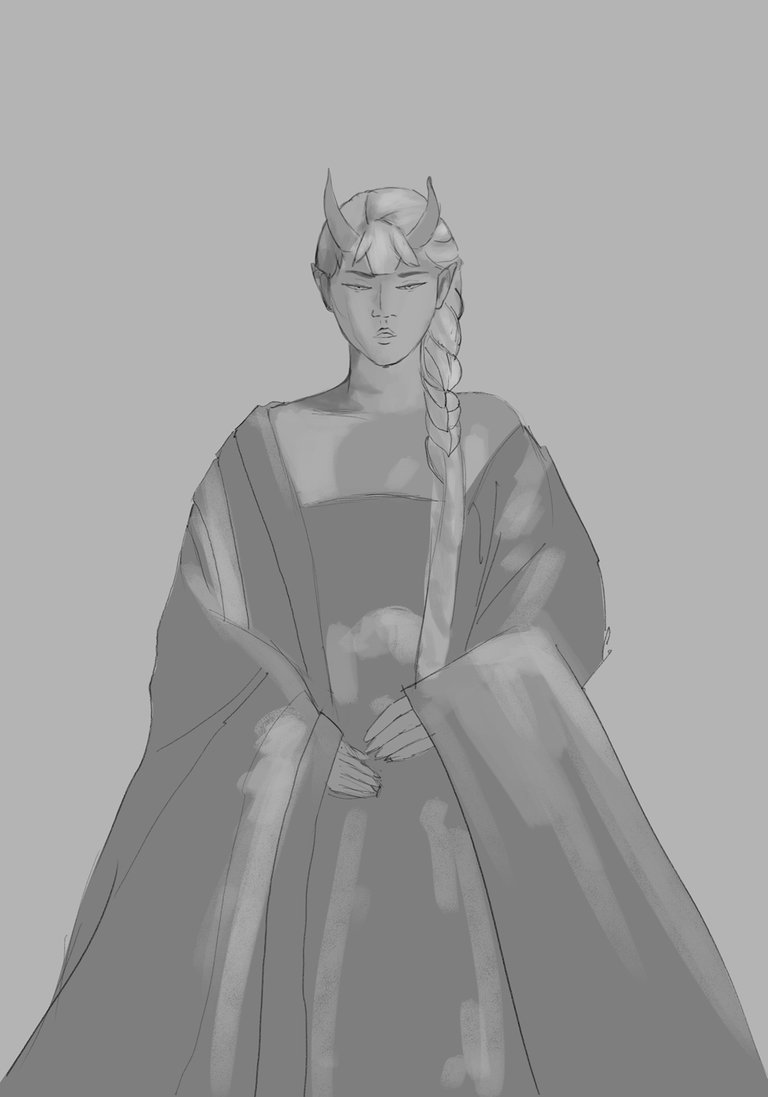
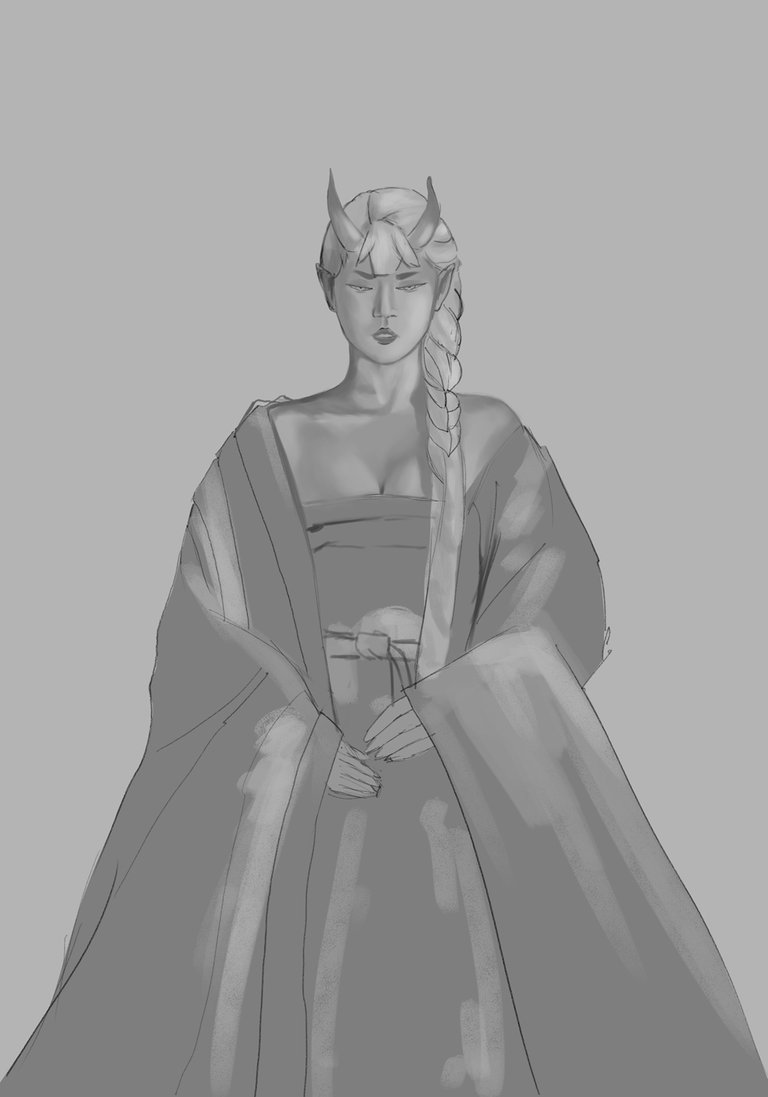
I changed the white background for a gray one, and from there I started working in different shades of gray, first filling the shape of the character and then detailing on the fine lines of the sketch and focusing mostly on the face which I rounded a little more in the chin area as it was very triangular.
 |  |
|---|

-Step 3:
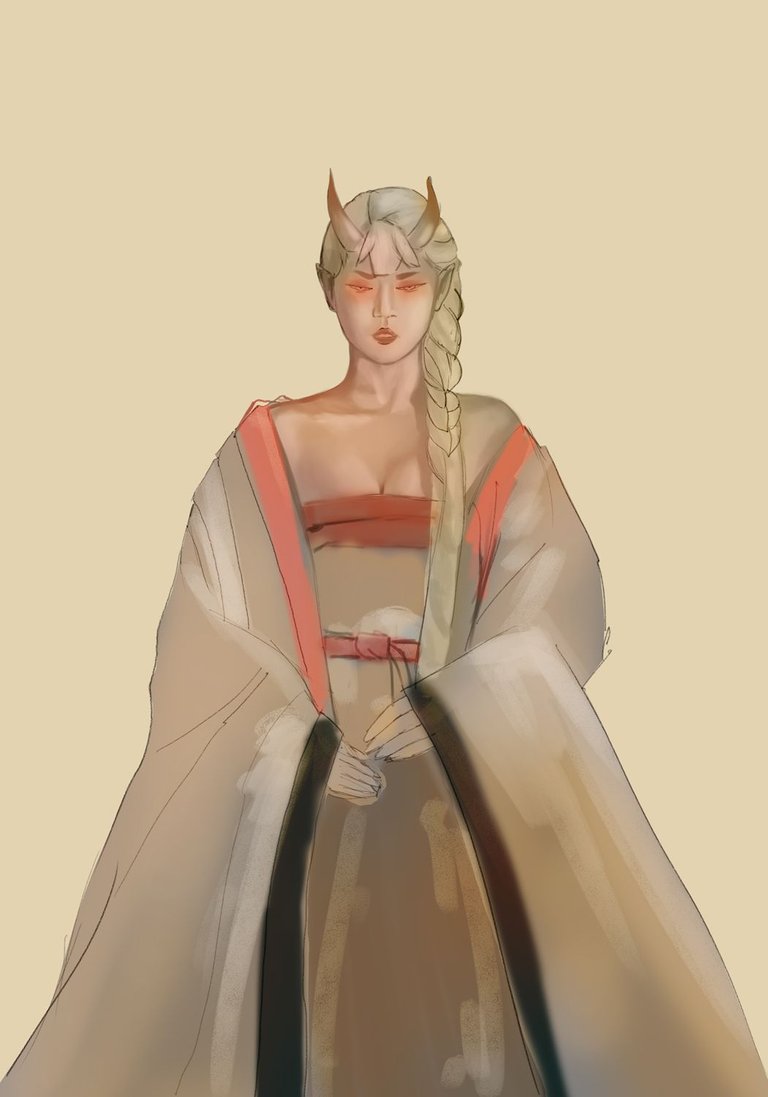
To start the coloring, first I filled the background with a yellow pastel color, but very faint, I didn't want to be dazzled by just adding a layer of color. Then based on this color, I used the blend mode "color" and colored the character, creating harmony between Hikari's skin, dress and hair.

-Step 4:
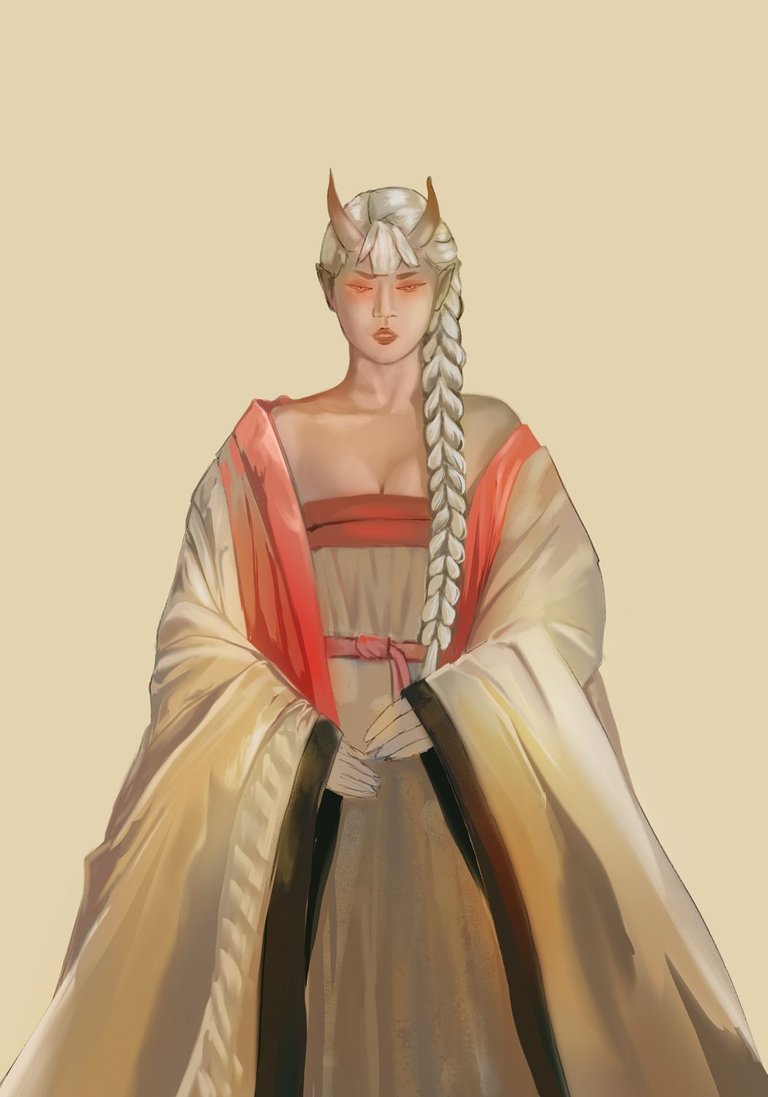
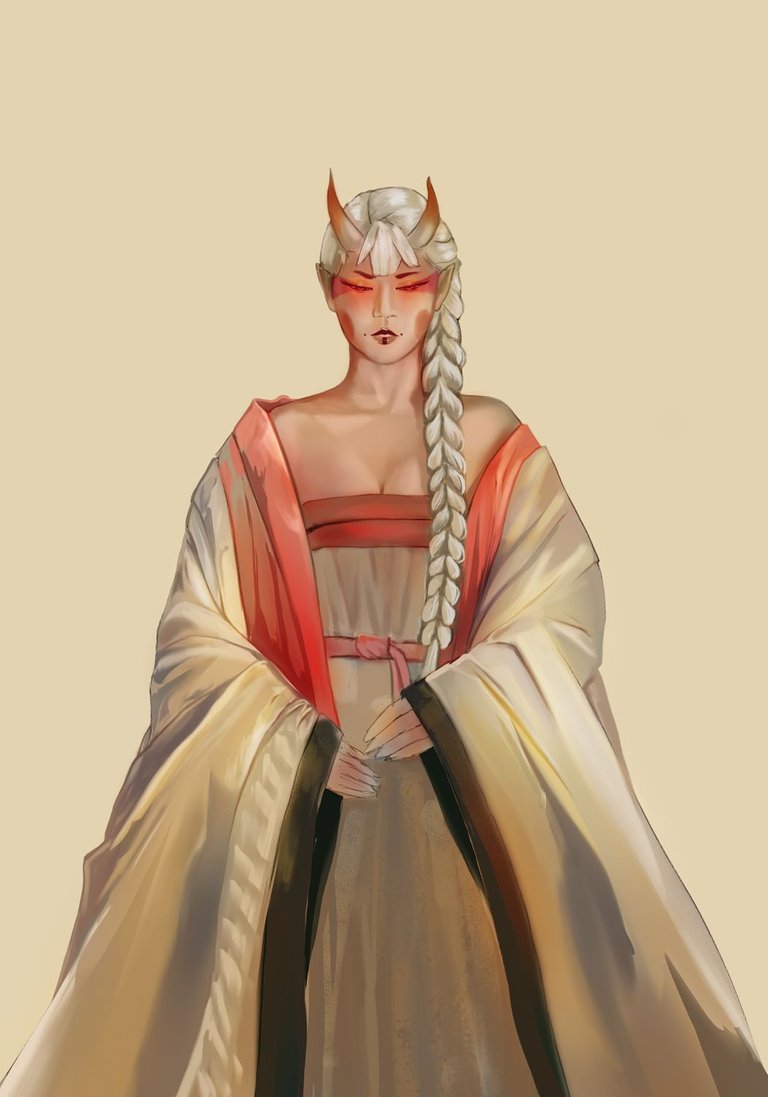
Next, I focused on the dress, I have a lot of fun making folds of fabric, again using that brush that has a firm edge and a fuzzy one, the same one I used for Saori's dress, it lightens my work like you have no idea and leaves an excellent result.
For the hair I was googling different types of hair braids and I decided for a simple one (to draw, I guess doing it in real life must be very difficult) but very striking, I worked the hair with three shades of color and a textured brush like a comb.
And I also finally gave more details to the face, technically I made her up, this using a layer set in "soft light" blending mode and a lot of pink.
 |  |
|---|

-Step 5:
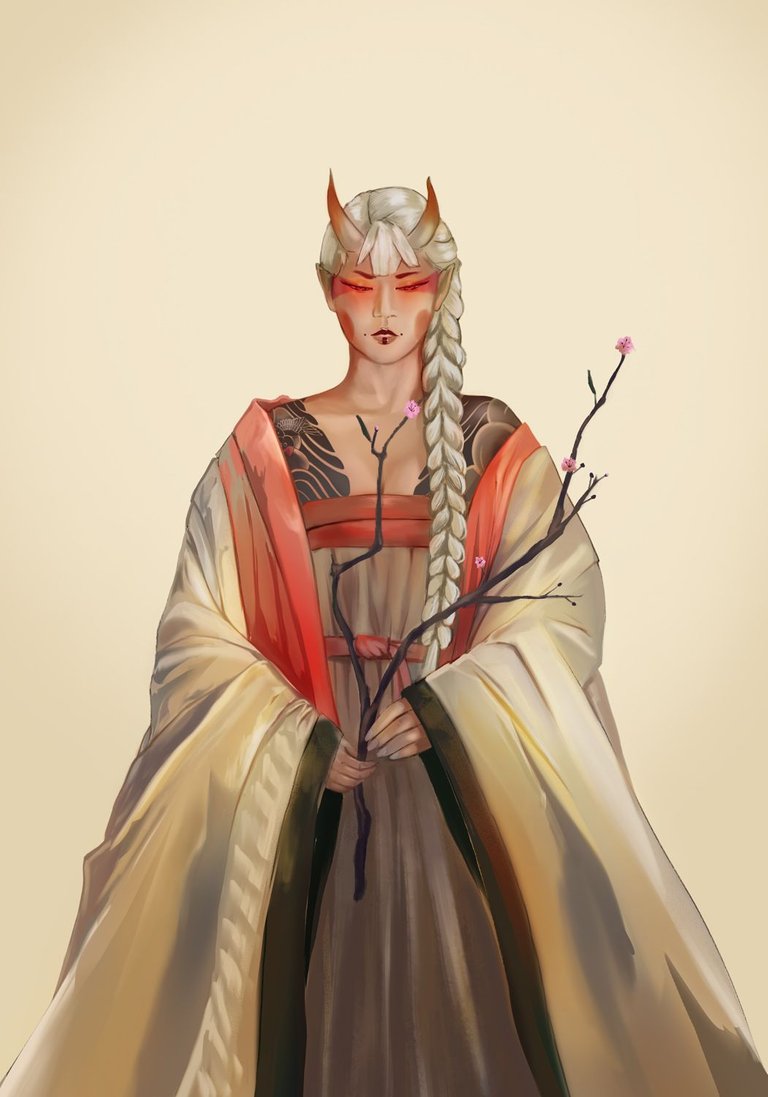
I really didn't like the tattoos of the previous Oni, so I wanted to achieve a better result this time and that's why I made a body suit tattoo for her, like the ones the yakuza have. I did this using two tools, 1- the lasso tool to select the areas that I would fill with gray and 2- a layer mask to draw the tattoo but without fear of damaging anything, then with an overlay layer I adjusted the color tone to blend in with the skin.
Again I made a quick background, in order to give all the prominence that the girl deserves, but I also made two last minute adjustments, enlarge one horn more than the other, since this was something I already had done from the beginning, but I thought that whoever saw the art might think that I made the horns disproportionate by mistake, so I better avoid that inconvenience, the other thing is that I was a long time giving softness to the breasts and when I painted the cherry branch I didn't realize that I just covered the union of both breasts and it was something I wanted in the final piece.
 |  |
|---|
Aaaand before going to the GIF of the process, go take a look at Saori, the first lady of this collection 🤗
▶️
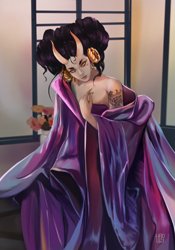
Saori | Oni Collection #1
◀️

Now finally, I'm going to leave you a GIF with the whole process so you can better appreciate the illustration process.
Tell me in the comments that you imagine when you see this illustration.

See you in a future post!
Thank You for Supporting My Artwork
TWITTER | RARIBLE | GHOSTMARKET | FOUNDATION |TERRA VIRTUA |NFT SHOWROOM | INSTAGRAM | FACEBOOK
⬆️ Follow ⬆️


