Hello Alien Art community,
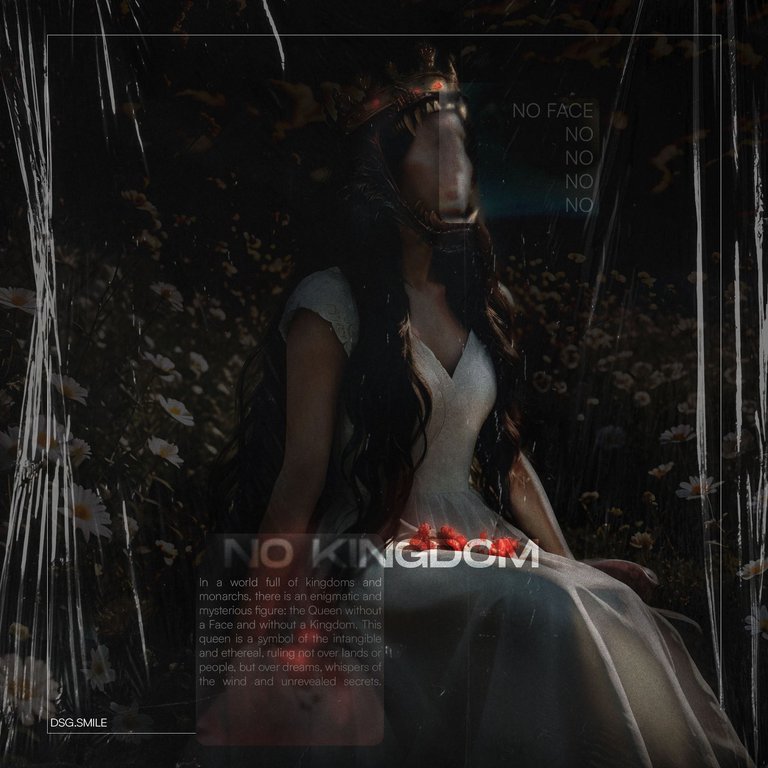
Today I present to you this poster designed with the technique I have been practicing lately in my approach to design. Through introspection, I realized that I feel really comfortable creating this type of art because I can blend a dark and terrifying aspect with a certain calmness and warmth in the design. This achieves a balance of both fear and tranquility.
Hola comunidad de Alien Art,
Hoy les presento este póster diseñado con la técnica que he estado practicando últimamente en mi enfoque hacia el diseño. Al entrar en introspección, me di cuenta de que me siento realmente cómodo realizando este tipo de arte, ya que puedo combinar un aspecto oscuro y terrorífico con una cierta calma y calidez en el diseño. Esto logra atraer ambos sentimientos de temor y tranquilidad.
PROCESS
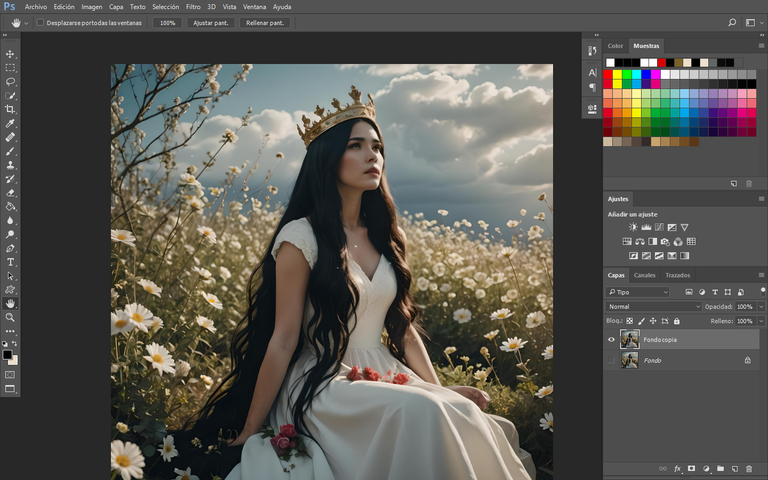
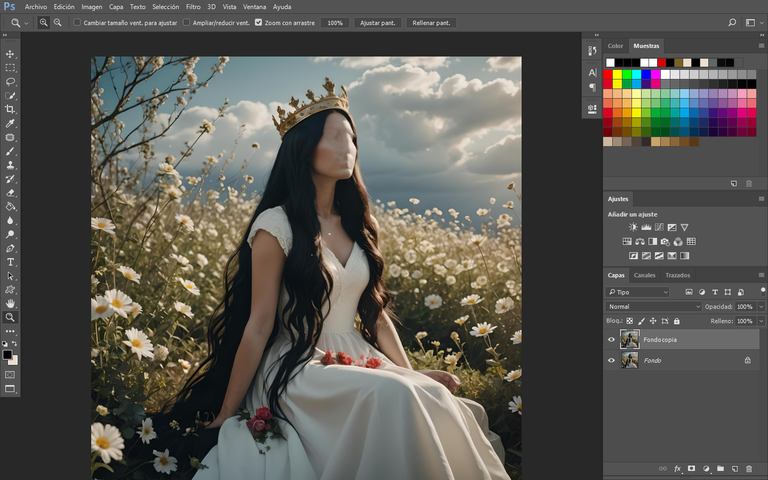
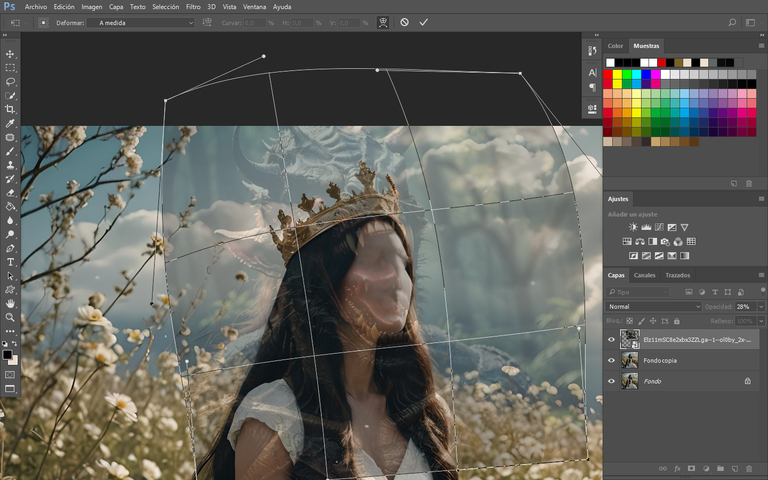
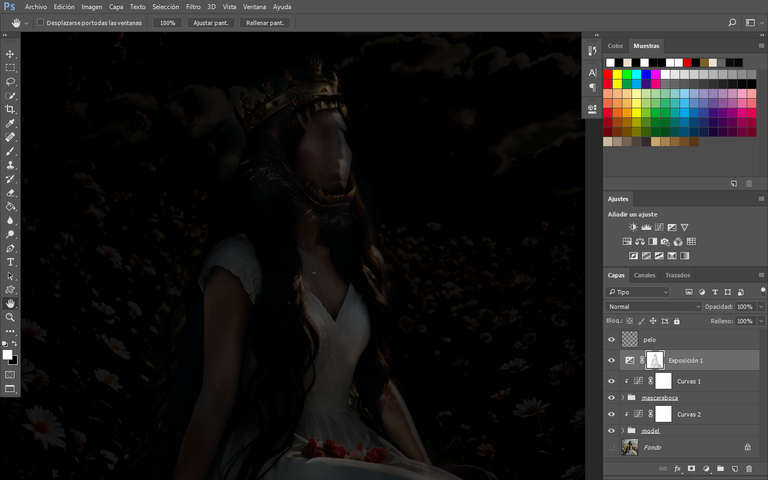
To achieve the final image, once overlaid with background layers, we proceed to erase the face using the spot healing brush and patch tools. These tools are very useful for creating shadows and textures in the area of the face that we will be erasing.
Para lograr la imagen final, una vez superpuesta con capas de fondo, procedemos a borrar su rostro utilizando las herramientas de pincel corrector y parche. Estas herramientas son de gran utilidad para poder crear sombras y texturas en el área del rostro que vamos a eliminar.
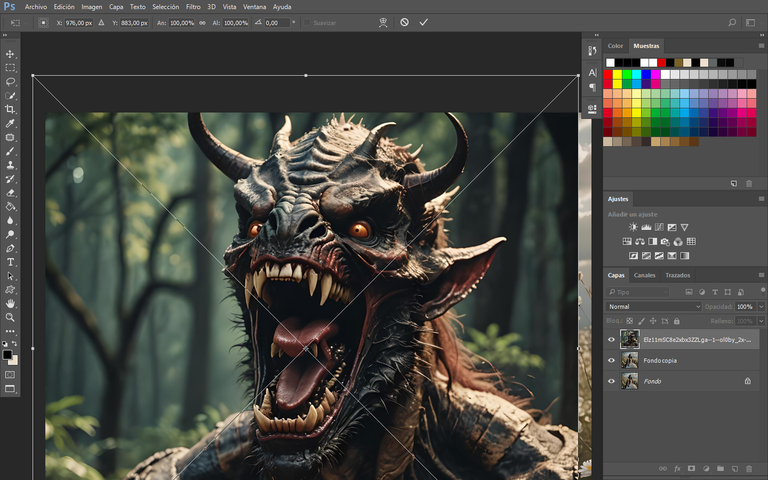
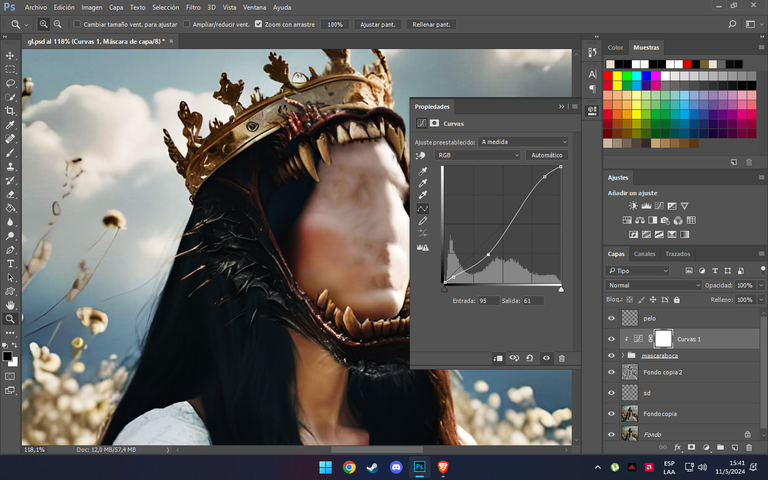
For the creation of her crown and to show the consumption of her face, I added a crown and teeth protruding from it, trying to reflect the teeth along with the light logically coming from the right. I created a demon's smile with sharp teeth and placed it on a layer mask, which helped with the final rendering using a white brush to deform and fit it to the jaw of the faceless queen.
Para el armado de su corona y mostrar la consumición de su rostro, agregué una corona y dientes que sobresalen de ella, tratando de reflejar los dientes junto con la luz que lógicamente proviene de la derecha. Generé una sonrisa de un demonio con dientes afilados y la ubiqué en una máscara de capa, lo que ayudó a lograr el muestreo final utilizando un pincel blanco para deformar y acomodar la mandíbula de la reina sin rostro.
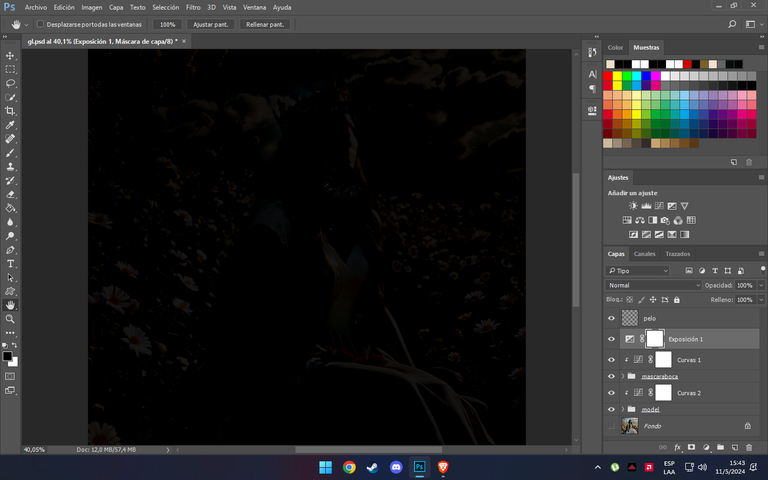
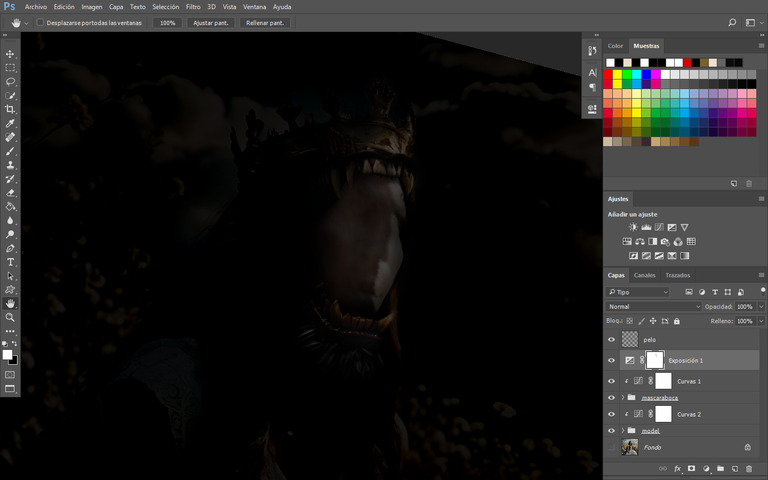
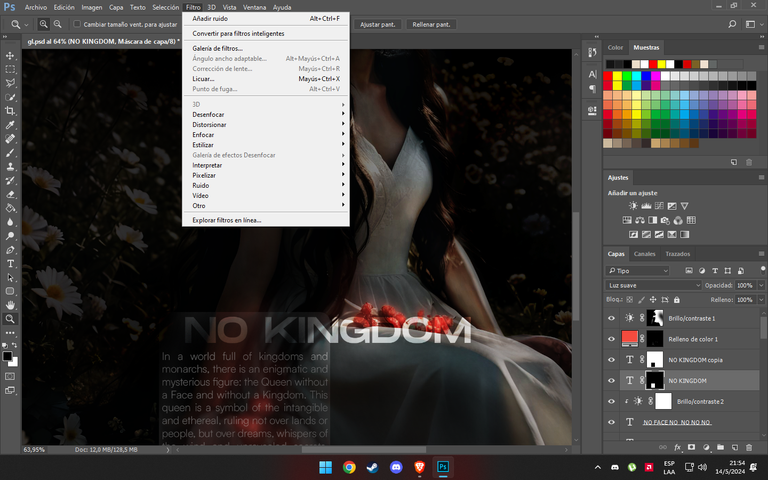
The exposure layer remains a reliable tool because it determines a significant part of the final design outcome. Removing parts of shadows and making adjustments to darken the sky was crucial since it was a very bright image. With an additional layer, I added a filter to enhance the visibility of the pores and make the texture stand out.
La capa de exposición sigue siendo una herramienta fiel porque determina una gran parte del resultado final del diseño. Eliminar partes de sombras y hacer ajustes con oscuridad para el cielo fue crucial, ya que era una imagen muy clara. Con una capa adicional, agregué un filtro para que los poros se vean mejor y la textura resalte.
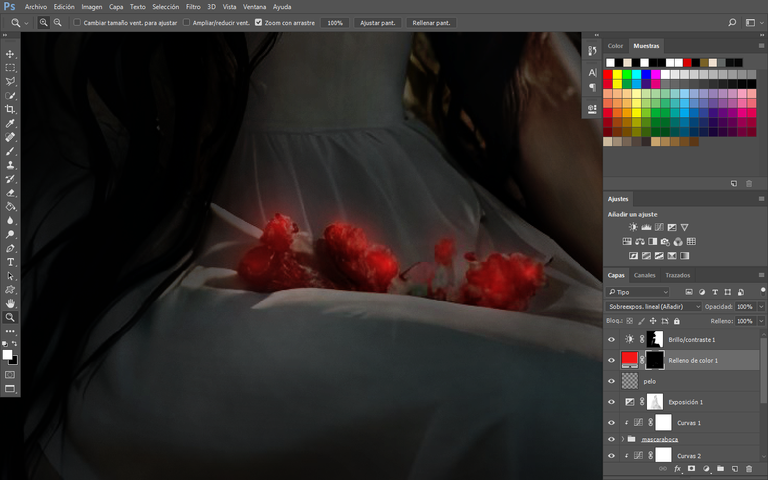
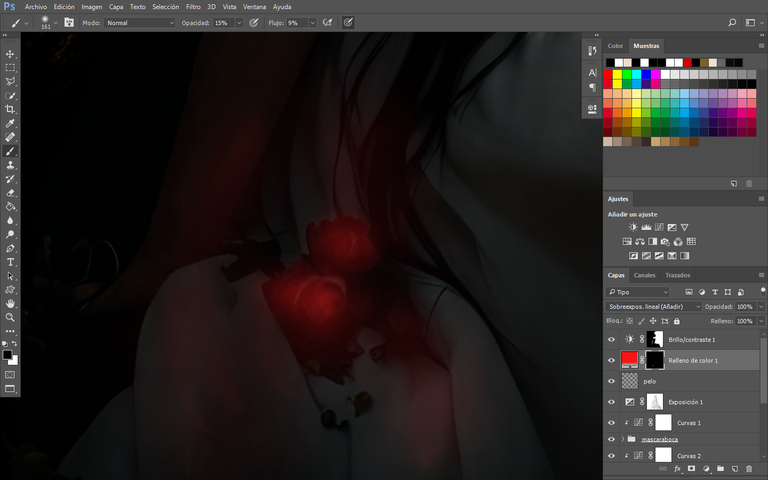
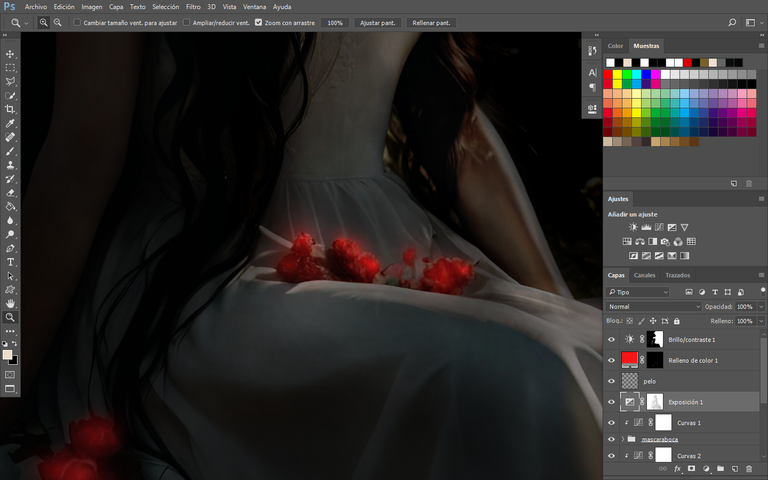
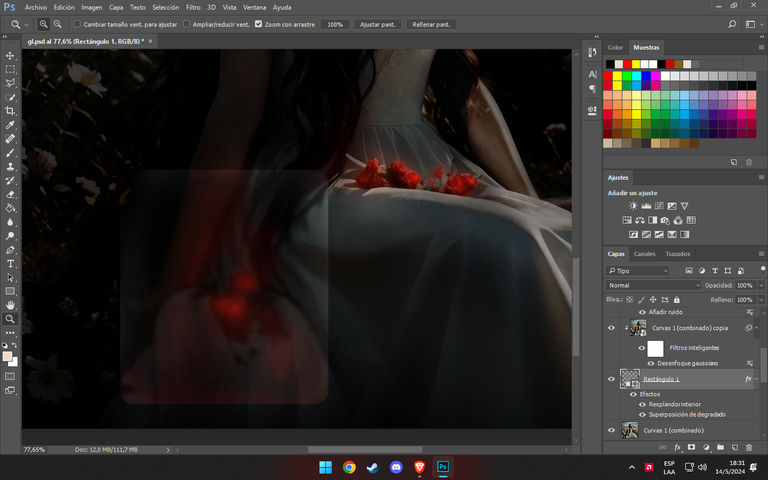
I came up with the idea of adding a glow effect to the roses, as they stand out on her white dress. Using a uniform red color and lowering the brush opacity, I inverted the color layer and started painting the areas where the "lights should reflect," in this case, parts of her dress and her forearm.
Se me ocurrió la idea de añadir un efecto de resplandor a las rosas, ya que destacan en su vestido blanco. Con un color uniforme rojo y bajando la opacidad del pincel, invertí la capa de color y comencé a pintar las zonas donde "deberían reflejar las luces," en este caso, parte de su vestido y su antebrazo.
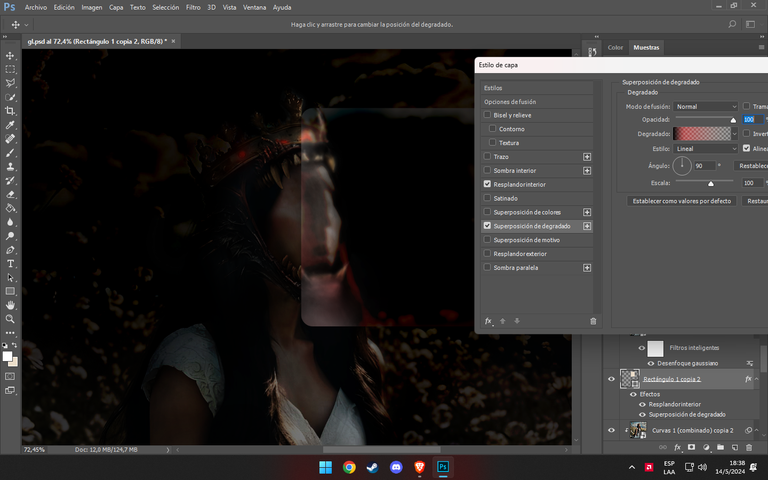
To integrate the details, I added squares with a glass effect, which creates a slight blur in the provided image. I proceeded to place references from the title, and by learning and revisiting concepts, I was able to achieve the effects I wanted. I created the frame using shape tools, removed the fill, and used the Gaussian-blurred image as a clipping mask. Then, I added inner glow along with shadows and gradient effects like the red light. I hope you enjoyed the design, see you next time!
Para integrar los detalles, agregué cuadros con efecto de vidrio, lo que nos lleva a un pequeño desenfoque en la imagen proporcionada. Pasé a ubicar referencias del título y, aprendiendo y retomando conceptos, pude lograr hacer esos efectos que tanto quería. Realicé el recuadro con las herramientas de forma, le quité el relleno y la imagen ya ubicada con efecto gaussiano la usé como máscara de recorte. Luego, añadí el resplandor interno junto a sombras y efectos de degradado como la luz roja. ¡Espero que te haya gustado el diseño, nos vemos!
Tools Used :
Photoshop
WACOM CTL 472
Font AI Style Cinematic