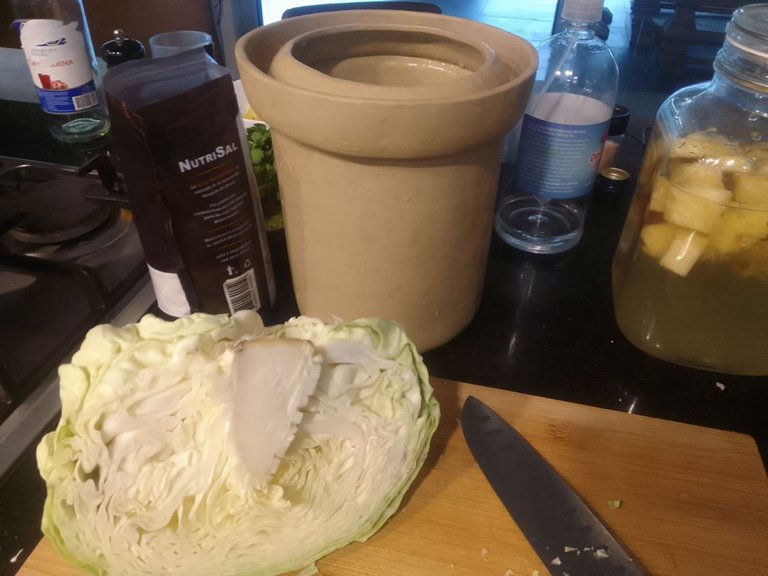
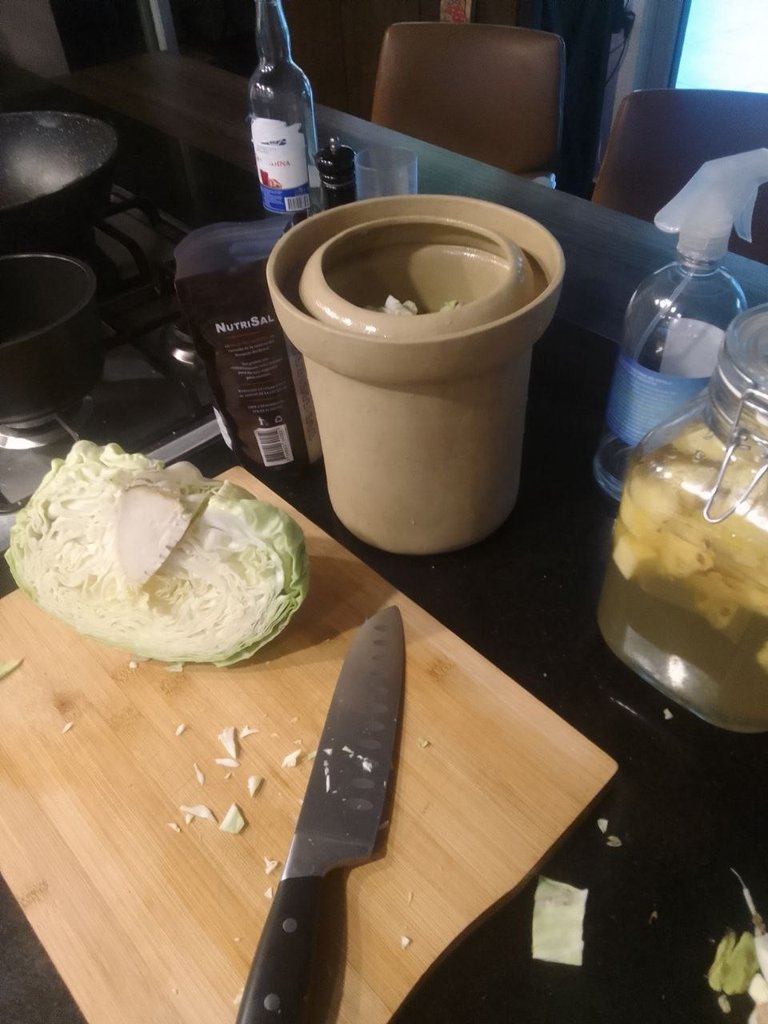
This lovely crock was a gift from a friend. He bought two and realized that he only ever fills one at a time. Every time that I house-sat for them, which was frequently, I would use one. While I was there it was usually fermented hot-sauces that I made. Then I would leave a jar in the fridge for them and bring some back home for me and my housemates to enjoy.
As you can see it has a well-fitting lid with a water seal . It is nicely made even if a little bit thin-walled. Someday, I will make one (or more) myself. Clay is one of my favorite media. These days I'm getting in a lot of food art!
On to the sauerkraut...
Select a head of cabbage with a high moisture content. It should feel heavier than it looks and maybe even have a nice crack in the stalk-stub on bottom. This head was dry and lightweight, despite being the heaviest feeling one at the store. No matter, that just means that I get to explain what to do in case your kraut can't make her own juice. And this one produced zero liquid. That, I've never seen before.

It's my preference that the kraut is not super finely chopped, but you can shred it very thin if you like. Traditional kimchee is often made with the leaves completely intact, but that is also from a finer softer sort of cabbage.
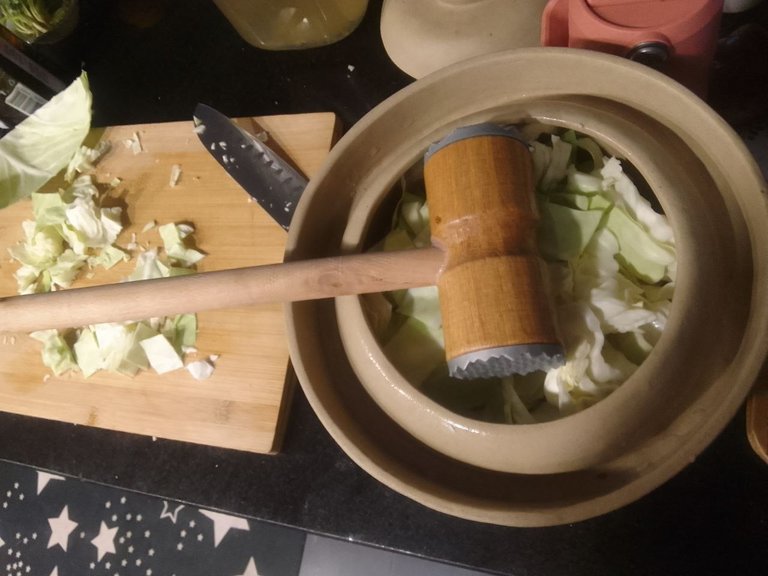
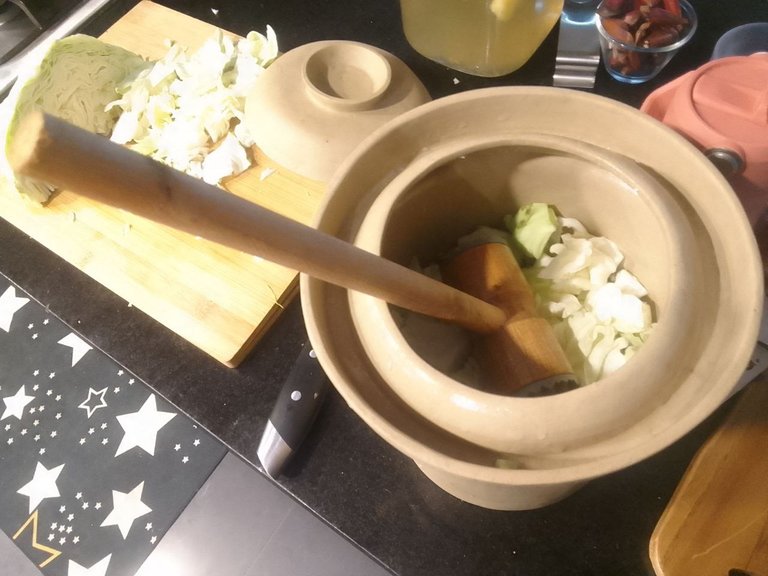
Generally speaking you need an average ratio of 2%-2.25% weight of salt to cabbage. Thus for every 100 g of sliced cabbage, 2 -2.25 grams of sea salt or himalayan salt. Save one nice big leaf whole, to lay over the top of it all, under your weighting item/s. I recommend using a salt that does NOT contain flouride or added iodine and it should be a course salt rather than table salt. Layer in that chopped cabbage with a sprinkle of your salt. and pack it down with some sort of tamping device. Weigh it down with some ceramic weights, which I will also have to make. As I do not have any, I used a small ceramic bowl that fit inside the crock. Let it rest overnight at room temperature.

If after 24 hours, your kraut has not exuded sufficient liquid to cover over the surface by at least a centimeter, you can make a simple salt brine to supplement with. If using tap water, boil, add salt and let cool to room temp. before adding to veg. This seems a little bit tricky, but don't be intimidated. Anything from 2% - 5% is acceptable and you don't actually need to be precise. Since you've already added salt to your vessel, it's best to make a 2% brine, so that you don't end up with too much salt, which would kill your halophillic lactobacteria allies who are going to do the work of fermentation. You can dissolve 20 grams of salt per liter of water, therefore.

Into this batch I added a small handful of dill seeds. Coriander seeds were in my heart as well, but apparently I will have to wait to grow my own as they are just not to be found for sale. Sooooooon!

Once it is properly submerged you just leave it be for 2-6 weeks. You don't have to have a fermenting crock. And it's best not to open it up before that two week mark, unless you need to "burp" your container, which you may, if you Please do ferment vegetables in the vessels that you have at your disposal. Before I had my first fermenting crock, I fermented hundreds of batches of all sorts of veggies in mason jars and recycled jars from whatever...with only success, no mold, all deliciousness and I don't usually weigh for accuracy either. ha. I'm a naughty little kitchen witch who measures salt in the palm of her hand. So, take heart and have fun. You'll get it. Get it!
I don't know how I managed to post this twice!???
NOr do I see how to delete this one