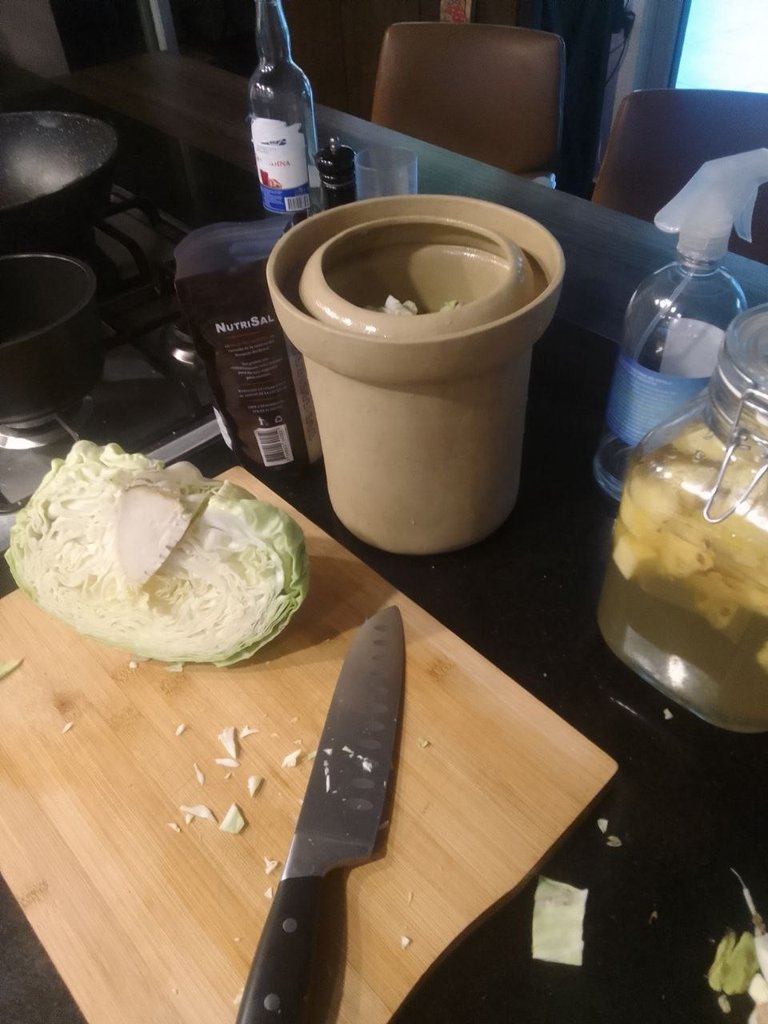
This lovely crock was a gift from a friend. He bought two and realized that he only ever fills one at a time. Every time that I house-sat/ animal-cared for them, which was frequently, I would use one. While I was there it was usually fermented hot-sauces that I made. Then I would leave a jar in the fridge for them and bring some back home for me and my housemates to enjoy.
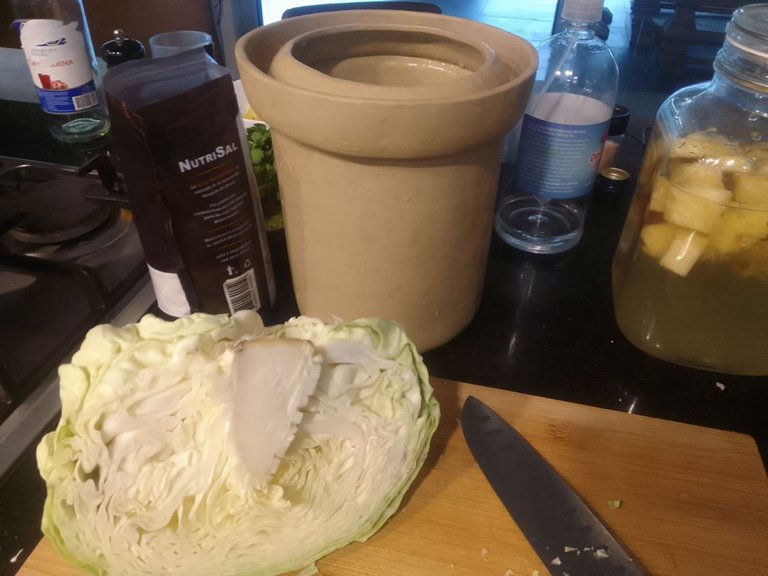
As you can see it has a well-fitting lid with a water seal . It is nicely made even if a little bit thin-walled. Someday, I will make one (or more) myself. Clay is one of my favorite media. These days I'm getting in a lot of food art!
On to the sauerkraut...
Select a head of cabbage with a high moisture content. It should feel heavier than it looks and maybe even have a nice crack in the stalk-stub on bottom. This head was dry and lightweight, despite being the heaviest feeling one at the store. No matter, that just means that I get to explain what to do in case your kraut can't make her own juice. And this one produced zero liquid. That, I've never seen before.

It's my preference that the kraut is not super finely chopped, but you can shred it very thin if you like. Traditional kimchee is often made with the leaves completely intact, but that is also from a finer softer sort of cabbage.
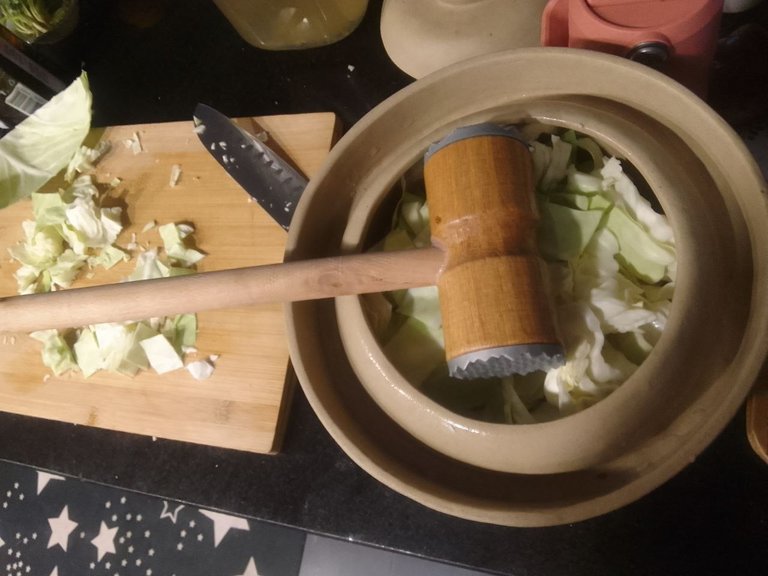
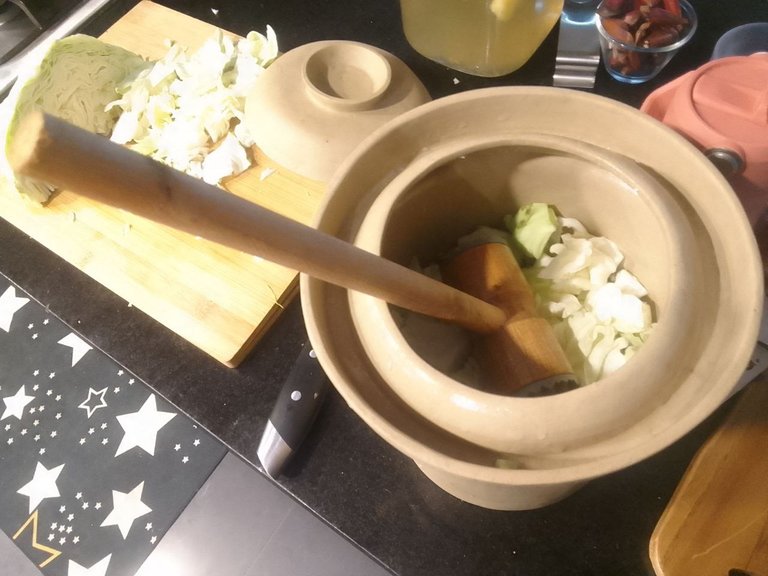
Generally speaking you need an average ratio of 2%-2.25% weight of salt to cabbage. Thus for every 100 g of sliced cabbage, 2 -2.25 grams of sea salt or himalayan salt. Save one nice big leaf whole, to lay over the top of it all, under your weighting item/s. I recommend using a salt that does NOT contain flouride or added iodine and it should be a course salt rather than table salt. Layer in that chopped cabbage with a sprinkle of your salt. and pack it down with some sort of tamping device....layer by layer... Weigh it down with some ceramic weights, which I will also have to make. As I do not have any, I used a small ceramic bowl that fit inside the crock. Let it rest overnight at room temperature.

If after 24 hours, your kraut has not exuded sufficient liquid to cover over the surface by at least a centimeter, you can make a simple salt brine to supplement with. If using tap water, boil, add salt and let cool to room temp. before adding to veg. This seems a little bit tricky, but don't be intimidated. Anything from 2% - 5% is acceptable and you don't actually need to be precise. Since you've already added salt to your vessel, it's best to make a 2% brine, so that you don't end up with too much salt, which would kill your halophillic lactobacteria allies who are going to do the work of fermentation. You can dissolve 20 grams of salt per liter of water, therefore.

Into this batch I added a small handful of dill seeds. Coriander seeds were in my heart as well, but apparently I will have to wait to grow my own as they are just not to be found for sale. Sooooooon!

Once it is properly submerged you just leave it be for 2-6 weeks. You don't have to have a fermenting crock. And it's best not to open it up before that two week mark, unless you need to "burp" your container, which you may, if you are using jars. Please do ferment vegetables in the vessels that you have at your disposal. Before I had my first fermenting crock, I fermented hundreds of batches of all sorts of veggies in mason jars and recycled jars from whatever...with only success, no mold, all deliciousness and I don't usually weigh for accuracy either. ha. I'm a naughty little kitchen witch who measures salt in the palm of her hand. So, take heart and have fun. You'll get it. Get it!
Versión español traducida con el apoyo de DeepL
Esta preciosa vasija fue un regalo de un amigo. Compró dos y se dio cuenta de que sólo llenaba una cada vez. Cada vez que yo cuide a la casa y animales de ellos, que era a menudo, utilizaba una. Cuando estaba allí, tipicamente hice salsas picantes fermentadas. Entonces les dejaba un frasco en la heladera y me traía un poco a casa para que lo disfrutáramos mis compañeros y yo.
Como se puede ver, tiene una tapa bien ajustada con cierre hermético. Está muy bien hecho, aunque sus paredes son un poco finas. Algún día me haré una (o más). La arcilla es uno de mis medios favoritos. Estos días estoy haciendo mucho arte con comida.
Pasemos al chucrut...
Seleccione una cabeza de repollo con alto contenido de humedad. Debe parecer más pesada de lo que parece e incluso tener una grieta en el tallo de la parte inferior. Esta cabeza estaba seca y era ligera, a pesar de ser la más pesada de la tienda. No importa, eso sólo significa que tengo que explicar qué hacer en caso de que su chucrut no puede hacer su propio jugo. Y este produjo cero líquido. Eso, nunca lo había visto antes.

Yo prefiero que el kraut no esté picado muy fino, pero si lo desea, puede cortarlo en tiras muy finas. El kimchee tradicional se suele hacer con las hojas completamente intactas, pero también es un tipo de repollo más fina y suave.
En términos generales, se necesita una proporción media de entre el 2% y el 2,25% de peso de sal por repollo. Así, por cada 100 g de verdura cortada, 2 -2,25 gramos de sal marina o sal del Himalaya. Guarde una buena hoja grande entera, para ponerla encima de todo, debajo de su(s) elemento(s) de ponderación. Recomiendo utilizar una sal que NO contenga floururo o yodo añadido y debe ser una sal grueso en lugar de sal de mesa. Coloque el repollo picado en capas con una pizca de sal y apisónelo con algún tipo de apisonador. Péselo con unas pesas de cerámica, que también tendré que hacer. Como no tengo, utilicé un pequeño cuenco de cerámica que cabía dentro de la olla. Dejar reposar toda la noche a temperatura ambiente.

Si después de 24 horas, su chucrut no ha exudado suficiente líquido para cubrir la superficie al menos un centímetro, puede preparar una salmuera sencilla para complementar. Si utiliza agua del grifo, hiérvala, añada sal y déjela enfriar a temperatura ambiente antes de añadirla a las verduras. Esto parece un poco complicado, pero no se deje intimidar. Se acepta cualquier cantidad entre el 2% y el 5%, y no es necesario ser preciso. Puesto que ya ha añadido sal al recipiente, es mejor preparar una salmuera del 2%, para no acabar con demasiada sal, que mataría a las lactobacterias halófilas aliadas que van a hacer el trabajo de fermentación. Por lo tanto, puedes disolver 20 gramos de sal por litro de agua.

En este lote añadí un pequeño puñado de semillas de eneldo. Las semillas de coriandro también estaban en mi corazón, pero al parecer tendré que esperar para cultivar las mías propias, ya que no se encuentran a la venta. ¡Huerta Pronto!

Una vez que esté bien sumergido sólo tienes que dejarlo estar durante 2-6 semanas. No es necesario tener una olla de fermentación. Y es mejor no abrirlo antes de las dos semanas, a no ser que necesites «hacer eructar» el recipiente, lo que puede ocurrir si utilizas frascos. Por favor, fermenta las verduras en los recipientes que tengas a tu disposición. Antes de tener mi primera vasija de fermentación, fermenté cientos de lotes de todo tipo de verduras en frascos "mason" y tarros reciclados de lo que fuera... con éxito, sin moho, todo delicioso y no suelo pesar con precisión. Soy una brujita traviesa de la cocina que mide la sal con la palma de la mano. Así que ánimo y a pasarlo bien. Lo conseguirás. ¡Consíguelo...Dale...Vamos arriba!
Congratulations @melibee! You have completed the following achievement on the Hive blockchain And have been rewarded with New badge(s)
Your next target is to reach 1500 upvotes.
You can view your badges on your board and compare yourself to others in the Ranking
If you no longer want to receive notifications, reply to this comment with the word
STOP