Good day dear mates! Today I want to tell you about my experience of assembling new cupboard with my kids! This cupboard we bought couple weeks ago and just today I finally found time to assemble it.

First of all I planned to assemble it by myself. But kids decided to join and help me without asking any questions :-)
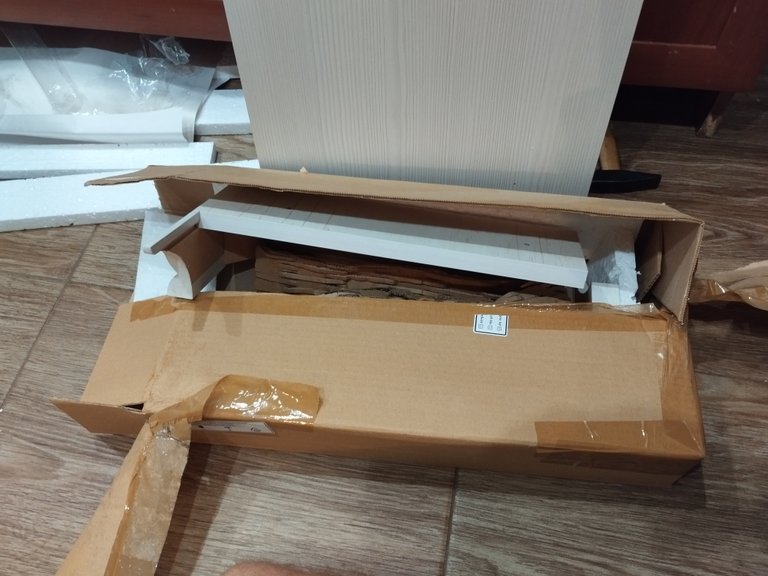
Everything inside was covered with paper and lined with foam for protection especially glass shelves.
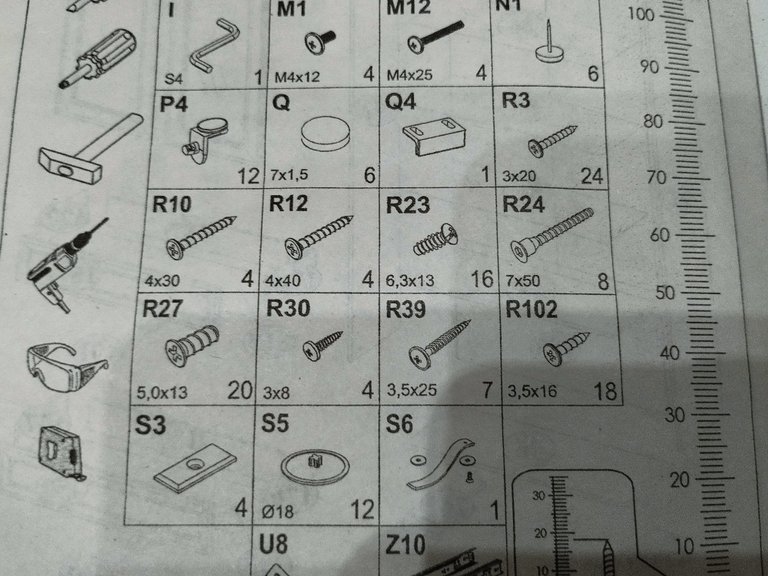
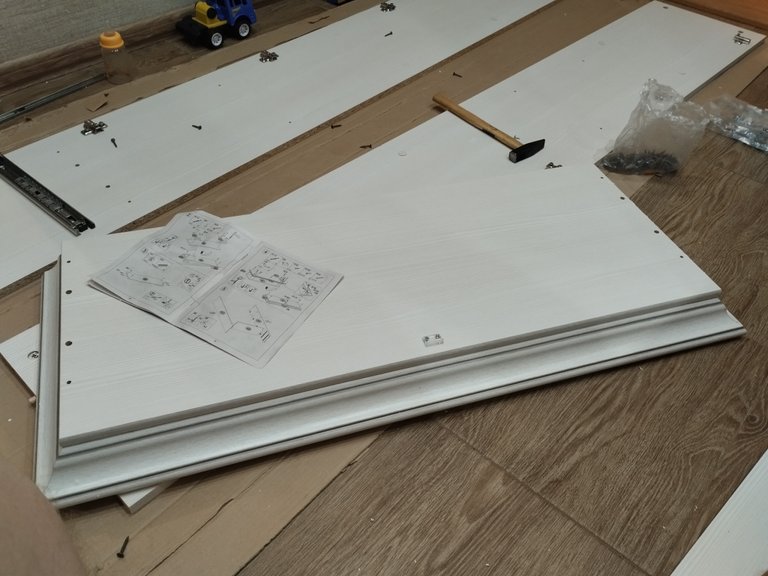
Also inside we found accessories for assembly and instructions how to assemble cupboard.


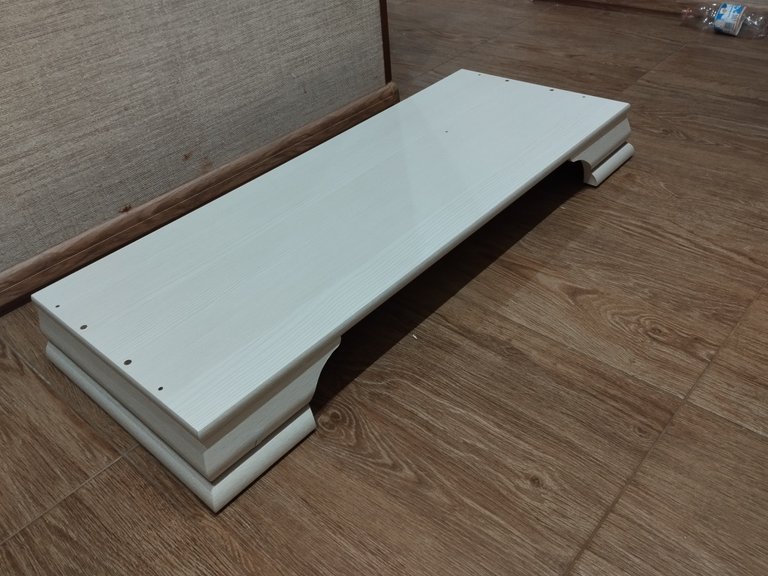
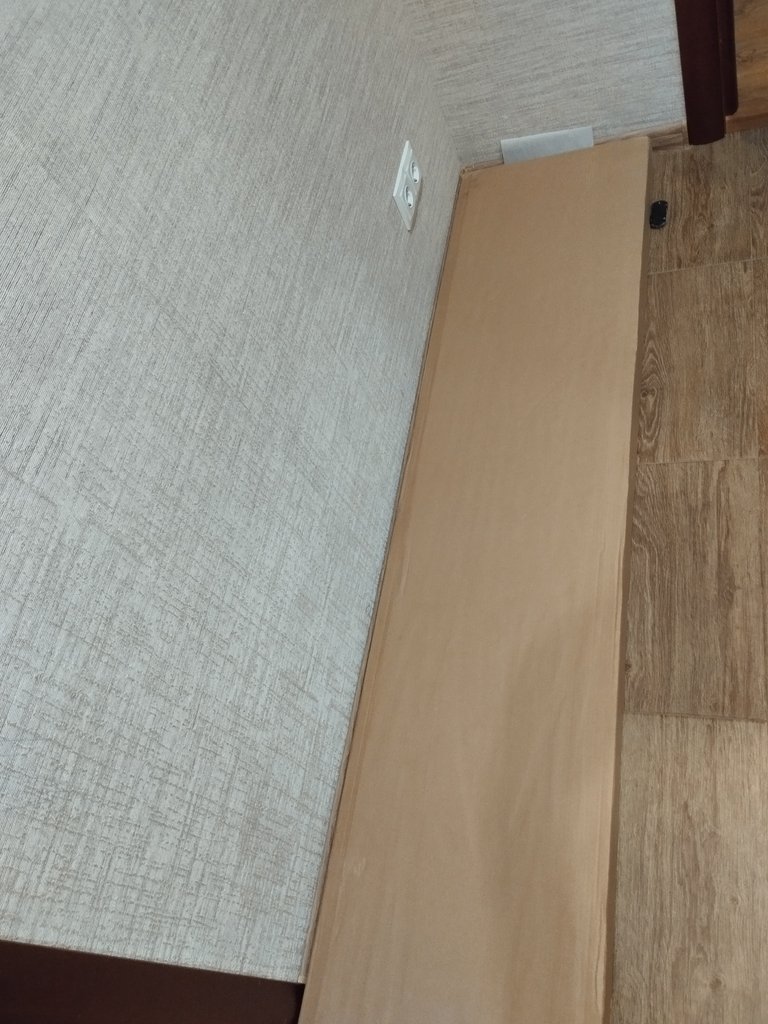
It was necessary to add a decorative base and a rubberized base on which cupboard would stand.
Further, I screwed hinges onto the side walls of cupboard, which should hold doors in the future. And also the corners on which the shelves will be mounted later. Next came stage of assembling cupboard's body. This stage included connecting of cupboard's bottom, cupboard's lid and the bottom shelf.


When cupboard's body was ready, it was necessary to add a back wall to it. It is made of hardboard. And here my kid helped me a lot when he nailed the nails and supported the hardboard while I was trying it on.

When the cupboard body was installed on it's place, we decided to take a break because it was already late.

On the next day, after waking up and having breakfast, we decided to continue our work.

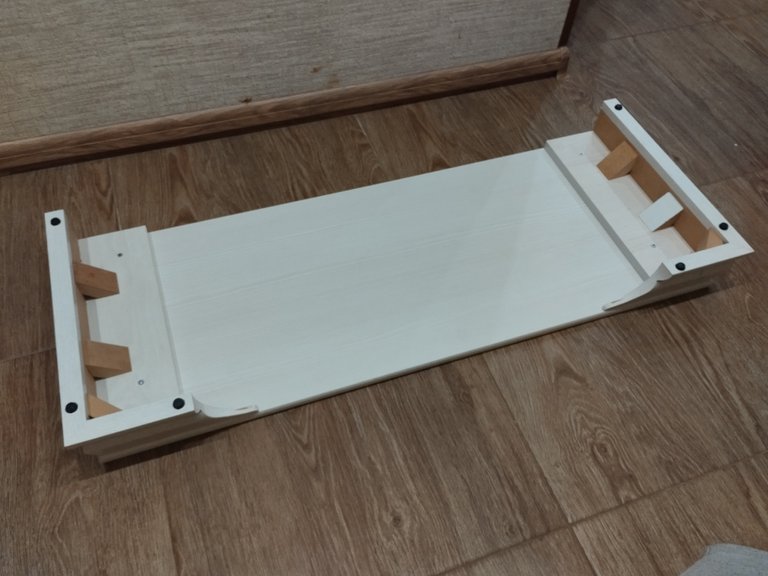
We had to assemble shelves that would be installed in the lower section of cupboard.

First, we mounted guides on the wall walls so that the shelves could be pulled out.
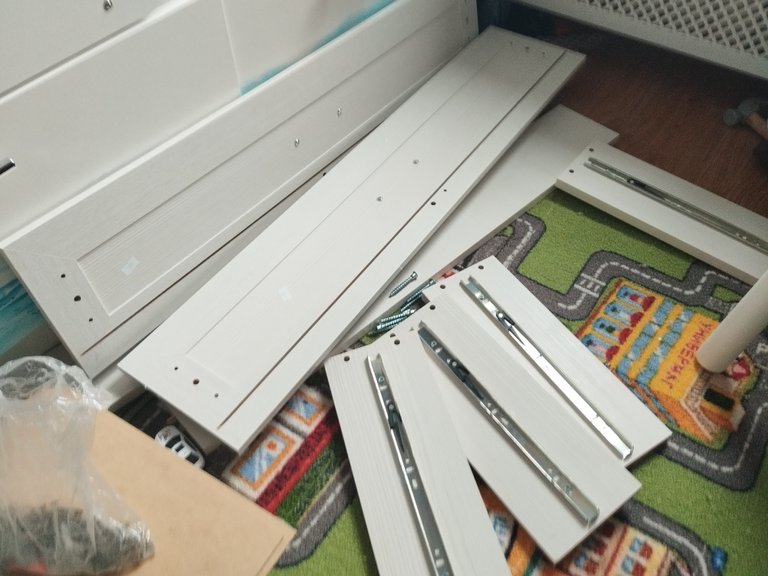
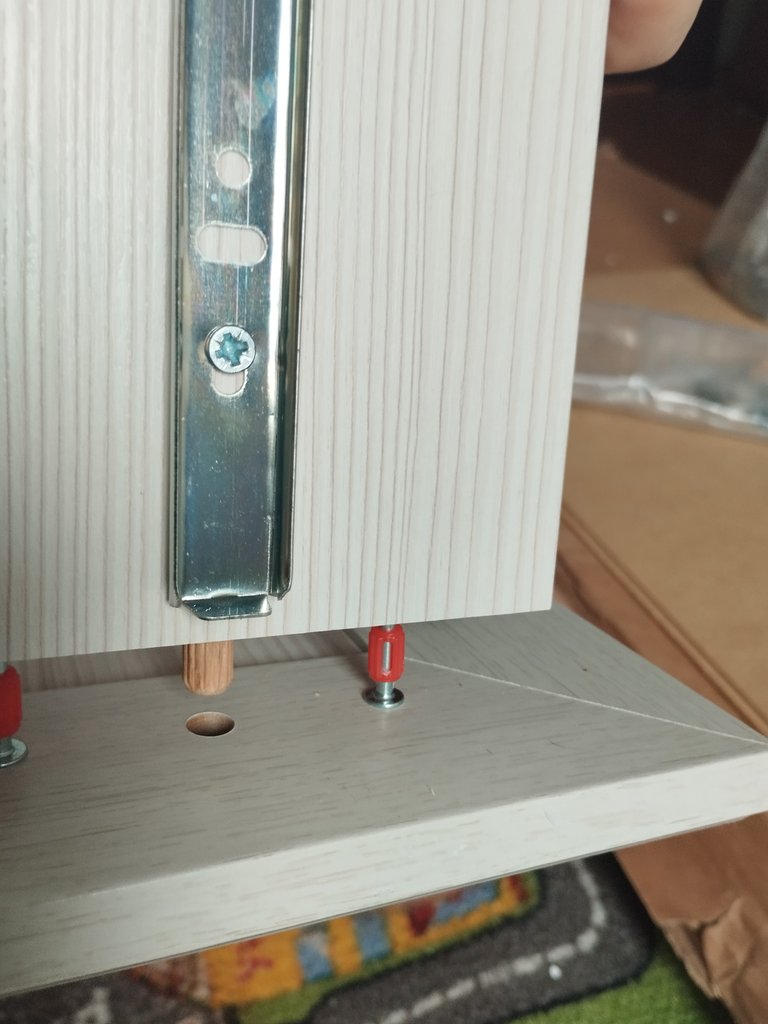
Then the handle on the front and the bottom of the shelf were attached. This took us about 2 hours.
When shelves were put on their place, it came time of the doors. On the doors we had to attach hinges and door handles to the front.

However, we did not install the doors right away. First we had to install the glass shelves.

Only when shelves were installed on their place we could finish with the doors.

But this is not the end. To prevent the cupboard from falling on someone in the household in the future, it was necessary to attach it to the wall. To do this, I drilled hole in the wall with a perforated screw into which I inserted a dowel. And on the lid of the cabinet I screwed a corner that will keep the cupboard from falling. To do this, I fixed it with a self-tapping screw to the wall.

With this, our work as a whole was completed. All that was left to do was remove the packaging and place the dishes on the shelves. In total, assembling of cupboard took us about 7 hours. If my kids didn't help me I think it could take me more time for it and it could turn out more harder. But now this wonderful cupboard pleases us with it's beauty. And I'm thankful for my little helpers for their help!
With them you may spend more time building it, but these moments are the ones they will always remember, they will surely say: we built that cupboard with Dad's help.
Ha ha indeed it could be so especially when one of them tried to take and to exam one of needed accessories))
Hope they can say so after years when they grow up! 😀
The rewards earned on this comment will go directly to the people ( travoved ) sharing the post on LeoThreads,LikeTu,dBuzz.https://inleo.io/threads/travoved/re-leothreads-2g2ae6yk5
Yay! 🤗
Your content has been boosted with Ecency Points
Use Ecency daily to boost your growth on platform!
Support Ecency
Vote for new Proposal
Delegate HP and earn more, by @travoved.