This week’s “Share Your Battle” is a very exciting one! We are focusing this time on the Rare Fire Card Djinn Apprentice. In this article we will talk about the reasons why this card is actually great to use and in which cases this card is best used. Furthermore, we will talk about the potential cards that we could use to support our strategy and last but not least we will take a look at an practical example in the form of a battle.
Djinn Apprentice
First things first, we should talk about the main star of this article: Djinn Apprentice. When I first saw this card I was absolutely sure that this card will be an insane one. After playing with it for quite some time I know that there are advantages and disadvantages and this is what we will try to figure out today. On the first look, this card look very alright! A 5 mana cost card with 2 magic attack, 2 speed and 4 health does not sound too bad. The problem is that this card is located in the Fire Splinter which means that it will not get any attacking boost with the current summoners. It will get a Health boost and a potential speed boost, depending on the chosen summoner.
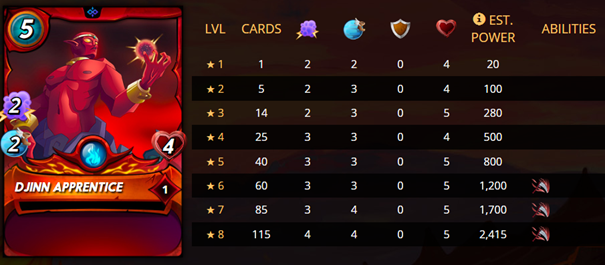
Still, I think that for a basic level card, this card is worth its mana. Furthermore, it gets only stronger with higher levels. Granted, it has not special ability in the first few levels but it is getting quicker, healthier and gets more attack with each level. Its potential at level 8 is 4 mana attack with 4 speed and 5 health, which all of a sudden does not look too bad either.
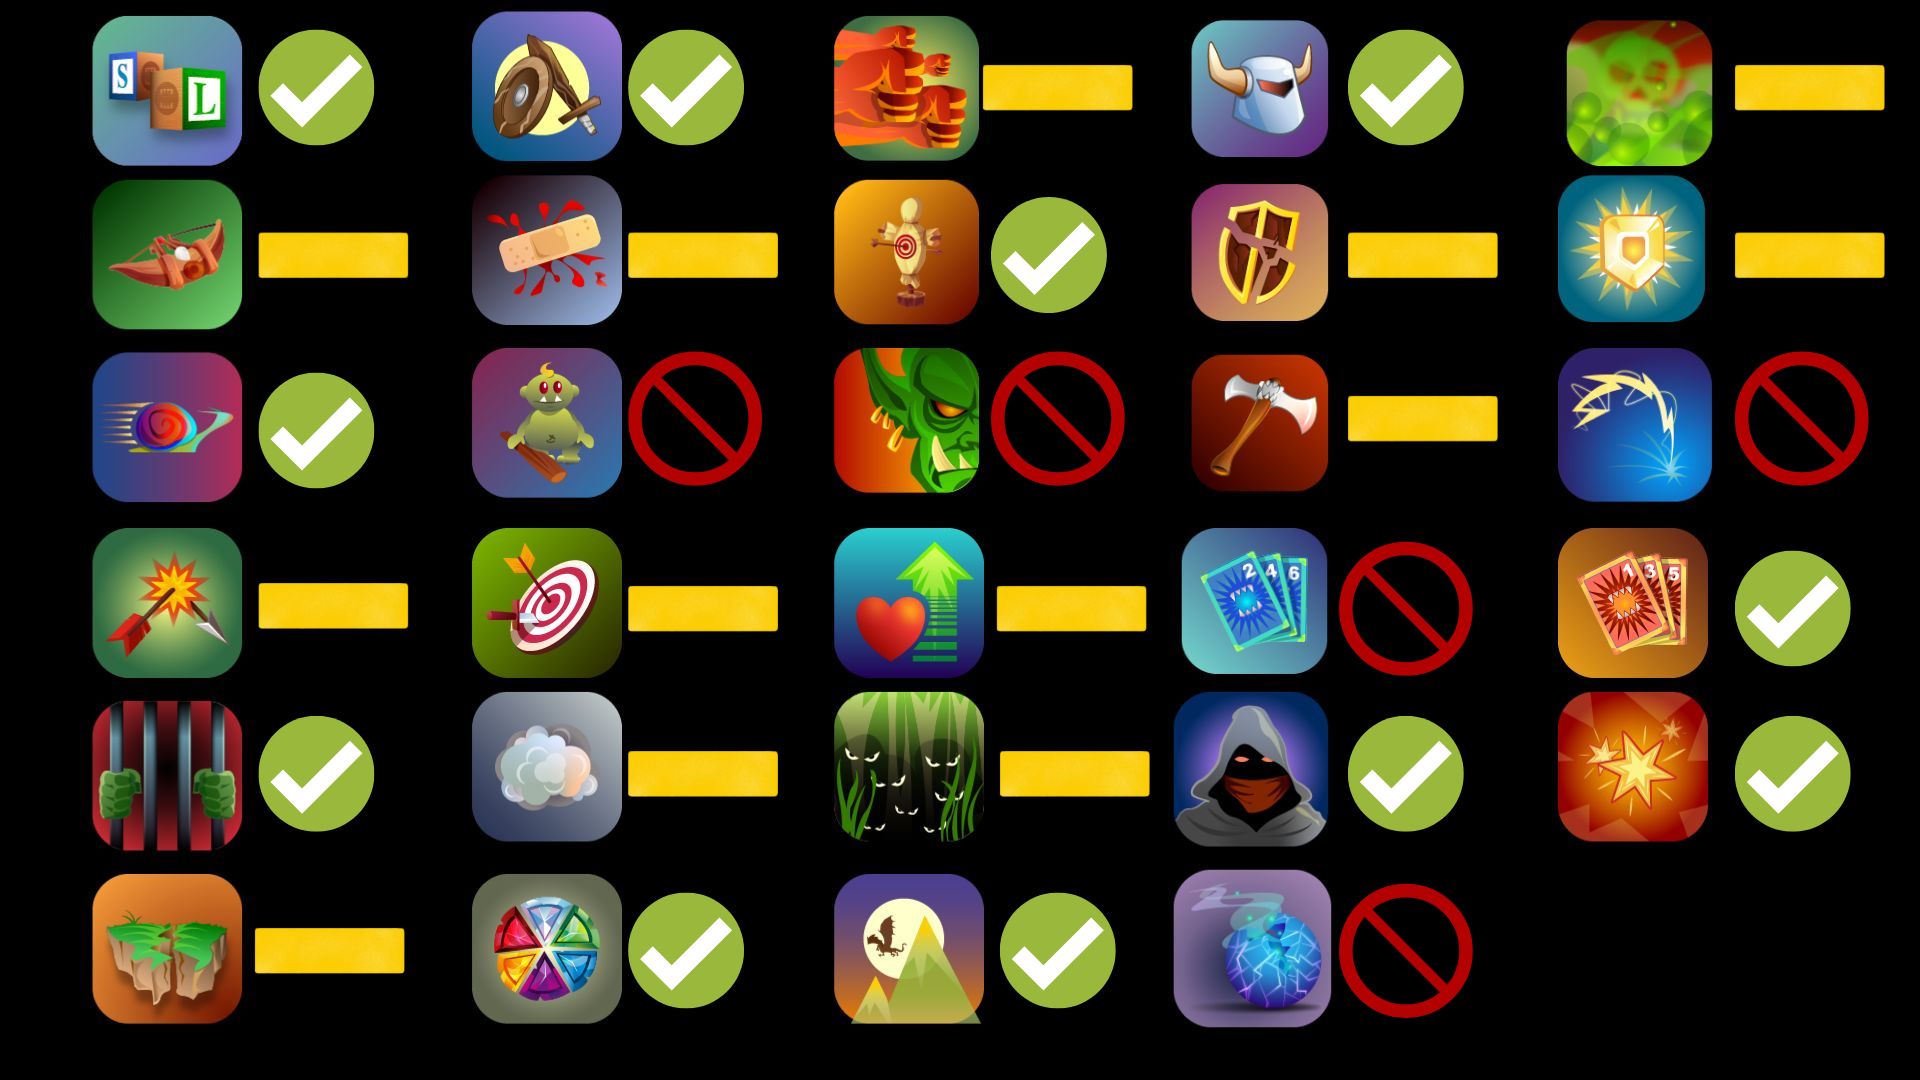
When talking about strategies and when to best use this card we will need to discuss the potential rulesets once again. I think that this card is best used when Explosion is active as the magic attacking style allows us to hit trough armor and therefore attacks the other minion’s health straight away. Same logic goes with the armor Ruleset. Another great situation is when Abilities or summoner buffs are disabled. In both cases, this card does not lose its strengths and will perform great in this battle.
On the other side there are certain situation where we should not use or can not even use this card. The obvious once are if magic is disabled or nerfed. These situation are never great to use this card. Other than that there are only use cases where it is literally impossible to use this card such as the mana cost cap or the only melee ruleset. This means that this card is basically almost always usable if allowed which is also a great plus in my opinion.
Complimenting Cards
Now that we talked about the Djinn itself, let’s also talk about some complementary cards. In general I would say that it is always dependent on the current situation and that this card can be played in any sort of situation. For this specific battle we had the luxury of having a Sneak Ruleset which is why I based my selection of monsters on this specific situation.
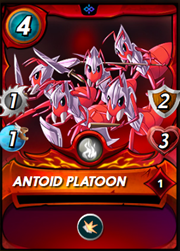
First up is without a doubt Antoid Platoon. This card is amazing to use in combination with the Djinn Apprentice. Why? Because the Platoon will hold of any kind of melee damage that is coming our way due to its Shield Ability. This is why this card is a real all rounder. Not only can it serve as great tank but it can be also placed in the last position to protect us from Sneak attackers!
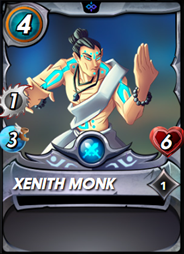
Speaking of tanks, we have another great card to use in this position: Xenith Monk. While looking very weak on first glance, this card gets the Self-Heal Ability on a very early level. This makes it a very usable card in the tank position, as every turn it will heal itself. On top of that it comes with a very good amount of speed and deals a good amount of damage by itself.
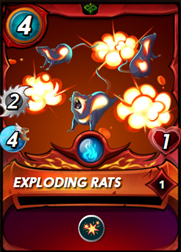
Last but not least we have the ultimate damage dealer: Exploding Rats! Especially in said Ruleset, this card excels very nicely! Why? Well because of its good amount of speed, damage and explosion ability! We are basically able to destroy our opponent from the back at a very quick rate. The only downside is the 1 health which can potentially ruin our strategy but this is why we put protection in the front and in the back.
Example Battle
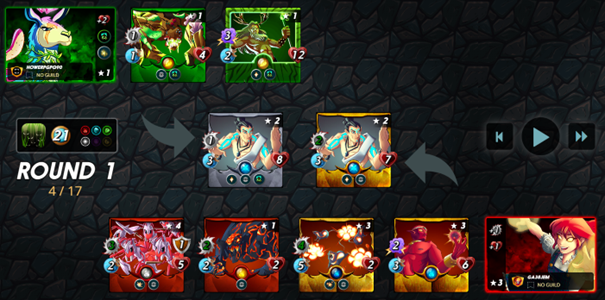
Now that we gathered our team together for this specific battle, we can take a look at our opponent and what his potential strategy was. He chose a Earth team with the same tank as we did. This we had in common. But his backline was weird. In second position he chose a Fiend which was pretty much a place holder and in last place he chose a very strong card in the form of Kron the Undying. With Self-Heal, 3 mana attack and last Stand, this card was actually a very great card to play. His problem was that he did not take into consideration the Sneak Attacking that would be happening during this battle. In the end we managed to get out victorious due to our magic attacking as well as the Explosion strategy that we used!
https://splinterlands.com?p=battle&id=sl_cc79d68193124914d79ad9df740f22d1&ref=ga38jem
Published by ga38jem on
LeoFinance
On 14th October 2022
The rewards earned on this comment will go directly to the people( @ga38jem ) sharing the post on Twitter as long as they are registered with @poshtoken. Sign up at https://hiveposh.com.
Thanks for sharing! - @alokkumar121
